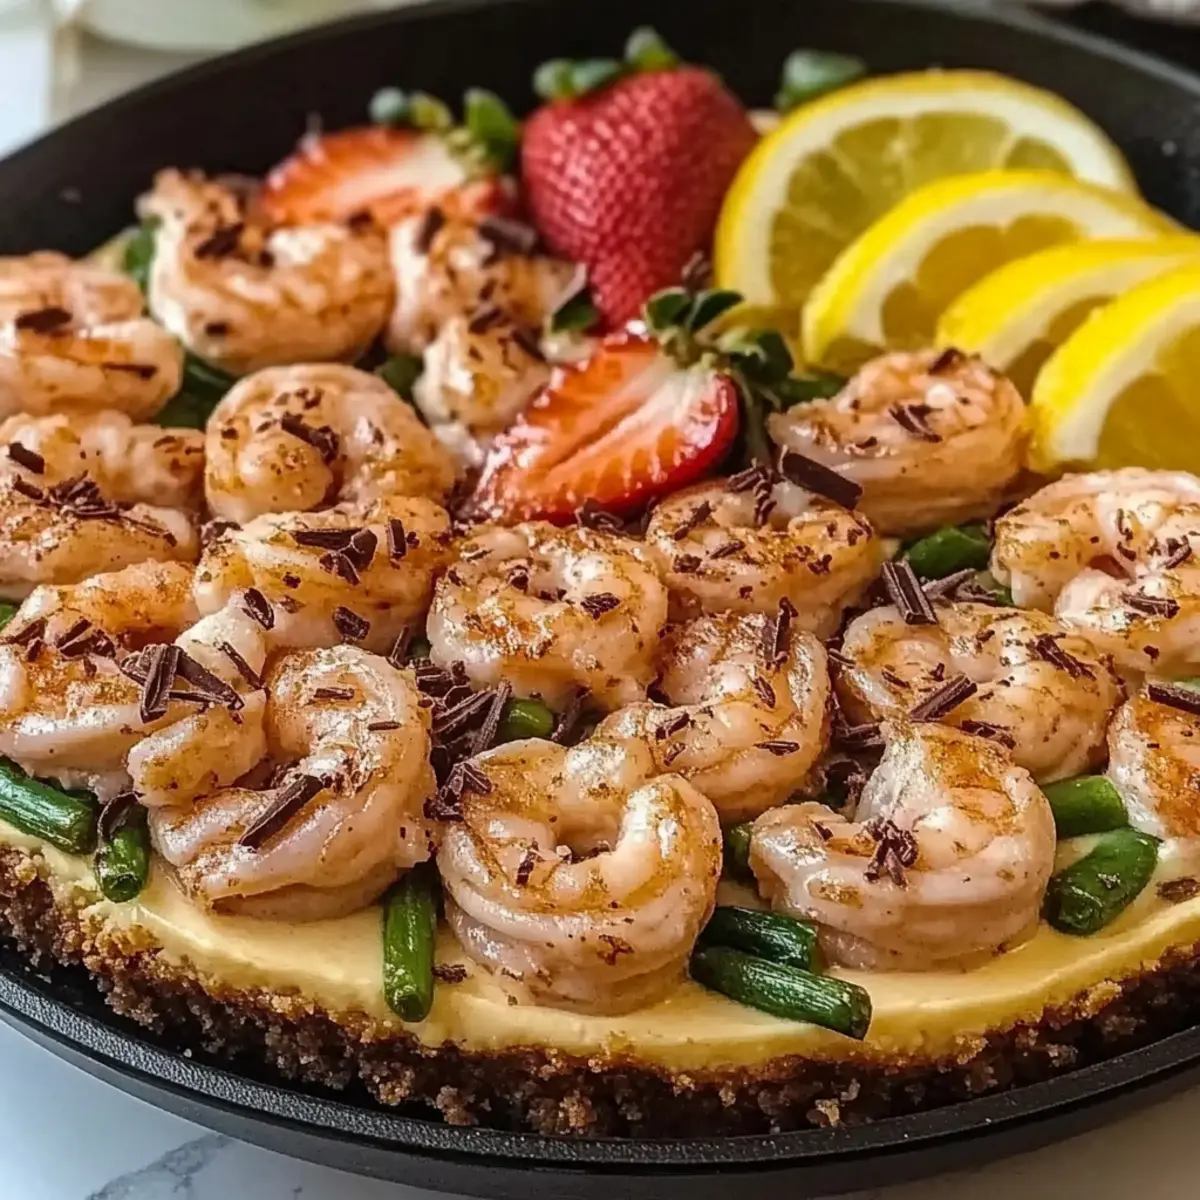
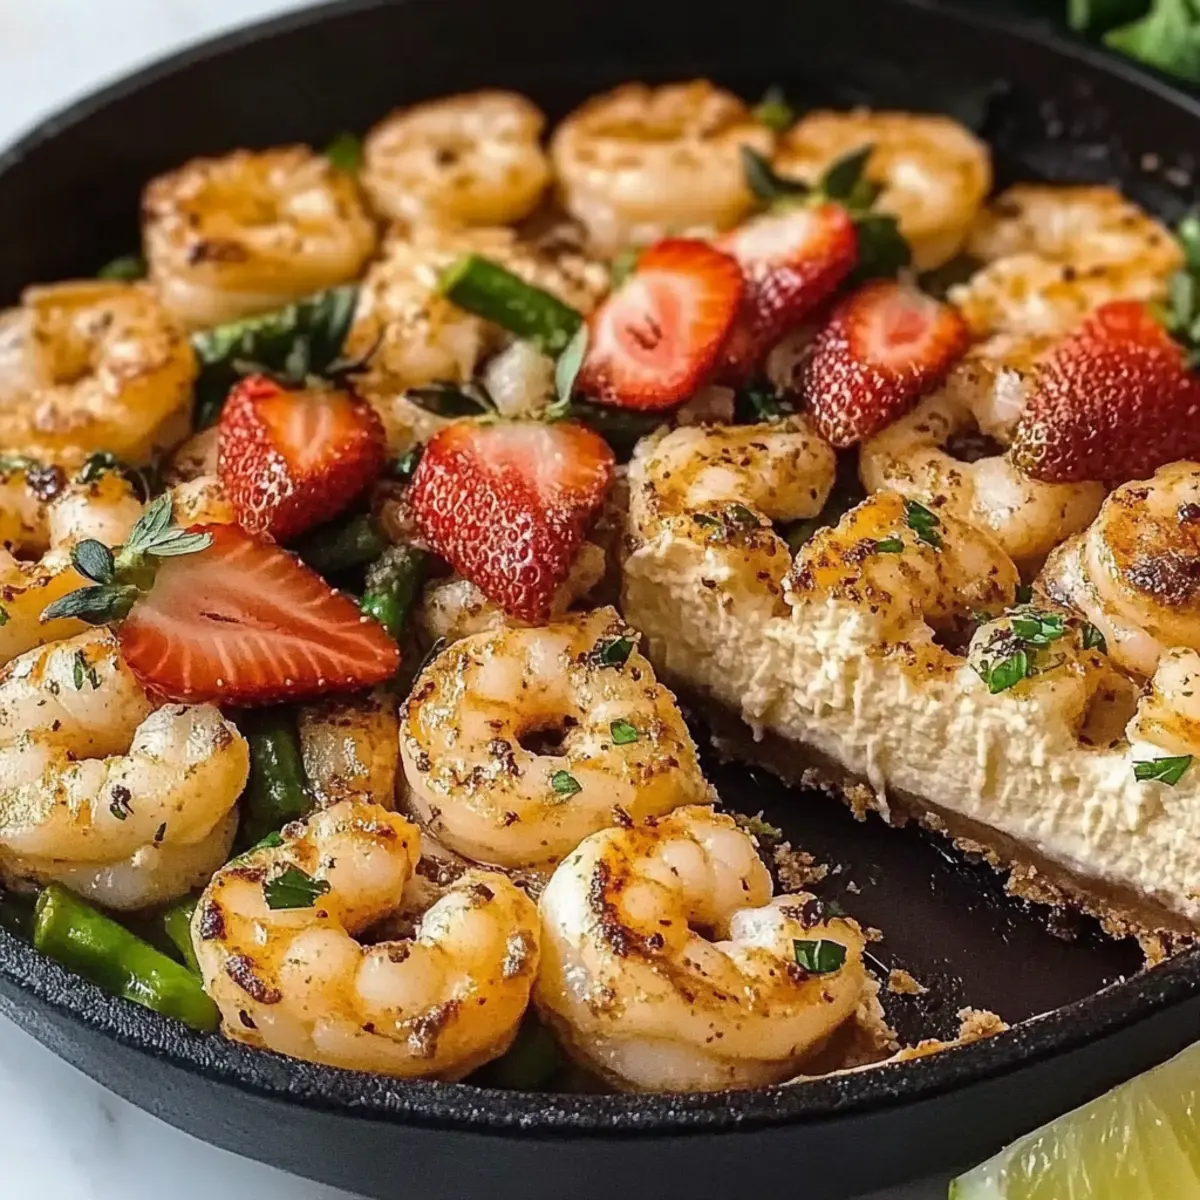
If you’ve ever found yourself craving something sweet yet refreshing, let me introduce you to my Easy No-Bake Cheesecake! This delightful dessert requires no oven, making it perfect for hot summer days when spending time by a hot stove is the last thing on your mind. With its creamy texture and customizable flavor variations—like strawberry or chocolate—this cheesecake is a guaranteed crowd-pleaser. Plus, it's gluten-free friendly for those avoiding wheat! It is easy to prepare and will impress your family and friends, whether you’re hosting a summer BBQ or a cozy dinner party. Ready to indulge in something that feels as good as it tastes? Let’s dive into this delectable recipe!
Why is this cheesecake a must-try?
Simplicity: This no-bake cheesecake is incredibly easy to whip up and requires no fancy equipment or baking skills.
Endless Variations: With options like strawberry, chocolate, or caramel, there’s a flavor for everyone—perfect for any occasion!
Crowd-Pleaser: Impress your family and friends with a dessert that screams indulgence but is a breeze to make.
Customizable Toppings: Add fresh fruits or a drizzle of chocolate for an extra touch of luxury. Want something else delicious and quick? Check out my Honey Garlic Chicken for a savory balance!
Light and Refreshing: Perfect for warm summer days, this cheesecake allows you to enjoy dessert without the heaviness of baked goods.
Gluten-Free Option: Easily adaptable for gluten-free diets, making it approachable for a wider audience.
Easy No-Bake Cheesecake Ingredients
For the Filling
• Cream Cheese – Provides rich flavor and creamy texture; soften before use for easier mixing.
• Sugar – Sweetens the cheesecake; can be adjusted to taste or replaced with a sugar substitute.
• Heavy Whipping Cream – Adds lightness and fluffiness; ensure it's cold for the best volume when whipped.
• Vanilla Extract – Enhances overall flavor; use pure vanilla for more depth.
For the Crust
• Graham Cracker Crumbs – Forms the crust base, providing crunch; can substitute with gluten-free crackers.
• Unsalted Butter – Binds crust ingredients together; melt before mixing with crumbs.
Optional Flavorings/Toppings
• Fresh Fruits – Strawberries or blueberries can add a fresh burst of flavor; ensure they are dry to prevent sogginess.
• Chocolate or Caramel Sauce – Drizzle for a rich finish; they complement the creamy cheesecake perfectly.
This easy no-bake cheesecake is not only super simple to create but also allows for a delightful twist with various toppings and flavors!
Step‑by‑Step Instructions for Easy No-Bake Cheesecake
Step 1: Prepare the Crust
In a mixing bowl, combine the graham cracker crumbs with melted unsalted butter, stirring until well mixed. Press this mixture evenly into the bottom of a 9-inch springform pan, creating a firm base. To enhance the crust’s flavor and texture, ensure it’s packed tightly. Now, place the pan in the refrigerator to chill while you prepare the cheesecake filling, letting it set for about 10 minutes.
Step 2: Mix the Filling
In a large mixing bowl, beat the softened cream cheese and granulated sugar together using an electric mixer until the mixture is smooth and creamy, about 2-3 minutes. Scrape down the sides of the bowl occasionally to ensure everything is well combined. Once smooth, add in pure vanilla extract and mix until fully integrated, resulting in a light and velvety cream cheese base for your no-bake cheesecake.
Step 3: Whip the Cream
In a separate, chilled bowl, pour in the heavy whipping cream. Using an electric mixer, whip the cream on medium-high speed until stiff peaks form, which should take about 4-5 minutes. This step is crucial, as the whipped cream will add a light and airy texture to your Easy No-Bake Cheesecake. Carefully fold the whipped cream into the cream cheese mixture using a spatula, ensuring you maintain that fluffy texture.
Step 4: Combine and Set
After folding, gently pour the cream cheese filling into the chilled crust, smoothing the top with a spatula for an even finish. Cover the cheesecake with plastic wrap and place it back in the refrigerator. Allow it to chill and set for at least 4 hours, or overnight, to achieve the perfect texture for your Easy No-Bake Cheesecake.
Step 5: Serve
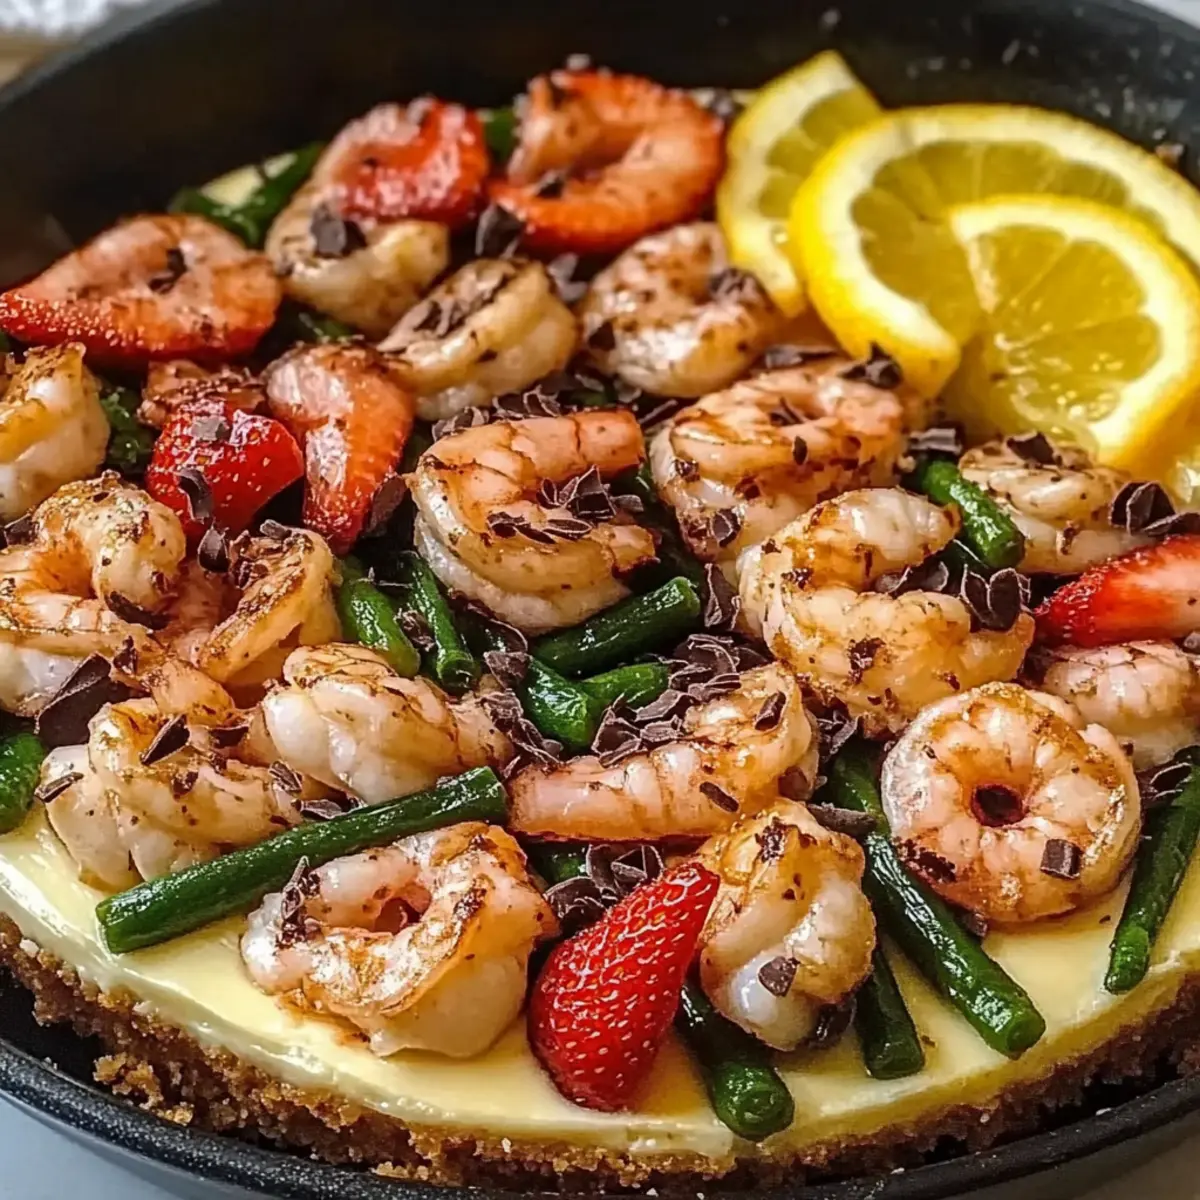
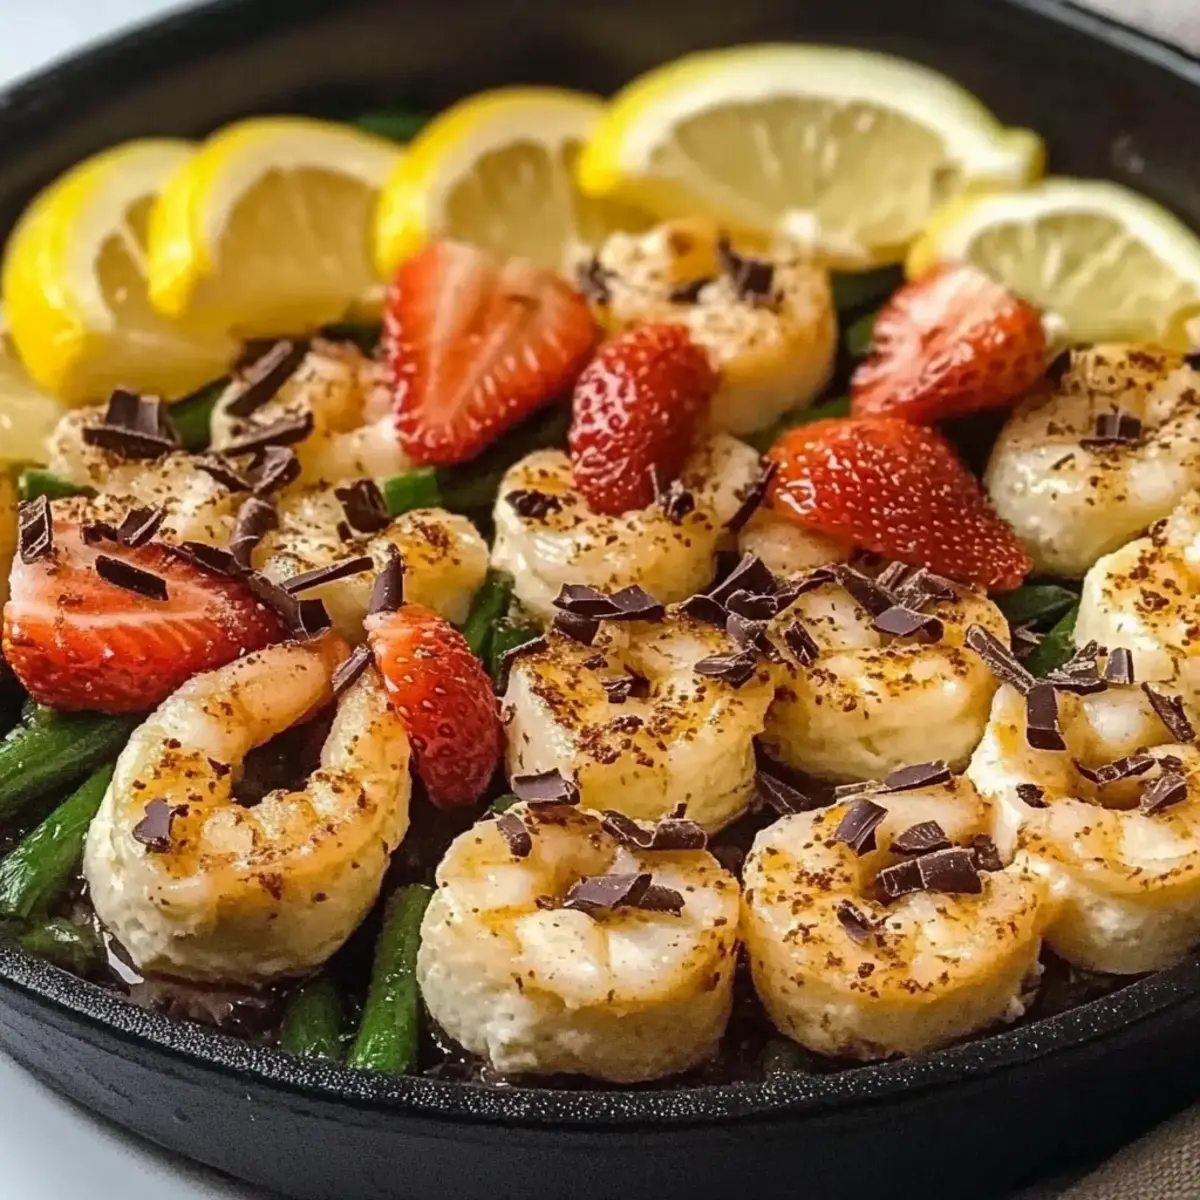
Once chilled and set, carefully run a knife around the edges of the springform pan to loosen the cheesecake. Release the springform and remove the sides, revealing a beautifully set cheesecake. Top it with your favorite fresh fruits, chocolate, or caramel sauce before slicing into individual pieces to serve. Each slice promises a creamy delight ready to impress your friends and family!
No-Bake Cheesecake Variations
Feel free to explore these creative twists that will make your no-bake cheesecake uniquely delicious!
-
Fruit-Infused: Incorporate pureed fruits like strawberries or raspberries into the filling for a refreshing burst of flavor. This adds a beautiful color and a natural sweetness that will elevate your dessert!
-
Chocolate Delight: Stir in melted chocolate or cocoa powder into the filling for a rich chocolate version. You can also add chocolate shavings on top for an elegant touch.
-
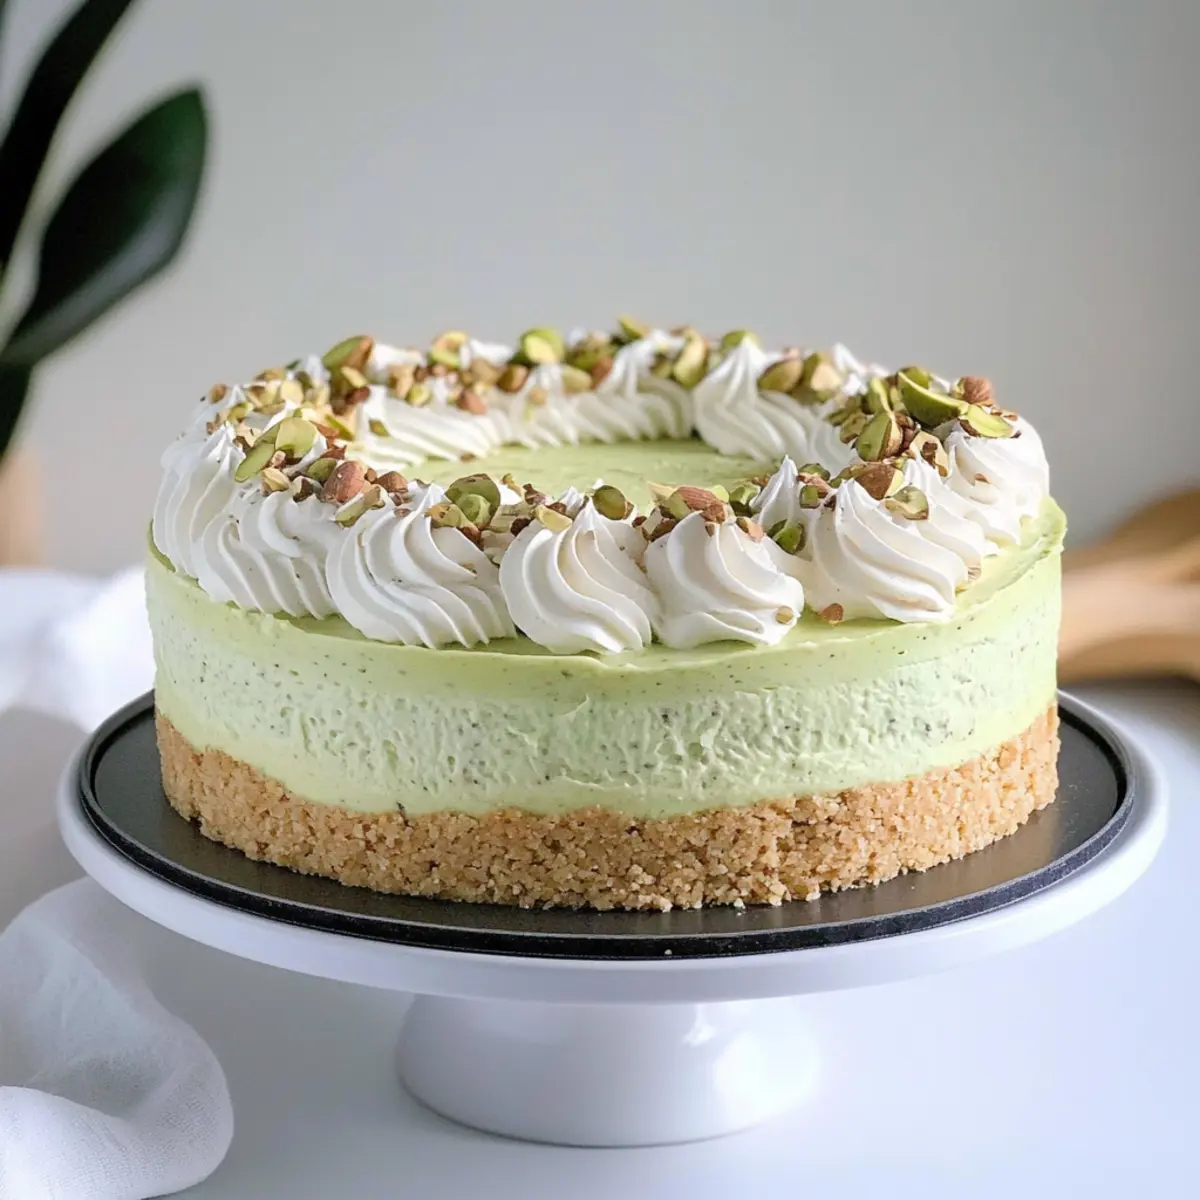
Nutty Crunch: Add crushed nuts such as almonds or pecans to the crust for an extra layer of texture. This delightful crunch will contrast beautifully with the creamy filling.
-
Caramel Swirl: Drizzle homemade or store-bought caramel sauce into the filling just before setting in the refrigerator. The caramel adds a sweet, gooey surprise with every slice that’s simply irresistible!
-
Almond Twist: Substitute vanilla extract with almond extract for a delightful nutty flavor. Almond pairs beautifully with the creamy filling, giving it a unique twist.
-
Citrusy Zing: Add lemon or lime juice and zest to the filling for a refreshing citrus flavor. The bright acidity balances the richness of the cream for a well-rounded dessert.
-
Seasonal Spices: During the fall, consider adding cinnamon or pumpkin spice to create a cozy, autumn-inspired cheesecake. Just a pinch will transform the flavor profile!
-
Vegan Version: Swap cream cheese with a vegan cream cheese alternative and use coconut cream in place of heavy whipping cream for a plant-based twist. This way, everyone can enjoy the creamy decadence!
For more tasty treat options, you might enjoy these zesty Shrimp Tacos or dive into a comforting bowl of Asparagus Soup for a delightful meal balance!
How to Store and Freeze No-Bake Cheesecake
Refrigerator: Store the cheesecake in an airtight container for up to 5 days. This keeps it fresh while allowing the flavors to mellow beautifully.
Freezer: You can freeze the no-bake cheesecake for up to 2 months. Wrap it tightly in plastic wrap and then in aluminum foil to preserve its taste and texture.
Thawing: To serve a frozen cheesecake, thaw it overnight in the refrigerator before slicing. This helps maintain its creamy consistency without compromising on flavor.
Serving After Freezing: Ensure your chilled cheesecake is topped with fresh fruits or chocolate right before serving for an inviting touch that elevates each slice!
Make Ahead Options
These Easy No-Bake Cheesecakes are perfect for meal prep enthusiasts seeking a sweet treat without the hassle! You can prepare the crust and filling up to 24 hours in advance; simply store the crust in an airtight container and refrigerate the filling separately to maintain its creamy texture. When you're ready to serve, just pour the filling into the crust, smooth the top, and let it set in the fridge for at least 4 hours or overnight. For optimal quality, avoid adding fresh fruits or toppings until just before serving, preventing any moisture from making the crust soggy. Enjoy the convenience of having a delicious dessert ready to impress at a moment's notice!
Expert Tips for No-Bake Cheesecake
- Chill Time Matters: Ensure you chill the cheesecake for at least 4 hours. Cutting it too early may result in a runny filling, so be patient!
- Whip It Right: For the best light and airy texture, whip the heavy cream until stiff peaks form, and fold it gently into the cream cheese mixture.
- Avoid Sogginess: If using fresh fruit as a topping, make sure it's dry to prevent excess moisture from affecting the cheesecake's texture.
- Flavor Variations: Feel free to experiment with flavors! Adding cocoa powder or melted chocolate into the filling can create a decadent chocolate variation you’ll love.
- Gluten-Free Friendly: If catering to gluten-free diets, swap out the graham cracker crumbs with gluten-free alternatives for a delicious crust everyone can enjoy.
What to Serve with Easy No-Bake Cheesecake
Prepare to tantalize your taste buds as you create the perfect meal to complement this heavenly dessert!
- Refreshing Fruit Salad: A mix of seasonal fruits like strawberries, blueberries, and melons balances the richness of the cheesecake, adding a burst of freshness.
- Rich Chocolate Drizzle: Pouring some warm chocolate sauce over each slice turns your cheesecake into a decadent experience that chocolate lovers will adore.
- Crispy Biscotti: These crunchy cookies provide a delightful contrast in texture, perfect for dipping in a cup of coffee or tea after enjoying your cheesecake.
- Sweet Whipped Cream: A dollop of freshly whipped cream brings an airy touch to every slice of cheesecake, making each bite feel indulgent and light.
- Syrupy Caramel Sauce: Drizzling caramel adds a luscious sweetness that pairs beautifully with the creamy cheesecake, elevating the flavor profile instantly.
An amazing dessert deserves some equally delightful companions, so why not indulge a little? Create a spread that guests will remember!
Easy No-Bake Cheesecake Recipe FAQs
How do I choose ripe ingredients, especially for the toppings?
Absolutely! When selecting fruits for your cheesecake, look for vibrant colors and a firm yet slightly yielding texture. Strawberries should be deep red with their green tops still fresh, whereas blueberries should be plump and free from mold. If you're opting for bananas, choose ones that are ripe but not overly brown, as they can be too mushy.
How should I store the cheesecake, and how long does it last?
The no-bake cheesecake can be stored in an airtight container in the refrigerator for up to 5 days. Just remember to cover the cheesecake well to prevent it from absorbing any odors from the fridge. If you’re not planning to enjoy it soon, you can keep it in the freezer for up to 2 months. Thaw the cheesecake overnight in the refrigerator before serving for optimal taste and texture.
Can I freeze the cheesecake, and how do I do it properly?
Yes, you can freeze your no-bake cheesecake for future enjoyment! To do this, wrap the cheesecake tightly in plastic wrap, then cover it with aluminum foil to prevent freezer burn. This careful wrapping helps maintain its creamy texture. When you're ready to indulge, simply thaw it overnight in the refrigerator—it’ll be just as delicious as the day you made it!
What should I do if my cheesecake doesn’t set properly?
Very! If your cheesecake isn’t setting as it should, don’t worry; there are a few troubleshooting tips. First, make sure you’ve allowed enough chill time—at least 4 hours is ideal. If you’re after an even firmer texture next time, consider adding gelatine to your filling. Dissolve 1 tablespoon of gelatine in 3 tablespoons of water, then let it cool slightly before mixing it into the cream cheese filling. This will give your cheesecake that perfect firmness.
Are there any dietary considerations I should keep in mind?
Of course! If you have guests with allergies or dietary preferences, this no-bake cheesecake can easily cater to them. For a gluten-free option, substitute traditional graham cracker crumbs with gluten-free crackers. Additionally, if anyone is avoiding dairy, try using a dairy-free cream cheese alternative and coconut cream in place of heavy whipping cream. Always check labels, especially on sugar substitutes, to ensure they are compatible with different diets.
Can I customize the flavors of the no-bake cheesecake?
The more the merrier! Feel free to mix and match flavors to suit your taste buds. For a strawberry cheesecake, simply fold in fresh pureed strawberries into the cream cheese filling. For a chocolate version, mix in cocoa powder or some melted chocolate before folding in the whipped cream. Don’t hesitate to get creative—these little variations are what make this cheesecake a delightful experience!
Zesty Lemon Garlic Shrimp and Asparagus in 30 Minutes
Ingredients
Equipment
Method
- Prepare the crust by mixing graham cracker crumbs with melted butter, press into a springform pan and chill for 10 minutes.
- Mix the filling by beating cream cheese and sugar until smooth, then add vanilla.
- Whip the heavy cream until stiff peaks form and fold into cream cheese mixture.
- Combine cream cheese filling with crust, smooth top, cover, and refrigerate for at least 4 hours.
- Serve with fresh fruits or sauces when set.