
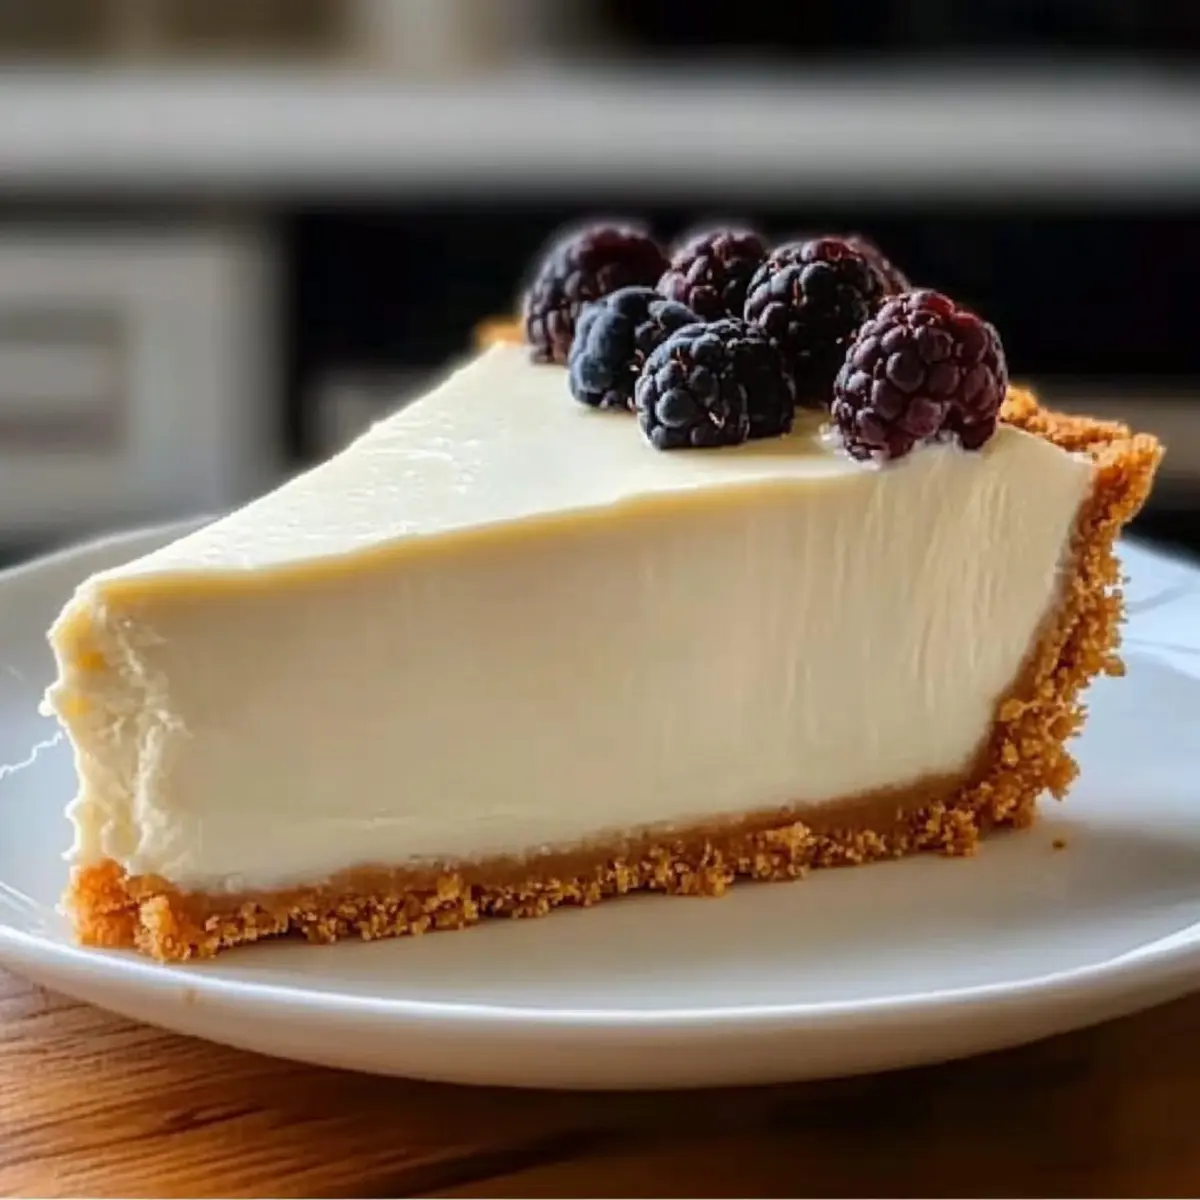
As I stirred the creamy mixture, the kitchen filled with the sweet scent of vanilla and the promise of indulgence. There’s something magical about whipping together just a few simple ingredients for a delectable treat that requires no baking, and that's exactly what my Creamy 20-Minute No Bake Cheesecake offers. This easy dessert is perfect for those spontaneous gatherings or when you're simply craving a taste of something sweet. In only 20 minutes, you can create a rich, velvety cheesecake with a buttery graham cracker crust, all while keeping it gluten-free if you choose. It’s versatile enough to dress up with fresh fruits, a drizzle of chocolate, or even a sprinkling of cookie crumbs for an extra twist. Are you ready to impress your friends and satisfy your cravings with this delightful no-bake treat? Let’s dive in!
Why is this cheesecake a must-try?
Quick and Easy: The best part? This Creamy 20-Minute No Bake Cheesecake comes together in just 20 minutes, making it an ideal solution for unexpected guests or last-minute cravings.
Decadent Flavor: With its velvety filling and buttery graham cracker crust, every bite is a blissful indulgence that’s hard to resist.
Versatile Toppings: Dress it up with your favorite toppings, from fresh berries to a rich chocolate drizzle, allowing you to customize each serving.
Crowd-Pleasing: Whether it’s a family gathering or a dinner party, this cheesecake is sure to be the star of the dessert table, appealing to all ages.
Gluten-Free Adaptable: Want to keep it gluten-free? Simply swap in gluten-free graham cracker crumbs for a delightful treat that everyone can enjoy!
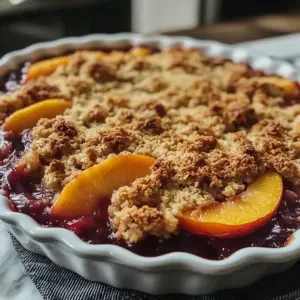
Excited to explore more delightful desserts? Check out my Matcha Baked Doughnuts or add a refreshing element with this delicious Avocado Egg Salad.
Creamy 20-Minute No Bake Cheesecake Ingredients
For the Crust
• Graham Cracker Crumbs – This forms the base for the crust; you can easily use store-bought or make your own for a personal touch.
• Sugar – Sweetens both the crust and filling; consider coconut sugar for a healthier option.
• Melted Butter – Binds the crust together; opt for coconut oil if you're looking for a lighter version.
For the Filling
• Cream Cheese – The star of the cheesecake providing that creamy texture; low-fat cream cheese works but might need extra whipped cream for fluffiness.
• Powdered Sugar – Adds sweetness to the filling; a sugar substitute can lower calories without compromising taste.
• Vanilla Extract – Enhances the overall flavor; pure vanilla extract is recommended for the best results.
• Heavy Cream – Whipped to stiff peaks, this lightens up the filling; substitute with coconut cream for a dairy-free option.
Make each bite unforgettable by whipping up this delicious Creamy 20-Minute No Bake Cheesecake to share with friends and family!
Step‑by‑Step Instructions for Creamy 20-Minute No Bake Cheesecake
Step 1: Prepare the Crust
In a mixing bowl, combine graham cracker crumbs, sugar, and melted butter until the mixture resembles wet sand. Press this mixture firmly into the bottom of a 9-inch springform pan using the back of a measuring cup to ensure it's even. Once done, place the pan in the refrigerator for about 10 minutes to help the crust set before adding the filling.
Step 2: Make the Filling
In a large mixing bowl, use an electric mixer to beat the cream cheese on medium speed until it’s completely smooth and creamy, approximately 2-3 minutes. Gradually add the powdered sugar and vanilla extract, mixing until thoroughly combined and silky. This will create a lush filling for your creamy 20-minute no bake cheesecake, setting the stage for the next delightful step.
Step 3: Whip the Cream
In a separate bowl, pour in the heavy cream and whip it using an electric mixer until you reach stiff peaks, which should take about 3-5 minutes. The whipped cream should hold its shape, adding lightness to your filling. Gently fold the whipped cream into the cream cheese mixture using a spatula, careful not to deflate the fluffy texture you’ve created.
Step 4: Assemble the Cheesecake
Retrieve the chilled crust from the refrigerator and pour the creamy filling directly over the crust. Use a spatula to spread the filling evenly and smooth out the top. The filling should appear light and airy, perfectly complementing the buttery graham cracker base. You’re building the beautiful layers of your creamy 20-minute no bake cheesecake!
Step 5: Chill to Set
Cover the cheesecake with plastic wrap or a lid and place it in the refrigerator. Allow it to chill for at least 6 hours, or ideally overnight, so it can fully set and develop its flavors. As it chills, the texture will firm up, making it easier to slice when you’re ready to serve.
Step 6: Serve and Enjoy
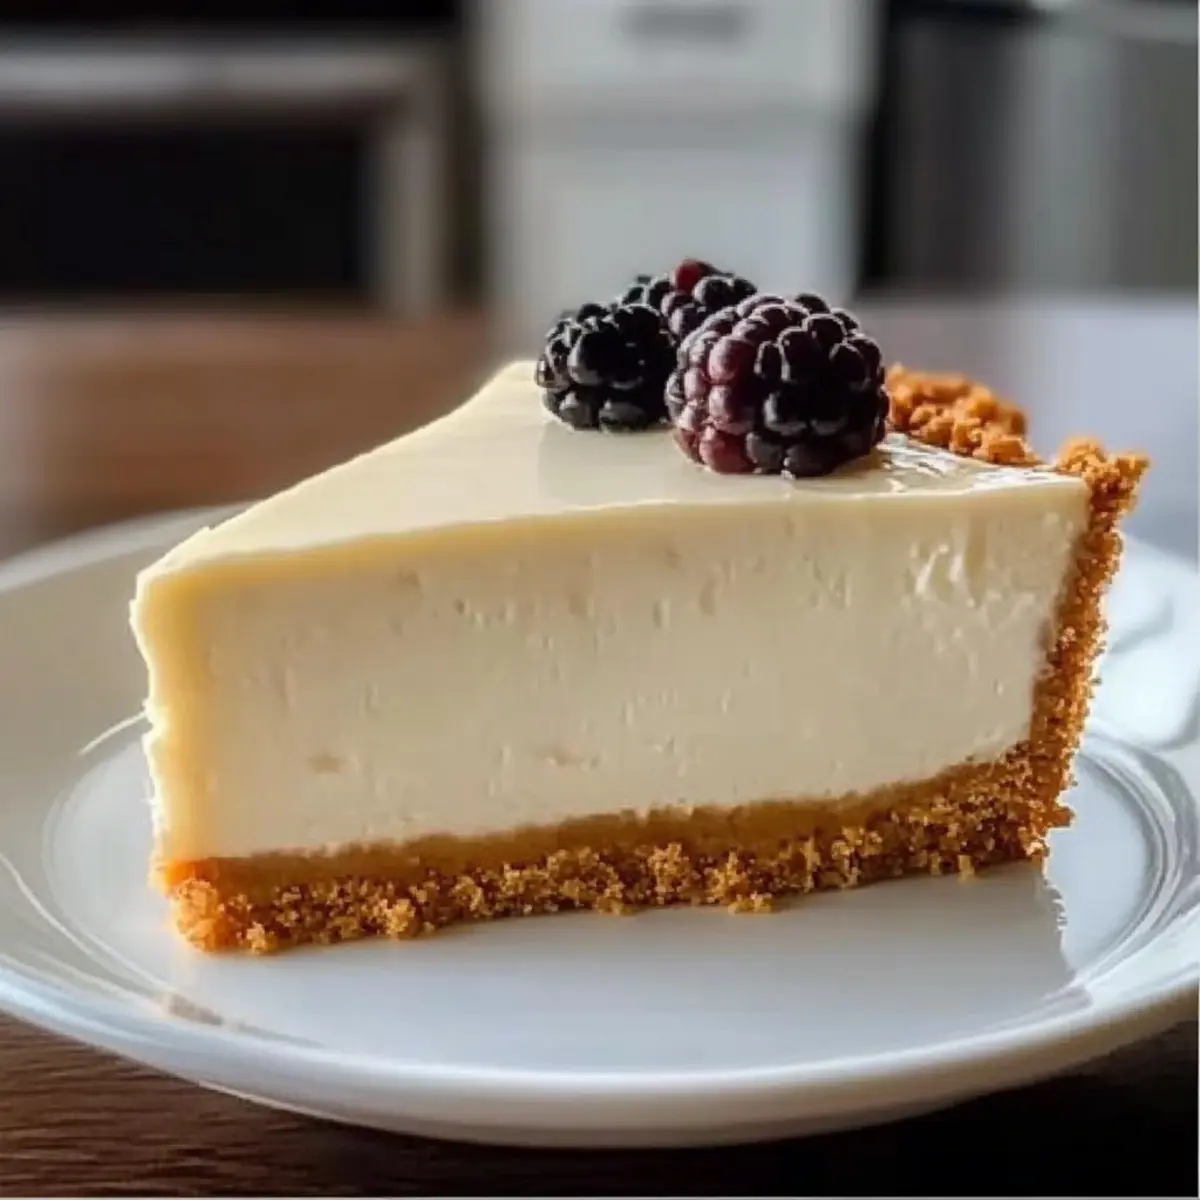
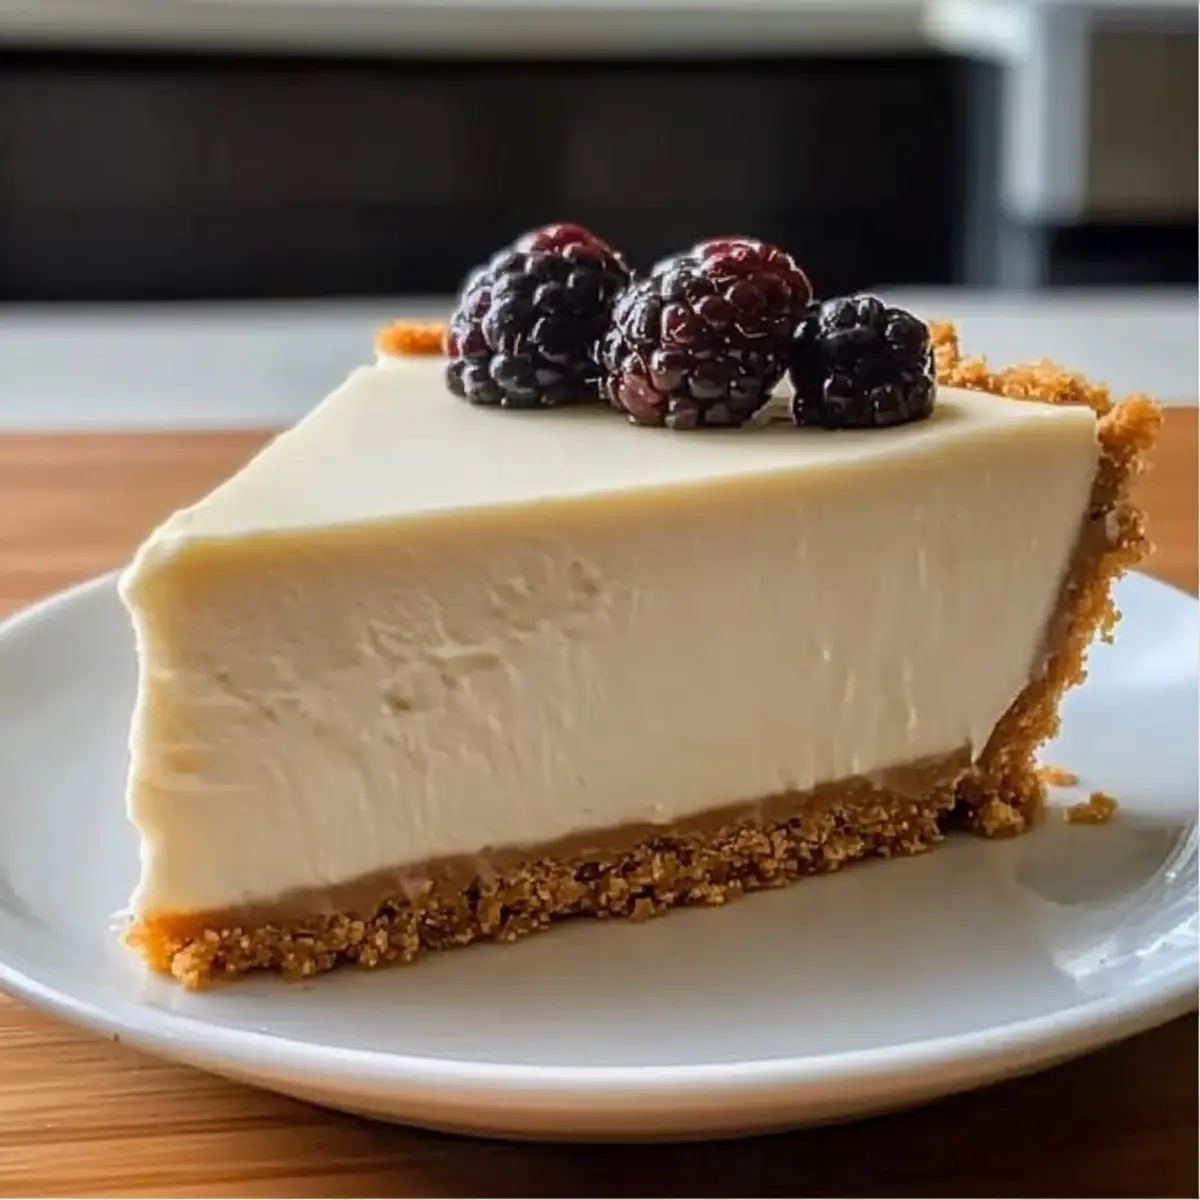
Once the cheesecake has chilled, gently release it from the springform pan. Slice into wedges and serve chilled. Enhancing each slice with optional toppings like fresh berries or a drizzle of chocolate can elevate this creamy 20-minute no bake cheesecake into a stunning dessert for any occasion.
Make Ahead Options
These Creamy 20-Minute No Bake Cheesecake delights are ideal for busy home cooks looking to save time. You can prepare the crust up to 24 hours in advance and simply refrigerate it, ensuring it stays firm and ready to go. Additionally, the filling can be made earlier and stored in an airtight container in the fridge for up to 3 days—just be sure to give it a quick stir before spreading it over the crust. When you're ready to serve, pour the filling into the crust, chill for at least 6 hours or overnight, and enjoy a silky, delectable dessert that tastes just as fresh as if it were made that day!
Creamy 20-Minute No Bake Cheesecake Variations
Feel free to let your creativity shine by customizing this delightful cheesecake with these fun twists!
-
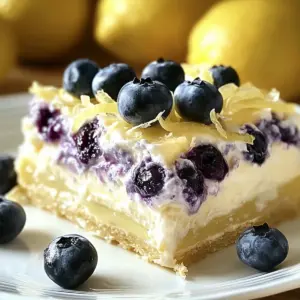
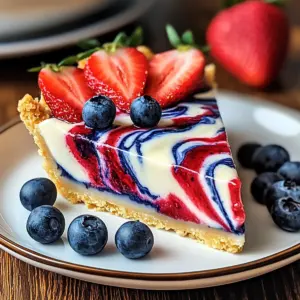
Berry Burst: Top with fresh strawberries, blueberries, or raspberries for a refreshing and fruity kick that brightens every bite.
-
Chocolate Lovers: Drizzle melted chocolate or rich chocolate sauce over the top for an indulgent treat that satisfies any sweet tooth.
-
Citrus Zest: Add lemon or orange zest to the filling for a bright, zesty flavor that elevates the creamy goodness.
-
Nutty Delight: Fold in crushed nuts like walnuts or pecans into the filling for added texture and a delightful crunch.
-
Gluten-Free Option: Simply swap graham cracker crumbs for gluten-free alternatives such as almond flour or gluten-free cookies, making it accessible for everyone.
-
Savory Twist: For a unique flair, add a pinch of sea salt on top before serving, enhancing the flavors beautifully.
-
Cookie Crumble: Top the cheesecake with crushed cookies like Oreos or Digestives to give it a delightful crunch and additional layers of flavor.
If you're enjoying this recipe, you might also love trying my Cheesy Zucchini Bake or embrace a healthier twist with Avocado Egg Salad.
What to Serve with Creamy 20-Minute No Bake Cheesecake
Indulging in a luscious cheesecake is a joy in itself, but elevating it with the perfect sides can turn your dessert into a memorable feast.
-
Fresh Berries: A medley of strawberries, blueberries, or raspberries adds a vibrant burst of flavor that contrasts beautifully with the creamy filling.
-
Chocolate Sauce: Drizzle rich chocolate sauce over each slice for a decadent touch. The sweetness balances the cheesecake's tanginess, creating a delightful experience with every bite.
-
Whipped Cream: Add a dollop of freshly whipped cream on top for an ultra-rich treat. It enhances the cheesecake's airy texture, making it even more indulgent.
-
Coconut Flakes: Toasted coconut brings a tropical flair and a crunchy texture. Sprinkle these over the cheesecake for an unexpected yet tasty twist.
-
Coffee or Espresso: A chilled cup of coffee enhances each slice beautifully, providing a comforting contrast to the rich, creamy cheesecake flavor.
-
Mint Leaves: Garnish your cheesecake with fresh mint leaves for a refreshing touch. The coolness cuts through the richness, offering a delightful palate cleanser.
-
Ice Cream: Serve alongside a scoop of vanilla or a fruity sorbet. The cold creaminess pairs perfectly with the cheesecake's velvety texture.
These delightful pairings will turn a simple Creamy 20-Minute No Bake Cheesecake into a show-stopping dessert experience that your guests will talk about for weeks!
Expert Tips for Creamy 20-Minute No Bake Cheesecake
-
Room Temperature Cream Cheese: Make sure to use cream cheese that’s at room temperature for easy blending; cold cream cheese can lead to lumps in your filling.
-
Gentle Folding: When incorporating whipped cream into the cream cheese mixture, fold gently to retain volume. Over-mixing can make the cheesecake dense instead of light and airy.
-
Proper Chilling Time: Allow the cheesecake to chill for at least 6 hours, or overnight if possible, to ensure it sets perfectly and the flavors meld beautifully.
-
Springform Pan Use: If using a traditional pie pan instead of a springform, let it chill longer and be cautious when slicing to prevent the filling from spilling.
-
Creative Variations: Don’t hesitate to experiment with toppings! Fresh berries, caramel, or even crushed cookies can add a personal touch to your creamy 20-minute no bake cheesecake.
How to Store and Freeze Creamy 20-Minute No Bake Cheesecake
Fridge: Store leftovers covered in the refrigerator for up to 5 days; flavors improve as it sits. Always keep it airtight to avoid drying out.
Freezer: For longer storage, wrap individual slices in plastic wrap and place them in an airtight container. Enjoy your cheesecake frozen for up to 1 month without losing flavor.
Thawing: When ready to enjoy, simply remove from the freezer and allow to thaw in the fridge for a few hours before serving.
Reheating: This cheesecake is best served chilled and doesn't require reheating; just slice and indulge!
Creamy 20-Minute No Bake Cheesecake Recipe FAQs
What’s the best way to choose ripe ingredients for my cheesecake?
Absolutely! When selecting your cream cheese, go for a brand that’s rich and creamy. For the best texture, I recommend ensuring your cream cheese is at room temperature—this prevents lumps and keeps your filling smooth. If you're using fresh toppings like berries, look for plump, juicy ones without any dark spots or mold to elevate your cheesecake's flavor.
How should I store my cheesecake once it's made?
Very easy! You can store the leftover Creamy 20-Minute No Bake Cheesecake covered in the refrigerator for up to 5 days. Just make sure it's airtight to keep it fresh and prevent it from absorbing other odors. You'll find that the flavors develop even more after a day in the fridge—if you can resist nibbling!
Can I freeze my cheesecake for later?
Of course! For freezing, wrap individual slices tightly in plastic wrap, then place them in an airtight container. This keeps your cheesecake fresh for up to 1 month; just be sure to label it with the date! When you’re ready to enjoy a slice, simply transfer it to the fridge for a few hours to thaw. You’ll have a delightful treat at your fingertips!
What common issues might I face while making this cheesecake?
If your whipped cream collapses while folding it into the cream cheese, don’t worry! This can happen if the cream wasn’t whipped enough or if it was mixed too vigorously. Aim to achieve stiff peaks while whipping, and then gently fold it into the cream cheese mixture. This way, you’ll maintain that light, airy texture we love in this delicious cheesecake!
Is this cheesecake safe for those with dietary restrictions?
Absolutely! This delicious dessert can be adapted to suit various dietary needs. For a gluten-free version, simply swap out the graham cracker crumbs for gluten-free alternatives. If you’re looking to reduce calories, consider using low-fat cream cheese and sugar alternatives. However, always check for specific allergies, especially to dairy or sugar substitutes, before serving to your loved ones.
What are some creative topping ideas for my cheesecake?
The more the merrier! You can drape your cheesecake with fresh berries like strawberries, blueberries, or raspberries for a burst of freshness. A drizzle of chocolate or caramel sauce adds a luscious touch. For a unique twist, try folding in crushed cookies or even a sprinkle of lemon zest for a zesty surprise. Let your creativity shine!

Leave a Reply