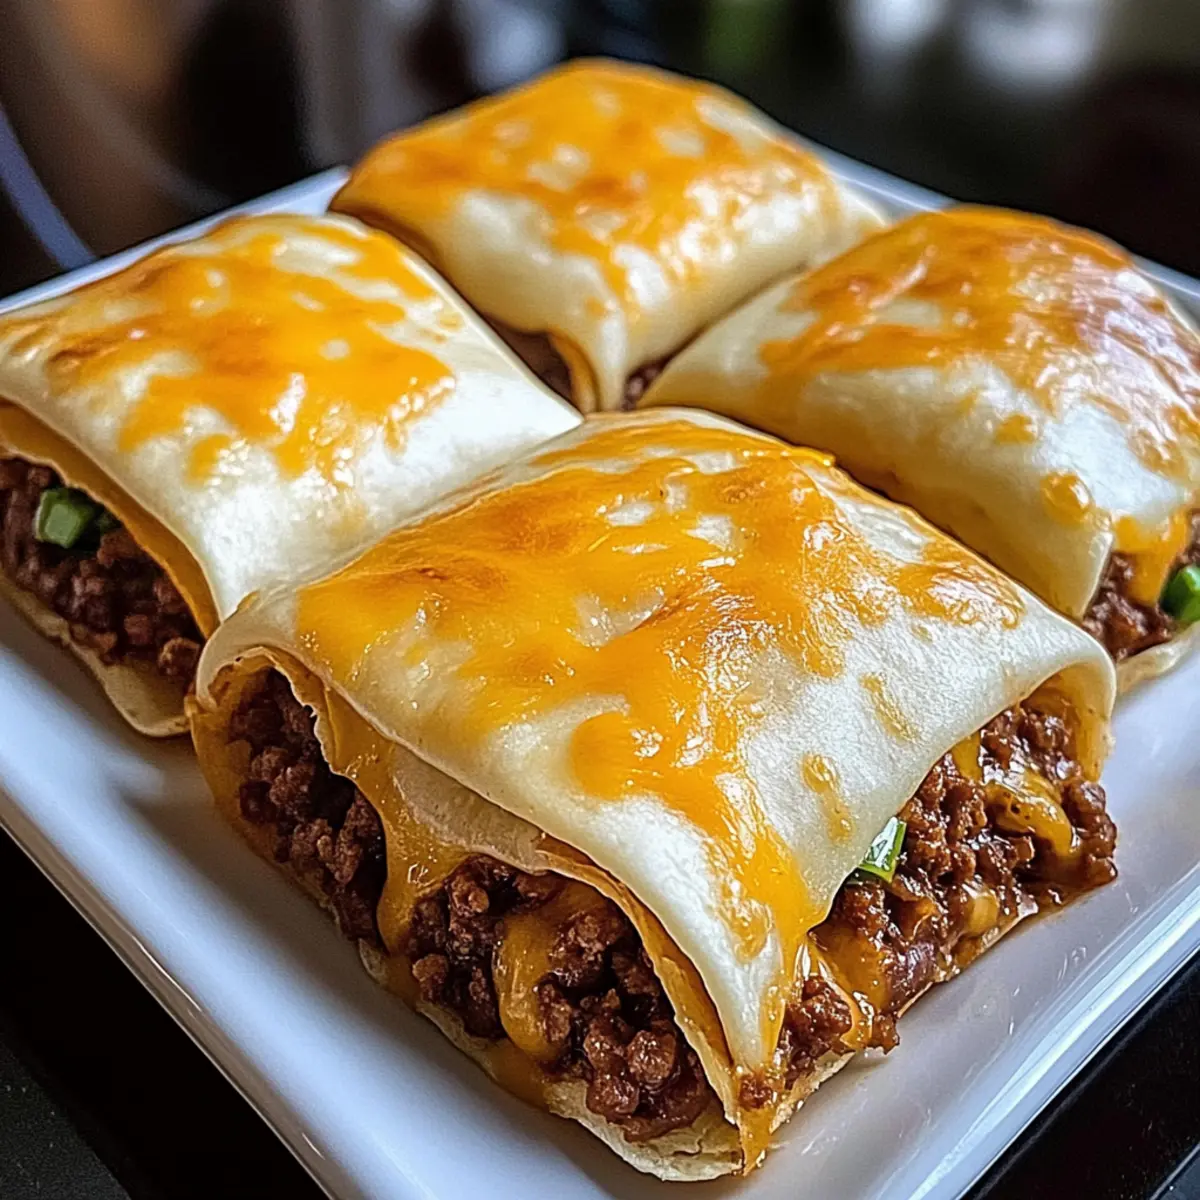
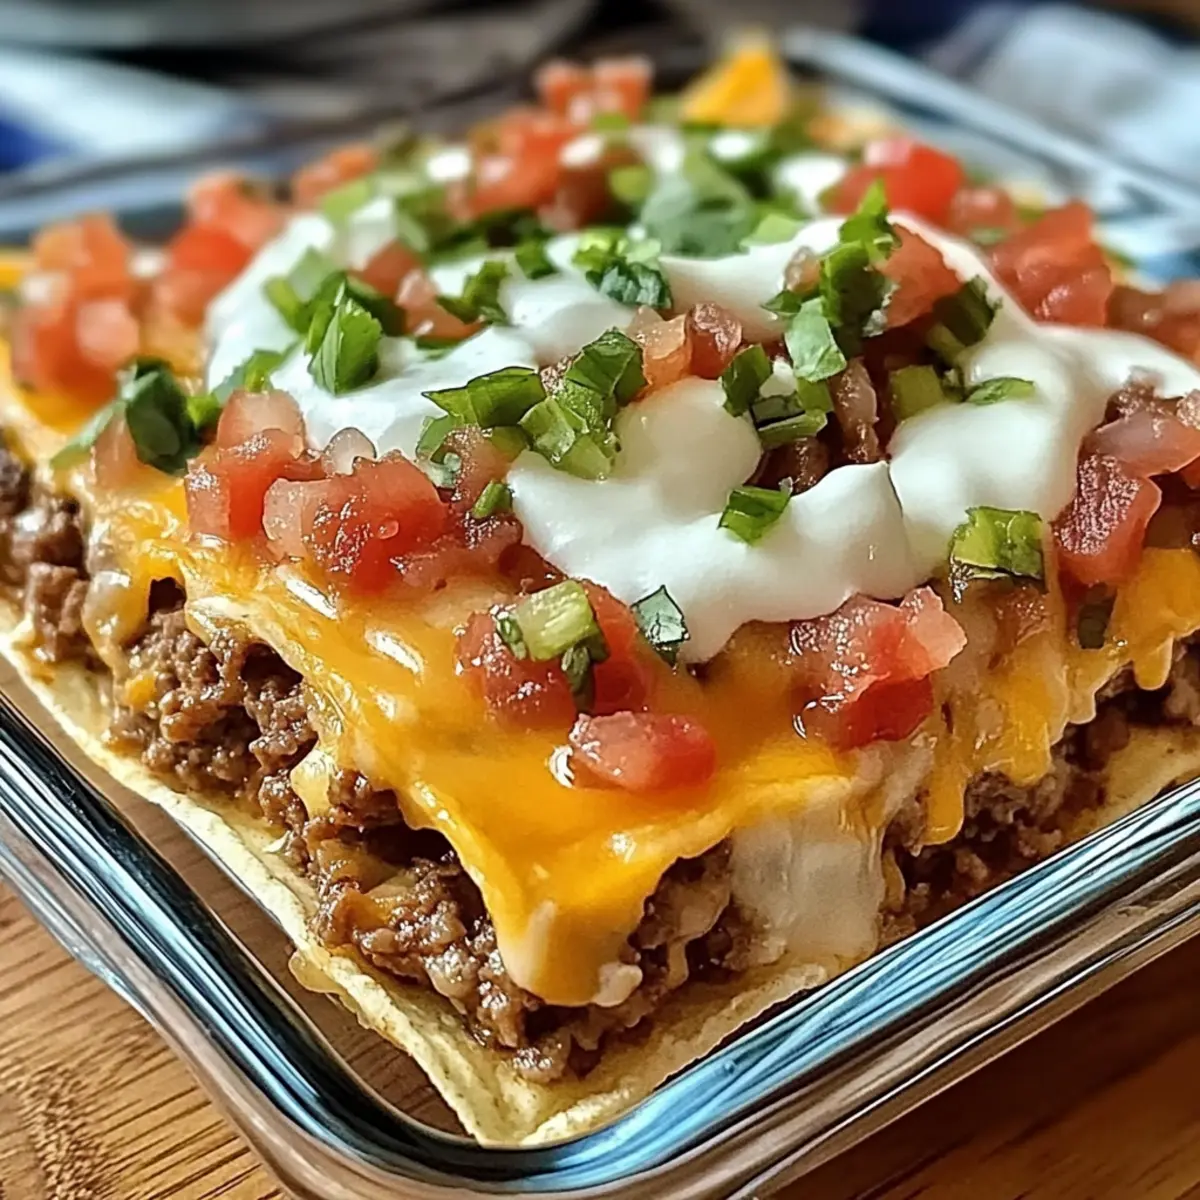
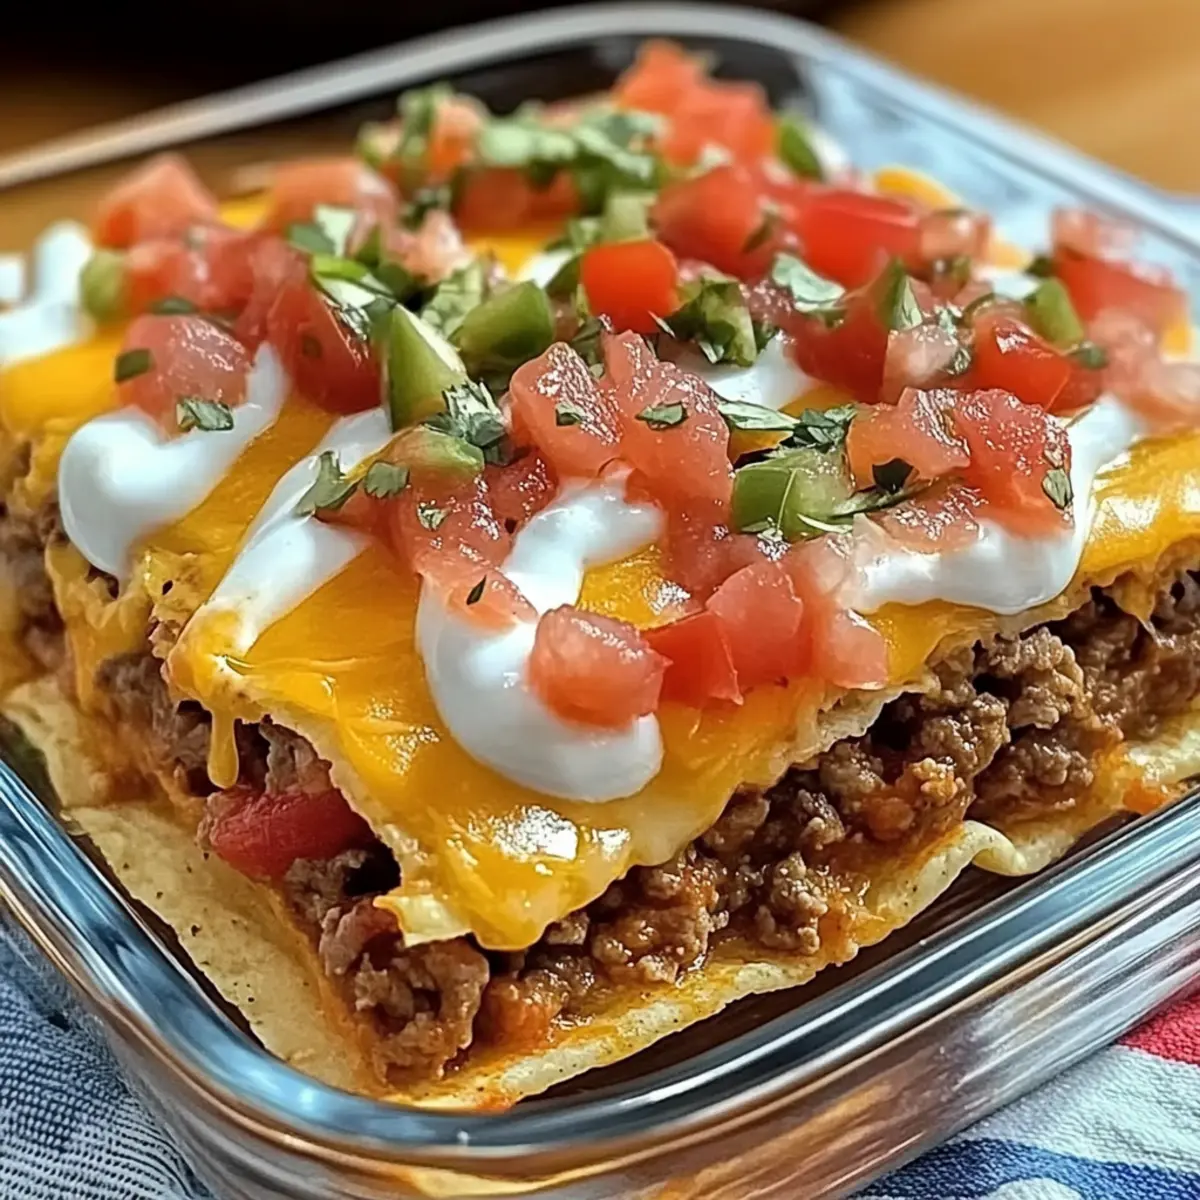
The aroma of savory taco-seasoned beef wafts through the kitchen as I layer my Easy Layered Taco Bake, and my heart does a little happy dance. This is my go-to quick weeknight meal, brimming with comforting flavors thanks to creamy salsa con queso and heaps of melted cheese nestled between soft tortillas. Whether you’re worn out from a long day or just want something utterly satisfying without the fuss, this dish comes to the rescue in about 30 minutes! Plus, it’s completely adaptable—swap in black beans for a vegetarian twist or pile on your favorite toppings for a personal touch. Are you ready to make this delicious masterpiece your new weeknight regular?
Why is this Layered Taco Bake a Must-Try?
Quick Prep Time: This dish comes together in just 30 minutes, making it perfect for busy evenings.
Rich, Comforting Layers: Enjoy a delightful combination of taco-seasoned beef, creamy salsa con queso, and gooey cheese, offering a satisfying bite every time.
Customizable Options: Substitute ground beef with black beans for a vegetarian option or pile on your favorite toppings like avocado and cilantro for extra flair.
Family Favorite Appeal: Everyone will love this dish—it's a hit with kids and adults alike!
Effortless Leftovers: Save time tomorrow by storing leftovers; it holds up beautifully in the fridge or freezer, ensuring delicious meals for days.
Get ready to impress your family with this Easy Layered Taco Bake or try some of our other favorites like Taco Spaghetti Cheesy or Cheesy Zucchini Bake for more weeknight inspiration!
Layered Taco Bake Ingredients
For the Meat Layer
• Ground Beef – A top choice for savory flavor; swap with plant-based ground meat or lentils for a vegetarian Layered Taco Bake.
• Taco Seasoning – This spice blend infuses essential taco flavors; use store-bought for convenience or make your own to adjust heat levels.
For the Creamy Base
• Salsa Con Queso – Adds delicious creaminess; thin out with a tablespoon of milk or water if it's too thick for easier layering.
For the Tortilla Layers
• Tortillas – The base of your bake; choose flour tortillas for a softer bite or opt for corn tortillas to keep it gluten-free.
For the Cheesy Topping
• Shredded Cheese – Provides that irresistible gooey texture; cheddar is classic, but feel free to sub with any cheese that melts beautifully.
With these simple ingredients, you’ll be on your way to creating a comforting Layered Taco Bake!
Step‑by‑Step Instructions for Layered Taco Bake
Step 1: Preheat Your Oven
Begin by preheating your oven to 375°F (190°C), ensuring it's ready to create that warm and cheesy Layered Taco Bake. This temperature will help the layers cook evenly, while the aromas fill your kitchen with a delightful anticipation.
Step 2: Cook the Ground Beef
In a large skillet over medium heat, add the ground beef and cook until browned, which should take about 5-7 minutes. As it cooks, sprinkle in the taco seasoning, stirring well to combine. Cook for another 2-3 minutes until fully incorporated and fragrant. Make sure there's no pink left for a perfectly seasoned meat layer.
Step 3: Assemble the Layers
In a baking dish, lay down a foundation of tortillas, covering the bottom completely. Next, spoon half of the cooked beef mixture over the tortillas, followed by half of the salsa con queso. Sprinkle a generous amount of shredded cheese on top, creating a delicious first layer of your Layered Taco Bake.
Step 4: Repeat the Layering
Continue building your Layered Taco Bake by adding another layer of tortillas. Repeat the process with the remaining beef, salsa con queso, and cheese, ensuring each layer is evenly distributed. Finish with one last layer of tortillas, topped with a final sprinkle of cheese for a golden, cheesy finish.
Step 5: Bake to Perfection
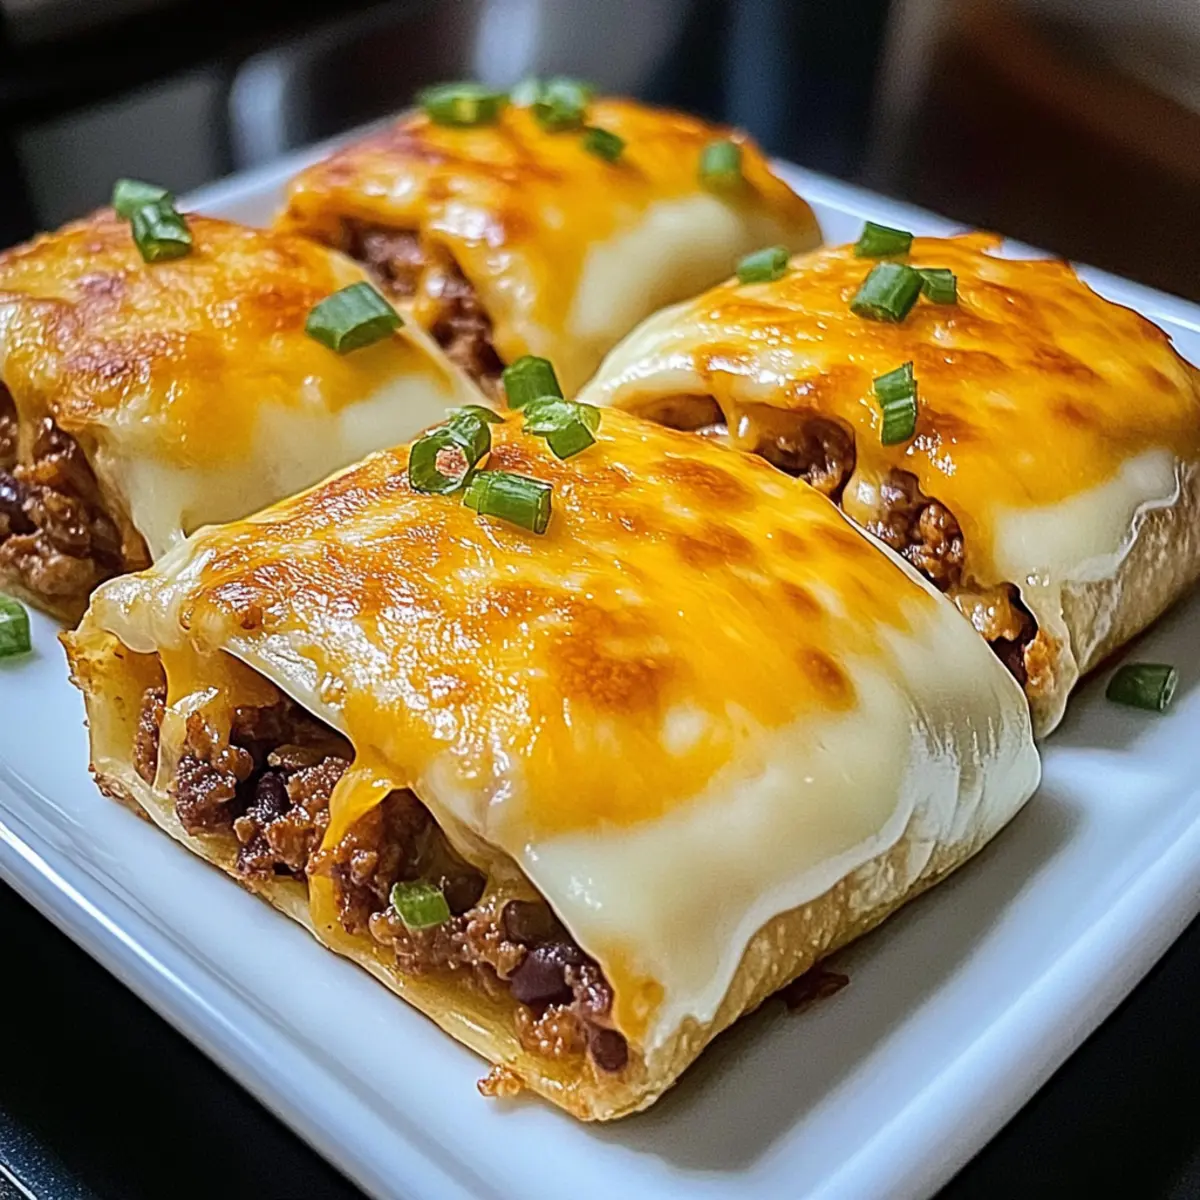
Cover the baking dish with aluminum foil and place it in the preheated oven. Bake for 20 minutes, allowing the flavors to meld beautifully. After that, remove the foil and bake for an additional 10 minutes until the cheese is bubbly and golden brown. Keep an eye on it, as melted cheese signals that it’s ready to be devoured.
Step 6: Cool and Serve
Once baked, remove your Layered Taco Bake from the oven and let it rest for about 5 minutes. This brief cooling time will help the layers set, making it easier to slice. Serve warm with your favorite toppings—like avocado, cilantro, or sour cream—for an extra touch of flavor and freshness.
What to Serve with Easy Layered Taco Bake
Elevate your Easy Layered Taco Bake into a delightful feast with these complementary dishes that amplify flavors and textures.
- Creamy Guacamole: Perfect for scooping and pairing, this creamy blend of avocados adds a refreshing contrast to the hearty bake.
- Spiced Black Beans: These flavorful beans introduce a bit of zest while enhancing the overall meal experience; they’re nutritious and filling, too.
- Zesty Mexican Street Corn Salad: The vibrant mix of corn, lime, and cilantro provides a crunch that beautifully offsets the softness of the taco bake.
- Fresh Pico de Gallo: This fresh salsa brings brightness and acidity, cutting through the richness of the layered bake and offering a taste of summer with every bite.
- Crispy Tortilla Chips: A crunchy side that invites fun dipping with your favorite salsa or guacamole, adding texture to the meal.
- Tropical Mango Salsa: The sweetness of mango blended with jalapeño heat offers a sweet and spicy contrast that livens up the plate.
- Chilled Tortilla Soup: Warm and comforting, this soup makes an excellent starter, with flavors that align perfectly with your taco-inspired main dish.
- Coconut Lime Rice: A fragrant and slightly sweet rice dish that complements the spiciness of the taco bake while providing a unique twist.
- Classic Margaritas: A refreshing cocktail that enhances the festive vibe of your dinner and pairs beautifully with the Mexican flavors.
How to Store and Freeze Layered Taco Bake
Fridge: Store leftovers in an airtight container for up to 3 days. Reheat in the oven or microwave, ensuring to cover it for even warming.
Freezer: Freeze the assembled (but unbaked) Layered Taco Bake for up to 2-3 months. Thaw overnight in the fridge before baking for best results.
Reheating: To enjoy leftovers, reheat in the oven at 350°F (175°C) for about 20 minutes, covering with foil to prevent drying out.
Portioning: For smaller portions, slice and store individual servings. This way, you can grab a quick meal anytime without losing flavor!
Layered Taco Bake Variations
Feel free to let your creativity shine by customizing this Layered Taco Bake to fit your taste and dietary needs!
-
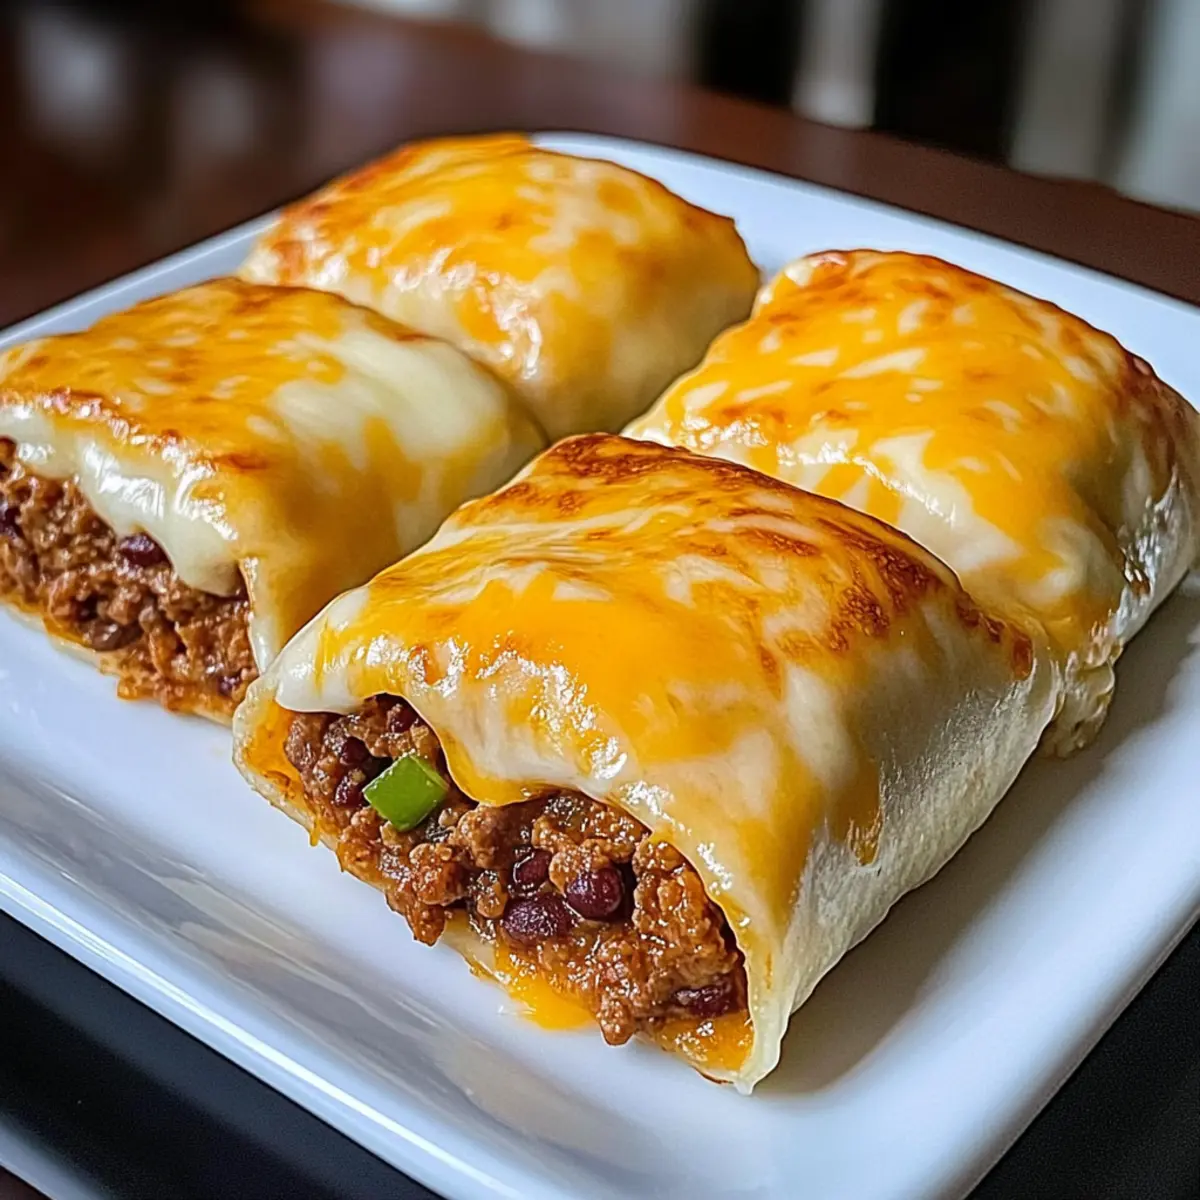
Vegetarian Option: Swap ground beef for black beans or lentils for a delicious plant-based alternative. These provide a hearty texture and soak up flavors beautifully.
-
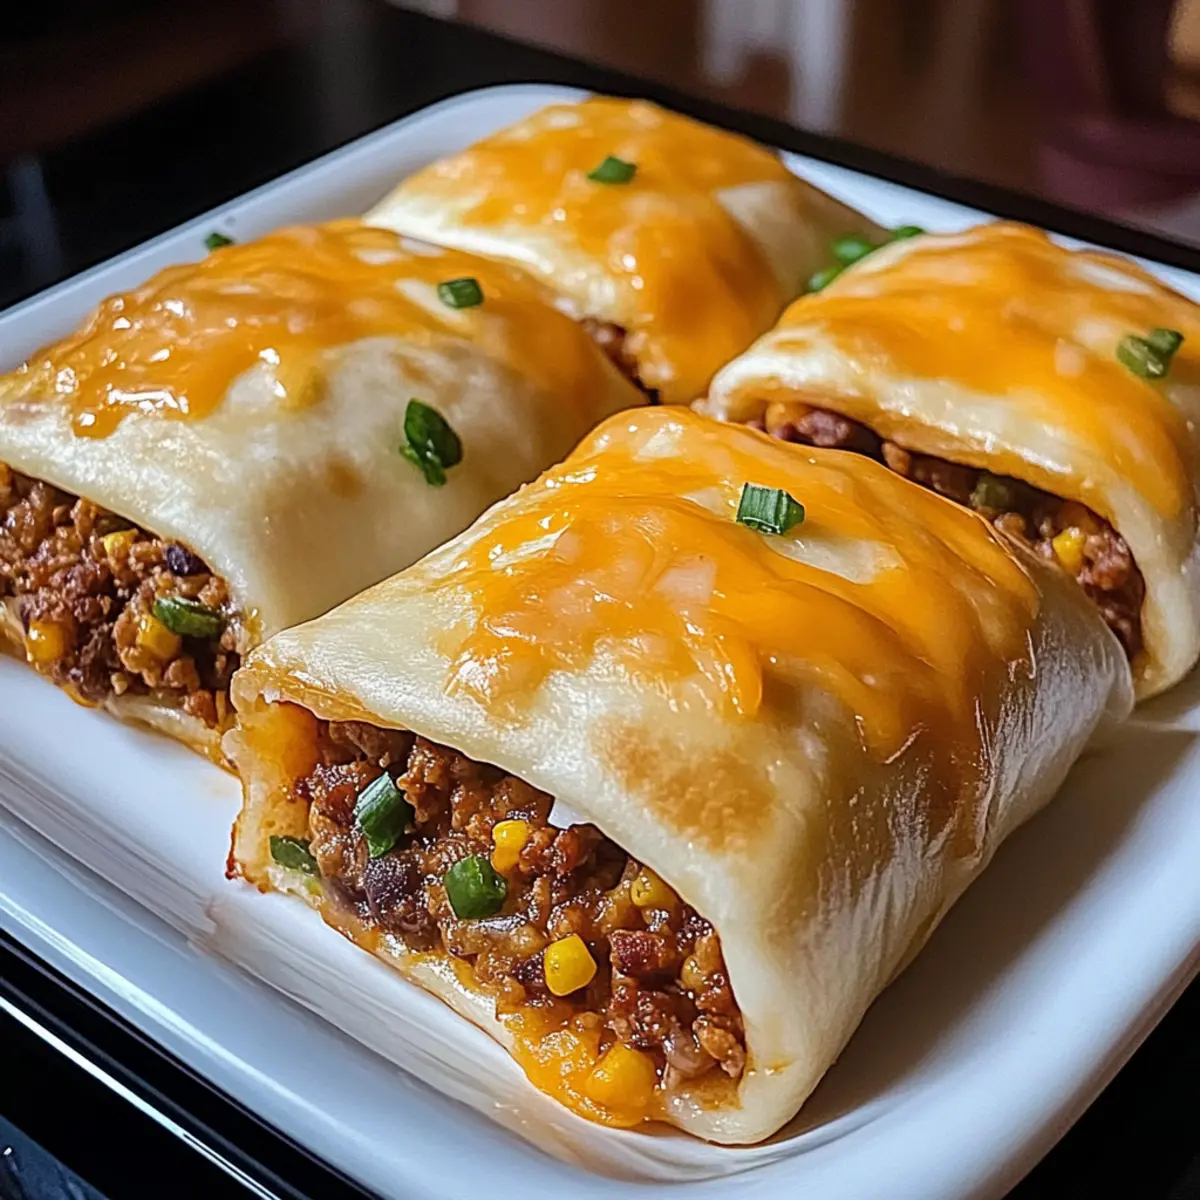
Extra Veggies: Add diced bell peppers, corn, or even shredded zucchini to the beef mixture for an added crunch and nutrition boost. Your family won’t even notice those sneaky veggies!
-
Dairy-Free Delight: Choose a dairy-free cheese substitute, ensuring everyone can enjoy this comforting dish without any dietary restrictions. Coconut or cashew-based cheeses melt amazingly well!
-
Spicy Kick: Incorporate sliced jalapeños or a dollop of your favorite hot sauce for an exhilarating heat. This twist will take your Layered Taco Bake to a new level of flavor.
-
Crunchy Topping: Mix crushed tortilla chips into the top layer before baking for an added crunchy texture. You’ll be rewarded with a delightful contrast to the creamy layers beneath.
-
Flavorful Salsa: Instead of traditional salsa con queso, try using a spicy salsa or pico de gallo. This will elevate the freshness and overall taste, making it a refreshing feast.
-
Different Tortillas: Experiment with different types of tortillas, like spinach or tomato-flavored wraps, for a fun, colorful presentation. Each bite will surprise you in the best way!
-
Savory Beef Mix: Enrich your meat layer by mixing in some sautéed onions or garlic with the ground beef. The aromatic essence will fill your kitchen and create a memorable dining experience.
For more delightful meals, consider trying out the Taco Bell Crunchwrap or some tantalizing Fish Taco Bowls for your family! Each variation opens the door to a new dining adventure!
Make Ahead Options
These Easy Layered Taco Bake components are perfect for meal prep aficionados! You can assemble the layers up to 24 hours in advance—just cover the baking dish tightly with plastic wrap or foil to keep everything fresh. Additionally, the cooked ground beef can be prepared ahead and stored in the refrigerator for up to 3 days; simply reheat it before layering. To maintain that bubbling cheesy goodness, ensure you remove any wraps before baking, then follow the regular baking instructions. When you're ready to enjoy your meal, just pop it in the oven, and you'll have a comforting, crowd-pleasing dinner with ease!
Expert Tips for Layered Taco Bake
-
Layering Evenly: Make sure to distribute the beef, salsa con queso, and cheese evenly. Uneven layers can lead to inconsistent flavors and textures.
-
Tortilla Choice: Choose flour tortillas for a softer result or corn tortillas for gluten-free. Always ensure they cover the base completely for the best bake.
-
Avoid Soggy Layers: Let any excess liquid drain from the cooked meat to prevent your Layered Taco Bake from becoming soggy.
-
Customize Your Bake: Don’t hesitate to add veggies like diced bell peppers or sliced olives for extra flavor and nutrition.
-
Leftover Magic: Store leftovers in an airtight container in the fridge for up to three days. Reheat in the oven for a crispy top that brings it back to life!
Easy Layered Taco Bake Recipe FAQs
What kind of tortillas should I use for the Layered Taco Bake?
You can use flour tortillas for a soft and chewy base, or go for corn tortillas if you need a gluten-free option. Just ensure the tortillas cover the baking dish completely for the best results!
How should I store leftover Layered Taco Bake?
Leftovers can be stored in an airtight container in the refrigerator for up to 3 days. If you want to reheat, I suggest using the oven for a few minutes at 350°F (175°C) to revive that crispy top, or you can use a microwave for quicker warming.
Can I freeze the Layered Taco Bake?
Absolutely! You can assemble the Layered Taco Bake ahead of time and freeze it (do not bake) for up to 2-3 months. Just make sure to wrap it well. When you’re ready to enjoy, thaw it overnight in the fridge before baking as usual.
What can I do to prevent a soggy Layered Taco Bake?
To prevent sogginess, ensure any excess liquid is drained from the cooked ground beef. Additionally, using tortillas that are slightly grilled or toasted can help maintain their structure during baking.
Are there vegetarian options for the Layered Taco Bake?
Very! You can easily swap the ground beef for black beans, lentils, or any plant-based crumbles for a hearty vegetarian version. Feel free to add in some bell peppers or other veggies to enhance the texture and flavor experience!
How long does it take to make the Easy Layered Taco Bake?
This delicious dish comes together quickly, typically in about 30 minutes. Preparation, cooking, and baking can all be done in this short time frame, perfect for those busy weeknights!
Layered Taco Bake: A Cozy Weeknight Family Favorite
Ingredients
Equipment
Method
- Preheat your oven to 375°F (190°C).
- In a large skillet over medium heat, add the ground beef and cook until browned, about 5-7 minutes. Add the taco seasoning and cook for another 2-3 minutes until fully incorporated.
- In a baking dish, lay down a foundation of tortillas, spoon half the beef over, then half the salsa con queso, and a generous amount of shredded cheese.
- Repeat with another layer of tortillas, remaining beef, salsa con queso, and cheese. Finish with one final layer of tortillas topped with a sprinkle of cheese.
- Cover with foil and bake for 20 minutes. Remove foil and bake for an additional 10 minutes until cheese is bubbly and golden.
- Let the Layered Taco Bake cool for 5 minutes before serving. Top with avocado, cilantro, or sour cream if desired.