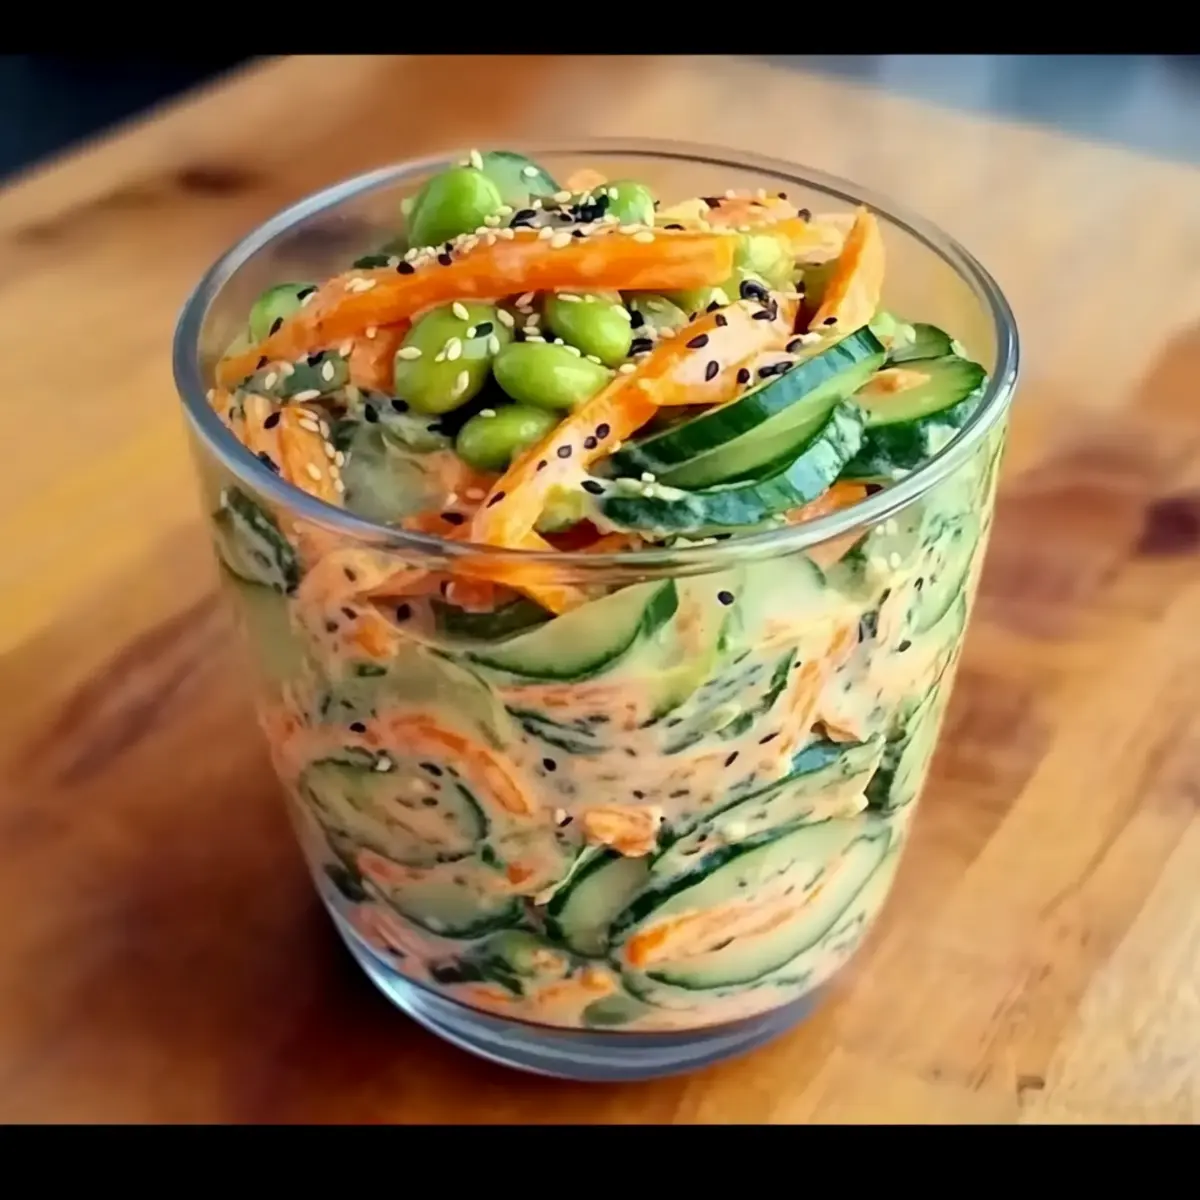
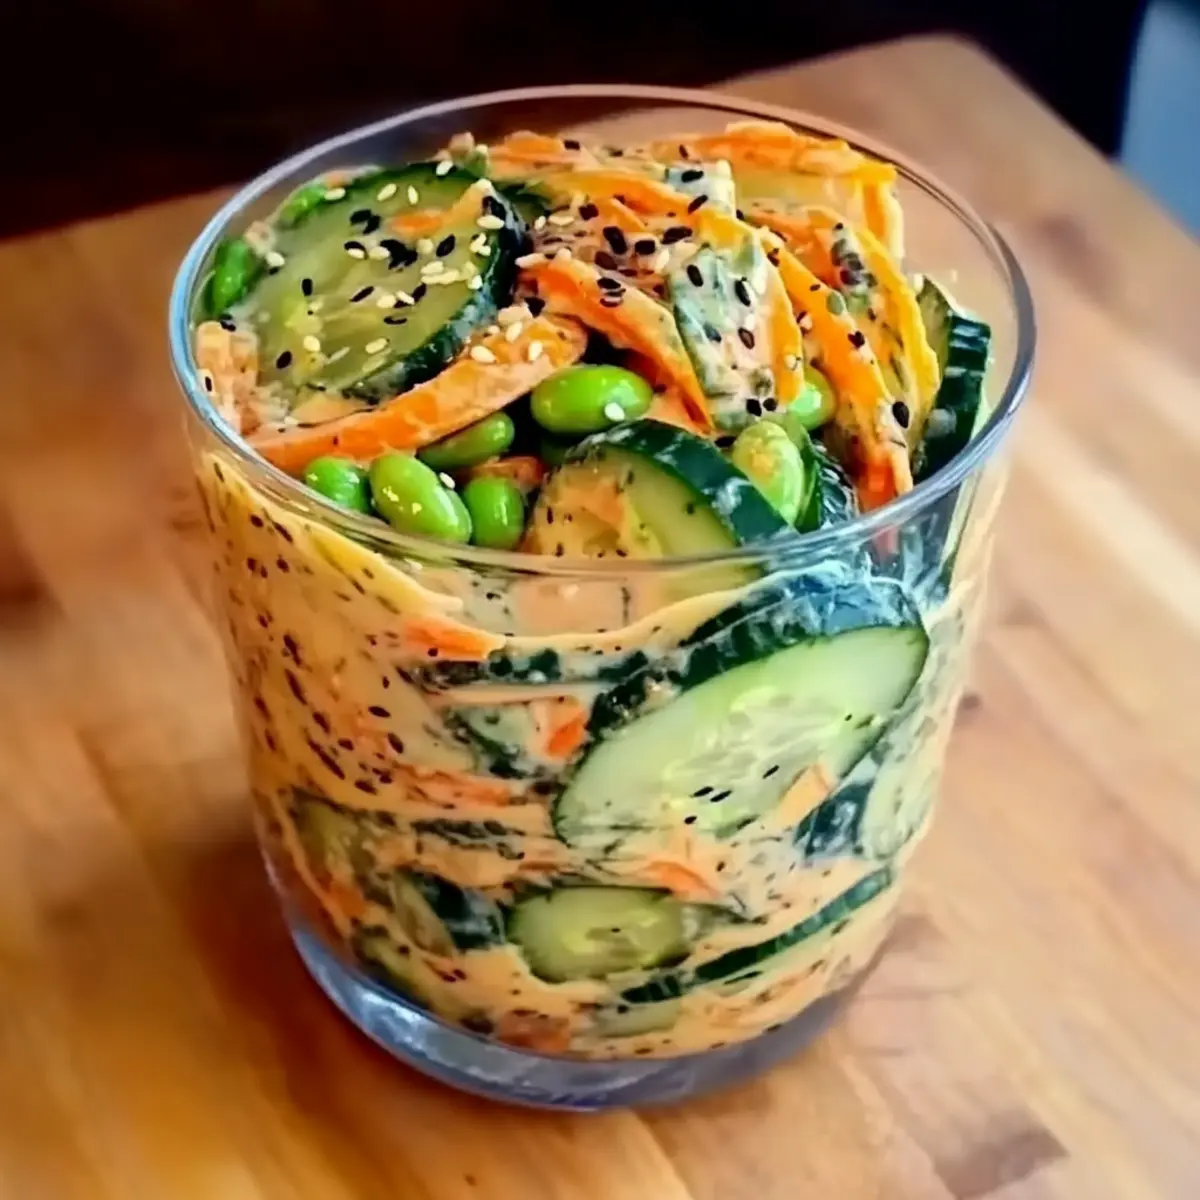
As I stood in my kitchen, slicing crisp cucumbers and feeling the refreshing coolness wash over me, I couldn’t help but think about how much I love this Viral Creamy Asian Cucumber Salad. This dish is an absolute game-changer for anyone looking for a quick, no-cook recipe that brings a burst of flavor to the table. In just 10 minutes, you can whip up a vibrant, crunchy salad that is not only vegan but also incredibly versatile—perfect for meal prep, picnics, or those busy weekday lunches. With the option to add protein like tofu or shrimp, the choices are endless! Are you ready to discover how easy it is to embrace this delightful salad?
Why is this salad a must-try?
Quick Preparation: You can whip up this salad in just 10 minutes, making it the perfect solution for busy days or spontaneous gatherings.
Flavor Explosion: The combination of creamy dressing and vibrant vegetables offers a delightful contrast that is both refreshing and satisfying, ideal for any palate.
Versatile Options: Adapt it to your taste by adding different proteins like tofu, shrimp, or even grilled chicken, ensuring there's something for everyone.
Meal Prep Friendly: This salad is fantastic for quick lunches or picnics and can be easily made in advance—just layer it in a jar!
Crowd-Pleasing Appeal: With its bright colors and textures, this salad is sure to impress at any gathering, whether you’re serving it as a side dish or a main event.
For more tasty meal ideas, check out my Avocado Egg Salad or the refreshing Tofu Caesar Salad.
Viral Creamy Asian Cucumber Salad Ingredients
For the Salad
• Cucumbers – Provide crunch and hydration; English cucumbers are great for fewer seeds.
• Carrots – Add sweetness and crunch; substitute with bell peppers for extra color.
• Edamame – Offers protein and chewy texture; frozen and shelled edamame can be used directly.
• Tofu (or protein of choice) – A fantastic source of protein; can swap for shrimp or grilled chicken if not vegan.
For the Dressing
• Vegan Cream Cheese – Creates a creamy texture; regular cream cheese can be used for a non-vegan version.
• Vegan Mayo – Adds richness; feel free to use regular mayo for non-vegan.
• Sriracha – Provides some spice; adjust per your heat preference.
• Chili Oil – Adds aromatic heat; it’s optional, so feel free to omit if you don’t have it.
• Soy Sauce – Contributes salty umami flavor; consider using tamari for gluten-free.
For Garnish
• Sesame Seeds – Add a nutty flavor and crunch; perfect as an optional garnish.
• Nori (optional) – Delivers umami flavor; crush it for garnish use.
This Viral Creamy Asian Cucumber Salad is ready to be crafted into a vibrant dish that will be the highlight of your meal!
Step‑by‑Step Instructions for Viral Creamy Asian Cucumber Salad
Step 1: Prepare Vegetables
Begin by washing your cucumbers, carrots, and onions thoroughly. For the cucumbers, slice them thinly; consider using a mandoline for uniform slices. Julienne the carrots into thin strips, and slice the onions as finely as possible. If you’re adding tofu, cube it and pan-crisp in a bit of oil over medium heat for about 5-7 minutes until golden brown, bringing a lovely richness to your Viral Creamy Asian Cucumber Salad.
Step 2: Make Dressing
In a mixing bowl, combine vegan cream cheese, vegan mayo, Sriracha, chili oil, and soy sauce. Whisk together vigorously for 2-3 minutes until the mixture is completely smooth and creamy. This dressing is what brings the salad to life, so ensure all ingredients are well incorporated. Set aside your dressing as you move on to the next steps.
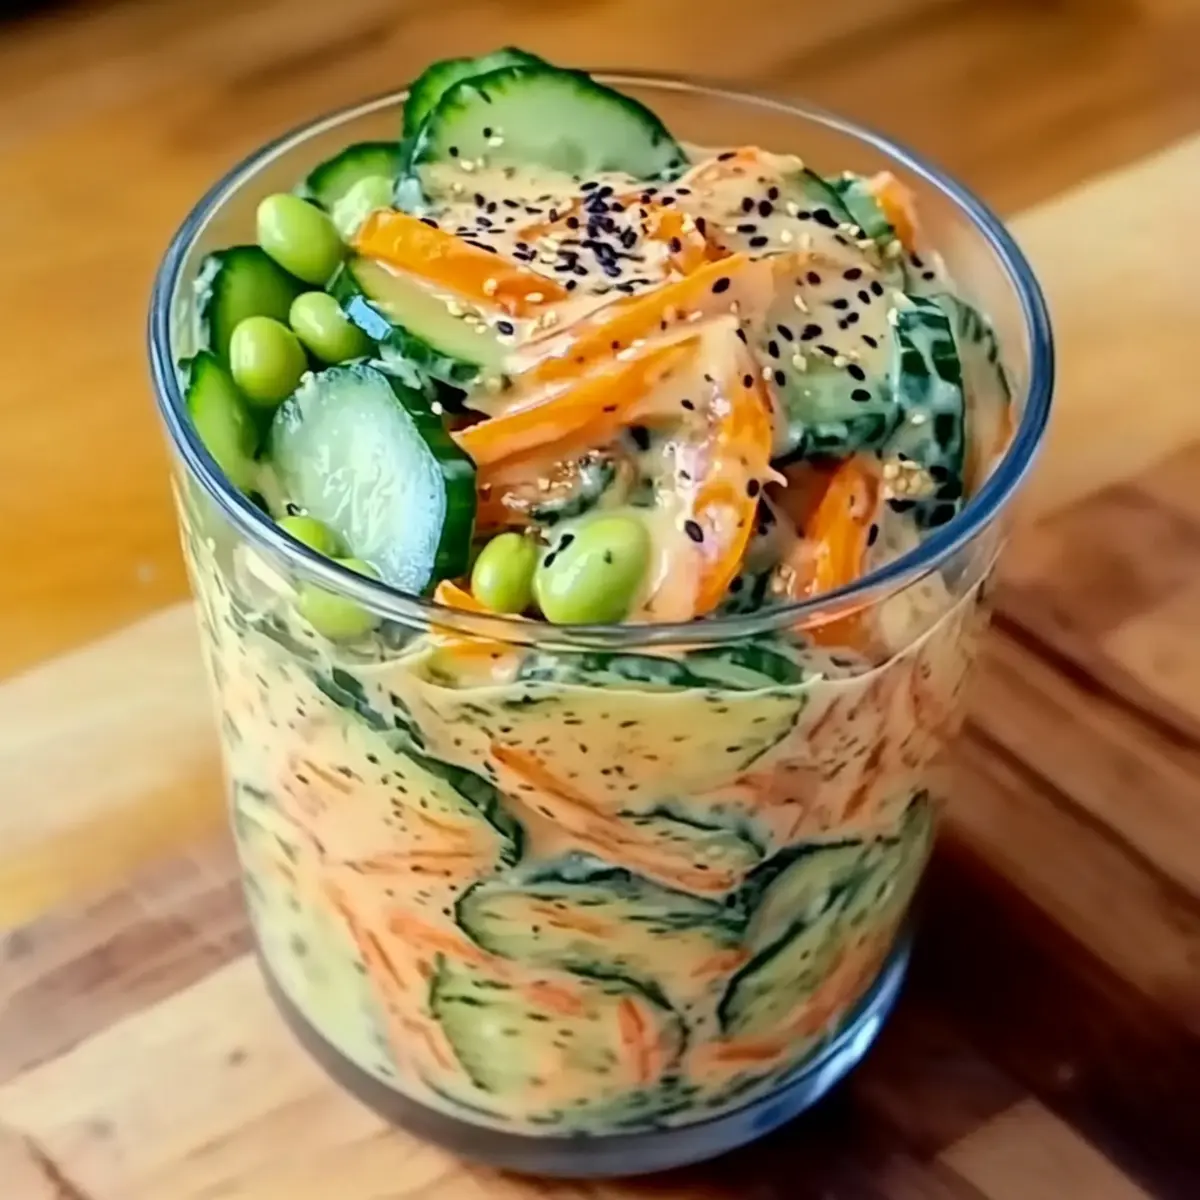
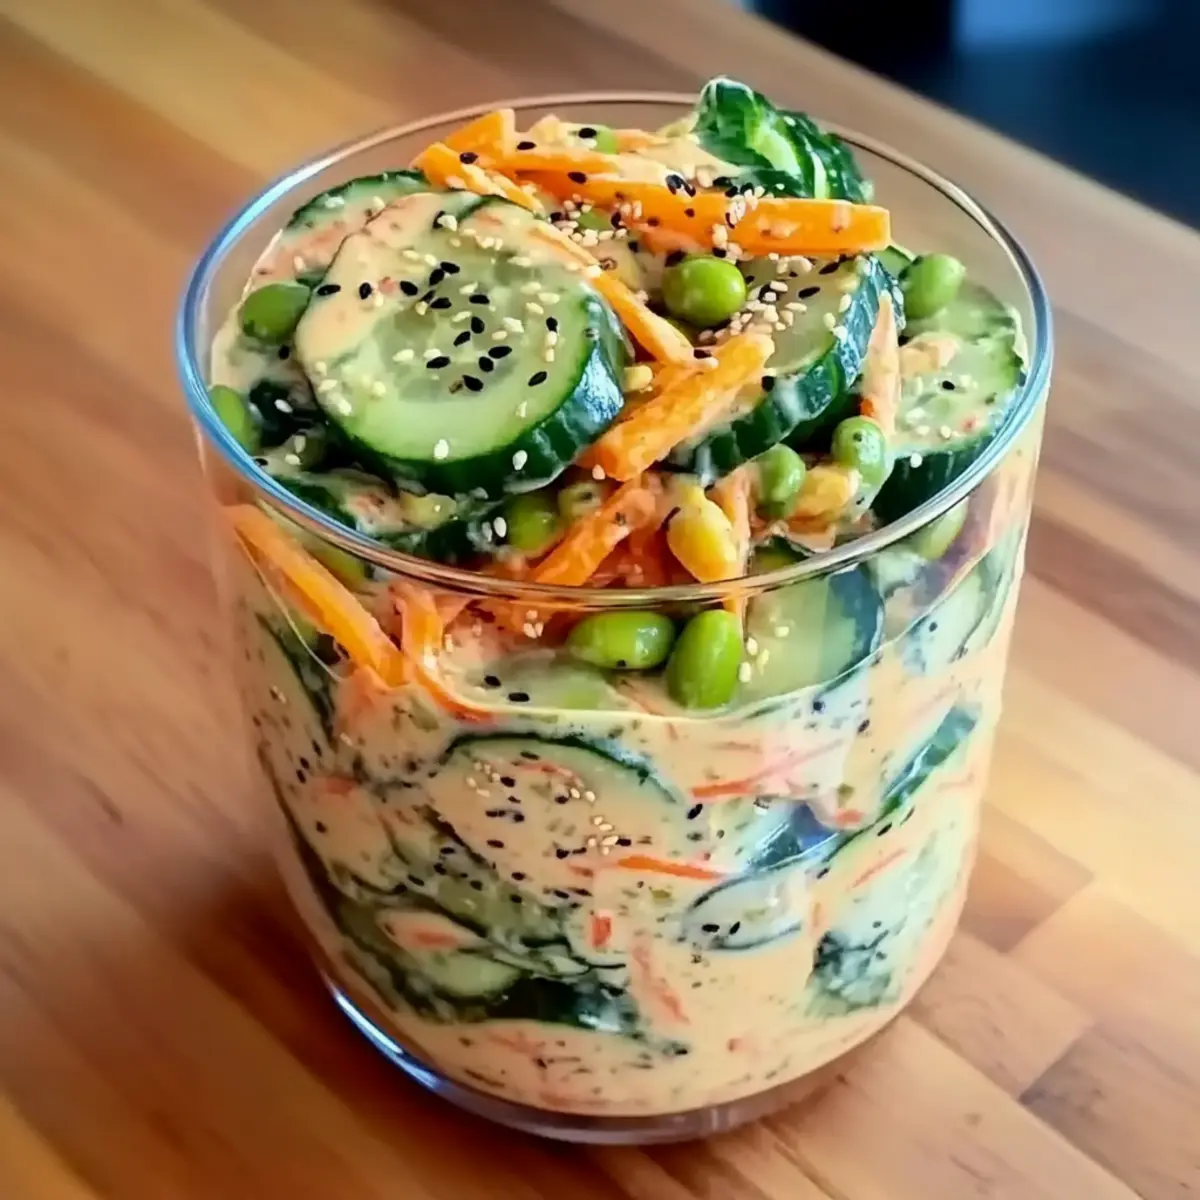
Step 3: Assemble Salad
Layer your salad ingredients in a jar or serving bowl, starting with the sliced cucumbers at the bottom; this helps keep them fresh. Next, add the julienned carrots, followed by the edamame, then the sliced onions. If you prepared tofu, layer that on top, and finish with avocado slices for creaminess and color. Make sure to leave enough space for the dressing.
Step 4: Add Dressing & Garnish
Spoon your freshly made dressing over the top of the salad ingredients. Sprinkle with sesame seeds for added crunch and flavor, and if you're using nori, crush it and add it as an optional garnish. This final touch adds an extra layer of umami that complements the creamy dressing beautifully.
Step 5: Refrigerate
Seal your jar tightly if you’re not serving immediately, ensuring it's upright in the refrigerator. This helps maintain the texture of your salad, especially those crunchy cucumbers. Let it chill for at least 30 minutes to allow the flavors to meld together—though it can stay fresh for up to 1-2 days!
Step 6: Serve
When ready to serve your Viral Creamy Asian Cucumber Salad, shake gently to blend the dressing or transfer it to a bowl and toss thoroughly. This salad can be enjoyed on its own, over rice, or even wrapped in lettuce for a fun, portable meal!
How to Store and Freeze Viral Creamy Asian Cucumber Salad
Fridge: Keep this vibrant salad in an airtight container for up to 1-2 days. Store the dressing separately for optimal crunch and freshness.
Freezer: Not recommended for freezing, as the cucumbers will lose their crisp texture upon thawing. Enjoy the salad fresh!
Reheating: If you've added protein like tofu, feel free to gently heat it before serving, but enjoy the salad chilled for the best experience.
Meal Prep: Ideal for meal prep! Layer your ingredients in jars and add dressing just before serving for delightful, crunchy bites any day of the week.
Make Ahead Options
This Viral Creamy Asian Cucumber Salad is perfect for meal prep enthusiasts looking to save time on busy days! You can slice the cucumbers, carrots, and onions, as well as cube the tofu, up to 24 hours in advance; just store them separately in airtight containers to maintain their freshness. For the dressing, prepare it ahead of time and refrigerate it for up to 3 days; this way, the flavors will deepen wonderfully. When you're ready to serve, simply layer the prepped ingredients in a jar, pour the dressing on top, and give it a gentle shake. You’ll enjoy a crisp, vibrant salad, just as delicious as if you made it fresh!
Expert Tips for Viral Creamy Asian Cucumber Salad
- Keep It Crunchy: Preserve the salad's crisp texture by layering the dressing on top, away from delicate cucumbers, especially when storing in a jar.
- Timing is Key: If using avocado, add it right before serving to prevent browning and maintain a vibrant appearance in your Viral Creamy Asian Cucumber Salad.
- Dressing Consistency: Whisk the dressing thoroughly until smooth, as a well-mixed dressing enhances flavor and ensures even coating of salad ingredients.
- Veggie Variations: Feel free to substitute carrots with bell peppers or radishes for an extra crunch and flavor burst, making this salad even more versatile.
- Protein Power: Explore different proteins by swapping tofu for shrimp or grilled chicken, accommodating everyone’s dietary preferences without losing flavor.
What to Serve with Viral Creamy Asian Cucumber Salad
Bright green cucumbers glistening in a creamy dressing create the perfect foundation for a delicious meal, don’t you agree?
-
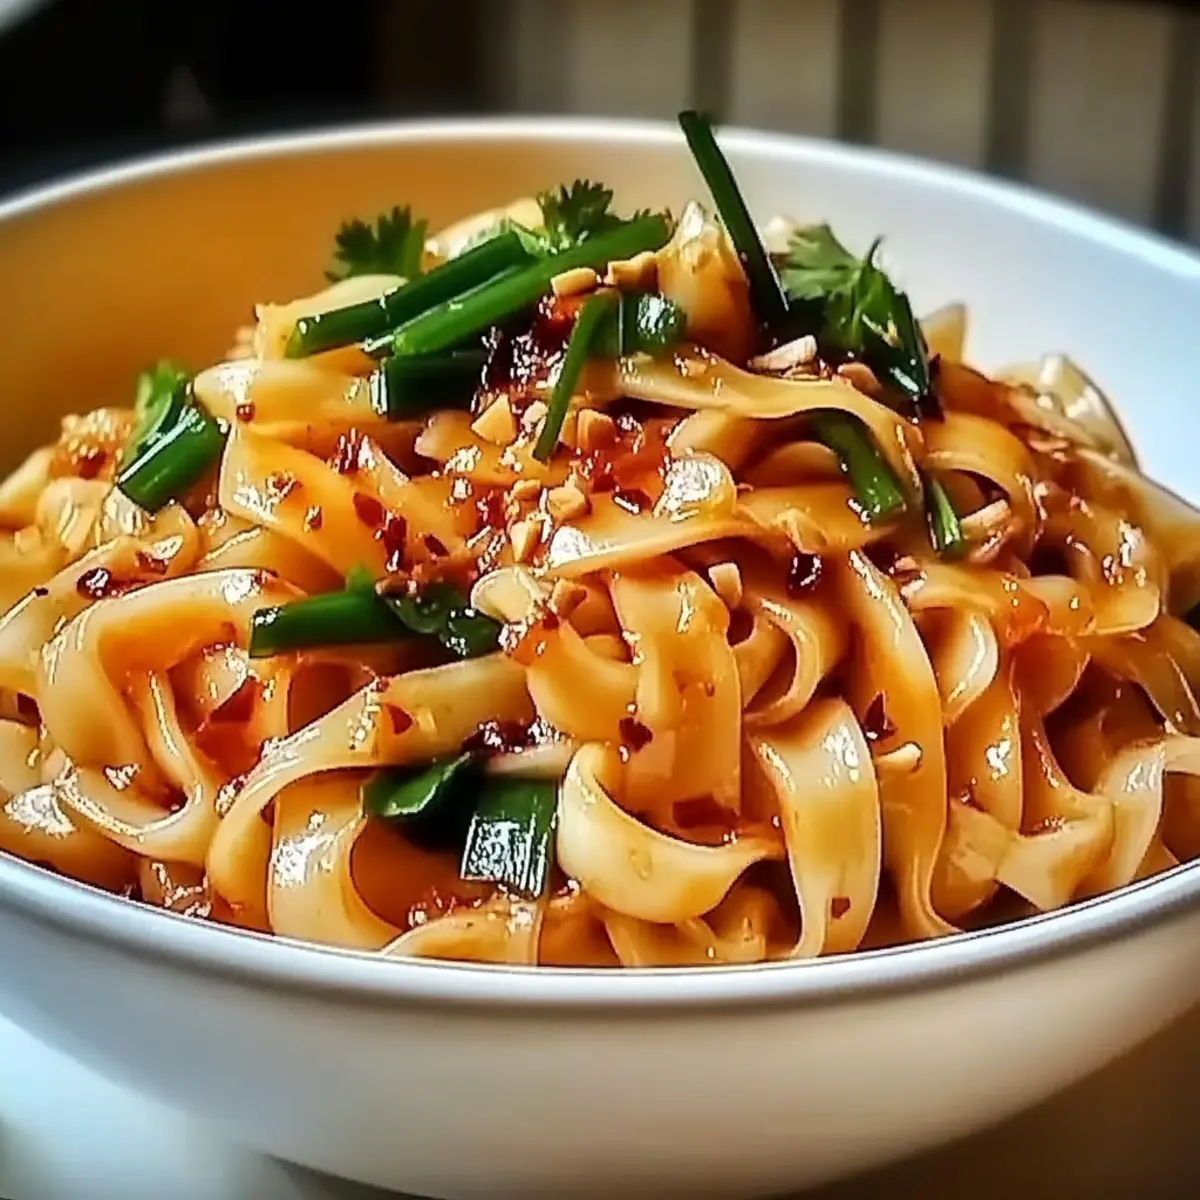
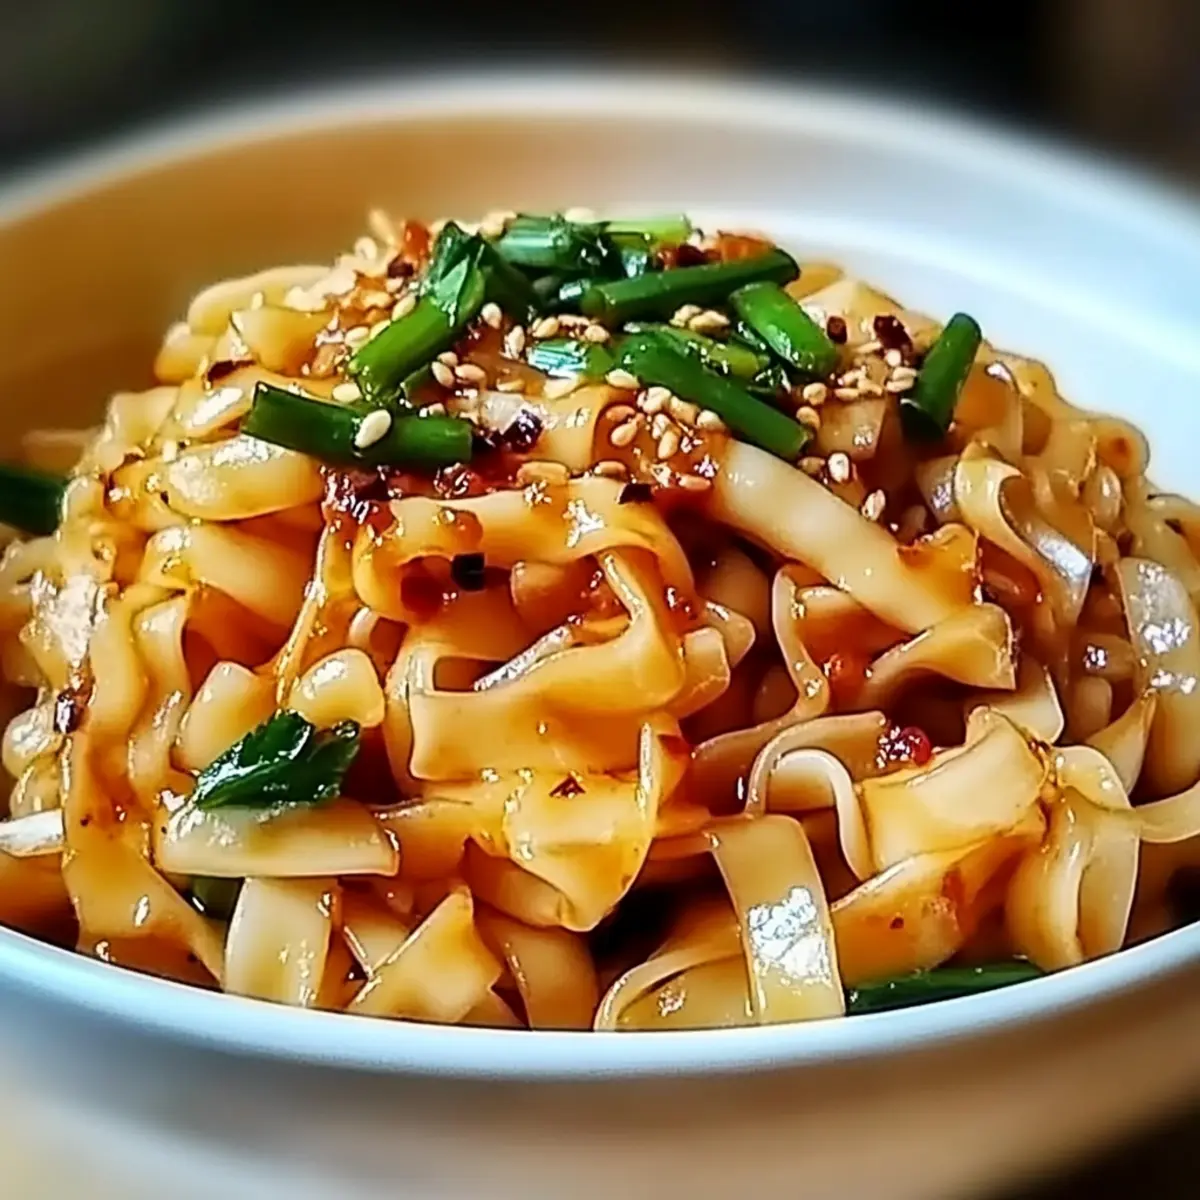
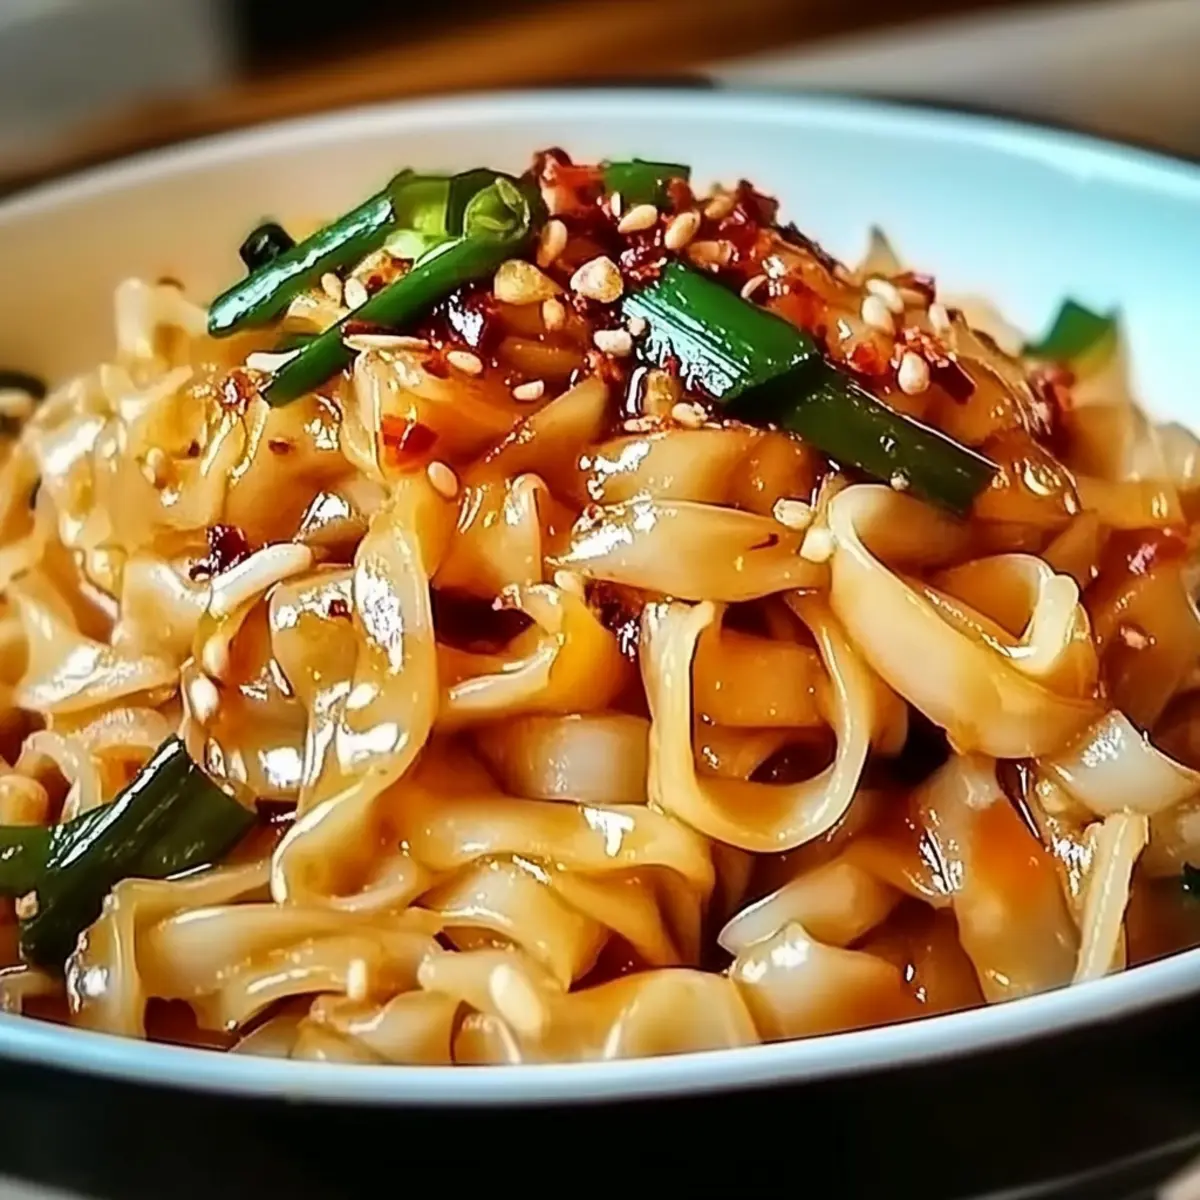
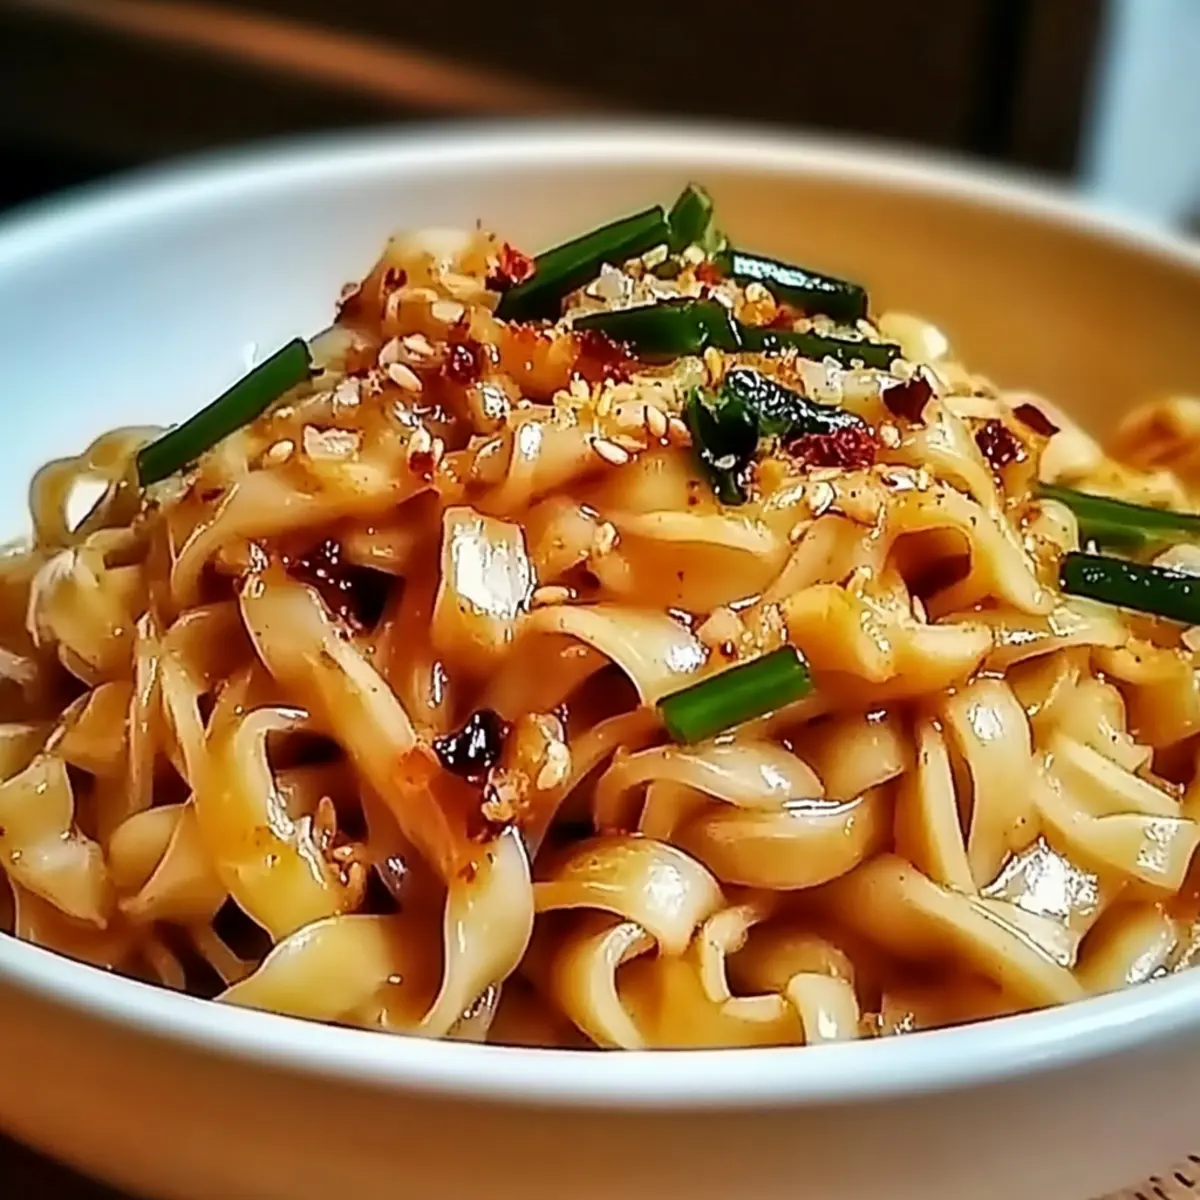
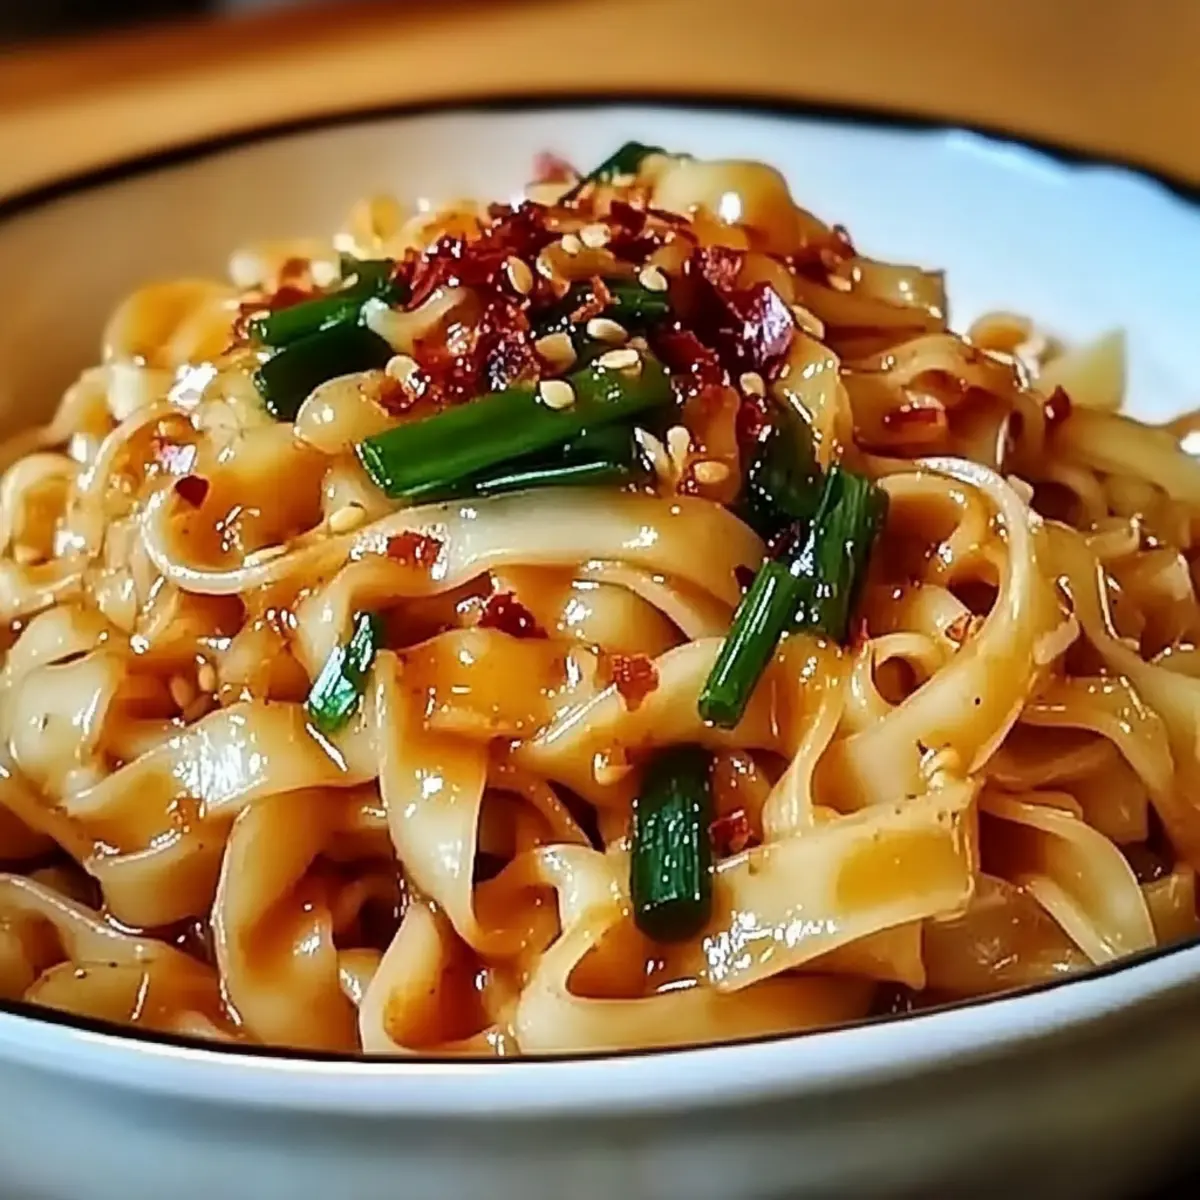
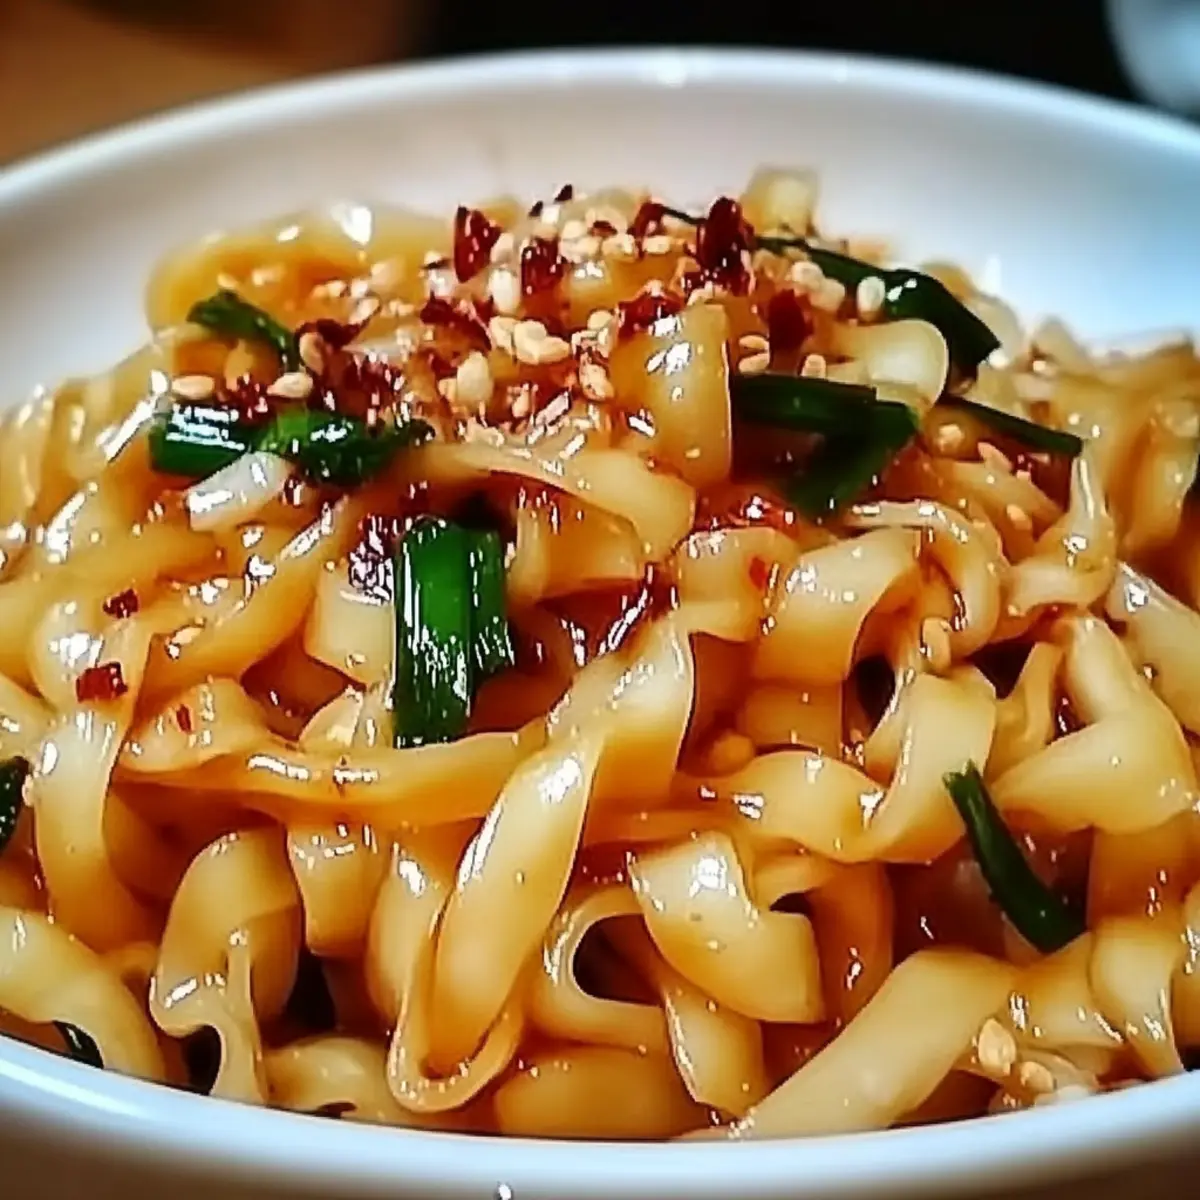
Chilled Noodles: The refreshing flavors complement the salad's crunch, creating a delightful contrast that’s satisfying and light. Perfect for a warm day!
-
Grilled Tofu Skewers: Adding protein enhances the meal while echoing the salad's savory profile, making every bite a fiesta of taste.
-
Avocado Toast: The creaminess of avocado pairs beautifully, lifting the meal's richness. A great choice for brunch or quick lunches!
-
Quinoa Salad: Nutty and wholesome, a light quinoa salad serves as a hearty side that balances the freshness of your cucumber salad, making for a fulfilling dinner.
-
Sushi Rolls: Sushi introduces additional textures and flavors, making it a fun pairing that echoes the Asian flavors while being great for sharing.
-
Miso Soup: Warm and umami-rich, miso soup not only complements the salad’s freshness but also introduces a comforting element to the meal.
-
Spicy Szechuan Peppers: The heat of Szechuan peppers offers a bold counterpoint, enhancing your dining experience with each exciting bite.
-
Coconut Milk Rice Pudding: For dessert, this creamy, sweet dish contrasts with the salad's crispness, leaving your palate satisfied and delighted.
-
Sparkling Water with Lime: This refreshing drink cleanses the palate and uplifts the meal, while the zesty lime echoes the salad's zingy undertones.
Each pairing offers a unique touch, ensuring your Viral Creamy Asian Cucumber Salad shines at the table!
Viral Creamy Asian Cucumber Salad Variations
Feel free to get creative with this recipe! Each twist will bring delightful new flavors and textures to your salad.
-
Protein Swap: Substitute tofu with shrimp for a seafood twist or grilled chicken for a hearty option. Both add delicious heartiness to the dish.
-
Crunchy Add-ins: Toss in chopped bell peppers or radishes for an extra layer of crunch. The vibrant colors will brighten up your salad!
-
Tangy Pickles: Add chopped pickles to introduce a zesty tang. They can elevate the flavor profile to something truly special.
-
Heat Levels: Adjust the spice by adding more Sriracha or a splash of your favorite hot sauce. For a milder option, omit the chili oil entirely.
-
Creamy Alternatives: For a lighter twist, use Greek yogurt instead of vegan cream cheese. It adds a delightful creaminess with a protein boost.
-
Crunchy Nuts: Add crushed peanuts or cashews for a nutty flavor and delightful crunch. They’re a fantastic way to enhance texture.
-
Herb Infusion: Fresh cilantro or mint can elevate the flavor even more, giving a refreshing note. These herbs pair beautifully with the dressing.
-
Noodle Addition: Consider adding cooked soba noodles for a filling meal, turning your salad into a delicious noodle bowl!
Explore these variations to make your Viral Creamy Asian Cucumber Salad perfect for every occasion. And if you're in the mood for more crunchy delight, check out my German Potato Salad or even a Balsamic Steak Salad to mix it up!
Viral Creamy Asian Cucumber Salad Recipe FAQs
How do I select the best cucumbers for this salad?
Absolutely! When choosing cucumbers, look for firm ones with a bright, glossy skin and no dark spots—these are signs of freshness. English cucumbers are fantastic for this salad due to their thin skin and fewer seeds. However, regular cucumbers will work well too; just ensure they're crisp and vibrant.
How should I store the salad, and how long will it last?
To keep your Viral Creamy Asian Cucumber Salad fresh, store it in an airtight container in the refrigerator for up to 1-2 days. For optimal texture and crunch, separate the dressing from the salad until you're ready to eat. If stored together, the cucumbers may become soggy.
Can I freeze this salad for later use?
Very! However, it's best not to freeze this salad since cucumbers lose their crisp texture after thawing. If you want to meal prep, I recommend preparing the ingredients in advance and refrigerating them, adding the dressing fresh right before serving.
What should I do if my dressing is too thick?
If your dressing is too thick, simply whisk in a teaspoon or two of water or vegetable broth until you reach your desired consistency. If you want to enhance the flavor, add a splash of soy sauce or a bit more Sriracha for an added kick!
Are there any dietary restrictions or considerations I should be aware of?
Very! This salad is naturally vegan, but if you're serving it to someone with specific allergies, always check for potential allergens in the ingredients you use. For those avoiding gluten, swap regular soy sauce for tamari. If you have a pet, keep in mind that some ingredients like onions can be harmful, so best to keep this tasty dish out of their reach.
Viral Creamy Asian Cucumber Salad – Your New Favorite Crunch!
Ingredients
Equipment
Method
- Wash your cucumbers, carrots, and onions thoroughly. For the cucumbers, slice them thinly using a mandoline. Julienne the carrots into thin strips, and slice the onions as finely as possible. If using tofu, cube it and pan-crisp in oil over medium heat for about 5-7 minutes until golden brown.
- In a mixing bowl, combine vegan cream cheese, vegan mayo, Sriracha, chili oil, and soy sauce. Whisk together for 2-3 minutes until completely smooth and creamy. Set aside.
- Layer your salad ingredients starting with sliced cucumbers, adding julienned carrots, edamame, sliced onions, tofu if prepared, and finish with avocado slices.
- Spoon the dressing over the salad ingredients, sprinkle with sesame seeds and nori if using.
- Seal your jar tightly if not serving immediately; let it chill for at least 30 minutes before serving.
- Before serving, shake gently to blend the dressing or transfer to a bowl and toss thoroughly.