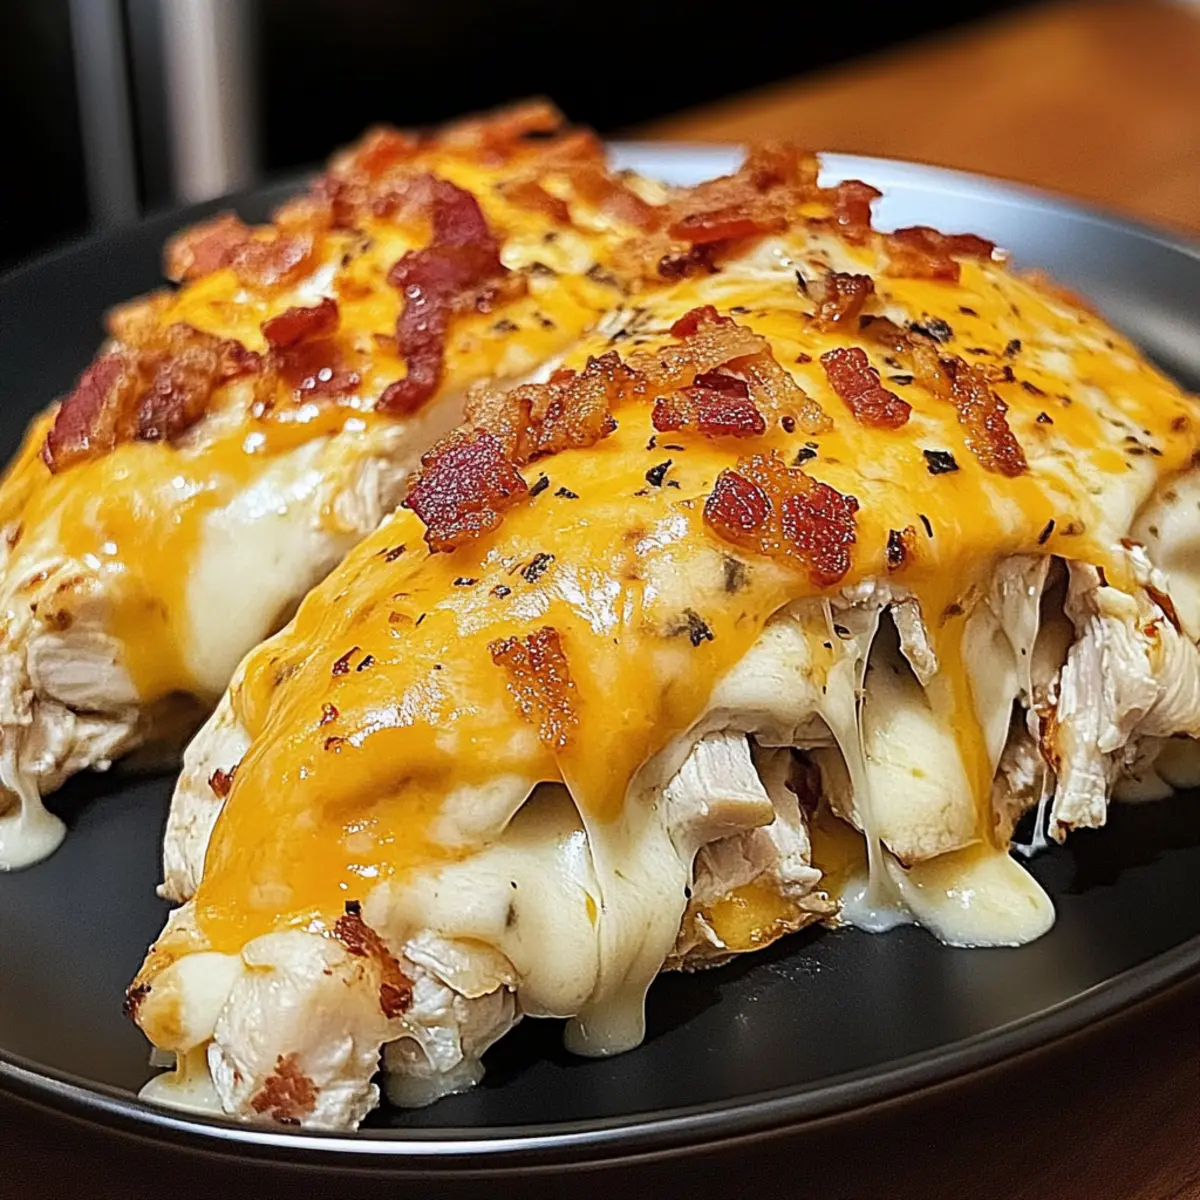
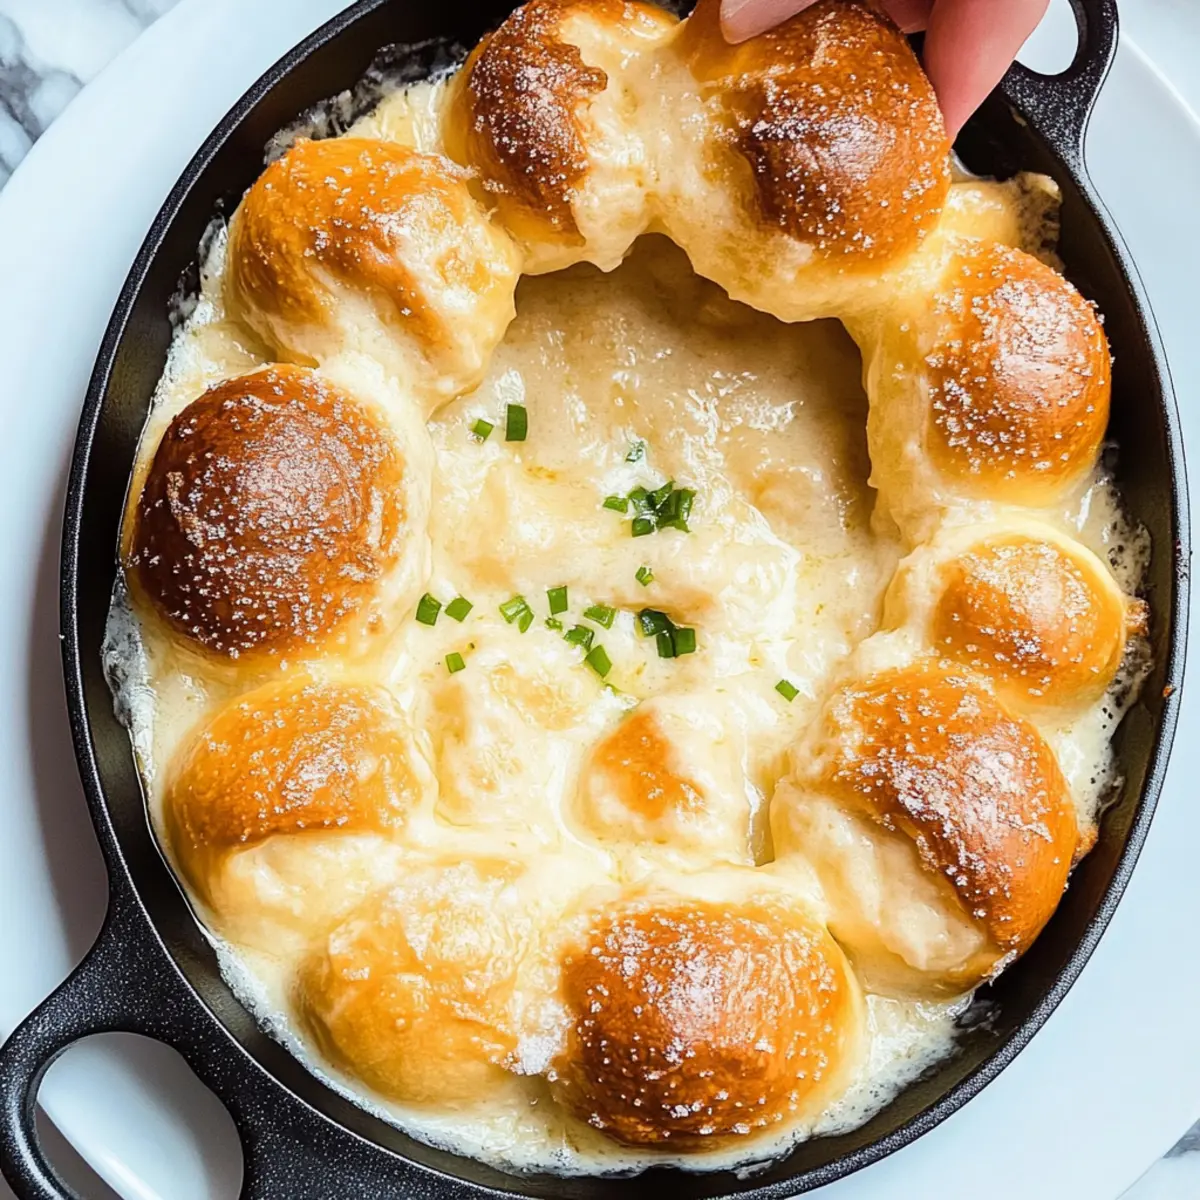
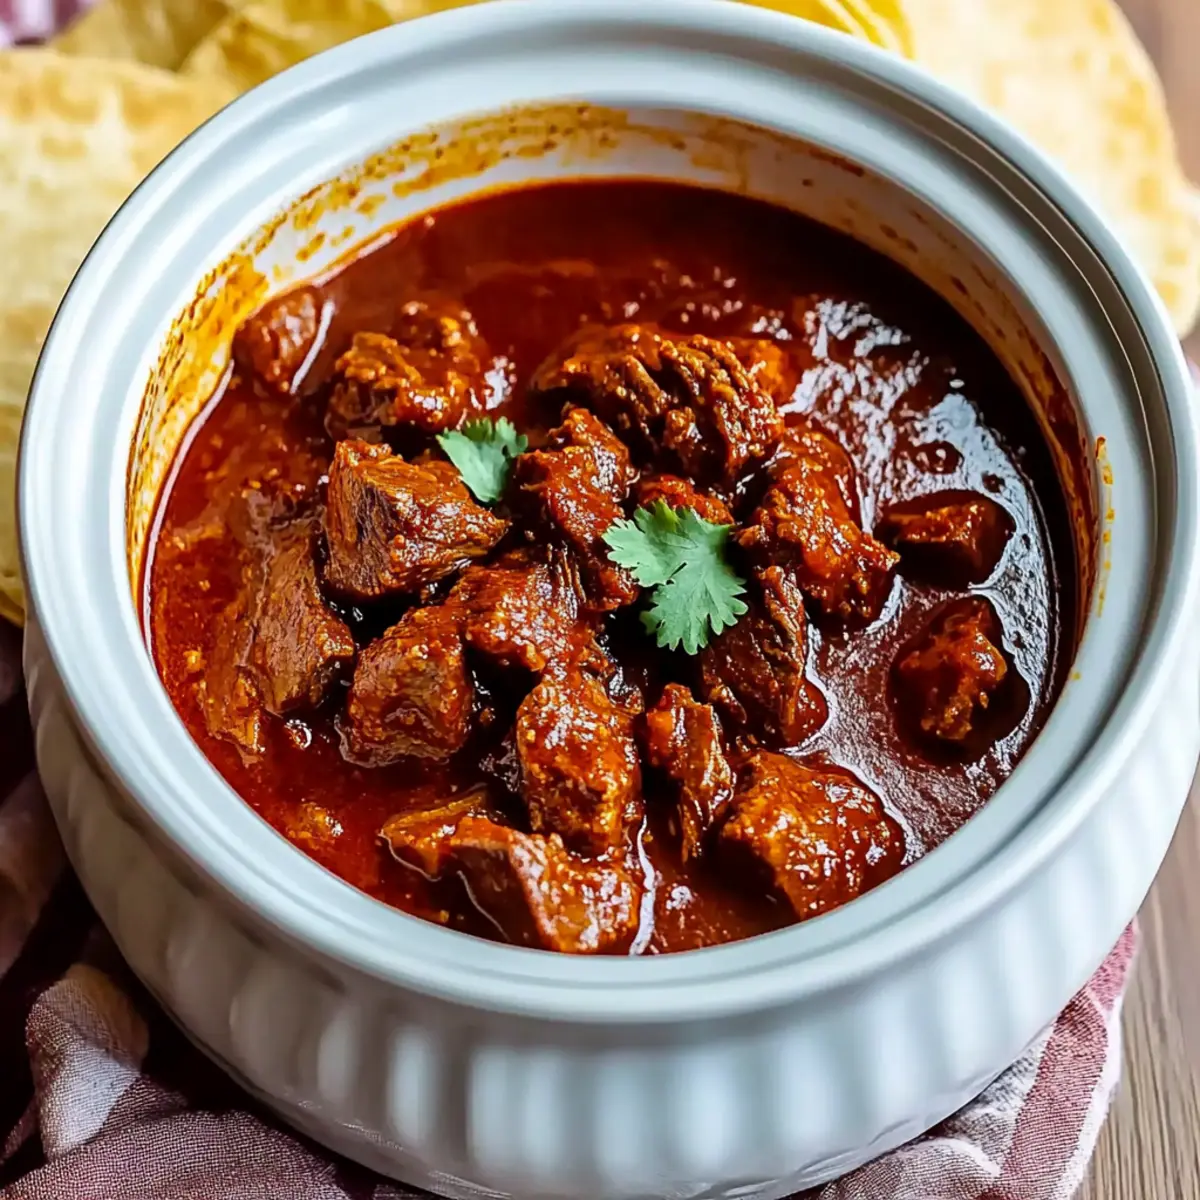
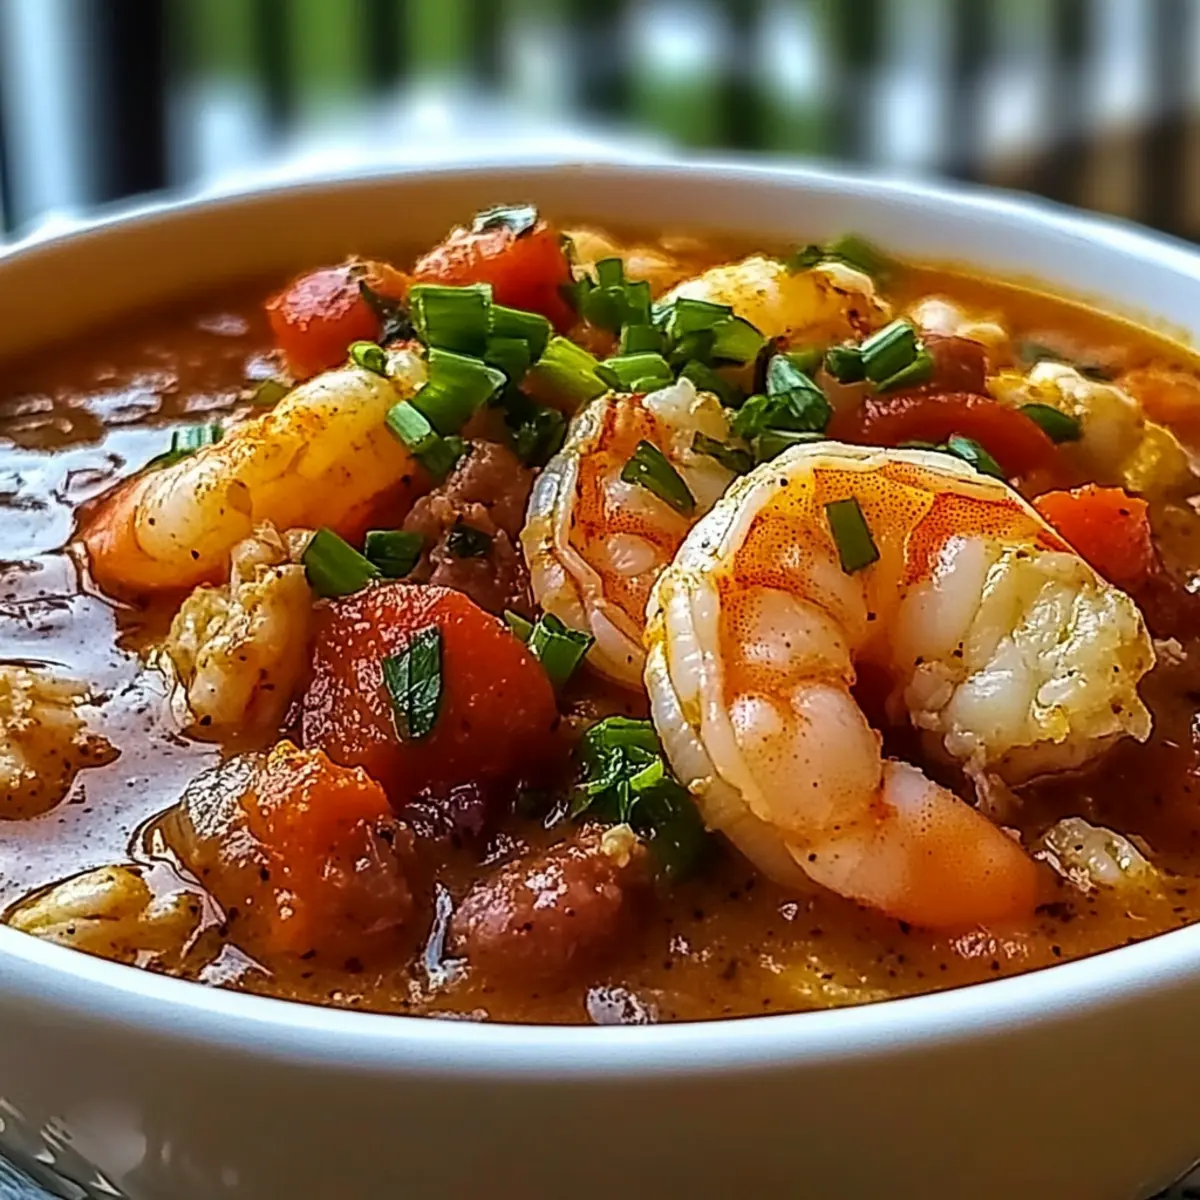
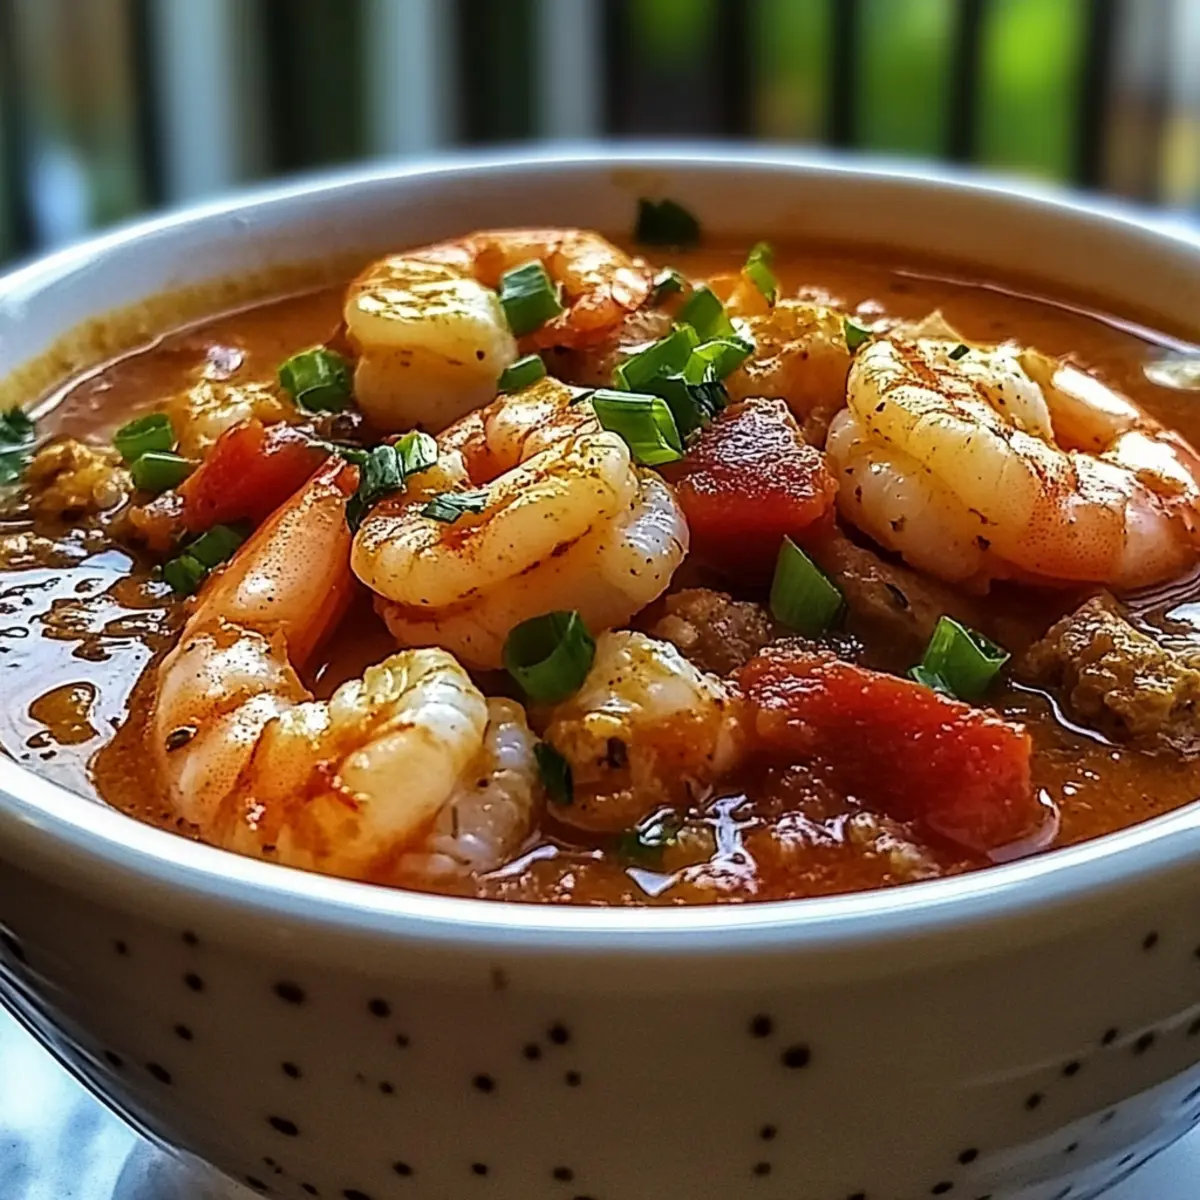
As I stood over my stovetop, the rich aroma of toasting flour began to wrap around me like a warm hug, instantly whisking me away to the heart of Louisiana. This Ultimate Louisiana Seafood Gumbo is my go-to when the weather turns chilly or when I need a touch of Southern comfort in my life. With a smoky roux, plump shrimp, savory andouille sausage, and sweet crab, it’s irresistible and deeply satisfying. One of the best perks? This customizable dish can be a quick weeknight dinner or a showstopper for your next gathering, effortlessly pleasing both the adventurous eaters and the traditionalists. So, are you ready to dive into a bowl of this hearty gumbo that tastes like a warm welcome from the South? Let's get cooking!
What makes this gumbo special?
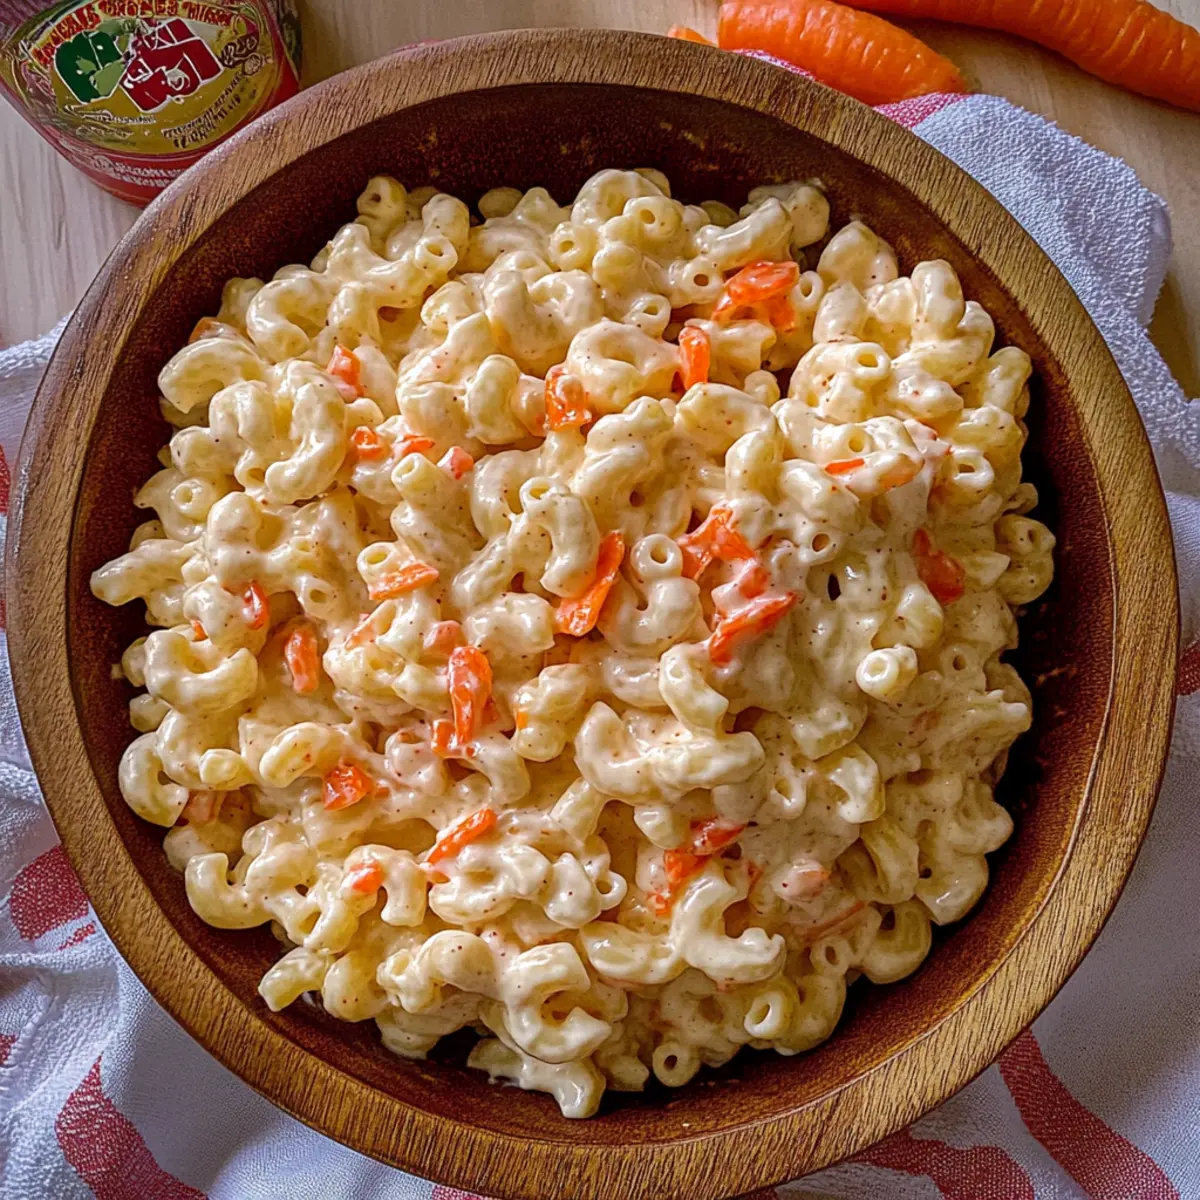
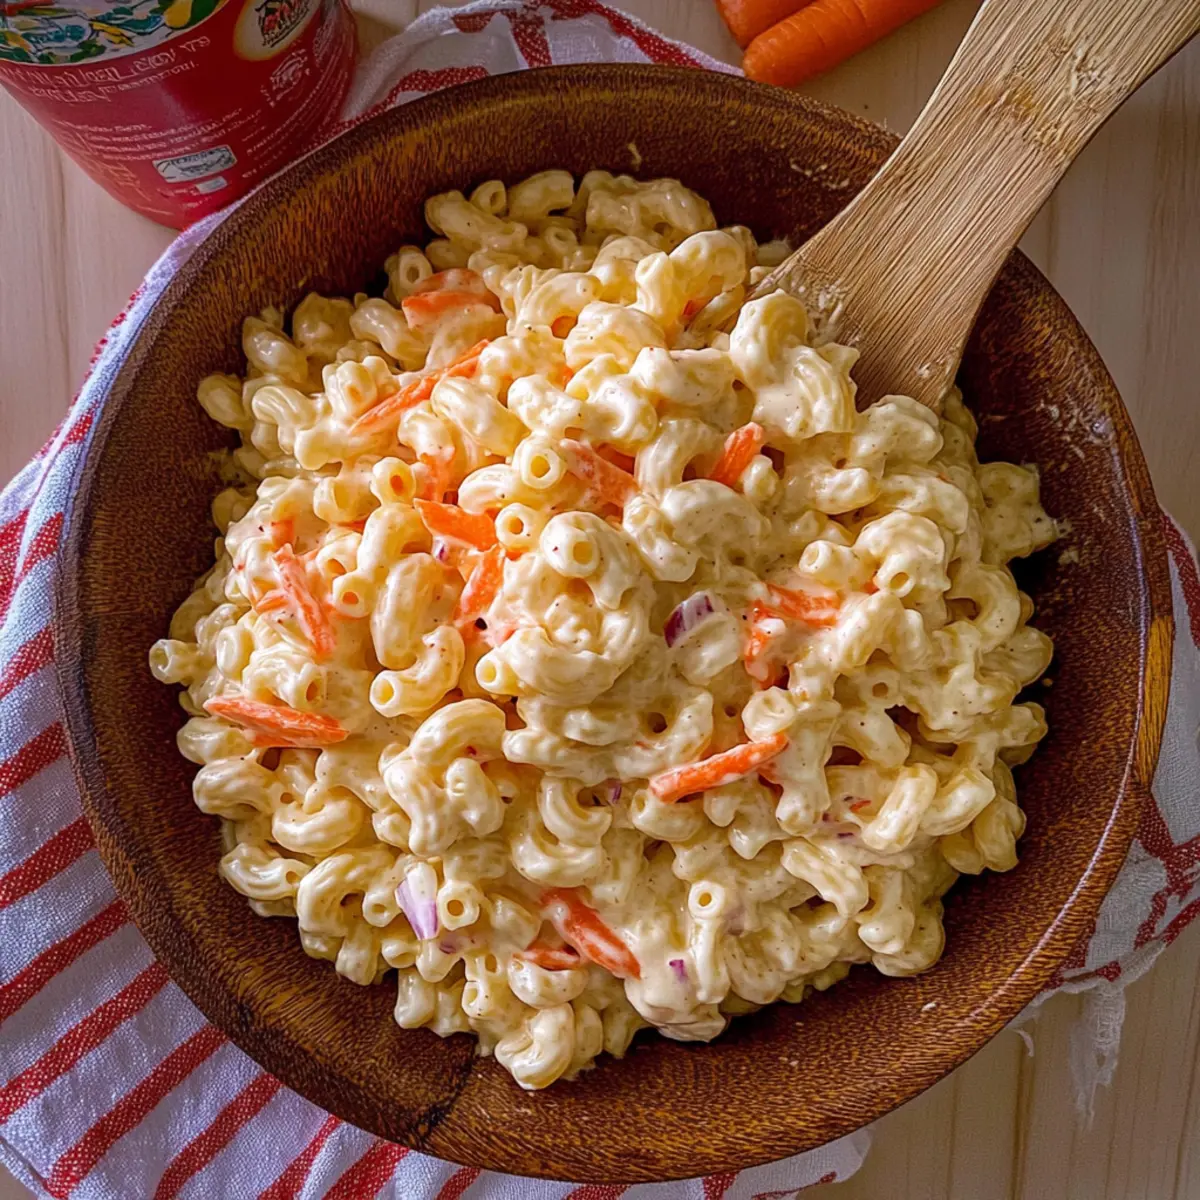
Comforting Warmth: This Louisiana Seafood Gumbo is like a warm hug on a chilly night, with its rich flavors and tender seafood.
Customizable Variety: Whether you're craving shrimp, crab, or a hearty vegetarian option, this recipe allows you to tailor it to your liking—perfect for any palate!
Quick Preparation: Despite its complex flavors, this gumbo comes together easily, making it a fantastic choice for a weeknight dinner or a crowd-pleasing dish for gatherings.
Cultural Richness: Steeped in Cajun tradition, every spoonful transports you to the heart of Louisiana, offering a slice of Southern heritage right at your table.
Serving Suggestions: Pair it with fluffy white rice or crusty French bread for the ultimate dining experience. For even more flavor, consider making a side of Seafood Pasta Savory as a delightful complement!
Dive in and enjoy a bowl of joy that you—and your guests—will love!
Louisiana Seafood Gumbo Ingredients
-
For the Roux:
-
All-Purpose Flour – Creates a deep and rich flavor base; whole wheat flour adds more color.
-
Vegetable Oil – Essential for toasting the flour; can be substituted with canola oil if preferred.
-
For the Flavor Base:
-
Yellow Onion – Builds the core flavor; white onion offers a slightly different sweetness.
-
Celery – Adds freshness; can be replaced with leeks for a milder flavor.
-
Green Bell Pepper – Contributes crunch and flavor; consider red or yellow peppers for a sweeter taste.
-
Garlic (Minced) – Enriches the aroma and overall flavor profile.
-
For the Protein:
-
Andouille Sausage – A spicy sausage that brings robust flavor; smoked kielbasa is a good substitute.
-
Raw Shrimp – Key to this Louisiana Seafood Gumbo; avoid pre-cooked shrimp for the best texture.
-
Lump Crab Meat – Adds tenderness and sweetness; claw meat can serve as an alternative.
-
For the Broth:
-
Cajun Seasoning – Imparts the distinctive flavors; toasting before using enhances its profile.
-
Bay Leaves – Enhances aroma; optional if you’re in a pinch.
-
Seafood or Chicken Stock – The soul of the gumbo; vegetable stock is lighter options if desired.
-
Diced Tomatoes – Adds acidity; feel free to skip for a more traditional essence.
-
For Seasoning:
-
Salt and Black Pepper – Essential to taste; adjust according to your preference.
-
For Serving:
-
Cooked White Rice – Served underneath the gumbo; cornbread pairs wonderfully as a side.
-
Green Onions – Chopped for a fresh garnish and a pop of color.
This Louisiana Seafood Gumbo recipe beautifully melds flavors and ingredients to create a soul-warming dish that captures the essence of Cajun cuisine!
Step‑by‑Step Instructions for Louisiana Seafood Gumbo
Step 1: Create the Roux
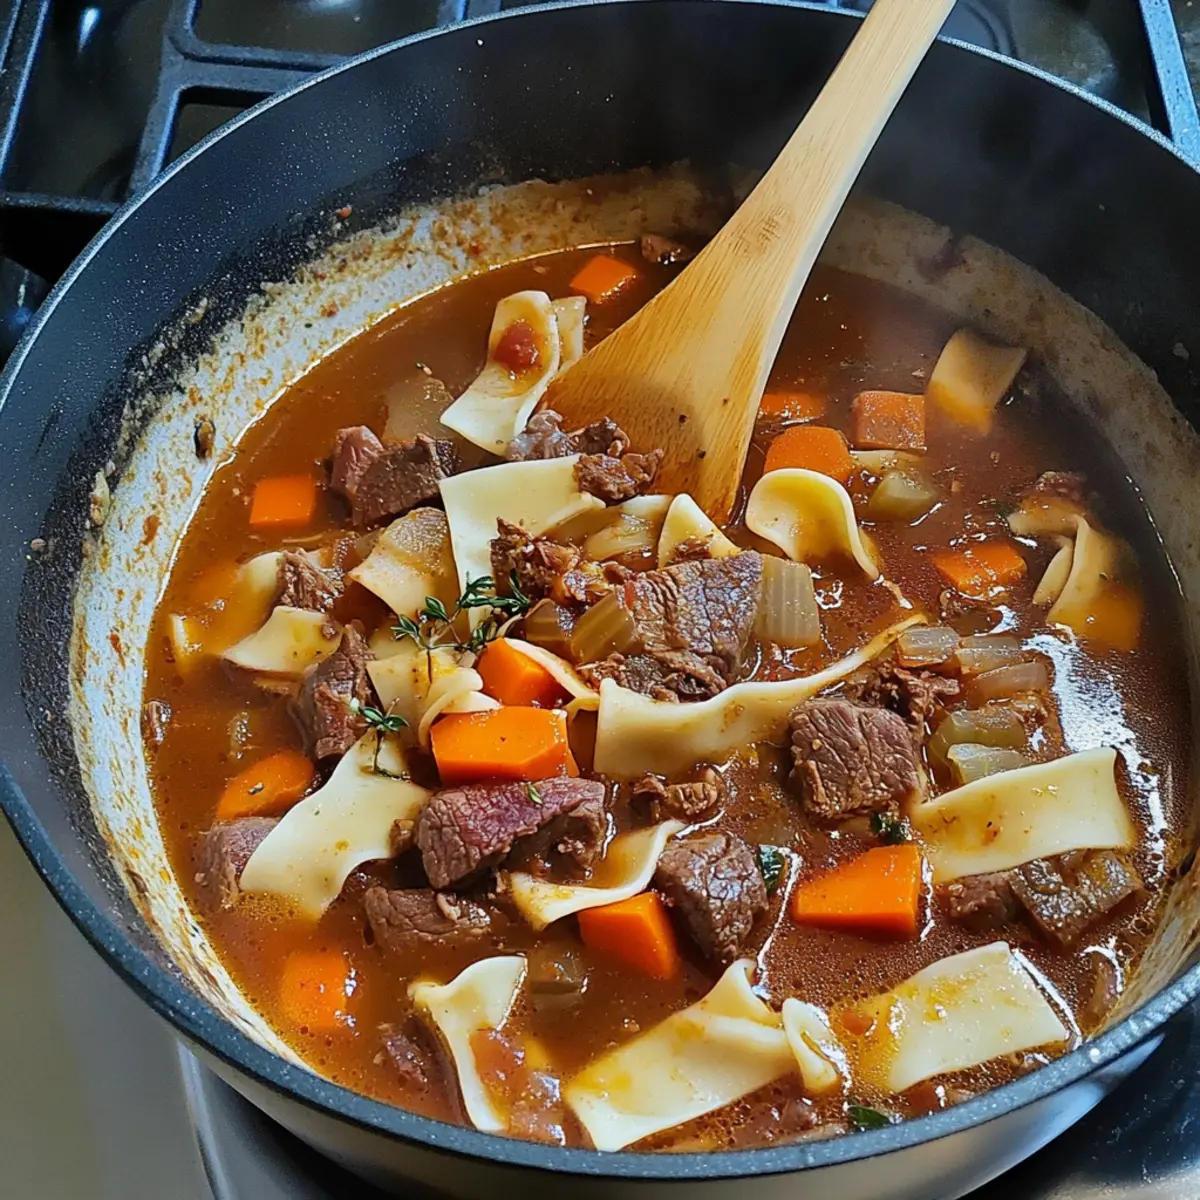
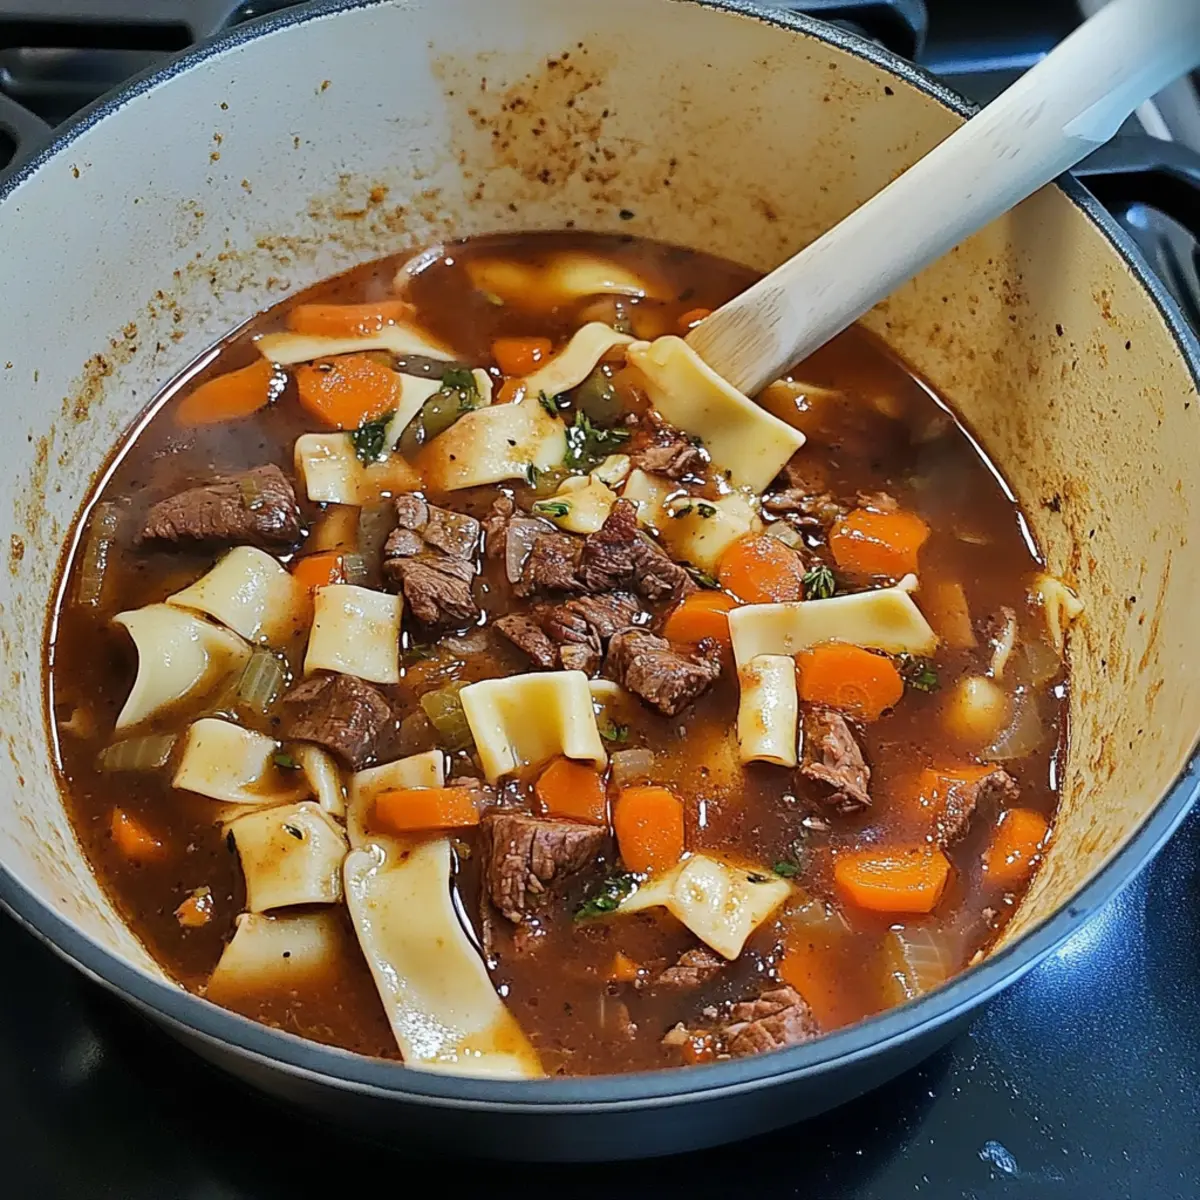
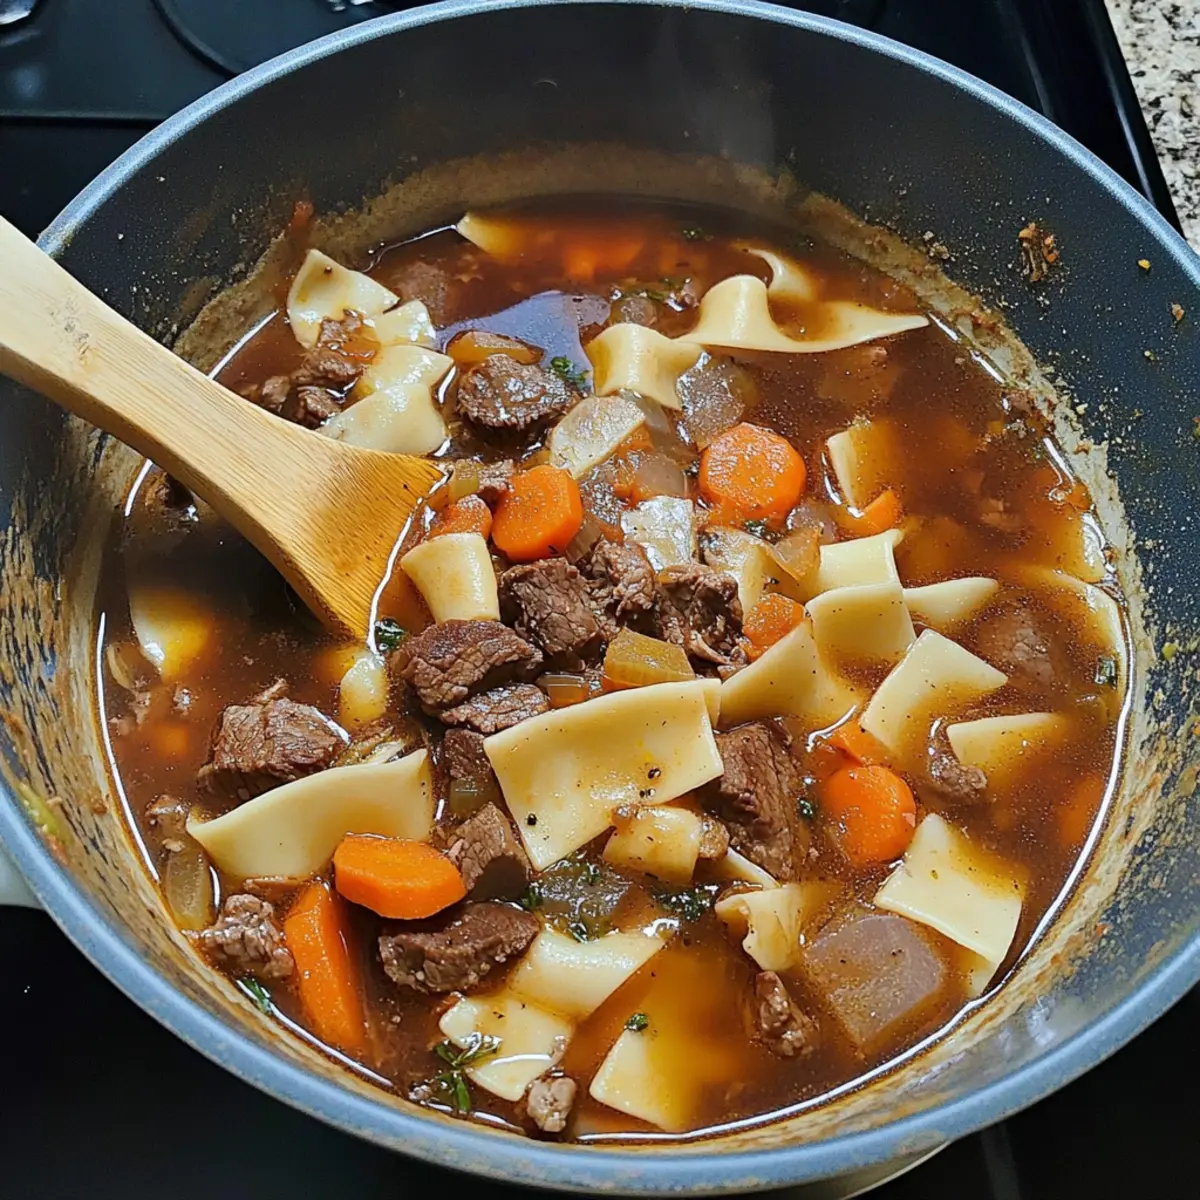
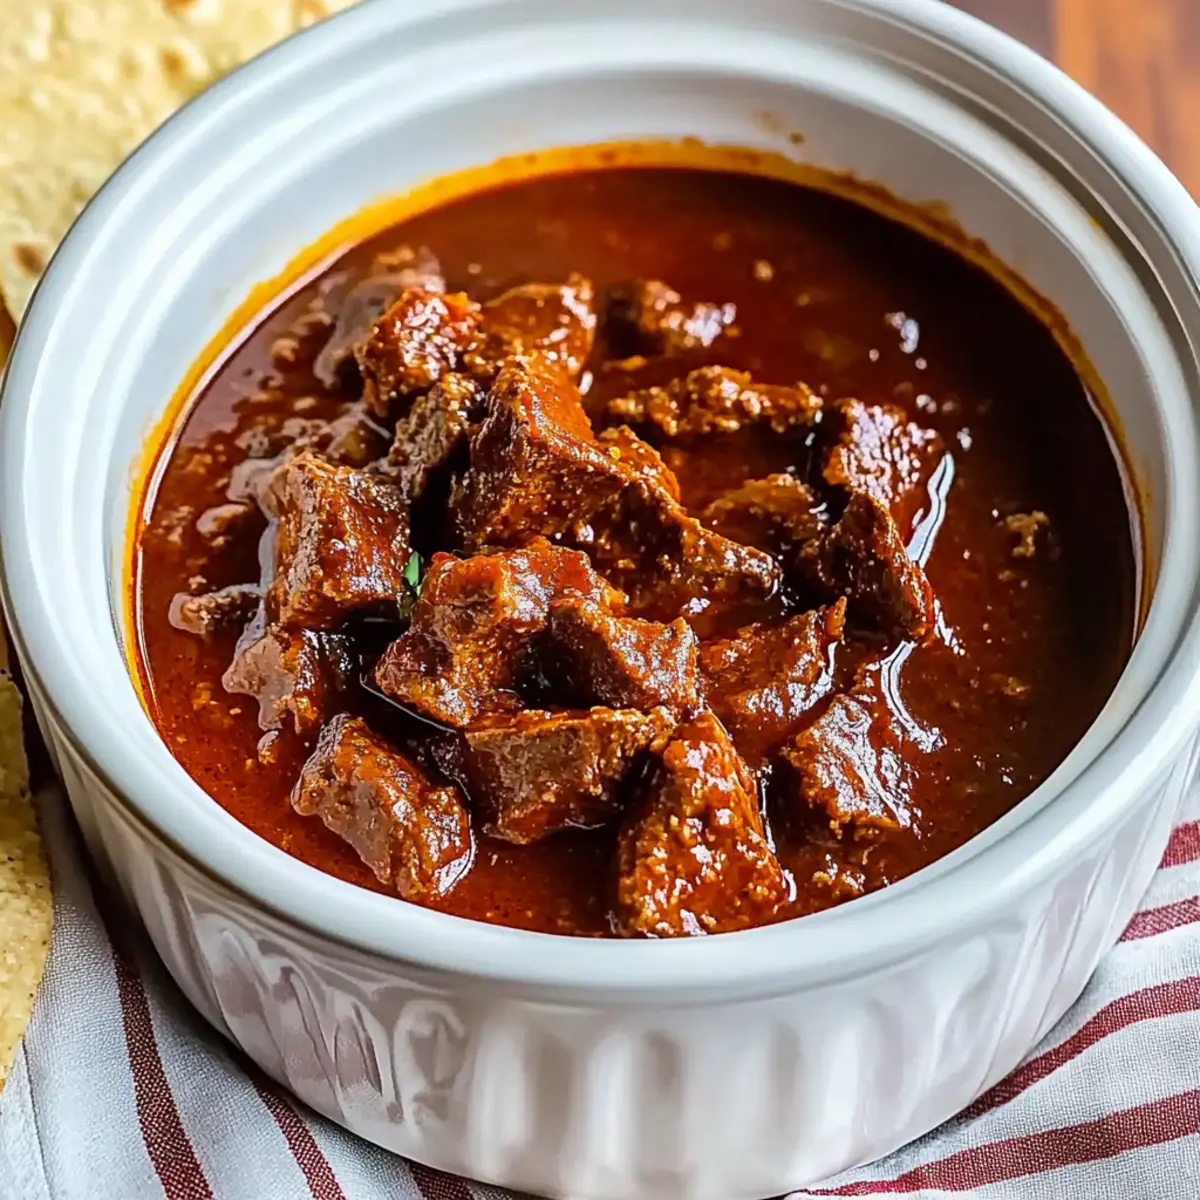
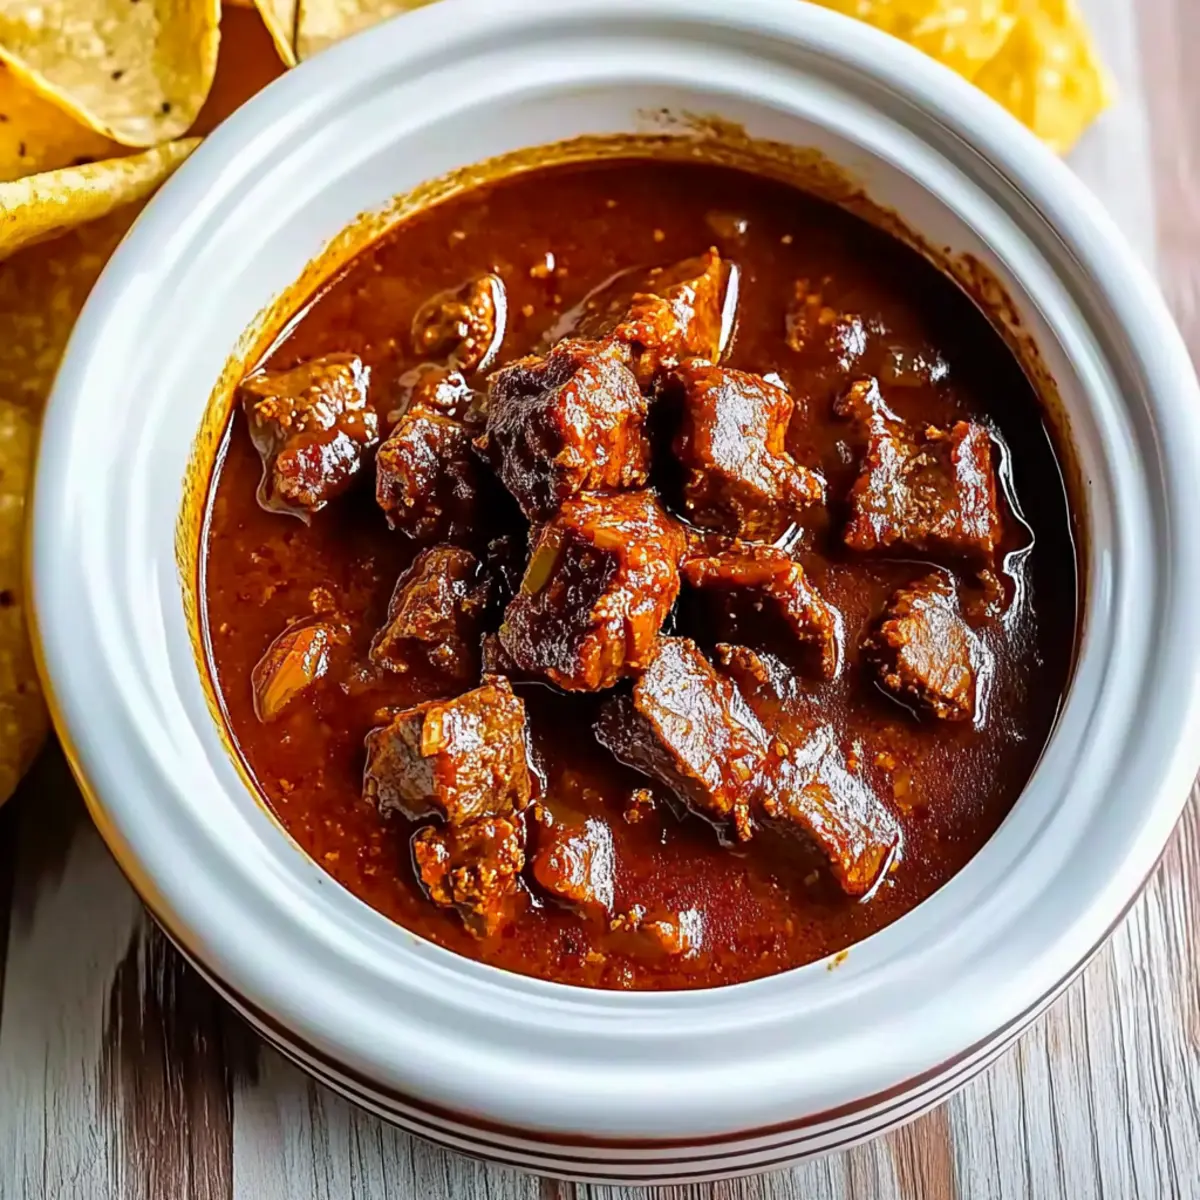
In a large heavy-bottomed pot, combine equal parts of all-purpose flour and vegetable oil over medium heat. Stir continuously for about 20-30 minutes until the roux turns a deep brown color, resembling dark chocolate. This step is crucial for the rich flavor of your Louisiana Seafood Gumbo, as the roux develops its signature smoky profile.
Step 2: Cook Vegetables
Once your roux is ready, add chopped yellow onion, celery, and green bell pepper to the pot. Sauté these aromatic vegetables for about 5-7 minutes until they soften and become fragrant, stirring frequently to prevent sticking. Then, add minced garlic and cook for an additional minute, releasing its delicious aroma and deepening the flavor base of your gumbo.
Step 3: Brown the Sausage
Stir in sliced andouille sausage and continue to cook for about 5 minutes until the sausage starts to brown slightly and release its oils. The added depth from the lightly browned sausage will enhance the overall flavor of the Louisiana Seafood Gumbo, making it even more comforting and robust.
Step 4: Add Stock
Gradually pour in your seafood or chicken stock while stirring to combine everything smoothly. Include diced tomatoes and bay leaves for extra flavor. Bring the mixture to a gentle simmer over medium heat, allowing the flavors to meld together for about 10-15 minutes before seasoning it to taste with salt and black pepper.
Step 5: Season and Simmer
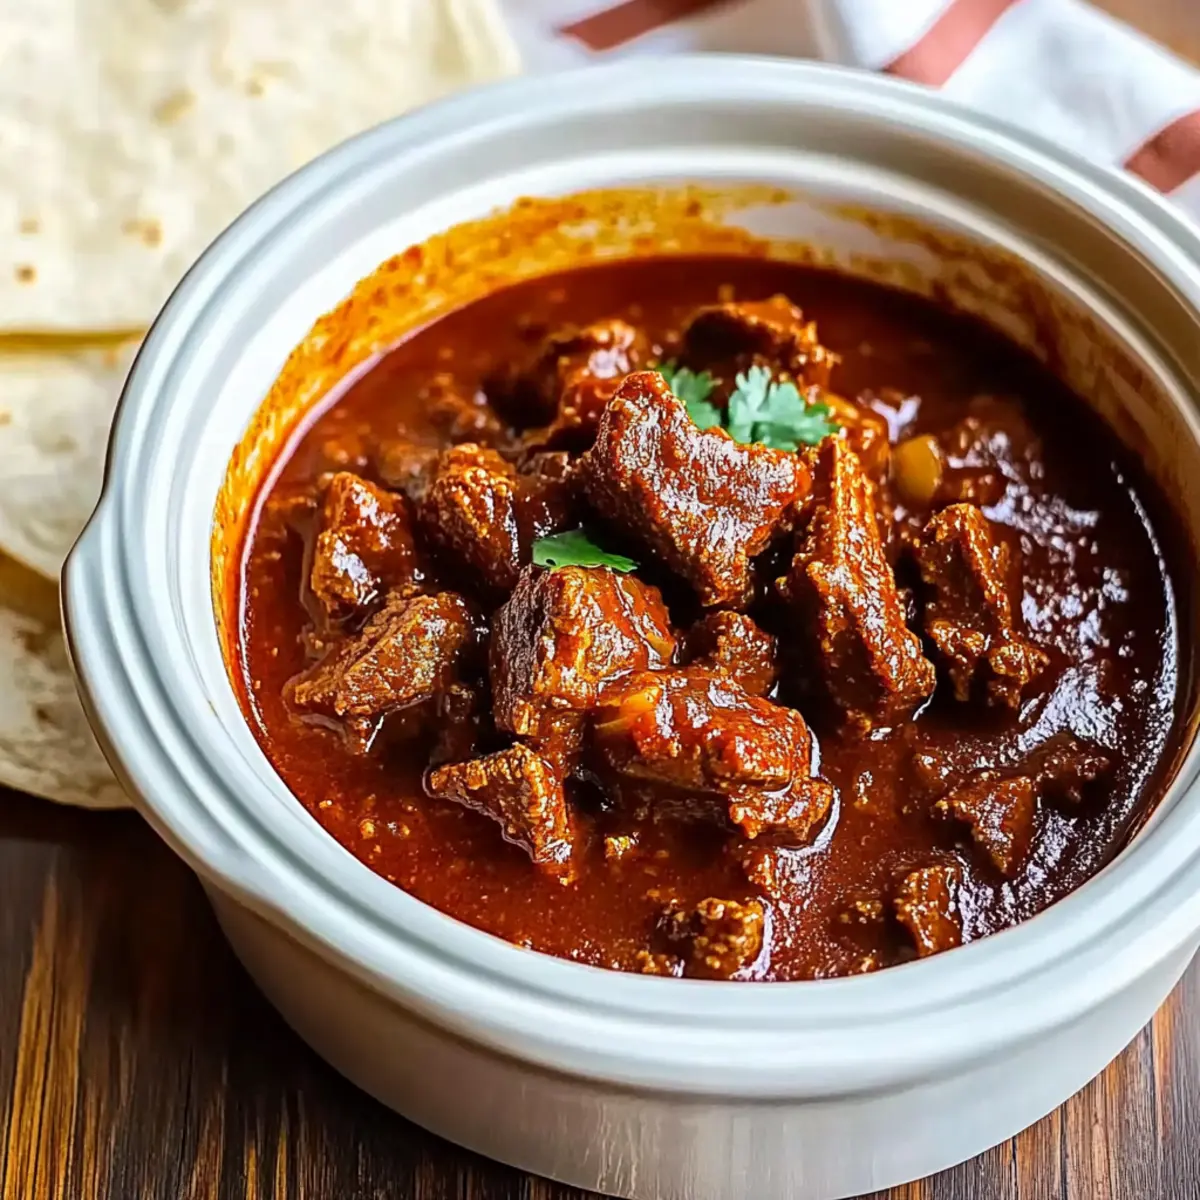
Stir in your Cajun seasoning, adjusting to your desired spice level. Reduce the heat to low and let the Louisiana Seafood Gumbo simmer uncovered for 45 minutes to 1 hour, stirring occasionally. The gumbo will thicken, and the flavors will deepen, creating a comforting, hearty dish that evokes the spirit of Cajun cuisine.
Step 6: Incorporate Seafood
In the final 10-15 minutes of cooking, gently fold in the raw shrimp and lump crab meat. This ensures they remain tender and juicy. Watch closely as the seafood cooks; it will turn opaque when done. Avoid overcooking to maintain the seafood's delightful texture within your gumbo.
Step 7: Finish and Garnish
Once the seafood is cooked to perfection, remove the bay leaves from the pot. Taste your Louisiana Seafood Gumbo and adjust the seasoning if necessary. To finish, garnish with freshly chopped green onions, adding a bright touch that enhances both the visual appeal and flavor of this nourishing dish.
Step 8: Serve
Serve your delicious Louisiana Seafood Gumbo over a generous scoop of cooked white rice. The rice will soak up the savory broth, making each bite delightful. Enjoy it with crusty French bread or cornbread on the side for an authentic Southern dining experience that warms the soul.

How to Store and Freeze Louisiana Seafood Gumbo
- Fridge: Store leftovers in an airtight container for up to 3 days. Allow the gumbo to cool to room temperature before sealing to maintain freshness.
- Freezer: For longer storage, freeze the Louisiana Seafood Gumbo in a freezer-safe container for up to 3 months. Consider portioning it for easy reheating!
- Reheating: When ready to enjoy, thaw in the fridge overnight. Reheat gently on the stove over low heat, adding a splash of stock if needed to bring back its velvety texture.
- Tip: Avoid freezing with the rice, as it can become mushy. Store rice separately and add it fresh when serving!
What to Serve with Louisiana Seafood Gumbo
The perfect accompaniments can elevate your gumbo experience, turning a comforting dish into a memorable meal.
- Fluffy White Rice: This classic pairing effortlessly absorbs the rich, smoky broth, delivering just the right balance of flavors in every bite.
- Crusty French Bread: Ideal for dipping, the crunchy texture complements the silky gumbo while soaking up its savory goodness.
- Fresh Side Salad: A crisp salad with mixed greens and a light vinaigrette provides a refreshing contrast to the hearty gumbo, enhancing the meal's overall experience.
- Cornbread: Sweet and buttery, cornbread is a delightful side that adds warmth and a satisfying texture to your dining table.
- Creamy Coleslaw: The crunchy, tangy slaw offers a whirlwind of flavor that cuts through the richness of the gumbo, providing a delightful crunch.
- Crispy Fried Green Tomatoes: These Southern classics add a tangy kick and crunchy texture, perfect for dipping into your bowl of gumbo.
- Cold Beer or Sweet Tea: Refreshing beverages like a light lager or iced sweet tea can beautifully complement the spice and richness of your gumbo.
- Lemon Sorbet: For a light and refreshing dessert, lemon sorbet cleanses the palate after the robust flavors of the gumbo, capping off your meal perfectly!
Louisiana Seafood Gumbo Variations
Customize your Louisiana Seafood Gumbo to make it uniquely yours, bursting with flavors that excite the senses!
-
Vegetarian Option: Swap seafood for a mix of mushrooms and seasonal vegetables; this keeps the rich flavors while going meat-free. You'll still enjoy a hearty dish that satisfies the soul without losing the comforting essence of gumbo.
-
Hot and Spicy: Add cayenne pepper or red pepper flakes to the simmering pot for that fiery kick. Spice lovers will go wild for the depth of heat intermingling with the rich flavors!
-
Coconut Variation: Stir in coconut milk toward the end for a creamy, tropical twist. This addition elevates your gumbo into a slightly sweet, luscious treat that tempts both the adventurous and classic palates alike.
-
Seafood Medley: Use a variety of seafood such as scallops or clams, along with shrimp and crab, for a diverse textural experience. Every bite will be an exciting taste adventure, showcasing the best of what the ocean has to offer in your gumbo.
-
Herb Additions: Brighten up your gumbo with fresh herbs like thyme or parsley added right before serving. These fresh notes enhance the dish's aroma, adding a delightful pop of color and flavor.
For more delightful pairings, considering serving this with a side of Seafood Pasta Savory for an exciting twist! You can also try out some delicious additions to this comforting dish, ensuring every bowl is warmed by culinary creativity. Enjoy the journey of flavor exploration as you make this recipe your own.
Make Ahead Options
Preparing your Louisiana Seafood Gumbo ahead of time is a fantastic way to save time during busy weeknights! You can make the roux (the flavor foundation) and simmer the vegetable and sausage base up to 24 hours in advance; just store it in an airtight container in the refrigerator. When you're ready to enjoy, simply reheat the gumbo on the stove, then add your raw shrimp and lump crab meat, cooking for the final 10-15 minutes until just tender. This approach not only enhances the flavors but also ensures your gumbo is just as delicious when serving. For optimal taste, consider allowing the gumbo to rest overnight in the fridge for even deeper flavor development!
Expert Tips for Louisiana Seafood Gumbo
-
Perfect the Roux: Stir continuously while cooking the roux to prevent burning. A well-developed roux is essential for the deep flavor of your Louisiana Seafood Gumbo.
-
Add Seafood Last: Incorporate shrimp and crab meat in the last 10-15 minutes of cooking to keep their texture tender and juicy. Avoid overcooking!
-
Season Gradually: Taste and adjust seasoning throughout the cooking process. The flavors meld as the gumbo simmers, so always tweak your Louisiana Seafood Gumbo just before serving.
-
Let It Rest: For deeper flavors, allow the gumbo to rest overnight in the fridge. Reheat gently, adding stock if needed, to revive its richness.
-
Customize Your Ingredients: Whether you want more spice or a vegetarian twist, feel free to experiment with different seafood, vegetables, and seasonings to make this gumbo your own!

Louisiana Seafood Gumbo Recipe FAQs
What seafood is best for Louisiana Seafood Gumbo?
For the best flavor, I recommend using raw shrimp and lump crab meat. Fresh and in-season seafood will elevate your gumbo significantly, but feel free to mix it up with scallops or even clams for variety! Just avoid using pre-cooked shrimp as they tend to be rubbery in texture when added.
How should I store leftovers?
Absolutely! Store any leftover Louisiana Seafood Gumbo in an airtight container in the refrigerator for up to 3 days. Let it cool to room temperature before sealing it up to keep that freshness intact.
Can I freeze Louisiana Seafood Gumbo?
Yes, you can easily freeze your gumbo! Store it in a freezer-safe container for up to 3 months. Just make sure to cool it completely before freezing. When you’re ready to enjoy, thaw it in the fridge overnight and gently reheat on the stove, adding a splash of stock to regain its creamy consistency.
What if my roux burns?
If your roux burns, unfortunately, it can impart a bitter taste, and it’s best to start again. Stir continuously over medium heat to ensure an even brown color for about 20-30 minutes. A well-cooked roux should resemble dark chocolate without a burnt aroma!
Is this gumbo suitable for those with seafood allergies?
You can certainly adapt this recipe for allergies by substituting the seafood with hearty vegetables such as mushrooms or eggplant. Just make sure to adjust the cooking times to ensure everything is cooked properly and retains flavor.
How do I make this gumbo vegetarian?
For a delightful vegetarian Louisiana Seafood Gumbo, replace the seafood with a medley of seasonal vegetables like zucchini, bell peppers, and mushrooms. Use vegetable stock instead of seafood or chicken stock, and you’ll still enjoy a rich, comforting dish!
Savory Louisiana Seafood Gumbo That Warms Your Soul
Ingredients
Equipment
Method
- In a large heavy-bottomed pot, combine equal parts of all-purpose flour and vegetable oil over medium heat. Stir continuously for about 20-30 minutes until the roux turns a deep brown color.
- Once your roux is ready, add chopped yellow onion, celery, and green bell pepper to the pot. Sauté for about 5-7 minutes until they soften. Then, add minced garlic and cook for an additional minute.
- Stir in sliced andouille sausage and cook for about 5 minutes until it browns slightly. This will enhance the overall flavor of the gumbo.
- Gradually pour in the seafood or chicken stock while stirring to combine. Add diced tomatoes and bay leaves, and bring the mixture to a gentle simmer for about 10-15 minutes.
- Stir in your Cajun seasoning and let the gumbo simmer uncovered for 45 minutes to 1 hour, stirring occasionally.
- In the final 10-15 minutes, gently fold in the raw shrimp and lump crab meat. They will turn opaque when done.
- Remove bay leaves. Taste and adjust the seasoning if necessary. Garnish with freshly chopped green onions.
- Serve your Louisiana Seafood Gumbo over a scoop of cooked white rice.