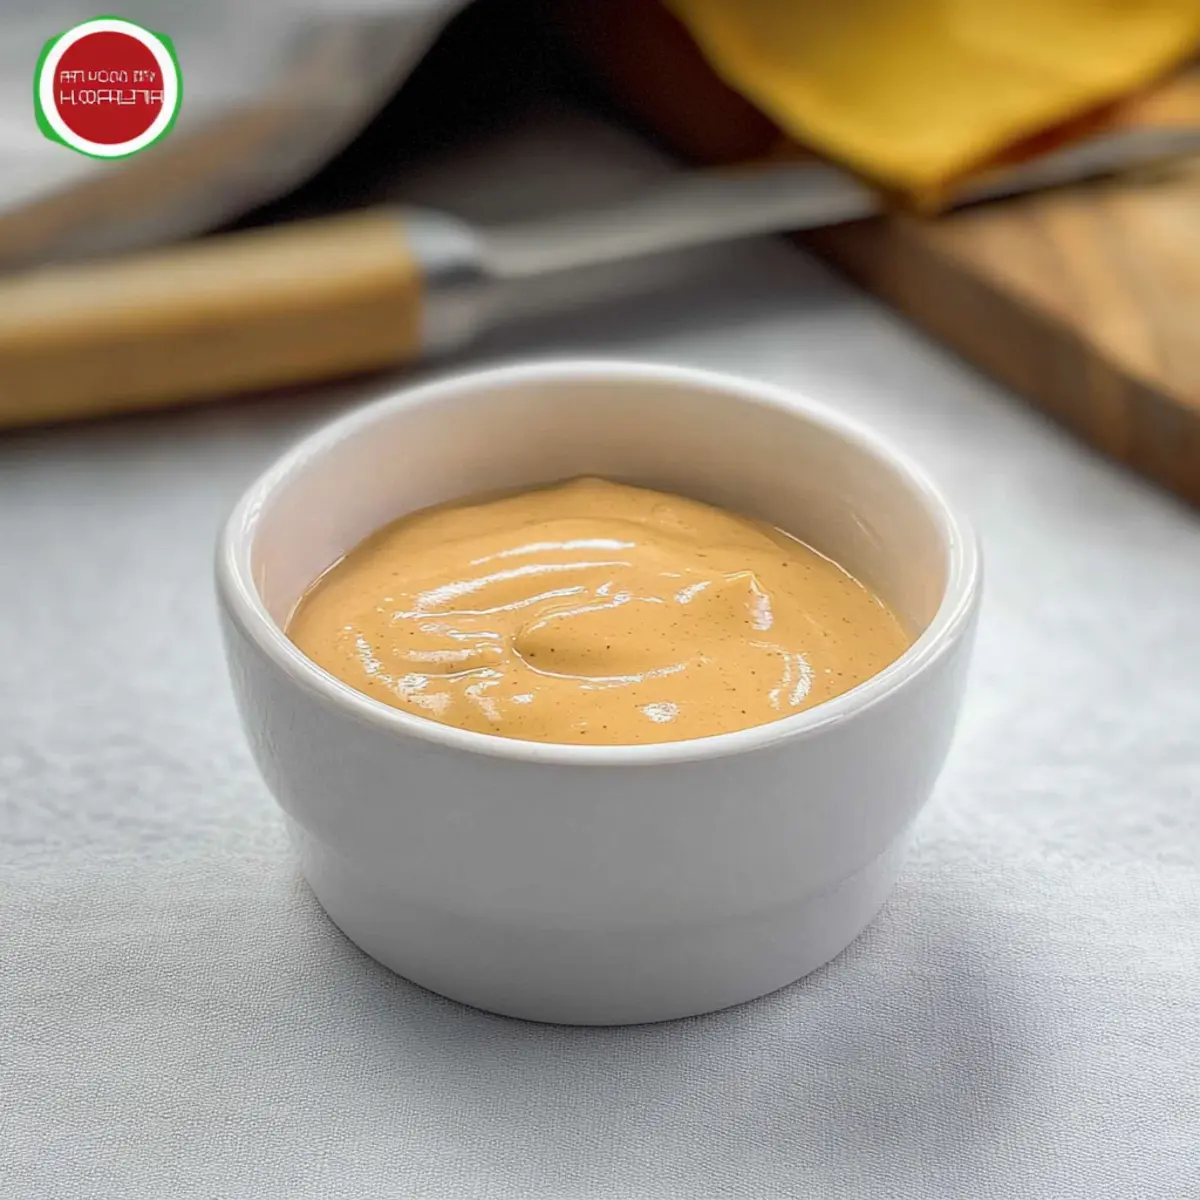
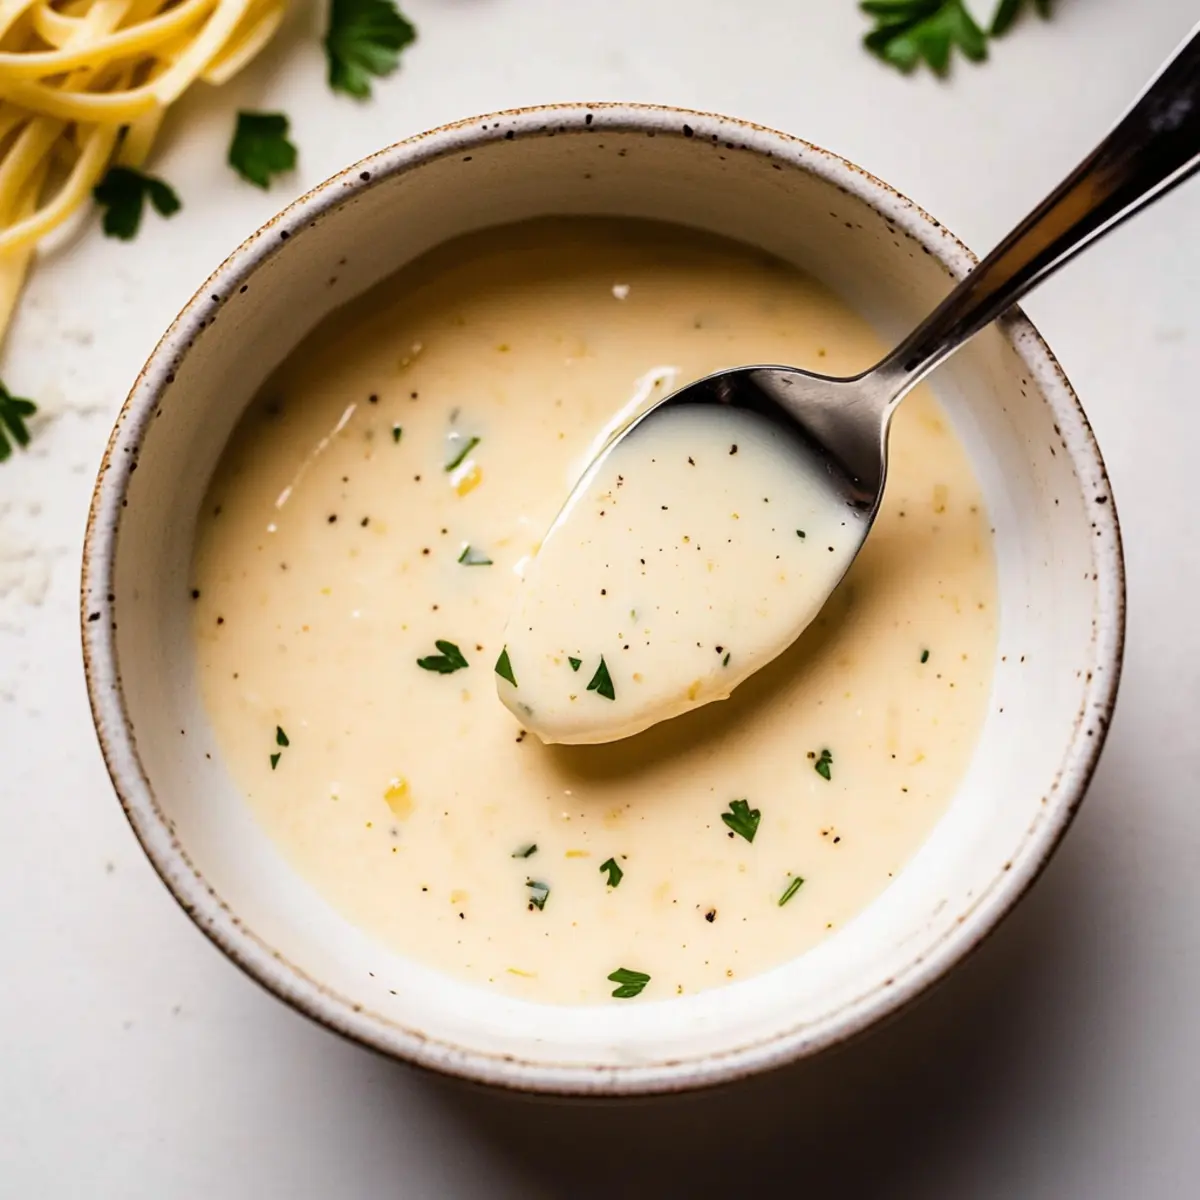
I’ll never forget the first time I whipped up a batch of this Quick Creamy Garlic Sauce; in just five minutes, my dinner transformed from ordinary to extraordinary. This sauce has become my go-to secret weapon in the kitchen, effortlessly elevating everything from pasta to grilled chicken with its rich, savory goodness. Best of all, it’s a breeze to make, needing just a few simple ingredients that you probably have on hand. Whether you're a busy home chef or someone looking to impress with minimal effort, this creamy delight is sure to bring warmth and comfort to your meals. Curious about how this quick masterpiece can lighten your cooking load while satisfying those taste buds? Let’s dive in!
Why Is This Sauce So Irresistible?
Quick preparation is key: In just five minutes, you can create a restaurant-quality sauce that turns any meal into a gourmet experience.
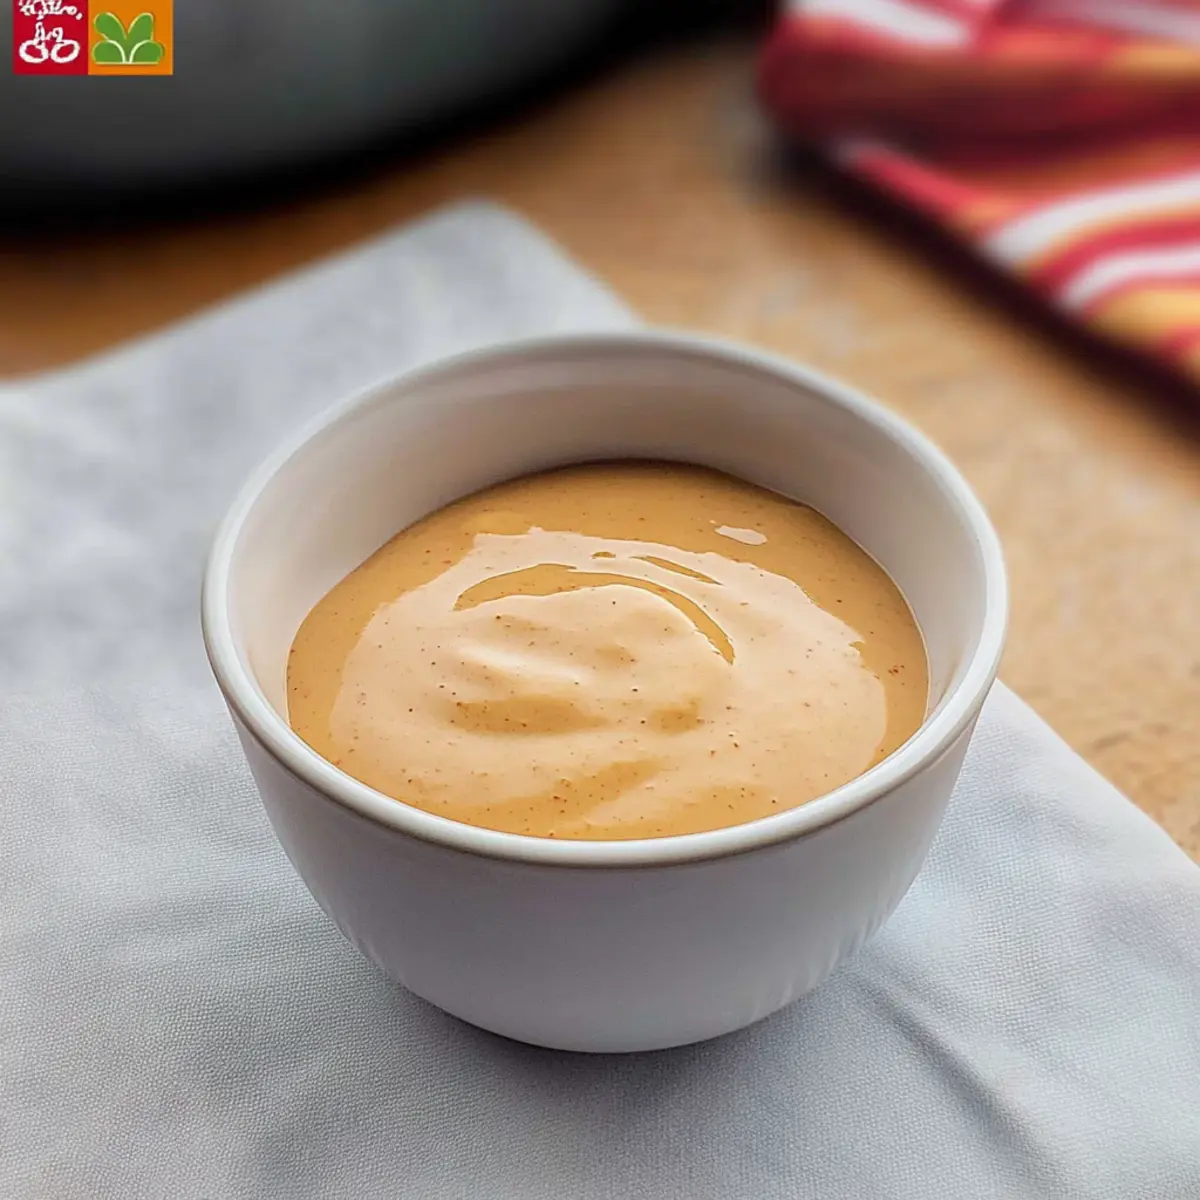
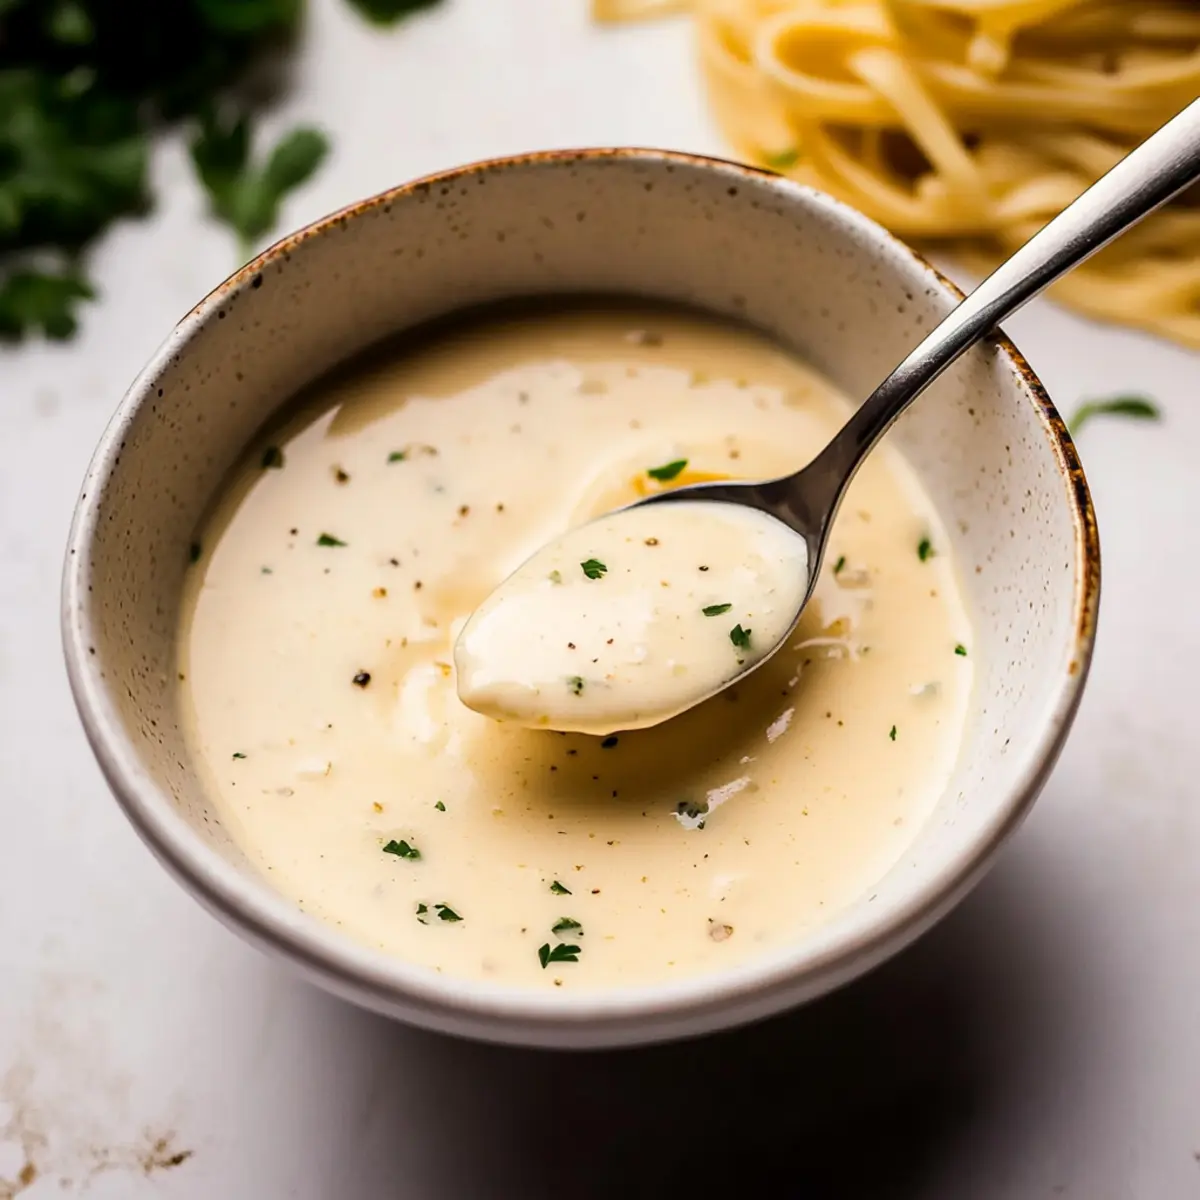
Creamy, rich flavor shines through with the perfect blend of garlic and butter, making it an instant favorite for both pasta lovers and chicken enthusiasts alike.
Versatile and easy to customize: Elevate your dish by adding sautéed veggies or fresh herbs based on what you have at home.
Perfect for meal prep: Make a larger batch and refrigerate or freeze for convenient weeknight meals, allowing you to whip up a delicious dinner in minutes, just like my favorite Cheesy Garlic Bread as a side!
Crowd-pleaser status: This sauce is a hit at family gatherings or dinner parties, ensuring everyone leaves satisfied and asking for the recipe!
Quick Creamy Garlic Sauce Ingredients
For the Sauce
• Unsalted Butter – Provides richness and helps in creating a smooth sauce; using unsalted allows for better salt control.
• Garlic – Freshly minced garlic delivers an aromatic, savory flavor that makes this sauce irresistible.
• Flour – Acts as a thickening agent, achieving that desired creamy texture; consider gluten-free flour as a substitute.
• Half and Half – Combines cream and milk for a lovely creamy consistency; swapping in heavy cream enhances the richness.
• Chicken Stock – Infuses depth into the sauce; vegetable stock or water are great substitutes for a vegetarian option.
• Fresh Parsley – Adds a pop of color and freshness; feel free to omit it if you'd like.
• Kosher Salt and Black Pepper – Elevates and balances flavors; adjust according to your taste preference.
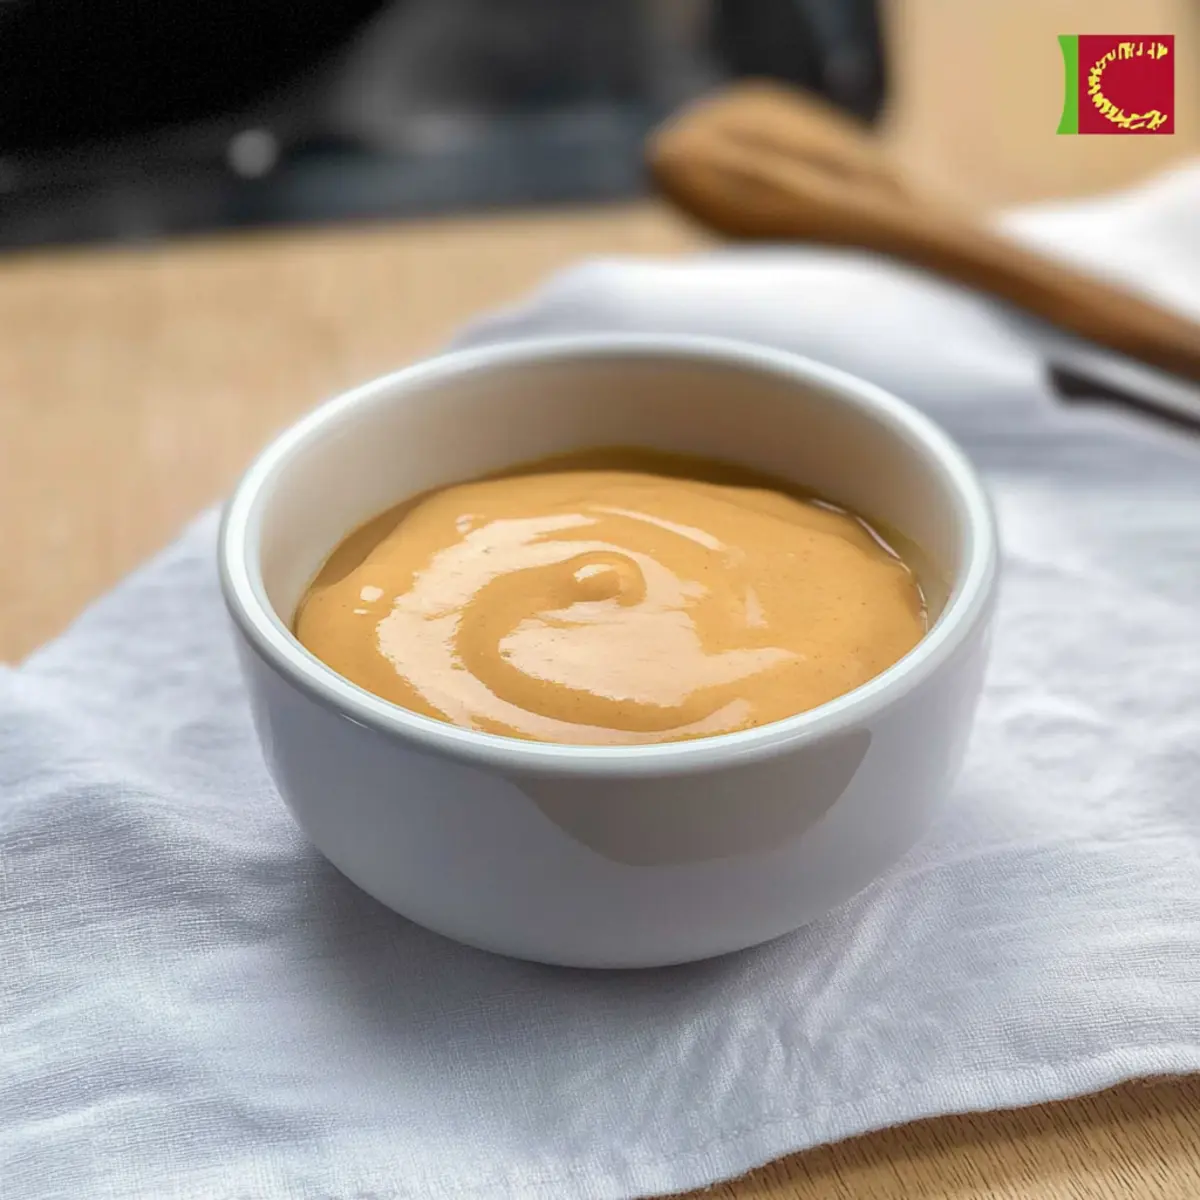
Dive into delight with this Quick Creamy Garlic Sauce that transforms meals effortlessly!
Step‑by‑Step Instructions for Quick Creamy Garlic Sauce
Step 1: Melt the Butter
In a large skillet over medium heat, melt 2 tablespoons of unsalted butter until bubbly and slightly frothy. This should take about 1-2 minutes. Keep an eye on the butter to prevent it from browning, as you want it to create the perfect base for your Quick Creamy Garlic Sauce.
Step 2: Sauté the Garlic
Add 6 minced garlic cloves to the skillet and sauté until fragrant, approximately 30 seconds. You'll know it's ready when the garlic becomes aromatic but isn’t browned. Stir continuously to ensure the garlic cooks evenly without burning, setting a delicious foundation for the sauce.
Step 3: Incorporate the Flour
Stir in 2 tablespoons of flour, cooking for about 1-2 minutes until the mixture turns lightly golden. This step is crucial as it creates a roux that will thicken your Quick Creamy Garlic Sauce. Stir continuously to prevent clumping and ensure even cooking.
Step 4: Add the Creamy Base
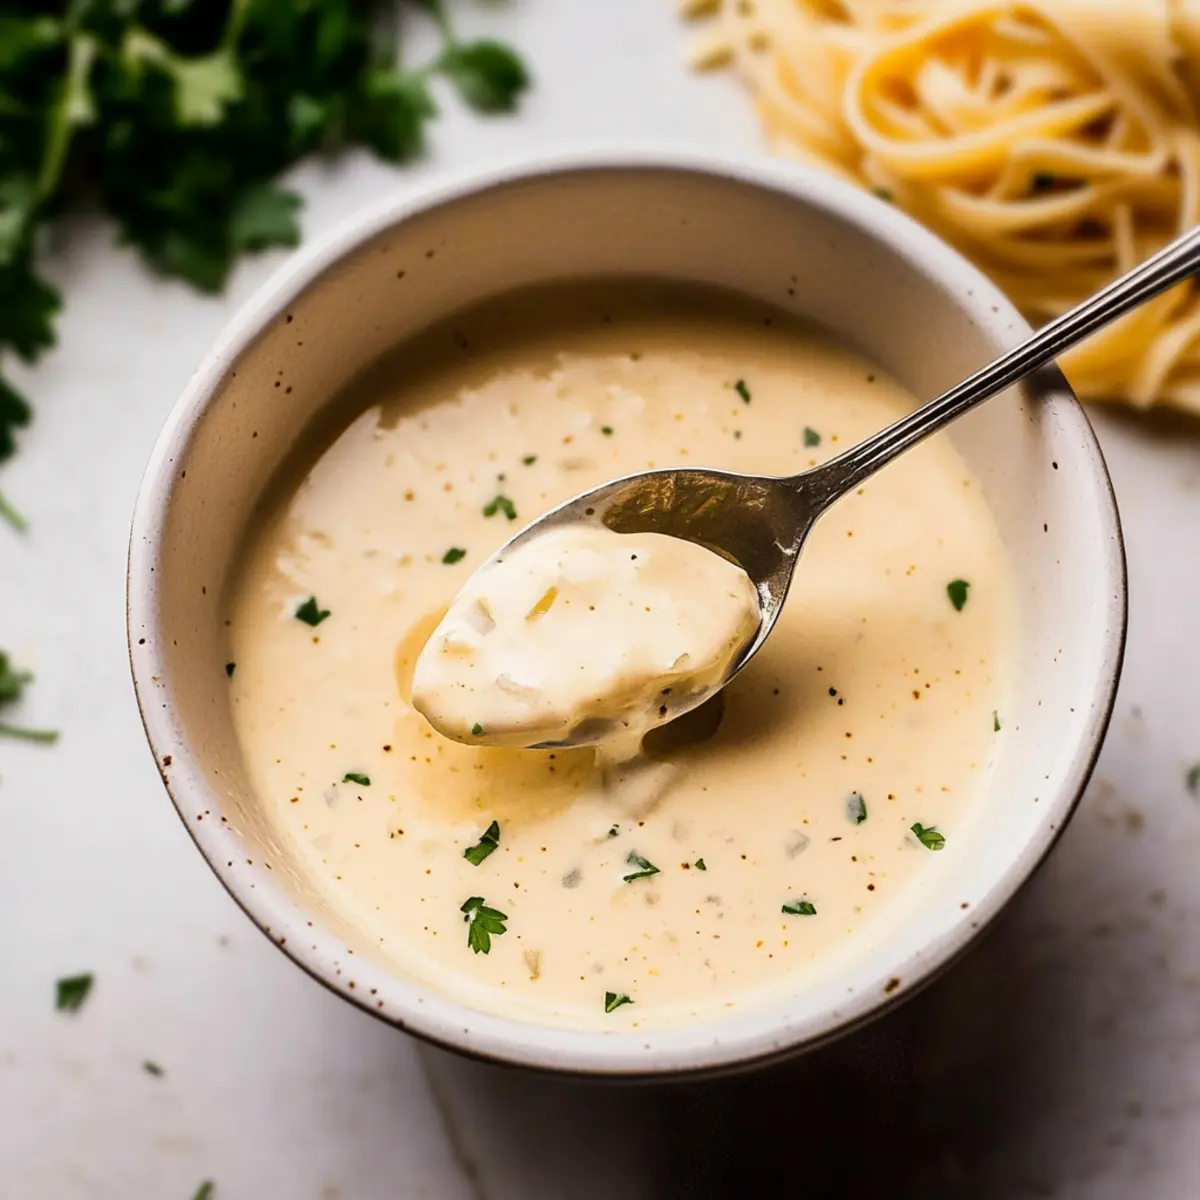
Gradually whisk in 1½ cups of half and half and ½ cup of chicken stock, keeping the heat on medium. Continue to stir for about 1-2 minutes, or until the sauce thickens. Observe the sauce as it transforms into a creamy consistency, perfect for coating your favorite dishes.
Step 5: Season and Finish
Finally, incorporate 2 tablespoons of minced fresh parsley into the sauce and season with kosher salt and black pepper to taste. Stir to combine all flavors, letting the sauce heat through for another minute. Your Quick Creamy Garlic Sauce is now ready to elevate any meal you serve it with!
Make Ahead Options
These Quick Creamy Garlic Sauce preparations are perfect for busy home cooks aiming to save time during the week! You can make the sauce up to 3 days in advance; simply prepare it up to the point of seasoning, allow it to cool, and then refrigerate in an airtight container to maintain its rich flavor and creamy texture. To enhance quality, reheat the sauce gently over medium-low heat, adding a splash of half and half or chicken stock to adjust the consistency before serving. This way, you’ll have a delectable sauce ready to elevate any dish without the last-minute fuss—just perfect for those hectic weeknights!
What to Serve with Quick Creamy Garlic Sauce?
The perfect companion to your next meal, this sauce invites a world of delicious pairings that will delight your taste buds.
-
Creamy Mashed Potatoes: Silky and buttery, mashed potatoes soak up this garlic sauce, making each bite comforting and rich.
-
Grilled Chicken: The savory garlic sauce elevates juicy grilled chicken, creating a mouth-watering combination bursting with flavor and tenderness.
-
Steamed Broccoli: Fresh and crisp, steamed broccoli provides a delightful crunch, balancing the creaminess of the sauce and adding a nutritious touch to your plate.
-
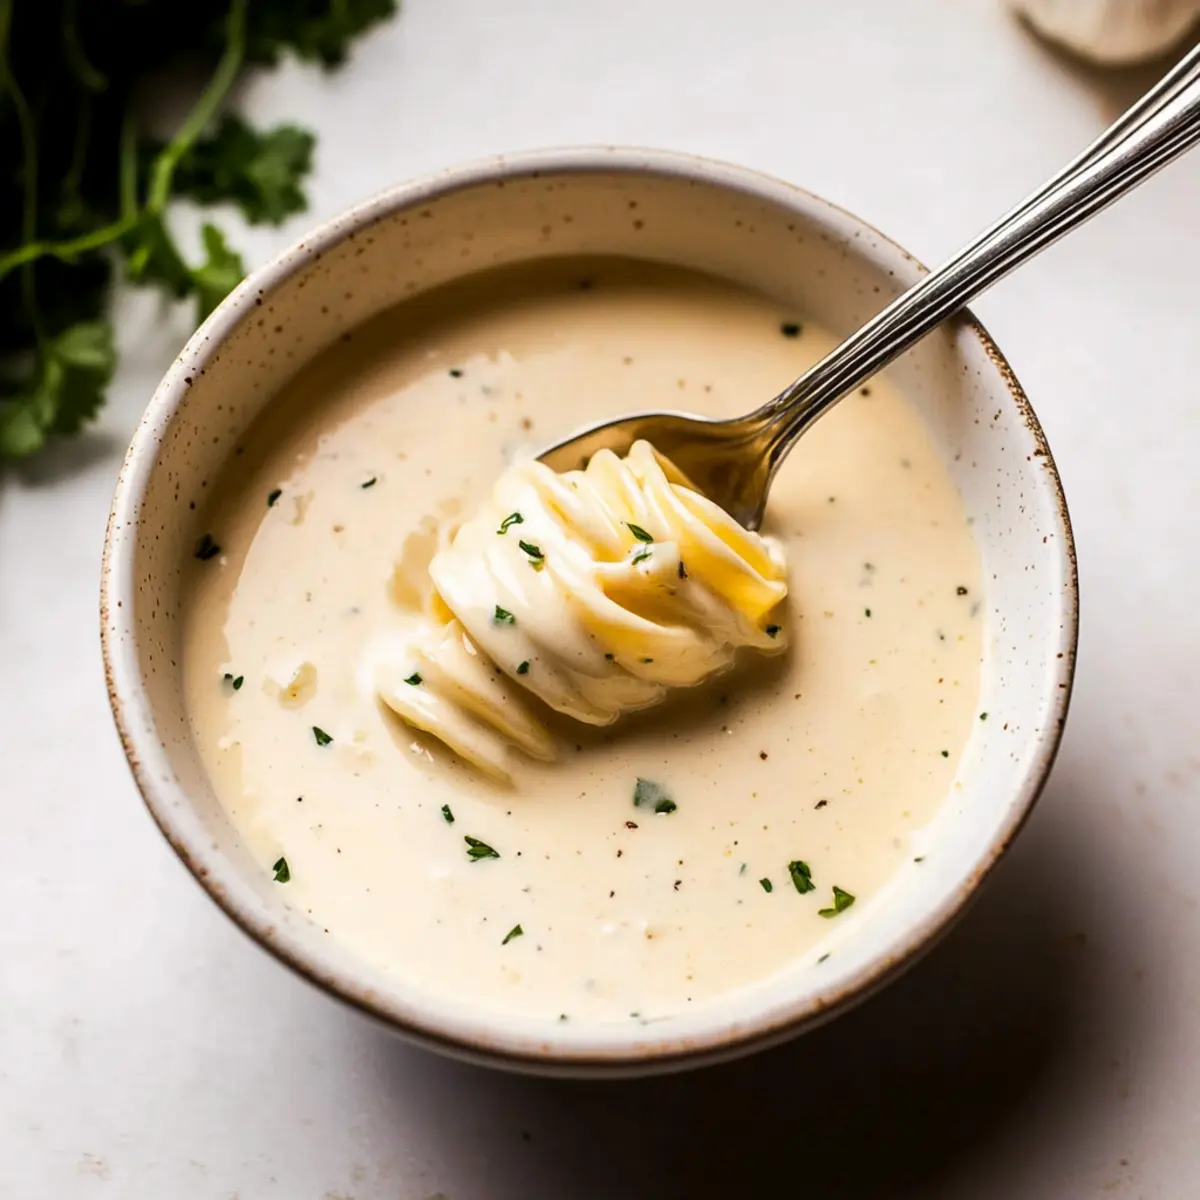
Linguine Pasta: This noodle’s long strands embrace the sauce beautifully, delivering a satisfying and hearty experience for pasta lovers.
-
Crusty Bread: Use toasted slices or warm breadsticks for dipping, allowing you to savor every last bit of the garlic goodness.
-
Caesar Salad: The crispness of romaine lettuce and crunch of croutons, dressed in light Caesar flavors, pair wonderfully with the garlic sauce for a balanced meal.
-
Sparkling White Wine: A chilled glass of sparkling white wine adds a refreshing pop, perfectly complementing the richness of the sauce while enhancing your dining experience.
How to Store and Freeze Quick Creamy Garlic Sauce
Fridge: Store your Quick Creamy Garlic Sauce in an airtight container for up to 3-4 days. Reheat gently on the stovetop, adding a splash of half and half or stock for the best texture.
Freezer: You can freeze the sauce for up to 2 months. Pour it into a freezer-safe container, leaving some room for expansion, and thaw in the refrigerator overnight before reheating.
Reheating: For optimal results, reheat in a skillet over medium-low heat, stirring frequently to prevent sticking. Add a little extra liquid if needed to achieve desired creaminess.
Airtight Storage: Ensure that your storage container is completely airtight to prevent freezer burn and preserve the luscious flavor of the sauce.
Expert Tips for Quick Creamy Garlic Sauce
-
Perfect Garlic Timing: Always sauté garlic until fragrant, but not browned. Overcooked garlic can taste bitter, ruining the sauce's balance.
-
Flour Precision: Stir flour for 1-2 minutes until golden; this avoids a raw taste in your Quick Creamy Garlic Sauce.
-
Watch the Simmer: Keep an eye on your sauce as it thickens. Too much time can lead to an overly thick and sticky texture.
-
Adjust Consistency: If reheating, add a bit of stock or half and half to maintain creaminess without losing flavor.
-
Savory Substitutes: Feel free to switch chicken stock for vegetable stock for a vegetarian version while maintaining depth in flavor.
Quick Creamy Garlic Sauce Variations
Feel free to spark your creativity by customizing this delicious sauce to suit your taste preferences!
-
Heavy Cream: Swap half and half with heavy cream for an even richer taste and ultra-creamy consistency. Trust me, your pasta will thank you!
-
Herb-Infused: Mix in fresh basil or thyme for a delightful twist on flavor—try it with grilled chicken or vegetables for a seasonal touch.
-
Sautéed Veggies: Toss in sautéed mushrooms or spinach to boost nutrition and add a lovely pop of color. These additional elements elevate the sauce in a hearty way.
-
Spicy Kick: Add a pinch of red pepper flakes or a dash of hot sauce for those who enjoy a little heat. The warmth will beautifully complement the garlic's richness.
-
Lemon Zest: Stir in some freshly grated lemon zest for a zesty brightness that balances the sauce’s creaminess. This is especially refreshing over seafood dishes or light pasta sides!
-
Cheesy: Sprinkle in freshly grated Parmesan or your favorite cheese to create an irresistible cheesy sauce. Pair it with a comforting bowl of fettuccine or on top of baked chicken.
-
Veggie Stock: Replace chicken stock with vegetable stock for a vegetarian-friendly version that still packs a savory punch, perfect for pasta and veggies!
Make sure to explore these options and mix and match according to what you're serving—like pairing it with my Shrimp Tacos or slathering it on warm Cheesy Garlic Bread. Enjoy your culinary journey!
Quick Creamy Garlic Sauce Recipe FAQs
How do I choose the best garlic for this sauce?
Absolutely! When selecting garlic, look for firm, unblemished cloves with no dark spots or sprouting. Fresh garlic offers the best flavor, so avoid any that feel soft or have begun to turn green.
How should I store leftover Quick Creamy Garlic Sauce?
You can easily store your sauce in an airtight container in the refrigerator for up to 3-4 days. Make sure it cools down to room temperature before sealing to avoid condensation, which can affect the sauce's texture.
Can I freeze my Quick Creamy Garlic Sauce?
Yes! To freeze, pour the sauce into a freezer-safe container, leaving enough space at the top for it to expand. It will keep well for up to 2 months. Just thaw it overnight in the fridge when you're ready to use it, and reheat gently on the stovetop.
What should I do if my sauce is too thick?
No worries! If your sauce thickens more than desired, gradually whisk in a splash of chicken stock or half and half while reheating. This will help you achieve that perfect creamy consistency without compromising on flavor.
Is this sauce suitable for people with dairy allergies?
This Quick Creamy Garlic Sauce does contain dairy, but you can easily customize it for a dairy-free version. Swap the half and half with a non-dairy milk like almond or coconut milk, and use a plant-based butter alternative. Just be mindful to season appropriately, as non-dairy options tend to have milder flavors.
How can I enhance the flavor of my garlic sauce?
To elevate your sauce further, consider adding sautéed vegetables like spinach or mushrooms during the cooking process. Fresh herbs such as basil, parsley, or thyme can also add vibrant notes to the sauce, giving it a more complex flavor profile. The more, the merrier!
Quick Creamy Garlic Sauce You Can Whip Up in 5 Minutes
Ingredients
Equipment
Method
- Melt the butter in a large skillet over medium heat until bubbly and slightly frothy, about 1-2 minutes.
- Add minced garlic and sauté until fragrant, approximately 30 seconds, stirring continuously.
- Stir in flour, cooking for about 1-2 minutes until the mixture turns lightly golden, creating a roux.
- Gradually whisk in half and half and chicken stock, stirring continuously for about 1-2 minutes until the sauce thickens.
- Incorporate fresh parsley and season with kosher salt and black pepper to taste, heating through for another minute.