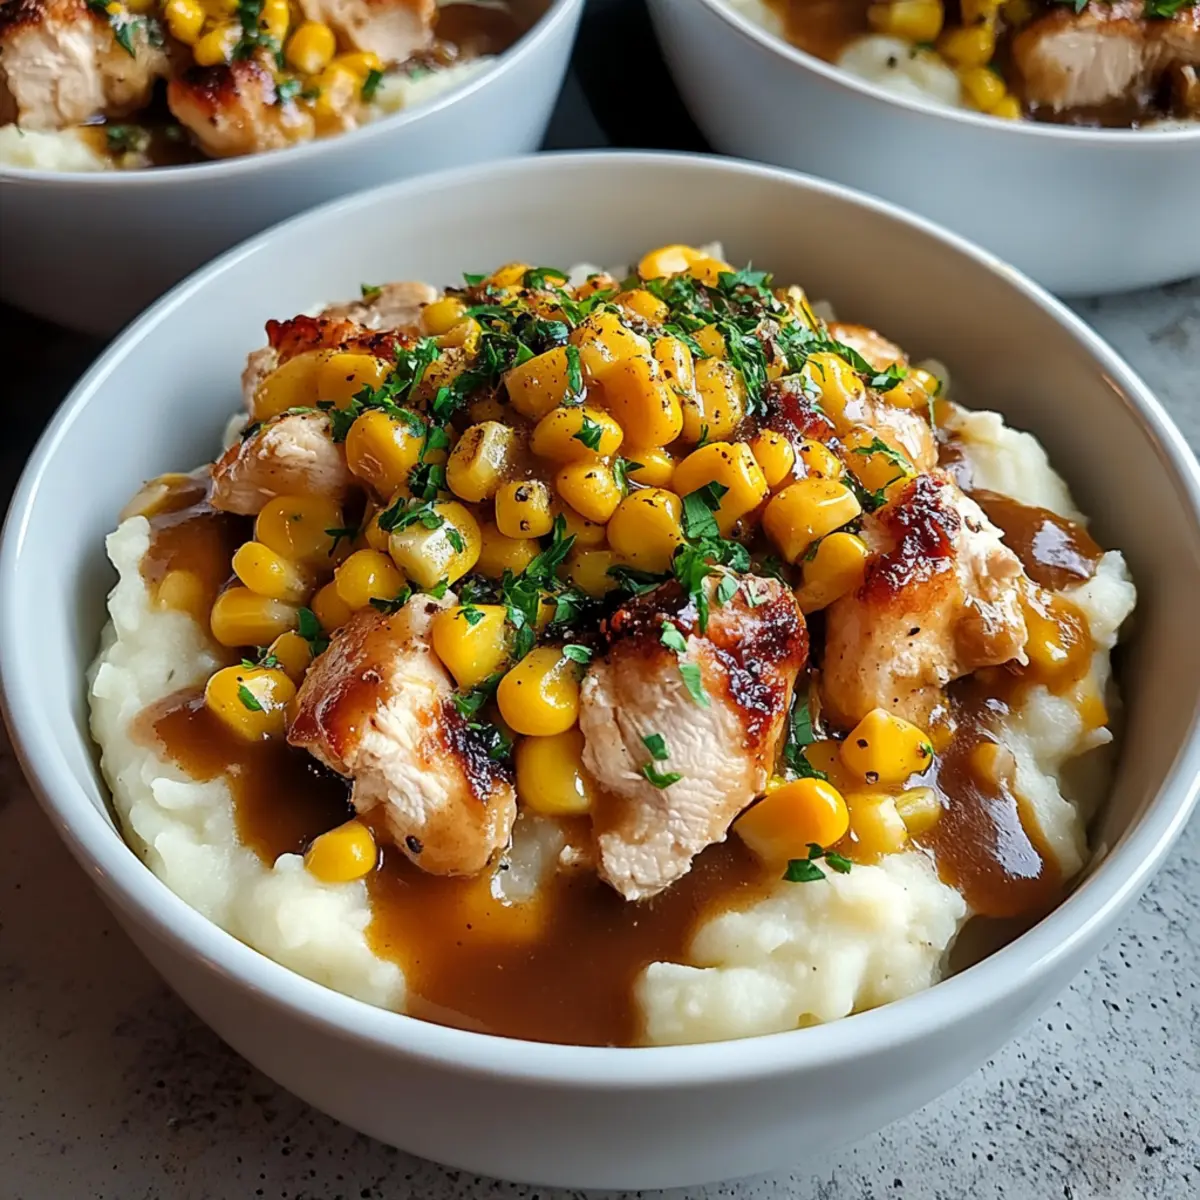
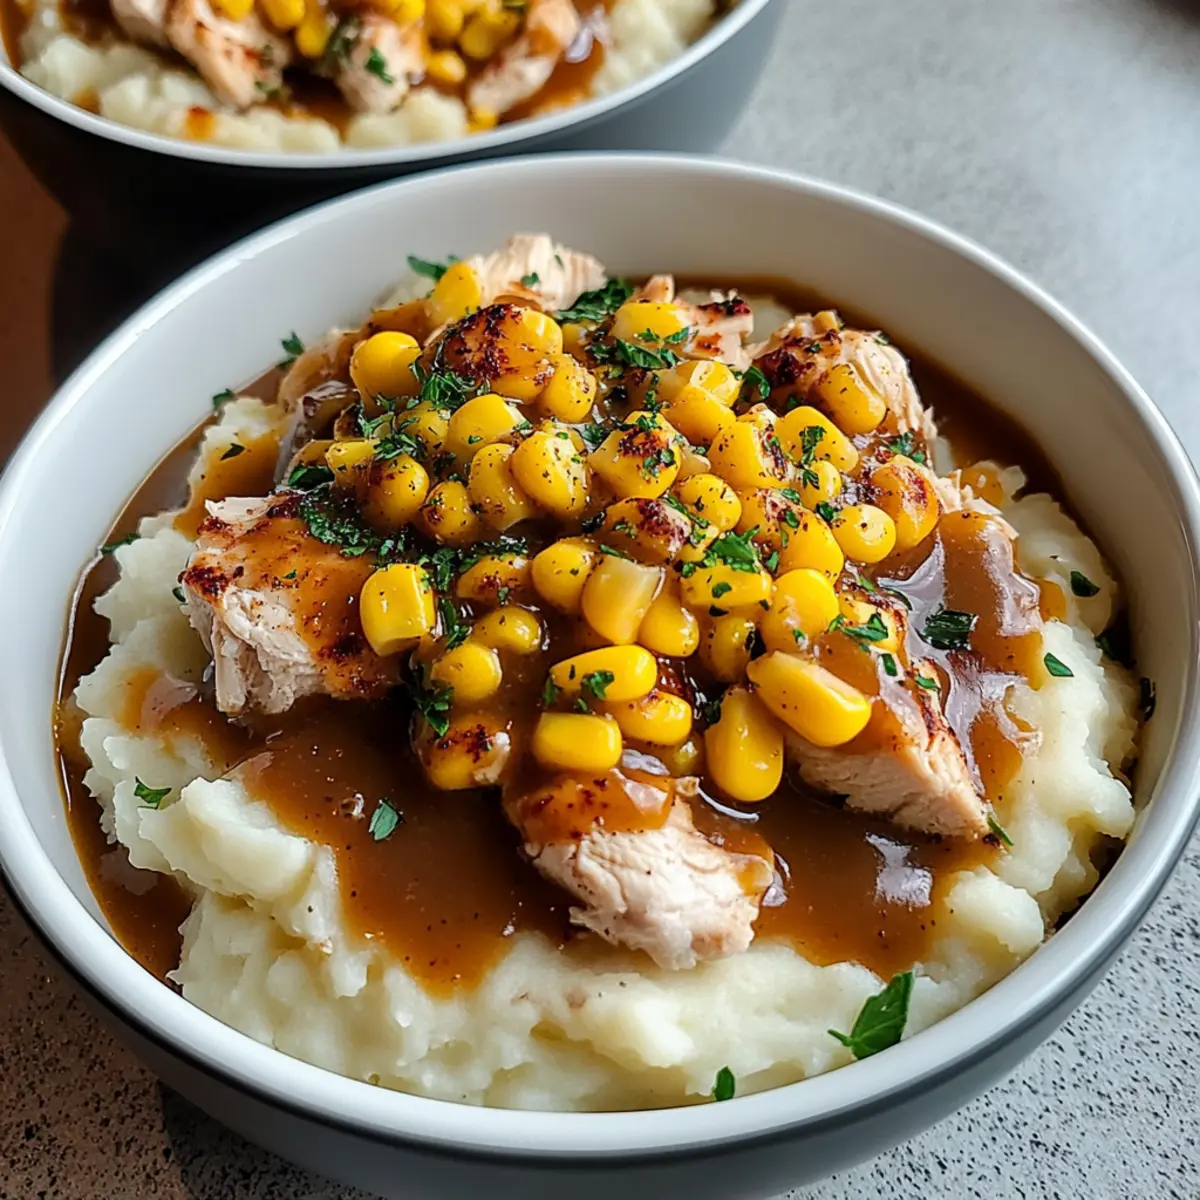
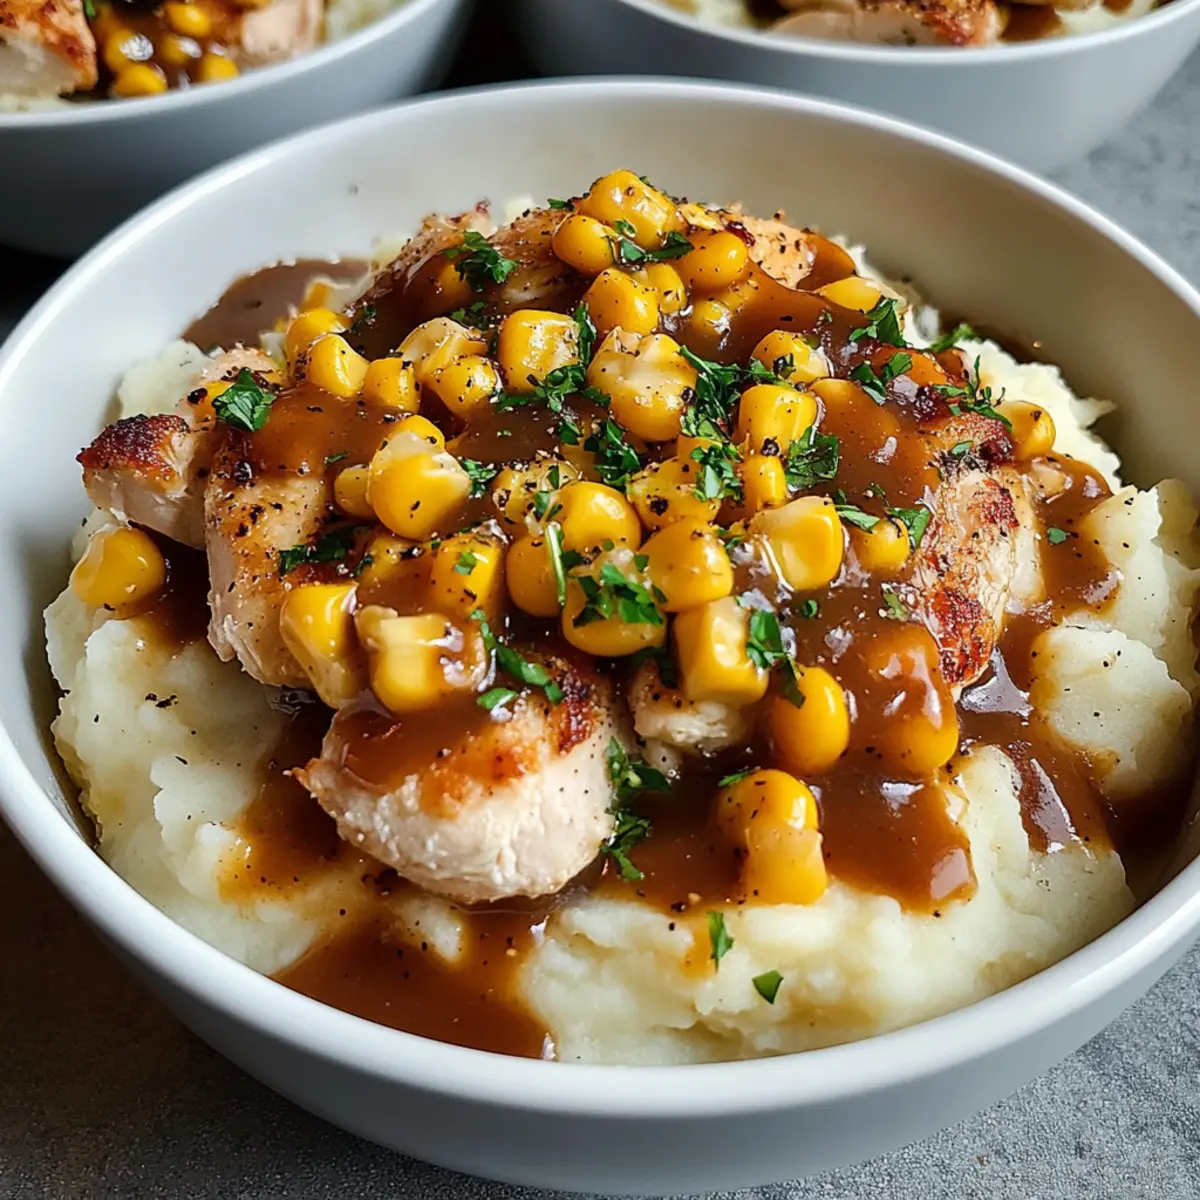
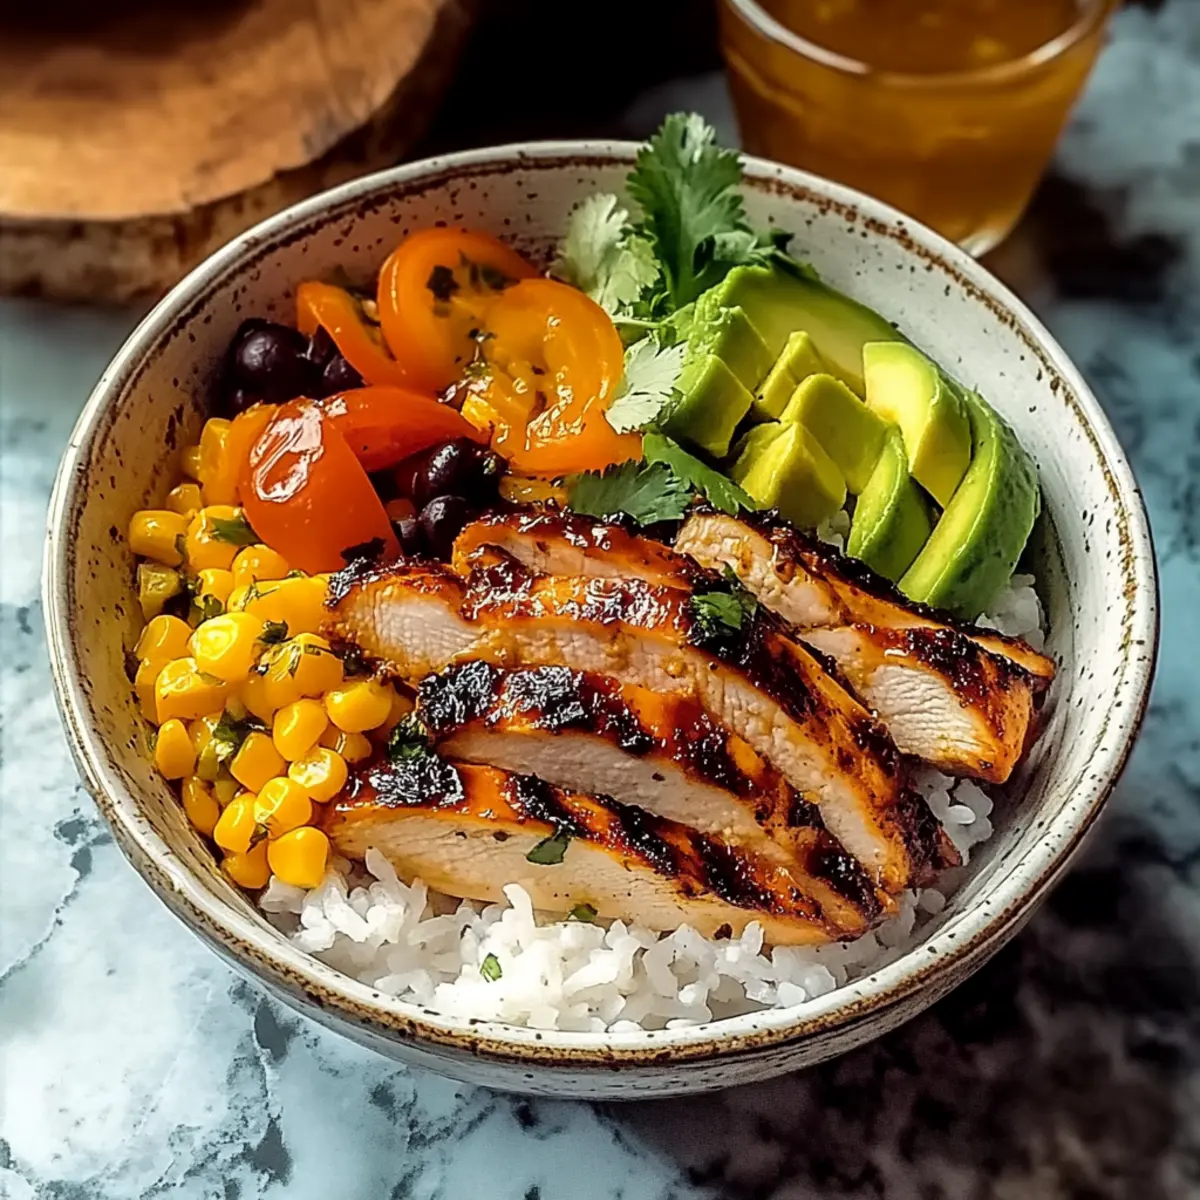
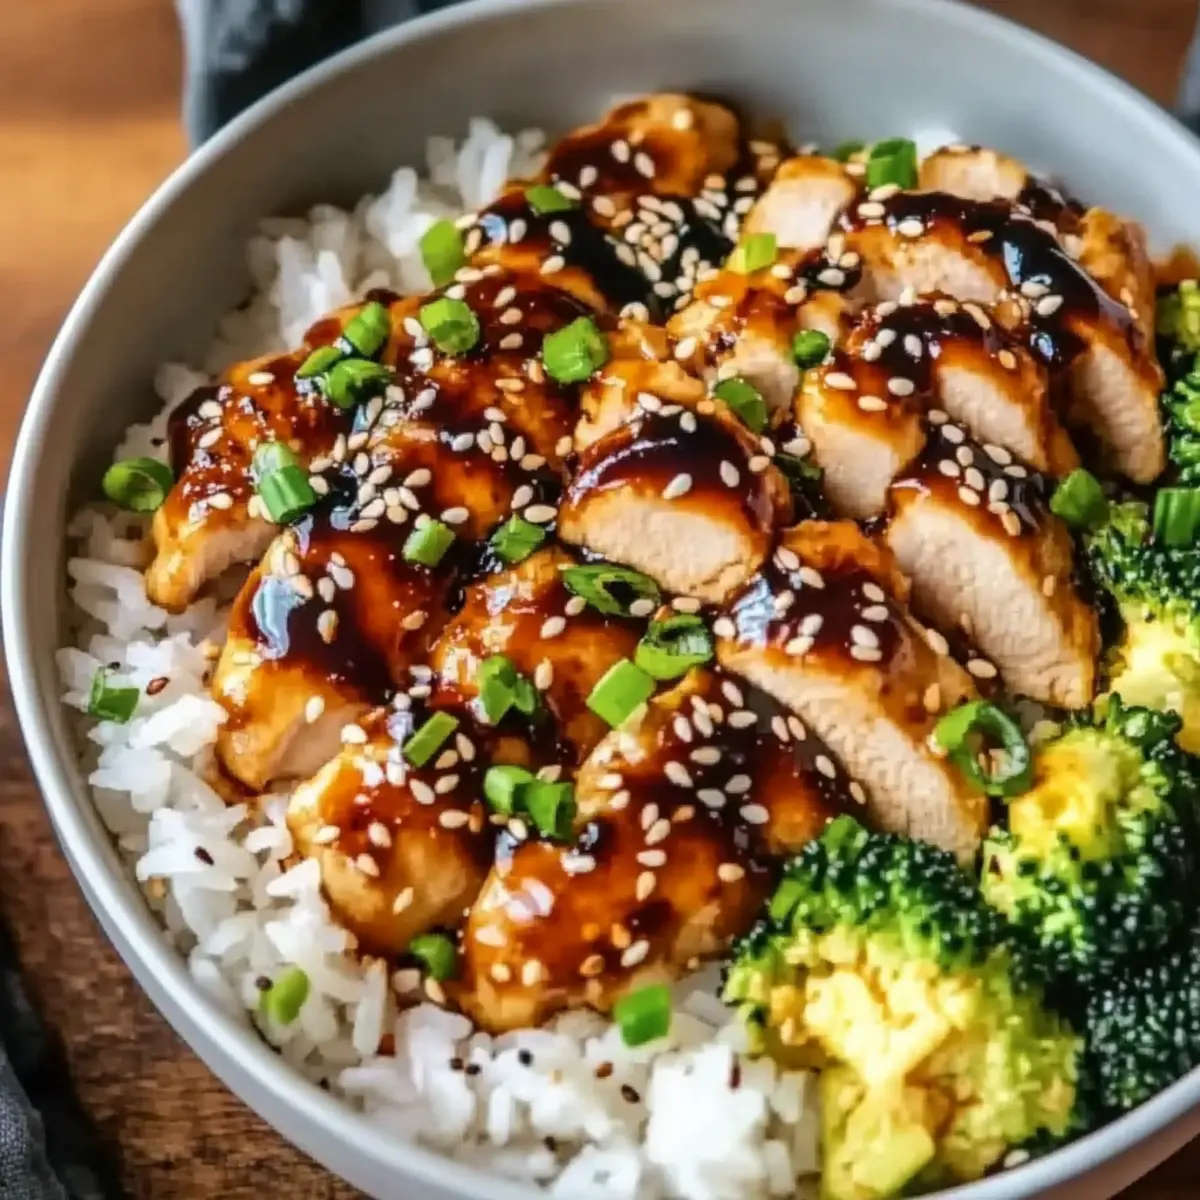
As I stood at my kitchen counter, the aroma of marinated chicken wafted around me, evoking memories of cozy dinners and laughter shared with family. These Delicious Sticky Chicken Rice Bowls are my go-to recipe for busy weeknights, blending succulent chicken with fluffy jasmine rice and a tangy, sticky sauce that elevates every bite. Not only are they incredibly easy to whip up—perfect for anyone tired of fast food—but this dish also satisfies cravings for comforting, homemade meals. What I love most is how flexible it is; you can easily make it gluten-free with simple substitutions! Ready to discover a comforting bowl of joy that will become your new family favorite? Keep reading to find out how to create this quick and flavorful delight!
Why are these Sticky Chicken Rice Bowls a hit?
Flavor-packed comfort: You’ll absolutely adore the combination of sweet, savory, and slightly spicy flavors that create a delightful symphony in every bite.
Quick & easy: This dish comes together in no time, making it the perfect solution for busy weeknights when you crave homemade goodness over fast food.
Versatile options: Feel free to switch up the veggies or try different marinades to suit your taste; this recipe's flexibility ensures you’ll never get bored.
Nutritious & satisfying: Combining protein, carbs, and vegetables, these bowls offer a well-rounded meal that leaves everyone feeling full and happy. Whether paired with a side of steamed veggies or served solo, it’s both a crowd-pleaser and a comforting treat. If you're looking for more delicious chicken ideas, check out my Honey Garlic Chicken for another irresistible flavor experience!
Sticky Chicken Rice Bowls Ingredients
• You won't believe how simple these Sticky Chicken Rice Bowls are to make!
For the Chicken
- Chicken Thighs – A tender and flavorful choice; can substitute with chicken breast but adjust cooking time to prevent dryness.
- Low-Sodium Soy Sauce – Provides umami and saltiness; use gluten-free soy sauce or tamari for a gluten-free option.
- Honey – Adds sweetness and helps with caramelization; substitute with maple syrup if needed.
- Apple Cider Vinegar – Balances sweetness with acidity; rice vinegar works as a good alternative.
- Sesame Oil – Adds a rich, nutty flavor; replace with olive oil for a milder taste.
- Garlic (minced) – Provides aromatic flavor; fresh is best, but garlic powder is fine in a pinch.
- Ginger (grated) – Essential for warmth and depth of flavor; ground ginger can substitute, but use less.
- Red Pepper Flakes – Adds heat; feel free to omit if you prefer a milder dish.
For the Rice
- Jasmine Rice – The perfect base for these bowls, providing a fluffy texture; long-grain rice can be used if necessary.
- Chicken Broth or Water – Cooking liquid for the rice adds richness; vegetable broth can replace water for a vegetarian version.
For the Sauce
- Cornstarch & Water Mixture – Optional for thickening the sauce; use if you desire a stickier glaze.
For Garnish
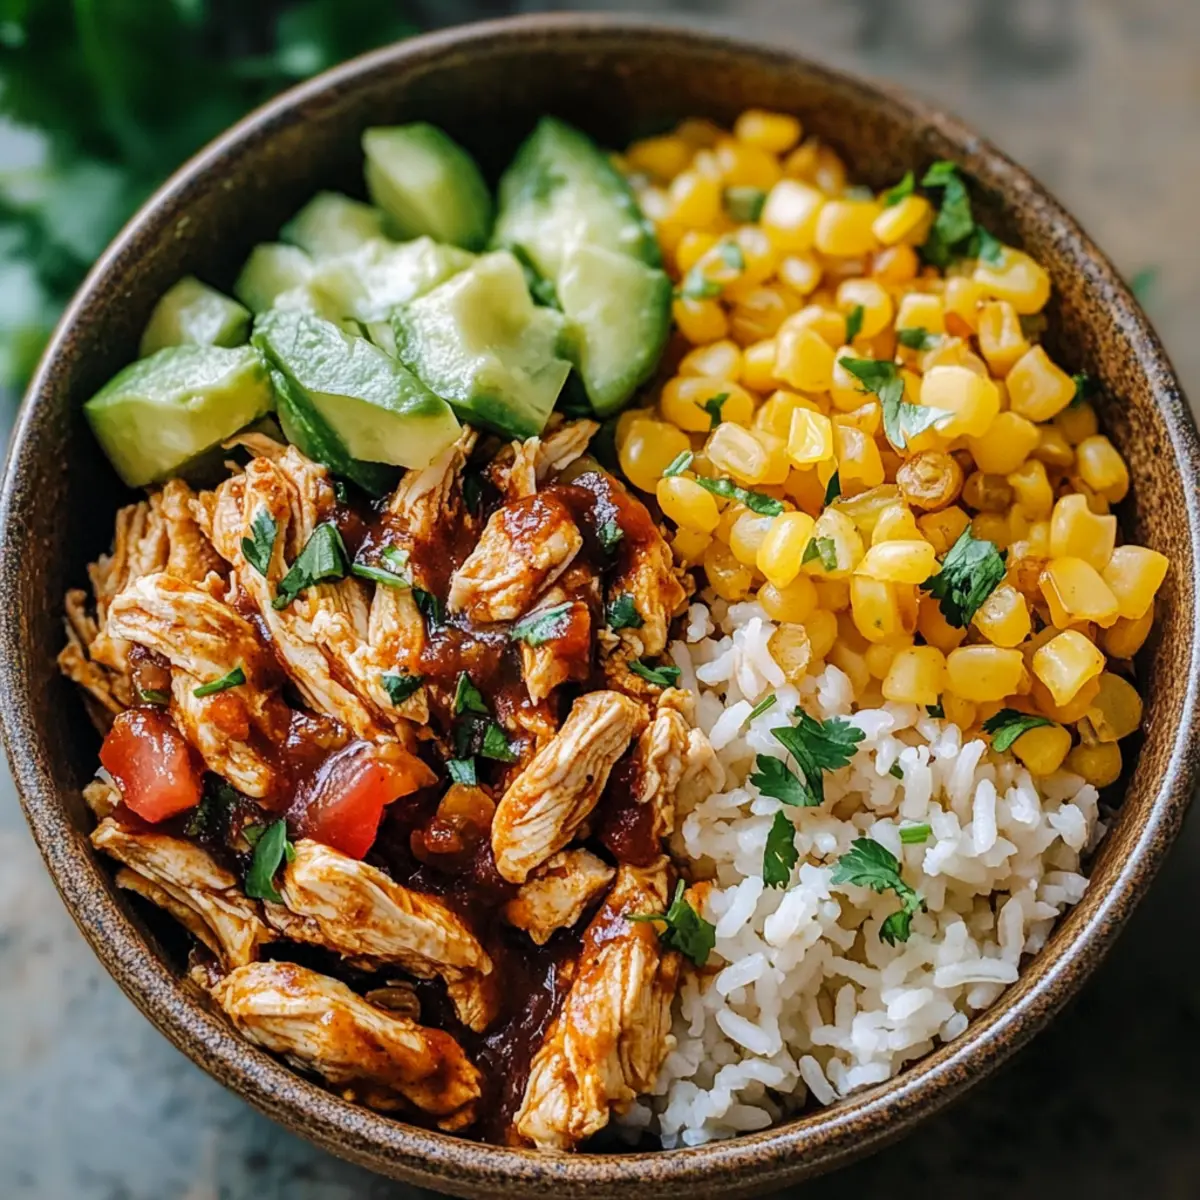
- Green Onions – Adds freshness and crunch; feel free to sprinkle on top just before serving.
- Sesame Seeds – Enhance flavor and presentation; fresh cilantro can be included for extra flair.
Step‑by‑Step Instructions for Sticky Chicken Rice Bowls
Step 1: Marinate Chicken
In a mixing bowl, combine chicken thighs with low-sodium soy sauce, honey, apple cider vinegar, sesame oil, minced garlic, grated ginger, and red pepper flakes. Stir until the chicken is well-coated, then cover and refrigerate for at least 30 minutes. For an even more flavorful experience, marinate the chicken overnight.
Step 2: Cook Rice
Rinse 1 cup of jasmine rice under cold water until the water runs clear to remove excess starch. In a saucepan, combine the rinsed rice and 2 cups of chicken broth. Bring to a boil over medium-high heat, then reduce the heat to low, cover, and simmer for about 15 minutes until the liquid is absorbed and the rice is fluffy.
Step 3: Cook Chicken
Heat a large skillet or frying pan over medium-high heat. Add the marinated chicken thighs and cook for 6-8 minutes per side, or until the chicken is golden brown and cooked through, reaching an internal temperature of 165°F. Once cooked, remove the chicken from the pan and let it rest while preparing the sauce.
Step 4: Prepare Sauce
In the same pan used for the chicken, pour in the remaining marinade. Bring it to a simmer over medium heat, stirring occasionally. Mix 1 tablespoon of cornstarch with 2 tablespoons of water, then gradually add this mixture to the sauce. Cook for about 3-5 minutes until the sauce thickens and becomes glossy, stirring constantly.
Step 5: Serve
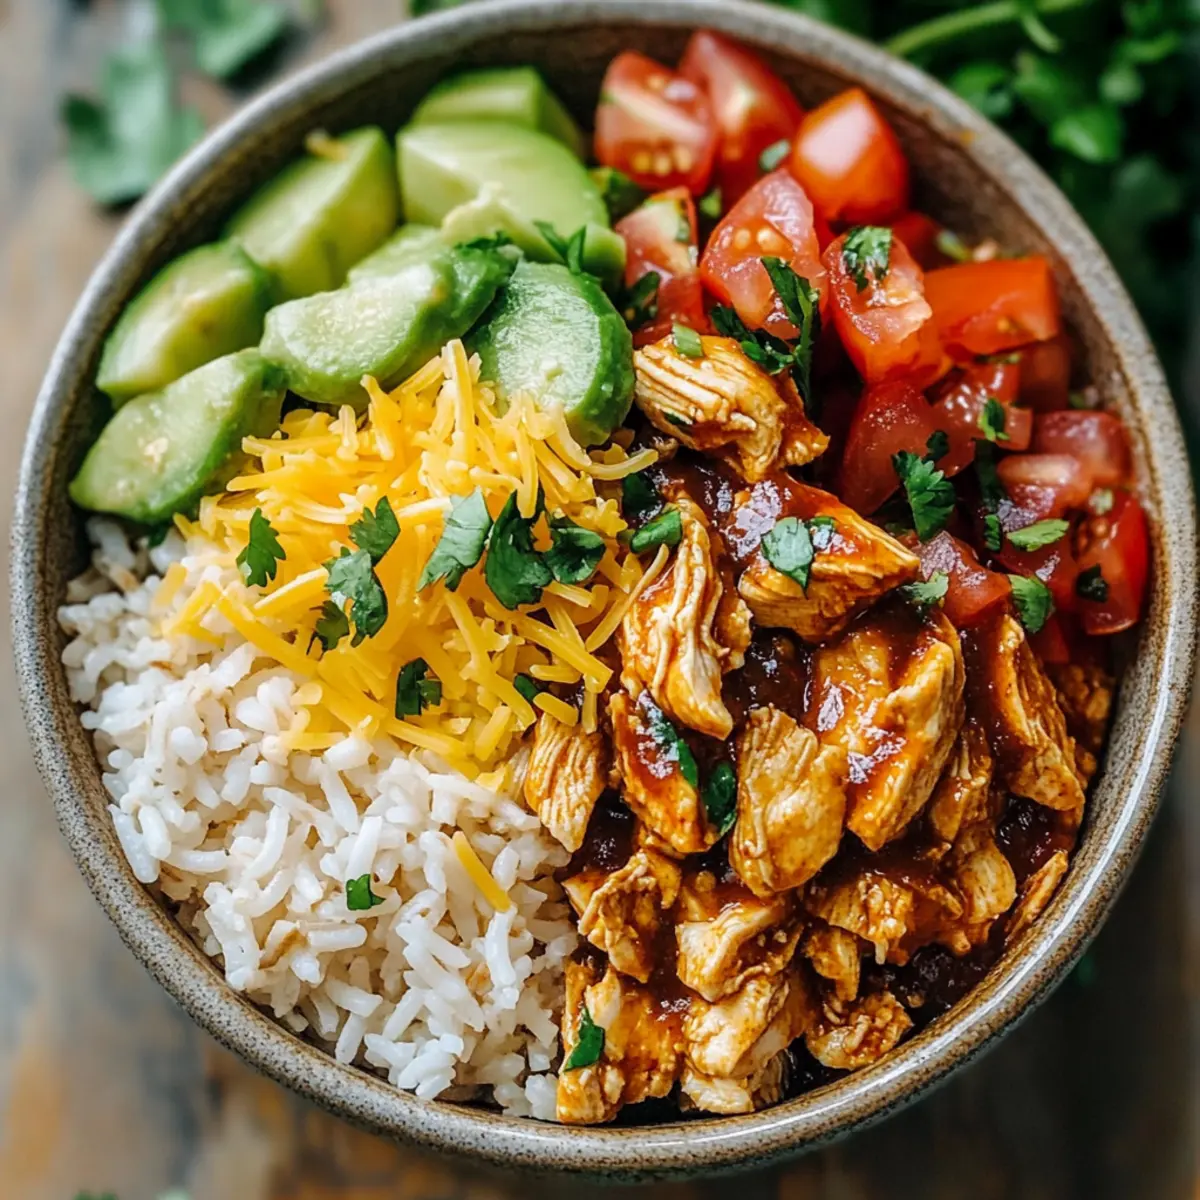
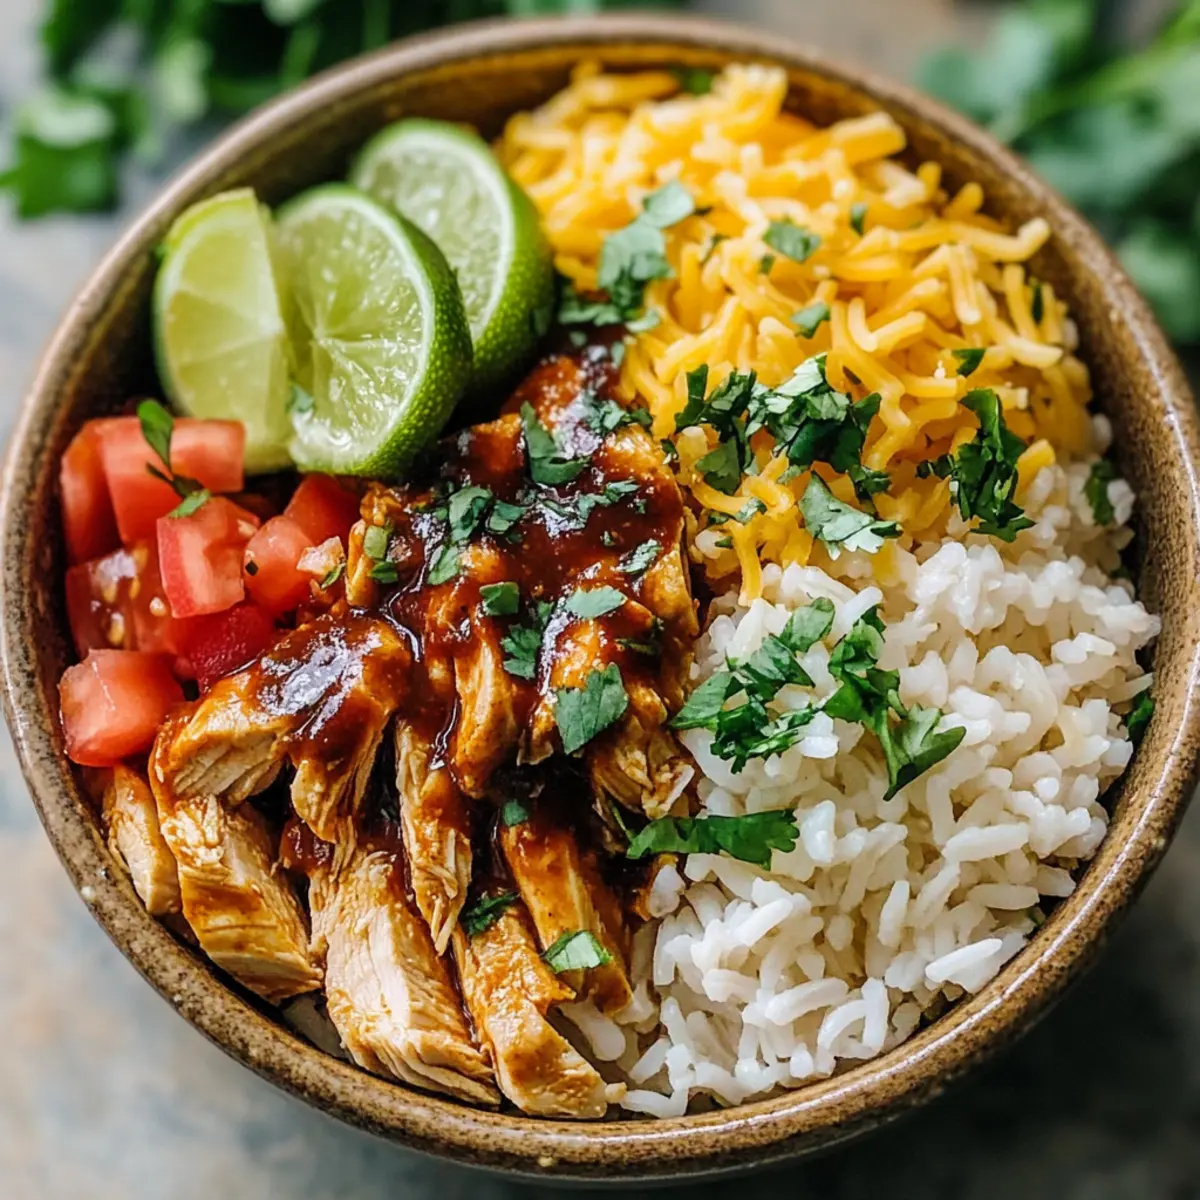
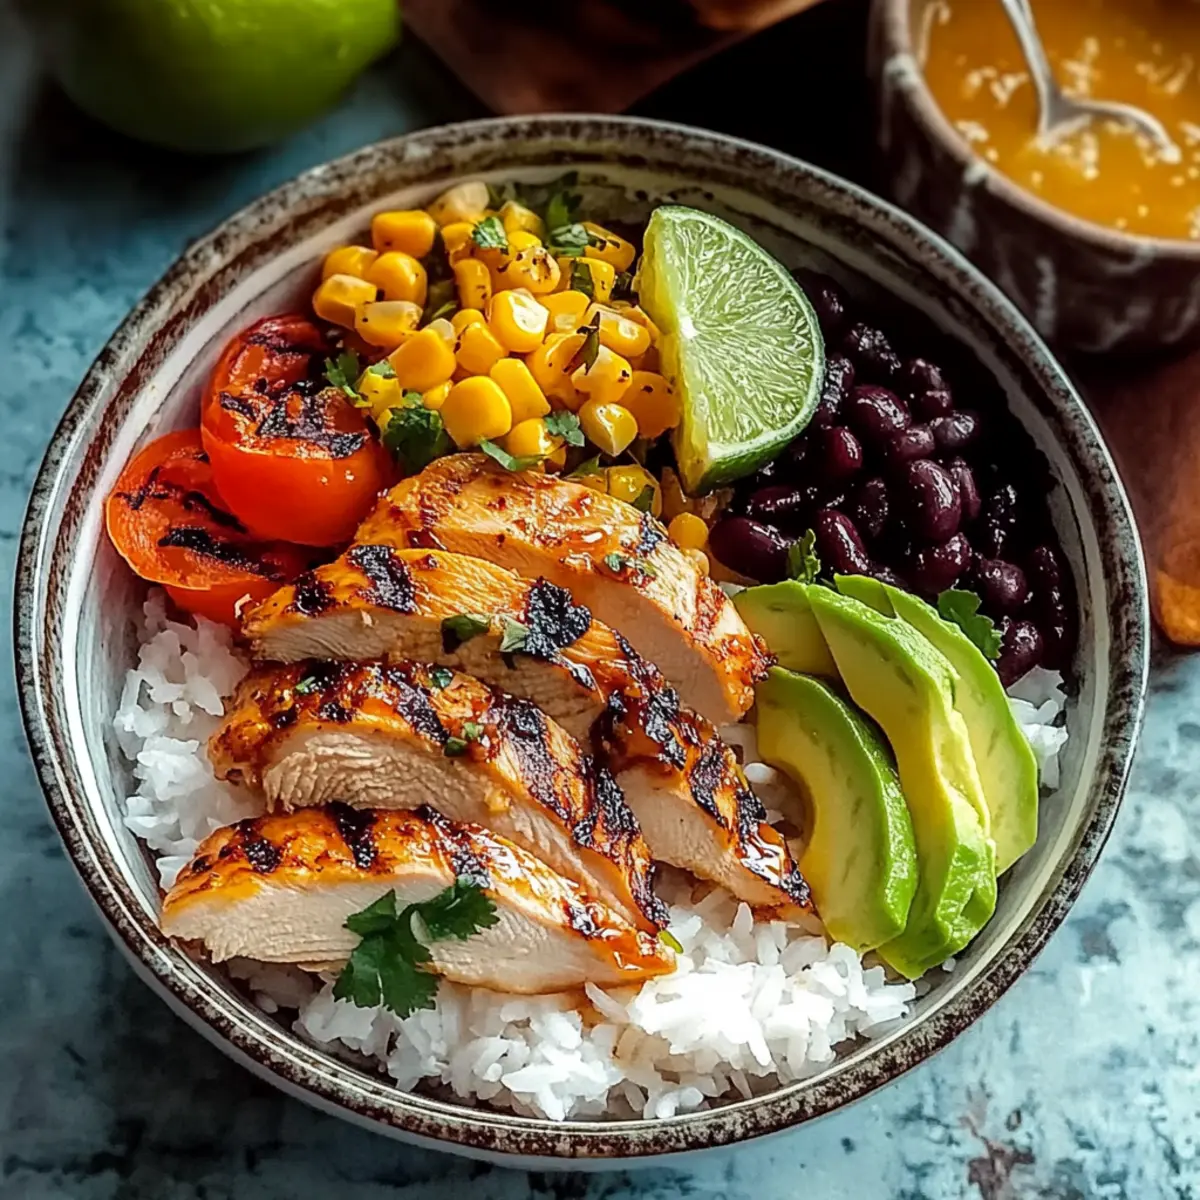
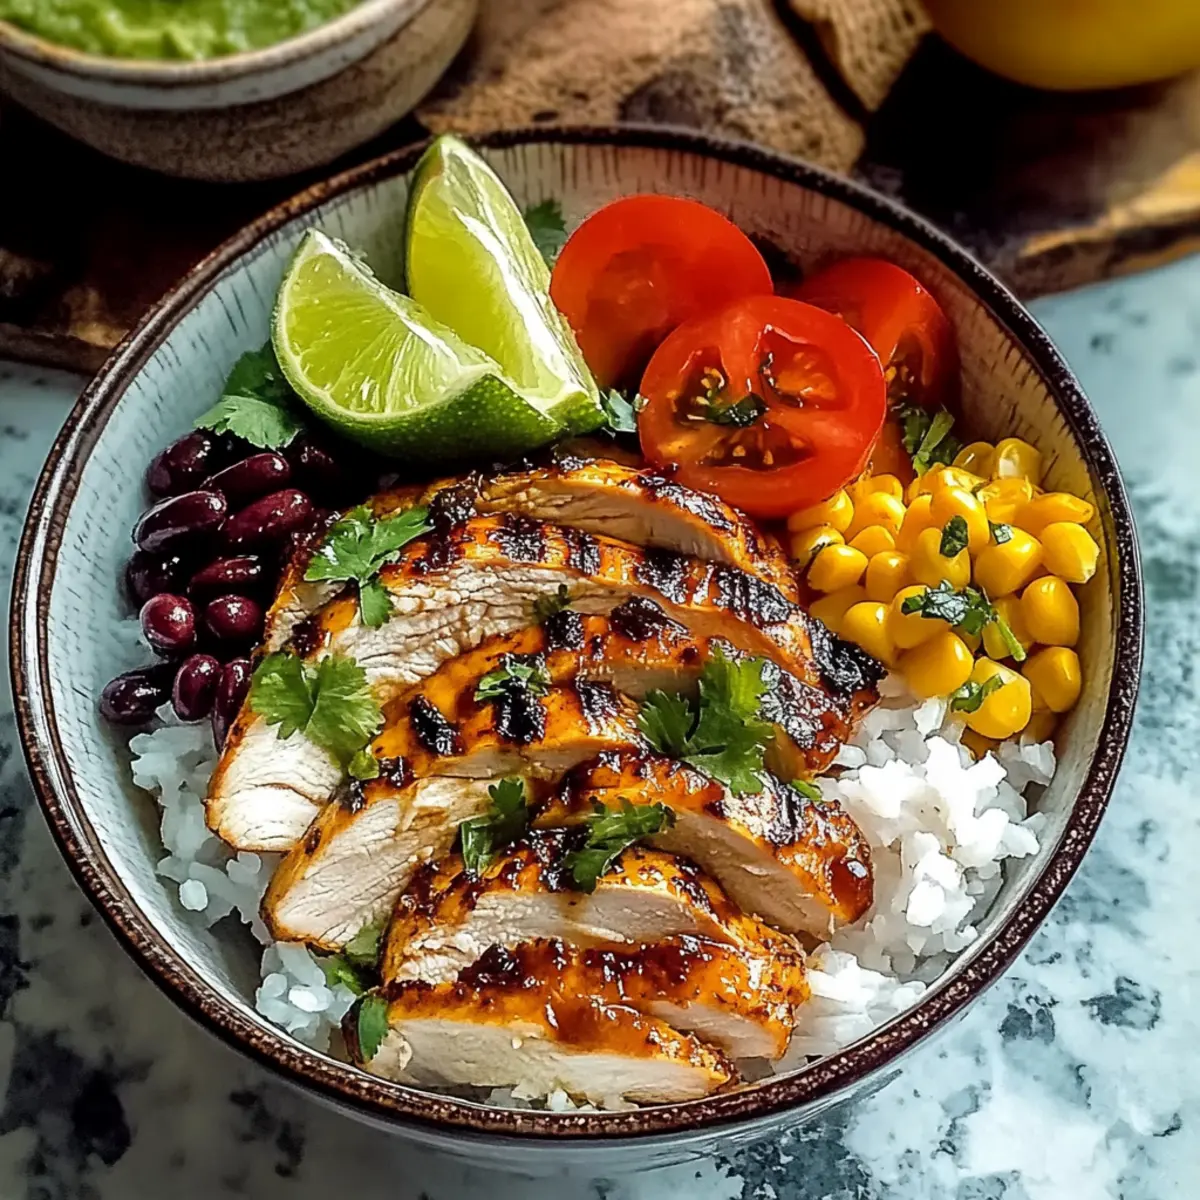
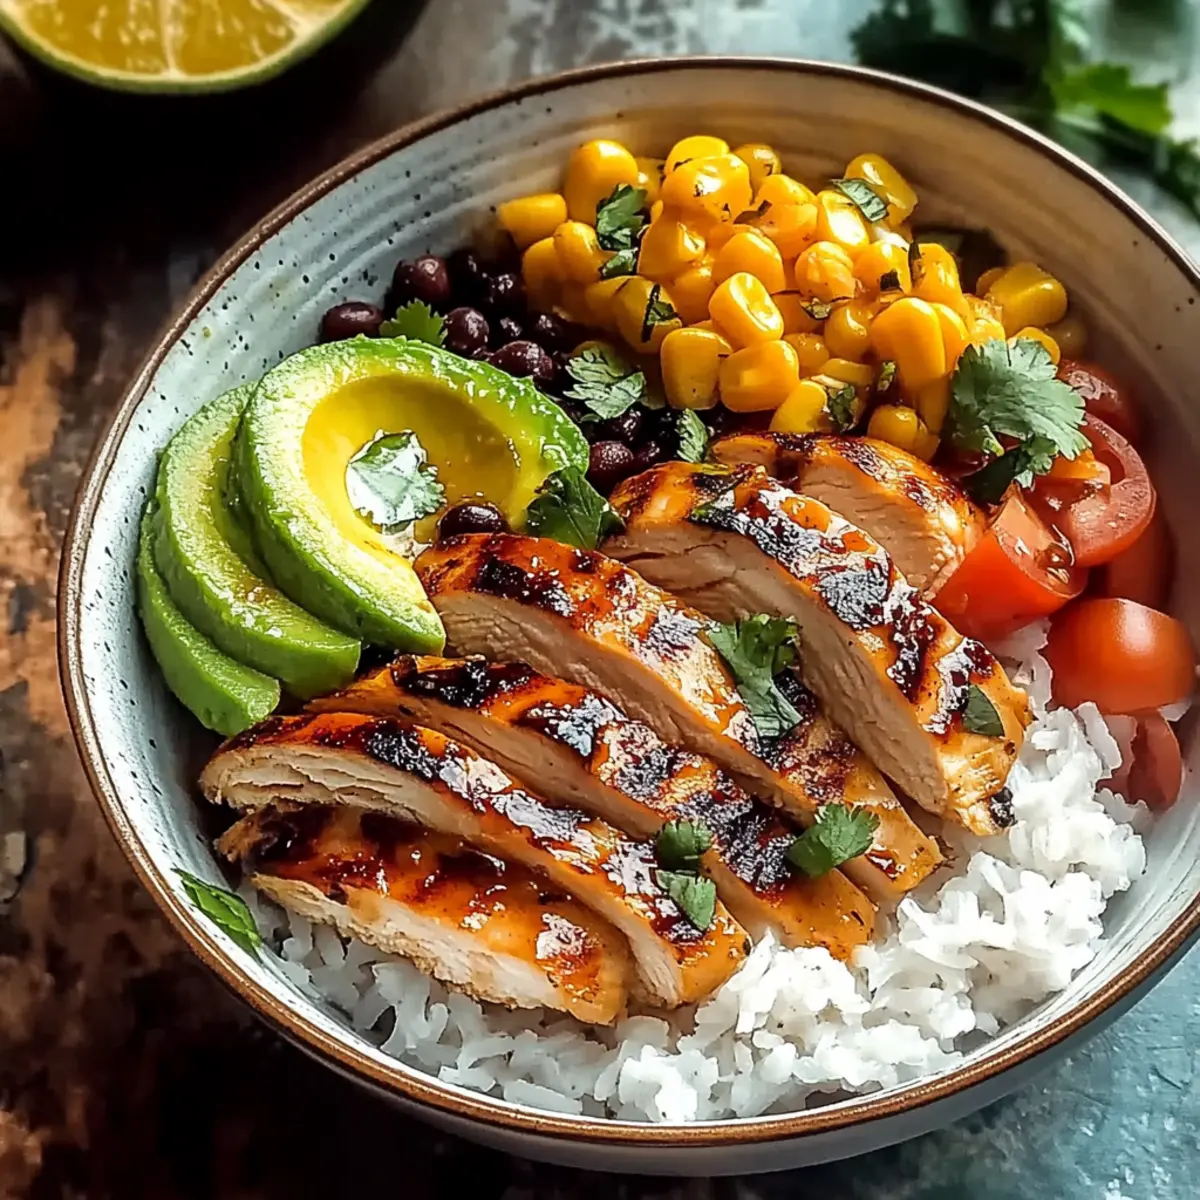
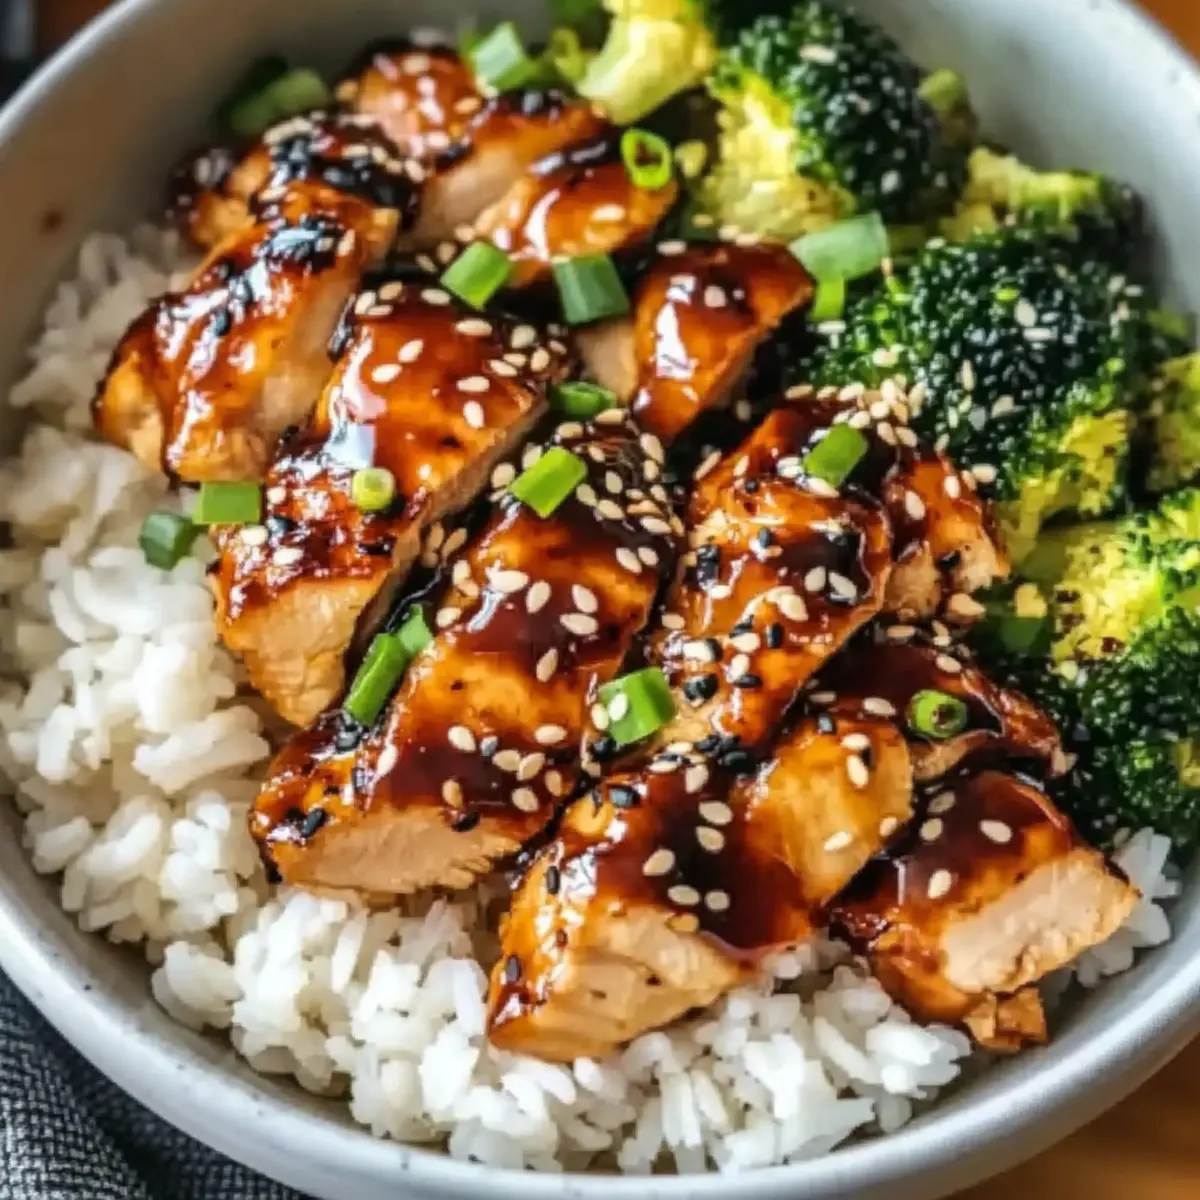
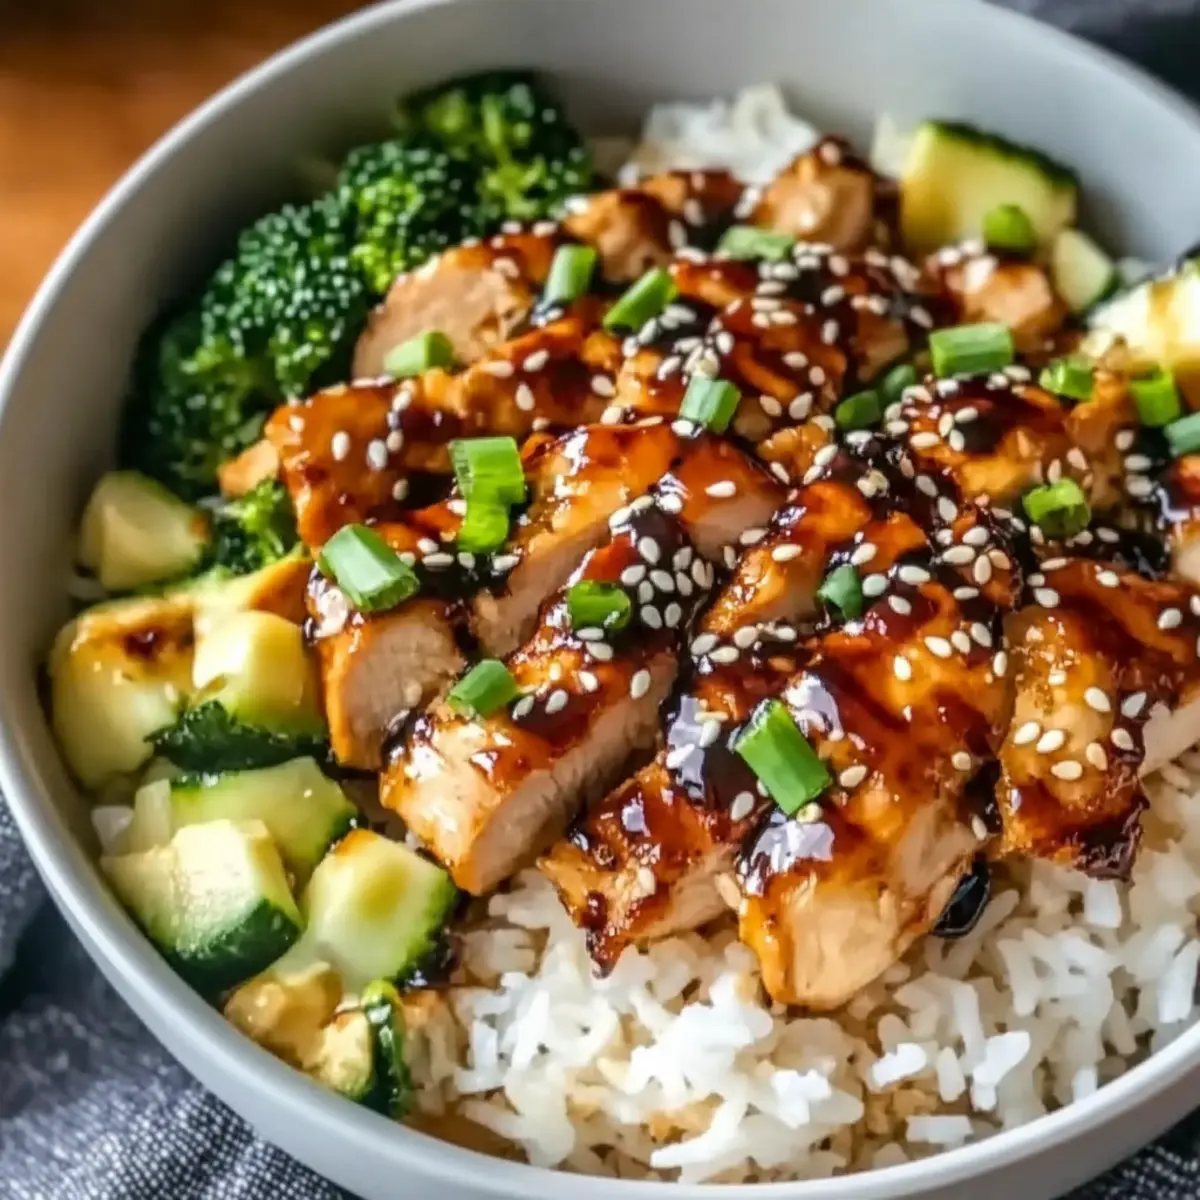
Slice the rested chicken thighs into bite-sized pieces. Serve the chicken over a fluffy bed of jasmine rice, drizzling the sticky sauce generously on top. Garnish with sliced green onions and sesame seeds for an added crunch and flavor. Enjoy your homemade Sticky Chicken Rice Bowls!
How to Store and Freeze Sticky Chicken Rice Bowls
Fridge: Store leftover Sticky Chicken Rice Bowls in an airtight container for up to 3 days. Keep the chicken and rice separate if possible to maintain texture.
Freezer: For longer storage, freeze fully cooked bowls in airtight containers or freezer bags for up to 3 months. Thaw in the fridge overnight before reheating.
Reheating: To reheat, microwave the bowls in 1-minute intervals until heated through. Add a splash of water to the rice if it seems dry to help steam back moisture.
Make-Ahead: Marinate the chicken a day in advance to save time during busy weeknights. Cooked rice can also be made ahead and refrigerated until ready to serve.
What to Serve with Delicious Sticky Chicken Rice Bowls
As you dive into the delightful flavors of your Sticky Chicken Rice Bowls, consider what will complement this comforting dish for a fabulous full meal experience.
-
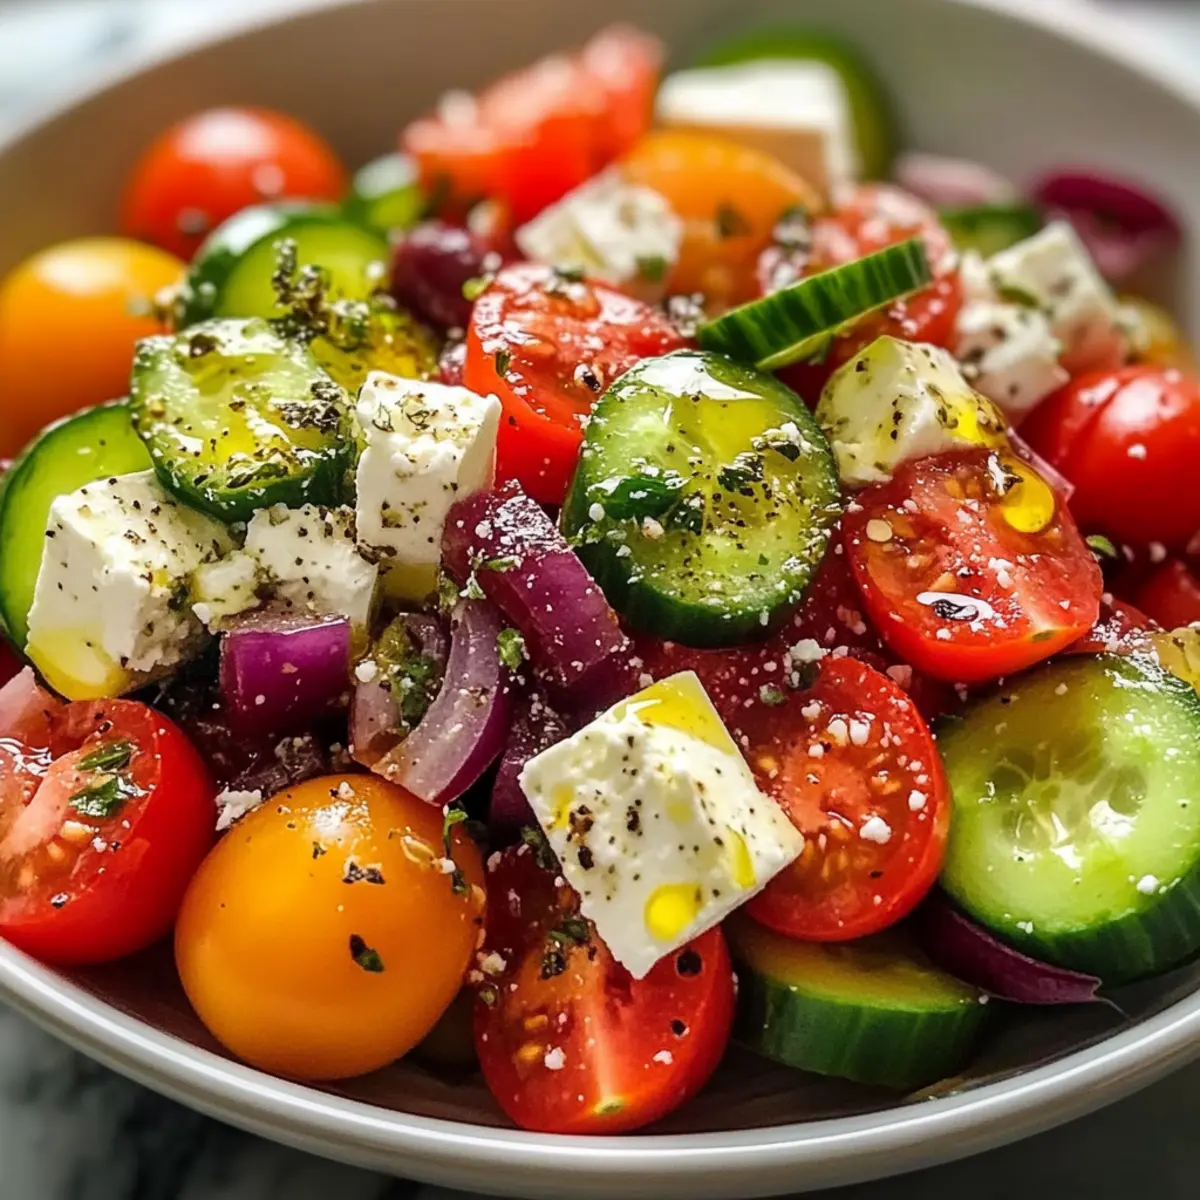
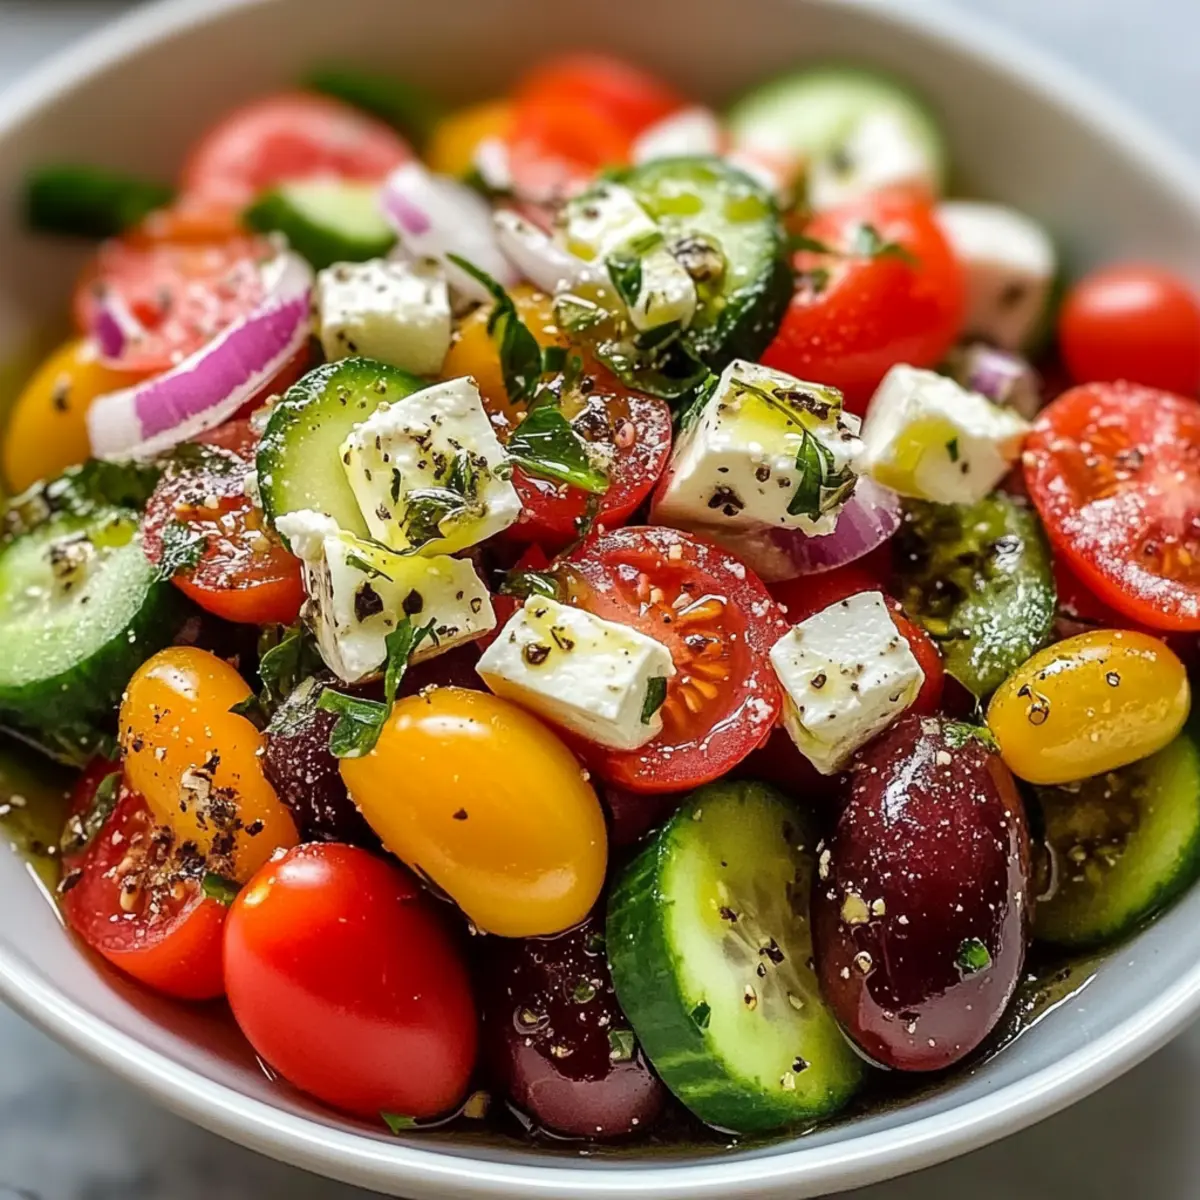
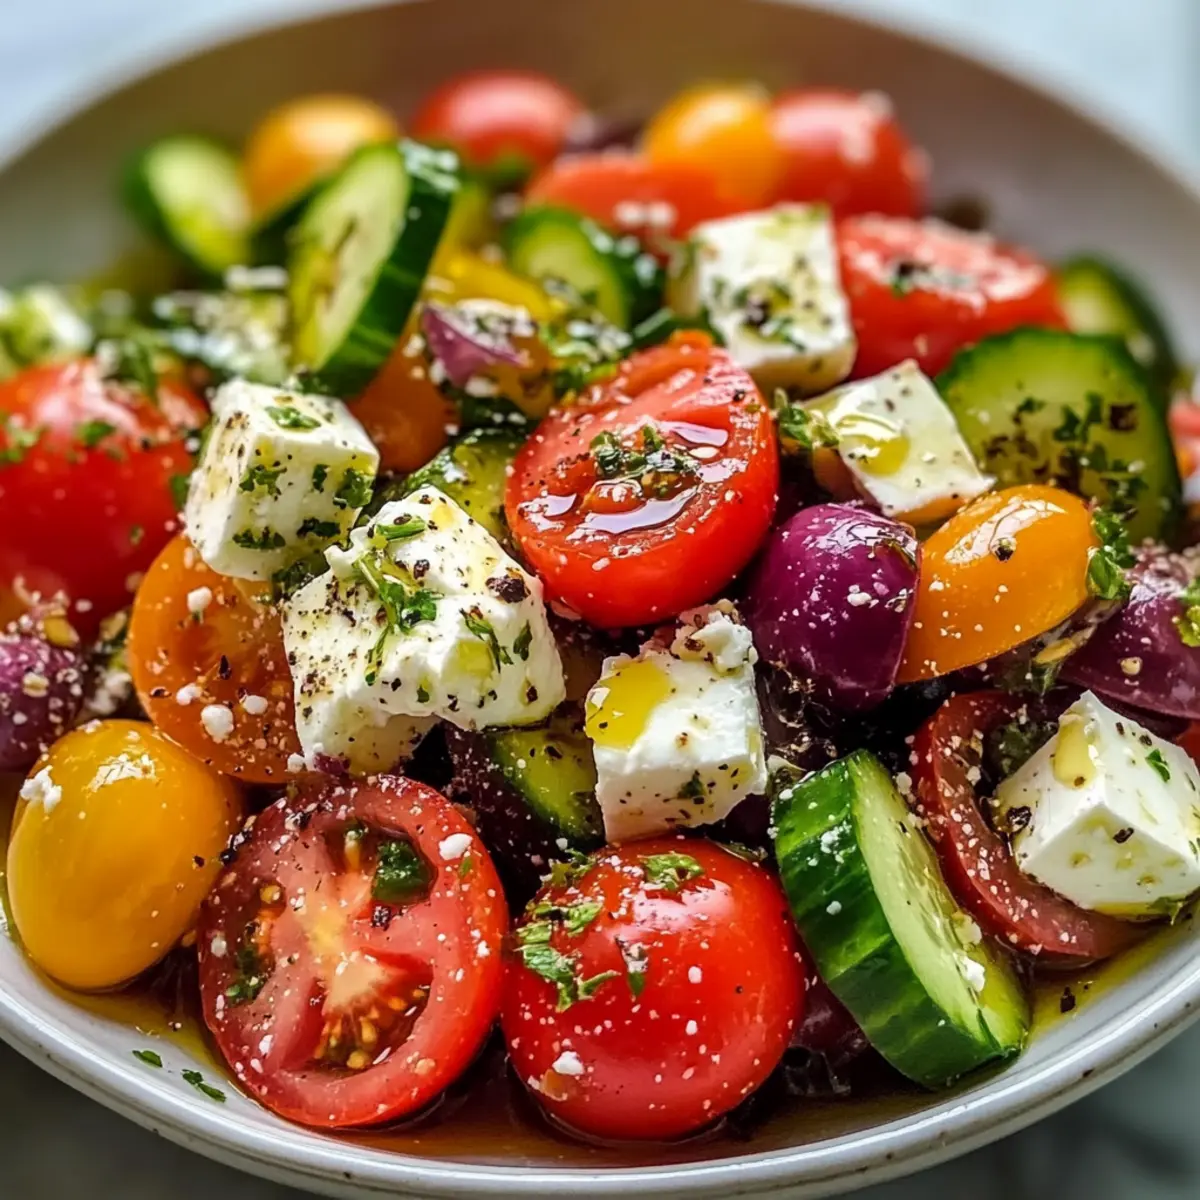
Steamed Broccoli: The bright green florets provide a fresh crunch and a pop of color, balancing the richness of the chicken and sauce.
-
Cucumber Salad: A cool, crisp salad with a light vinaigrette offers a refreshing contrast to the warm, sticky rice bowls.
-
Garlic Naan: Soft, fluffy naan bread serves as a delightful side for mopping up delicious sauce—it’s a great way to enjoy every last bite!
-
Miso Soup: This warm, savory soup adds a light, umami-rich element that pairs beautifully with the chicken and goes well with rice.
-
Fried Rice: For a twist, serve with a side of fried rice. The varied textures and flavors create a more filling and fun meal.
-
Chili Garlic Green Beans: The slight spice and crunch of these green beans can enhance your overall dining experience, adding depth of flavor that resonates well.
-
Peach Iced Tea: A refreshing drink option that complements the sweet and savory notes of the dish, offering a cool respite from the savory flavors.
-
Chocolate Mousse: For dessert, a rich chocolate mousse provides a satisfying end to your meal, contrasting beautifully with the bold flavors of the chicken.
Expert Tips for Sticky Chicken Rice Bowls
• Marinate Longer: The longer you marinade the chicken, the more flavor it absorbs. Aim for a minimum of 30 minutes, but overnight is even better!
• Watch Cooking Time: If using chicken breasts, monitor cooking time closely to avoid dryness. Cook just until the internal temperature reaches 165°F.
• Rinse Rice: Always rinse the jasmine rice before cooking to remove excess starch. This ensures a nice, fluffy texture without stickiness.
• Thickening Sauce: For a stickier glaze, mix cornstarch with water and add it gradually to the sauce. Keep stirring until it reaches your desired consistency.
• Add Veggies: For a boost in nutrition, add veggies like broccoli or snap peas either to the marinade or as a side. This makes your Sticky Chicken Rice Bowls even heartier!
Make Ahead Options
These Sticky Chicken Rice Bowls are perfect for busy home cooks looking to save time during hectic weeknights! You can marinate the chicken up to 24 hours in advance, allowing the flavors to deepen and ensuring delicious results. The jasmine rice can be cooked and refrigerated for up to 3 days, making it easy to heat and serve. When you’re ready to enjoy your meal, simply sauté the marinated chicken and prepare the sauce according to the recipe. Reheat the rice in the microwave or on the stove, and drizzle that sticky sauce over the top for a quick, satisfying dinner that tastes just as good as if you made it fresh!
Sticky Chicken Rice Bowls Variations
Unlock your kitchen creativity and tailor these Sticky Chicken Rice Bowls to your whims!
- Brown Rice: Swap jasmine rice with brown rice for a heartier, healthier option; just lengthen the cooking time.
- Vegetable Boost: Toss in veggies like bell peppers, snap peas, or broccoli to the marinade or serve alongside for added nutrition and color.
- Teriyaki Twist: Swap the sauce with a homemade teriyaki blend for a sweeter, thicker flavor profile that everyone will love.
- Cilantro Lime: Add freshly chopped cilantro and lime juice just before serving for a bright, zesty kick. It’s a flavor explosion that pairs beautifully with the sticky sauce!
- Spicy version: Increase the red pepper flakes or add some sriracha to the marinade for an extra kick of heat. Perfect for those who crave a spicy thrill!
- Honey Mustard Glaze: For a unique twist, mix honey with Dijon mustard in the marinade for a sweet-tangy flavor; it’s a delightful change!
- Grilled Variation: Grill the marinated chicken for a smoky flavor and irresistible char; serve over rice with a drizzle of the sauce for an outdoor vibe.
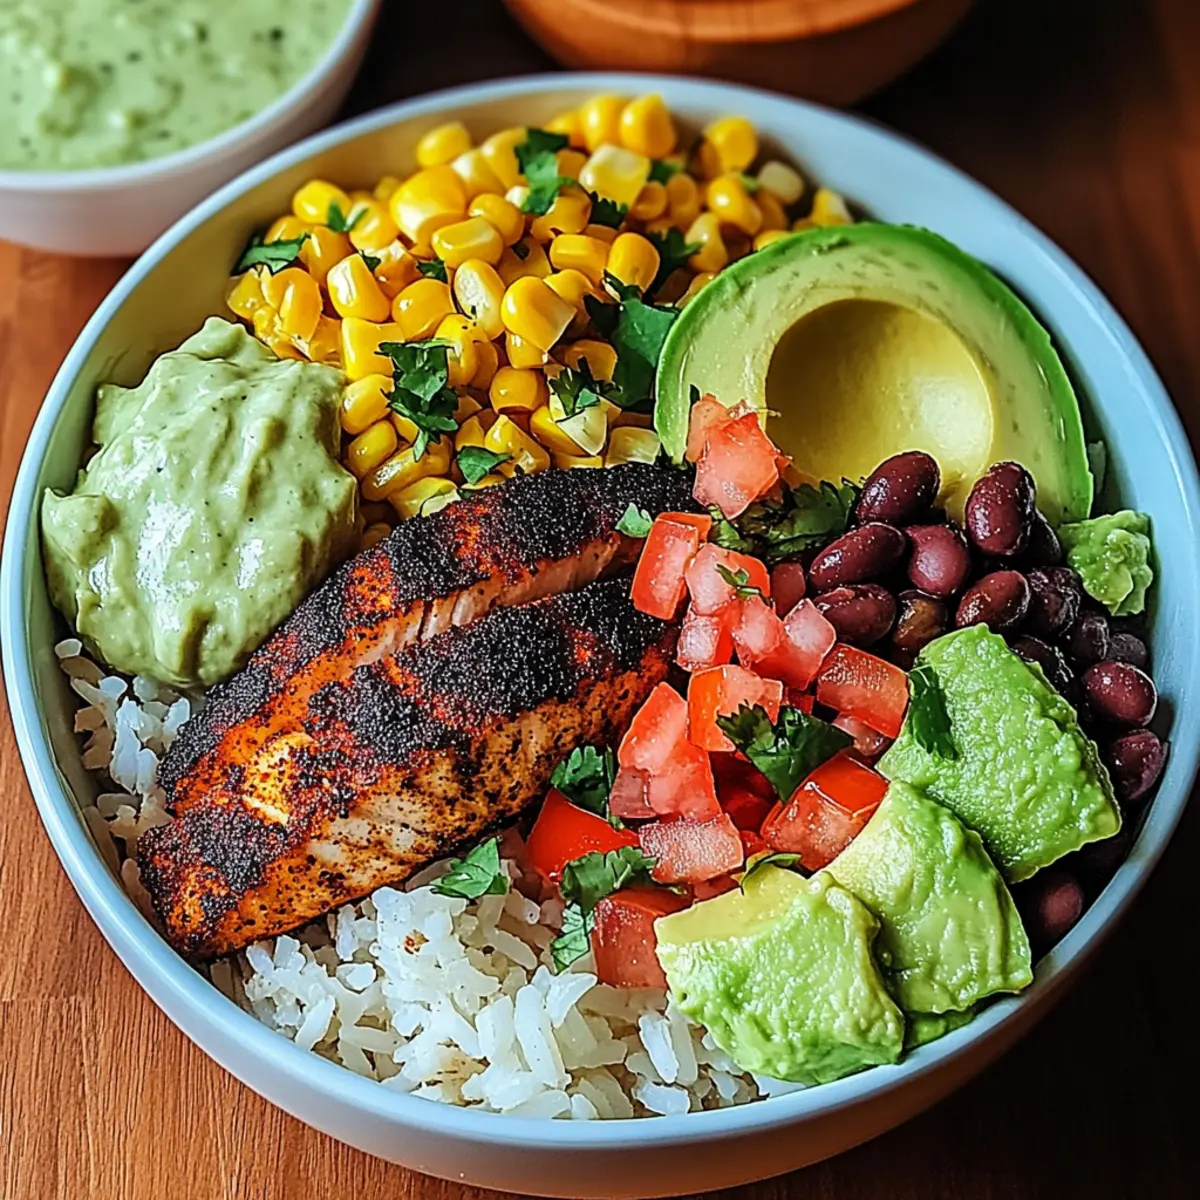
- Vegetarian Delight: Replace chicken with cubed tofu, marinating and cooking it just like the chicken. This will yield a deliciously satisfying vegetarian bowl.
For even more exciting meal ideas, don’t miss my Crock Pot Chicken for an effortless, flavorful dish!
Sticky Chicken Rice Bowls Recipe FAQs
What kind of chicken is best for Sticky Chicken Rice Bowls?
I always recommend using chicken thighs for this recipe due to their tenderness and flavor. They stay juicy during cooking. If you prefer boneless, skinless chicken breasts, that works too—just be mindful to reduce cooking time to about 5-7 minutes per side to prevent drying out.
How should I store leftovers of Sticky Chicken Rice Bowls?
Leftover sticky chicken rice bowls can be stored in an airtight container in the fridge for up to 3 days. It’s best to keep the rice and chicken separate to maintain their textures. When ready to enjoy, simply reheat gently in the microwave or on the stove.
Can I freeze Sticky Chicken Rice Bowls?
Absolutely! You can freeze fully cooked bowls in airtight containers or heavy-duty freezer bags for up to 3 months. When you're ready to eat, thaw the container overnight in the fridge, then reheat in the microwave or on the stove, adding a splash of water to the rice if it seems dry.
What should I do if the chicken is overcooked?
If you accidentally overcook the chicken and it turns out dry, there’s no need to worry! To salvage, slice the chicken and serve it with a generous drizzle of the sticky sauce. This extra sauce can help infuse moisture and flavor back into the chicken.
Are there any dietary considerations for this dish?
Yes! For a gluten-free option, simply choose gluten-free soy sauce or tamari. If you're serving this to someone with allergies, be sure to check ingredient labels, especially for soy sauce and sesame oil, as they might contain allergens.
How can I make this recipe more nutritious?
You can easily enhance the nutritional profile by adding steamed or sautéed vegetables, like broccoli, bell peppers, or snap peas to the bowls before serving. This not only adds color but also boosts the vitamins and minerals in your Sticky Chicken Rice Bowls!