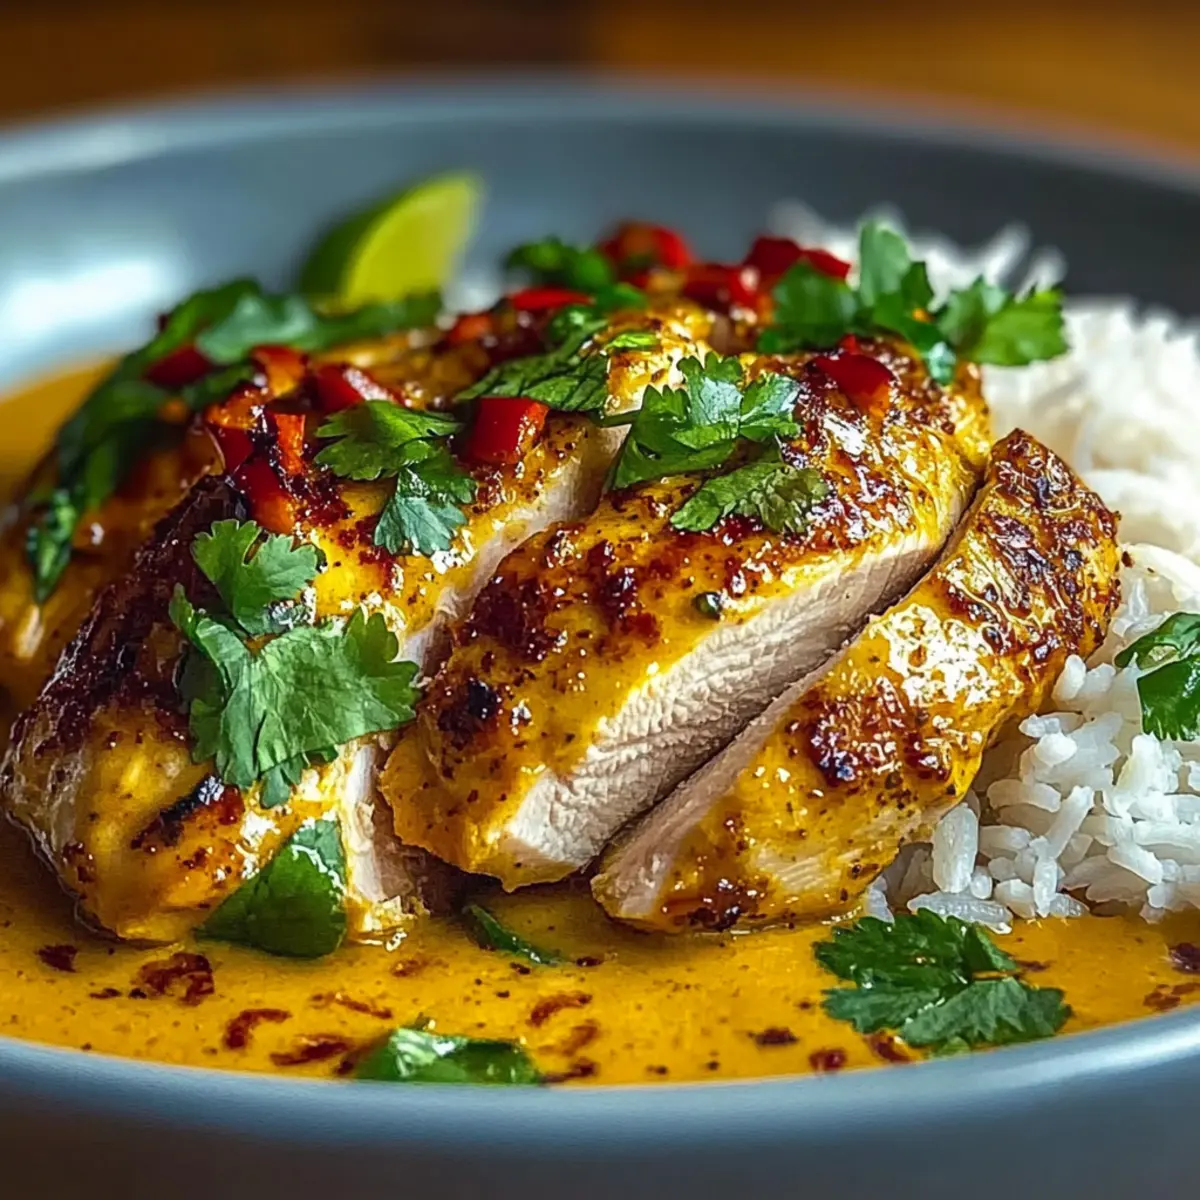
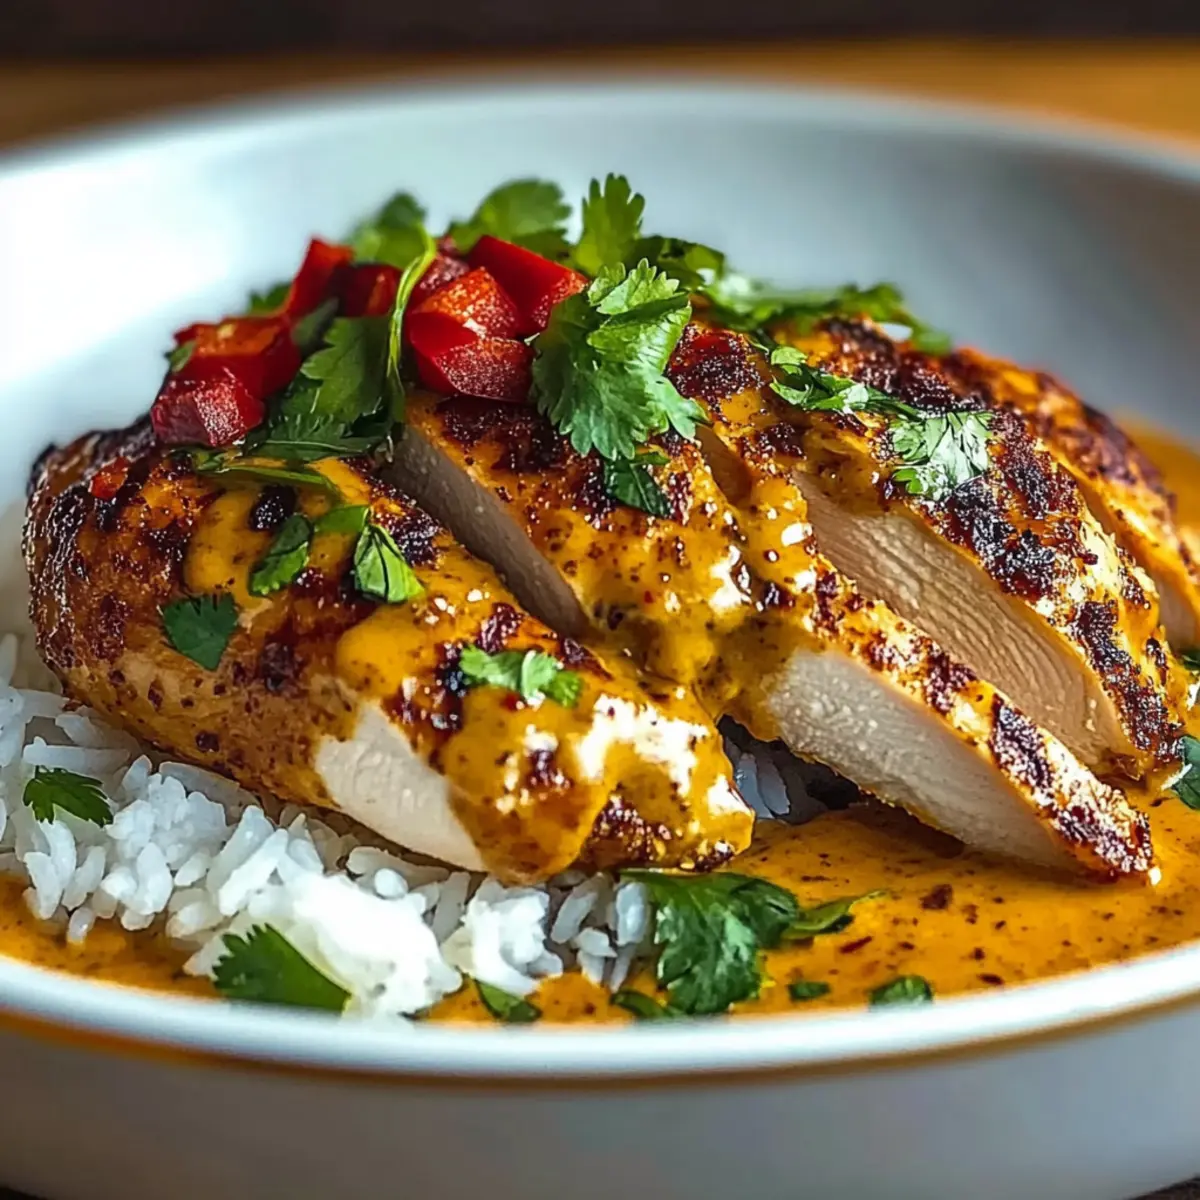
As I stirred the pot, the rich aroma of spices enveloped my kitchen, instantly transporting me to the vibrant streets of Cajun country. This recipe for Crockpot Cajun Butter Chicken brings the magic of home-cooked comfort food right to your dinner table with minimal effort. With its creamy texture and tender, pull-apart chicken, it’s not just a meal, but a warm embrace on a chilly evening. Not only is it a slow cooker wonder that frees up your time, but it also serves as a crowd-pleaser, perfect for cozy family gatherings or casual get-togethers. Whether you stick with classic chicken breasts or opt for juicy thighs, this dish promises to satisfy your cravings without the fuss. Ready to dive into a flavorful adventure without breaking a sweat? Let’s get started!
Why is Crockpot Cajun Butter Chicken a Must-Try?
Simplicity at Its Best: This recipe is a breeze to whip up in your slow cooker, requiring minimal prep and just a few pantry staples.
Irresistible Flavor: Rich, creamy Cajun butter sauce elevates simple chicken, creating a dish bursting with bold flavors that everyone will love.
Tender Delight: The slow-cooking process ensures juicy, pull-apart chicken that melts in your mouth—perfect for impressing guests or treating your family.
Versatile Nutrition: You can easily swap in chicken thighs for even more richness or adjust the spice levels to suit your taste, making it adaptable for any palate.
Time-Saving Comfort: Let your crockpot do the work while you go about your day; in just a few hours, you’ll have a hearty meal ready to enjoy.
Whether served over fluffy rice or paired with roasted sweet potatoes, this Crockpot Cajun Butter Chicken will leave you craving more!
Crockpot Cajun Butter Chicken Ingredients
For the Chicken
• Boneless Skinless Chicken Breasts – Main protein that becomes tender with slow cooking; substitute with thighs for extra richness.
For the Sauce
• Cajun Seasoning Blend – Adds a vibrant flavor; adjust the amount to match your spice preference.
• Unsalted Butter – Provides a creamy base; using unsalted lets you control the salt level.
• Chicken Broth – Moistens the dish and enhances flavor; swap for vegetable broth if desired.
• Heavy Cream – Creates a glossy, rich sauce; always choose full-fat to prevent curdling.
• Cornstarch – Thickens the sauce for a luscious finish; mix with cold water before adding.
For Serving
• Long Grain White Rice – Acts as a delightful base; rinse before cooking to keep it fluffy.
• Fresh Green Parsley – Brightens the dish as a fresh garnish, adding color and flavor.
• Coarse Black Pepper & Red Paprika Flakes – Enhance the dish's visual appeal and taste with a slight kick.
Step‑by‑Step Instructions for Crockpot Cajun Butter Chicken
Step 1: Prep Chicken
Begin by placing 2 pounds of boneless skinless chicken breasts in your slow cooker. Evenly sprinkle 2 tablespoons of Cajun seasoning over the chicken, ensuring each piece is coated. Pour in ½ cup of chicken broth for moisture, then close the lid securely, readying your crockpot for a flavor-packed adventure.
Step 2: Add Butter
Next, take ½ cup of unsalted butter, cut into cubes, and scatter it generously over the seasoned chicken. Cover the crockpot and set it to cook on LOW for 4 hours or on HIGH for 2 to 3 hours. The chicken should be fork-tender and infused with the rich flavors of Cajun spices and buttery goodness when it's done.
Step 3: Shred Chicken
After cooking, remove the lid and gently use two forks to shred the tender chicken right in the slow cooker. The meat should easily pull apart, creating a delightful texture that will soak up the rich sauce. Stir the chicken well to combine it with the melted butter and juices, ensuring every bite is bursting with flavor.
Step 4: Thicken Sauce
To create a luscious sauce, whisk together 1 tablespoon of cornstarch with 1 tablespoon of cold water to make a slurry. Pour this mixture into the slow cooker along with ½ cup of heavy cream, stirring everything thoroughly. Set the crockpot to HIGH and cook uncovered for an additional 15-20 minutes, until the sauce thickens to a glossy finish.
Step 5: Cook Rice
While the sauce thickens, prepare 1 cup of long-grain white rice according to package directions. Rinse the rice under cold water before cooking to ensure it remains fluffy and non-sticky. Let it simmer until it’s tender and ready to soak up the flavorful sauce from your Crockpot Cajun Butter Chicken.
Step 6: Assemble & Serve
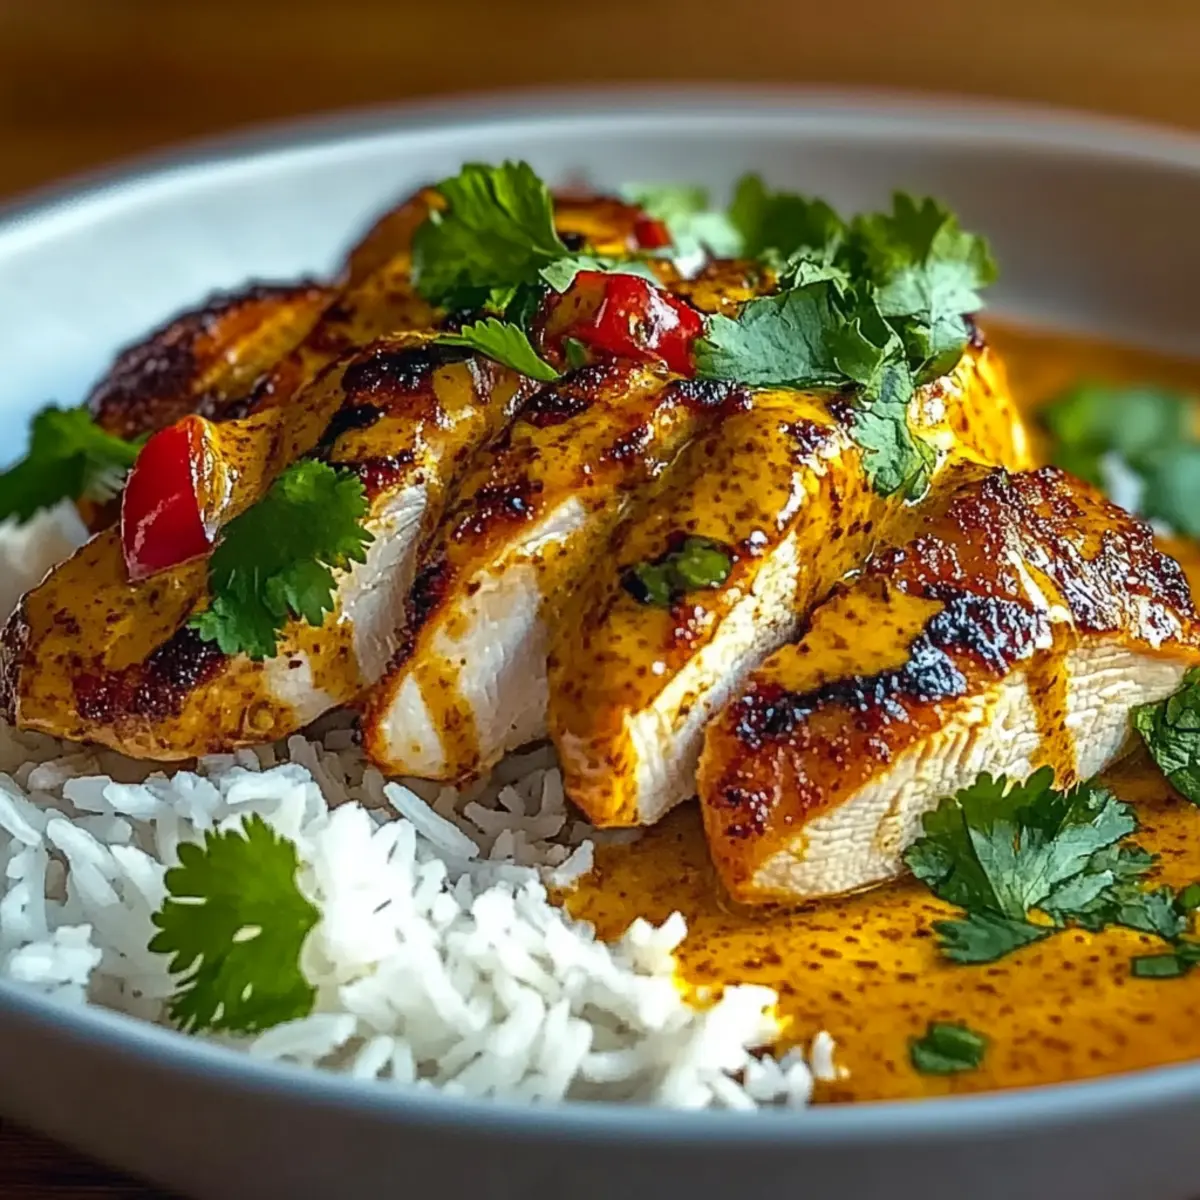
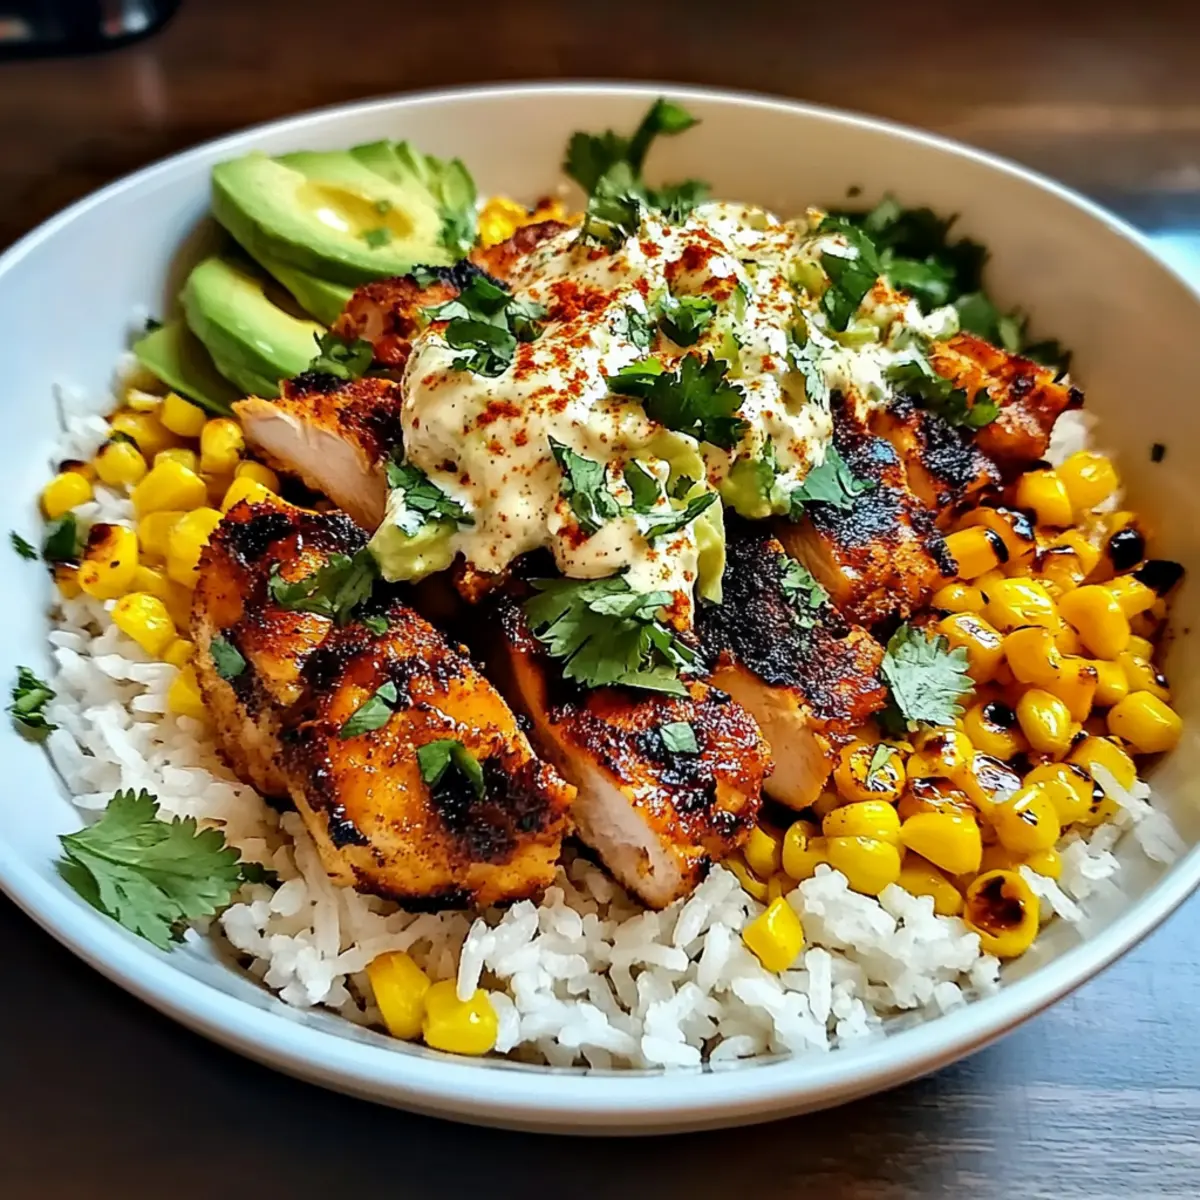
Once everything is ready, serve the savory shredded chicken over a generous scoop of the fluffy rice. Garnish with freshly chopped parsley, a sprinkle of coarse black pepper, and a dash of red paprika flakes for a burst of color and added flavor. Dive into this comforting dish and enjoy the delightful embrace of your homemade Crockpot Cajun Butter Chicken!
Variations for Crockpot Cajun Butter Chicken
Get ready to explore a world of flavor by customizing your Crockpot Cajun Butter Chicken with these exciting variations!
-
Thighs Swap: Use boneless skinless chicken thighs for extra tenderness and richness that’s hard to resist. This small change elevates the dish with more flavor and moisture.
-
Veggie Boost: Add in bell peppers and onions for a pop of color and crunch. They cook down beautifully, infusing the sauce with sweet and savory notes.
-
Spice It Up: Increase the Cajun seasoning for those who crave a little heat. Taste as you go to find your perfect balance of zesty goodness.
-
Dairy-Free: Swap heavy cream with coconut milk for a dairy-free option that still brings creaminess and a subtle tropical taste. It harmoniously complements the Cajun spices.
-
Herb Twist: Incorporate fresh thyme or oregano alongside the parsley garnish for added depth. Fresh herbs brighten the dish and offer a fragrant aroma that enhances the overall experience.
-
Heat Level: For a fiery kick, toss in some diced jalapeños or a few dashes of hot sauce. It’s a delightful way to turn up the heat and invigorate your taste buds.
-
Rice Alternatives: Serve over quinoa or cauliflower rice for a lighter alternative. These options not only add their own unique textures but also make your dish nutrient-rich.
-
Serving Ideas: Pair the chicken with garlic parmesan roasted sweet potatoes or a crisp salad. The contrasts create a balanced meal that satisfies both comfort and freshness.
Feel free to get creative with these variations, and make this recipe your own. For more delicious chicken dishes, check out Crockpot Butter Chicken or try the vibrant flavors of Chipotle Lime Chicken and Rice. Enjoy the flavorful journey!
What to Serve with Crockpot Cajun Butter Chicken
As you savor the creamy, zesty goodness of this dish, imagine the delightful sidekicks that can elevate your dinner even further.
-
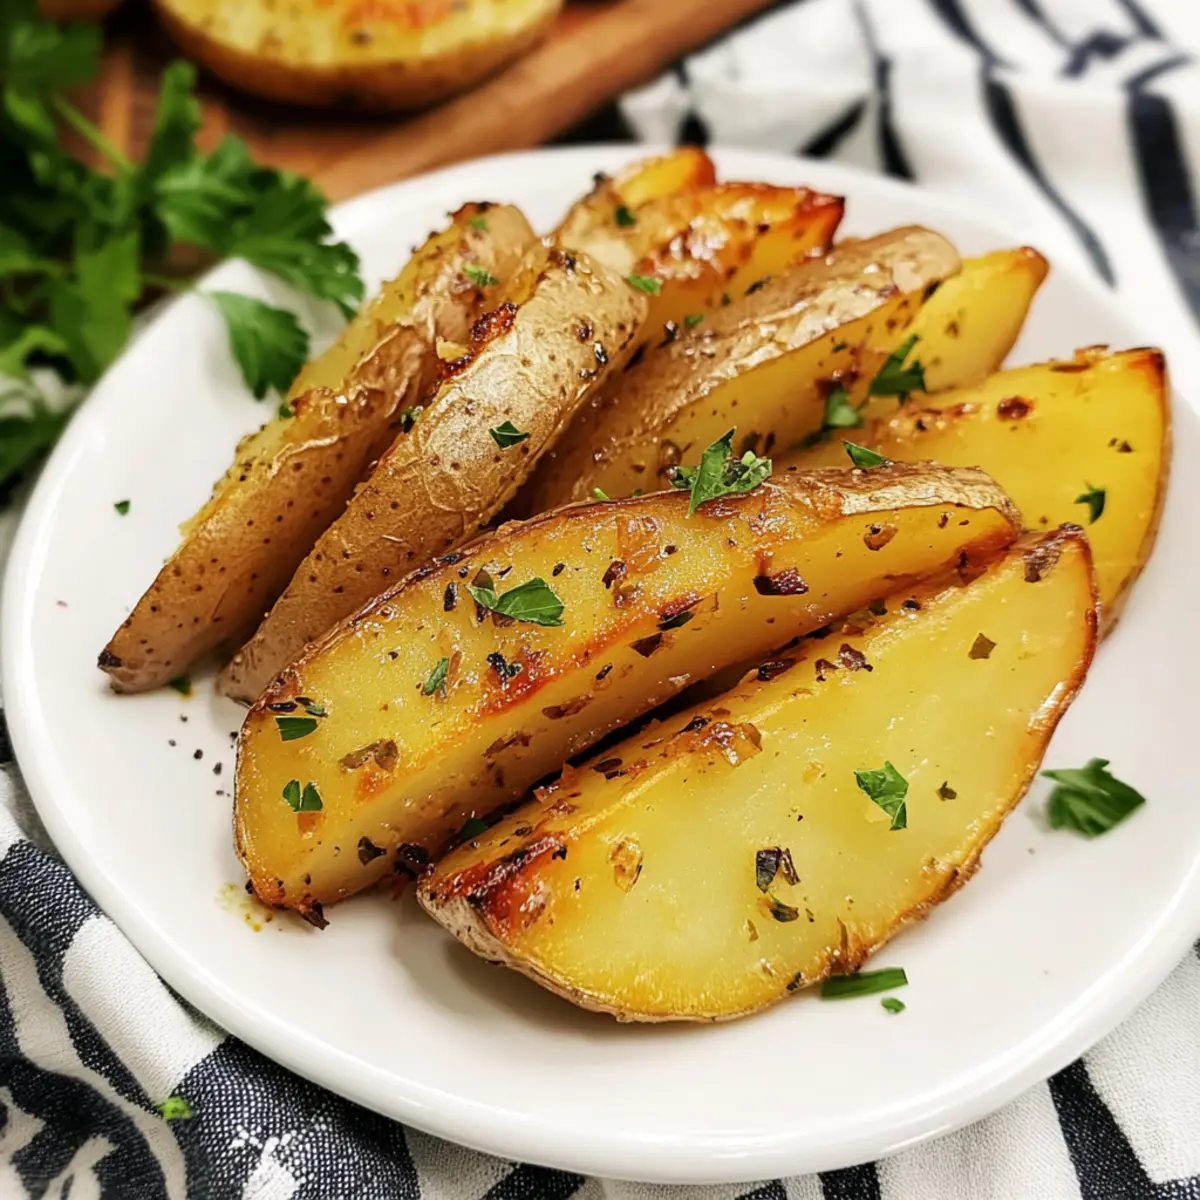
Garlic Parmesan Roasted Sweet Potatoes: These tender, sweet morsels complement the spiciness of the chicken while adding a touch of warmth that harmonizes beautifully.
-
Crisp Garden Salad: A fresh salad with crunchy greens and a tangy vinaigrette offers a refreshing contrast, balancing the richness of the creamy sauce.
-
Southern-Style Cornbread: Moist and slightly sweet, this cornbread soaks up the delicious sauce, adding a comforting, homey touch to your meal.
-
Creamy Coleslaw: A crunchy, creamy slaw provides a satisfying texture contrast while cooling the palate from the bold flavors of the Cajun chicken.
-
Buttery Grilled Asparagus: The slight bitterness of grilled asparagus, finished with a drizzle of lemon, adds a sophisticated touch and complements the richness of the dish.
-
Spicy Garlic Bread: Toasted garlic bread brushed with olive oil and a sprinkle of red pepper flakes brings a crunch that pairs well with the creamy chicken sauce.
-
Zesty Mango Salsa: This vibrant topping adds a burst of freshness and sweetness, enhancing the flavors of the dish and making each bite a joyful adventure.
-
Chilled White Wine: A glass of chilled Sauvignon Blanc will boost the flavors of your meal, enhancing the vibrant spices while keeping your dining experience light and refreshing.
Storage Tips for Crockpot Cajun Butter Chicken
Fridge: Store any leftover Crockpot Cajun Butter Chicken in an airtight container for up to 4 days. Make sure it’s cooled before sealing to maintain freshness.
Reheating: When ready to enjoy your leftovers, reheat gently on the stovetop over low heat or in the microwave. Stir occasionally to prevent the sauce from separating.
Freezer: Although it’s best enjoyed fresh, you can freeze the chicken for up to 3 months. Separate the chicken from the rice and store in airtight containers to prevent freezer burn.
Thawing: To enjoy your frozen Crockpot Cajun Butter Chicken, thaw it overnight in the fridge before reheating. Reheat on low to maintain the creamy sauce consistency.
Make Ahead Options
These Crockpot Cajun Butter Chicken ingredients are perfect for meal prep, saving you valuable time during busy weeknights! You can season and chop your chicken and place it in the slow cooker with the Cajun seasoning and chicken broth, then refrigerate it up to 24 hours in advance. The butter can be cubed and added just before cooking, ensuring it stays fresh. When you're ready to enjoy your meal, simply set the slow cooker as directed, shred the chicken, and thicken the sauce. By prepping ahead, you'll have a comforting, flavorful dish ready with minimal effort, just as delicious as if you made it from scratch that day!
Expert Tips for Crockpot Cajun Butter Chicken
• Use the Right Chicken: Opt for boneless, skinless chicken breasts for a leaner option, or substitute thighs for added richness and moisture.
• Monitor Spice Levels: Cajun seasoning can vary in heat; start with less and adjust to your preference to avoid overwhelming flavors in your dish.
• Thicken With Care: Always mix cornstarch with cold water to create a slurry; adding it directly can cause clumping in your sauce.
• Keep an Eye on Cooking Time: Cooking duration may vary based on your slow cooker model; check for fork-tender chicken to avoid overcooking.
• Rinse Your Rice: Rinsing long grain white rice under cold water helps remove excess starch, ensuring it cooks up fluffy and non-sticky.
• Garnish for Flavor: Enhance presentation and taste by finishing your dish with a sprinkle of fresh parsley and a dash of black pepper or paprika flakes.
Crockpot Cajun Butter Chicken Recipe FAQs
What is the best way to choose chicken for this recipe?
Absolutely! For the best results, I recommend using boneless, skinless chicken breasts for a leaner option. If you prefer richer flavors, chicken thighs are an excellent substitute, as they remain moist and tender during the slow cooking process. When selecting, look for pieces that are plump and pale in color without dark spots or bruises.
How should I store leftovers of the Crockpot Cajun Butter Chicken?
Store any leftover Crockpot Cajun Butter Chicken in an airtight container in the refrigerator for up to 4 days. Be sure the dish is cooled to room temperature before sealing to maintain freshness. When reheating, go low and slow on the stovetop or microwave to retain that creamy sauce without separation.
Can I freeze Crockpot Cajun Butter Chicken?
Yes, you can freeze it! For best results, separate the chicken from the rice and place them in airtight containers, ensuring there’s no excess air to prevent freezer burn. It can be stored for up to 3 months. When you’re ready to enjoy it, thaw in the fridge overnight and reheat gently on low heat to maintain the sauce's creamy consistency.
What should I do if my sauce isn't thickening properly?
If your sauce isn’t thickening after adding the cornstarch slurry, it may be because the heat is too low. Simply increase the heat to HIGH and cook uncovered for an additional 10-15 minutes, stirring occasionally. The key is to ensure you’ve mixed the cornstarch thoroughly with cold water to avoid clumps before adding it to the dish.
Can I adjust the spiciness of the Cajun seasoning?
Very much so! Cajun seasoning can vary in heat and flavor profile, so I suggest starting with a smaller amount and gradually adding more to taste. You can also opt for a milder seasoning blend if you're sensitive to spice or mix in some herbs like thyme or oregano for added flavor without the heat.
Is this recipe suitable for pets or people with allergies?
It's best to keep this dish to humans only! The strong flavors from Cajun seasoning might not be suitable for your pets, and it’s definitely not recommended for those with dairy allergies due to the heavy cream and butter. Always check labels if you're uncertain about ingredients, especially if allergic reactions are a concern among your guests.