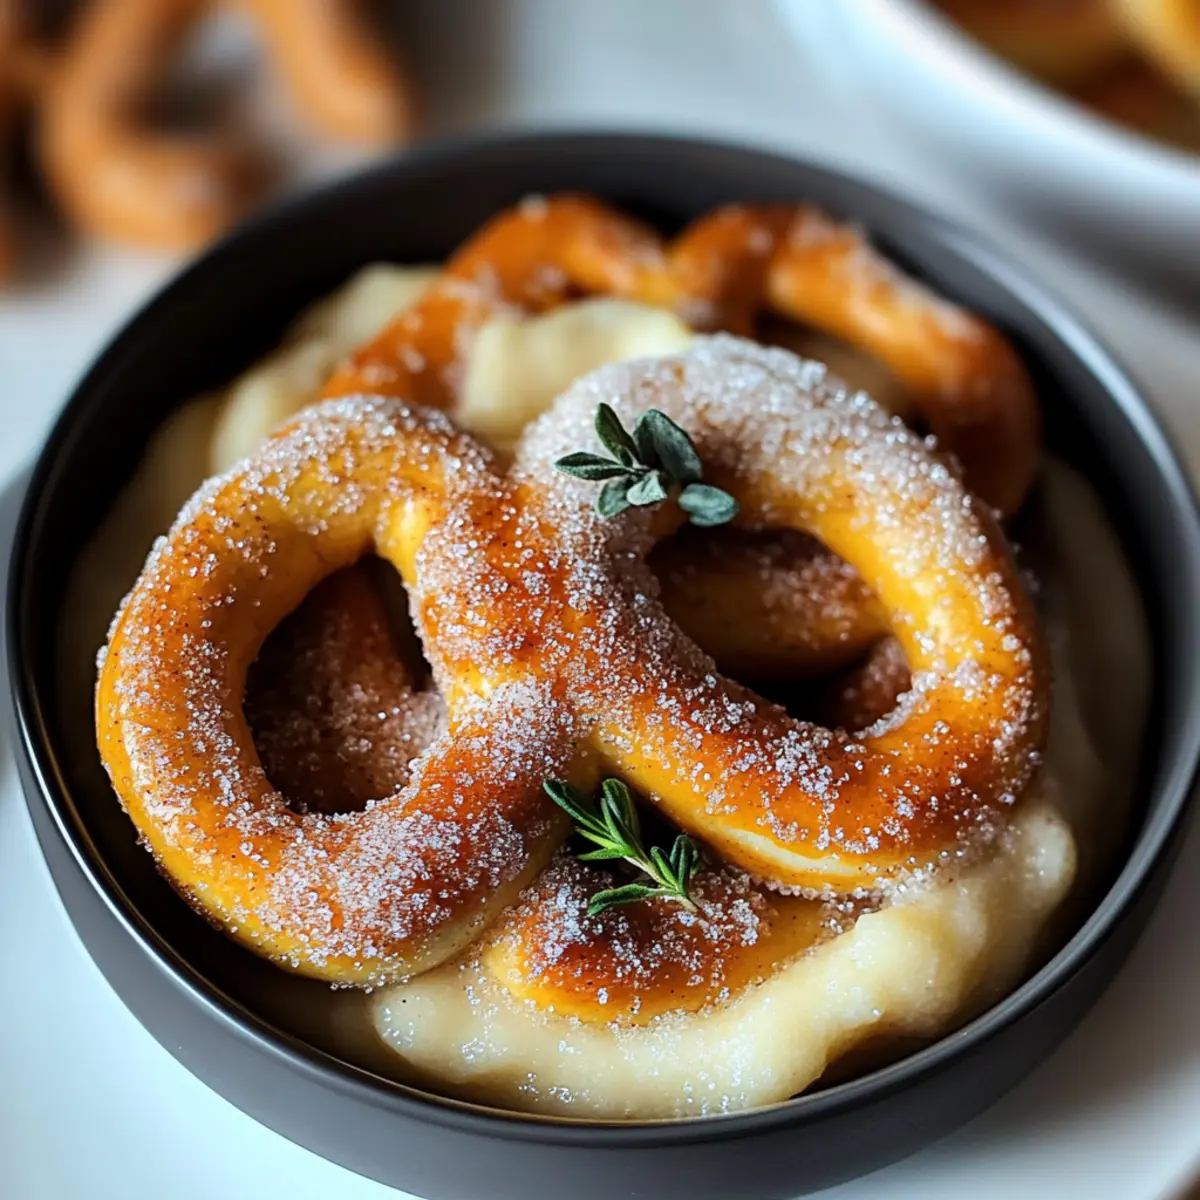
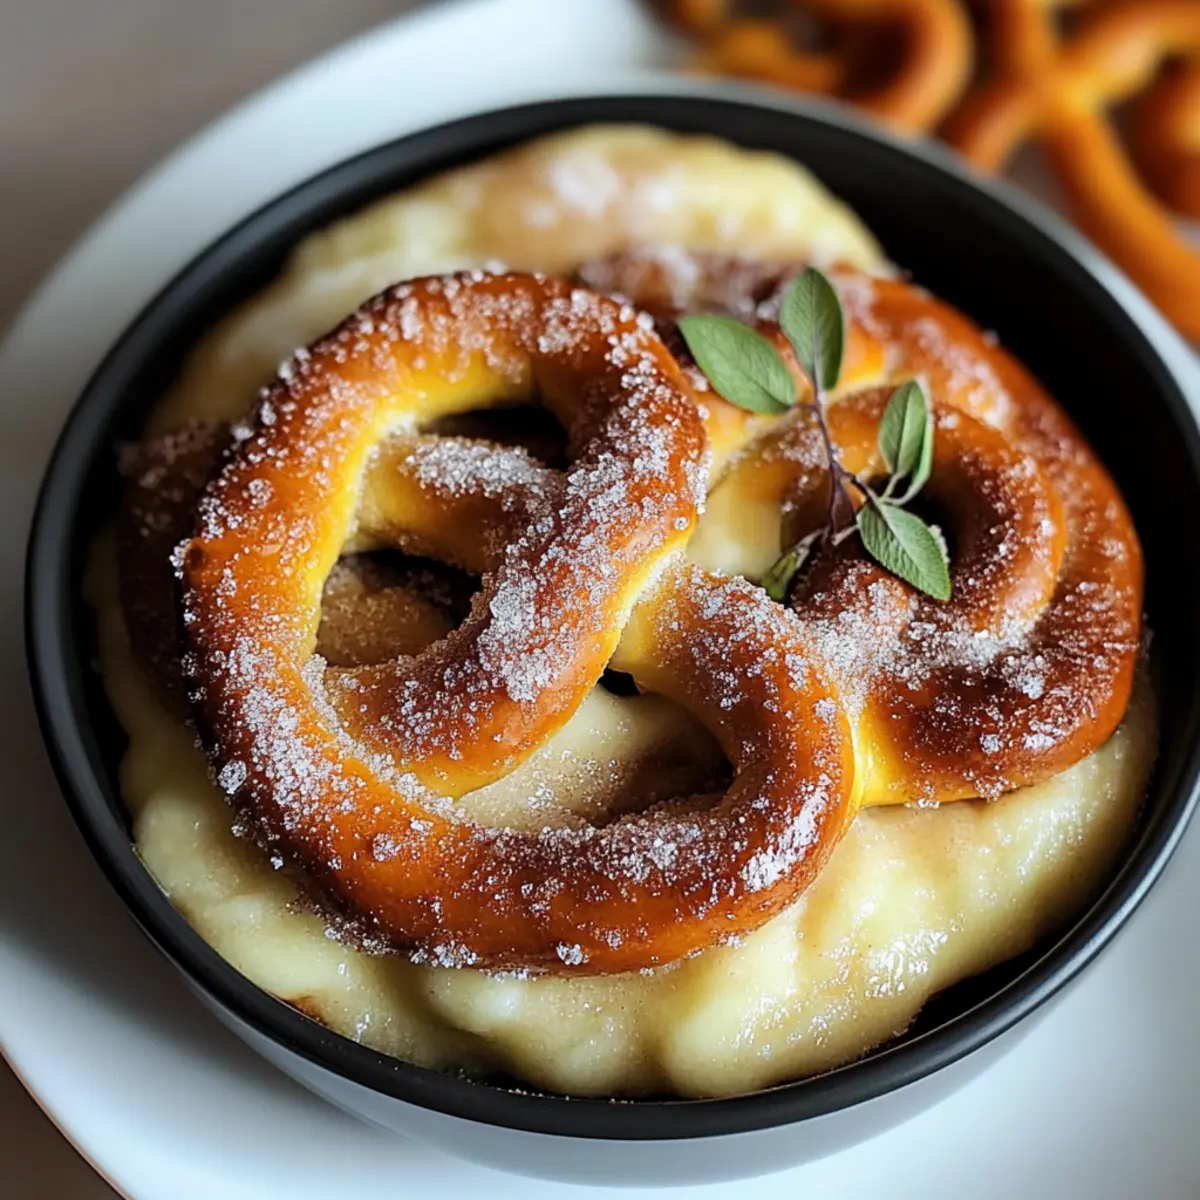
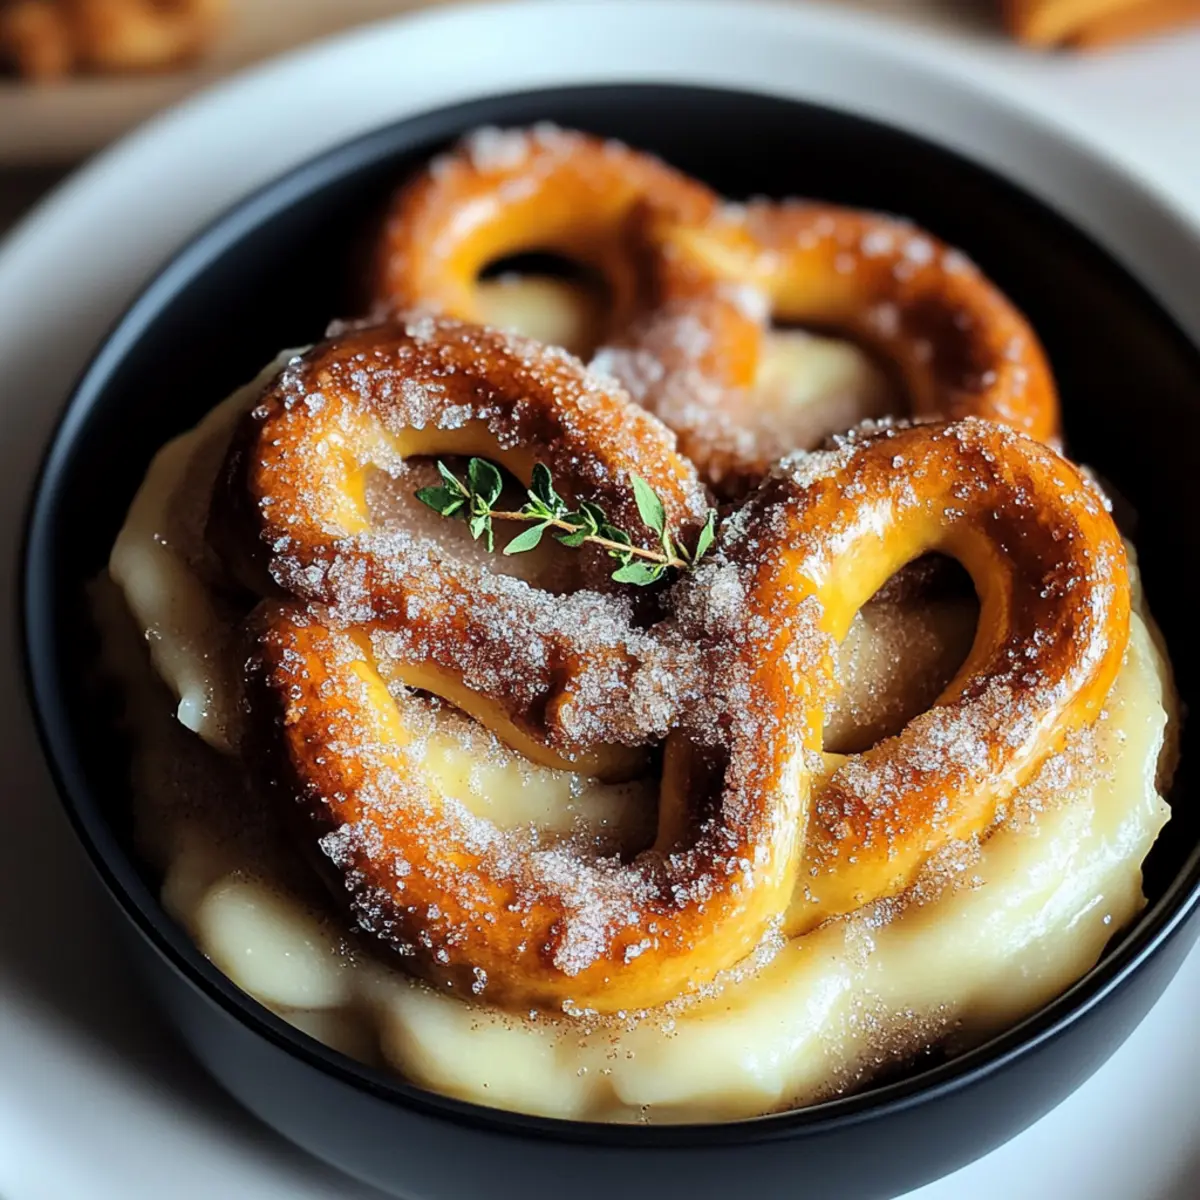
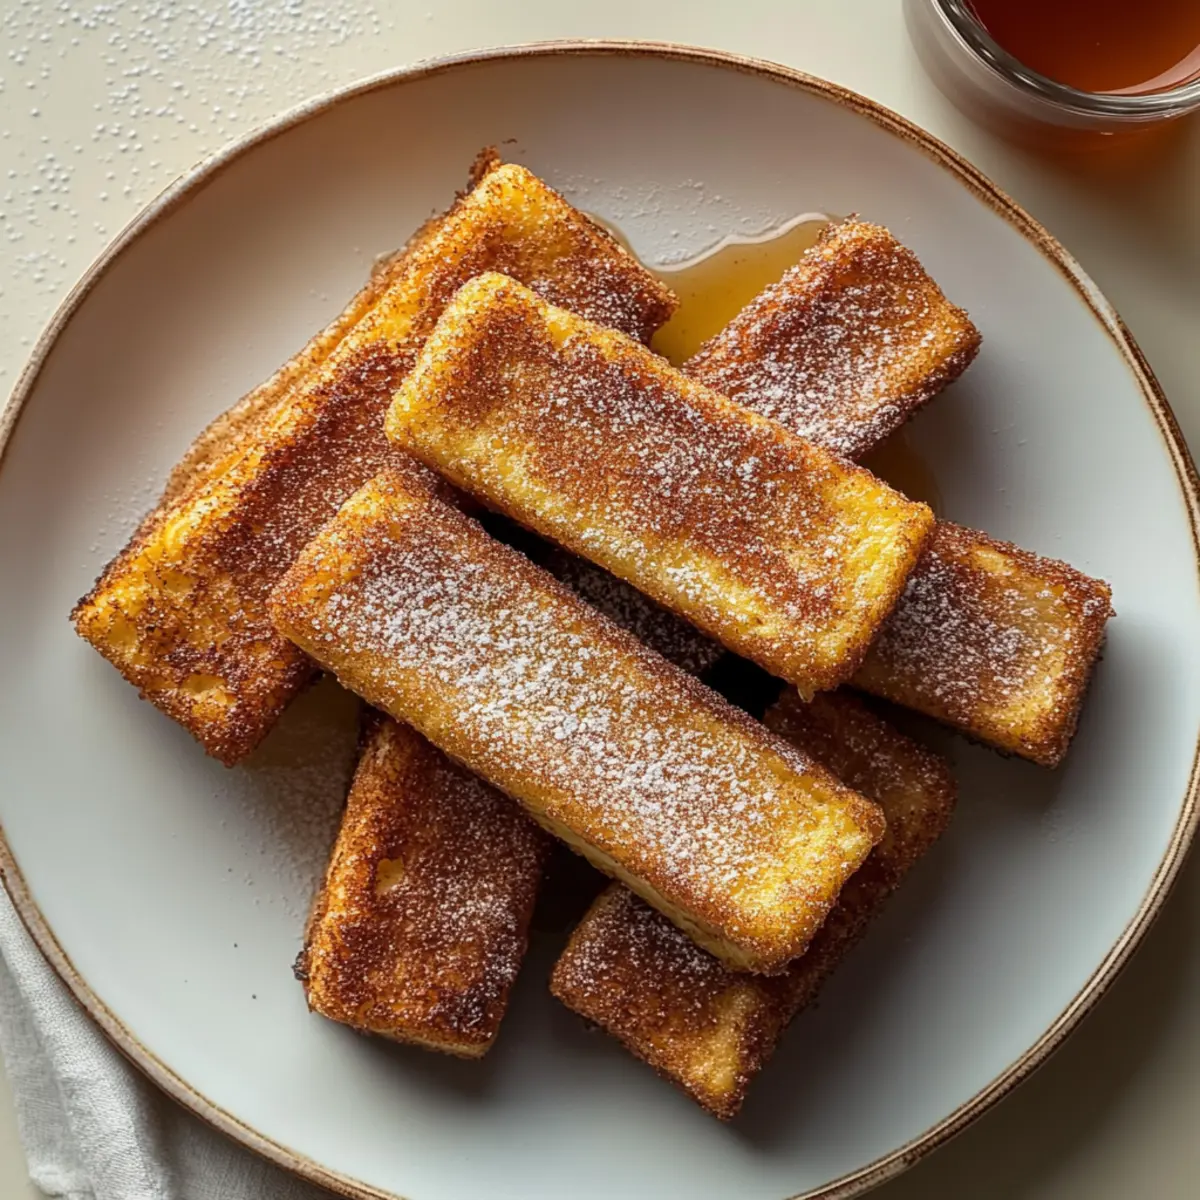
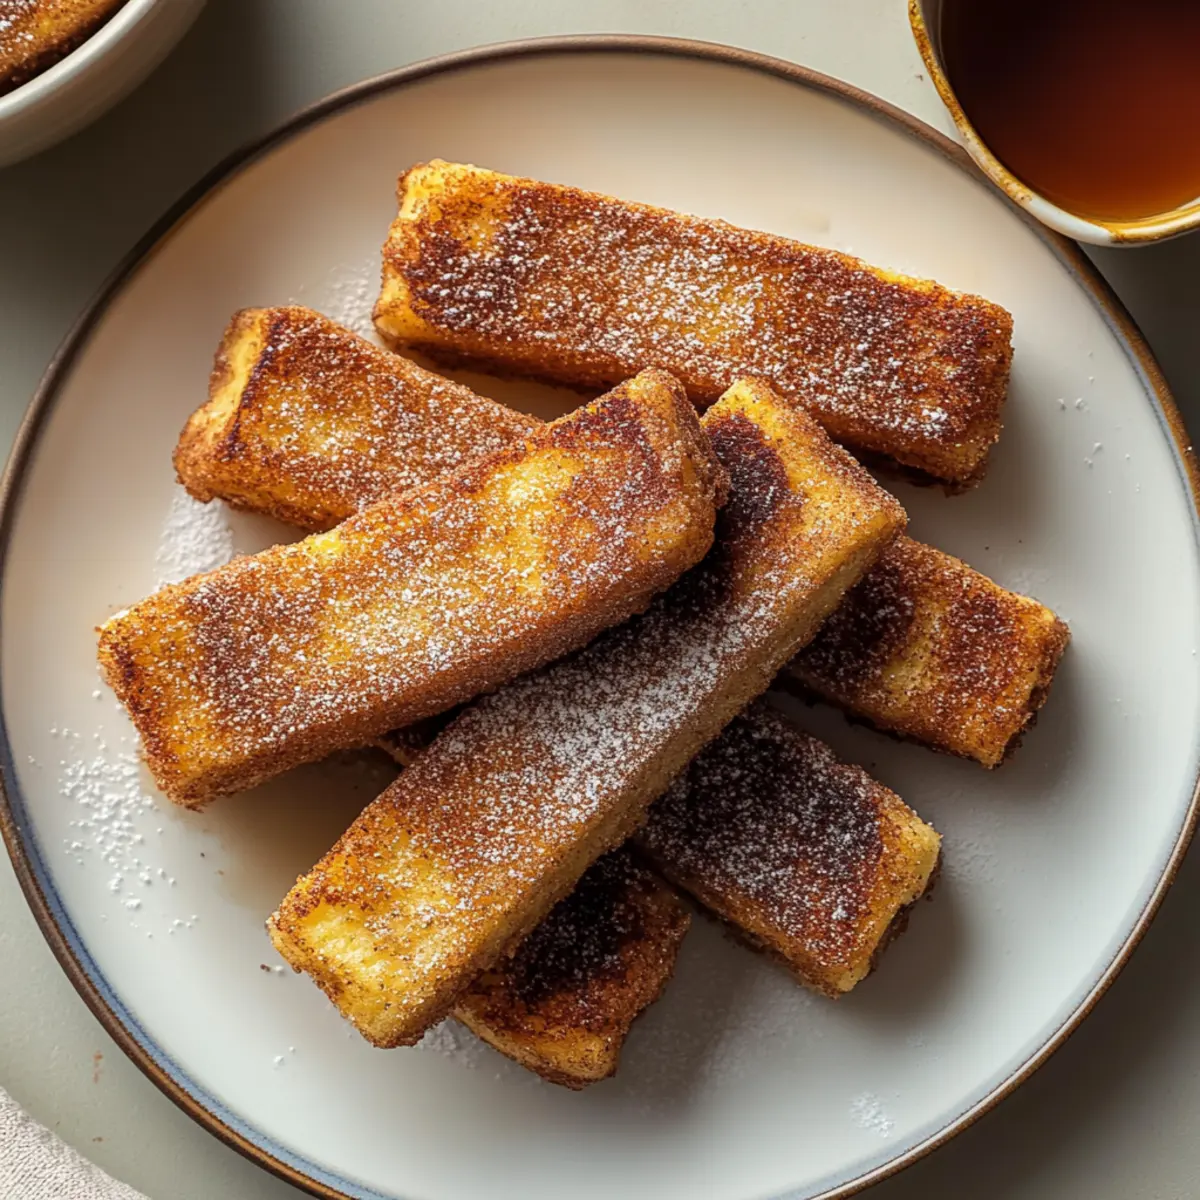
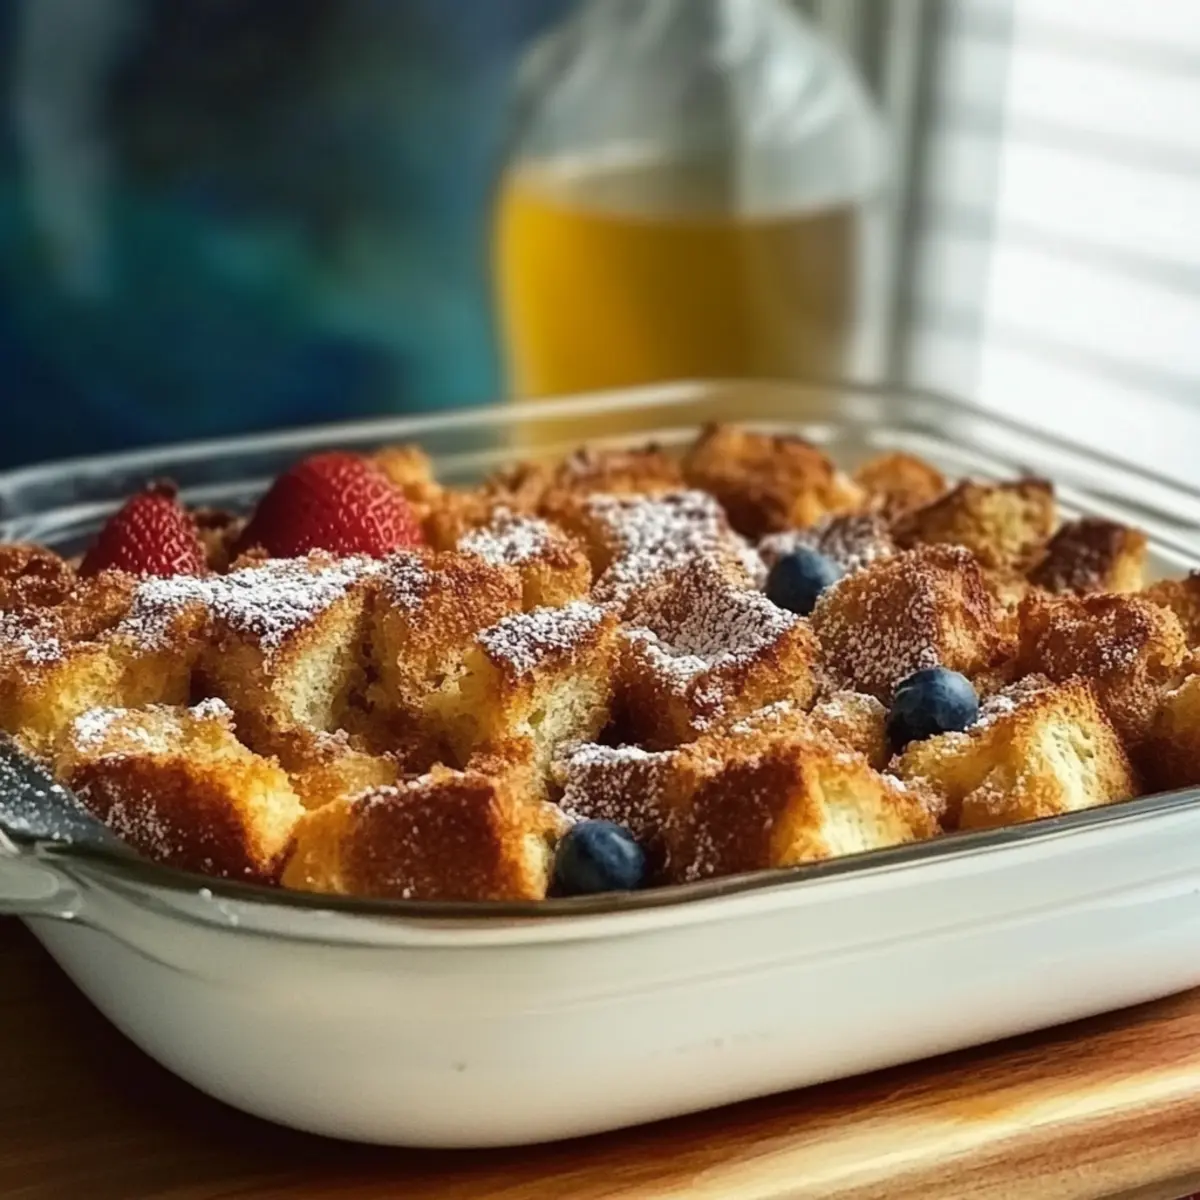
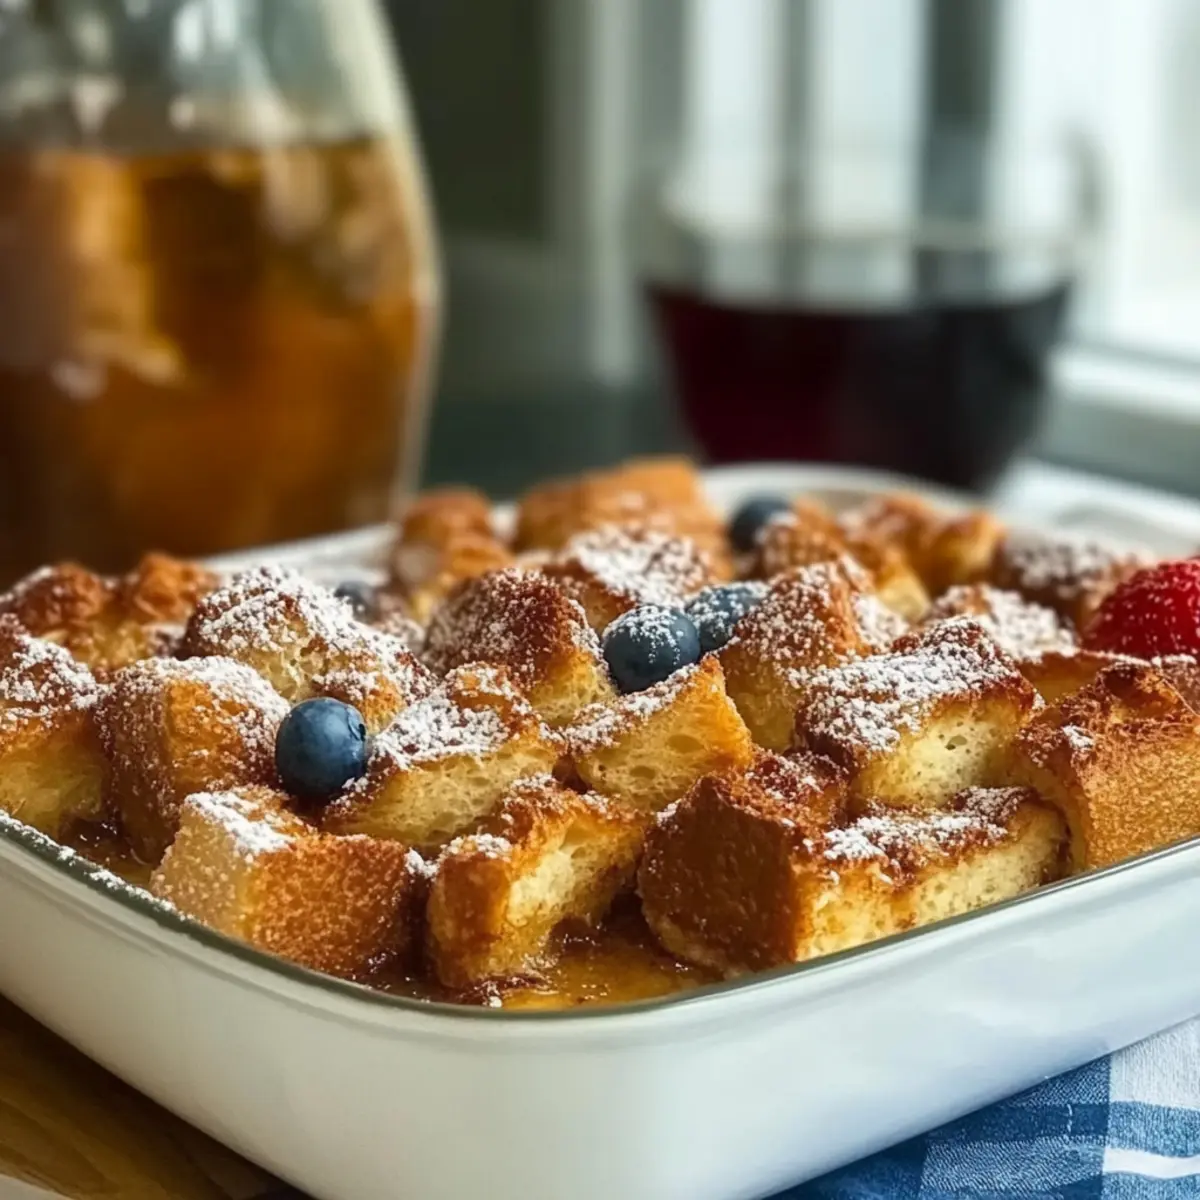
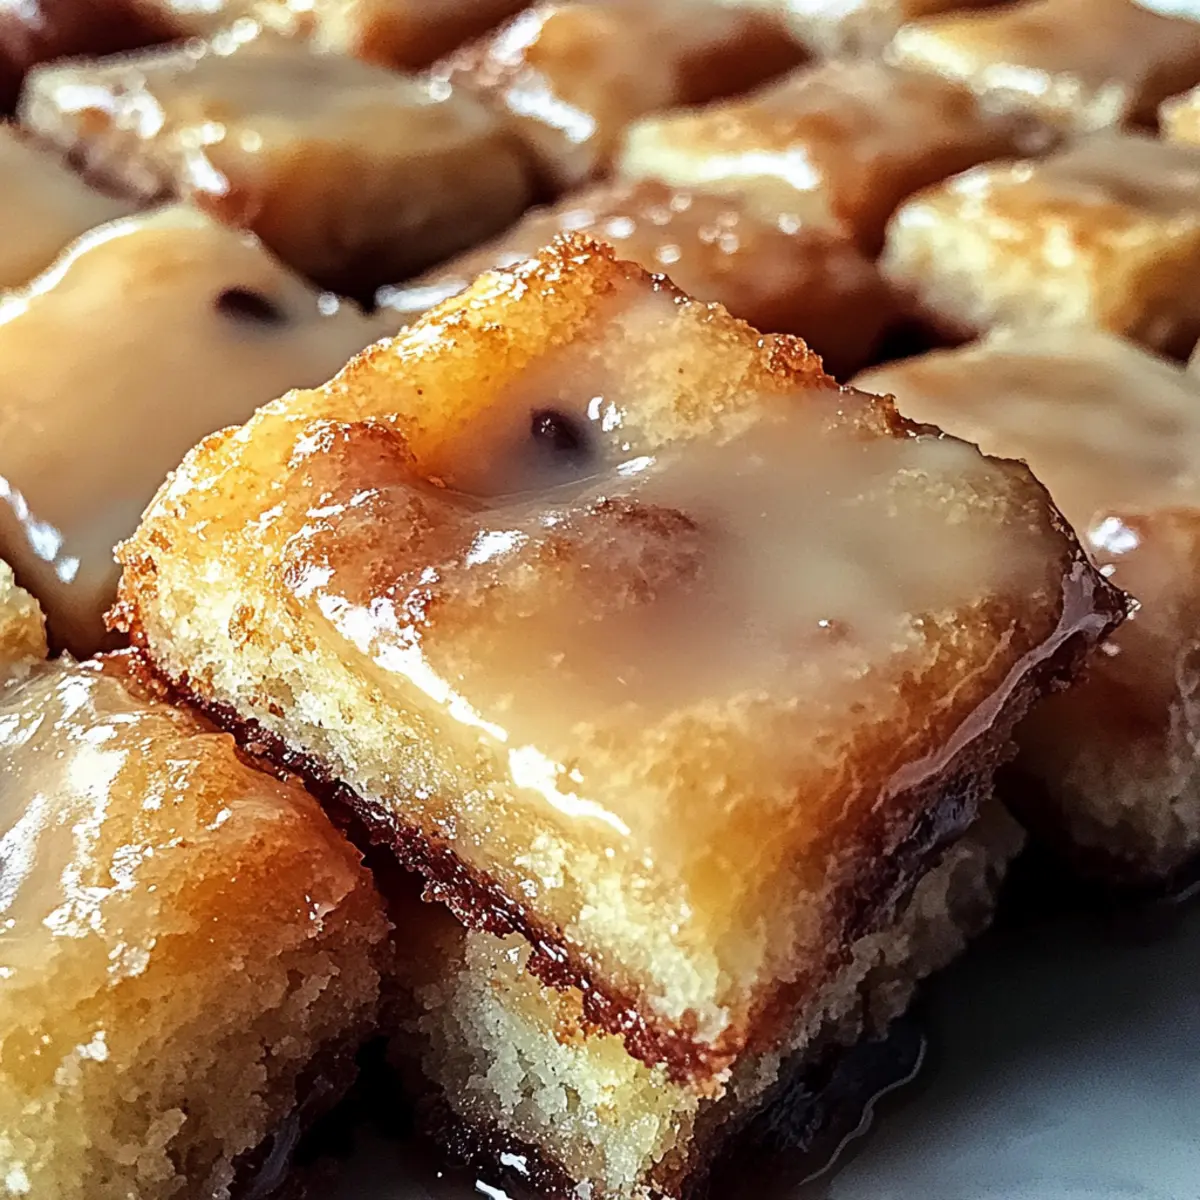
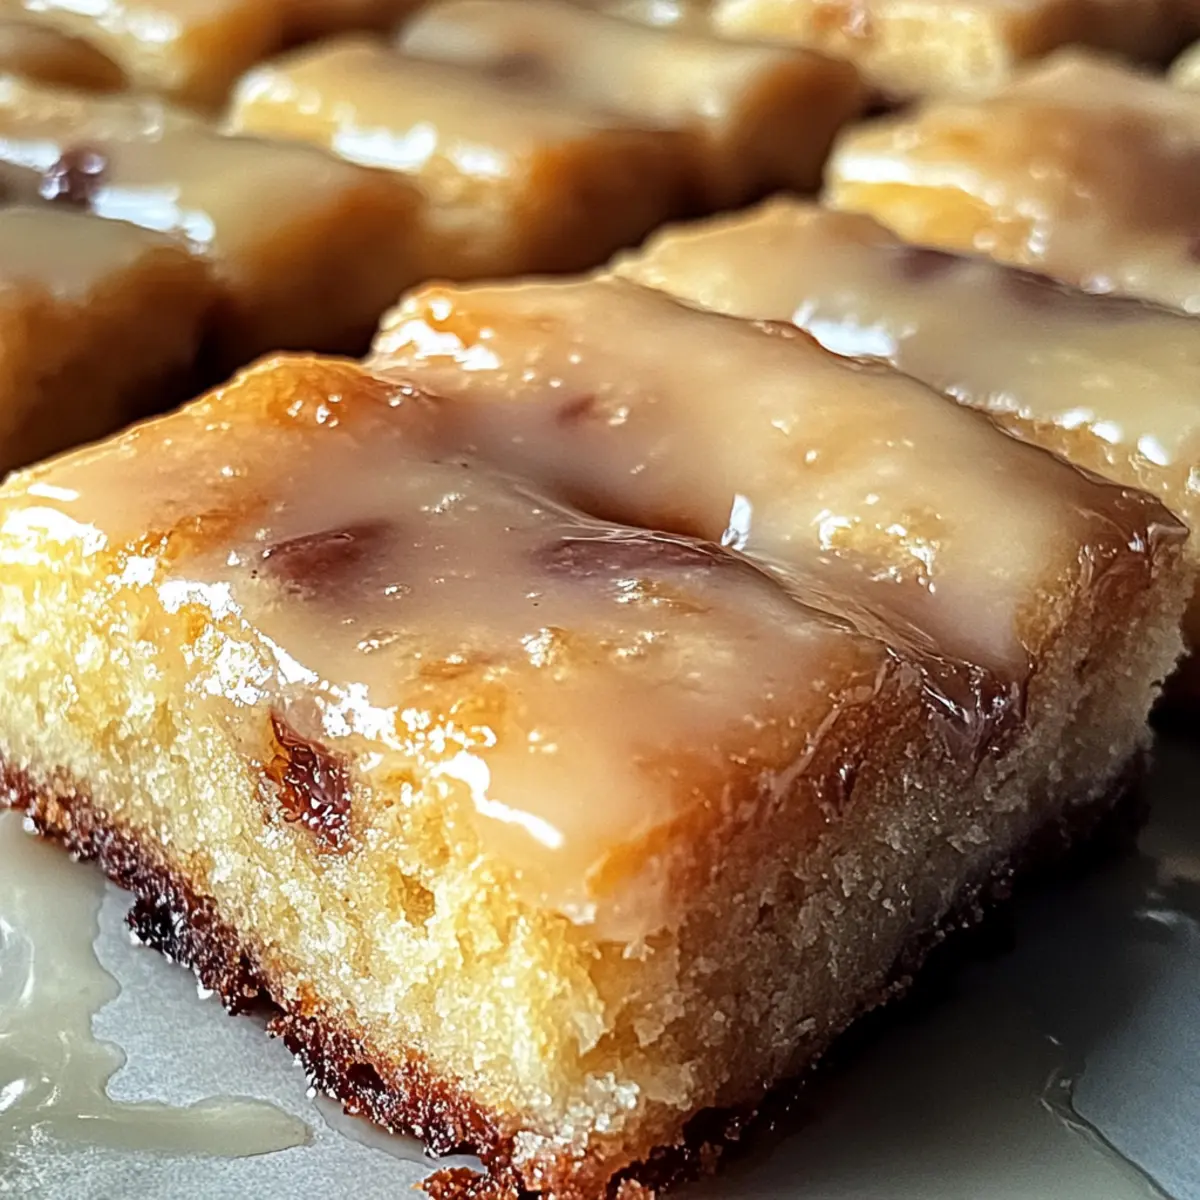
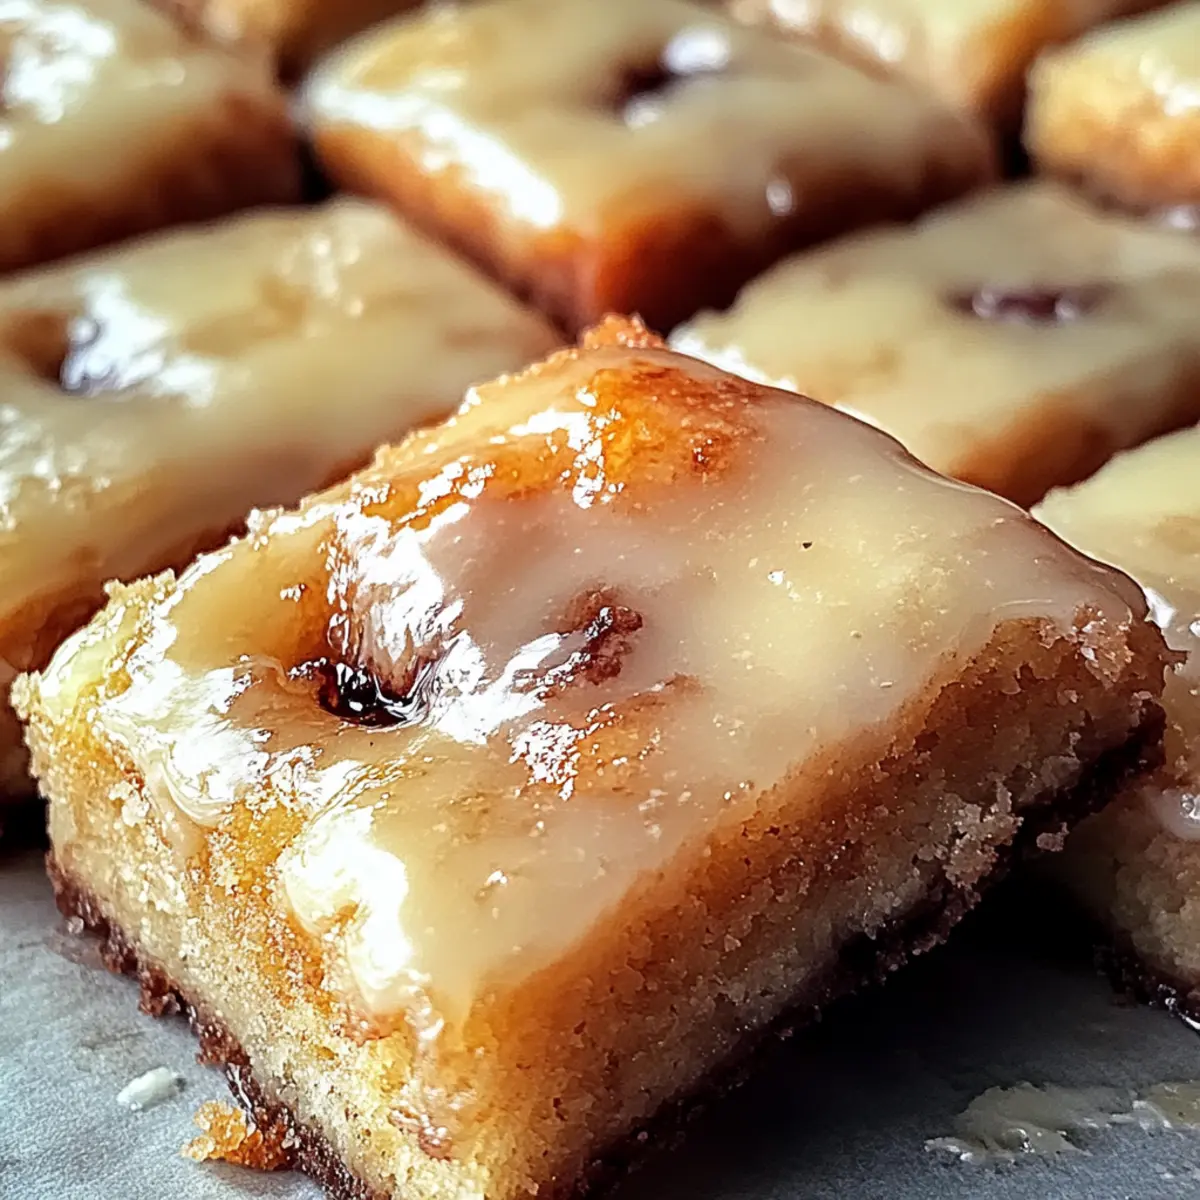
The first scent to greet you is nutmeg, a dash of warm spice that quickly transports me back to childhood mornings filled with laughter and the gentle hum of family kitchens. These Old-Fashioned Buttermilk Donut Bars with Brown Butter Maple Vanilla Bean Glaze are not just a treat; they are a slice of nostalgia that beckons to be savored. With their tender, fluffy texture and sweet, glossy glaze, these bars make for an effortless indulgence that will charm your family and friends, and they’re surprisingly easy to whip up! Perfect for brunch gatherings or a cozy snack, they also offer the delightful option of a gluten-free adaptation that you can personalize. So, are you ready to recreate a beloved classic and fill your home with delicious aromas? Let’s dive into this heartwarming recipe together!
Why are these donut bars irresistible?
Nostalgic Flavor: The warm notes of nutmeg and vanilla whisk you back to cherished childhood memories.
Effortless Indulgence: These bars are incredibly simple to prepare, making them perfect for any home cook—no fancy baking skills required!
Versatile Customization: Feel free to experiment with ingredients like nuts or fresh berries to craft your own unique version.
Perfect for Any Occasion: Whether it's a cozy family brunch or a delightful snack, these donut bars are bound to impress.
Gluten-Free Friendly: With a simple swap, everyone can enjoy this classic treat, ensuring no one feels left out!
Old-Fashioned Buttermilk Donut Bars Ingredients
Experience the joy of baking with these delightful bars!
For the Donut Bars
- All-Purpose Flour – Provides structure and form to the donut bars. Can swap with gluten-free flour blend with xanthan gum.
- Baking Powder – Essential for leavening, ensuring the bars rise and become fluffy.
- Baking Soda – Works alongside the baking powder for added lift.
- Ground Nutmeg – Imparts classic old-fashioned donut flavor and aroma. Don't skip this ingredient for authentic taste.
- Salt – Balances sweetness and enhances overall flavor.
- Unsalted Butter – Adds richness and moisture. Ensure it is softened for easy mixing.
- Granulated Sugar – Sweetens the bars and contributes to texture.
- Eggs – Provide binding and moisture, creating a tender crumb.
- Vanilla Extract – Adds depth of flavor and aroma.
- Buttermilk – Contributes to tenderness and tang. Can substitute with milk mixed with vinegar or lemon juice.
For the Glaze
- Powdered Sugar – Used for glazing, providing a sweet finish.
- Maple Syrup – Adds flavor and sweetness to the glaze.
- Vanilla Bean Paste – Offers richness and vanilla flavor depth. Substitutable with vanilla extract if unavailable.
Step‑by‑Step Instructions for Old-Fashioned Buttermilk Donut Bars
Step 1: Preheat and Prepare
Start by preheating your oven to 350°F (175°C). While it's warming up, grease or line a 9x13-inch baking pan with parchment paper for easy removal later. This simple preparation ensures your Old-Fashioned Buttermilk Donut Bars will bake evenly and come out perfectly.
Step 2: Combine Dry Ingredients
In a medium bowl, whisk together all-purpose flour, baking powder, baking soda, ground nutmeg, and salt until well combined. This dry mixture is essential for creating the classic flavor and tender texture of your donut bars. Set this bowl aside as you move to the next step.
Step 3: Cream Butter and Sugar
In a large mixing bowl, use an electric mixer to beat the softened unsalted butter and granulated sugar together until the mixture is light and fluffy, approximately 2-3 minutes. This process incorporates air, which is key for a light texture in your Old-Fashioned Buttermilk Donut Bars.
Step 4: Add Eggs and Vanilla
Add the eggs to the butter mixture one at a time, mixing well after each addition to ensure they are fully incorporated. Then stir in the vanilla extract, blending everything smoothly. This step enriches the flavor and binds your batter together, creating a beautifully cohesive mixture.
Step 5: Mix in Dry and Wet Ingredients
Gradually add the flour mixture to the butter mixture, alternating with the buttermilk. Start and end with the flour mixture, mixing just until combined. The batter should appear thick yet smooth. Be careful not to over-mix; a gentle fold ensures tender bars in your Old-Fashioned Buttermilk Donut Bars.
Step 6: Spread and Bake
Pour the batter into the prepared baking pan, spreading it evenly with a spatula. Smooth the top to ensure uniform baking. Place in the preheated oven and bake for 22-25 minutes, or until a toothpick inserted into the center comes out clean, indicating they’re done.
Step 7: Cool Completely
Once baked, remove the pan from the oven and allow the bars to cool in the pan for about 10 minutes. Then, transfer the bars to a wire rack to cool completely. Cooling is essential to allow the glaze to adhere properly, leading to the perfect finish on your Old-Fashioned Buttermilk Donut Bars.
Step 8: Prepare the Glaze
While the bars cool, prepare the dreamy glaze. In a small saucepan, melt the butter over medium heat until it turns golden brown, releasing a nutty aroma, about 5-7 minutes. Then, whisk in the powdered sugar, maple syrup, and vanilla bean paste until the glaze is smooth and glossy. Adjust with a splash of milk if necessary.
Step 9: Glaze the Bars
Once the donut bars are completely cool, pour the glaze over the top, allowing it to drip down the sides for a beautiful finish. Let the glaze set for about 15 minutes at room temperature before slicing the bars into rectangles. Your Old-Fashioned Buttermilk Donut Bars are now ready to indulge!
Old-Fashioned Buttermilk Donut Bars Variations
Feel free to explore these delightful variations to make your donut bars even more special and suited to your taste!
-
Gluten-Free: Substitute all-purpose flour with a gluten-free blend for a delicious alternative everyone can enjoy. Just be sure to add xanthan gum if your blend doesn’t include it.
-
Spice It Up: Incorporate a teaspoon of cinnamon or cardamom to add warmth and intrigue to the flavor profile. The fragrant spices will elevate your bar experience to new heights!
-
Chocolate Lovers: Folding in semi-sweet chocolate chips or chunks adds gooey, melty bites that take these bars over the top. Imagine indulging in chocolatey goodness with each bite!
-
Nutty Crunch: Toss in a handful of toasted walnuts or pecans for a satisfying crunch and nutty flavor. The contrast between the soft bars and crunchy nuts creates a delightful texture variety.
-
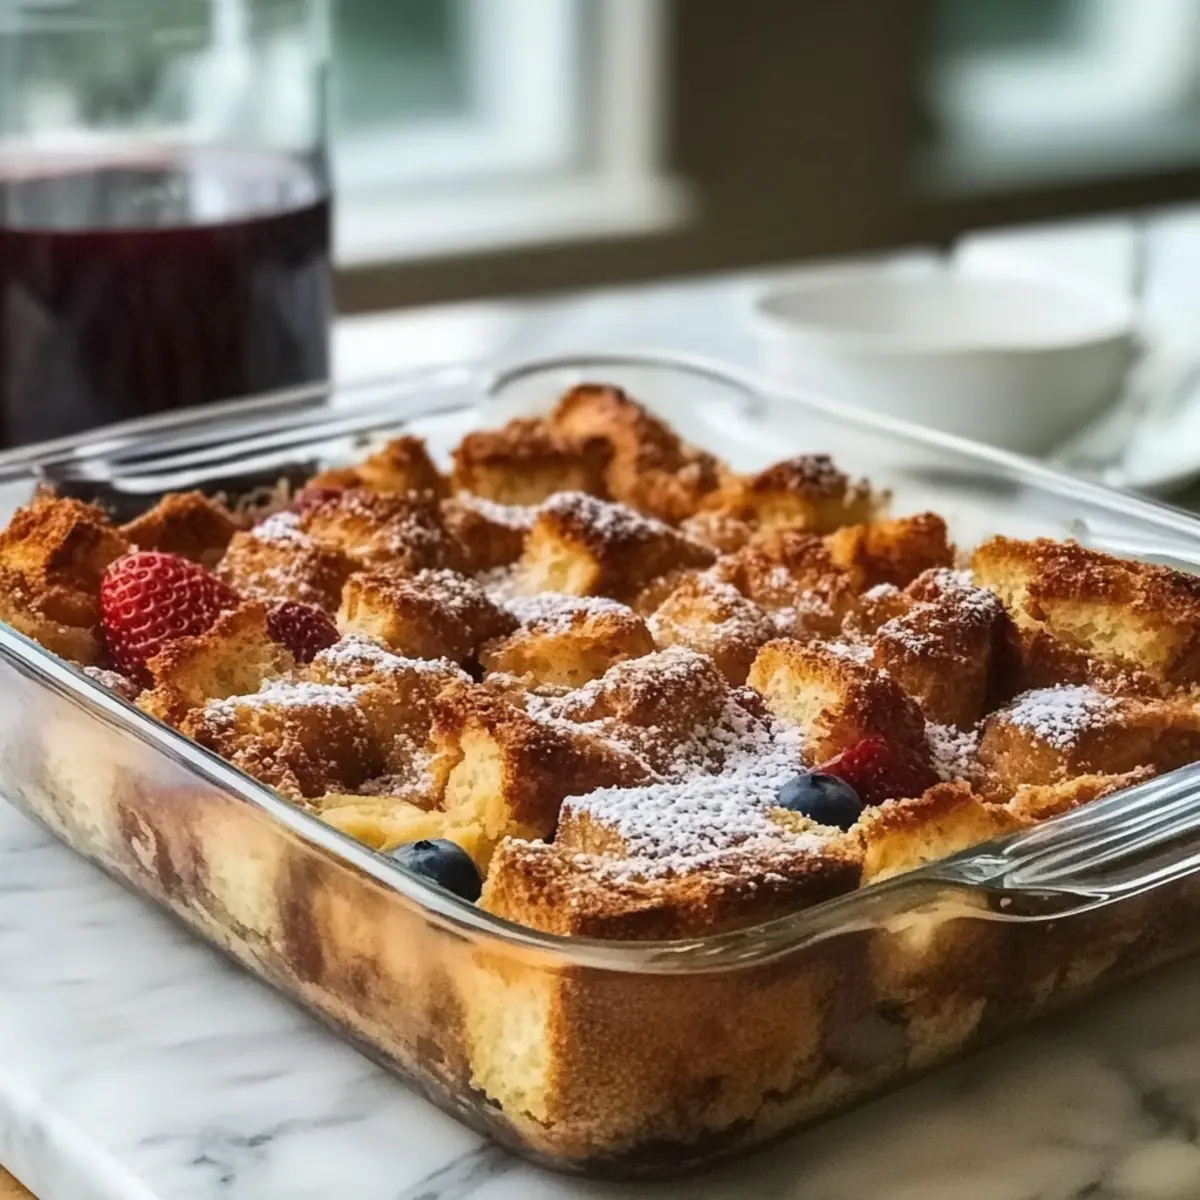
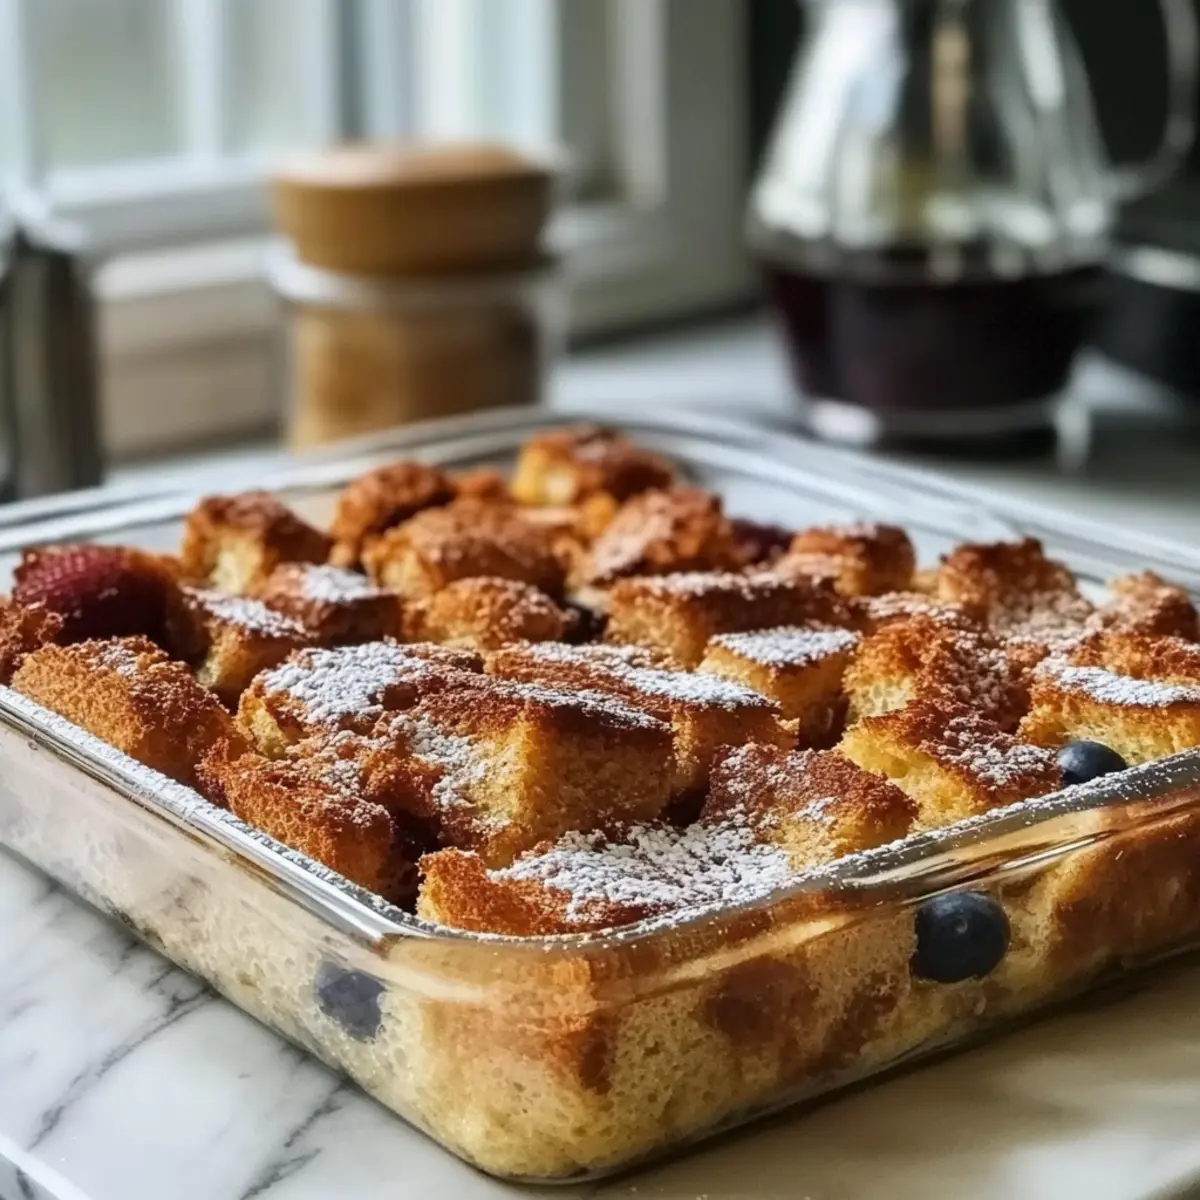
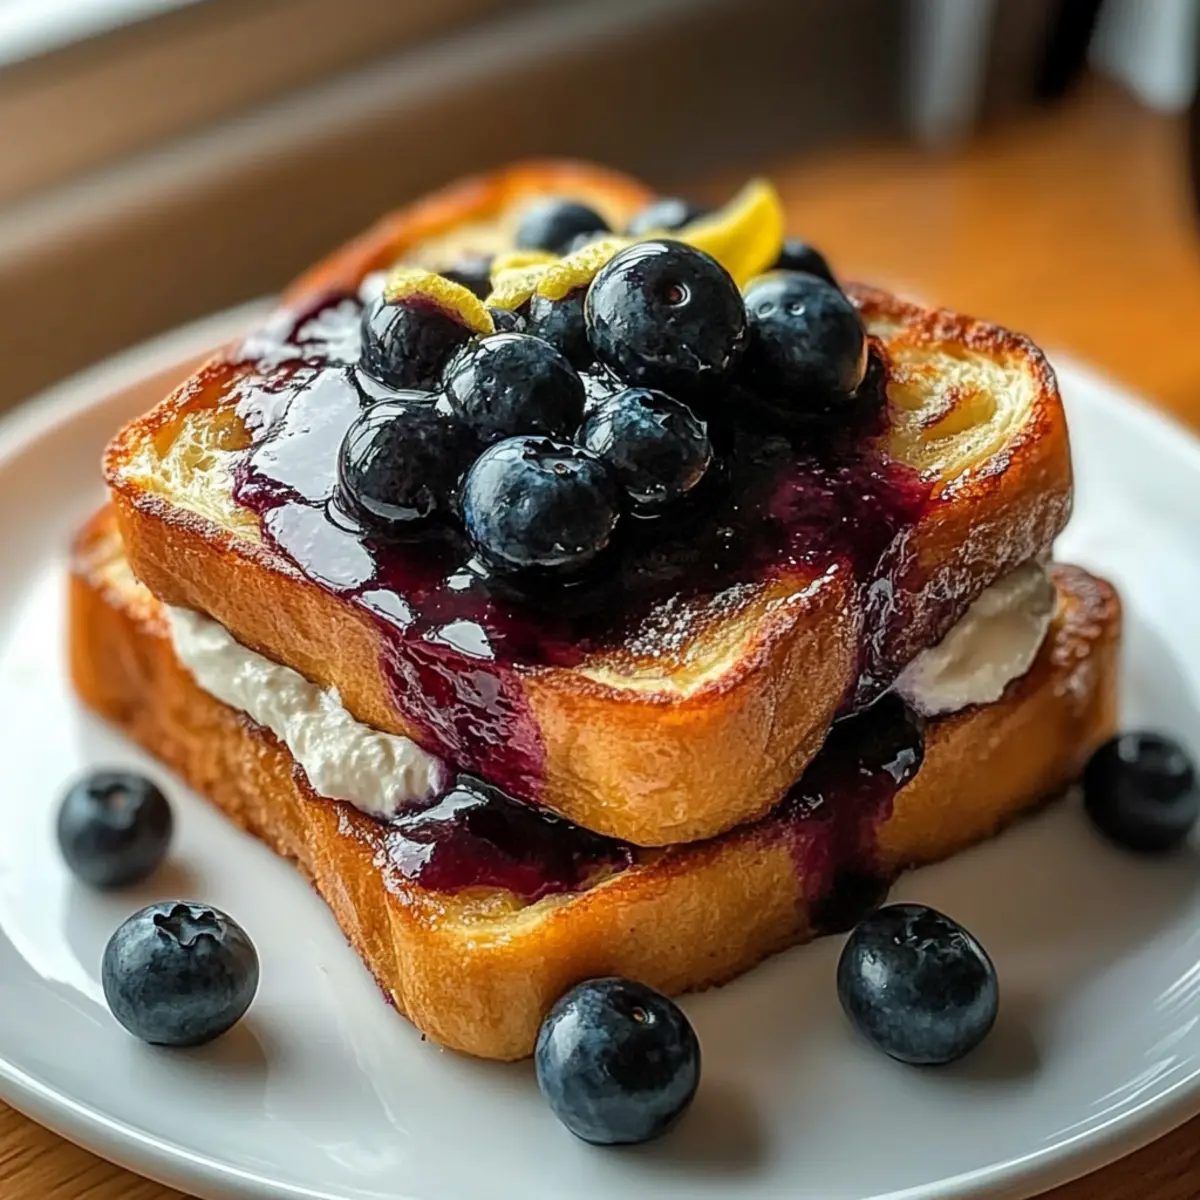
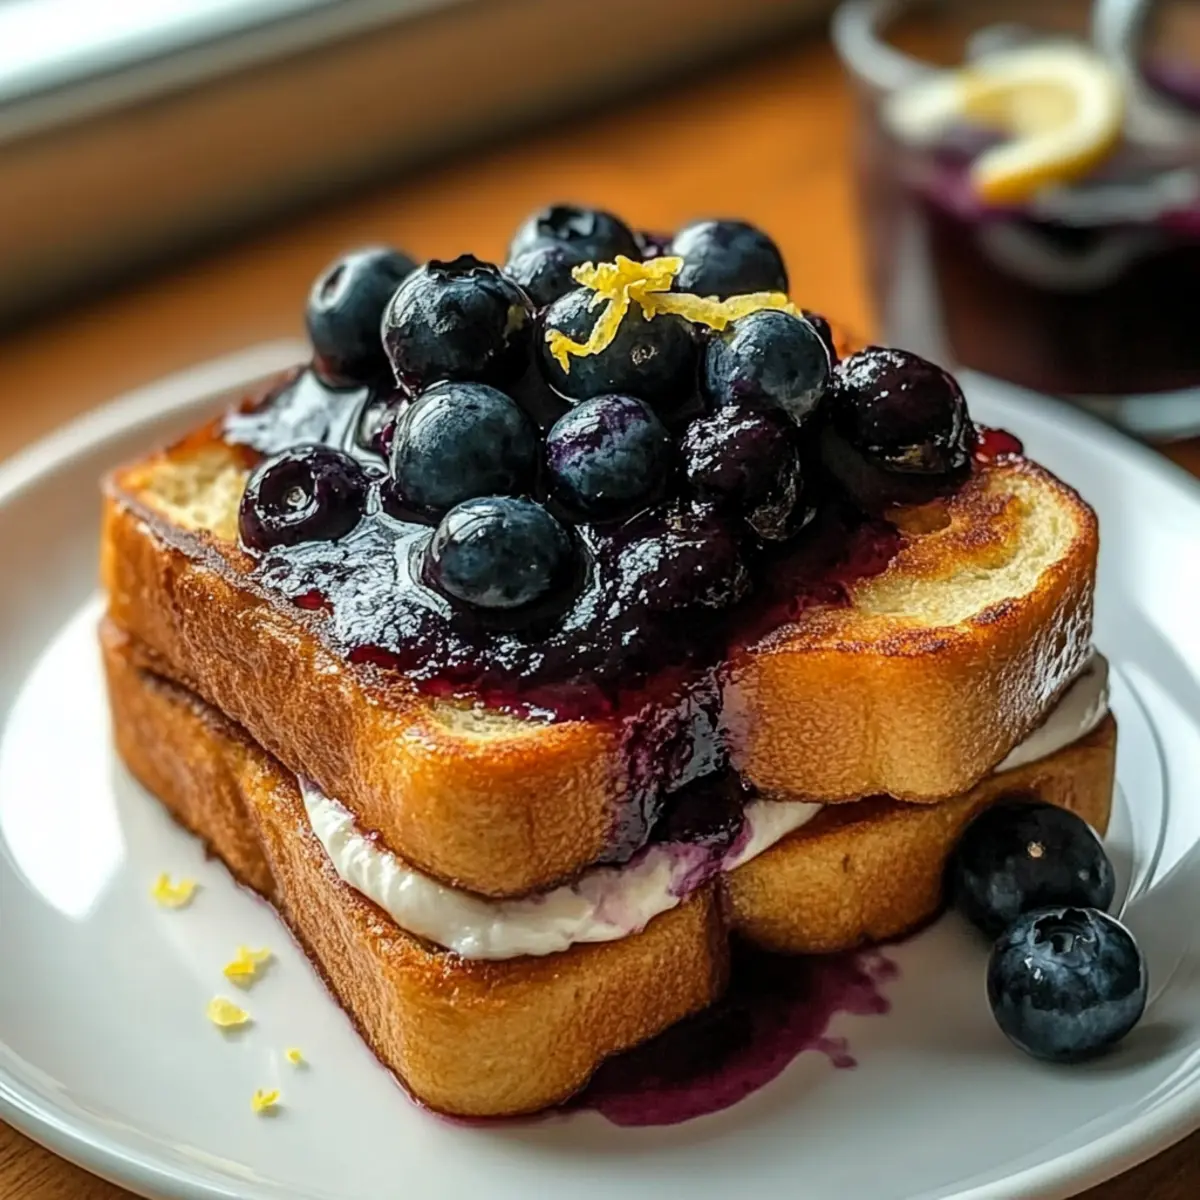
Berry Freshness: Top with fresh berries like strawberries or blueberries for a burst of color and freshness. This twist brings a lovely tartness that balances the sweetness beautifully!
-
Citrus Zest: Add a tablespoon of orange or lemon zest to the glaze for a bright, zesty kick. The citrus notes will add an unexpected brightness that pairs perfectly with the sweetness.
-
Maple Bliss: For an extra boost of maple flavor, increase the maple syrup in the glaze. Let those syrupy notes dance on your palate; it’s like a sweet hug for your taste buds!
-
Spicy Kick: Add a pinch of cayenne pepper or chili powder to the batter for a surprising, gentle heat. It’s a bold twist that will certainly spark conversation around the brunch table!
Feel free to get creative! If you crave more ideas to embellish your baking, consider trying different toppings or experimenting with fillings for a unique twist on classic desserts.
Make Ahead Options
These Old-Fashioned Buttermilk Donut Bars are perfect for meal prep enthusiasts looking to save time throughout the week! You can prepare the donut bar batter up to 24 hours in advance. Simply mix the ingredients according to the recipe, then cover and refrigerate the bowl. When you're ready to bake, allow it to sit at room temperature for about 15 minutes before spreading the batter in your prepared pan and baking. You can also glaze the bars up to 3 days ahead; store them in an airtight container at room temperature. Just reheat the bars slightly before serving to ensure they are just as delicious as the day you made them!
How to Store and Freeze Old-Fashioned Buttermilk Donut Bars
Room Temperature: Keep leftover Old-Fashioned Buttermilk Donut Bars in an airtight container, where they'll stay fresh for up to 3 days without losing their delightful texture.
Fridge: If you'd like to extend their shelf life, you can refrigerate the donut bars for up to a week. Just ensure they are well-wrapped to prevent them from absorbing any odors.
Freezer: For longer storage, freeze the bars in an airtight container or wrap them tightly in plastic wrap followed by foil. They can be frozen for up to 3 months and defrosted at room temperature.
Reheating: To enjoy them warm, simply reheat the thawed bars in the microwave for 10-15 seconds or place them in a preheated oven at 350°F (175°C) for about 5 minutes.
What to Serve with Old-Fashioned Buttermilk Donut Bars
Delight in creating a well-rounded meal that elevates the sweet charm of these airy bars.
- Fresh Fruit Salad: A medley of seasonal fruits adds a refreshing contrast and vibrant color to your brunch spread. The fruity sweetness pleasantly balances the rich glaze.
- Creamy Yogurt Parfait: Layer Greek yogurt with granola and berries for a creamy, crunchy side that enhances the donut bars' soft texture. It's both satisfying and nutritious!
- Warm Maple Syrup: Drizzling warm maple syrup over the bars amplifies the maple flavor while providing an extra touch of decadence. Perfect for those who love that sweet maple kick!
- Herbal Tea: A cup of chamomile or mint tea offers a calming counterpart to the sugariness of the bars, making for a cozy afternoon treat.
- Rich Coffee: The bold flavors of a freshly brewed coffee contrast beautifully with the sweet donut bars, making this pairing a classic to enjoy together.
- Chocolate Chip Cookie Ice Cream Sandwich: Serve a scoop of creamy vanilla ice cream between two homemade chocolate chip cookies for an indulgent dessert to pair alongside the donut bars. Sweet and dreamy!
- Pecan Pie Bars: For a truly decadent dessert table, introduce pecan pie bars. Their nutty, caramel flavors complement the richness of the donut bars in a sweet symphony.
- Spiced Chai Latte: The complex spices of chai provide an aromatic experience that complements the nutmeg in the bars, enhancing that cozy feeling. Perfect for chilly mornings!
- Mini Muffins: Consider offering a variety of mini muffins, like blueberry or banana, which invite additional flavors and textures to your brunch or snack session. Decisions, decisions!
Expert Tips for Old-Fashioned Buttermilk Donut Bars
-
Room Temperature Ingredients: Ensure all your ingredients, especially butter and eggs, are at room temperature for a smoother batter and better texture.
-
Don’t Overmix: Mix the batter just until combined. Overmixing can lead to dense bars instead of the tender Old-Fashioned Buttermilk Donut Bars you desire.
-
Check for Doneness: Start checking the bars a couple of minutes early by inserting a toothpick. They are ready when it comes out clean, preventing dryness.
-
Glaze Consistency: If the glaze appears too thick, add a small splash of milk to reach your desired pourable consistency, ensuring an even coating.
-
Cool Completely: Allow the bars to cool completely before glazing to prevent the frosting from soaking in or running off. This step is crucial for that perfect finish.
-
Store Properly: Keep leftover bars in an airtight container at room temperature for up to 3 days or refrigerate for a week, ensuring they stay fresh and delicious!

Old-Fashioned Buttermilk Donut Bars Recipe FAQs
How do I choose the right buttermilk for the recipe?
Absolutely! When selecting buttermilk, look for a fresh carton with a clean expiration date to ensure maximum flavor and acidity, which contributes to the tenderness of your donut bars. If you can't find buttermilk, mixing milk with 1 tablespoon of vinegar or lemon juice for each cup will yield a similar tangy effect.
How should I store leftover Old-Fashioned Buttermilk Donut Bars?
After enjoying your donut bars, store any leftovers in an airtight container at room temperature for up to 3 days. If you want to extend their shelf life, refrigerate them for up to a week. Just ensure they are well-wrapped to prevent them from drying out or picking up odors!
Can I freeze the donut bars, and if so, how?
Yes, you can freeze them! To do this, wrap each individual bar tightly in plastic wrap and then in aluminum foil, or place them in a freezer-safe airtight container. Frozen Old-Fashioned Buttermilk Donut Bars will keep well for up to 3 months. When you're ready to enjoy, simply thaw at room temperature or reheat briefly in the microwave or oven as described in the storage instructions.
What should I do if my donut bars turn out too dense or heavy?
If your donut bars come out too dense, it may be due to overmixing the batter, which can develop the gluten in flour and lead to a heavier texture. For next time, mix just until the dry ingredients are incorporated. Also, ensure your baking powder is still active—check the expiration date for optimal lift!
Is there a gluten-free version of Old-Fashioned Buttermilk Donut Bars?
Very much so! You can easily make these donut bars gluten-free by substituting all-purpose flour with a gluten-free flour blend. Ensure the blend contains xanthan gum for the best structure. Many brands have gluten-free all-purpose flour specifically made for baking, so check the label for best results.
Are there any allergy considerations I should know about?
Certainly! Keep in mind that this recipe contains common allergens like eggs, dairy, and gluten. To adapt for allergies, consider using egg replacers for vegans, almond or coconut milk for a lactose-free version, and gluten-free flour blends for those with celiac disease or gluten sensitivity. Always check ingredient labels to ensure safety.
Old-Fashioned Buttermilk Donut Bars with a Dreamy Glaze
Ingredients
Equipment
Method
- Preheat your oven to 350°F (175°C) and prepare a 9x13-inch baking pan with grease or parchment paper.
- Whisk together flour, baking powder, baking soda, ground nutmeg, and salt in a bowl.
- Cream softened butter and sugar until light and fluffy, about 2-3 minutes.
- Add eggs one at a time, mixing well after each, then stir in vanilla extract.
- Gradually add the flour mixture to the butter mixture, alternating with buttermilk, mixing until combined.
- Pour the batter into the prepared pan, spreading evenly, and bake for 22-25 minutes until a toothpick comes out clean.
- Cool in the pan for about 10 minutes, then transfer to a wire rack to cool completely.
- Melt butter for the glaze until golden brown, then whisk in powdered sugar, maple syrup, and vanilla bean paste until smooth.
- Glaze the completely cooled bars and let set for about 15 minutes before slicing.