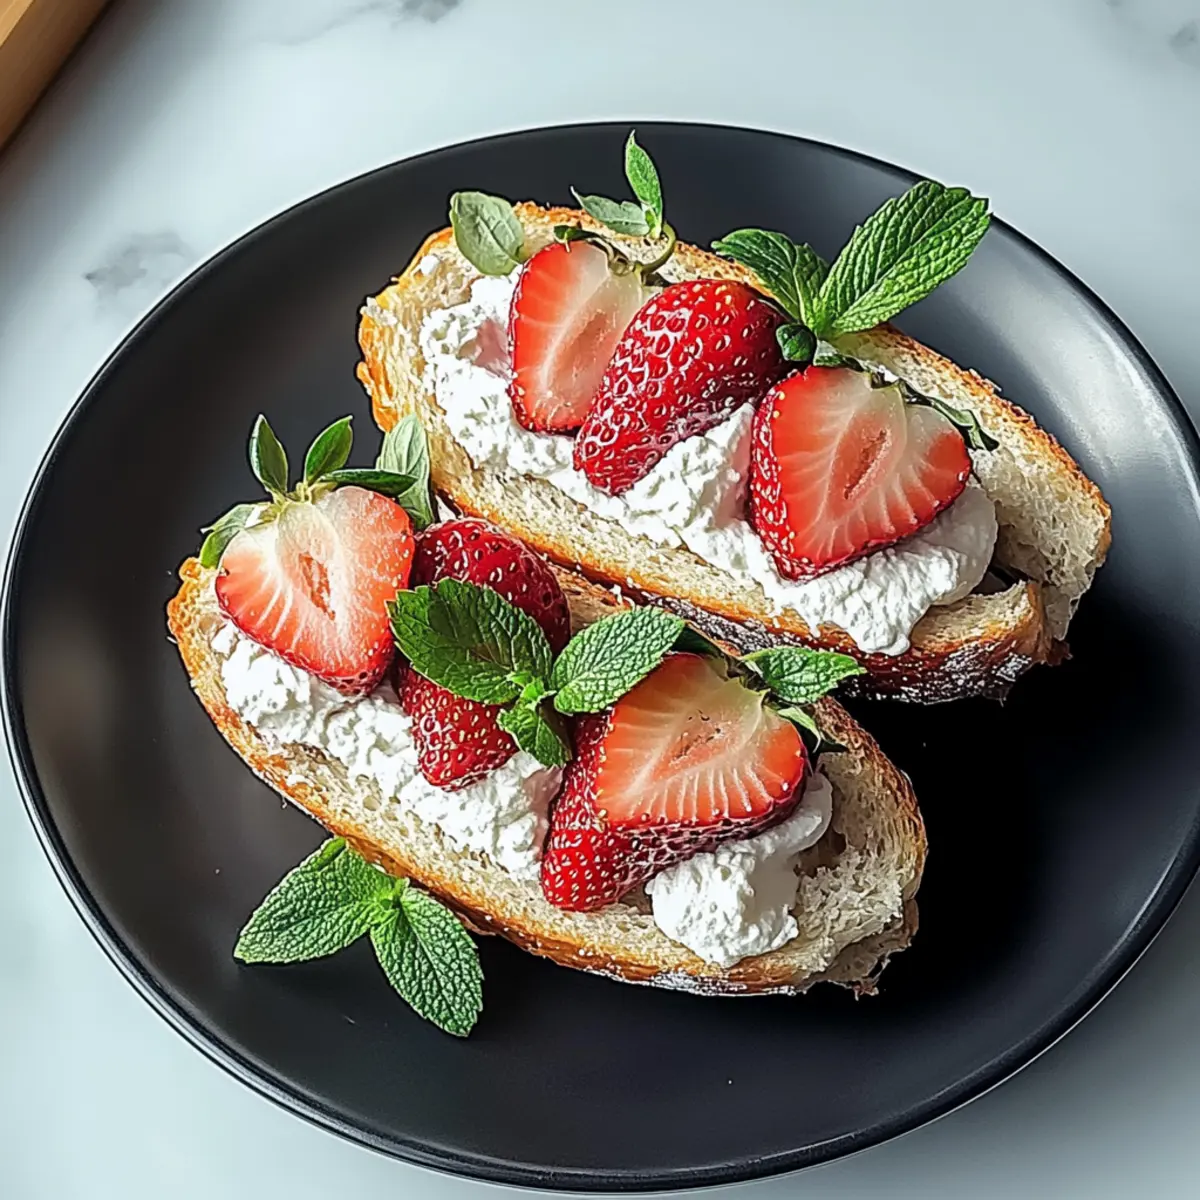
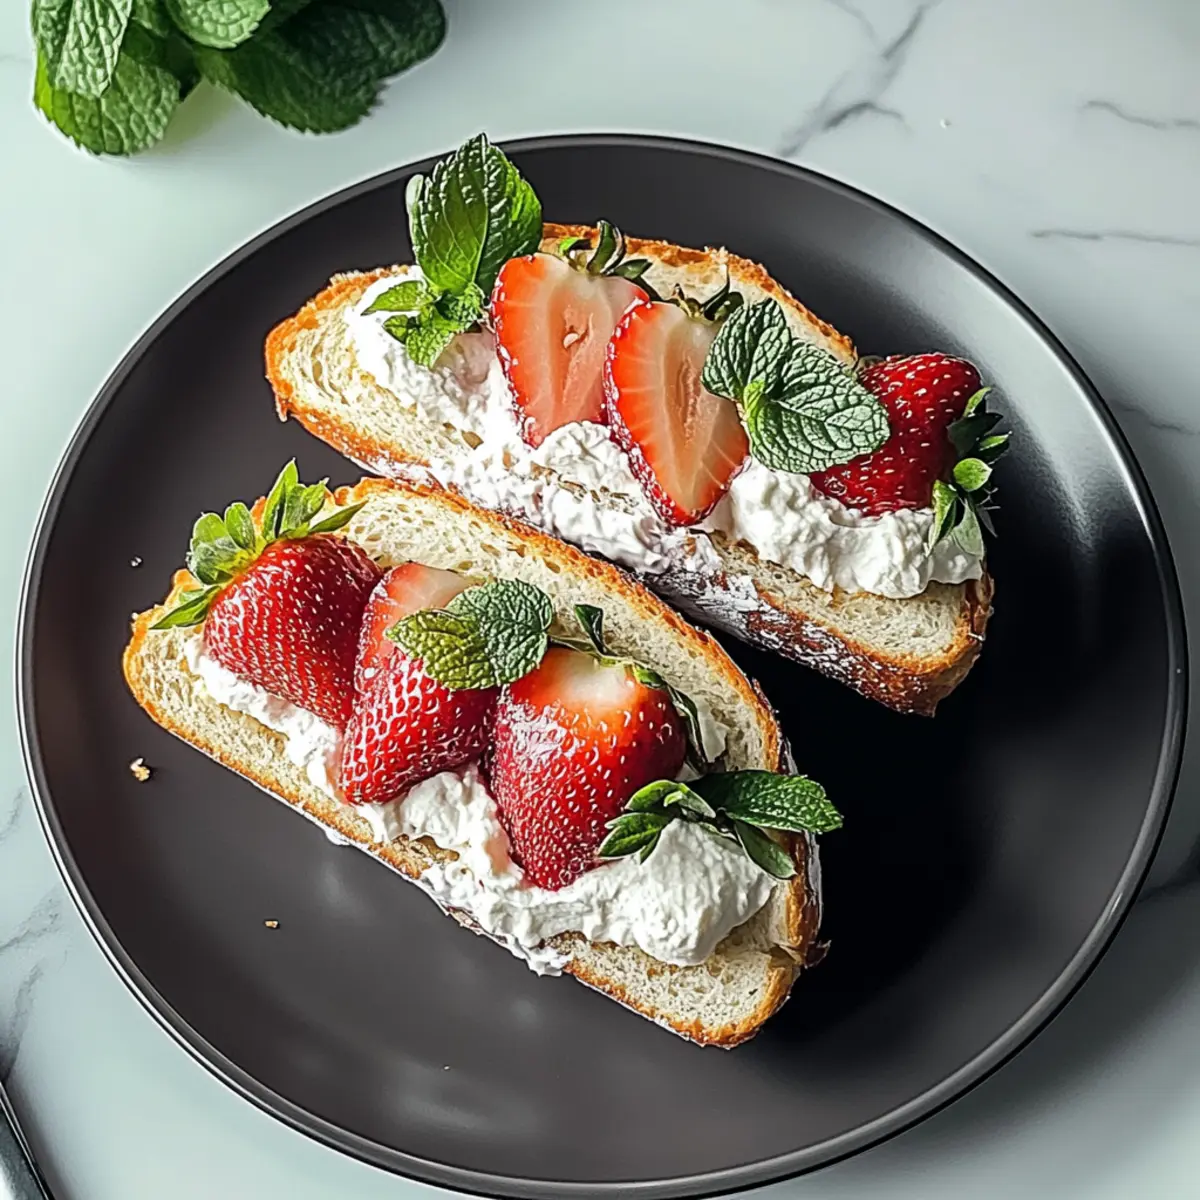
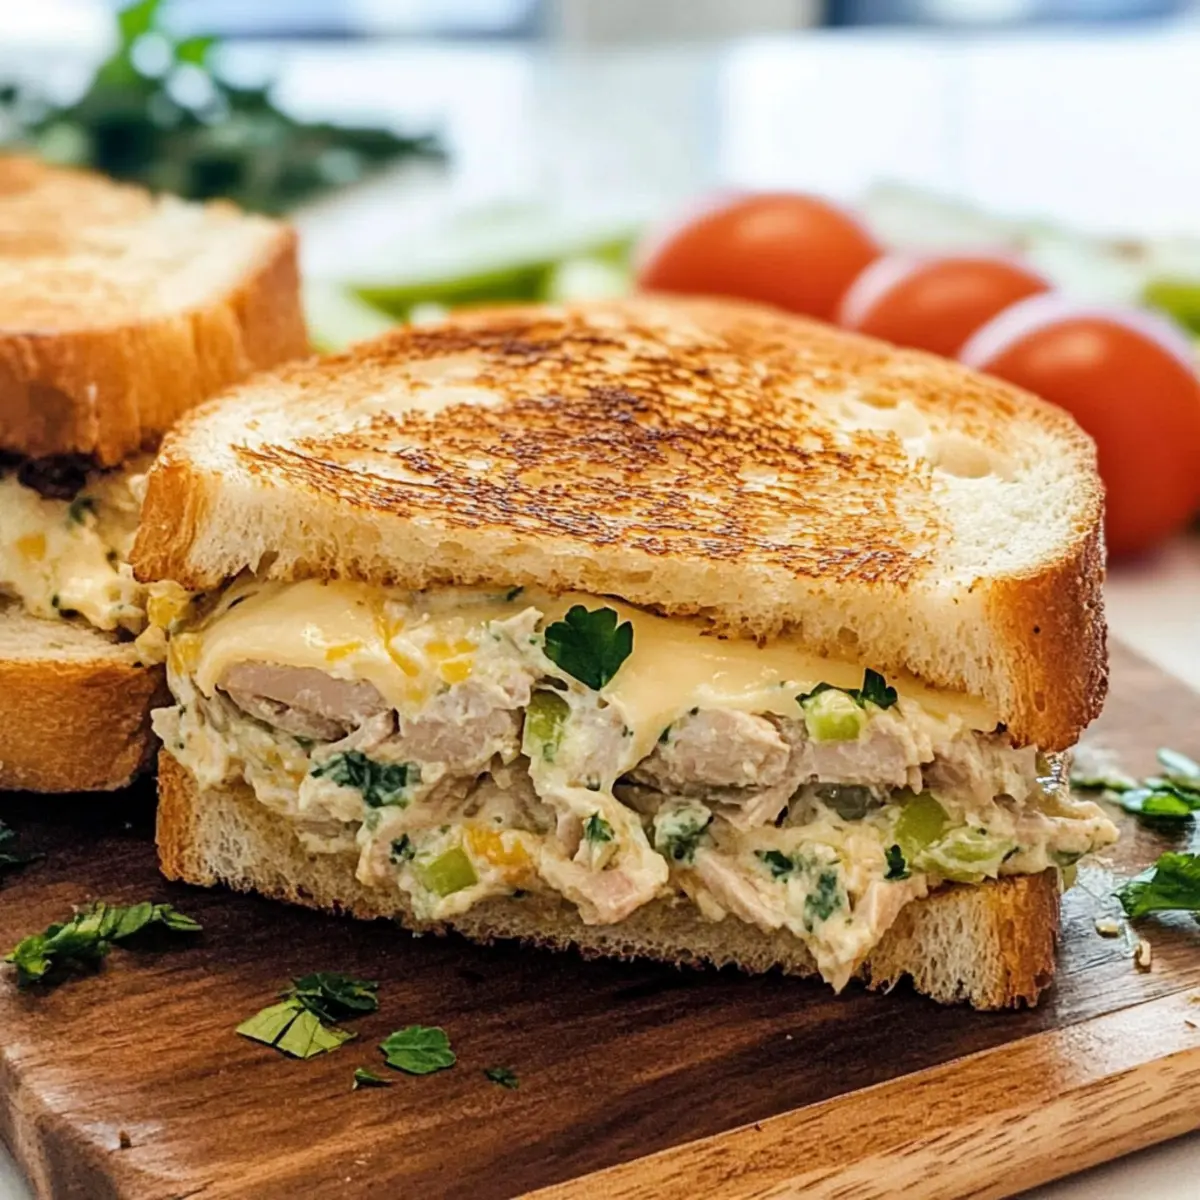
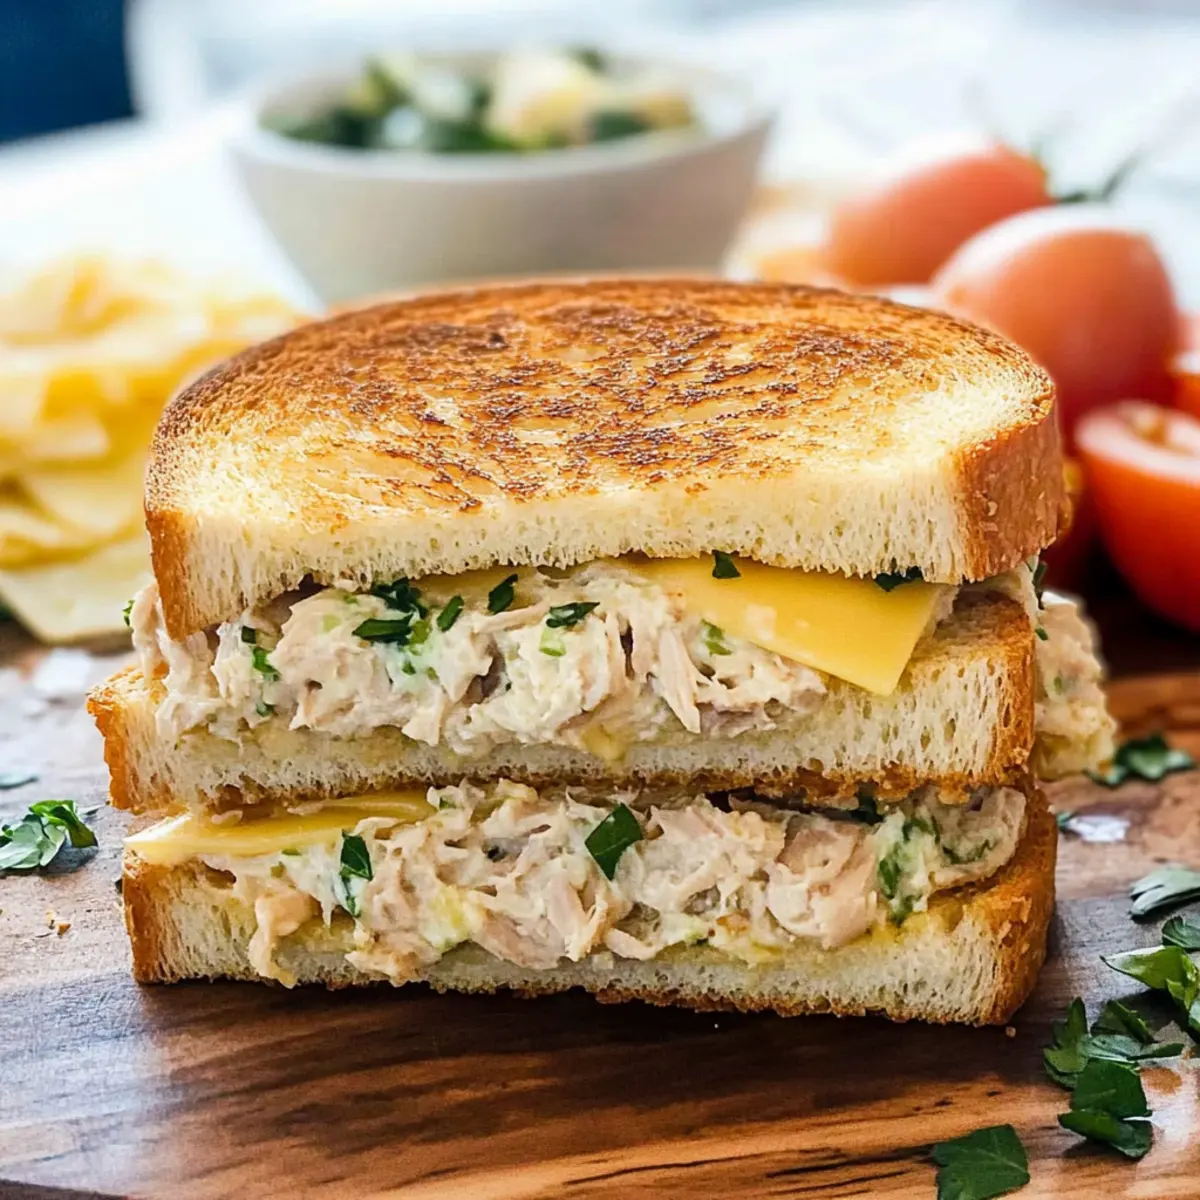
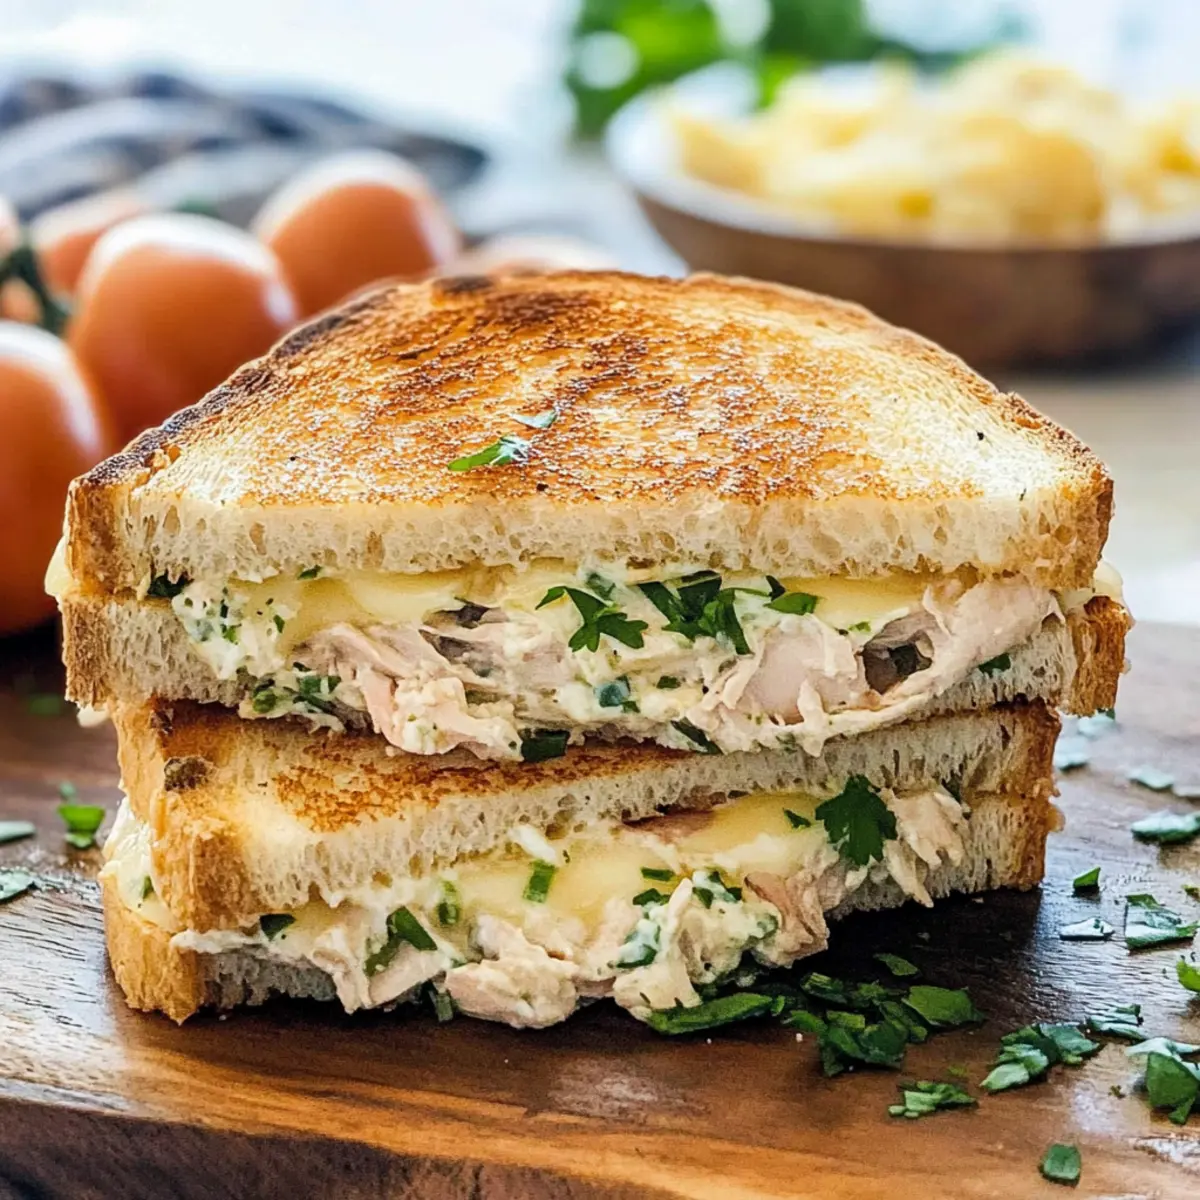
As I stood in my kitchen one sunny afternoon, the world outside bustling with life, I suddenly craved something light and refreshing—just like classic cucumber sandwiches. These delightful finger sandwiches are a favorite for tea parties, brunches, or even a casual afternoon snack. With simple ingredients like crisp cucumber slices and a creamy herbed cream cheese spread, they provide an effortless way to impress guests or treat yourself after a long day. Plus, they require no cooking and come together in just minutes, making them the perfect quick vegetarian snack. So, are you ready to elevate your culinary game with these elegant sandwiches? Let’s slice into the refreshing world of classic cucumber sandwiches!
Why are Cucumber Sandwiches So Loved?
Simplicity, easy to assemble with no cooking required—perfect for busy afternoons!
Crisp Texture meets creamy filling, creating a delightful bite every time.
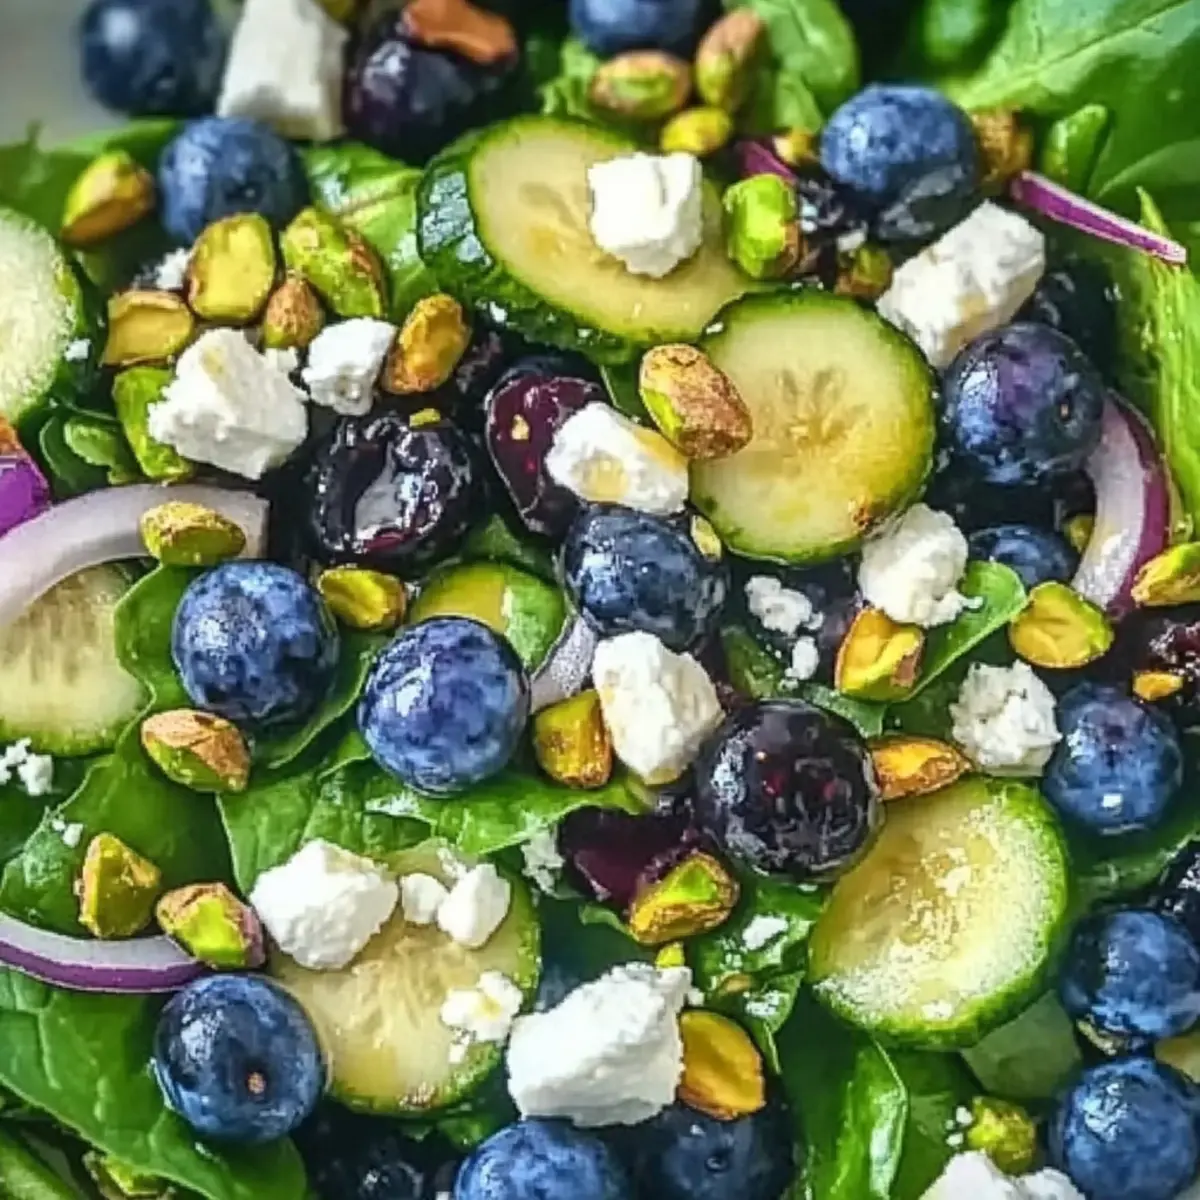
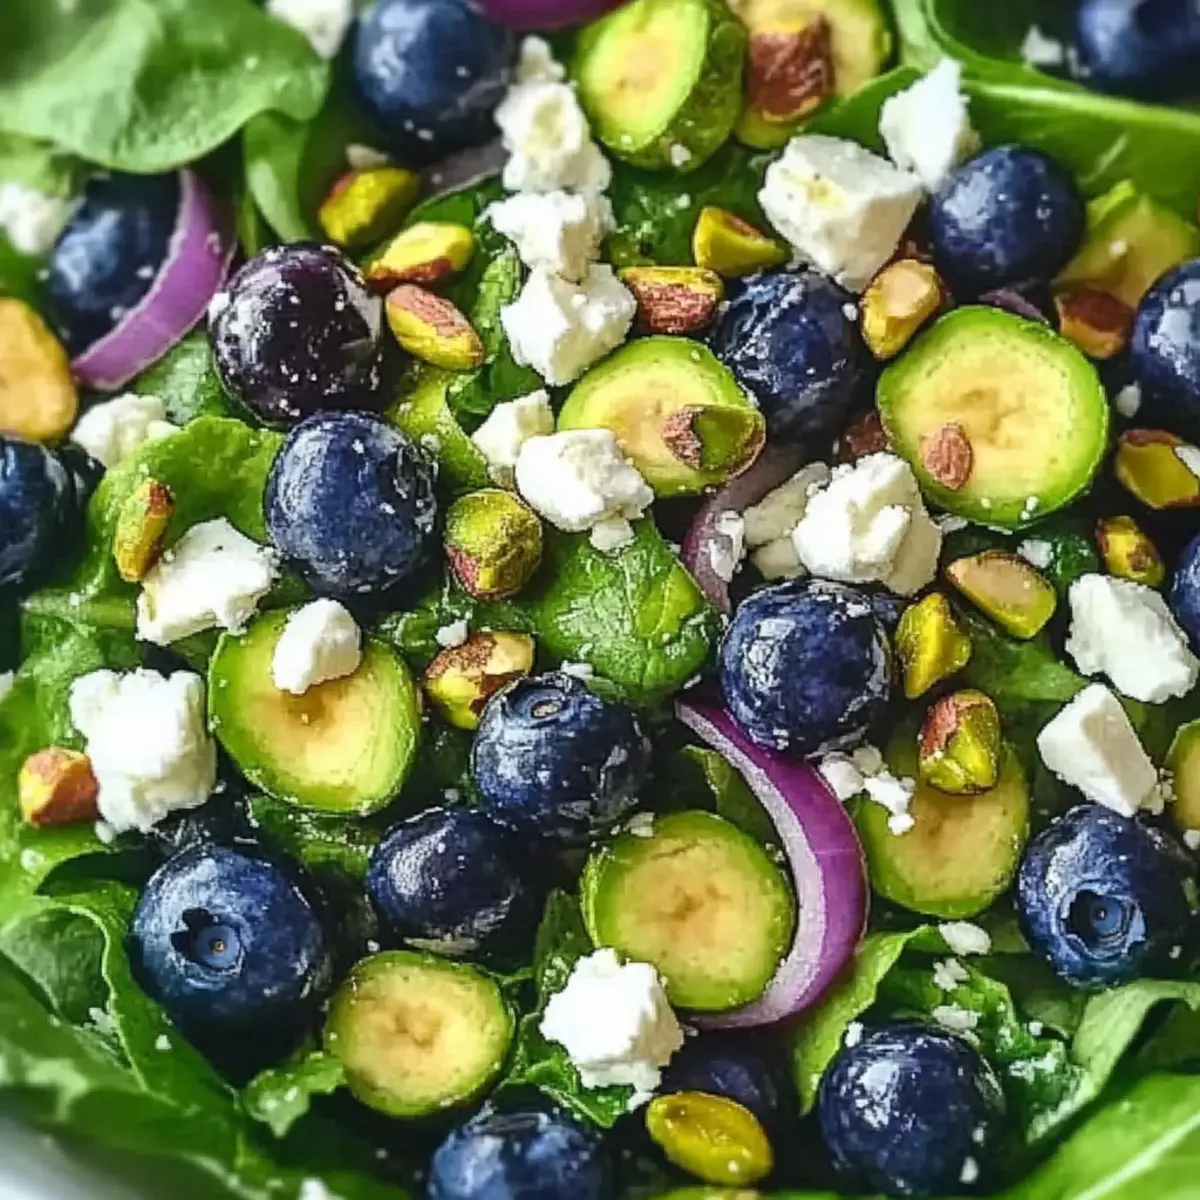
Versatile Enjoyment means you can serve these at tea parties, brunches, or casual gatherings. Try pairing them with Mini Tropical Pavlovas for a delightful dessert!
Healthy Snack option that is both satisfying and light on calories, making it an excellent choice for anyone mindful of their diet.
Impressive Presentation ensures you’ll wow your guests with their elegant appearance and fresh flavors! Add a touch of flair with Quinoa Tabbouleh Vibrant on the side for a colorful plate.
Classic Cucumber Sandwiches Ingredients
For the Filling
- Cream Cheese – Provides a creamy texture and rich flavor; whipped cream cheese is preferred for easy mixing.
- Sour Cream or Mayonnaise – Adds tanginess and moisture to the filling; substitute with Greek yogurt for a lighter option.
- Fresh Dill – Introduces a bright, herby flavor that complements the cucumber; can be replaced with fresh chives or parsley if preferred.
- Kosher Salt – Enhances the flavors of the other ingredients; adjust according to taste.
For the Sandwiches
- English Cucumber – Offers a crisp and refreshing crunch; use other thin-skinned cucumbers if English cucumbers are unavailable.
- Sandwich Bread – Forms the base of the sandwich; soft white bread is traditional but whole wheat can be used for a healthier twist—crustless is essential for texture.
Enjoy crafting your Classic Cucumber Sandwiches with these simple, yet vibrant ingredients!
Step‑by‑Step Instructions for Classic Cucumber Sandwiches
Step 1: Prepare Filling
In a mixing bowl, combine 8 ounces of softened cream cheese, 2 tablespoons of sour cream or mayonnaise, 1 tablespoon of fresh chopped dill, and a pinch of kosher salt. Using a fork or hand mixer, blend the ingredients until smooth and creamy, which should take about 2 minutes. The filling should be light and airy, making it easy to spread on the bread.
Step 2: Spread Mixture
Take slices of soft white or whole wheat sandwich bread, and with a small spatula, evenly apply the herbed cream cheese mixture onto one side of each slice. Be generous for a rich flavor, achieving a smooth and colorful appearance. Repeat this process until all slices are well-coated, ensuring each will complement the crunchy cucumbers.
Step 3: Add Cucumbers
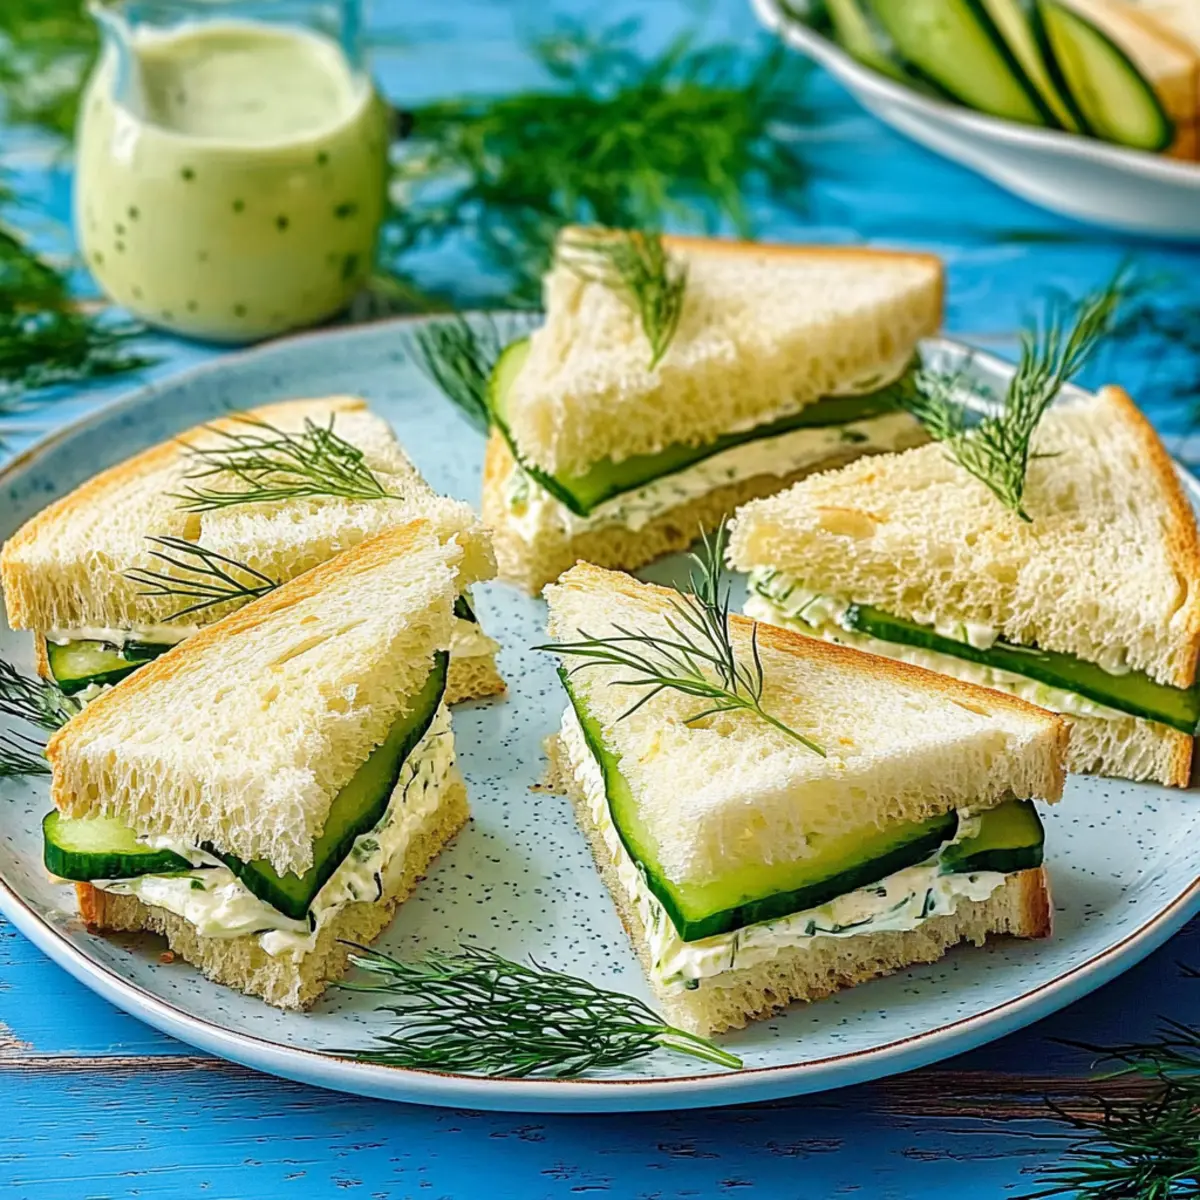
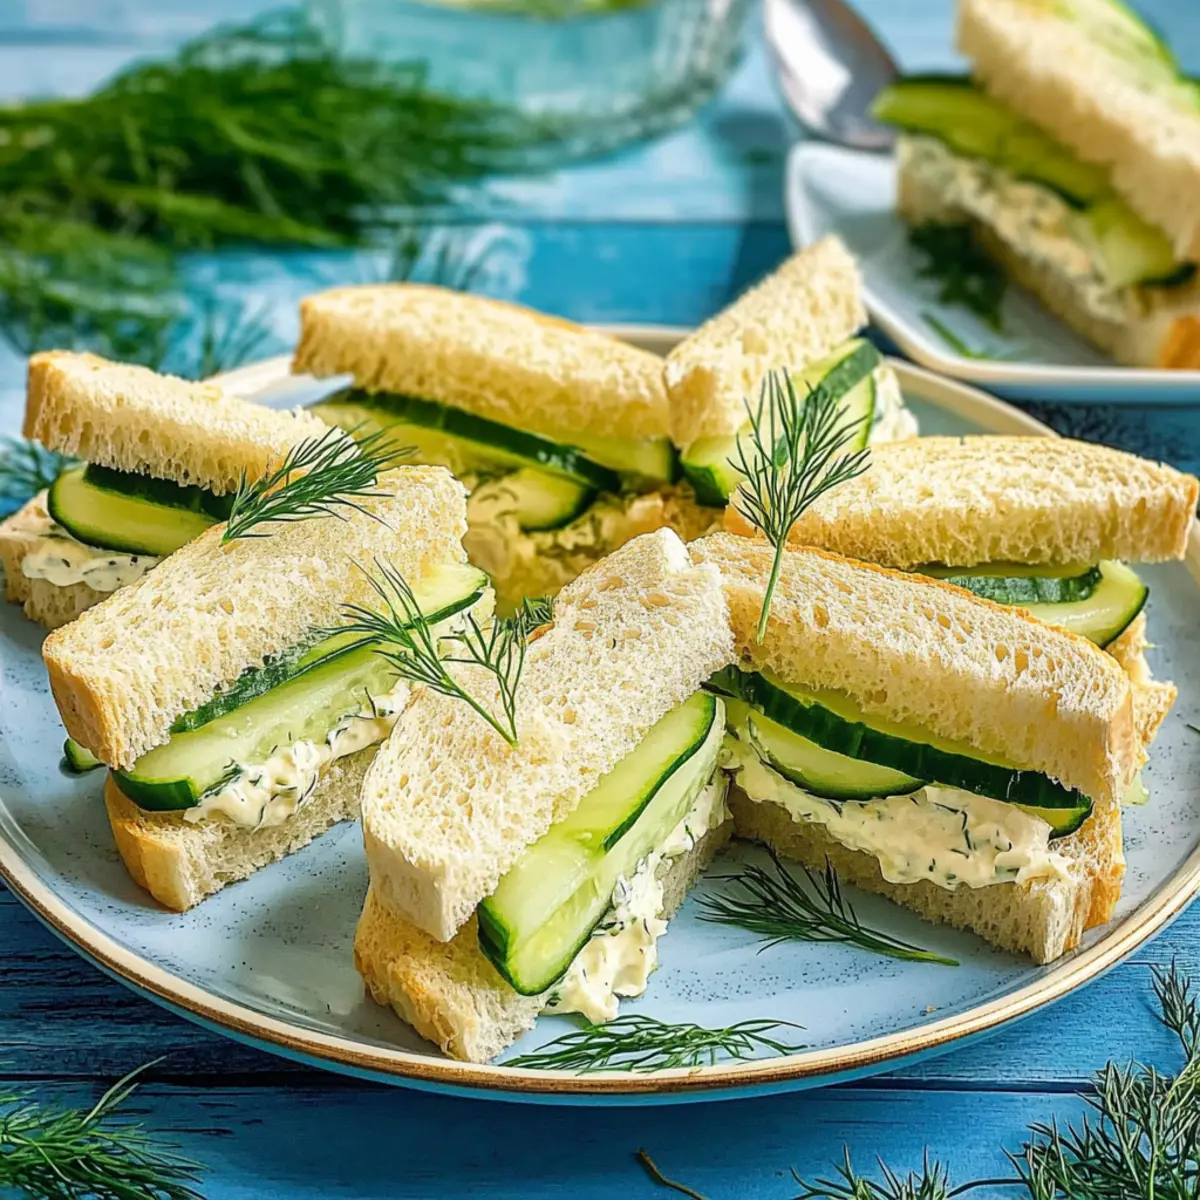
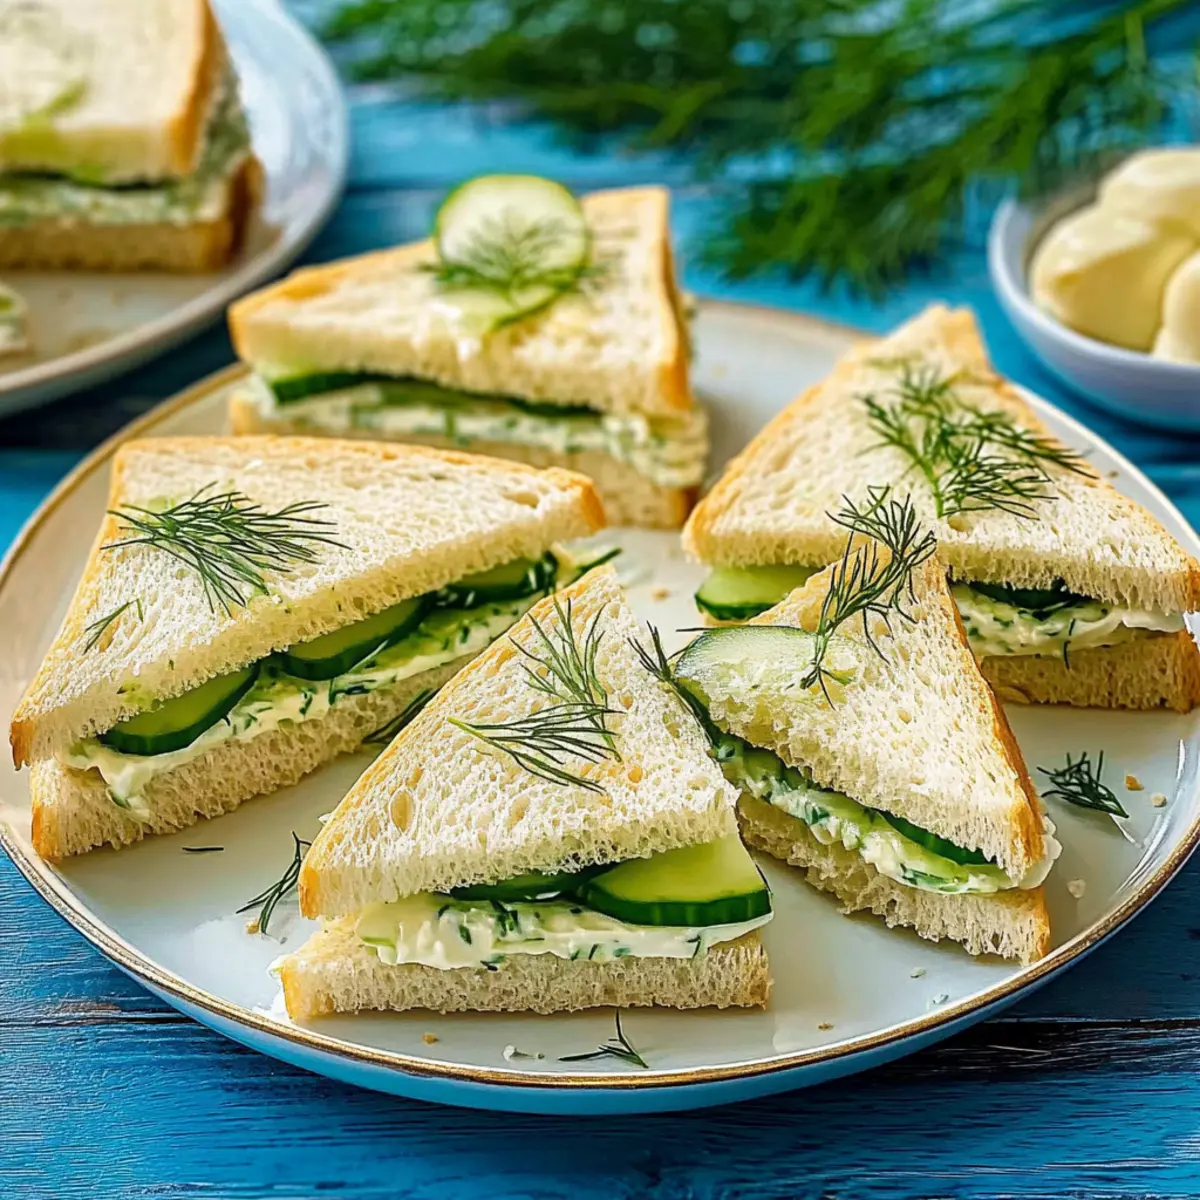
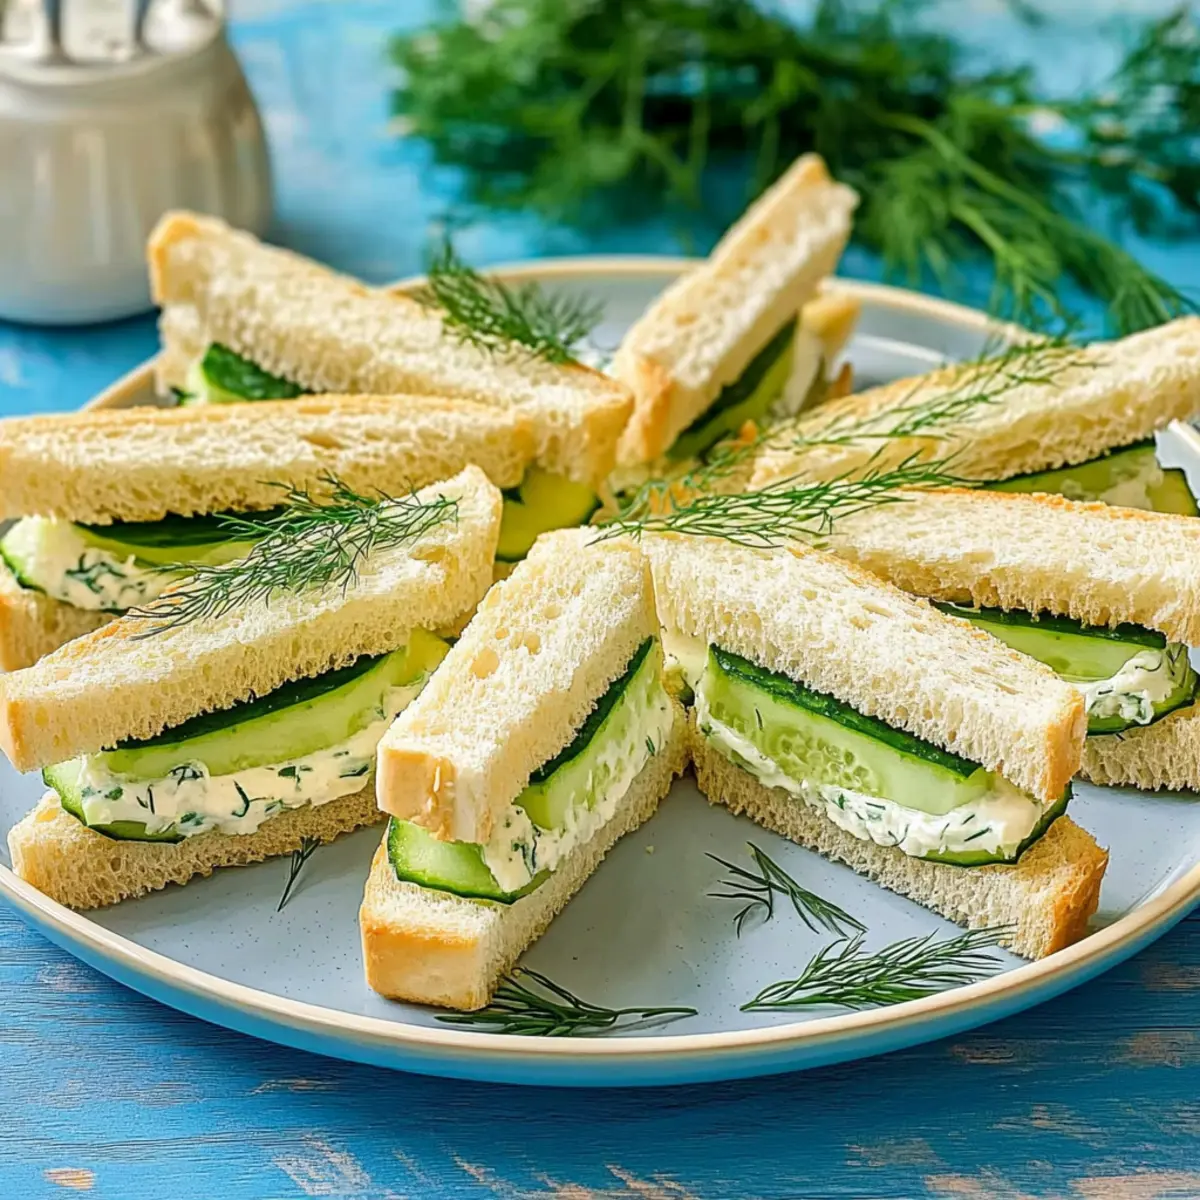
Slice an English cucumber into thin rounds, aiming for about ⅛ inch thick, to create visually appealing layers. Place the cucumber slices on half of the prepared bread slices, slightly overlapping them to create a cohesive look. This whimsical arrangement not only adds freshness but also contributes to the classic aesthetic of your cucumber sandwiches.
Step 4: Assemble Sandwiches
Carefully position the remaining slices of bread on top of the cucumber-covered slices, ensuring the spread side faces down. Gently press down to secure the layers together without squishing them, allowing the flavors to meld. The resulting sandwiches should appear beautiful, with bright green cucumber peeking through, hinting at a delicious bite.
Step 5: Trim and Cut
Using a sharp serrated knife, trim off the crusts of each sandwich to maintain a polished look, discarding or saving them for another use. Then, cut each sandwich into quarters—either rectangles or triangles—depending on your serving preference, creating appealing bite-sized pieces perfect for sharing at tea time.
Step 6: Garnish
Arrange the cut sandwiches on a lovely serving platter, showcasing their elegant shapes. For an attractive finish, consider topping each sandwich with a small sprig of dill or an extra cucumber slice. This final touch elevates your classic cucumber sandwiches, making them visually appealing and ready to impress your guests!
How to Store and Freeze Classic Cucumber Sandwiches
- Fridge: Store your classic cucumber sandwiches in an airtight container in the fridge for up to 24 hours to keep them fresh and crisp.
- Serving Suggestions: If you're making them in advance, place a damp paper towel inside the container to maintain moisture balance.
- Reheating: These sandwiches are best served fresh and should not be reheated, as this can make the bread soggy.
- Freezer: Avoid freezing classic cucumber sandwiches altogether, as they do not hold up well and may lose their delightful texture and flavor.
Expert Tips for Classic Cucumber Sandwiches
- Slice Evenly: Use a mandolin for cucumber slices to ensure uniform thickness, which enhances both texture and presentation.
- Freshness Matters: Store sandwiches with a damp paper towel underneath the covering to keep them crisp. Avoid freezing, as it ruins texture.
- Prep Ahead: Make these classic cucumber sandwiches up to 24 hours in advance, but chill them for 15 minutes before serving to boost flavor.
- Herb Variations: Experiment with different herbs like basil or mint in the cream cheese spread for a unique twist, matching personal taste preferences.
- Avoid Overstuffing: Spread a generous layer of filling but avoid overfilling to prevent mess; a balanced ratio maintains elegance and ease while eating.
Classic Cucumber Sandwiches Variations
Feel free to get creative and make these classic cucumber sandwiches your own with these fun twists!
-
Smoked Salmon: Add layers of smoked salmon on top of the cucumbers for a deliciously savory addition. The contrast of flavors makes each bite extraordinary.
-
Greek Yogurt: Swap in Greek yogurt for the cream cheese filling for a lighter option that retains the creaminess. It provides a tangy twist that pairs beautifully with fresh vegetables.
-
Herb Alternatives: Use fresh basil or mint in place of dill for a fresh herbaceous flavor. This change can brighten your sandwiches, adding a new aromatic experience.
-
Avocado Spread: For an additional creamy layer, add mashed avocado mixed with lemon juice to the filling. The rich, buttery flavor enhances the sandwiches and adds healthy fats.
-
Spicy Kick: Incorporate a dash of red pepper flakes or a smear of spicy mustard in your spread for those who enjoy some heat in their bites. It elevates the flavor profile beautifully.
-
Different Breads: Experiment with whole grain or rye bread for a heartier sandwich. Whether it’s rustic or artisanal, different bread can bring unique textures to your classic cucumber sandwiches.
-
Cucumber Varieties: Try using Persian or Kirby cucumbers for a crunchier texture. Their small size and thicker skin can add a delightful bite to your beautifully crafted sandwiches.
-
Complete with Salad: Serve your sandwiches alongside a bowl of Quinoa Tabbouleh Vibrant for a fresh and fulfilling meal that dazzles guests with colors and flavors.
These delightful variations keep the original charm of cucumber sandwiches alive while allowing for personal touches that everyone at tea time will enjoy!
What to Serve with Classic Cucumber Sandwiches
Elevate your tea-time experience with delightful pairings that complement these elegant bites beautifully.
-
Iced Tea: Provides a refreshing sip that enhances the lightness of the sandwiches—opt for classic, mint, or fruit-infused varieties.
-
Fruit Salad: A burst of sweet and tangy fruits adds a vibrant contrast to the creamy and crisp flavors, perfect for a light meal.
-
Light Gazpacho: This chilled soup serves as a refreshing palate cleanser, balancing the richness of the cream cheese filling.
-
Mini Tropical Pavlovas: For a sweet ending, these airy meringue desserts topped with fresh fruit bring a delightful tropical flair to your spread.
-
Veggie Sticks with Hummus: Crunchy vegetables dipped in creamy hummus provide a satisfying crunch and add nutritious elements to your snack table.
-
Sparkling Water: Effervescent and light, it's a sophisticated drink choice that pairs well with the freshness of cucumber sandwiches, keeping your palate refreshed.
Make Ahead Options
Classic Cucumber Sandwiches are perfect for meal prep! You can assemble the sandwiches up to 24 hours in advance by preparing the creamy filling and spreading it on the bread the day before. To keep the sandwiches fresh, layer a damp paper towel beneath the covering in an airtight container, which helps maintain their crispness. When you're ready to serve, simply slice them into quarters and arrange on a platter for an effortless presentation. They’ll retain their cool, creamy taste and crunchy texture, making it a quick snack option for busy weeknights or surprise guests. Enjoy delightful, fresh flavors without the rush!
Classic Cucumber Sandwiches Recipe FAQs
How do I choose the best cucumbers for my sandwiches?
When selecting cucumbers, look for firm, dark green English cucumbers that are free from blemishes and dark spots. The skin should be smooth and shiny, indicating freshness. If you can't find English cucumbers, feel free to substitute with other thin-skinned varieties, but avoid waxy cucumbers as they can affect flavor.
How should I store leftover cucumber sandwiches?
Store your classic cucumber sandwiches in an airtight container in the fridge for up to 24 hours. To keep them fresh and prevent them from drying out, place a damp paper towel underneath the covering. This method helps to maintain their crisp texture while keeping the filling moist.
Can I freeze classic cucumber sandwiches?
Absolutely not! Freezing classic cucumber sandwiches is not recommended, as the texture of the bread and cucumbers can become soggy and unappetizing once thawed. It’s best to enjoy them fresh for the best flavor and presentation.
What if my cream cheese mixture is too thick?
If your cream cheese mixture is too thick and hard to spread, try adding a little more sour cream or mayonnaise, a teaspoon at a time, until you achieve a smooth, spreadable consistency. Mixing it with a hand mixer can also help lighten the texture. Aim for a creamy filling that easily glides over the bread.
Are there any dietary considerations for classic cucumber sandwiches?
Yes! If you have allergies or dietary restrictions, you can easily modify this recipe. For a dairy-free option, use vegan cream cheese. Replace sour cream or mayo with dairy-free alternatives like cashew cream or hummus. Additionally, make sure to double-check the bread for any allergens if you’re serving to guests with specific dietary needs.
Classic Cucumber Sandwiches for Perfect Tea-Time Bliss
Ingredients
Equipment
Method
- In a mixing bowl, combine softened cream cheese, sour cream or mayonnaise, fresh dill, and kosher salt. Blend until smooth and creamy.
- Spread the herbed cream cheese mixture onto one side of each slice of bread, ensuring each is well-coated.
- Slice an English cucumber into thin rounds, about ⅛ inch thick, and place on half of the prepared bread slices.
- Position the remaining slices of bread on top of the cucumber slices, with the spread side facing down, and gently press to secure.
- Trim off the crusts and cut each sandwich into quarters for easy serving.
- Arrange the cut sandwiches on a platter and garnish with a sprig of dill or an extra cucumber slice.