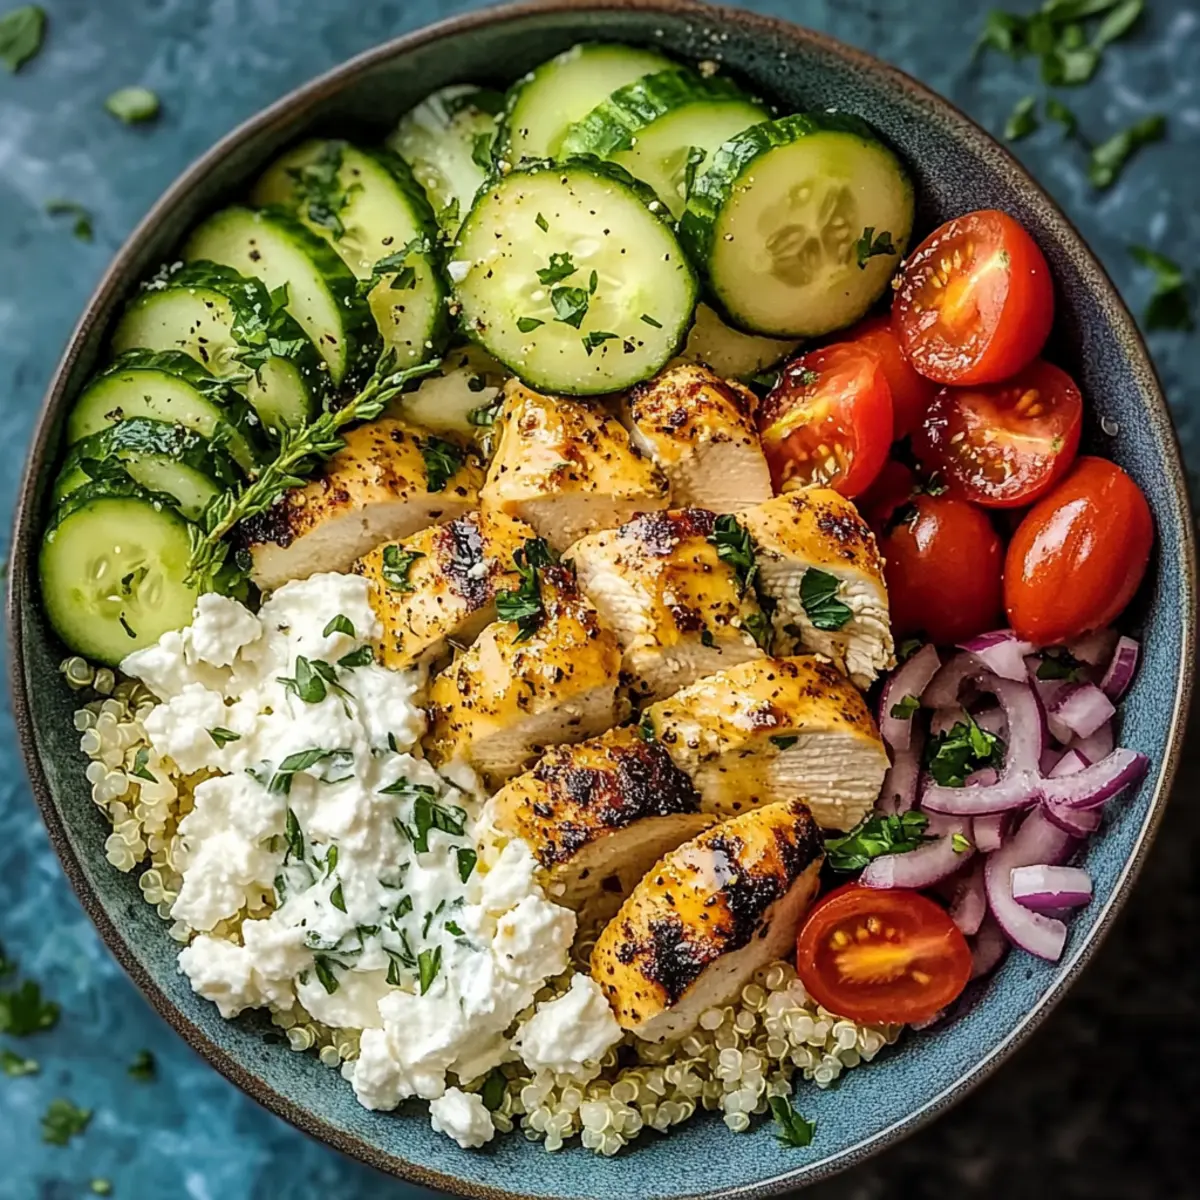
Stepping into my kitchen, I’m enveloped by the irresistible aroma of spices dancing with the warmth of cooking chicken. If you're like me and crave vibrant, wholesome meals that come together effortlessly, this Mediterranean Chicken Bowl will quickly become your new go-to recipe. Bursting with fresh veggies, tender marinated chicken, and a creamy tahini dressing, this dish promises to delight both your taste buds and your health goals. It’s not just quick to whip up; it’s perfect for meal prep too—making weeknight dinners or balance-packed lunches a breeze. Ready to discover a bowl that’s as satisfying as it is nourishing? Let’s dive into the details and elevate your dinner game!
Why is this Mediterranean Chicken Bowl a must-try?
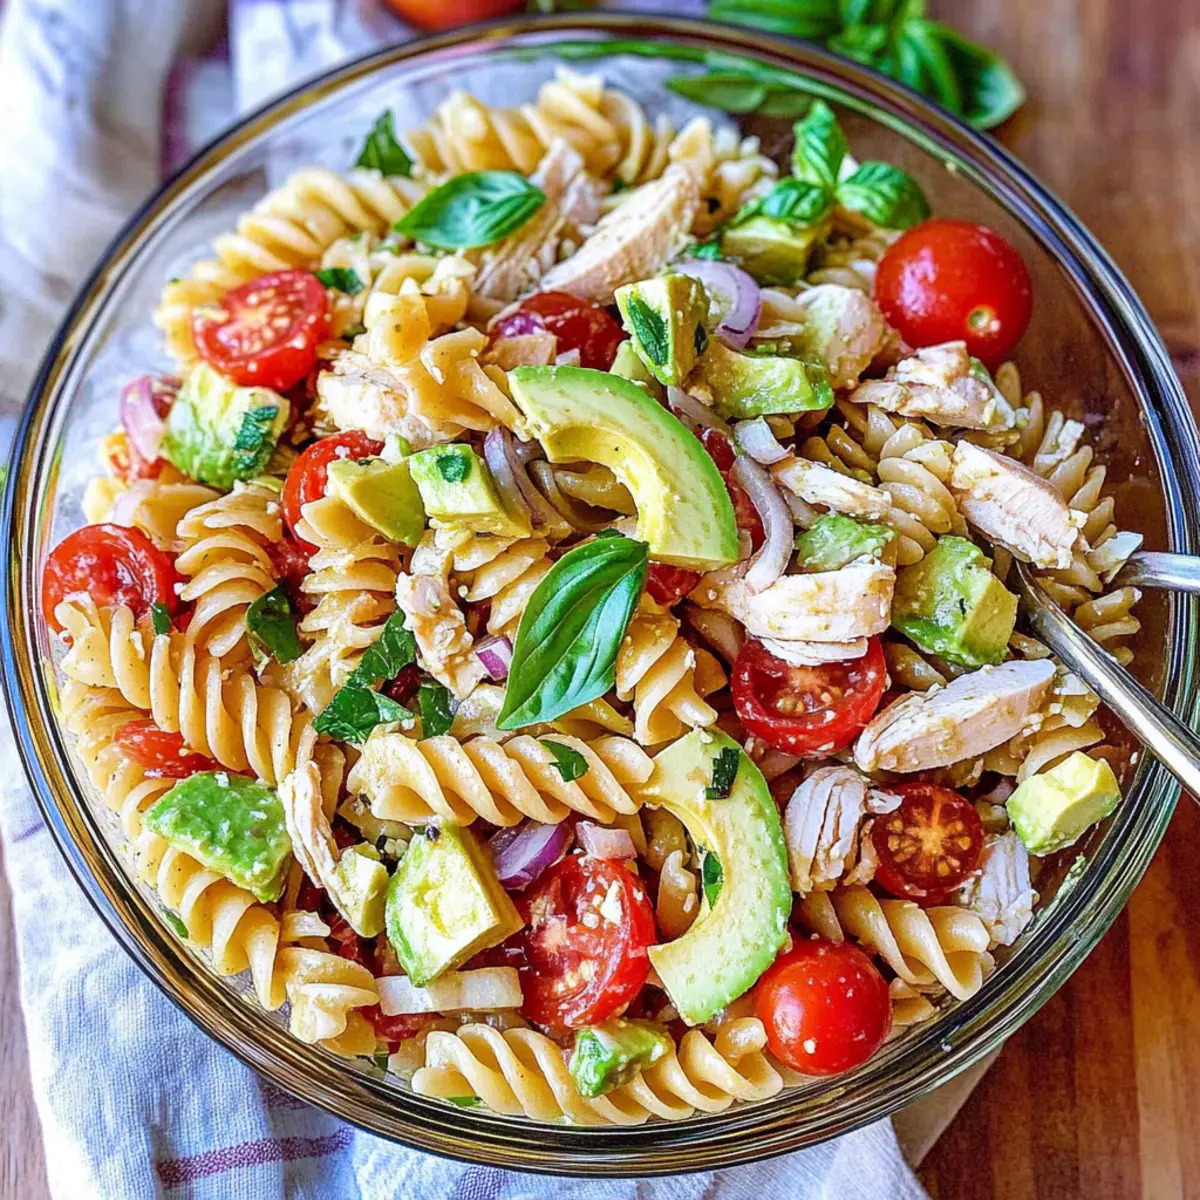
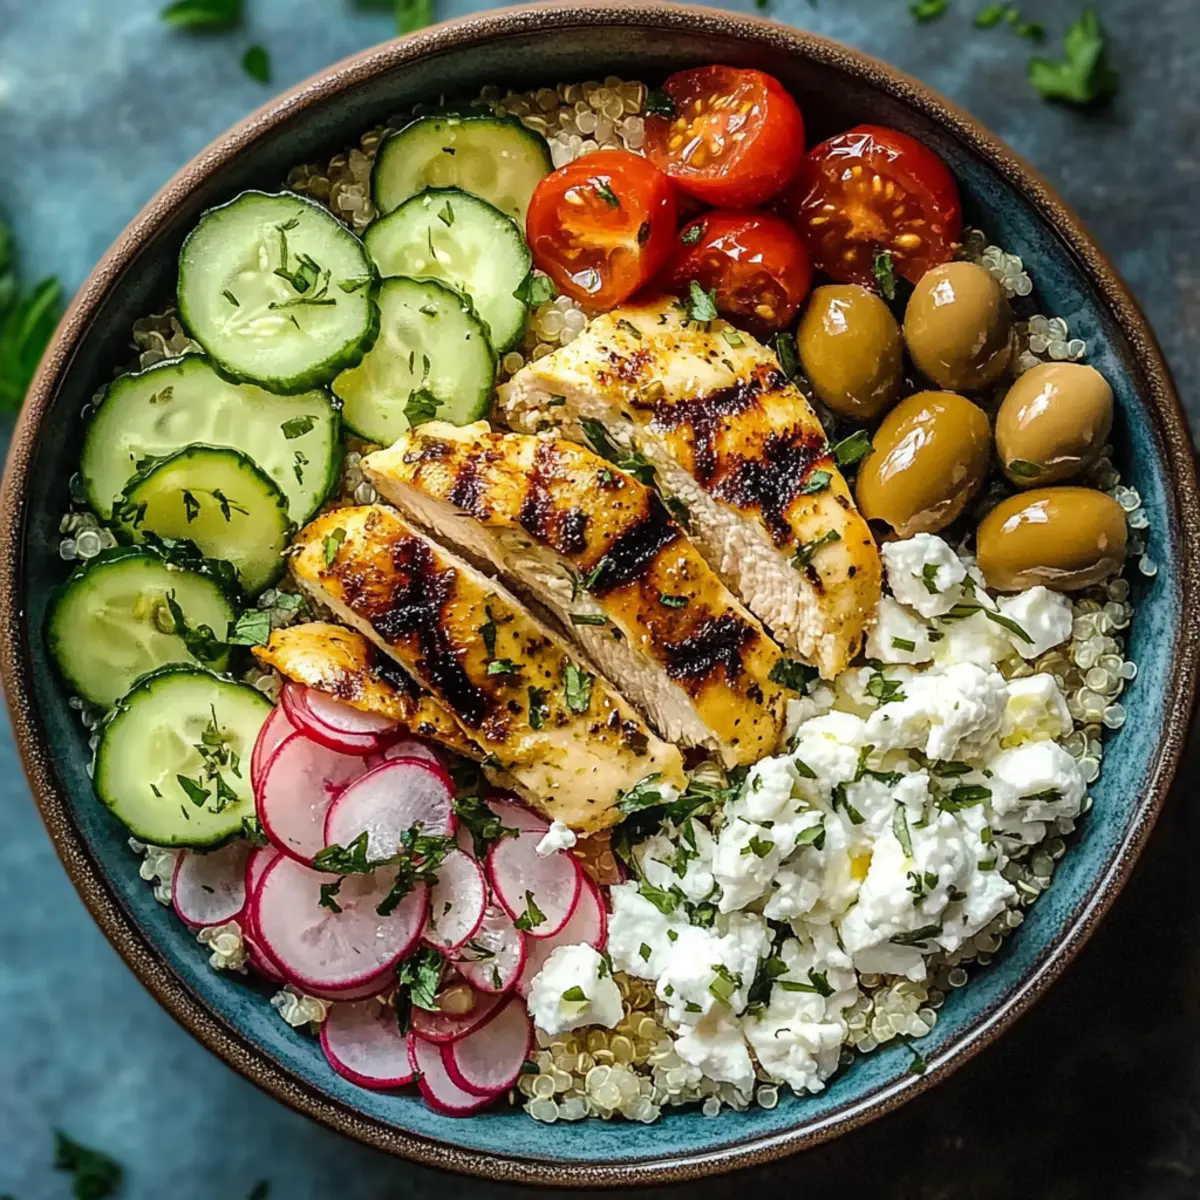
Flavor Explosion: This bowl is a festival of flavors, combining savory chicken, juicy tomatoes, and crisp cucumbers that will excite your palate.
Easy Meal Prep: Perfect for preparing ahead of time; just marinate the chicken and assemble when ready to eat.
Healthy Ingredients: Packed with wholesome protein and nutrient-rich veggies, it keeps you energized throughout the day.
Creamy and Zesty: The tahini dressing brings a rich, nutty flavor that ties everything together beautifully, making each bite a delight.
Versatile: Customize it with your favorite veggies or grains; try couscous or chickpeas for a twist on tradition!
Whether for a busy weeknight or a casual lunch, this Mediterranean Chicken Bowl checks all the boxes for a satisfying and nourishing meal.
Mediterranean Chicken Bowl Ingredients
For the Chicken
• Boneless, Skinless Chicken Breasts – Protein-packed base for your bowl, cut into bite-sized pieces for quick cooking.
• Olive Oil – Adds richness and helps to marinate the chicken; can substitute with avocado oil for a twist.
• Fresh Lemon Juice – Brings brightness to the dish; lime juice works well if you want a zesty change.
• Garlic – Infuses depth and aroma; fresh garlic is ideal, but powder can be a quick stand-in (1/4 tsp).
• Dried Oregano – Adds an earthy Mediterranean note; if unavailable, Italian seasoning is a great alternative.
• Salt and Black Pepper – Essential for amplifying flavor; season to taste for the best experience.
For the Bowl
• Cooked Quinoa – Acts as the hearty base, giving fiber and protein; swap with brown rice or couscous for variety.
• Cherry Tomatoes – Provide juiciness and sweetness, enhancing the salad-like feel of the bowl; ripe tomatoes are the best choice.
• Cucumber – Adds a refreshing crunch; consider bell peppers for a different crispness.
• Red Onion – Offers a sharp contrast; shallots or green onions can be used for a milder flavor.
• Kalamata Olives – Impart a briny complexity; you can substitute with any black olives you enjoy.
• Feta Cheese – Creamy and tangy, perfect for topping; for a different taste, opt for goat cheese or a dairy-free option.
• Fresh Parsley – Brightens up the dish with color and flavor; try cilantro or mint for a fresh twist.
For the Tahini Dressing
• Tahini – The star of the creamy dressing, adding nutty richness; sunflower seed butter can replace it if you need a nut-free option.
• Maple Syrup – Optional component for sweetness in the dressing; agave syrup serves as a suitable alternative.
• Water – To achieve the perfect creamy consistency for your tahini dressing; adjust as needed for your preference.
This Mediterranean Chicken Bowl is a delicious way to bring vibrant flavors and healthy ingredients to the table!
Step‑by‑Step Instructions for Mediterranean Chicken Bowl
Step 1: Marinate Chicken
In a mixing bowl, whisk together 3 tablespoons of olive oil, the juice of one lemon, minced garlic, 1 teaspoon of dried oregano, salt, and pepper. Add your bite-sized pieces of boneless, skinless chicken breasts, ensuring they are well-coated. Let the chicken marinate for at least 20 minutes at room temperature to absorb all the flavors, intensifying the taste in your Mediterranean Chicken Bowl.
Step 2: Make Dressing
While the chicken marinates, prepare your creamy tahini dressing. In a separate bowl, combine ¼ cup of tahini, the juice of half a lemon, minced garlic, and 1 tablespoon of maple syrup if desired. Gradually add water, stirring until the dressing reaches a smooth, pourable consistency, about 3-4 tablespoons. Set this aside, allowing the flavors to meld, enhancing your Mediterranean Chicken Bowl's overall yumminess.
Step 3: Cook Chicken
Heat a large skillet over medium-high heat. Once hot, add the marinated chicken pieces, spreading them out in a single layer to ensure even cooking. Sauté for 6-8 minutes, occasionally stirring, until the chicken is golden brown and no longer pink in the center. This step not only cooks the chicken perfectly but also fills your kitchen with delicious Mediterranean aromas.
Step 4: Assemble Bowls
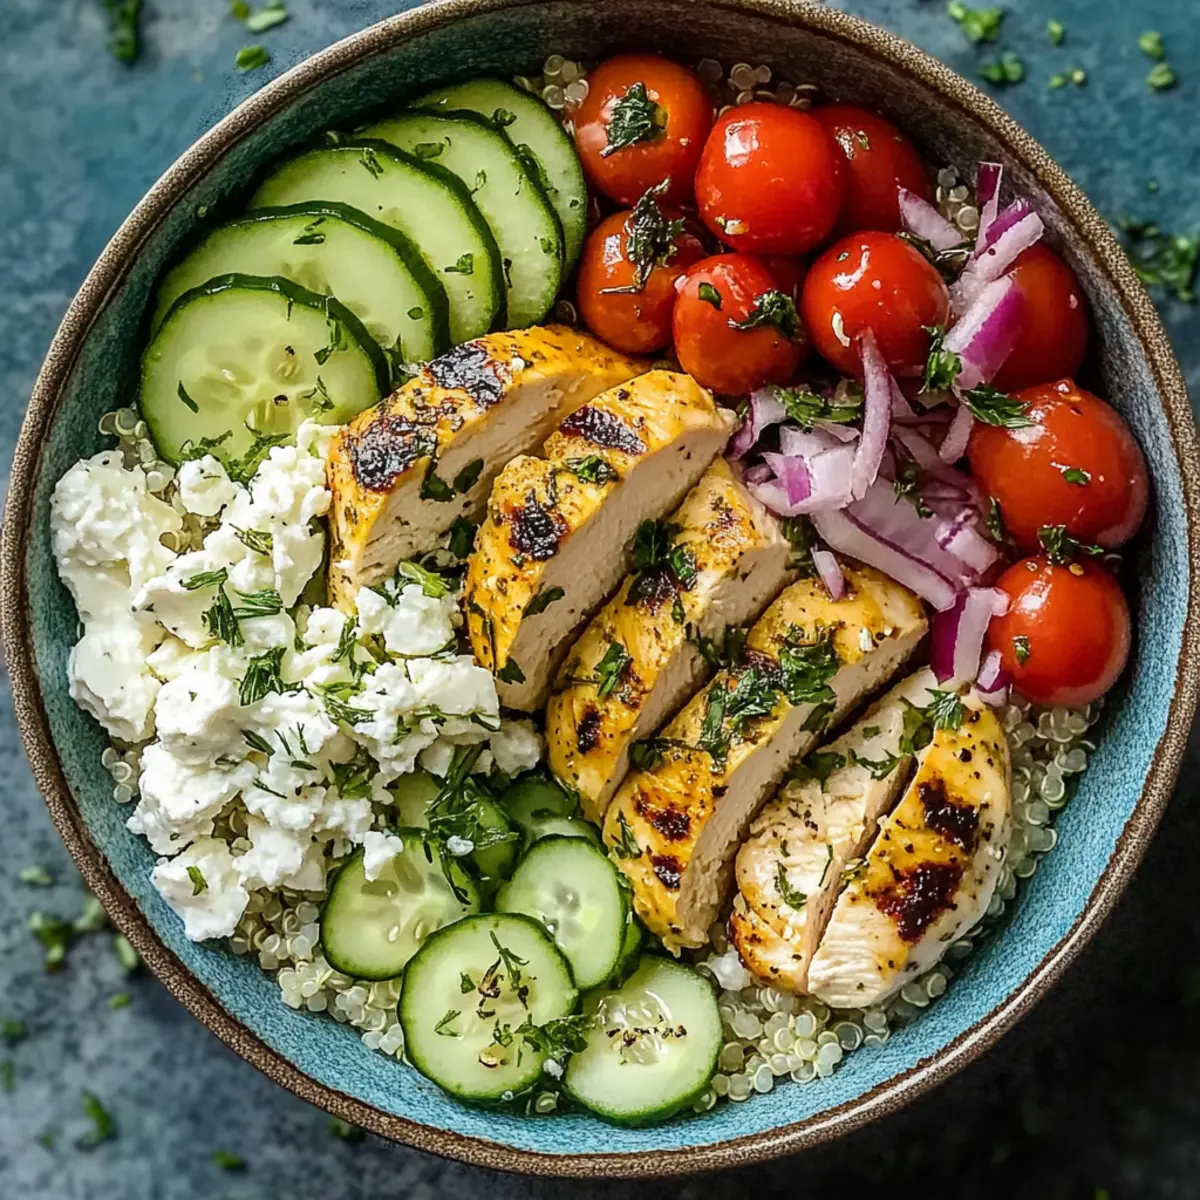
Remove the cooked chicken from the skillet and let it rest for a moment. In individual serving bowls, add a generous scoop of cooked quinoa as the base. Top with the sautéed chicken, followed by vibrant cherry tomatoes, diced cucumber, sliced red onion, and kalamata olives for an explosion of colors and flavors that embody a Mediterranean Chicken Bowl.
Step 5: Dress and Serve
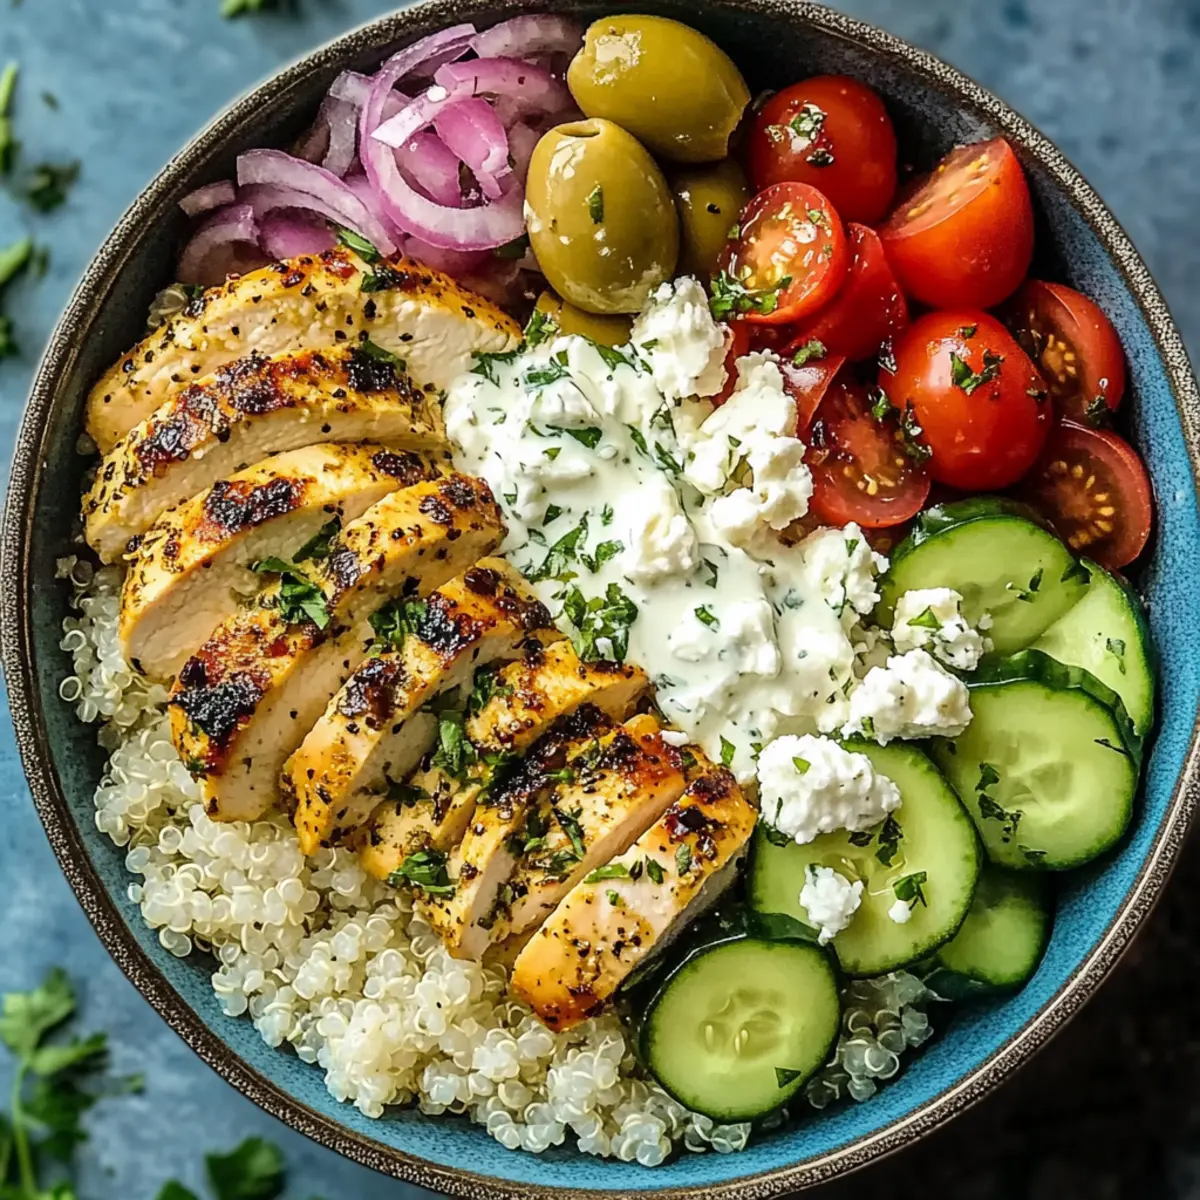
Drizzle the creamy tahini dressing over each bowl generously, ensuring it’s beautifully coated. For added flavor and visual appeal, sprinkle crumbled feta cheese and chopped fresh parsley on top. Serve immediately, enjoying the harmonious blend of textures and vibrant flavors that make this Mediterranean Chicken Bowl so delightful.
Mediterranean Chicken Bowl Variations
Feel like getting creative with your Mediterranean Chicken Bowl? Here are some delightful ideas to customize your dish!
-
Vegetable Boost: Add bell peppers, artichoke hearts, or chickpeas for an extra crunch and nutrition boost. The more colorful, the better!
-
Vegetarian Twist: Swap chicken for crispy roasted chickpeas. They're flavorful and add a nice crunch, perfect for a delightful plant-based option.
-
Grain Alternatives: Replace quinoa with brown rice, farro, or cauliflower rice for a different texture or lower-carb option. Each grain brings its own charm!
-
Herb Swap: Try fresh basil or mint instead of parsley for a refreshing twist. These herbs lend a bright note to your Mediterranean Chicken Bowl.
-
Spice it Up: Add a dash of cayenne or red pepper flakes for a little heat! This will add an exciting kick, enticing those looking for more flavor.
-
Dairy-Free Delight: Substitute feta with crumbled tofu or a dairy-free cheese option for a scrumptious yet lighter topping. You'll still enjoy that creaminess.
-
Nut-Free Dressing: Use sunflower seed butter in place of tahini for a nut-free dressing option that retains the creamy goodness of your bowl.
-
Zesty Lemon Dressing: Swap the tahini for a simple lemon-olive oil dressing if you prefer a lighter, tangy option that complements all the fresh ingredients beautifully.
For more delicious chicken variations, why not try Honey Garlic Chicken Thighs or explore flavorful Chipotle Lime Chicken? Happy cooking!
What to Serve with Mediterranean Chicken Bowl
Stepping away from your vibrant bowl of fresh ingredients, let’s explore the perfect accompaniments to elevate your meal even further.
-
Creamy Mashed Potatoes: Their rich, buttery texture beautifully contrasts the freshness of the chicken bowl, creating a comforting balance.
-
Greek Salad: Crisp lettuce, tomatoes, and cucumbers drizzled with olive oil provide a refreshing bite that complements the Mediterranean flavors splendidly.
-
Garlic Bread: Crunchy, toasted slices brushed with garlic butter add a delightful crunch, perfect for scooping up bits of chicken and quinoa.
-
Roasted Vegetables: A medley of sweet bell peppers, zucchini, and eggplant offers earthy notes that enhance the bowl’s vibrant essence.
Enjoy a glass of chilled white wine alongside these pairings for a delightful, relaxing dinner. Sip on a glass of Sauvignon Blanc, and you’ll be transported to the Mediterranean coast with every bite!
-
Hummus and Veggie Platter: Add a side of creamy hummus served with fresh vegetables for a satisfying, nutrient-rich appetizer that sets the stage for your main dish.
-
Tzatziki Sauce: This refreshing yogurt-based dip brings a tangy and cool touch to your plate, enhancing the savory notes of the chicken bowl.
Make Ahead Options
These Mediterranean Chicken Bowls are perfect for busy home cooks who want to save time without sacrificing flavor! You can marinate the chicken up to 24 hours in advance, allowing the flavors to deepen beautifully. Simply prepare the tahini dressing ahead of time and store it in an airtight container in the refrigerator for up to 1 week; just stir in a little water before serving to restore its creamy consistency. Additionally, you can cook the quinoa up to 3 days prior and keep it in the fridge. When you’re ready to serve, quickly sauté the marinated chicken, assemble the bowls with fresh veggies, and drizzle with the dressing for an effortlessly delicious meal!
Expert Tips for the Best Mediterranean Chicken Bowl
-
Marinating Time Matters: For optimal flavor, marinate your chicken for at least 20 minutes, but for best results, aim for up to 4 hours. This ensures every bite is packed with that Mediterranean Chicken Bowl taste.
-
Prep Ahead: Make your tahini dressing ahead of time and store it in an airtight container in the fridge for up to a week. If it thickens, just whisk in a little water before serving!
-
Cook Chicken Evenly: When cooking your marinated chicken, ensure it's spread out in a single layer on the skillet. This not only helps it cook evenly but also gives that lovely golden-brown color.
-
Versatile Ingredients: Feel free to swap out veggies based on your preference. Adding bell peppers or chickpeas can vary the texture and flavor of your Mediterranean Chicken Bowl!
-
Serving Suggestions: For a heartier meal, consider pairing your bowl with pita bread or a side of tzatziki. It takes the experience up a notch and feels like a true Mediterranean feast!
How to Store and Freeze Mediterranean Chicken Bowl
Fridge: Store any leftover Mediterranean Chicken Bowl in an airtight container for up to 3 days. Keep the dressing separate if possible to maintain freshness and prevent sogginess.
Freezer: If you've made a larger batch, the chicken and quinoa can be frozen in a freezer-safe container for up to 3 months. Let it cool completely before freezing.
Reheating: To reheat, thaw overnight in the refrigerator and warm gently in a skillet over medium heat until heated through, adding a splash of water if needed to revive moisture.
Meal Prep Tip: For meal prep enthusiasts, consider assembling the bowls without the dressing and storing them in the fridge. Drizzle the tahini dressing on just before serving for the freshest flavor experience!
Mediterranean Chicken Bowl Recipe FAQs
What type of chicken is best for this recipe?
Absolutely! I recommend using boneless, skinless chicken breasts for a lean protein source that cooks quickly and absorbs flavors well. Cut them into bite-sized pieces for even cooking. If you prefer, chicken thighs can be a flavorful alternative, as they remain juicy during cooking.
How should I store leftovers?
After enjoying your Mediterranean Chicken Bowl, store leftovers in an airtight container in the fridge for up to 3 days. It's best to keep the tahini dressing separate to maintain the freshness of the veggies and quinoa, preventing them from becoming soggy.
Can I freeze this Mediterranean Chicken Bowl?
Yes, you can freeze portions of your Mediterranean Chicken Bowl! Let the chicken and quinoa cool completely, then transfer them to freezer-safe containers. They will last for up to 3 months in the freezer. For the best flavor and texture, I recommend thawing in the refrigerator overnight before reheating.
What do I do if my tahini dressing is too thick?
If your tahini dressing turns out too thick, no worries! Gradually whisk in water, one tablespoon at a time, until it reaches your desired consistency. This dressing often thickens upon standing, so adjusting with water will keep it smooth and creamy for drizzling over your bowl.
Are there any dietary considerations I should be aware of?
Very! This Mediterranean Chicken Bowl is naturally gluten-free and can easily be made dairy-free by omitting the feta cheese or substituting it with a dairy-free option like crumbled tofu or avocado. Make sure to check for any personal allergies related to the ingredients, especially for olives or tahini! Plus, if you're following a plant-based diet, consider swapping the chicken for crispy roasted chickpeas, which can soak up the marinade beautifully!
Mediterranean Chicken Bowl: Easy Flavor-Packed Meal Prep
Ingredients
Equipment
Method
- In a mixing bowl, whisk together olive oil, lemon juice, minced garlic, dried oregano, salt, and pepper. Add chicken, coat well, and marinate for at least 20 minutes.
- Prepare the tahini dressing by mixing tahini, lemon juice, minced garlic, maple syrup, and gradually adding water until smooth.
- Heat a skillet over medium-high heat. Cook marinated chicken for 6-8 minutes until golden and cooked through.
- Assemble bowls with quinoa as the base, and top with sautéed chicken, tomatoes, cucumber, onion, and olives.
- Drizzle dressing over each bowl and top with feta cheese and parsley. Serve immediately.