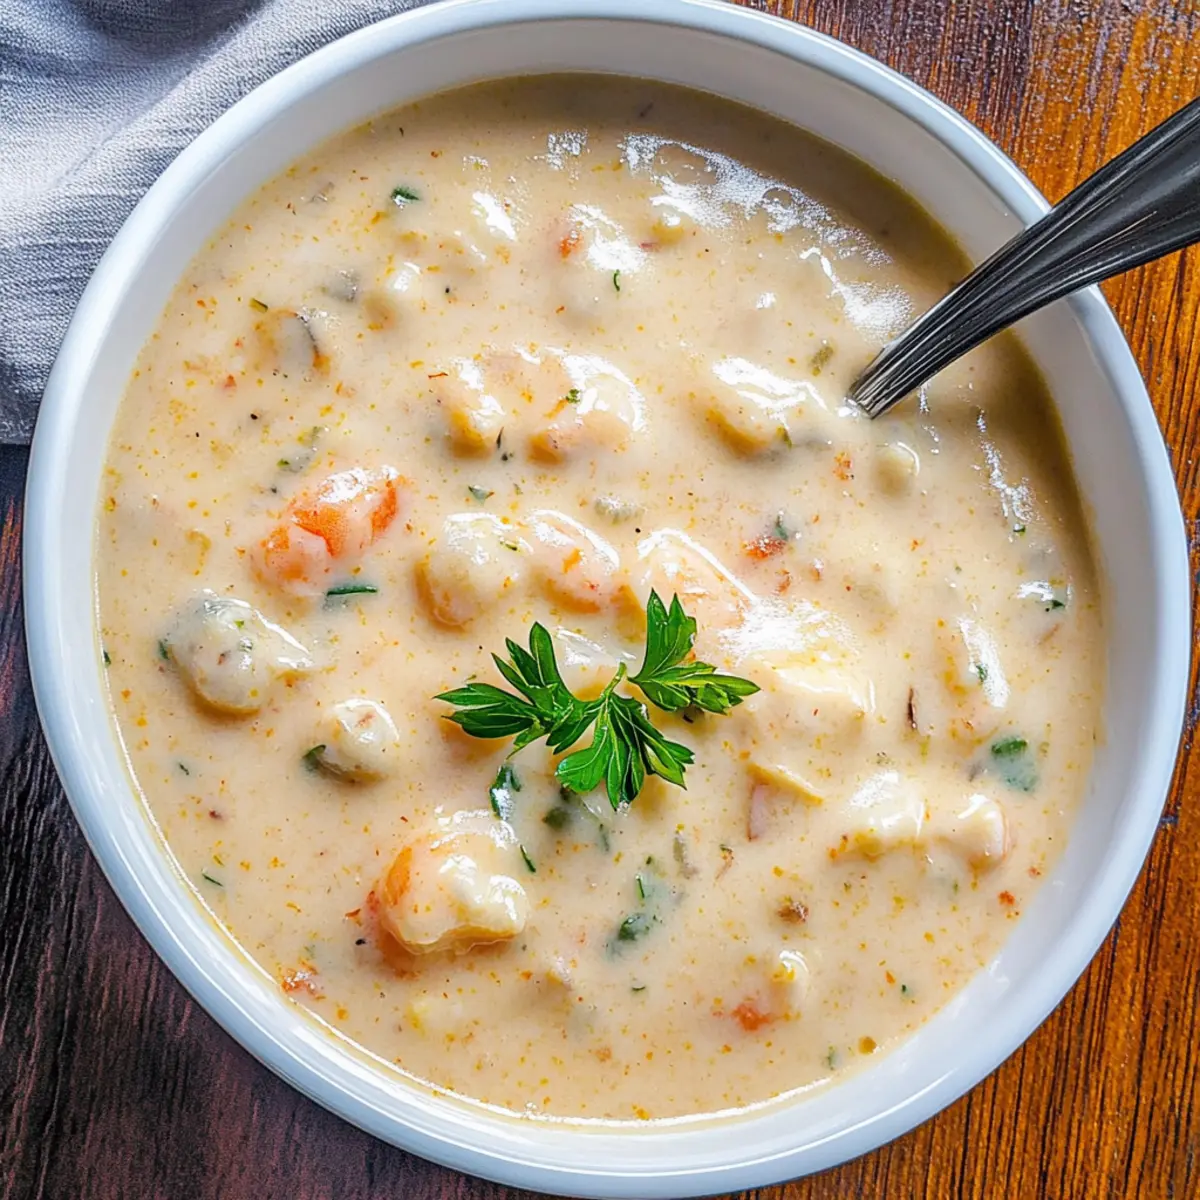
The aroma of a coastal breeze wafts through my kitchen as I prepare a bowl of creamy crab and shrimp seafood bisque—an indulgent treat that transforms any weeknight into a memorable dining experience. This dish elegantly blends tender seafood with aromatic vegetables and a touch of Old Bay seasoning, creating a comforting warmth perfect for chilly evenings. One of the best parts? It can be on your table in just 30 minutes! Whether you’re looking to impress guests or simply savor a cozy night in, this bisque is a crowd-pleaser that showcases your culinary flair without the fuss. What’s your favorite twist to make a dish uniquely yours?
Why Will You Love This Bisque?
Quick Preparation: In just 30 minutes, you can indulge in a luxurious seafood meal that feels like fine dining. Perfect for busy weeknights, this recipe saves you time without compromising on flavor.
Creamy Indulgence: The rich, velvety texture from heavy cream and butter makes each spoonful comforting and satisfying, making it an instant favorite.
Flavor Explosion: With a hint of Old Bay seasoning and the briny goodness from the crab, this bisque bursts with coastal flavor, transporting you to a seaside escape with every bite.
Versatile Options: Feel free to customize with your favorite seafood, such as lobster or scallops. It’s a delightful way to mix things up and impress your guests!
Crowd-Pleasing Appeal: Warm, savory, and delicious, this bisque will be the star of your dining table. Serve it alongside rustic sourdough for a perfect dining experience. Don’t forget to check out our tips on how to store leftover bisque for later enjoyment!
Crab and Shrimp Seafood Bisque Ingredients
For the Bisque
• Butter – adds richness and flavor to the bisque.
• Celery (⅓ Cup, chopped) – provides a crunchy texture and aromatic depth.
• Green Onions (⅓ Cup, chopped) – adds a subtle onion flavor without overpowering the seafood.
• Heavy Whipping Cream (1½ Cups) – creates a rich, creamy texture essential for a bisque; can substitute with whole milk for a lighter version, but the texture will be less thick.
• Whole Milk (2 Cups) – dilutes the richness of cream, contributing to the creamy consistency.
• Flour (3 Tbsp) – acts as a thickening agent; ensure it is cooked briefly to avoid a raw flour taste.
• Tomato Paste (1 Tbsp) – provides acidity and umami to balance the flavors.
• Cooked Shrimp (8 oz, cut into pieces) – main protein, adds sweetness and texture; larger shrimp can be chopped for even distribution.
• Crab Meat (8 oz) – infuses the bisque with its briny flavor, essential for a true seafood taste.
• Old Bay Seasoning (1 tsp) – iconic seafood seasoning that enhances the flavor profile.
• Salt and Pepper to taste – basic seasonings to enhance overall flavor.
Optional Variations
For Added Flavor
• Lobster Meat (optional) – consider adding this for an indulgent twist on the classic bisque.
• Almond or Coconut Milk (substitute) – use as a dairy-free alternative, but expect a different texture.
Step‑by‑Step Instructions for https://sweetpeaskitchen.com/crab-and-shrimp-seafood-bisque/
Step 1: Melt Butter
In a heavy-bottomed pot, melt 4 tablespoons of butter over medium heat. Allow the butter to become bubbly without browning, about 1-2 minutes. The rich aroma of melted butter will set the stage for your creamy crab and shrimp seafood bisque.
Step 2: Sauté Vegetables
Add ⅓ cup of chopped celery and ⅓ cup of chopped green onions to the pot. Sauté the mixture for 3-4 minutes, stirring occasionally, until the vegetables are tender but not browned. This step adds flavor and depth, creating the perfect base for the bisque.
Step 3: Incorporate Flour
Sprinkle 3 tablespoons of flour over the sautéed vegetables, stirring constantly for about 1 minute. This crucial step helps to cook out the raw flour taste, ensuring your crab and shrimp seafood bisque has a smooth consistency. Keep the mixture moving to prevent any sticking.
Step 4: Add Milk
Warm 2 cups of whole milk in the microwave until just warm, about 1-2 minutes. Gradually pour the milk into the pot while whisking continuously to prevent any lumps from forming. This creates a silky base for your bisque, which will enhance its creaminess.
Step 5: Mix in Remaining Ingredients
Stir in 1½ cups of heavy whipping cream, 1 tablespoon of tomato paste, 1 teaspoon of Old Bay seasoning, salt, and pepper to taste. Whisk together until all ingredients are well combined, allowing the bisque's flavors to meld beautifully while imparting its signature richness.
Step 6: Simmer
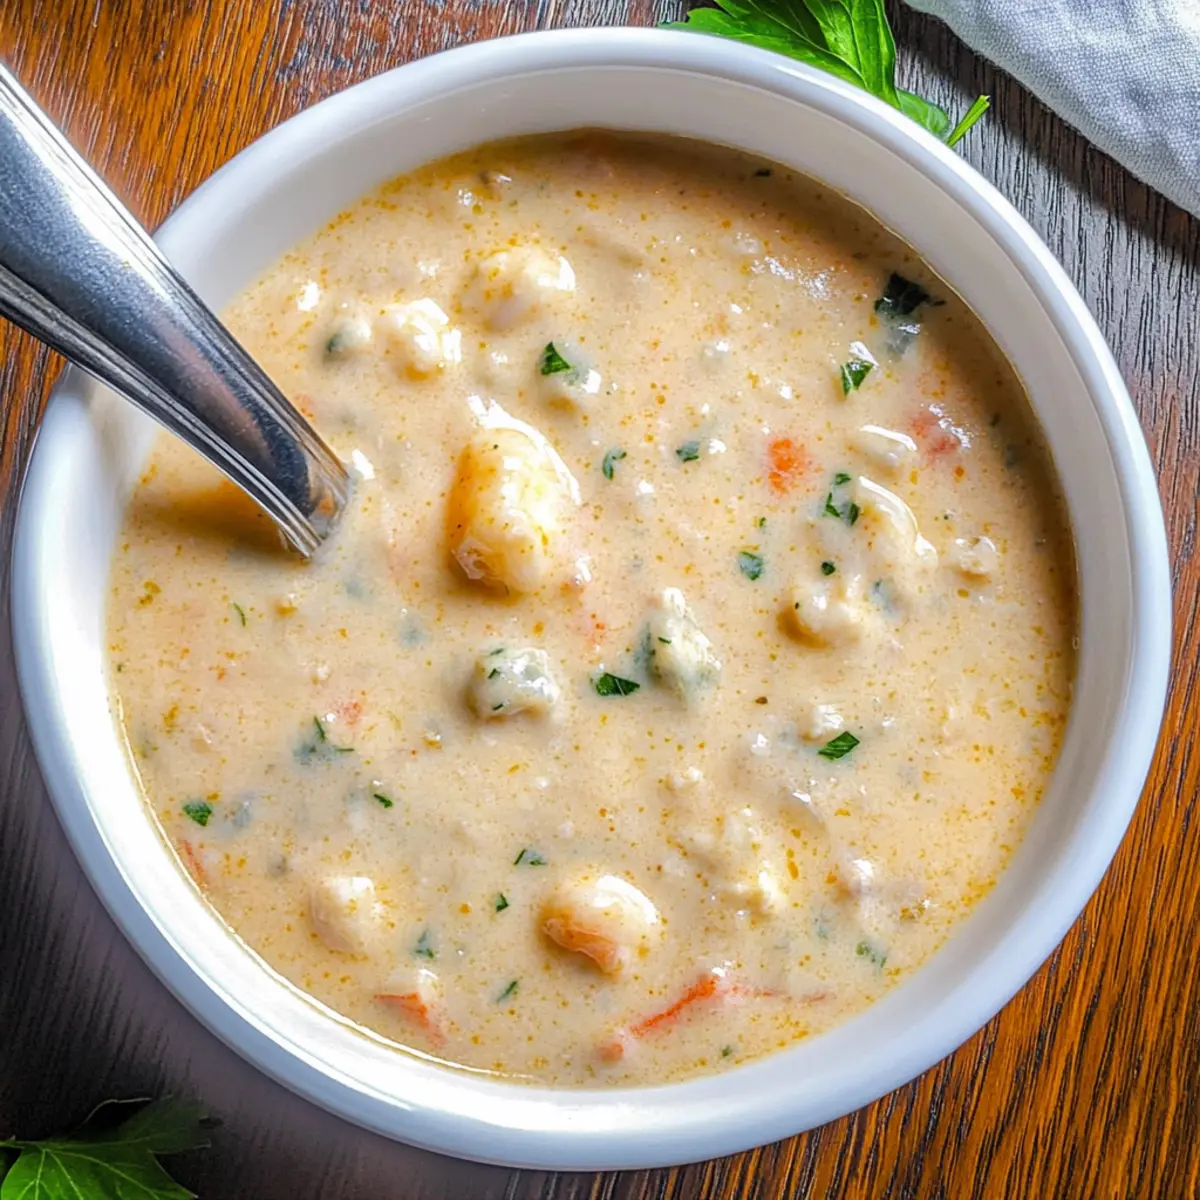
Bring the mixture to a low simmer over medium-low heat, stirring frequently to keep it from sticking to the bottom of the pot. Allow it to cook for about 5-7 minutes, or until the bisque thickens slightly and reaches a velvety texture that's inviting and comforting.
Step 7: Add Seafood
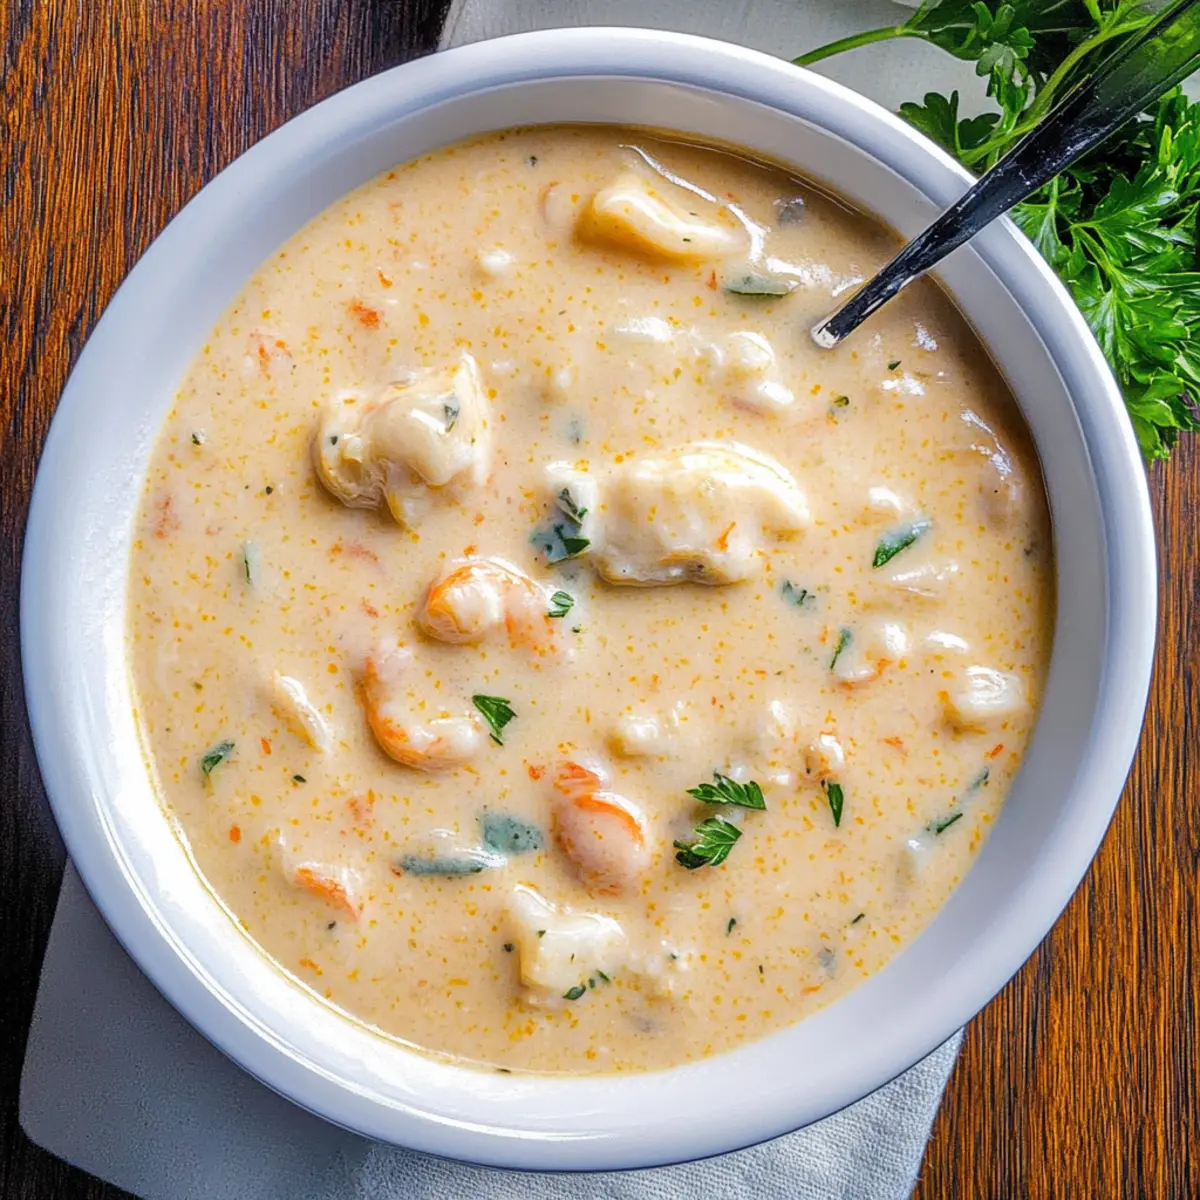
Gently fold in 8 ounces of chopped cooked shrimp and 8 ounces of crab meat into the thickened bisque. Cook for an additional 2-3 minutes, just until the shrimp are pink and opaque. This final step brings the delightful seafood flavors to life in your bisque.
Step 8: Serve
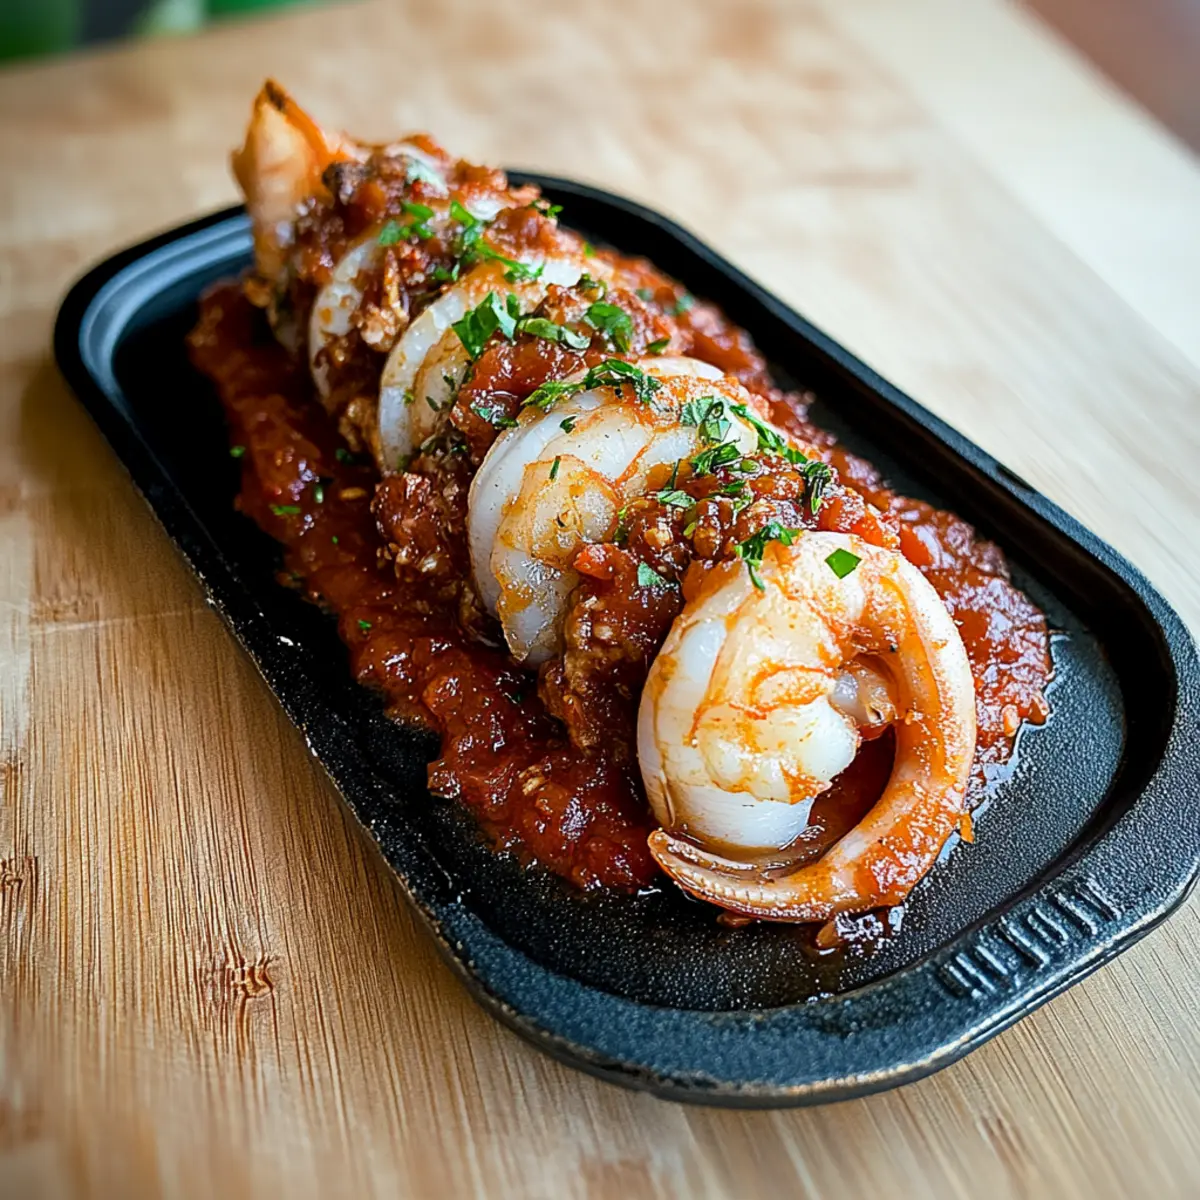
Ladle your creamy crab and shrimp seafood bisque into warm bowls. Garnish with freshly chopped parsley or chives for a pop of color and a burst of freshness. Enjoy this luxurious dish with crusty sourdough bread for a comforting meal that feels like a special occasion.
How to Store and Freeze Crab and Shrimp Seafood Bisque
- Fridge: Store leftover bisque in an airtight container for up to 4 to 5 days. Make sure it’s completely cooled before sealing to maintain freshness.
- Freezer: You can freeze the bisque for up to 3 months. Transfer it to freezer-safe containers, leaving some space for expansion.
- Thawing: Thaw the frozen bisque overnight in the fridge. This gentle method helps preserve the creamy consistency.
- Reheating: Reheat slowly on low heat on the stovetop. Stir continuously to prevent the cream from separating and ensure a silky texture for your creamy crab and shrimp seafood bisque.
Expert Tips for Crab and Shrimp Seafood Bisque
- Prep Ingredients First: Gather and chop all ingredients before starting. This ensures a smooth cooking process and helps maintain the 30-minute prep time.
- Warm Milk Carefully: Always warm the whole milk in the microwave before adding it to the pot. This prevents clumping and achieves a silky smooth bisque.
- Sauté with Care: Sauté the vegetables just until tender but not browned. Overcooking can change the flavor dynamic, making your bisque taste less vibrant.
- Watch the Simmer: Keep an eye on the simmer, stirring frequently to avoid sticking. If the bisque is too thick, add a splash of milk to reach your desired consistency.
- Don’t Overcook Seafood: Add shrimp and crab meat towards the end of cooking. They only need a few minutes to heat through; overcooking can make them rubbery.
- Taste and Adjust: Always taste your bisque before serving. Adjust the seasoning with salt, pepper, or even more Old Bay to suit your preferences. Enjoy your creamy crab and shrimp seafood bisque!
Make Ahead Options
These Crab and Shrimp Seafood Bisque preparations are perfect for busy home cooks looking to save time! You can chop the vegetables (celery and green onions) and measure out the flour and tomato paste up to 24 hours in advance. Simply store them in an airtight container in the refrigerator to maintain freshness. Additionally, you can prepare the bisque base (without the seafood) up to 3 days ahead—just refrigerate it in a sealed container. When you're ready to enjoy, gently reheat the bisque on low heat, add the seafood, and simmer until heated through (about 2-3 minutes). This way, you’ll serve a luxurious and comforting meal with ease on those hectic nights!
Crab and Shrimp Seafood Bisque Variations
Unleash your culinary creativity and make this bisque your own with these delightful twists!
-
Lobster Addition: Enhance the luxury by adding chunks of lobster meat for a truly indulgent seafood experience. The sweet, rich flavor of lobster will elevate every bite.
-
Dairy-Free Delight: Substitute heavy cream and whole milk with almond or coconut milk for a creamy texture sans dairy. Just note that it may change the flavor slightly, but it's a tasty alternative!
-
Spicy Kick: Add a pinch of cayenne pepper or a few dashes of hot sauce to the bisque for a warm, spicy finish. This kick adds a new depth that complements the sweetness of the seafood.
-
Herb Infusion: Stir in a teaspoon of fresh dill or tarragon just before serving for a fragrant touch. These herbs bring an aromatic brightness, perfect for a warm dish like this bisque.
-
Extra Veggies: Toss in other sautéed vegetables like bell peppers, carrots, or spinach to amp up the flavor and nutrition. This not only adds color but also a delightful texture.
-
Seafood Medley: Combine different kinds of seafood such as scallops or white fish for a heartier bisque. A mix of flavors creates a beautiful harmony reminiscent of a seafood feast.
-
Smoky Touch: Incorporate a teaspoon of smoked paprika for a subtle smokiness that deepens the flavor profile of your bisque. This playful twist makes for an exciting meal.
-
Umami Boost: Swap out tomato paste for sun-dried tomato paste to enhance the umami flavor in your bisque. This small change packs a flavor punch, perfectly balancing the creaminess.
Feel free to explore these ideas and don't hesitate to find more flavor inspiration on how to use fresh herbs in your cooking! Enjoy creating your personalized version of this classic crab and shrimp bisque!
What to Serve with 30-Minute Creamy Crab and Shrimp Seafood Bisque
Craving the perfect accompaniments to elevate your crab and shrimp seafood bisque into a complete meal?
- Crusty Sourdough Bread: This chewy, warm bread is perfect for soaking up the rich bisque and adds delightful texture to each bite.
- Oyster Crackers: A classic pairing, these crunchy little bites offer a fun contrast and absorb just enough of the soup's creamy goodness.
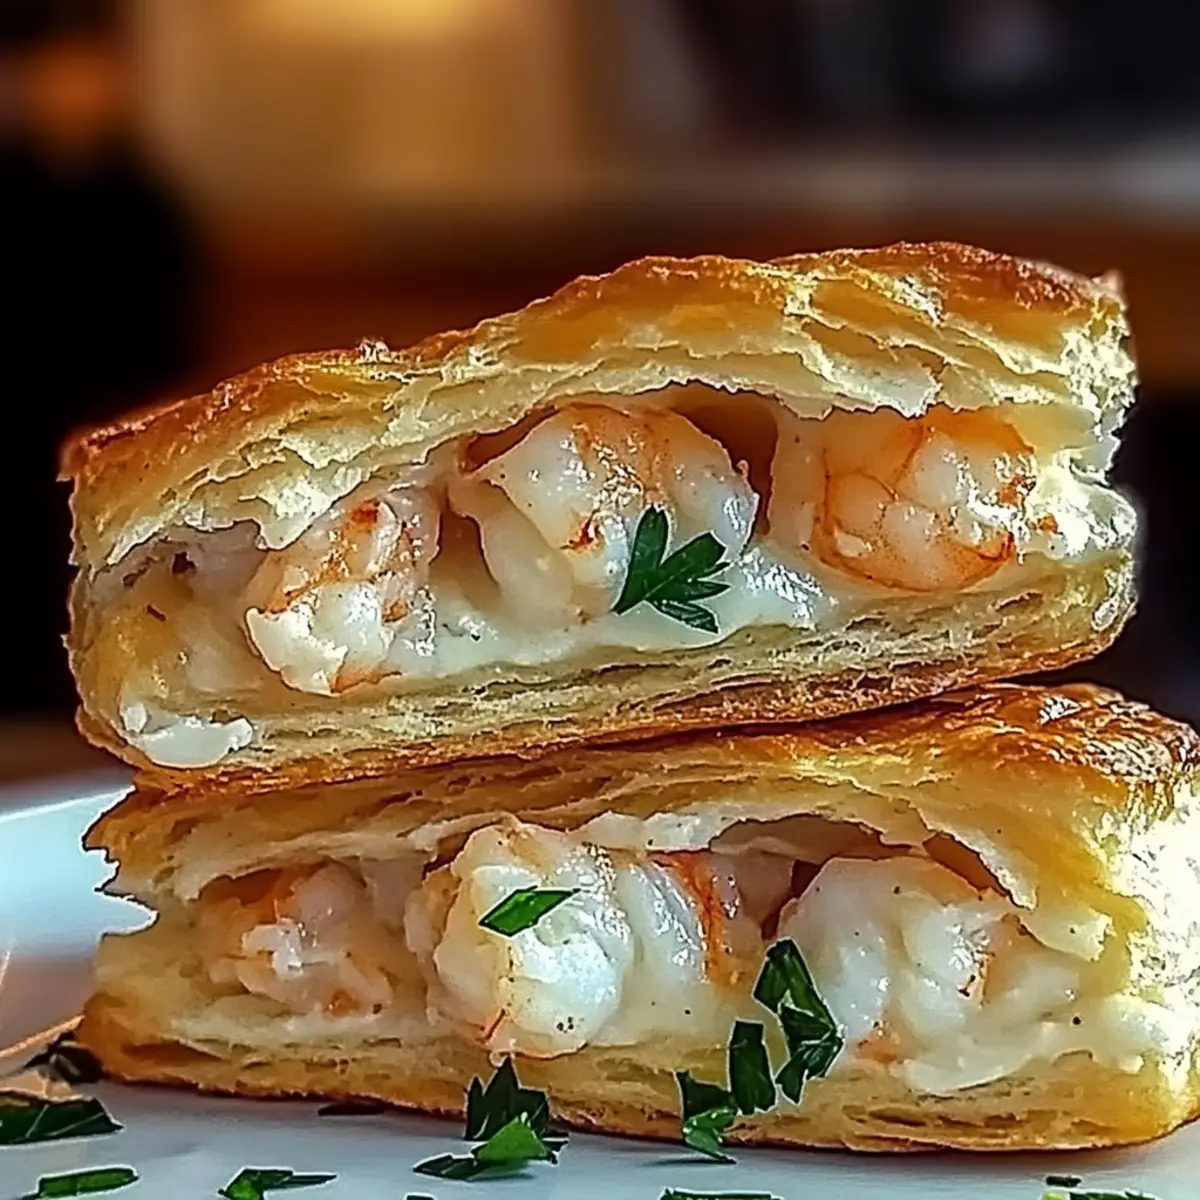
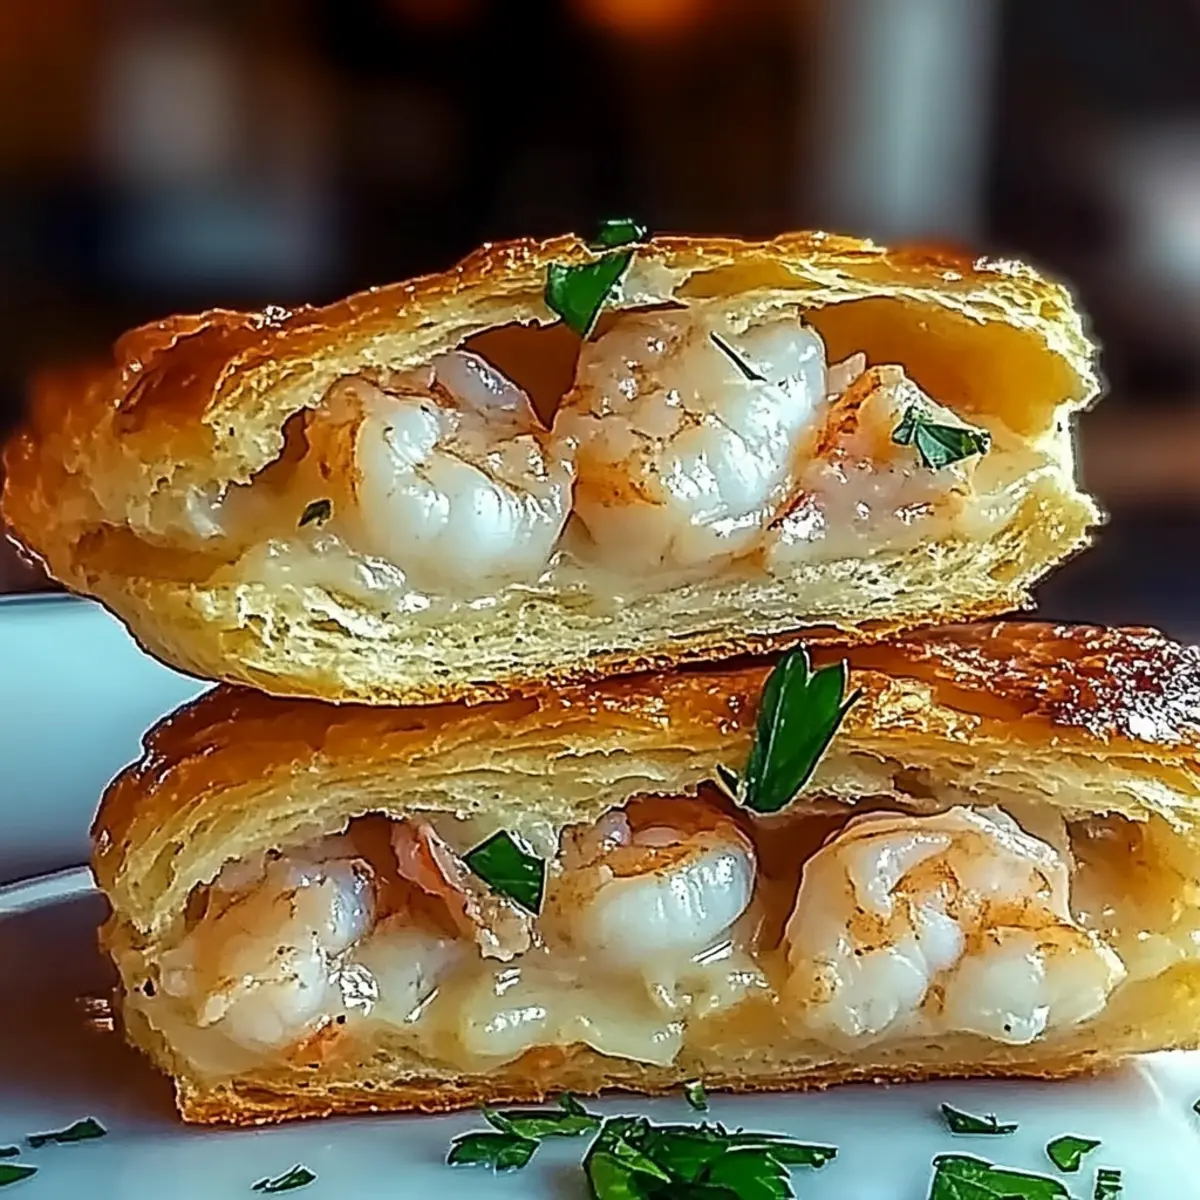
- Garlic Butter Shrimp: Enhance the seafood theme with these juicy shrimp, which are quick and easy to prepare, bursting with flavor.
- Mixed Green Salad: A light and refreshing salad offers a crisp contrast to the rich bisque, featuring seasonal greens and a zesty vinaigrette.
- Steamed Asparagus: Tender asparagus with a sprinkle of lemon zest and sea salt adds a fresh burst of flavor and color to your table.
- Chardonnay: This white wine, with its bright acidity, complements the bisque without overwhelming the delicate seafood flavors.
- Dessert: Key Lime Pie: End the meal on a sweet and tangy note; its refreshing flavor beautifully balances the richness of the bisque.
- Mango Sorbet: For a light, fruity finish, this frozen treat cleanses the palate and brings a delightful tropical vibe to your dining experience.
Crab and Shrimp Seafood Bisque Recipe FAQs
What type of crab meat should I use for the bisque?
Absolutely! For an authentic flavor, I recommend using lump or backfin crab meat, which is typically sweeter and has a nice texture. If you’re on a budget, canned crab meat can work, but always check for quality and low sodium levels. Fresh crab is the crème de la crème!
How should I store leftovers of the bisque?
You can store leftover bisque in an airtight container in the refrigerator for up to 4 to 5 days. Allow the bisque to cool completely before sealing it; this helps retain its creamy texture.
Can I freeze the crab and shrimp bisque?
Yes, you can freeze the bisque for up to 3 months! To do this, pour the cooled bisque into freezer-safe containers, leaving some space at the top for expansion. When you're ready to enjoy, simply thaw it overnight in the fridge.
How do I reheat the bisque without losing the creamy texture?
To reheat, pour the bisque into a pot and warm it slowly over low heat. Stir continuously to prevent the cream from separating. If it thickens too much, feel free to add a splash of warm milk to bring it back to a luscious consistency.
Is it safe for individuals with seafood allergies?
This bisque contains both shrimp and crab, so it is not safe for those with allergies to seafood. Always ensure your guests are aware of these ingredients and consider providing an alternative dish if you have allergy concerns.
Can I add other seafood to the recipe?
Very! Feel free to customize your bisque by adding other seafood like lobster, scallops, or even mussels. Just be mindful that cooking times may need to be adjusted based on the seafood you choose, as some may cook faster than others.

Creamy Crab and Shrimp Seafood Bisque in Just 30 Minutes
Ingredients
Equipment
Method
- Melt Butter: In a heavy-bottomed pot, melt 4 tablespoons of butter over medium heat. Allow the butter to become bubbly without browning, about 1-2 minutes.
- Sauté Vegetables: Add ⅓ cup of chopped celery and ⅓ cup of chopped green onions. Sauté for 3-4 minutes until tender.
- Incorporate Flour: Sprinkle 3 tablespoons of flour over the sautéed vegetables, stirring constantly for about 1 minute.
- Add Milk: Warm 2 cups of whole milk in the microwave until just warm. Gradually pour into the pot while whisking continuously.
- Mix in Remaining Ingredients: Stir in 1½ cups of heavy whipping cream, 1 tablespoon of tomato paste, and 1 teaspoon of Old Bay seasoning. Whisk until well combined.
- Simmer: Bring the mixture to a low simmer over medium-low heat, cooking for about 5-7 minutes until thickened.
- Add Seafood: Gently fold in 8 ounces of chopped cooked shrimp and 8 ounces of crab meat. Cook for an additional 2-3 minutes.
- Serve: Ladle the bisque into warm bowls and garnish with freshly chopped parsley or chives.