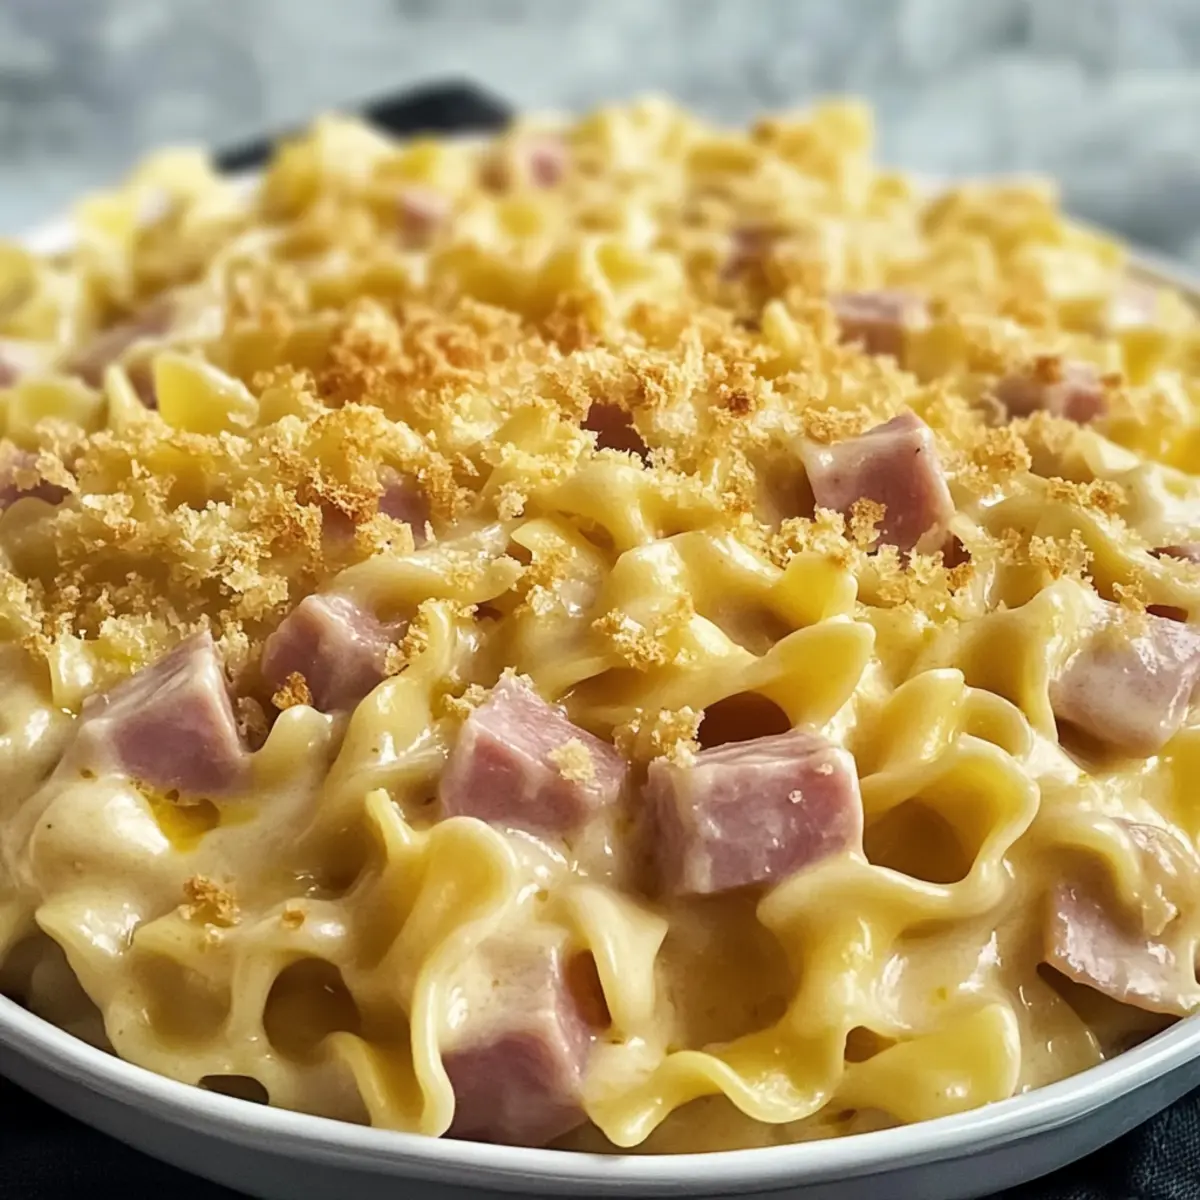
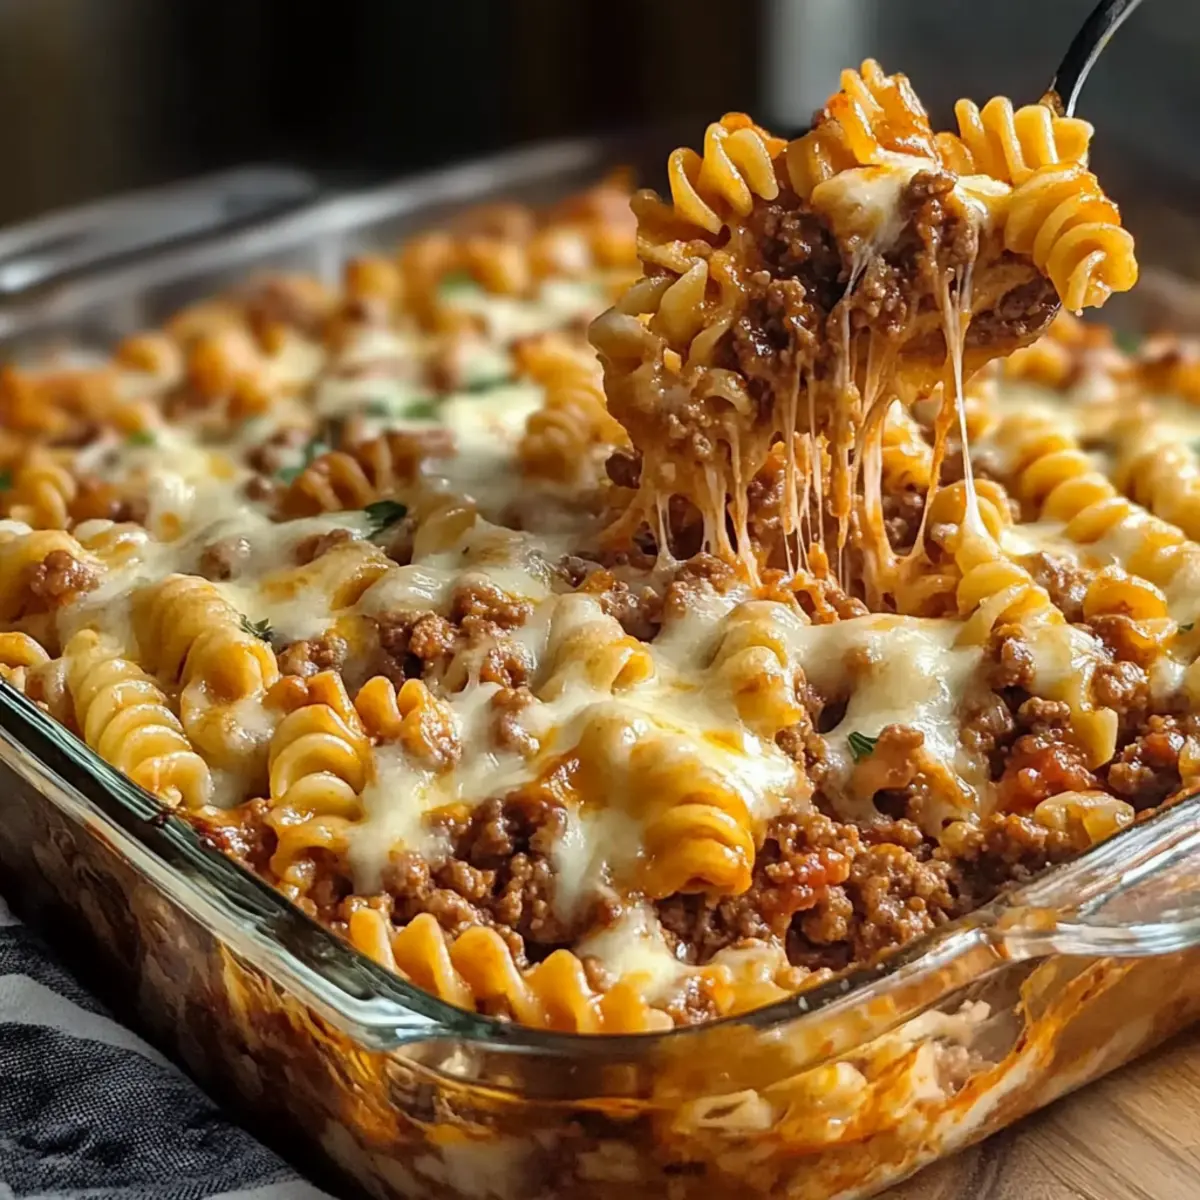
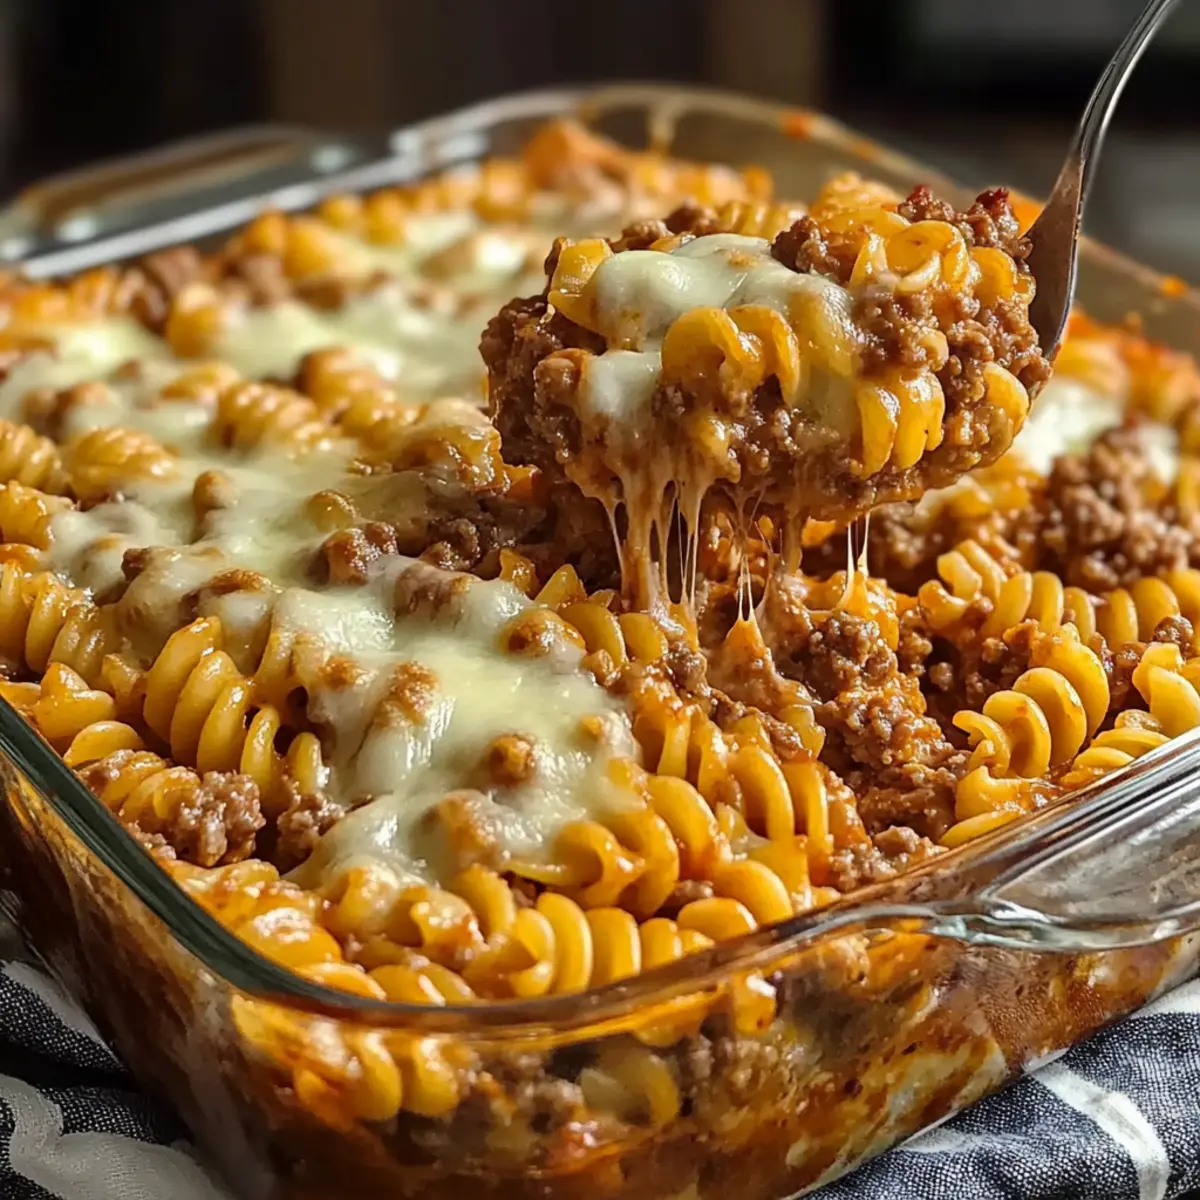
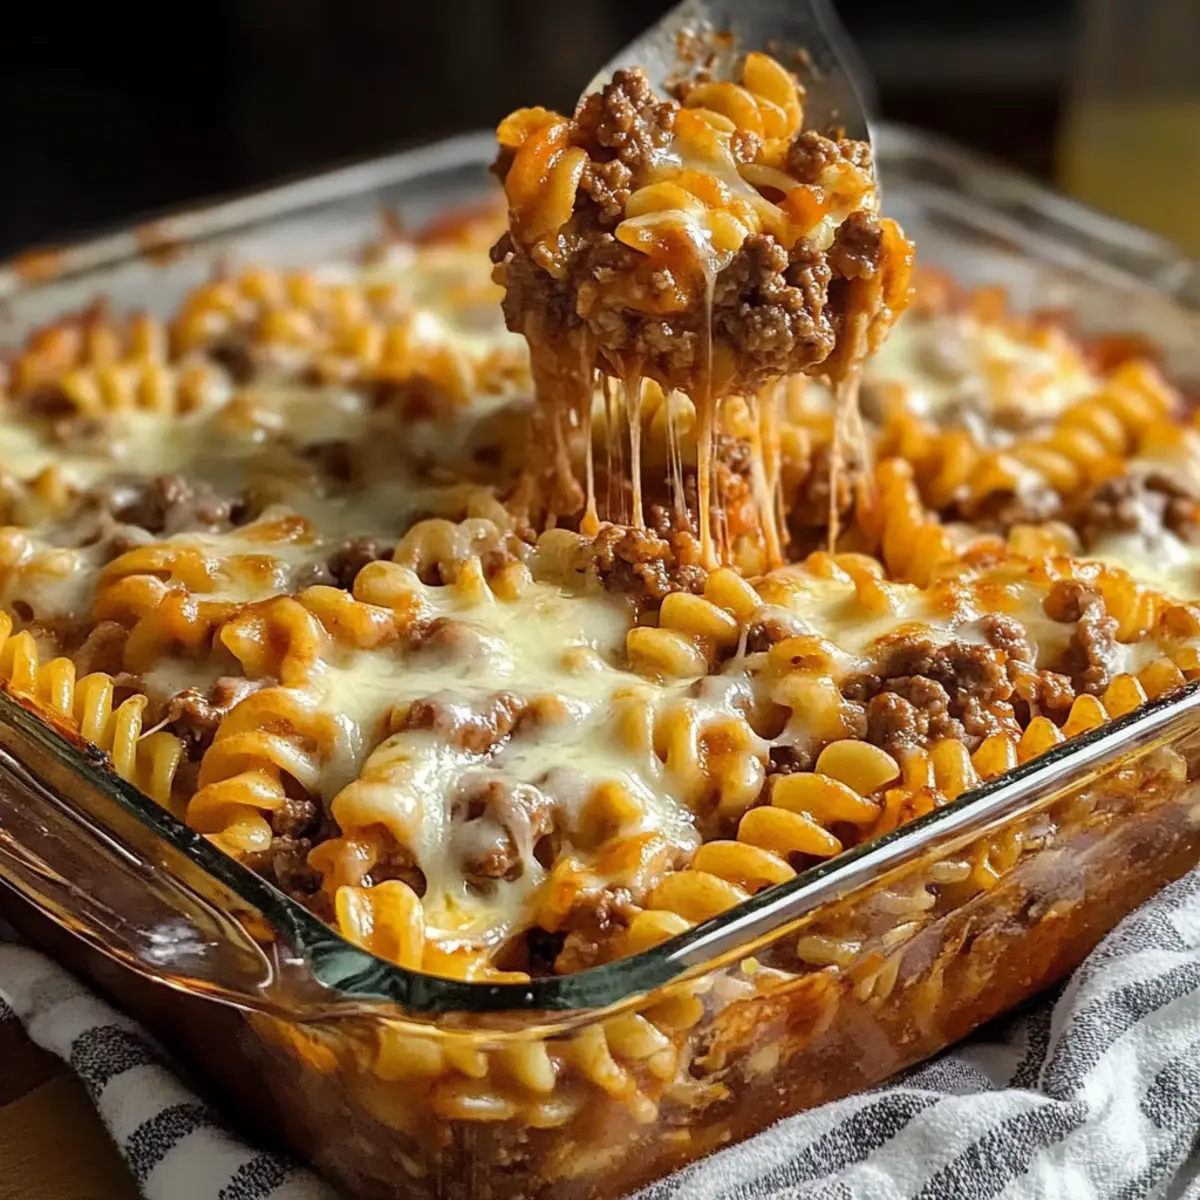
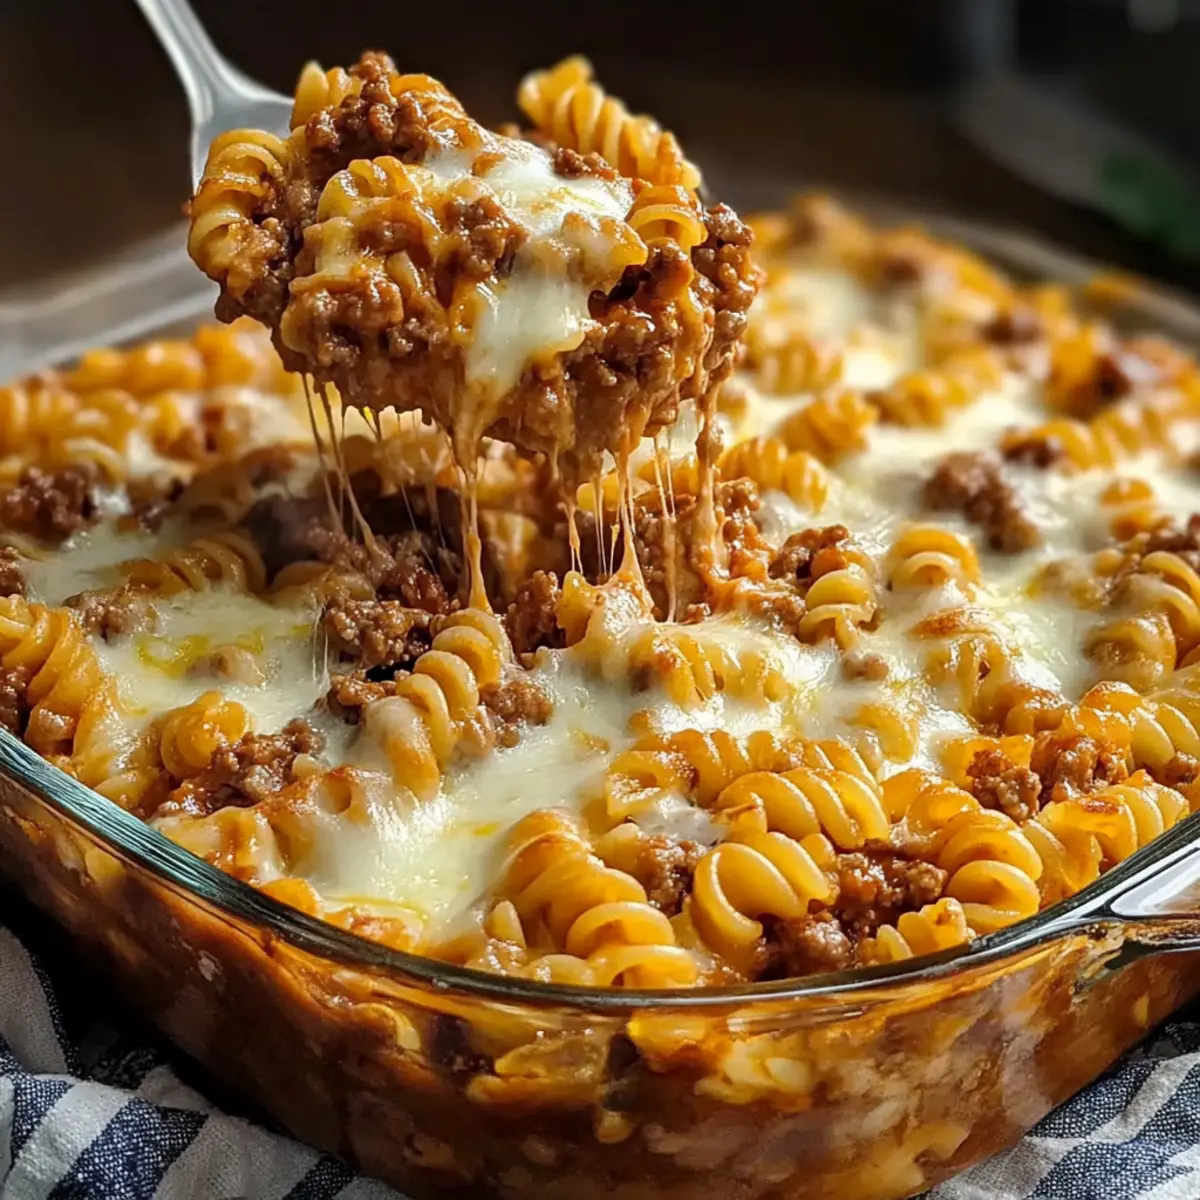
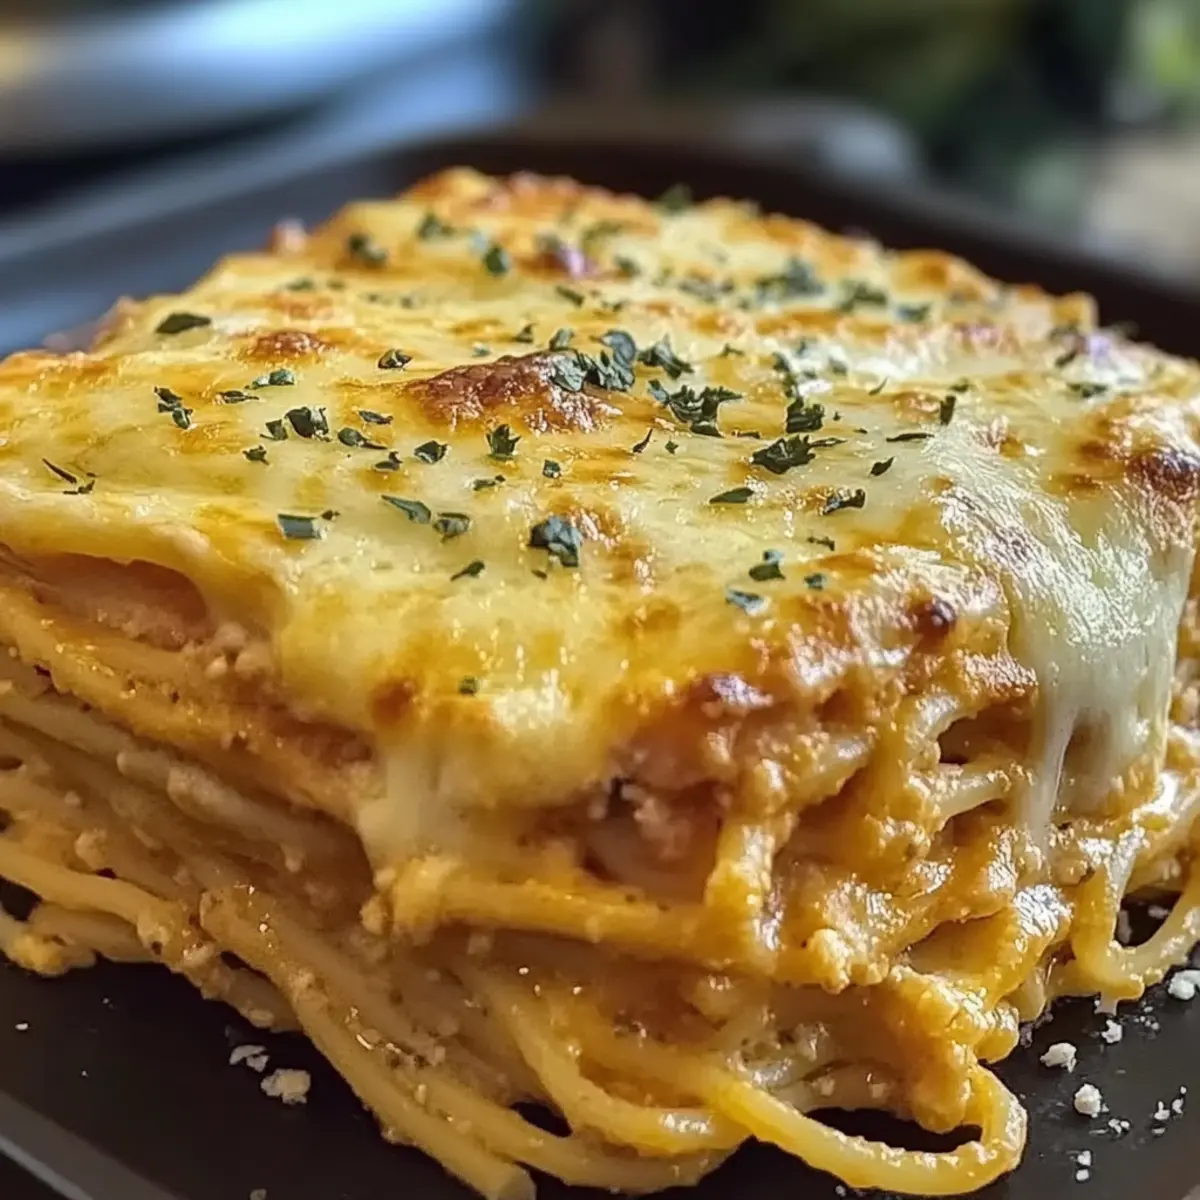
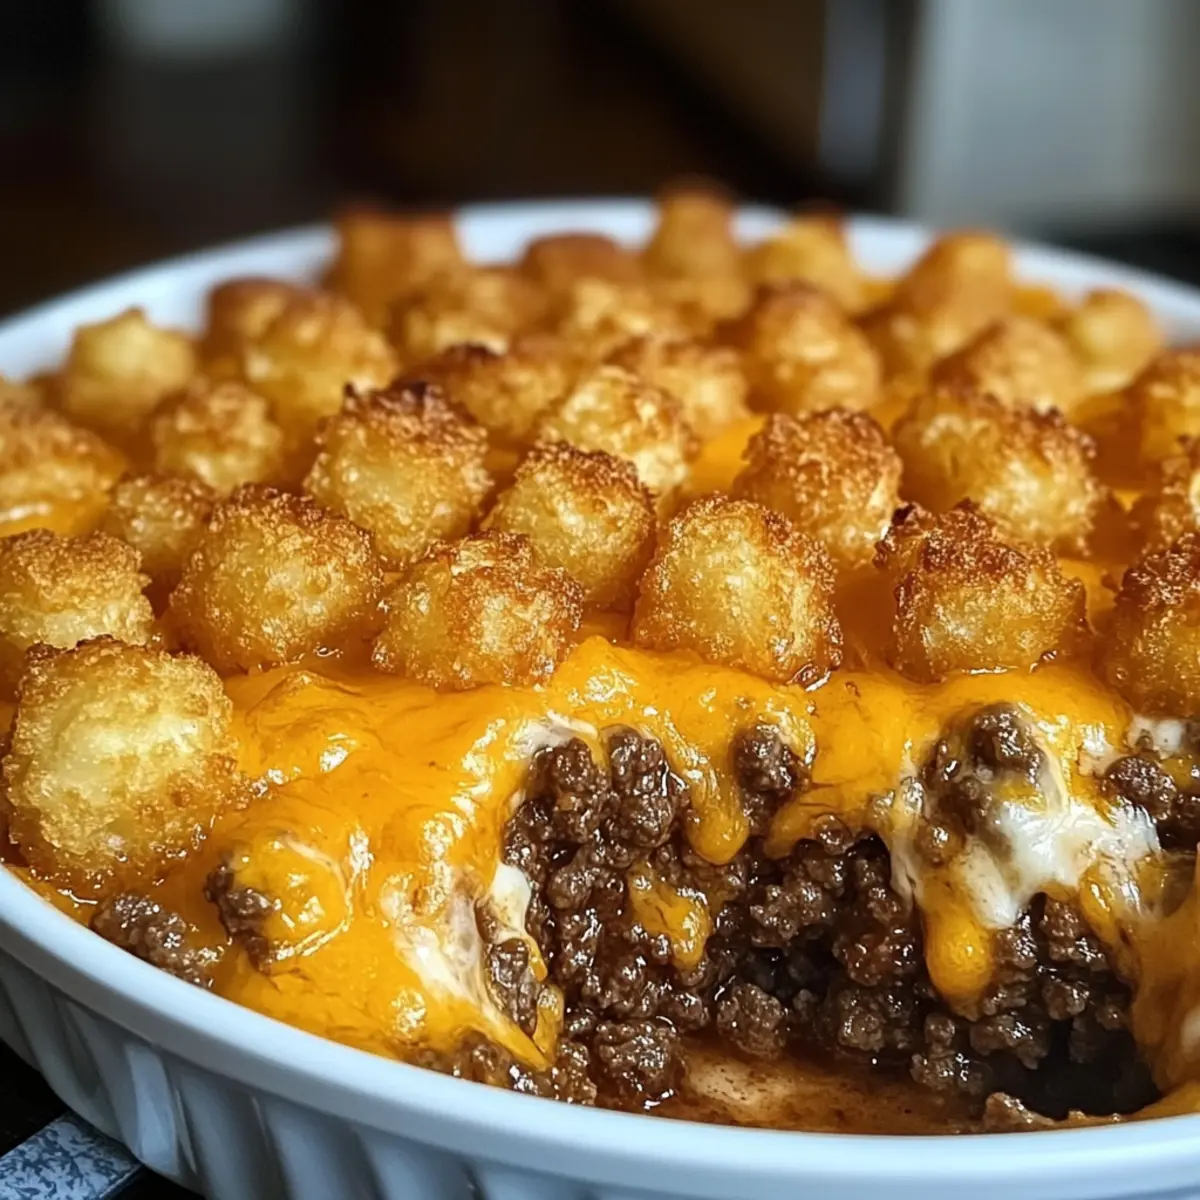
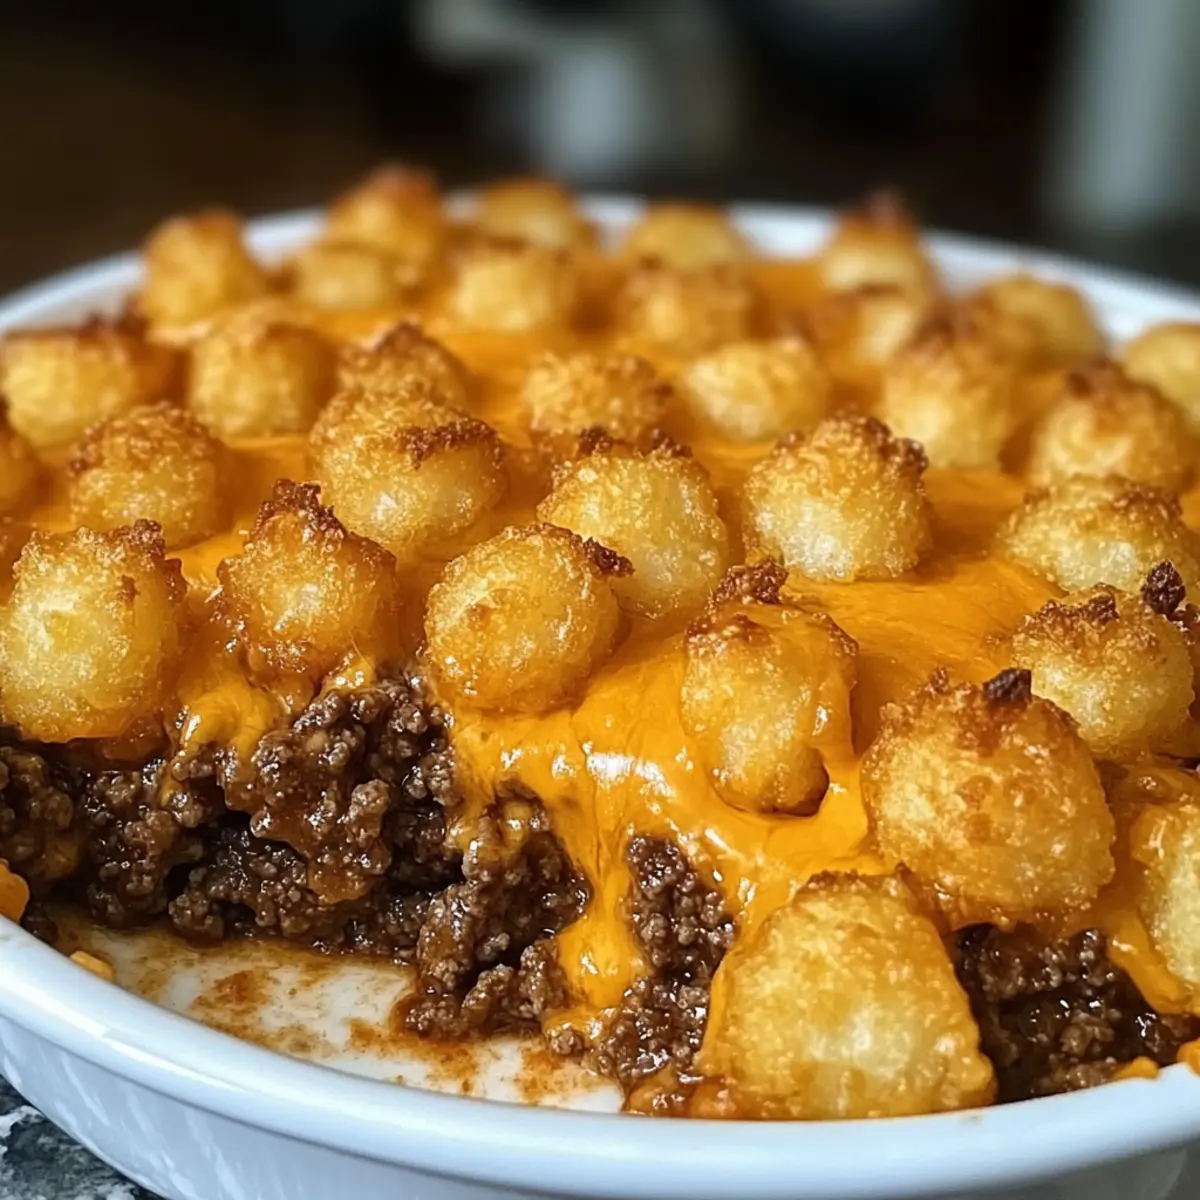
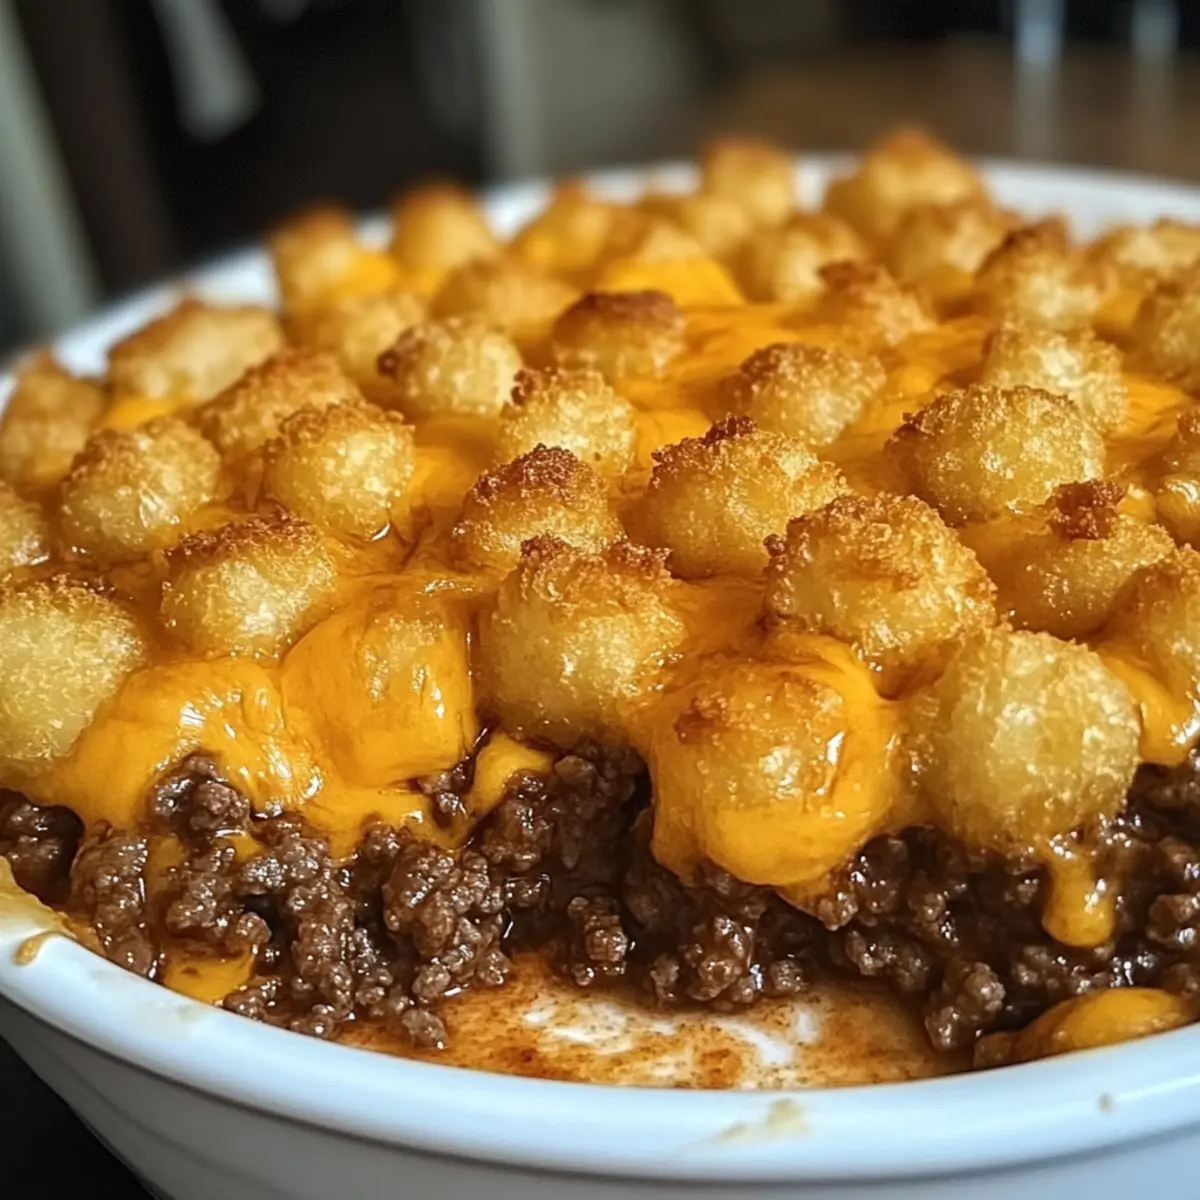
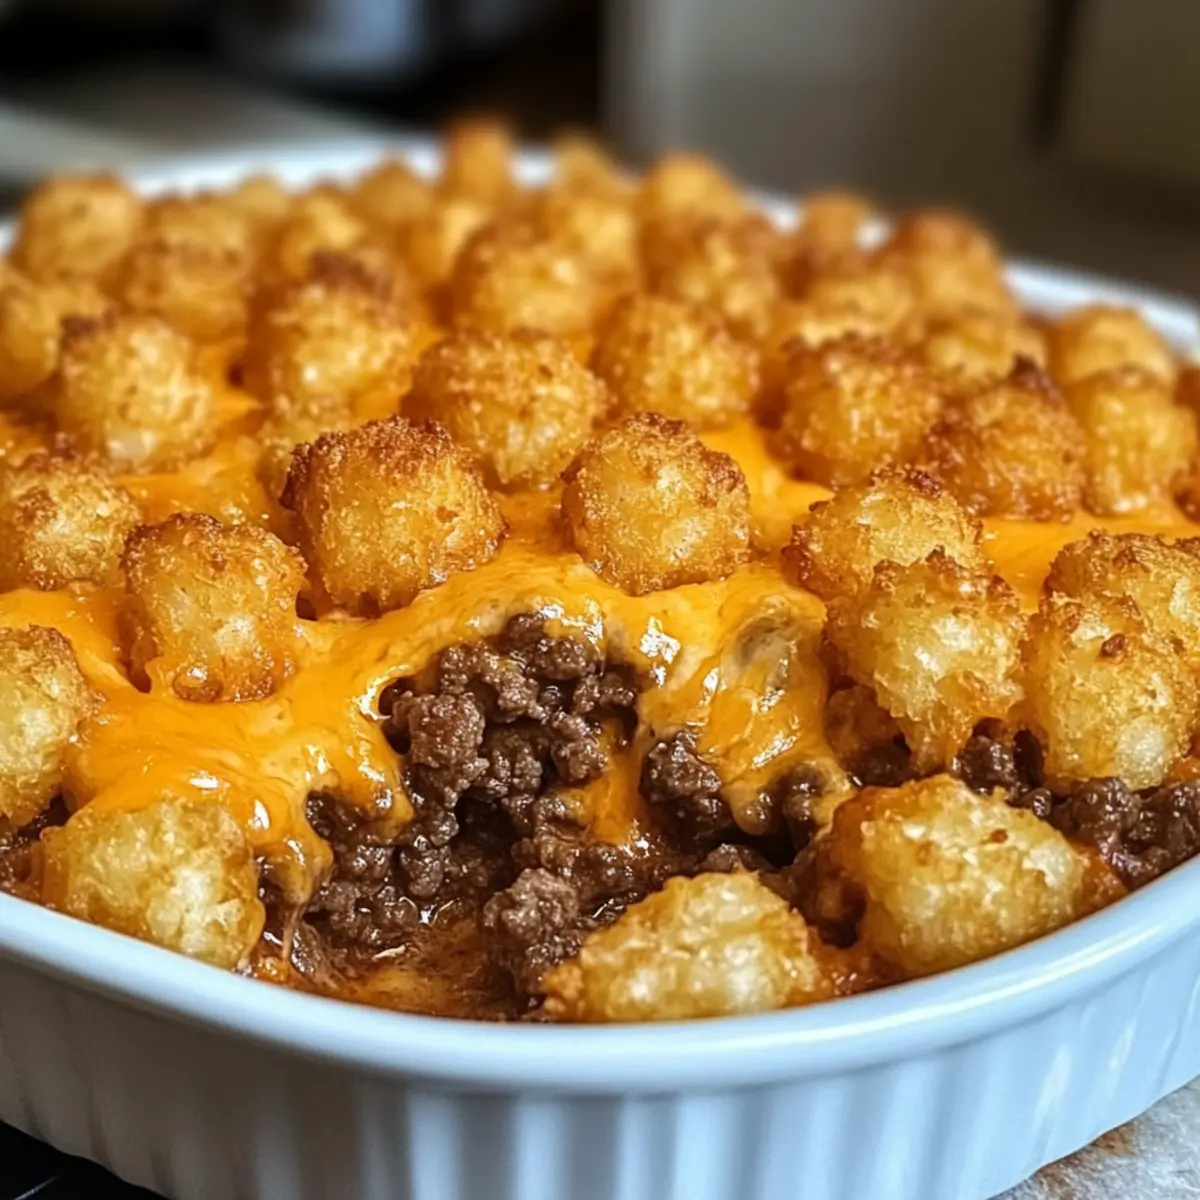
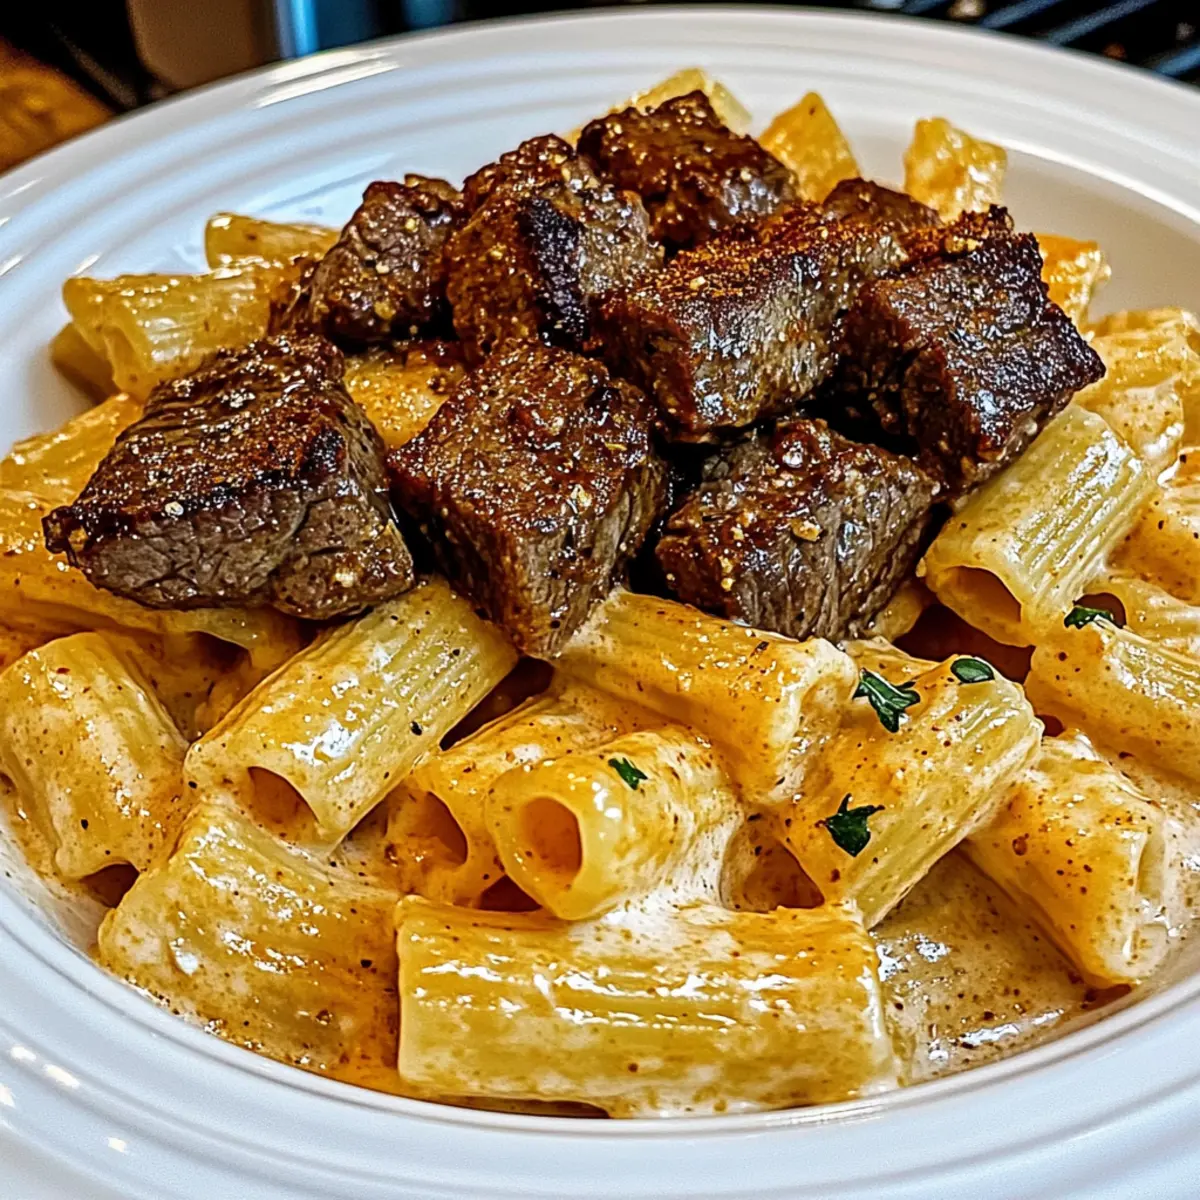
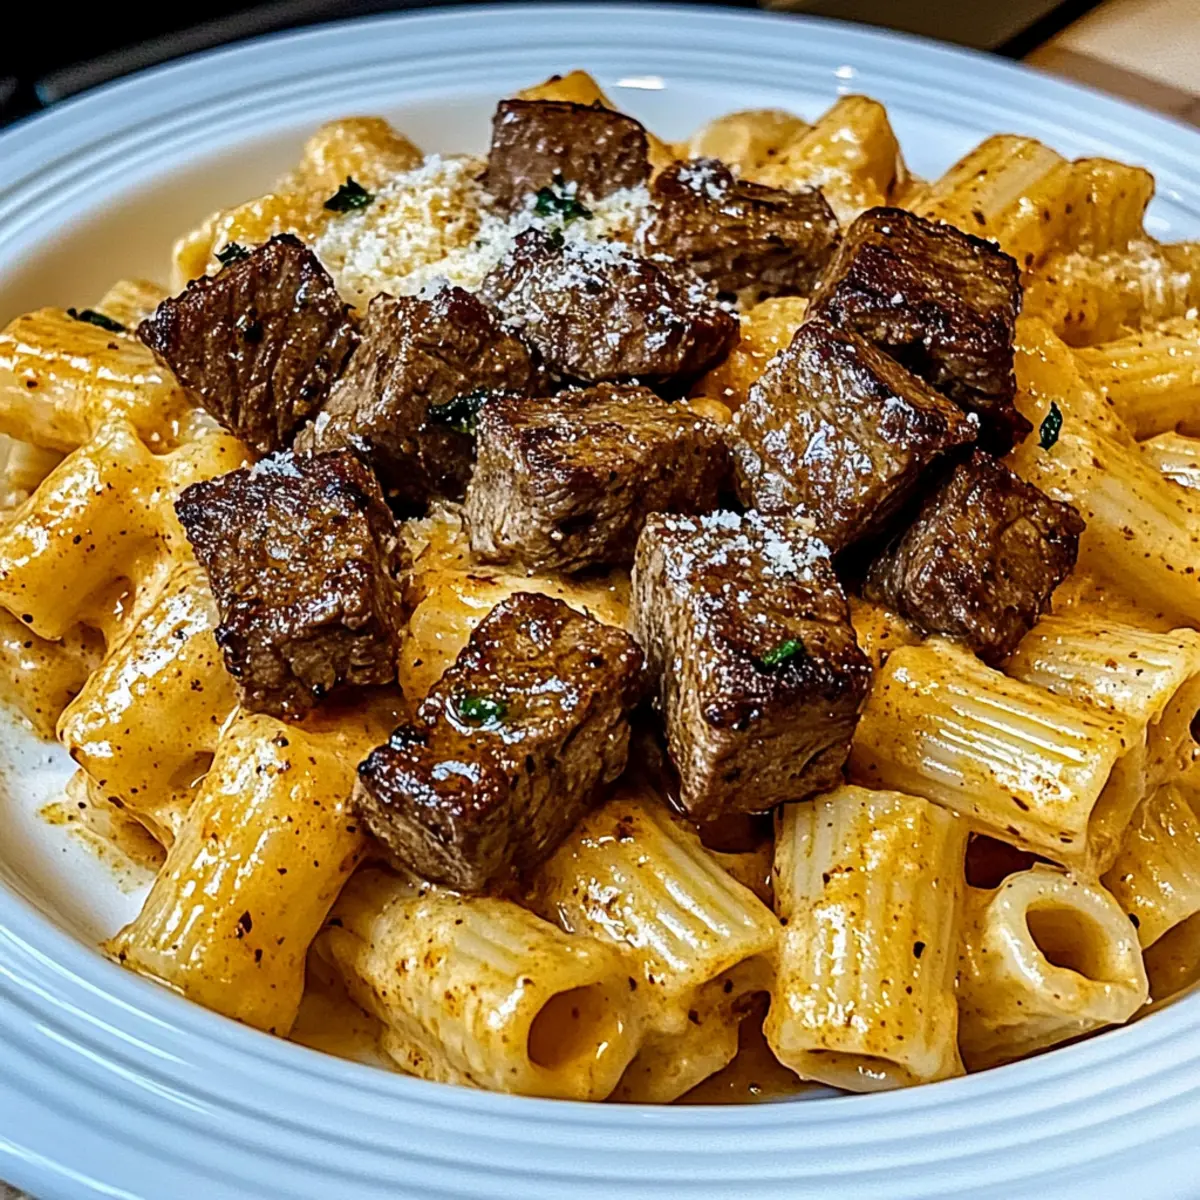
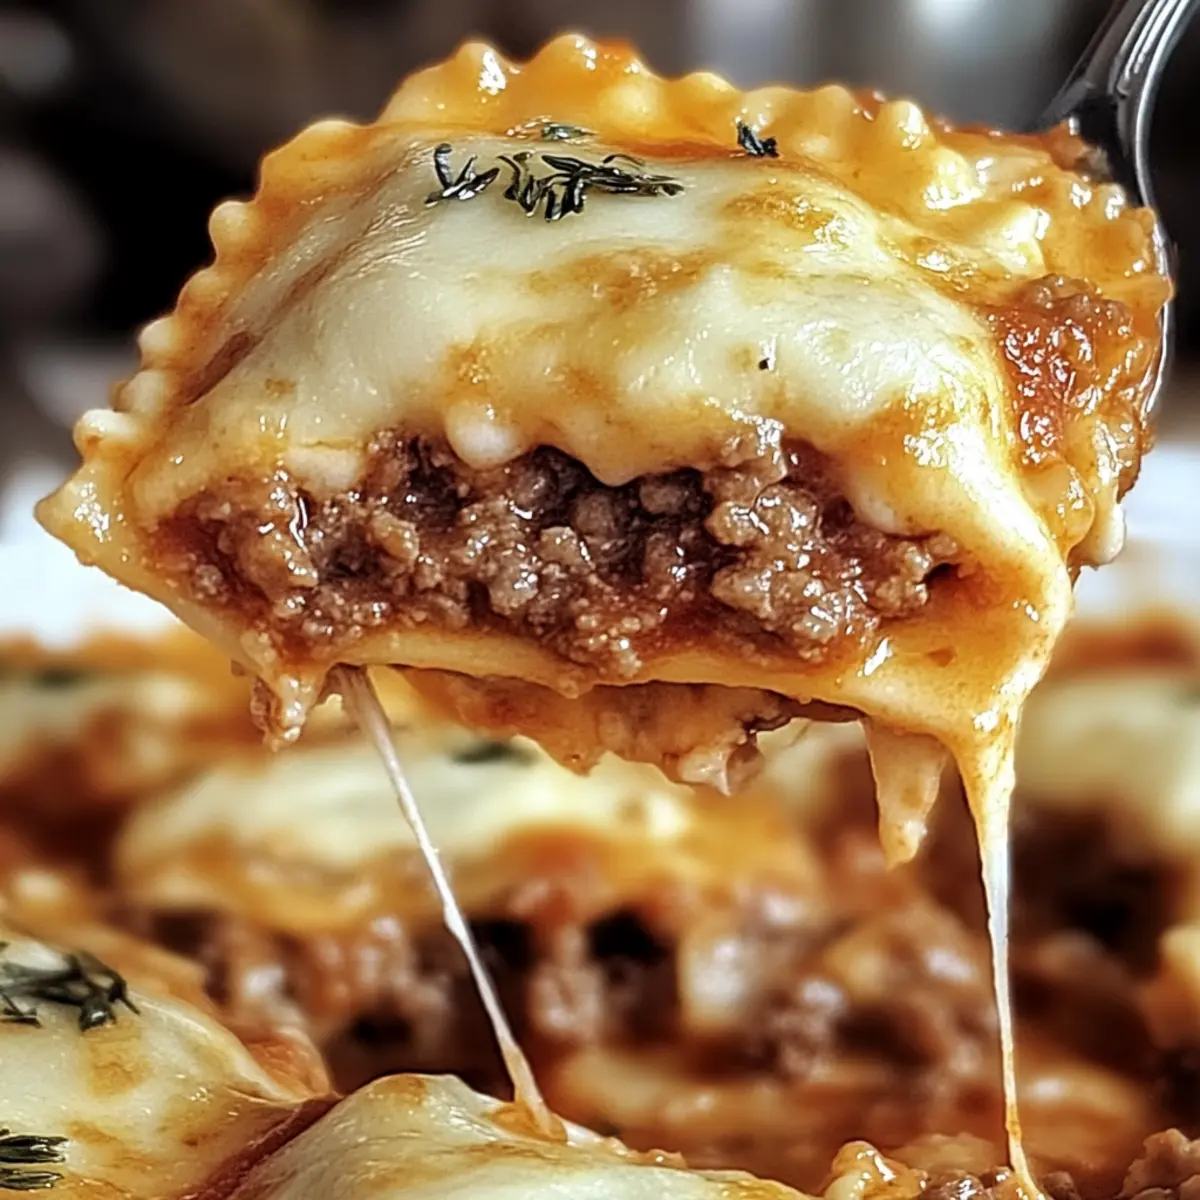
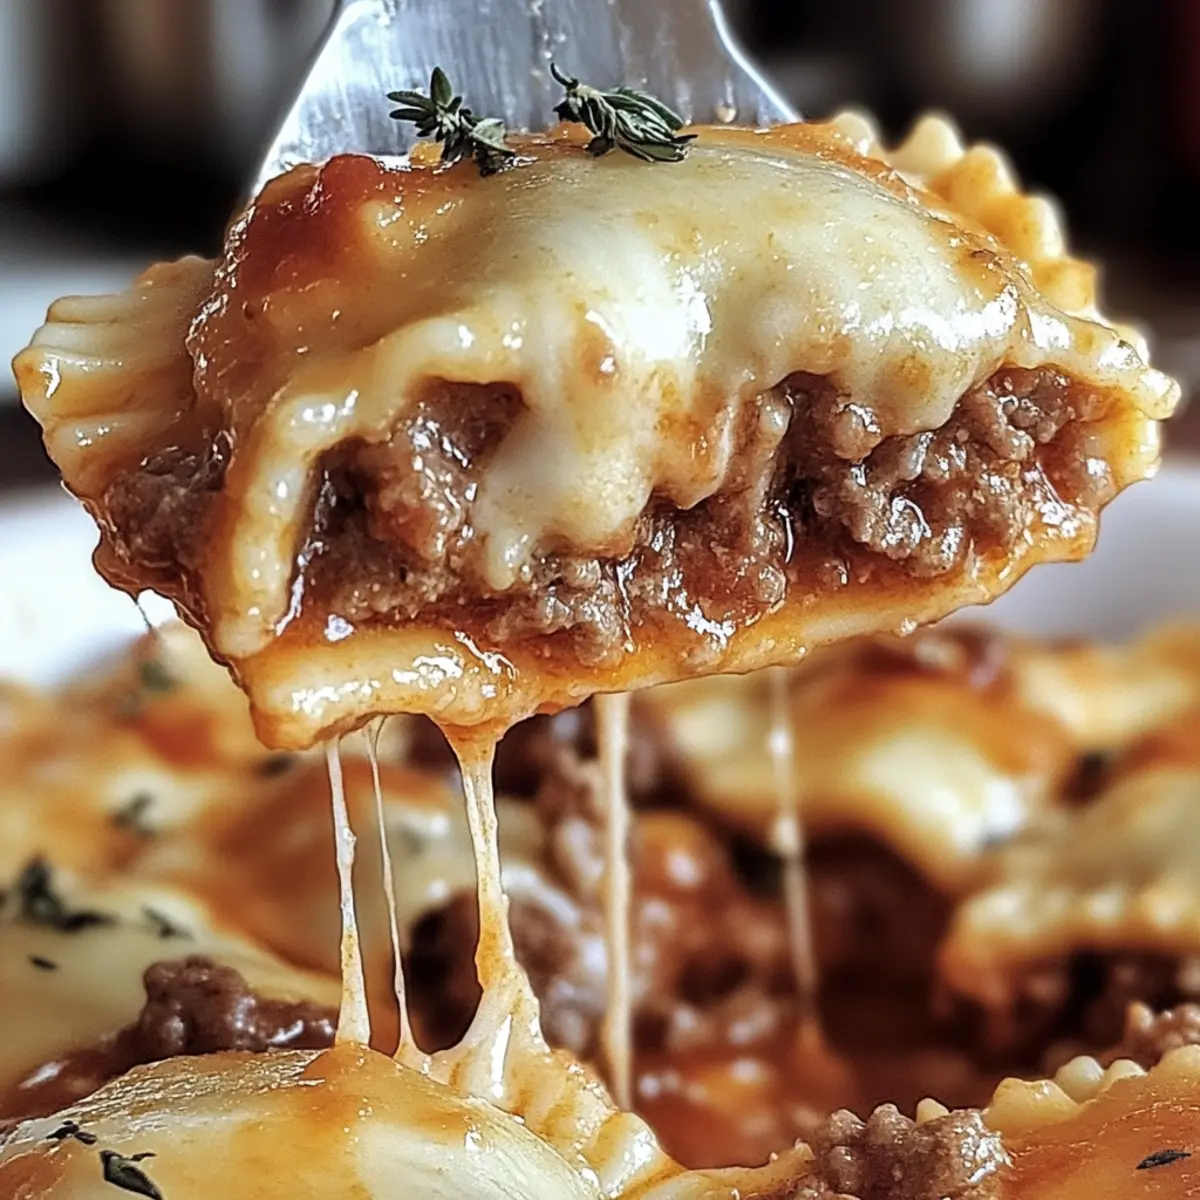
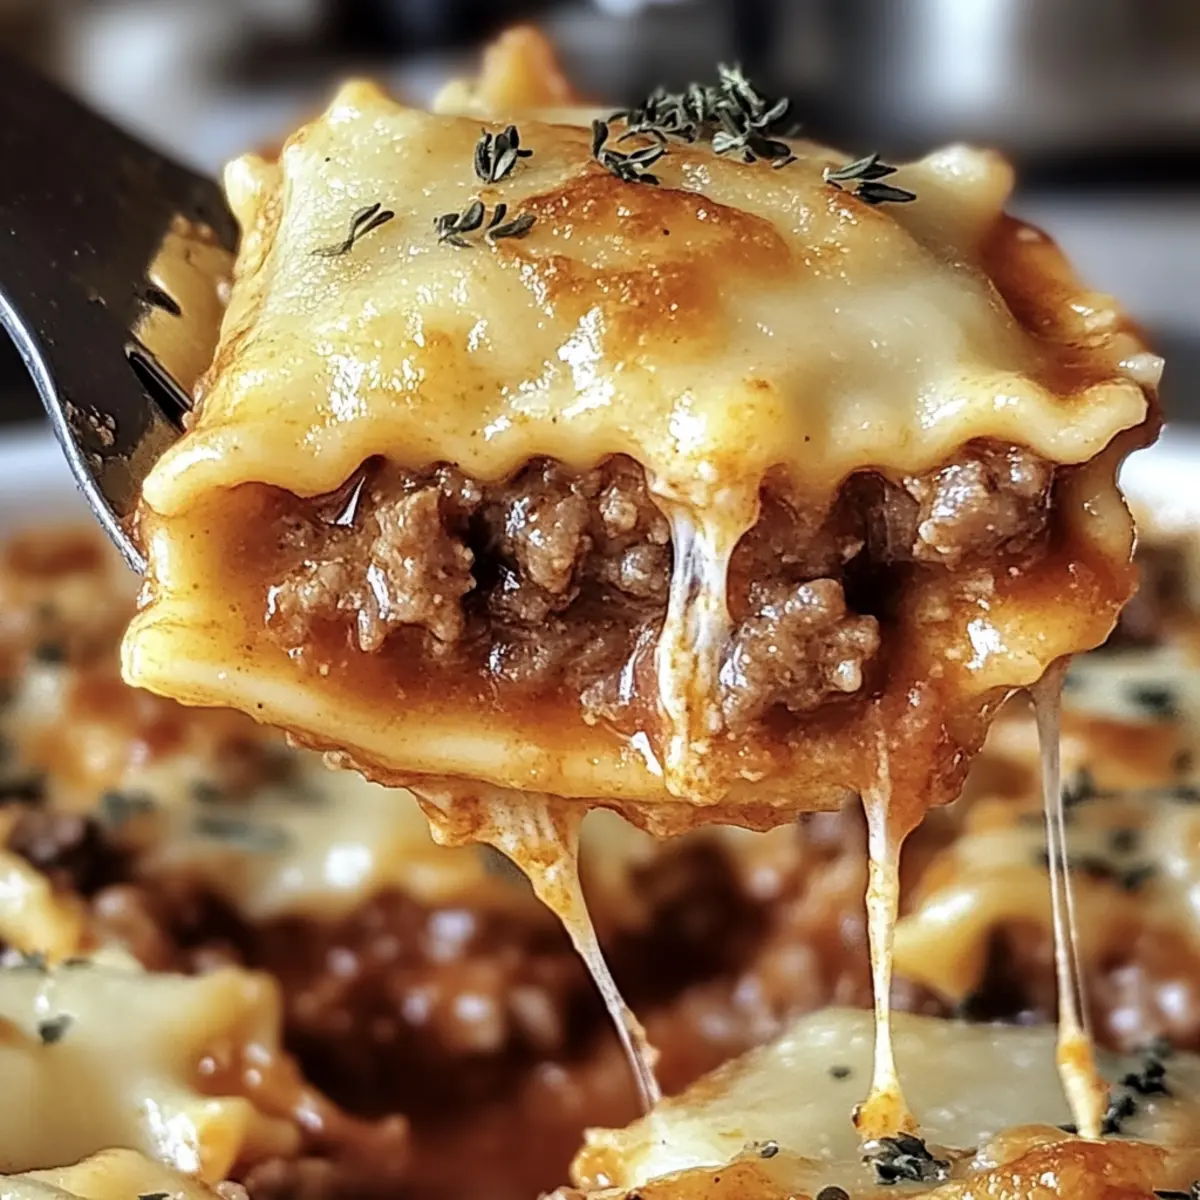
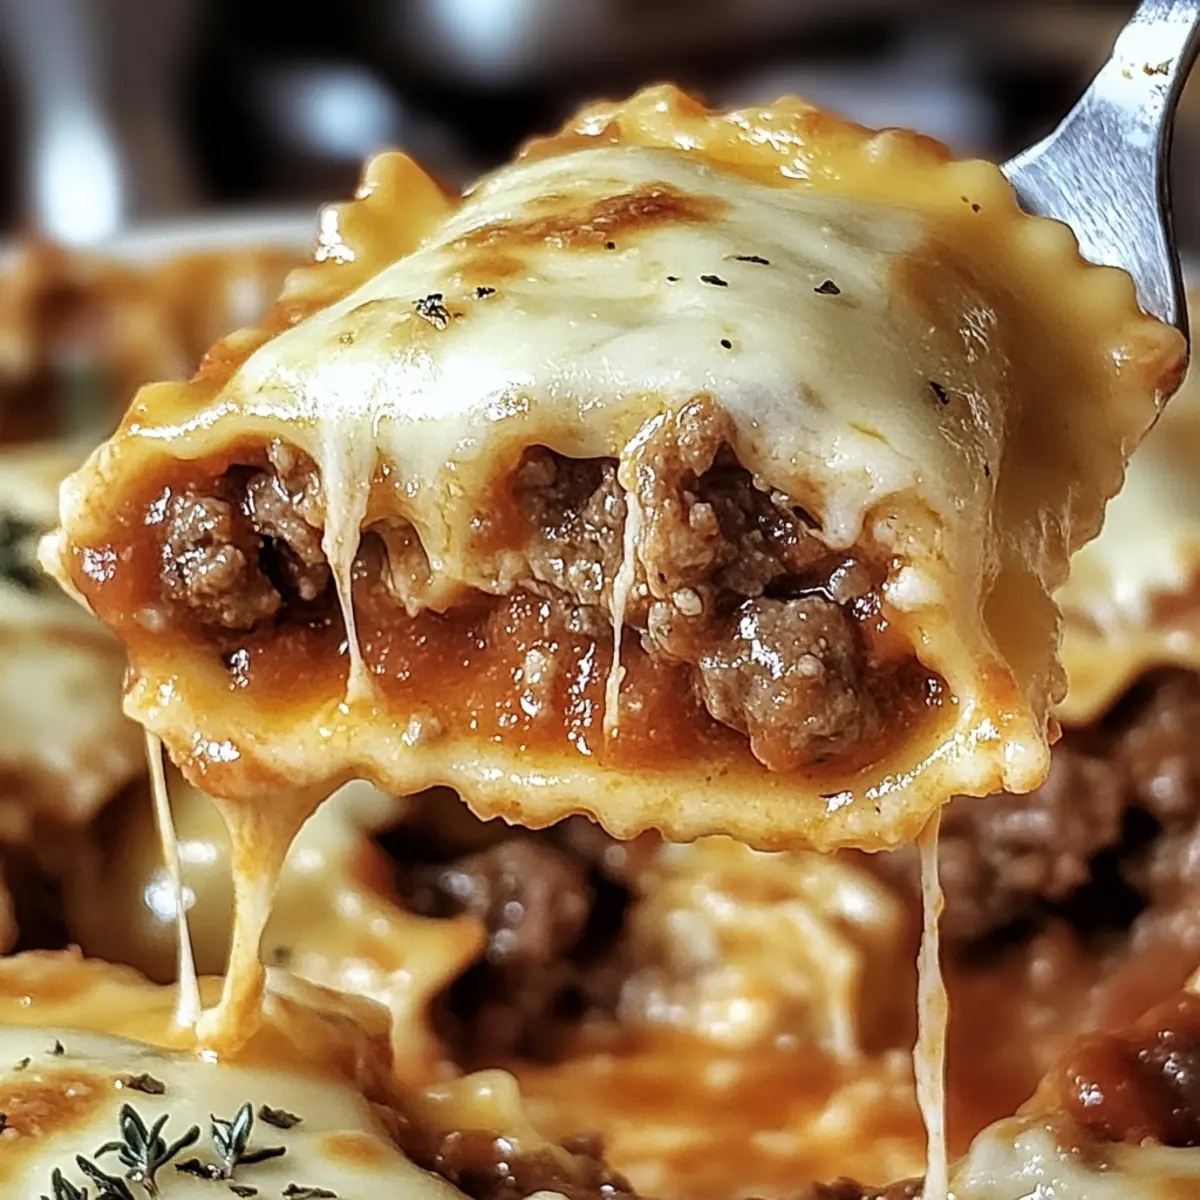
I stumbled upon a delightful twist on comfort food that transformed my weeknight dinners forever: the Decadent Beef and Cheese Ravioli Casserole. With layers of savory beef mingling with gooey cheese and tender ravioli, this dish is not only a crowd-pleaser but also customizable to fit any dietary need. Who said comfort food has to be complicated? With this easy recipe, you'll get a hearty, satisfying meal on the table in no time, making it perfect for busy nights or unexpected guests. And let's be honest; it tastes just as amazing the next day—if there are any leftovers! So, are you ready to elevate your dinner game with this mouthwatering casserole?
Why is this casserole a must-try?
Comforting Warmth: Every bite of this casserole wraps you in a cozy embrace, making it the ultimate comfort food that feels like home.
Customizable Goodness: With options to swap proteins and cheeses, you can tailor it to suit any palate or dietary need, from hearty beef to plant-based delights.
Quick and Easy: Perfect for busy weeknights, this dish saves time without sacrificing flavor, letting you spend quality moments with loved ones.
Crowd-Pleasing Appeal: Whether it’s a family dinner or a gathering, this casserole is sure to impress your guests, leaving them asking for seconds!
Pair it perfectly with a refreshing Caesar salad or some warm garlic bread to balance the richness. You might also love my Sweet Potato Casserole for another delicious twist!
Decadent Beef and Cheese Ravioli Casserole Ingredients
Here’s what you’ll need to create this comforting classic!
For the Casserole
• Ground Beef – The main protein that infuses rich flavor; substitute with ground turkey or a plant-based option for a lighter dish.
• Onion, diced – Adds a sweet depth; yellow or white onion work best for this recipe.
• Garlic, minced – Elevates the aroma and flavor; fresh is ideal, but garlic powder can save the day!
• Marinara Sauce – This is critical for moisture; both homemade or store-bought varieties are perfect.
• Cheese-filled Ravioli – The star of the dish; choose frozen or fresh, and don’t forget the gluten-free options!
• Shredded Mozzarella Cheese – For that creamy, melty goodness on top; consider provolone or cheddar as delightful alternatives.
• Grated Parmesan Cheese – Adds a nutty, sharp flavor that enhances the overall taste; pecorino Romano is a great substitute.
• Salt and Pepper to taste – Essential for enhancing flavors; adjust according to your preference.
Optional Toppings
• Fresh Basil – A garnish that brightens up the dish; adds a lovely fresh touch to the casserole.
With these Decadent Beef and Cheese Ravioli Casserole ingredients, you'll create a dish that's sure to warm hearts and fill bellies in no time! Happy cooking!
Step‑by‑Step Instructions for Decadent Beef and Cheese Ravioli Casserole
Step 1: Preheat the Oven
Begin by preheating your oven to 375°F (190°C). This temperature is perfect for creating that golden, bubbly cheese topping you’re dreaming of. While the oven heats up, gather your ingredients and prepare your workspace to ensure a smooth cooking process.
Step 2: Sauté the Beef
In a large skillet over medium heat, brown 1 pound of ground beef for about 5-7 minutes, breaking it apart as it cooks. You’ll know it’s ready when it loses its pink color. Next, add 1 diced onion and 2 minced garlic cloves to the pan and sauté for another 3-4 minutes, or until the onion is translucent and fragrant, merging those savory aromas together.
Step 3: Add the Marinara Sauce
Once the beef, onion, and garlic are perfectly cooked, stir in about 2 cups of marinara sauce. Allow the mixture to simmer for 5 minutes, letting the flavors meld beautifully. Keep an eye on it, stirring occasionally, as the sauce bubbles gently—this is what will infuse your Decadent Beef and Cheese Ravioli Casserole with rich, hearty flavor.
Step 4: Prepare the Ravioli
While your beef mixture simmers, bring a pot of salted water to a boil. Cook 1 package of cheese-filled ravioli according to package instructions, usually around 3-5 minutes, until they float to the surface—this indicates they're done. Drain the ravioli and set them aside, ready for layering in your casserole dish.
Step 5: Layer the Casserole
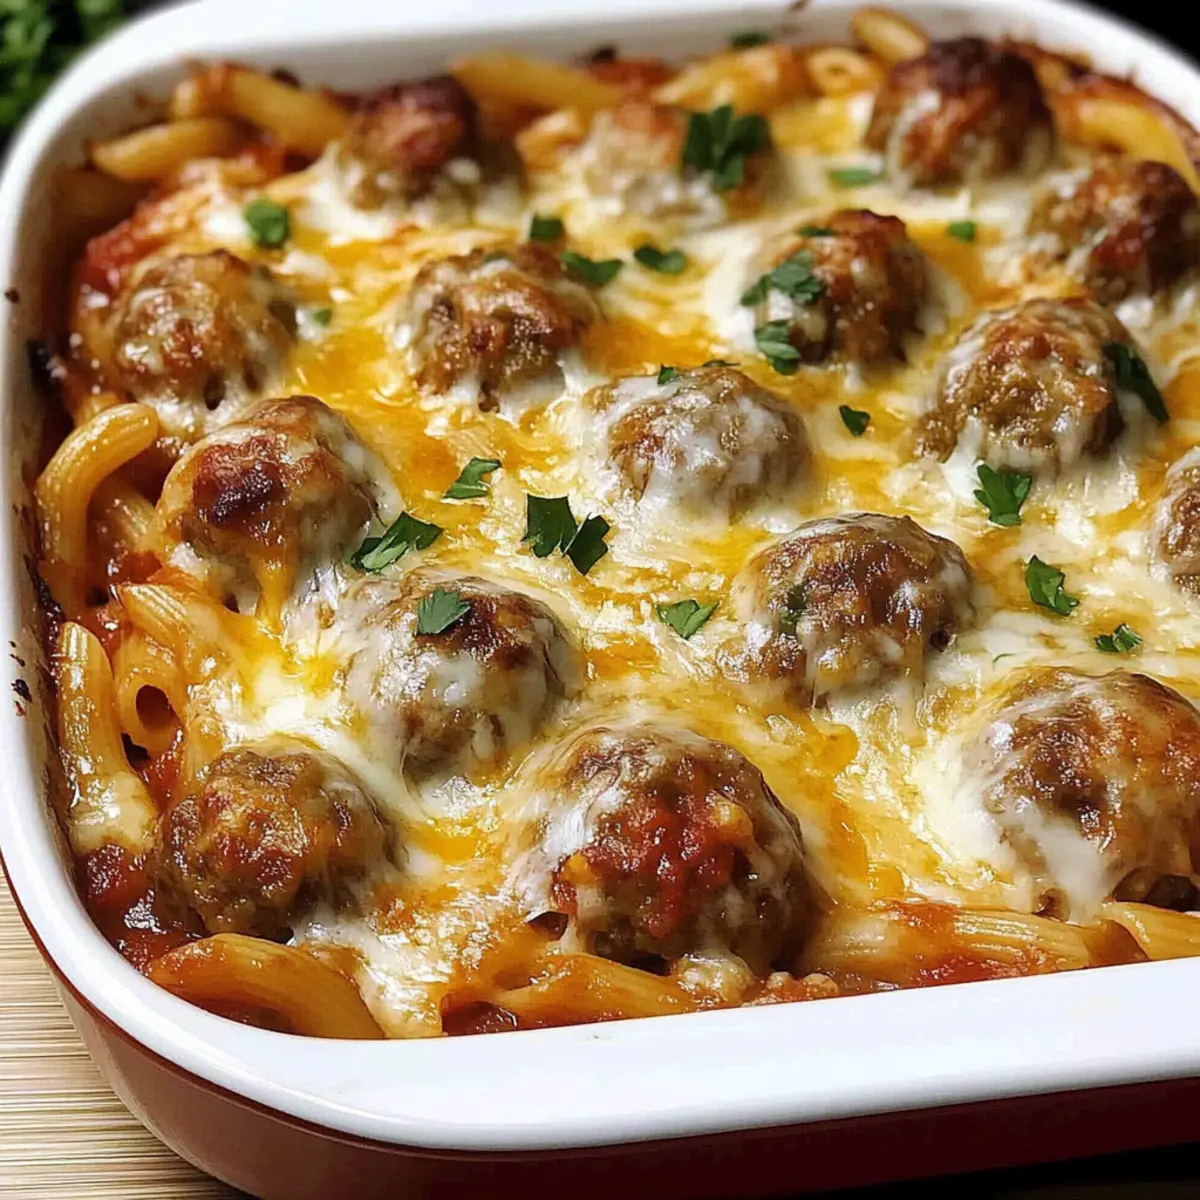
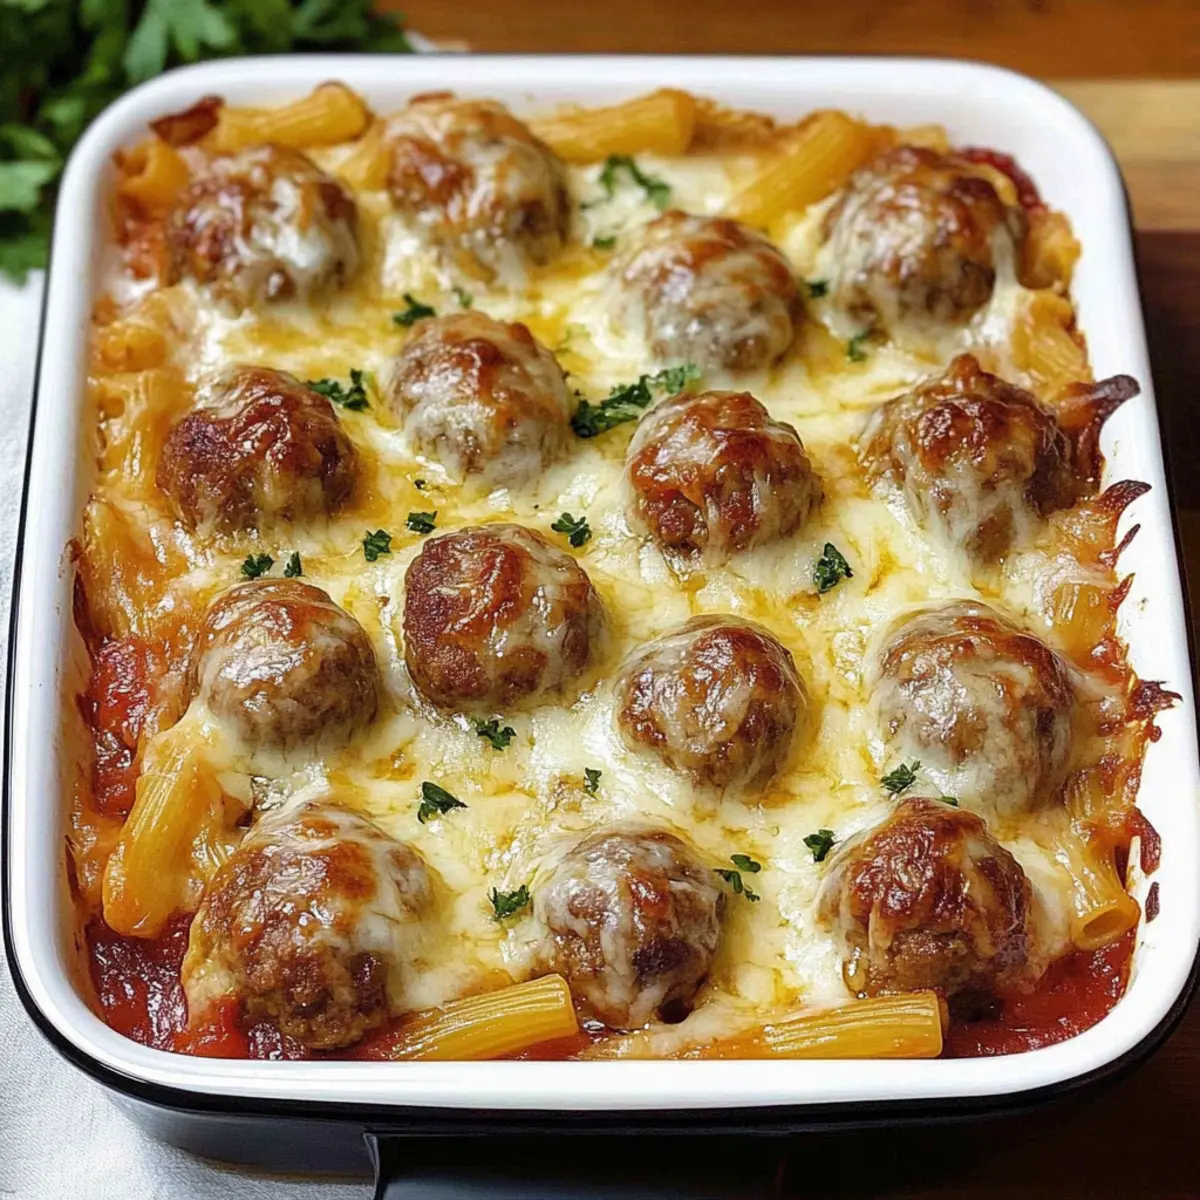
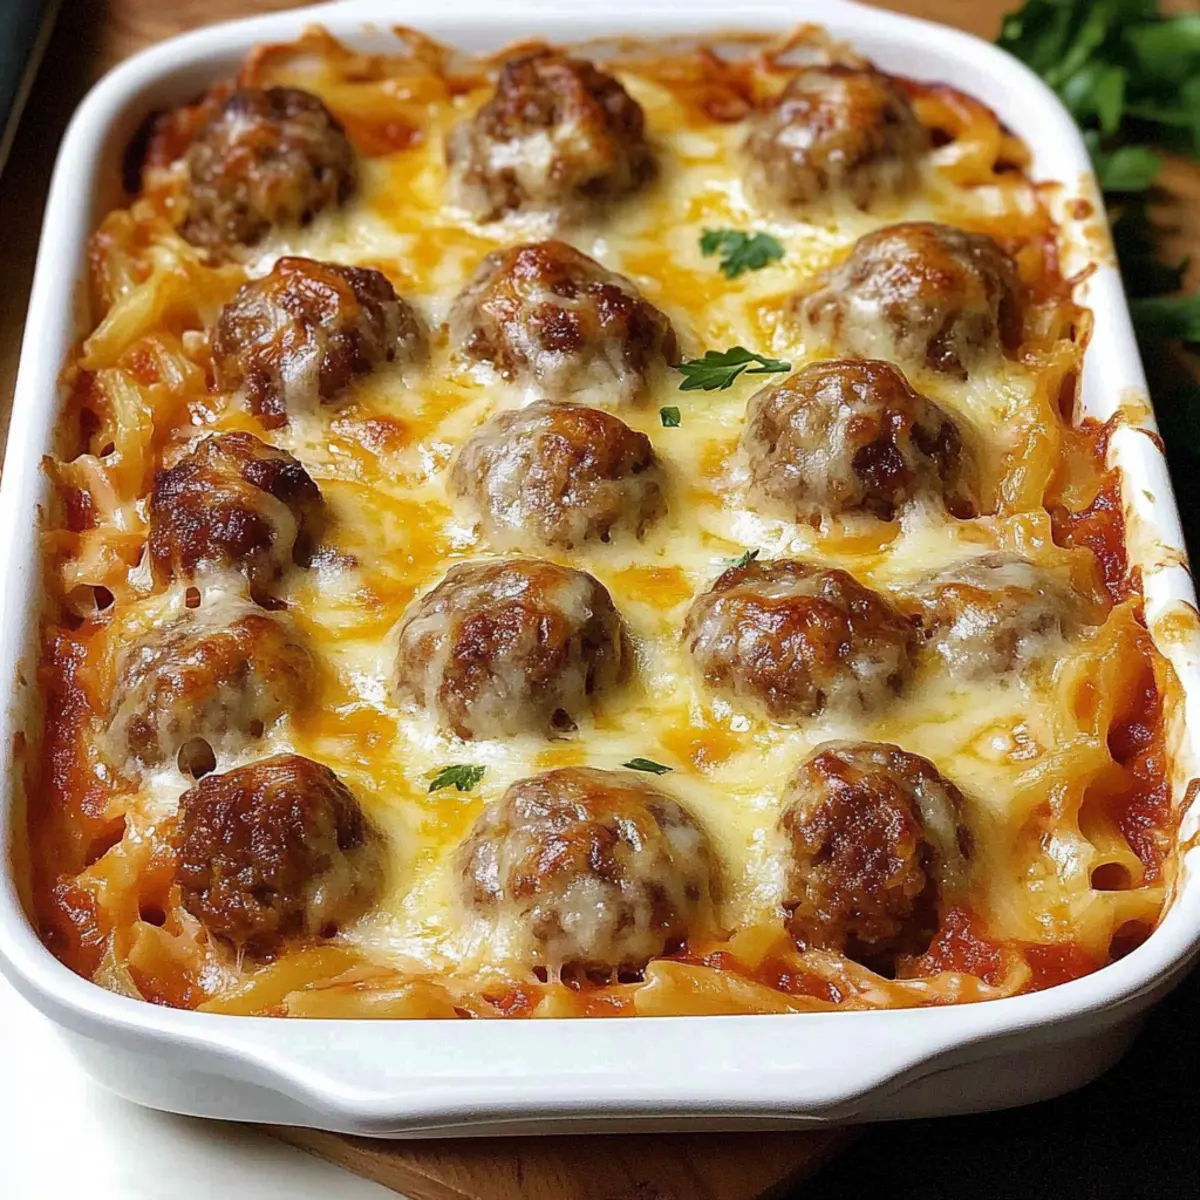
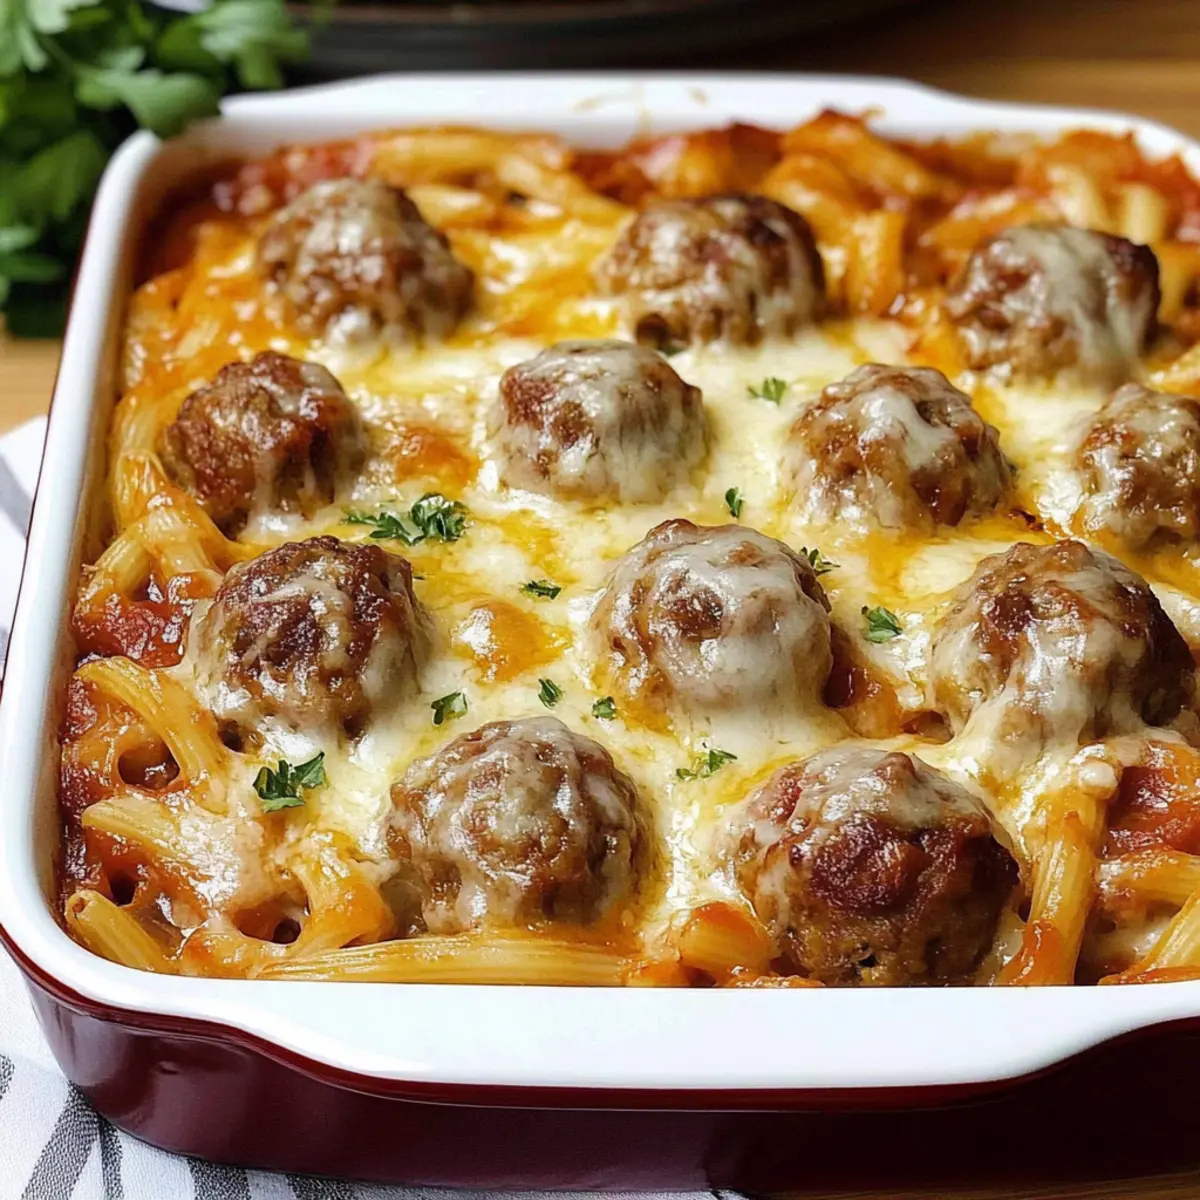
In a greased 9x13-inch casserole dish, start layering your ingredients. Spoon a layer of the beef and marinara mix on the bottom, then add half of the cooked ravioli evenly over it. Sprinkle with 1 cup of shredded mozzarella cheese and ½ cup of grated Parmesan cheese. Repeat the layers with the remaining beef mixture, ravioli, and cheese, creating a delicious tower of flavors.
Step 6: Bake the Casserole
Cover the assembled casserole tightly with aluminum foil and place it in your preheated oven. Bake for 20 minutes, allowing all the ingredients to meld together beautifully. Then, carefully remove the foil and bake for an additional 10 minutes, or until the cheese is bubbly and golden brown, giving your Decadent Beef and Cheese Ravioli Casserole that irresistible topping.
Step 7: Serve and Garnish
Once out of the oven, let your casserole cool for about 5-10 minutes. This resting time helps set the layers. If desired, sprinkle some fresh basil on top for a pop of color and flavor. Now your Decadent Beef and Cheese Ravioli Casserole is ready to be served—enjoy the warm, comforting vibes all around your table!
Expert Tips for the Best Casserole
-
Browning Matters: Ensure the ground beef is fully browned before adding other ingredients; this boosts the flavor of your Decadent Beef and Cheese Ravioli Casserole significantly.
-
Layering Technique: Alternate between layers of ravioli and meat mixture; this creates a beautifully unified dish and enhances flavor distribution.
-
Let It Rest: Allow the casserole to cool slightly before serving; this ensures the layers set properly, making it easier to serve without falling apart.
-
Customize Wisely: Feel free to add in sautéed vegetables like bell peppers or mushrooms. Just avoid overloading it, or the dish may become watery.
-
Storage Success: Cool leftovers completely before storing. This way, the flavors meld, and you'll enjoy delicious bites of the casserole later!
Variations for Decadent Beef and Cheese Ravioli Casserole
Feel free to let your creativity shine as you adjust this delightful dish to suit your tastes!
-
Ground Turkey: Replace ground beef with ground turkey for a lighter option that doesn’t skimp on flavor. It brings a surprising twist while keeping things hearty.
-
Cheese Swap: Substitute shredded mozzarella with cheddar or gouda for a different flavor profile. Each cheese brings its own uniqueness, transforming the casserole experience.
-
Vegetarian Delight: Create a vegetarian version by using plant-based meat alternatives or omitting meat altogether. Toss in spinach or seasonal veggies for extra color and nutrition, making every bite flavorful!
-
Gluten-Free Option: Use gluten-free ravioli or thin slices of zucchini or eggplant to keep this dish gluten-free without losing any comforting vibes. It'll be a fresh take that still satisfies.
-
Spicy Kick: For the spicy lovers, add crushed red pepper flakes or diced jalapeños to the beef mixture. That heat will add a thrilling depth to the already amazing flavors.
-
Extra Texture: Throw in sautéed mushrooms or bell peppers in the layers for an exciting mix of textures. This little addition can elevate your casserole to new heights!
-
Herb Infusion: Mix in fresh herbs like basil or oregano into your beef filling for a garden-fresh flavor profile. It brightens the dish and adds an extra layer of aroma.
-
Sauce Alternatives: Not a fan of marinara? Use alfredo sauce or a creamy tomato sauce instead. It's a comforting twist that will keep your diners coming back for more!
Each variation offers a delicious opportunity to tailor the Decadent Beef and Cheese Ravioli Casserole to your desires. So why not try out a few? Each bite promises comfort, warmth, and family-friendly satisfaction. Enjoy experimenting and who knows—you might just create a new favorite dish!
Make Ahead Options
These Decadent Beef and Cheese Ravioli Casserole are perfect for meal prep! You can assemble the entire casserole up to 24 hours in advance, storing it covered in the refrigerator to maintain its freshness and flavor. For longer storage, it can be frozen for up to 3 months. To do this, simply prepare the casserole but do not bake it; cover it tightly with foil and place it in the freezer. When you're ready to enjoy, simply thaw in the refrigerator overnight, then bake it straight from the fridge for about 30 minutes at 375°F (190°C). This way, you’ll have a comforting, hearty dinner ready to go with minimal effort, just as delicious as when freshly made!
What to Serve with Decadent Beef and Cheese Ravioli Casserole
Pairing your delicious casserole with the right sides can elevate your meal to new heights, filling your table with warmth and comfort.
-
Garlic Bread: The perfect companion for scooping up rich sauce and cheesy goodness, enhancing every comforting bite.
-
Caesar Salad: Crisp romaine with tangy dressing adds a refreshing crunch, balancing the casserole's heaviness and enriching your meal.
-
Roasted Vegetables: Caramelized carrots and zucchini offer earthy flavors and a pop of color, providing a nutritious contrast to the rich dish.
-
Steamed Asparagus: Bright and tender, asparagus adds a vibrant touch and pairs excellently, lifting the overall flavor profile.
-
Italian Herb Rice: Light and fragrant rice infused with herbs can absorb extra sauce, making each forkful even more satisfying.
-
Red Wine: A robust glass of Chianti or Merlot complements the hearty flavors, creating a warm, inviting dining experience.
-
Homemade Tiramisu: End your meal on a high note with this creamy, coffee-flavored dessert, adding a touch of indulgence after a hearty dinner.
How to Store and Freeze Decadent Beef and Cheese Ravioli Casserole
Fridge: Store leftovers in an airtight container for up to 3 days. Make sure to allow the casserole to cool completely before refrigerating to maintain its texture.
Freezer: For longer storage, freeze portions in freezer-safe containers for up to 3 months. Thaw overnight in the fridge before reheating for best results.
Reheating: To reheat, simply warm individual portions in the microwave or bake in the oven at 350°F (175°C) for about 20-25 minutes until heated through.
Make-Ahead: Assemble the casserole ahead of time and refrigerate it for up to 24 hours before baking. This makes weeknight dinners a breeze with the Decadent Beef and Cheese Ravioli Casserole ready to pop in the oven!
Decadent Beef and Cheese Ravioli Casserole Recipe FAQs
How do I choose the right ground beef for this recipe?
Absolutely! For the best flavor, select ground beef that is at least 80/20 (80% lean and 20% fat). This will ensure your casserole is juicy and flavorful. If you’re looking for a lighter option, ground turkey or plant-based alternatives work wonderfully as substitutes.
How should I store leftovers of the casserole?
Very good question! Allow your Decadent Beef and Cheese Ravioli Casserole to cool completely before transferring it to an airtight container. It can be stored in the refrigerator for up to 3 days. Just remember to reheat it thoroughly before serving to enjoy its delightful flavors once again!
Can I freeze this casserole?
Absolutely! For longer storage, freeze your assembled casserole before baking it. Wrap it tightly in plastic wrap and then in aluminum foil, ensuring no air is left inside to prevent freezer burn. It can last up to 3 months in the freezer. When you're ready to enjoy it, simply thaw overnight in the refrigerator and bake according to the original instructions!
What can I do if my casserole seems too watery after baking?
No worries! If your casserole turns out watery, it might be due to overcooked ravioli or excess liquid in the sauce. For the next time, make sure to slightly undercook the ravioli before layering, as they will absorb some moisture while baking. If you find it already baked, try letting it sit for a few extra minutes after it comes out of the oven—it often thickens up as it cools!
Are there any dietary considerations for making this casserole?
Definitely! If you're catering to a vegetarian crowd, simply substitute the ground beef with a plant-based meat alternative and add extra veggies like spinach, zucchini, or mushrooms. Always check for dairy allergies or gluten sensitivities by opting for dairy-free cheese and gluten-free ravioli to ensure everyone can enjoy this delicious Decadent Beef and Cheese Ravioli Casserole!
Decadent Beef and Cheese Ravioli Casserole for Cozy Nights
Ingredients
Equipment
Method
- Preheat your oven to 375°F (190°C). Prepare your workspace and gather ingredients.
- In a large skillet, brown the ground beef over medium heat for 5-7 minutes.
- Add the diced onion and minced garlic to the pan, sautéing for another 3-4 minutes.
- Stir in the marinara sauce and let simmer for 5 minutes.
- Cook the cheese-filled ravioli in boiling salted water, following package instructions.
- In a greased 9x13-inch casserole dish, layer the beef mixture, ravioli, mozzarella, and Parmesan.
- Cover with aluminum foil and bake for 20 minutes, then uncover and bake an additional 10 minutes.
- Let cool for 5-10 minutes, garnish with fresh basil, and serve.