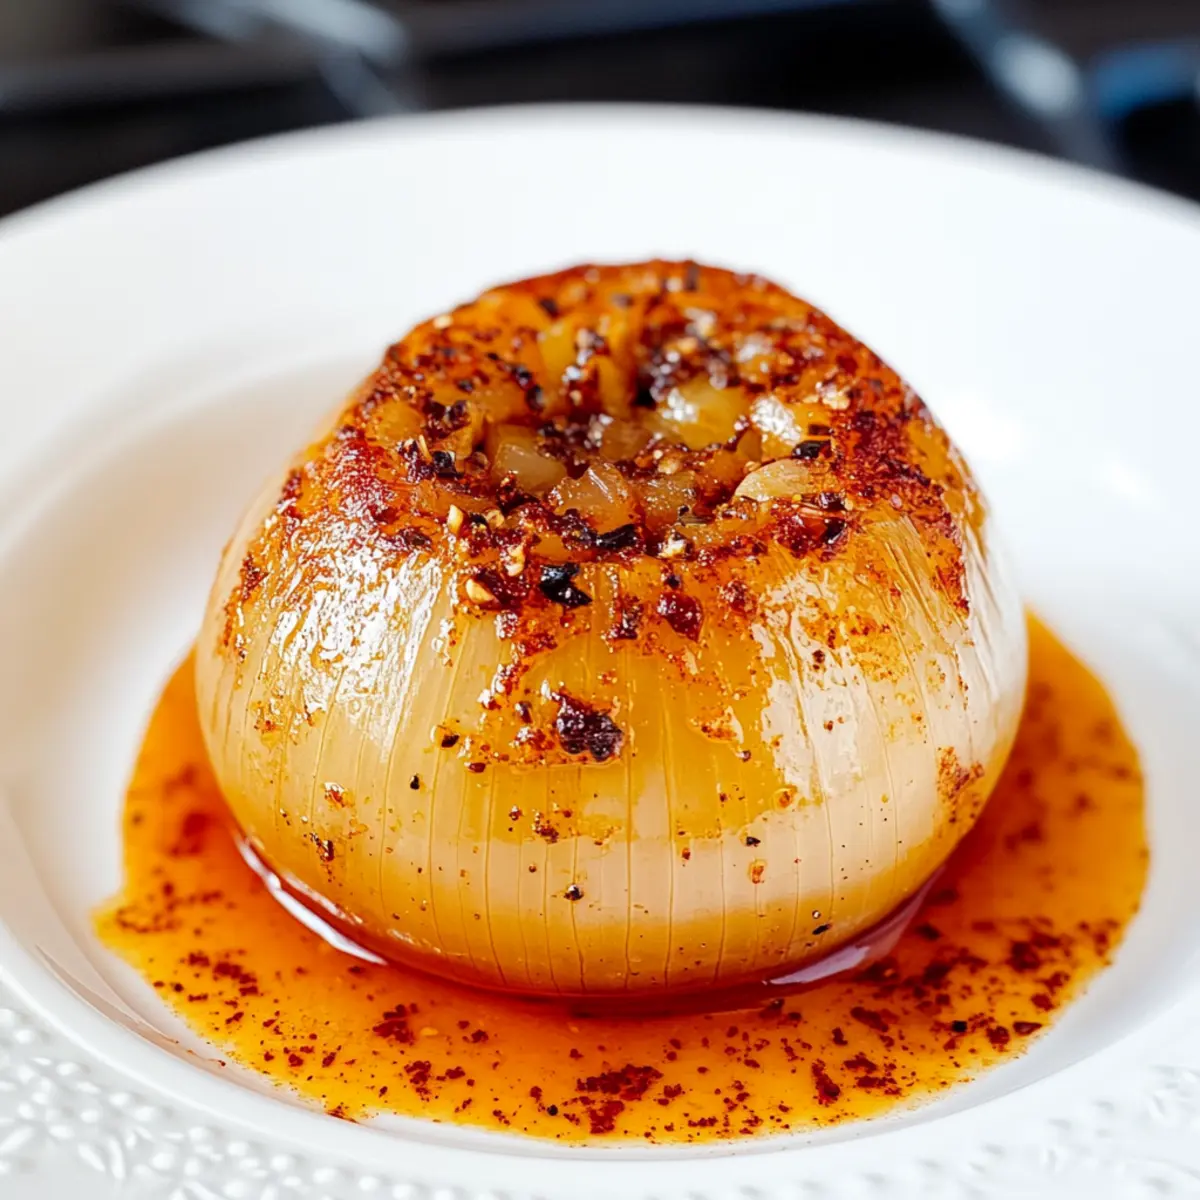
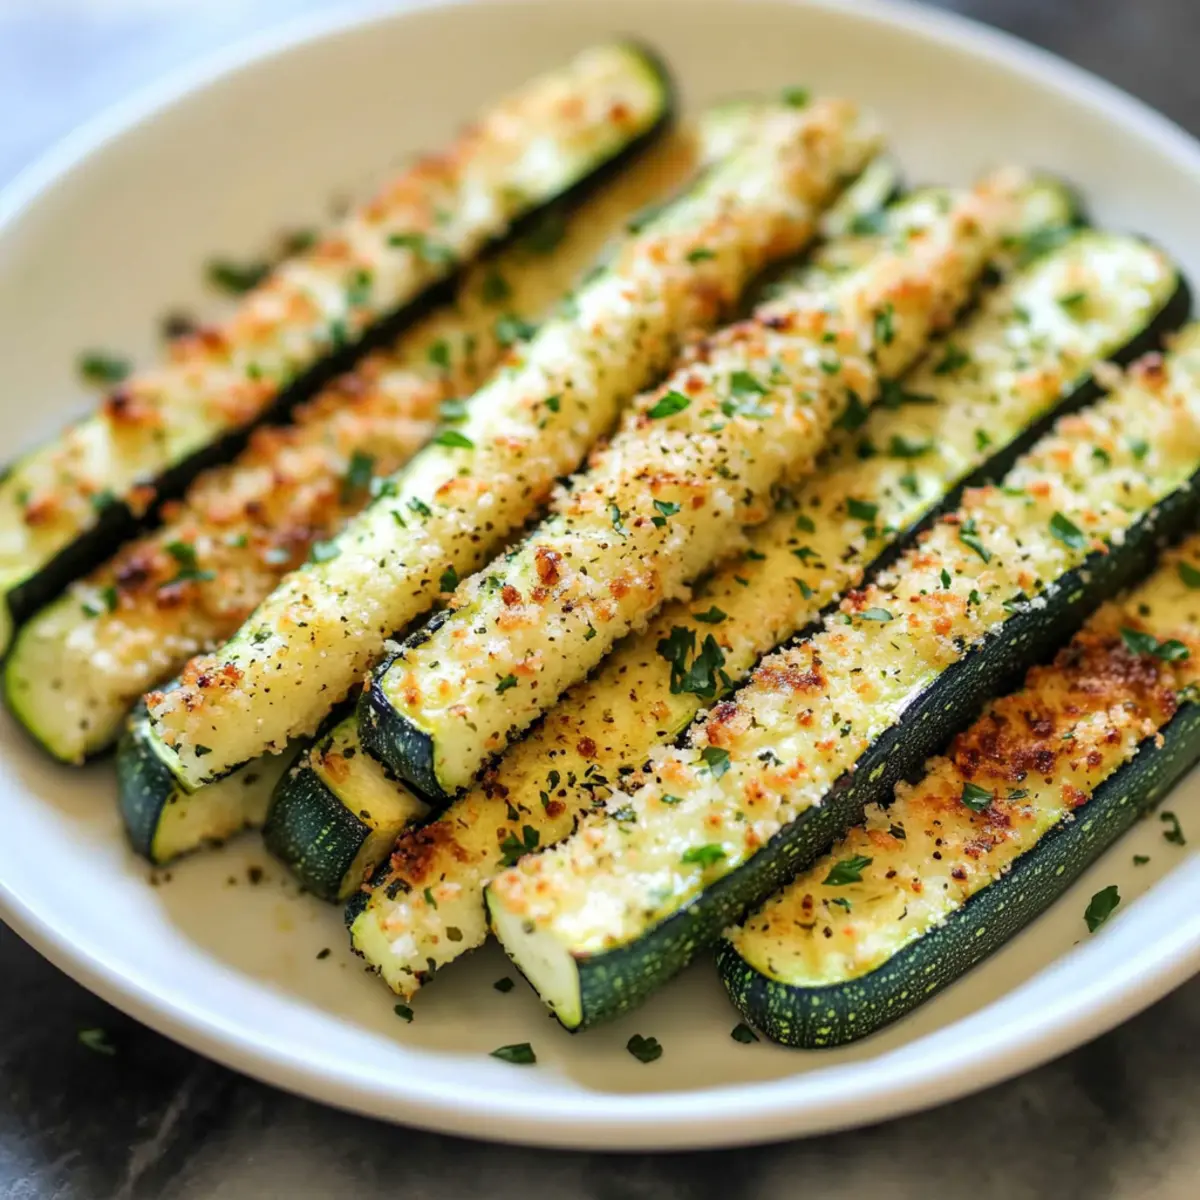
The other day, while hosting a casual gathering, I overheard a friend rave about how much they loved zucchini, yet had no clue it could be this addictive. Enter my Crispy Oven-Roasted Zucchini Sticks with Parmesan, a delightful way to transform a simple vegetable into a crowd-pleasing snack. These oven-roasted gems are not only healthy but also incredibly easy to prepare, making them the perfect answer for those tired of fast food. With the savory kick of Parmesan combined with fragrant herbs, you’ll find yourself reaching for seconds, or even thirds! How will you enjoy yours—dipped in marinara or simply on their own?
Why are these Zucchini Sticks a Must-try?
Irresistible Flavor: The combination of savory Parmesan and fragrant herbs elevates ordinary zucchini into a delectable snack. Healthy Choice: Packed with nutrients, these baked zucchini sticks satisfy your cravings without the guilt. Quick Preparation: With just a few simple steps, you can create a crispy treat in no time! Versatile Delight: Enjoy them as a side dish, a snack, or even as a fun appetizer for your next gathering. Plus, if you love veggie-centric recipes, don't miss out on these Cheesy Zucchini Bake or the tasty Parmesan Artichoke Hearts for more delicious options.
Baked Parmesan Zucchini Ingredients
For the Zucchini Sticks
• Zucchini – Fresh, firm zucchini brings the perfect crunch and nutrition; avoid soft ones for the best texture.
• Olive oil – Essential for roasting, ensuring crispiness; avocado oil can be used as a smokier alternative.
For the Parmesan Mixture
• Parmesan cheese – Freshly grated cheese adds rich flavor and creaminess; stay away from pre-grated for maximum taste.
• Dried thyme – This herb adds a lovely flavor; substitute with Italian seasoning if desired.
• Dried oregano – Another great herb for depth; dried rosemary can work as a bolder substitution.
• Dried basil – A mild, sweet flavor enhancer; feel free to switch with fresh basil if you have it on hand.
• Garlic powder – Gives a savory kick; you can use fresh garlic to taste for an extra burst of flavor.
• Kosher salt – Use for seasoning; adjust according to your personal preference.
• Freshly ground black pepper – Adds a touch of warmth; season to taste as well.
For Garnish
• Chopped fresh parsley – Adds freshness and vibrant color; it’s optional but highly recommended for that extra flair.
These delightful ingredients come together to create baked Parmesan zucchini sticks that are sure to impress everyone at your table!
Step‑by‑Step Instructions for Crispy Baked Parmesan Zucchini Sticks
Step 1: Preheat the Oven
Begin by preheating your oven to 350°F (175°C). This temperature ensures that your zucchini sticks cook through while achieving that perfect crispy texture. While the oven heats up, gather your baking sheet and a cooling rack—you'll use these in the following steps to help your zucchini achieve maximum crispiness.
Step 2: Prepare the Baking Sheet
Coat a cooling rack with nonstick spray and place it atop a baking sheet. This setup allows hot air to circulate around the zucchini sticks, promoting even cooking and browning. It’s key to achieving those crunchy edges for your baked Parmesan zucchini sticks that everyone will love!
Step 3: Mix the Parmesan Coating
In a small bowl, combine the freshly grated Parmesan cheese with the dried thyme, oregano, basil, garlic powder, kosher salt, and freshly ground black pepper. Stir these ingredients together until well mixed, creating a savory blend. This Parmesan mixture adds wonderful flavor to your baked zucchini sticks, making them irresistible.
Step 4: Cut the Zucchini
Take fresh, firm zucchinis and cut them into quarters lengthwise. Aim for uniform sizes to ensure even cooking. As you slice, admire the vibrant green color; this will be the base of your crispy baked Parmesan zucchini sticks! Arrange the cut zucchini on the prepared baking sheet without overlapping.
Step 5: Add Olive Oil and Seasoning
Drizzle the cut zucchini with olive oil, ensuring each piece is lightly coated to help the cheese adhere. After that, generously sprinkle the Parmesan mixture over the top, pressing slightly to ensure it sticks. This combination of oil and seasoning will make your zucchini sticks not only flavorful but also deliciously crispy when baked.
Step 6: Bake to Perfection
Place the zucchini sticks in the preheated oven and bake for about 15 minutes. At this point, you want the zucchini to become tender but still firm. Keep an eye on them; you'll know they're ready when they begin to turn golden and deliciously fragrant.
Step 7: Broil for Extra Crisp
After baking, switch your oven to broil and let them cook for an additional 2-3 minutes. This last step creates a golden brown crust and adds an extra crunch to your crispy baked Parmesan zucchini sticks. Be sure to watch carefully, as broilers can cook quickly!
Step 8: Serve and Enjoy
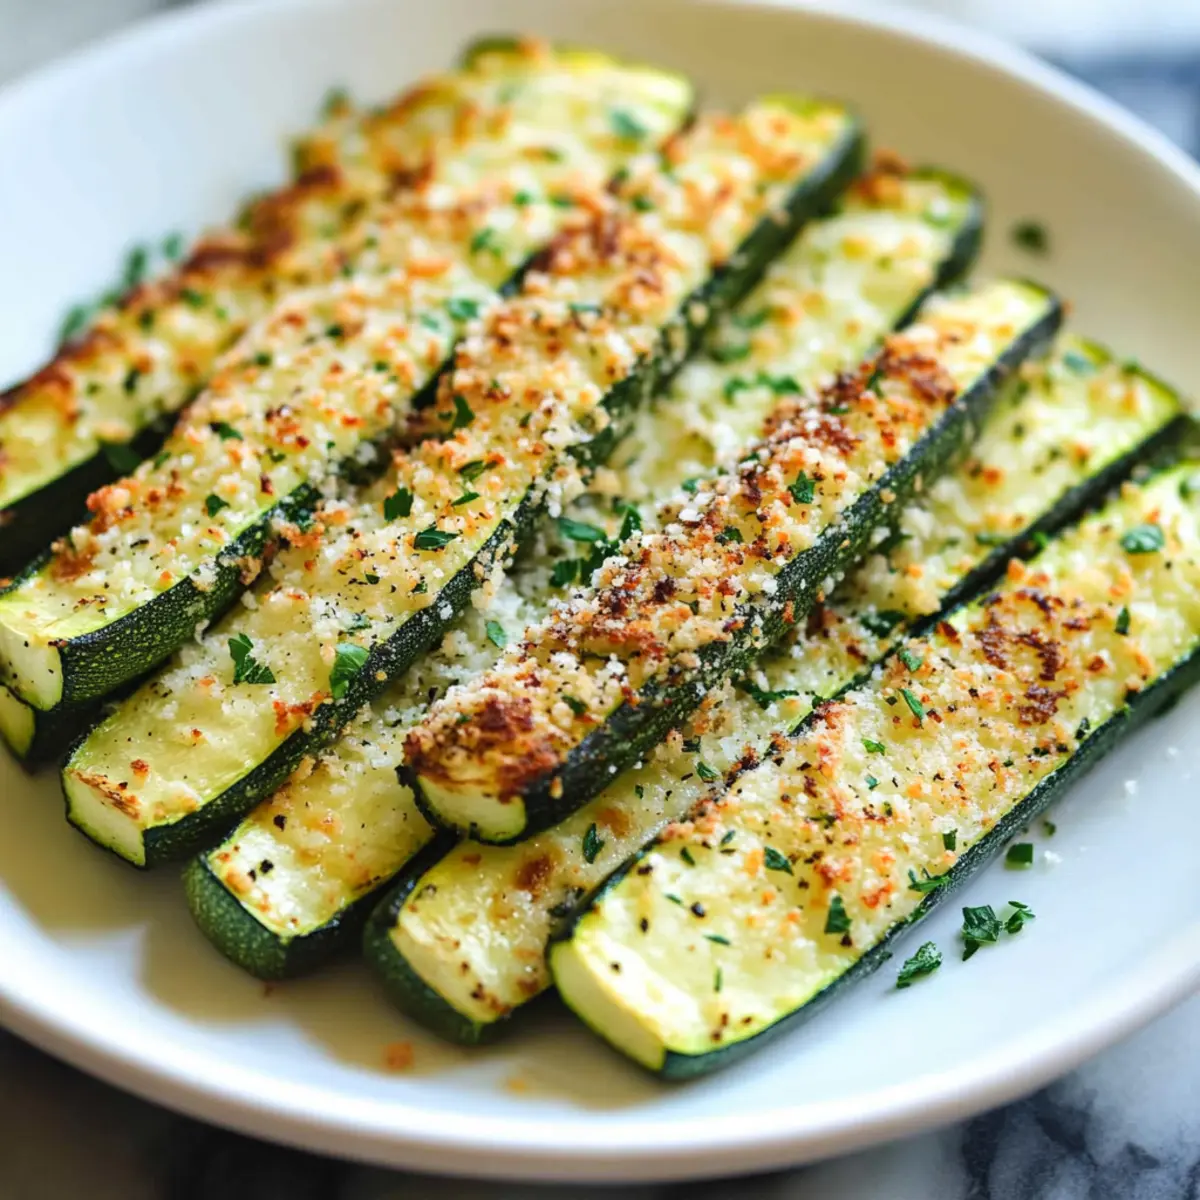
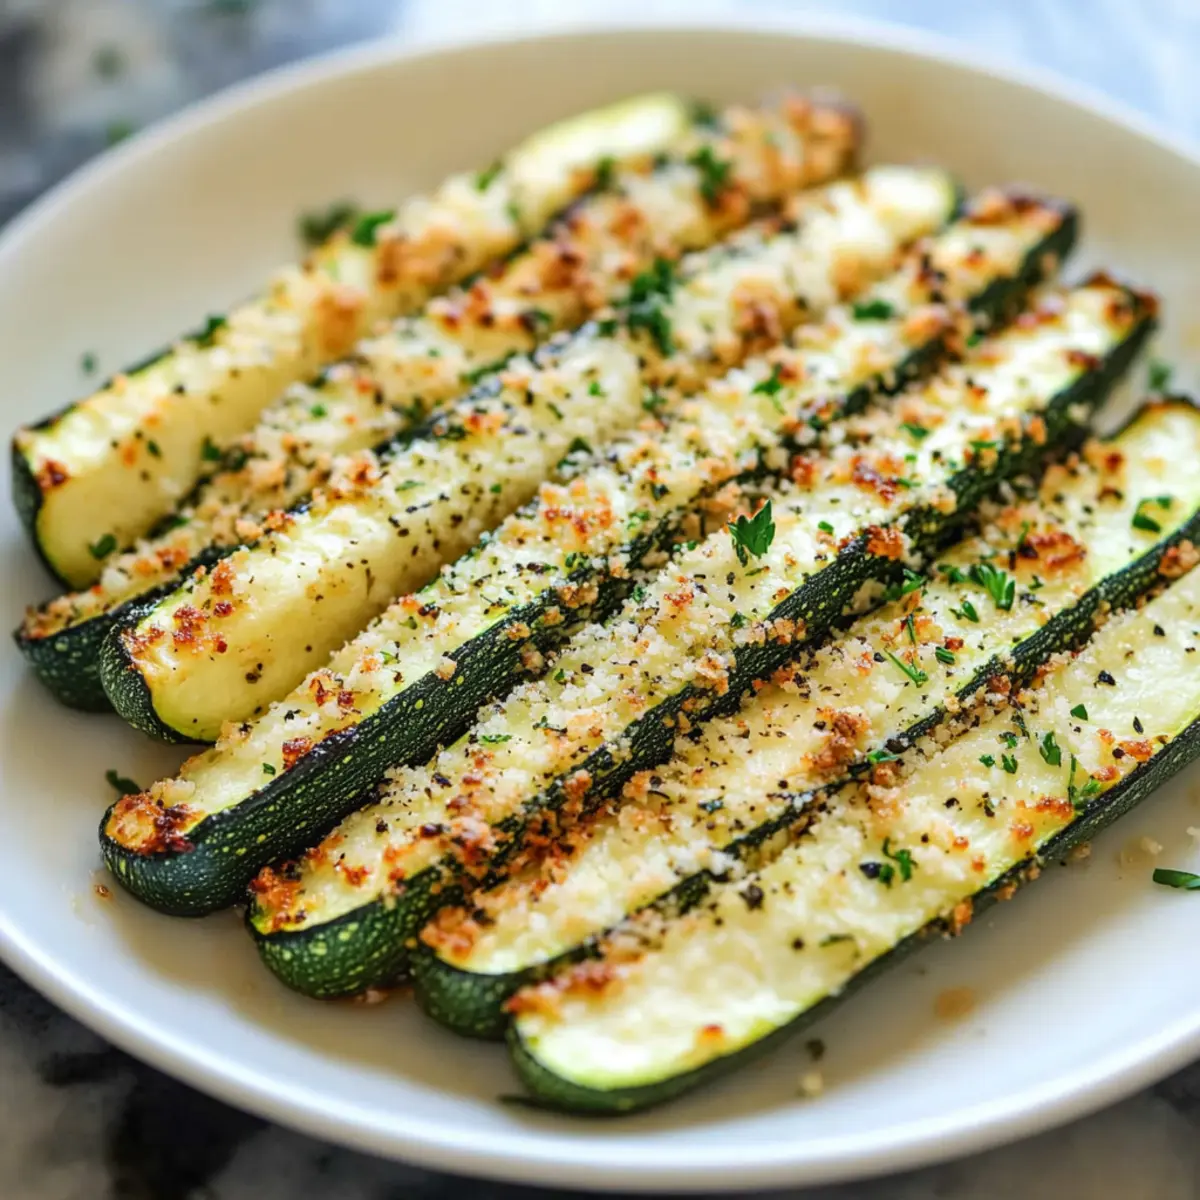
Once broiling is complete, carefully take your crispy baked Parmesan zucchini sticks out of the oven. Let them cool for a moment, then transfer them to a serving platter. For a fresh touch, garnish with chopped fresh parsley if desired. Serve immediately and watch them disappear as everyone enjoys this healthy treat!

Expert Tips for Baked Parmesan Zucchini
• Drying Zucchini: Ensure the zucchini is thoroughly dried after cutting. Extra moisture can lead to sogginess instead of crispiness when baking.
• Single Layer Cooking: Arrange zucchini sticks in a single layer without overlapping on the baking sheet. This helps achieve an even bake and crispy texture for your baked Parmesan zucchini.
• Broil Wisely: Keep a close eye while broiling; it can quickly turn from golden brown to burnt. Just a couple of extra minutes makes a big difference for those irresistible crispy edges!
• Fresh Cheese Matters: Use freshly grated Parmesan cheese for the best flavor. Pre-grated cheese often contains anti-caking agents that can hinder crispiness.
• Easy Variations: Feel free to experiment with spices! Adding crushed red pepper flakes can elevate the flavor profile and give your baked Parmesan zucchini a delightful kick.
How to Store and Freeze Baked Parmesan Zucchini
Fridge: Store leftover baked Parmesan zucchini sticks in an airtight container for up to 2 days. This keeps them fresh but may reduce their crispiness.
Freezer: For longer storage, place cooled zucchini sticks in a single layer on a baking sheet and freeze until solid. Transfer to a freezer-safe bag and store for up to 3 months.
Reheating: To restore crispiness, reheat the zucchini sticks in a preheated oven at 350°F (175°C) for about 10 minutes. Avoid microwave reheating, as it can make them soggy.
Room Temperature: If serving leftover zucchini sticks at a gathering, avoid leaving them out for more than 2 hours to ensure safety and freshness.
Baked Parmesan Zucchini Variations
Feel free to sprinkle your creativity into these delicious zucchini sticks and make them your own!
-
Dairy-Free: Use nutritional yeast in place of Parmesan for a cheese-like flavor that keeps it creamy without the dairy. It adds an umami punch too!
-
Spicy Kick: Add crushed red pepper flakes to the Parmesan mixture for a spicy twist. This will elevate your zucchini sticks with a delightful heat that both surprises and delights.
-
Different Veggies: Swap zucchini with eggplant, bell peppers, or even sweet potatoes for a totally new texture and flavor experience. Each vegetable brings its own unique charm to this dish!
-
Herb-Blended: Experiment with other herbs like fresh rosemary or dill instead of the classic thyme and oregano. This can bring bright and vibrant notes that complement the Parmesan beautifully.
-
Cheese Variety: Feel free to switch out Parmesan for mozzarella or feta, both offering tasty alternatives that change the flavor profile dramatically. Mozzarella gives a gooey contrast, while feta introduces a tangy bite.
-
Crunchy Coating: For added texture, mix in breadcrumbs or panko with the Parmesan to create a wonderfully crunchy crust. The extra crunch really brings that deep-fried feel without the guilt.
-
Garlic Lovers: Enhance the savory goodness by adding freshly crushed garlic to the olive oil before drizzling it over the zucchini. A little garlic goes a long way in enriching the flavor!
-
Herbed Oil Drizzle: Swap regular olive oil for infused oils like garlic or chili oil to elevate the taste. The richness of the infused oils will add depth while keeping things exciting.
If you’re looking for more inspiration with zucchini, I recommend trying out these delightful Cheesy Zucchini Bake or crispy and satisfying Parmesan Artichoke Hearts. Happy cooking!
Make Ahead Options
These Crispy Baked Parmesan Zucchini Sticks are ideal for busy home cooks looking to save time without sacrificing flavor! You can slice and coat the zucchini up to 24 hours in advance. Simply prepare them as per the recipe, then cover tightly and refrigerate. When you're ready to enjoy, pop them in the oven straight from the fridge—there’s no need to bring them to room temperature. This method helps maintain their quality and ensures they bake up just as crispy and delicious. For an even quicker option, you might consider baking them ahead and reheating them in the oven for just a few minutes before serving. Enjoy restaurant-quality results with minimal effort!
What to Serve with Crispy Baked Parmesan Zucchini Sticks?
Enhance your culinary experience by pairing these crispy, flavorful bites with a variety of delicious accompaniments.
-
Creamy Ranch Dip: A classic choice that adds a rich, tangy flavor, perfectly complementing the savory zucchini.
-
Savory Marinara Sauce: The acidity and herbs in marinara create a delightful contrast, making each bite even more delicious. Dip them for a satisfying snack or appetizer!
-
Grilled Chicken or Fish: Juicy grilled meats enhance the healthy nature of zucchini, transforming your meal into a comforting feast that everyone can enjoy.
-
Quinoa Salad: This hearty salad adds a fresh, nutritious element to your plate, balancing the crispy texture of the zucchini sticks with a wholesome grain.
-
Chilled Rosé Wine: A light, fruity wine pairs beautifully, making your meal feel special and perfect for gatherings on warm evenings.
-
Fresh Tomato and Mozzarella Salad: The brightness of ripe tomatoes and creamy mozzarella elevates the flavors of your dish, bringing lightness to the meal overall.
-
Herb-Garlic Bread: Enjoy warm, buttery garlic bread on the side, adding a delicious crunch with a fresh herb flavor that complements your zucchini perfectly.
-
Chocolate Mousse for Dessert: End on a sweet note with a rich mousse that offsets the savory zucchini sticks, leaving you with a balanced and satisfying meal experience.
Baked Parmesan Zucchini Recipe FAQs
How do I choose ripe zucchini?
Absolutely! When selecting zucchini, opt for fresh, firm ones that feel heavy for their size. Look for smooth skin without dark spots or blemishes. A well-ripe zucchini will be about 6-8 inches long for ideal texture when roasted.
How do I store leftover baked Parmesan zucchini?
After enjoying your delicious zucchini sticks, place any leftovers in an airtight container and store them in the refrigerator for up to 2 days. While this method keeps them relatively fresh, be aware that they may lose some of their crispiness. To enjoy them again, reheat in the oven to bring back some crunch!
Can I freeze baked Parmesan zucchini?
Yes, you can! To freeze, first ensure your zucchini sticks have cooled completely. Lay them out in a single layer on a baking sheet and freeze until solid, about 1-2 hours. Then, transfer them to a freezer-safe bag, labeling it with the date. They can stay in the freezer for up to 3 months. When you're ready to eat them, bake from frozen at 350°F (175°C) for about 15-20 minutes to heat through and regain some crunch.
What if my zucchini sticks turn out soggy?
Very! To avoid sogginess, ensure the zucchini is completely dried after cutting. Excess moisture will hinder crispiness during baking. Also, arrange the sticks in a single layer without overlapping on the baking sheet—the hot air circulation is essential for that perfectly baked texture!
Are there any dietary considerations for baked Parmesan zucchini?
If you're serving these zucchini sticks to friends or family with dietary restrictions, it's good to know that they are vegetarian-friendly! However, please check for cheese allergies as Parmesan can cause issues for some. For a dairy-free alternative, consider using nutritional yeast or a vegan cheese substitute that melts well.
Crispy Baked Parmesan Zucchini Sticks You'll Crave
Ingredients
Equipment
Method
- Preheat your oven to 350°F (175°C).
- Coat a cooling rack with nonstick spray and place it atop a baking sheet.
- In a small bowl, combine Parmesan cheese, dried thyme, oregano, basil, garlic powder, kosher salt, and pepper.
- Cut the fresh zucchinis into quarters lengthwise and arrange them on the prepared baking sheet without overlapping.
- Drizzle olive oil over the zucchini and sprinkle the Parmesan mixture on top, pressing slightly to adhere.
- Bake for about 15 minutes until tender and slightly golden.
- Switch to broil and cook for an additional 2-3 minutes for extra crispiness.
- Remove from oven, garnish with parsley if desired, and serve immediately.