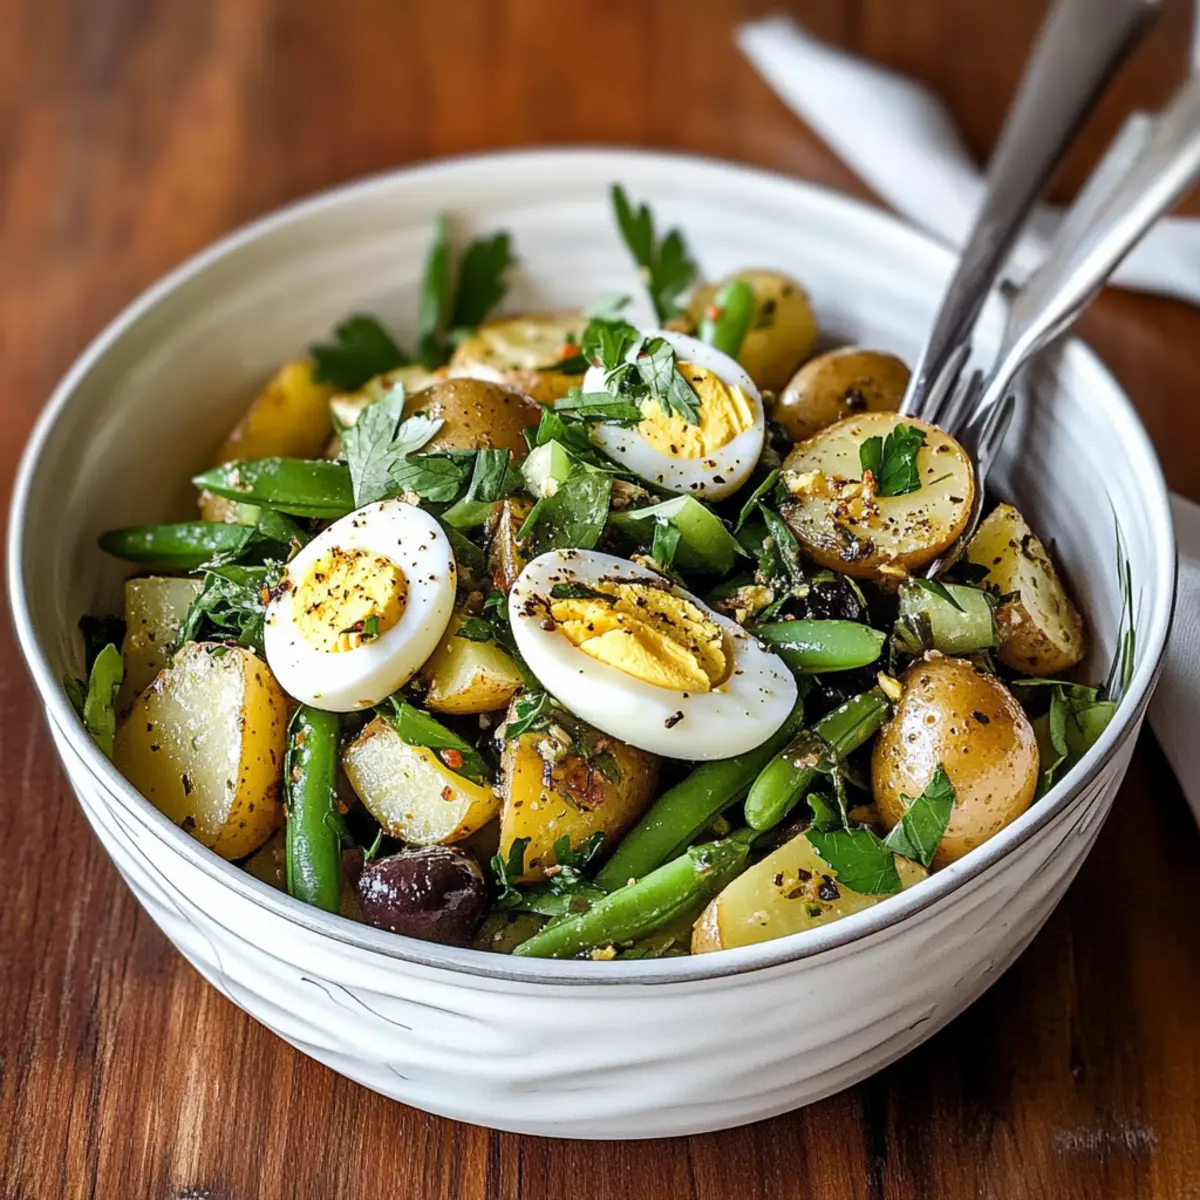
As I tossed the vibrant green beans and tender new potatoes together, the aroma of freshly chopped herbs wafted through the air, transporting me straight to a sunny café in the heart of Provence. This French-Style Potato and Green Bean Salad hits all the right notes: it’s refreshingly light yet satisfying, making it the ultimate choice for warm-weather lunches or casual gatherings. The zesty vinaigrette, bursting with Mediterranean flavors from olives and capers, adds just the right kick to this dish. Plus, it's not just vegetarian but also gluten-free, ensuring everyone can enjoy this delightful salad. I'm excited to share this recipe with you—do you think it might become a staple on your table too?
Why is this salad a must-try?
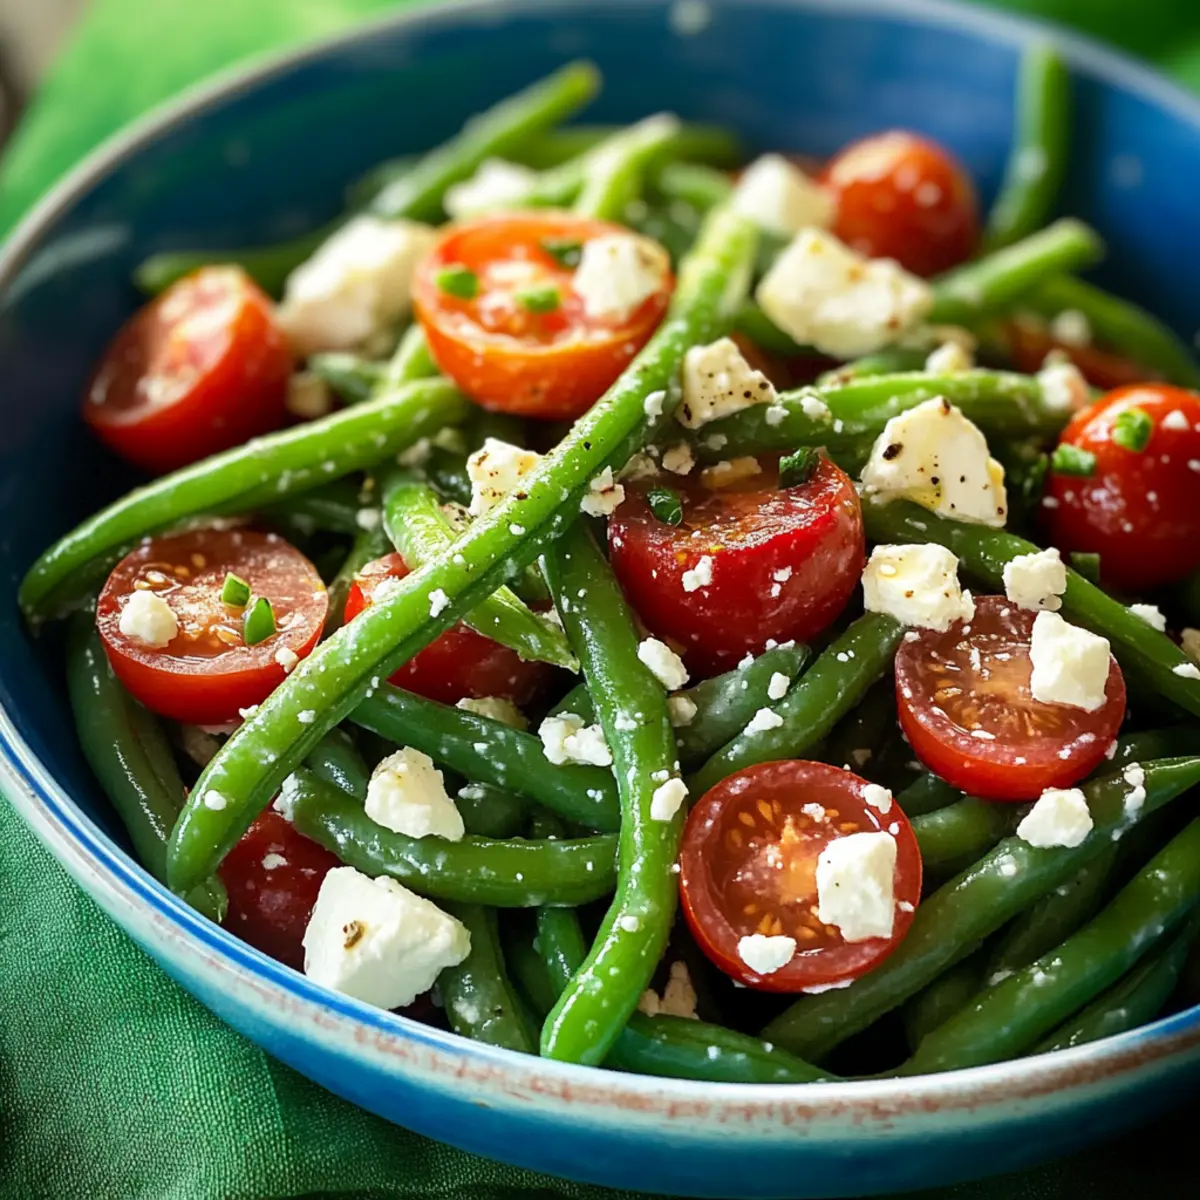
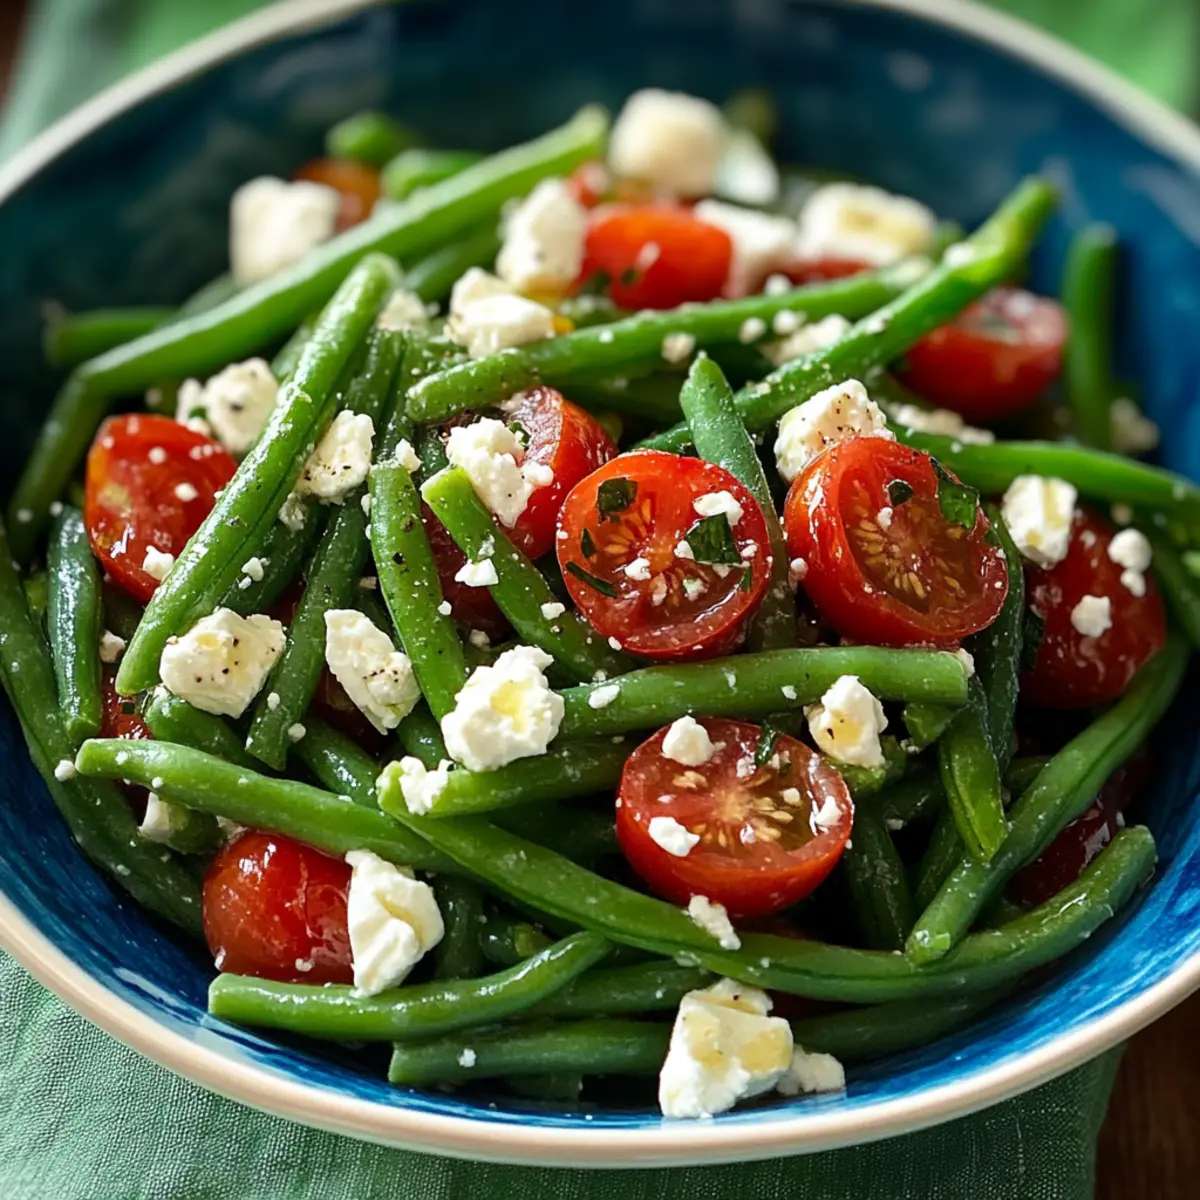
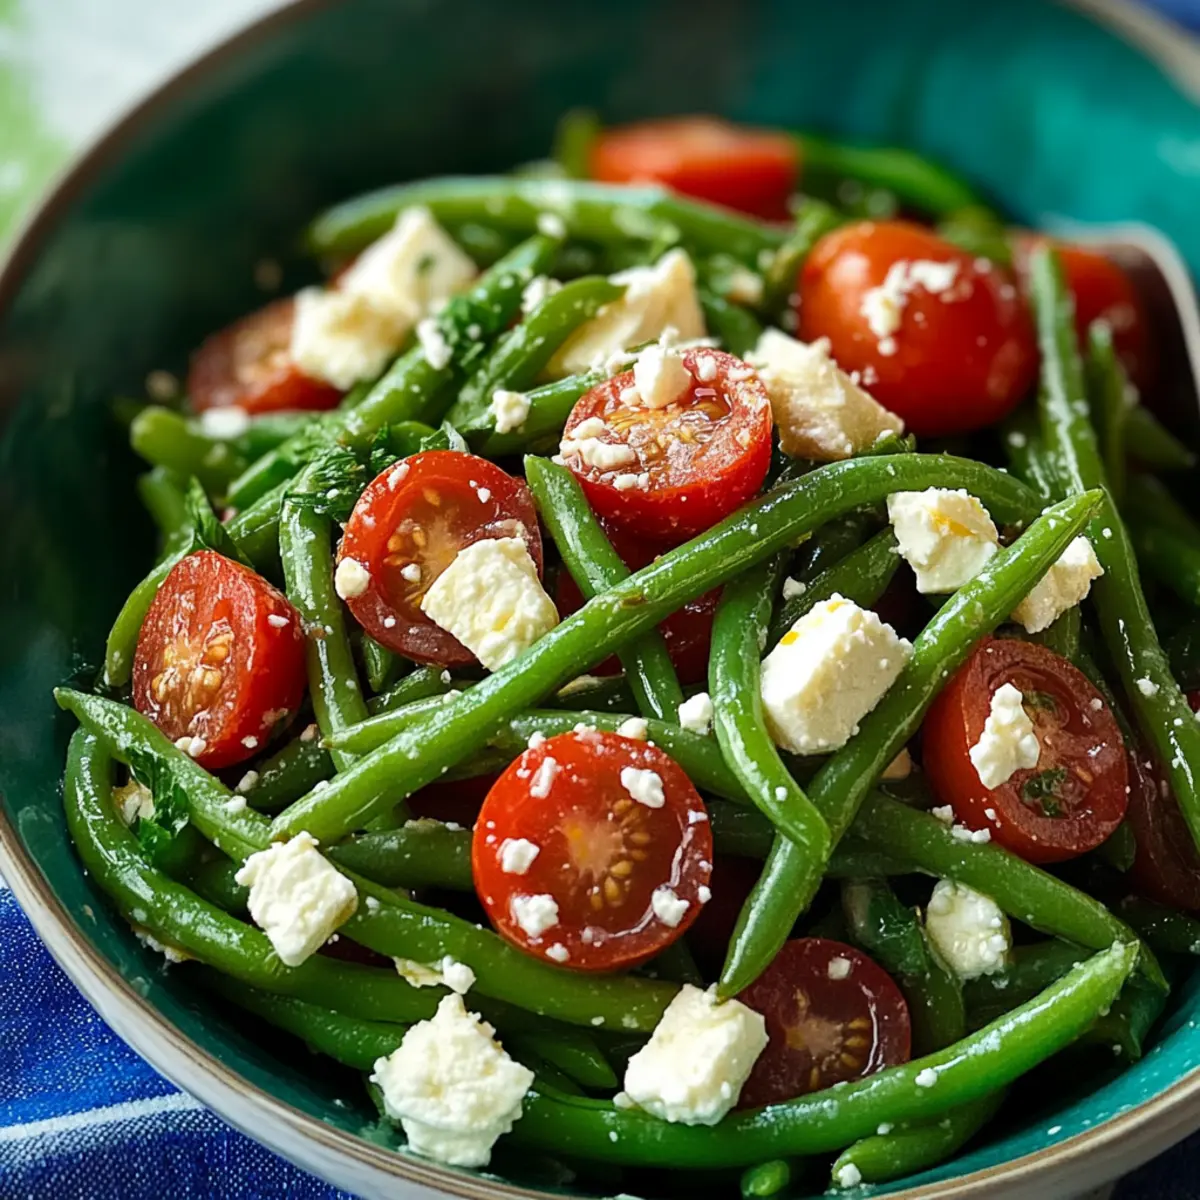
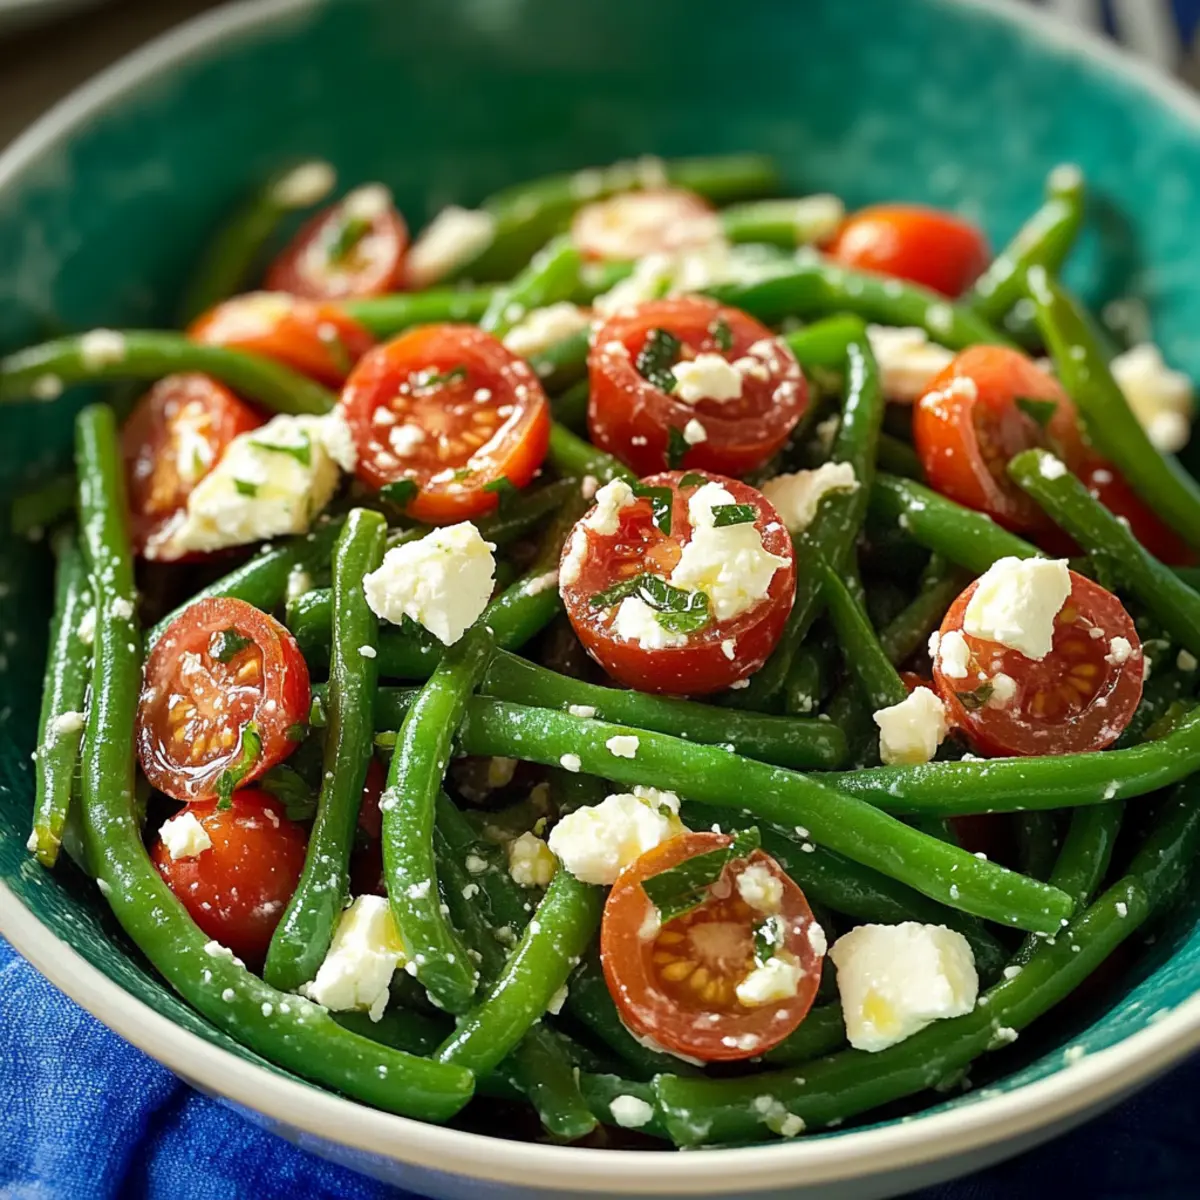
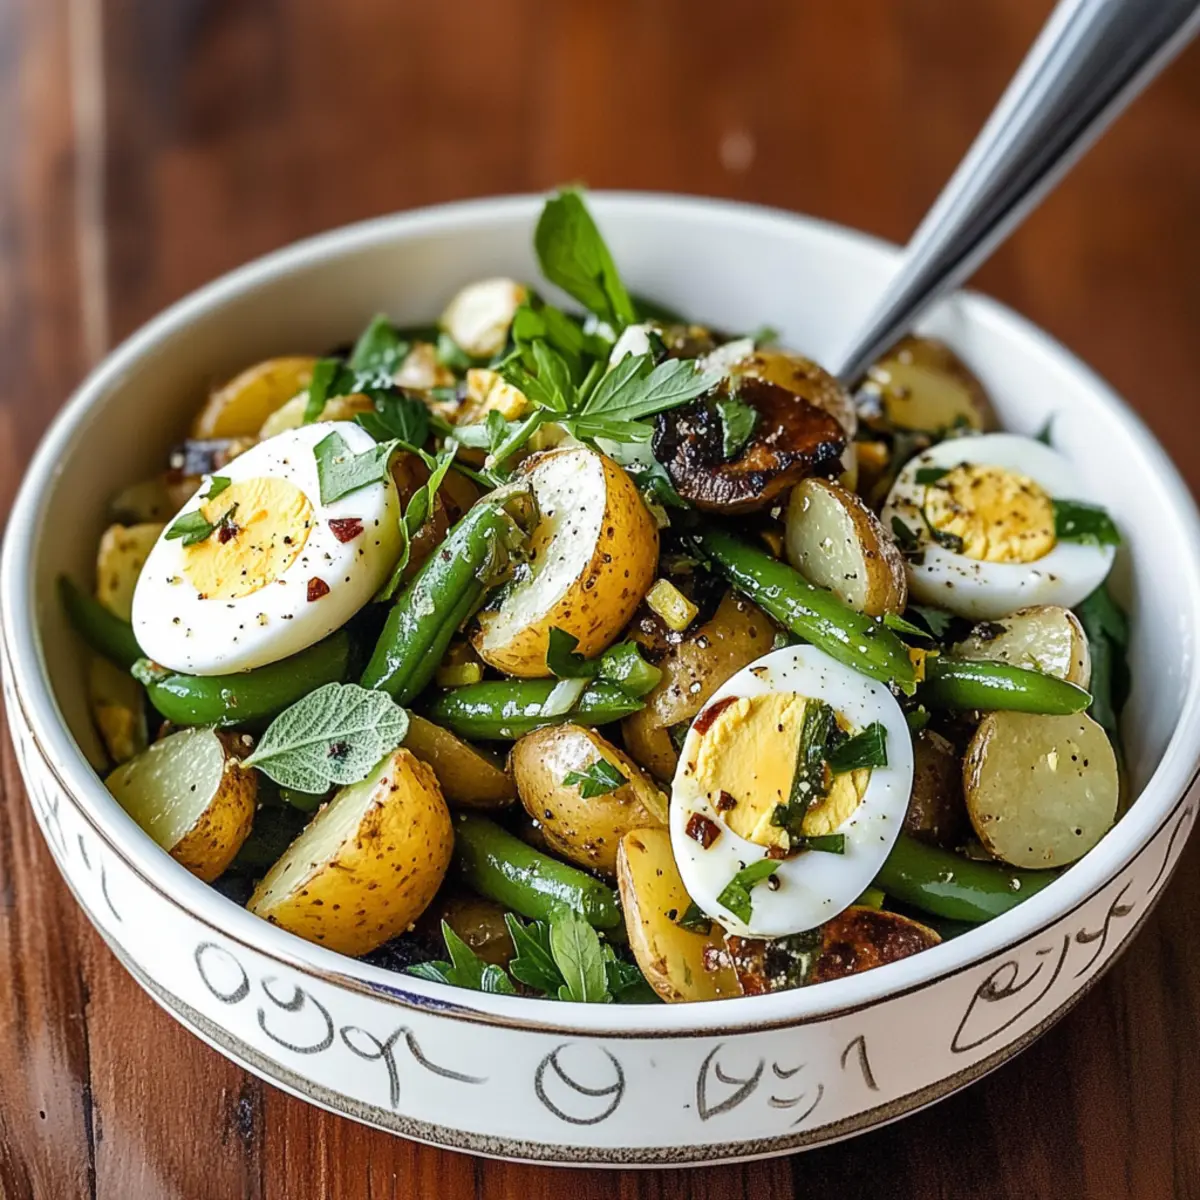
Vibrant Colors: The mix of crisp green beans and tender new potatoes creates a visually stunning dish that is as appealing to the eyes as it is to the palate.
Mediterranean Flair: This salad bursts with flavors from olives, capers, and a zesty vinaigrette—perfect for those who crave authentic Mediterranean cuisine.
Quick and Easy: With straightforward preparation and no specialized skills required, you can whip up this delightful dish in no time, making it ideal for weeknight dinners or impromptu gatherings.
Versatile Side: It complements various main dishes beautifully, whether it’s grilled chicken or a light fish, and adapts easily to different occasions, just like my Coconutty Beans Greens recipe.
Make-Ahead Friendly: This salad can be prepared ahead of time, allowing flavors to meld while saving you valuable moments when entertaining.
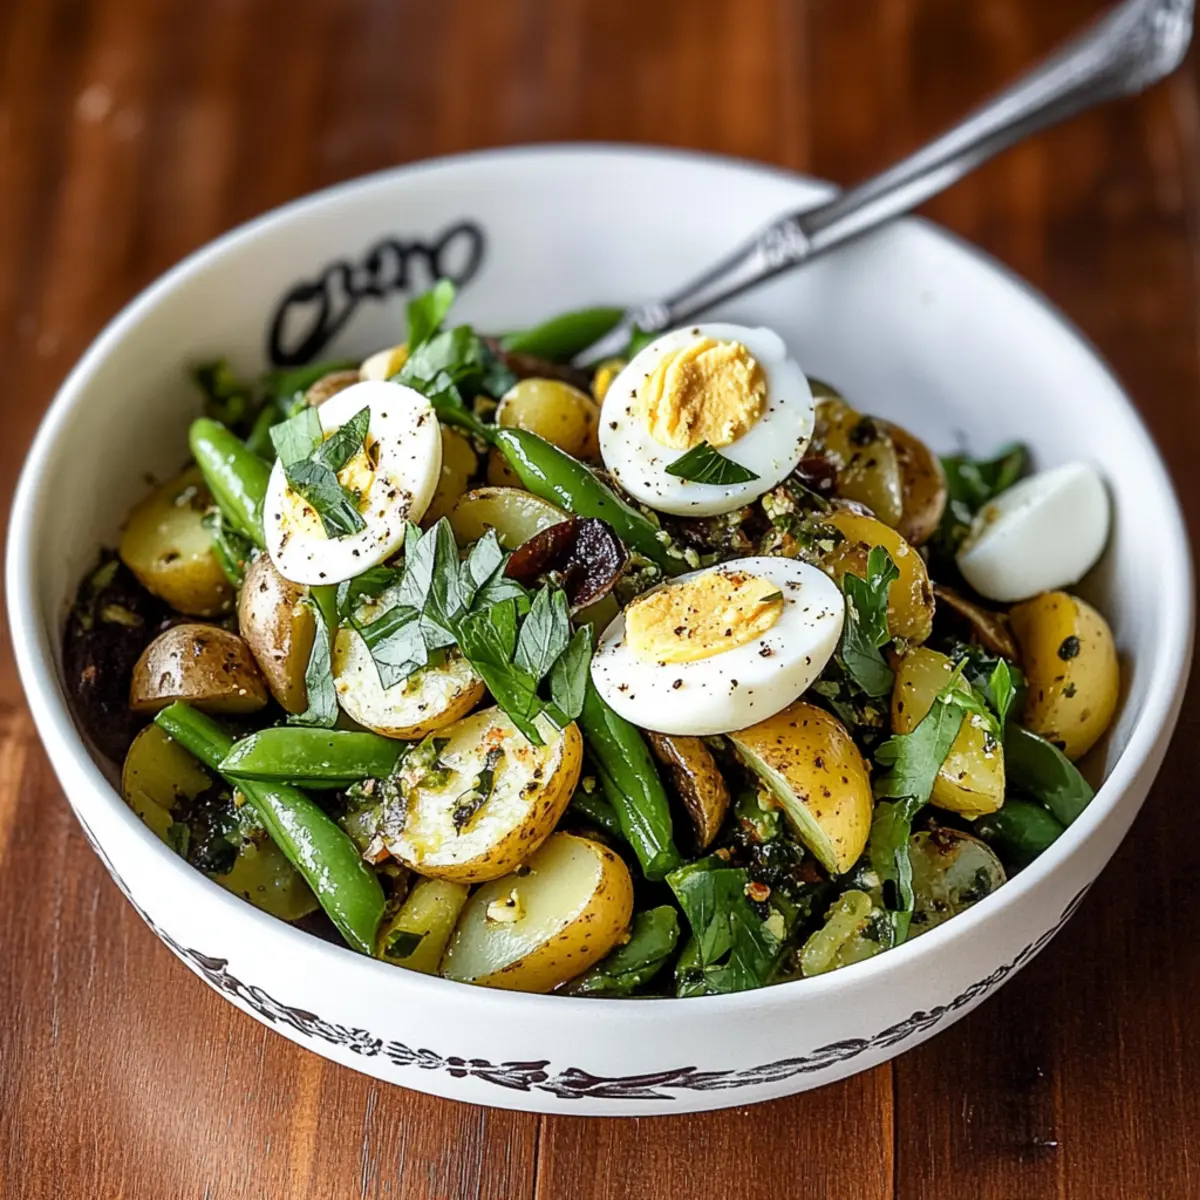
Healthy and Satisfying: Packed with protein from eggs and healthy fats from olives, it’s a nutritious choice that will keep you feeling full and energized!
French-Style Potato and Green Bean Salad Ingredients
For the Salad
• New Potatoes (2 lbs/900g) – Soft, waxy potatoes that hold their shape well; choose small, scrubbed, and halved potatoes for an ideal texture.
• Green Beans (1 lb/450g) – Crisp and vibrant, these beans add beautiful color; trim and cut them into thirds for even cooking.
• Hard-Boiled Eggs (2) – Offering a protein boost, they add heartiness to the salad; prefer boiling a day or so ahead for convenience.
• Black Olives (12, dry cured) – Imparts a rich, briny flavor that makes the salad pop; opt for wrinkled, salt-cured olives for the best taste.
• Fresh Parsley and Chives (4-5 sprigs each) – Milder herbs that enhance the flavor without overpowering; consider swapping in tarragon for a fresh twist.
For the Vinaigrette
• Extra Virgin Olive Oil (1/3 cup/75ml) – Acts as the base for a luxurious vinaigrette, bringing richness to the salad.
• Lemon Juice (2 tbsp/30ml) – Adds a fresh, zesty brightness that complements the earthy flavors.
• White Wine Vinegar (2 tbsp/30ml) – Essential for a classic vinaigrette; brings tanginess to the dressing.
• Garlic (2 cloves, minced) – Elevates the flavor profile, contributing a deep, aromatic touch to the vinaigrette.
• Dijon Mustard (2 tsp) – Aids in emulsifying the dressing while adding a delightful hint of heat.
• Capers (1 tbsp, chopped) – Provides a tangy kick that perfectly balances the salad’s freshness.
• Salt (½ tsp) and Black Pepper (½ tsp) – Essential for seasoning, bringing all the flavors together harmoniously.
Enjoy creating a delightful French-Style Potato and Green Bean Salad that not only tantalizes the taste buds but also nurtures the spirit!
Step‑by‑Step Instructions for French-Style Potato and Green Bean Salad
Step 1: Prepare Hard-Boiled Eggs
In a saucepan, gently place two eggs and cover them with cold water. Bring the water to a boil over medium-high heat, then turn off the heat and cover the pot, letting the eggs sit for about 10 minutes. Afterward, transfer the eggs to an ice bath to cool for a few minutes, then peel them and set aside. This step enhances your French-Style Potato and Green Bean Salad with protein and richness.
Step 2: Cook Potatoes and Beans
While the eggs cool, prepare two pounds of new potatoes by halving them for even cooking. In a large pot, bring salted water to a boil and cook the potatoes for about 12 minutes until tender but still firm. Next, add one pound of trimmed green beans cut into thirds and boil together for another 2-3 minutes. Drain the vegetables and immediately plunge them into ice water to halt cooking and preserve their vibrant color.
Step 3: Make Vinaigrette
In a jar or mixing bowl, combine 1/3 cup of extra virgin olive oil, 2 tablespoons of fresh lemon juice, and 2 tablespoons of white wine vinegar. Add 2 minced garlic cloves, 2 teaspoons of Dijon mustard, and 1 tablespoon of chopped capers, followed by salt and black pepper to taste. Shake or whisk well until the ingredients are emulsified. This zesty vinaigrette will bring life to your French-Style Potato and Green Bean Salad.
Step 4: Assemble Salad
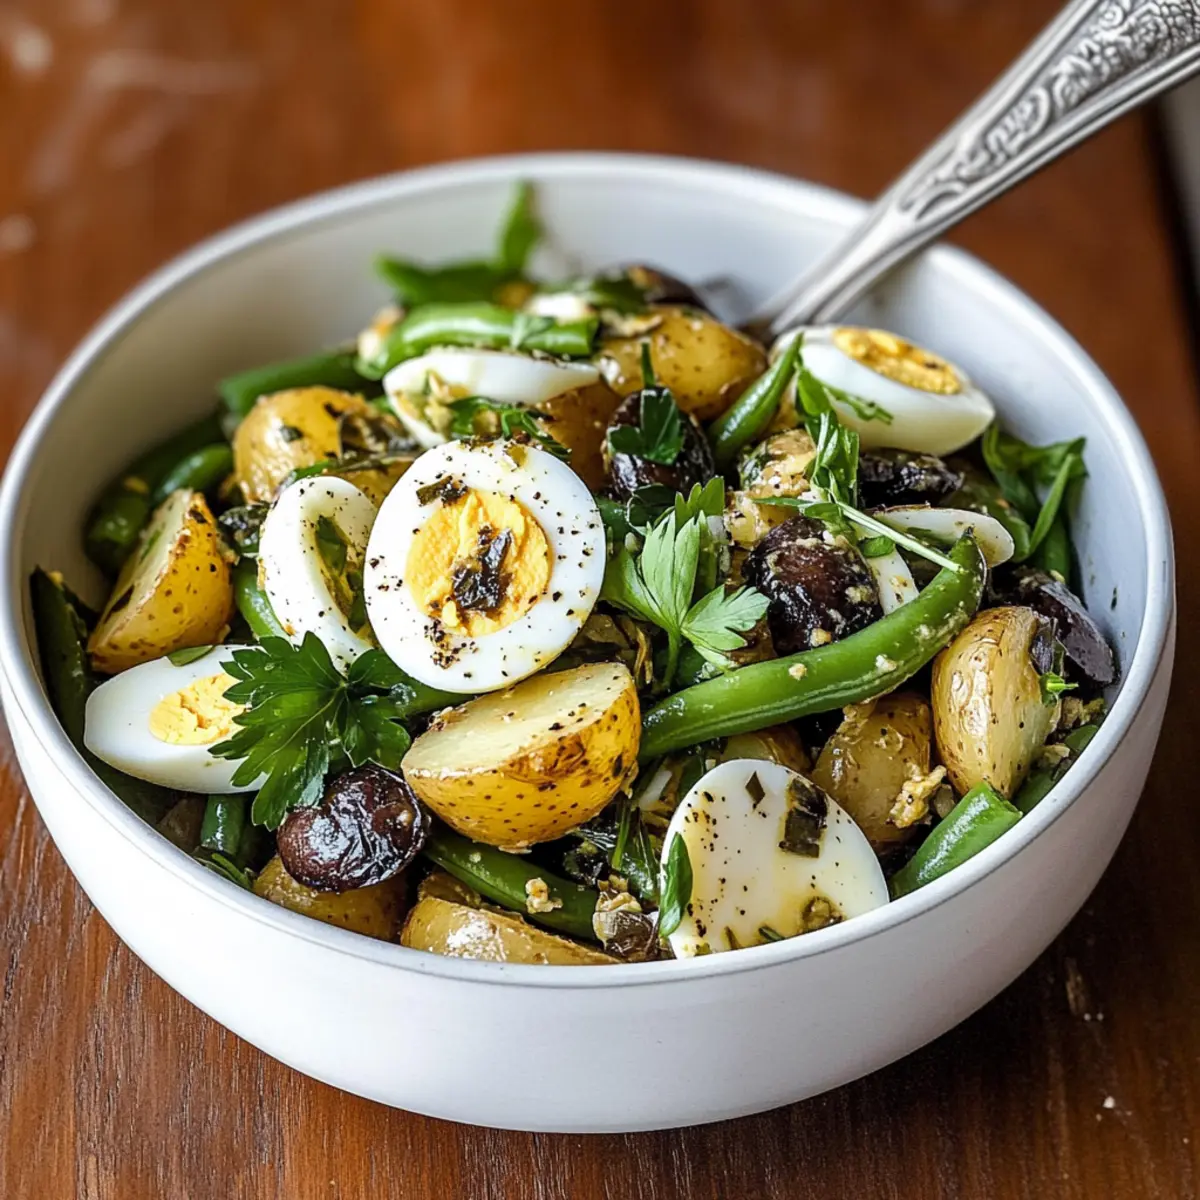
In a large mixing bowl, combine your fresh parsley and chives with half of the zesty vinaigrette. Toss in the cooled potatoes and green beans, gently mixing to coat them evenly with the dressing. Quarter the hard-boiled eggs and gently nestle them on top of the salad, showcasing their richness and texture. Drizzle the remaining vinaigrette over the salad just before serving for an extra burst of flavor.
French-Style Potato and Green Bean Salad Variations
Feel free to tailor this salad to suit your preferences and pantry items for a delightful twist!
-
Herb Swap: Try tarragon or dill instead of parsley and chives for a fresh flavor kick. Each herb brings its own character to the dish—perfect for experimenting!
-
Olive Twist: Use green olives instead of black for a milder flavor. The green olives provide a nice pop of color and a slightly different taste that can surprise your palate.
-
Add Crunch: Toss in some toasted pine nuts or walnuts for an added texture contrast. The crunch complements the salad beautifully and adds healthy fats for energy.
-
Protein Boost: Include shredded rotisserie chicken or chickpeas to transform your salad into a hearty main course. This addition ensures everyone leaves the table satisfied and happy.
-
Zesty Kick: A sprinkle of red pepper flakes will turn up the heat and give the salad a lively twist! Just a pinch will enhance the flavor without overwhelming the palate.
-
Vegan Option: Replace hard-boiled eggs with cubed avocado for a creamy texture. Not only does this cater to a plant-based diet, but it also adds a rich, buttery flavor.
-
Vinaigrette Zing: Try swapping lemon juice for lime juice or adding a dollop of honey to the vinaigrette for an extra zing. This little change can brighten up the entire bowl, making every bite refreshing.
-
Citrus Splash: Incorporate some orange or grapefruit segments. The sweetness of citrus fruit balances the briny olives and tangy dressing, creating a harmonious blend of flavors.
I encourage you to also check out my Smoky Sweet Potatoes for a complementing side dish that will brighten any table. Enjoy the mix and match possibilities!
Expert Tips for French-Style Potato and Green Bean Salad
-
Optimal Cooking Time: Ensure you don’t overcook the potatoes and green beans; aim for tender but firm. This preserves the salad's delightful texture.
-
Flavor Development: Allow the salad to sit for a few hours or overnight in the fridge. This enhances the flavors of your French-Style Potato and Green Bean Salad, making it even more delicious.
-
Herb Substitution: Experiment with different herbs like tarragon or basil for a unique twist. These can change the flavor profile while maintaining the salad's freshness.
-
Cooking Eggs: For perfect hard-boiled eggs, place them in cold water and then bring it to a boil. This method produces a creamy yolk and easier peeling.
-
Mixing Olives: If using brined olives, remember they will impart a different flavor. Adjust the vinaigrette seasoning accordingly for balance.
How to Store and Freeze French-Style Potato and Green Bean Salad
Fridge: Store your salad in an airtight container for up to 3 days. This keeps the flavors fresh and vibrant while maintaining the salad's texture.
Make-Ahead: Feel free to prepare the French-Style Potato and Green Bean Salad a day in advance. Simply keep it refrigerated, and the flavors will meld beautifully over time.
Freezer: For best results, avoid freezing since the potatoes and beans may become mushy upon thawing. Instead, prepare only the component parts that can be frozen individually if needed, like the boiled potatoes.
Reheating: This salad is best enjoyed cold or at room temperature. If you've prepared it in advance, simply give it a gentle toss before serving to refresh the flavors.
What to Serve with Fresh French-Style Potato and Green Bean Salad
Elevate your dining experience by pairing this vibrant salad with the perfect complements that enhance its Mediterranean charm.
-
Grilled Chicken: Juicy, smoky grilled chicken adds a satisfying protein that balances the lightness of the salad beautifully. The flavors mingle delightfully, making every bite a treat.
-
Lemon Herb Grilled Shrimp: These succulent shrimp bring a zesty twist, echoing the bright vinaigrette and elevating your meal with their tantalizing flavors.
-
Crusty French Baguette: Freshly baked crusty baguette is ideal for sopping up the tangy vinaigrette, adding a delightful crunch and heartiness to your meal.
-
Roasted Mediterranean Vegetables: The sweet, caramelized notes of roasted bell peppers, zucchini, and eggplant pair wonderfully with the salad’s freshness, enhancing the Mediterranean vibe.
-
Feta Cheese Crumbles: Sprinkle feta cheese over your salad for a creamy, salty touch that enriches the flavors and adds a delightful texture contrast.
-
Sparkling Water with Lemon: A refreshing beverage choice, sparkling water infused with lemon slices brightens your meal while complementing the zesty aspects of the salad perfectly.
-
Fruit Sorbet: For dessert, a light fruit sorbet offers a refreshing, sweet finish that balances the savory aspects of the dish while keeping things light.
-
Red Wine (Pinot Noir): A chilled glass of Pinot Noir adds a wonderful layer of complexity and enhances the Mediterranean flavors of the salad beautifully, making it a perfect pairing.
Make Ahead Options
This French-Style Potato and Green Bean Salad is a fantastic choice for meal prep, allowing you to save precious time during busy weeknights. To prepare ahead, you can hard-boil the eggs up to a week in advance and store them in the refrigerator; they’ll remain just as delicious. The potatoes and green beans can also be cooked 24 hours ahead; simply blanch them and refrigerate in an airtight container to maintain their vibrant colors and fresh textures. When you're ready to serve, toss together the salad with the vinaigrette and top with the eggs for a delightful finish. This way, you’ll enjoy a refreshing, hearty salad without the last-minute rush!
French-Style Potato and Green Bean Salad Recipe FAQs
How do I choose the right potatoes for this salad?
Absolutely! For the best results, select small, waxy new potatoes as they hold their shape well after cooking. Look for potatoes that are firm and free from dark spots or blemishes. Yukon gold potatoes are a great alternative too; just reduce your cooking time by 1-2 minutes for optimal tenderness.
How should I store leftover salad?
Very! You can store your French-Style Potato and Green Bean Salad in an airtight container in the refrigerator for up to 3 days. Keeping it chilled preserves the vibrant flavors and texture. I encourage you to enjoy it cold—just give it a gentle toss before serving!
Can I freeze this salad?
For best results, it's better to avoid freezing this salad as the potatoes and green beans can become mushy when thawed. However, if you’d like to freeze component parts, you can freeze the boiled potatoes individually in freezer bags for up to 3 months. To use, thaw in the refrigerator overnight and mix them into fresh ingredients.
What should I do if my green beans turn out too soft?
No worries! If your beans turn out mushy, it often means they were boiled too long. In the future, aim for 2-3 minutes of boiling after adding them to the potatoes; then quickly transfer them to an ice bath. This halts cooking and keeps them crisp. Remember, texture is key for that fresh crunch!
Are there any dietary considerations for this salad?
Absolutely! The French-Style Potato and Green Bean Salad is vegetarian and gluten-free, making it suitable for various diets. However, if you're serving guests with specific allergies, ensure to check the labels on your olives and capers for any cross-contamination. This way, everyone can enjoy this delightful dish worry-free!
Can pets eat the salad ingredients?
It's best to avoid sharing this salad with pets. While potatoes are safe when cooked and plain, garlic, olives, and capers can be harmful to dogs and cats. To ensure your furry friends are safe, keep the salad ingredients away from them.
Fresh French-Style Potato and Green Bean Salad Bliss
Ingredients
Equipment
Method
- Step 1: Prepare Hard-Boiled Eggs by placing them in a saucepan, covering with cold water, bringing to a boil, turning off heat and letting sit for 10 minutes before cooling in an ice bath.
- Step 2: Cook Potatoes by halving 2 lbs of new potatoes and boiling in salted water for 12 minutes. Add 1 lb of green beans and cook for an additional 2-3 minutes, then drain and plunge into ice water.
- Step 3: Make Vinaigrette by combining 1/3 cup olive oil, 2 tbsp lemon juice, 2 tbsp vinegar, 2 minced garlic cloves, 2 tsp mustard, 1 tbsp capers, salt, and pepper in a jar or bowl and whisking until emulsified.
- Step 4: Assemble Salad by mixing parsley and chives with half of the vinaigrette, adding cooled potatoes and green beans, mixing well, and garnishing with quartered hard-boiled eggs and remaining vinaigrette.