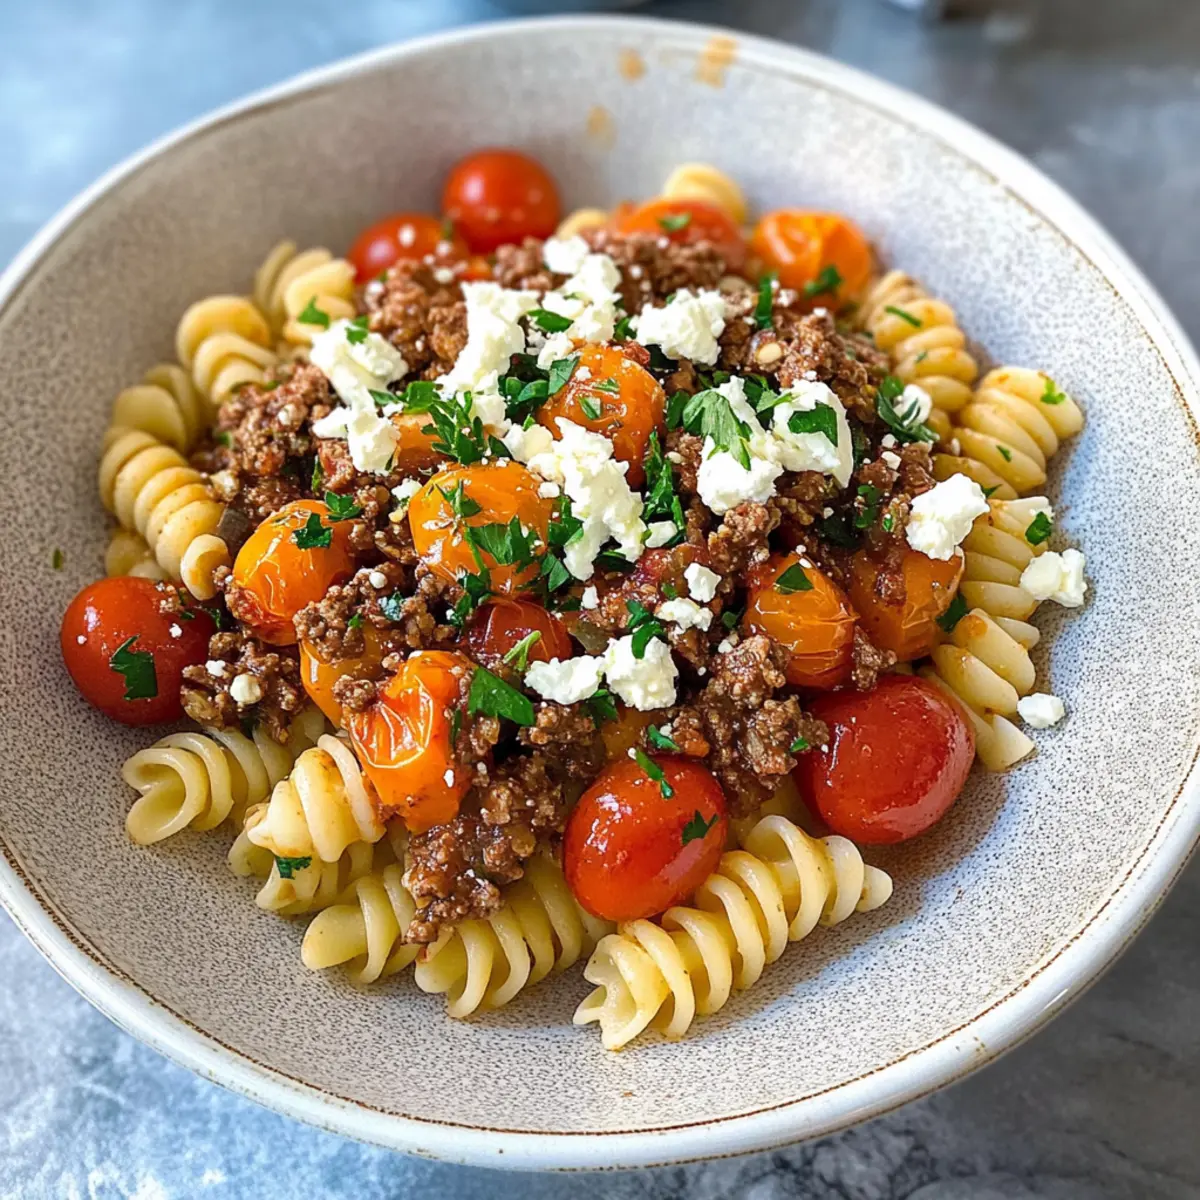
The unmistakable aroma of sizzling beef wafting through the kitchen can instantly transport me back to those weekends spent relishing my favorite fast-food meals. But what if you could enjoy that nostalgic taste without leaving the house? Enter my Big Mac Wraps Recipe—a fun and delicious twist on the classic Big Mac! Perfectly suited for a speedy weeknight dinner, these wraps are not only easy to whip up but are also customizable to suit the whole family's tastes. Each bite brings together juicy beef, tangy special sauce, and fresh veggies all enveloped in a soft tortilla. Trust me, once you try these wraps, you’ll want to make them a staple in your meal prep rotation. So, are you ready to create a delicious homemade version that’ll have everyone asking for seconds?

Why Are Big Mac Wraps So Irresistible?
Convenience, these Big Mac Wraps are a game-changer for busy families or anyone craving a quick meal without the drive-thru hassle. Flavor-packed, each wrap delivers the iconic taste of a Big Mac, thanks to the creamy special sauce and savory beef. Customizable, feel free to adjust the ingredients; swap the beef for turkey and switch up the cheese for your favorite! Meal prep-friendly, you can prep the ingredients in advance for an effortless dinner during the week. Plus, these wraps are sure to impress; everyone loves a fun twist on a classic!
Big Mac Wraps Recipe Ingredients
• Get ready to gather your ingredients for a delicious Big Mac Wraps recipe!
For the Special Sauce
- Mayonnaise – Adds creaminess to the special sauce; substitute with Greek yogurt for a tangier flavor.
- Dill Pickles – Provides a zesty crunch; finely chopped for the sauce, or use sweet pickles for a different taste.
- Yellow Mustard – Adds tanginess; substitute with Dijon mustard for a spicier kick.
- White Vinegar – Complements the sauce flavor; apple cider vinegar can be used as an alternative.
- Paprika – Adds a hint of smokiness; try smoked paprika for deeper flavor.
- Garlic Powder – Enhances flavor; substitute with fresh minced garlic for a stronger taste.
- Onion Powder – Offers subtle sweetness; fresh onions can be used instead.
For the Filling
- Lean Ground Beef – The main protein source; ground turkey can be used for a leaner option.
- Onion – Provides sweetness and texture; finely chopped, and optional to include for more structure.
- Salt and Pepper – Season to taste; essential for enhancing all other flavors.
For the Wraps
- Large Flour Tortillas – Wraps for the filling; consider whole wheat or low-carb options for variety.
- Shredded Lettuce – Adds crunch and freshness; substitute with spinach or mixed greens.
- Shredded Cheddar Cheese – Delivers creaminess; can swap for mozzarella or leave out for dairy-free.
- Dill Pickle Slices (Optional) – Additional crunch and flavor; omit if not preferred.
For Cooking
- Olive Oil – For sautéing the beef and onions; can be replaced with avocado oil.
Get ready for a culinary adventure with this Big Mac Wraps recipe—an easy dinner option that delivers all the nostalgic flavors you love!
Step‑by‑Step Instructions for Big Mac Wraps Recipe
Step 1: Prepare the Special Sauce
In a mixing bowl, combine ½ cup mayonnaise, 2 tablespoons finely chopped dill pickles, 1 tablespoon yellow mustard, 1 tablespoon white vinegar, ½ teaspoon paprika, and ½ teaspoon garlic powder with ½ teaspoon onion powder. Stir well until the mixture is creamy and uniform. Cover the bowl with plastic wrap and refrigerate for about 30 minutes to let the flavors meld and infuse.
Step 2: Cook the Beef
Heat 1 tablespoon of olive oil in a large skillet over medium heat. Add ¼ cup of finely chopped onion and sauté for 2-3 minutes until softened. Next, add 1 pound of lean ground beef, breaking it apart with a spatula. Season with salt and pepper, cooking for about 6-8 minutes or until the beef is browned and fully cooked. Drain any excess grease before removing from heat.
Step 3: Warm the Tortillas
Take 4 large flour tortillas and warm them slightly for about 10-15 seconds in the microwave or in a skillet over low heat for 1-2 minutes. This will ensure that they are easy to wrap without tearing. Keeping the tortillas warm allows for better folding when assembling your delicious Big Mac Wraps.
Step 4: Assemble the Wraps
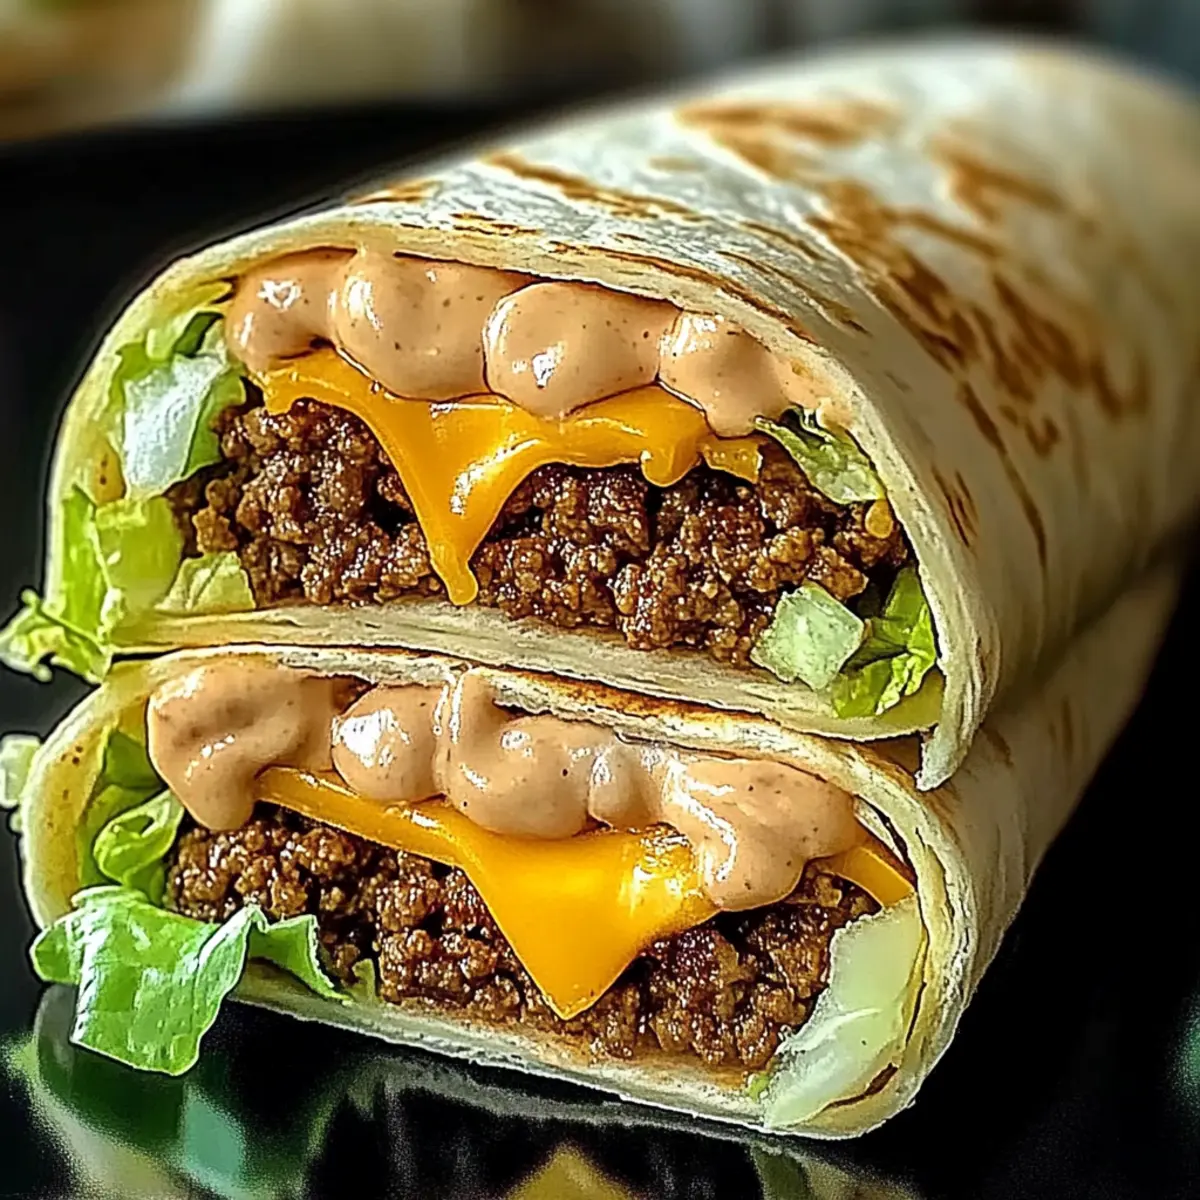
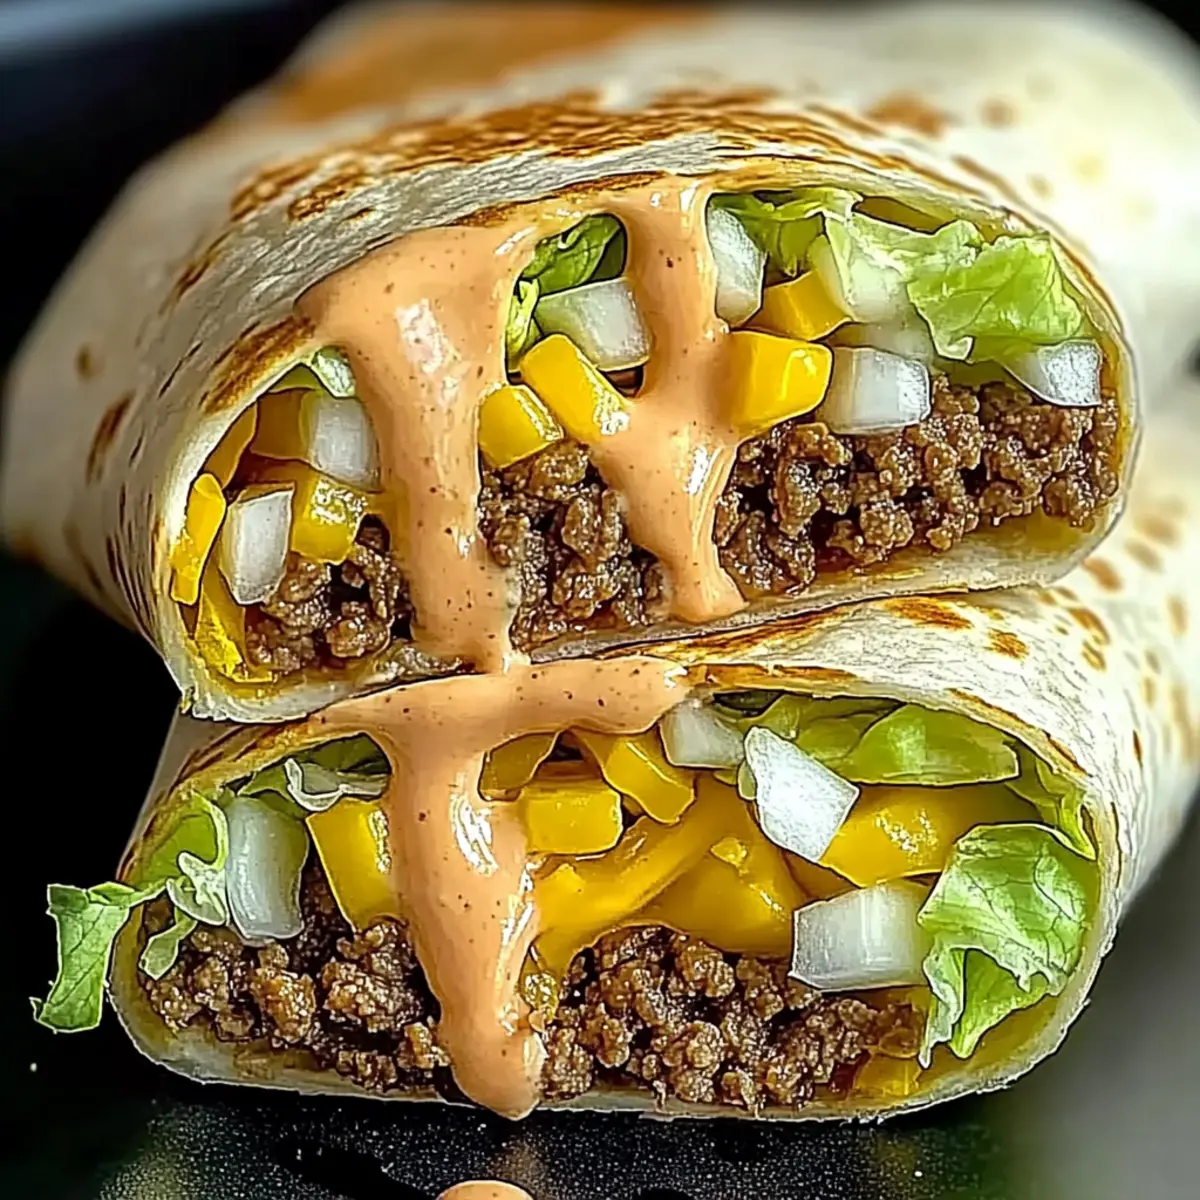
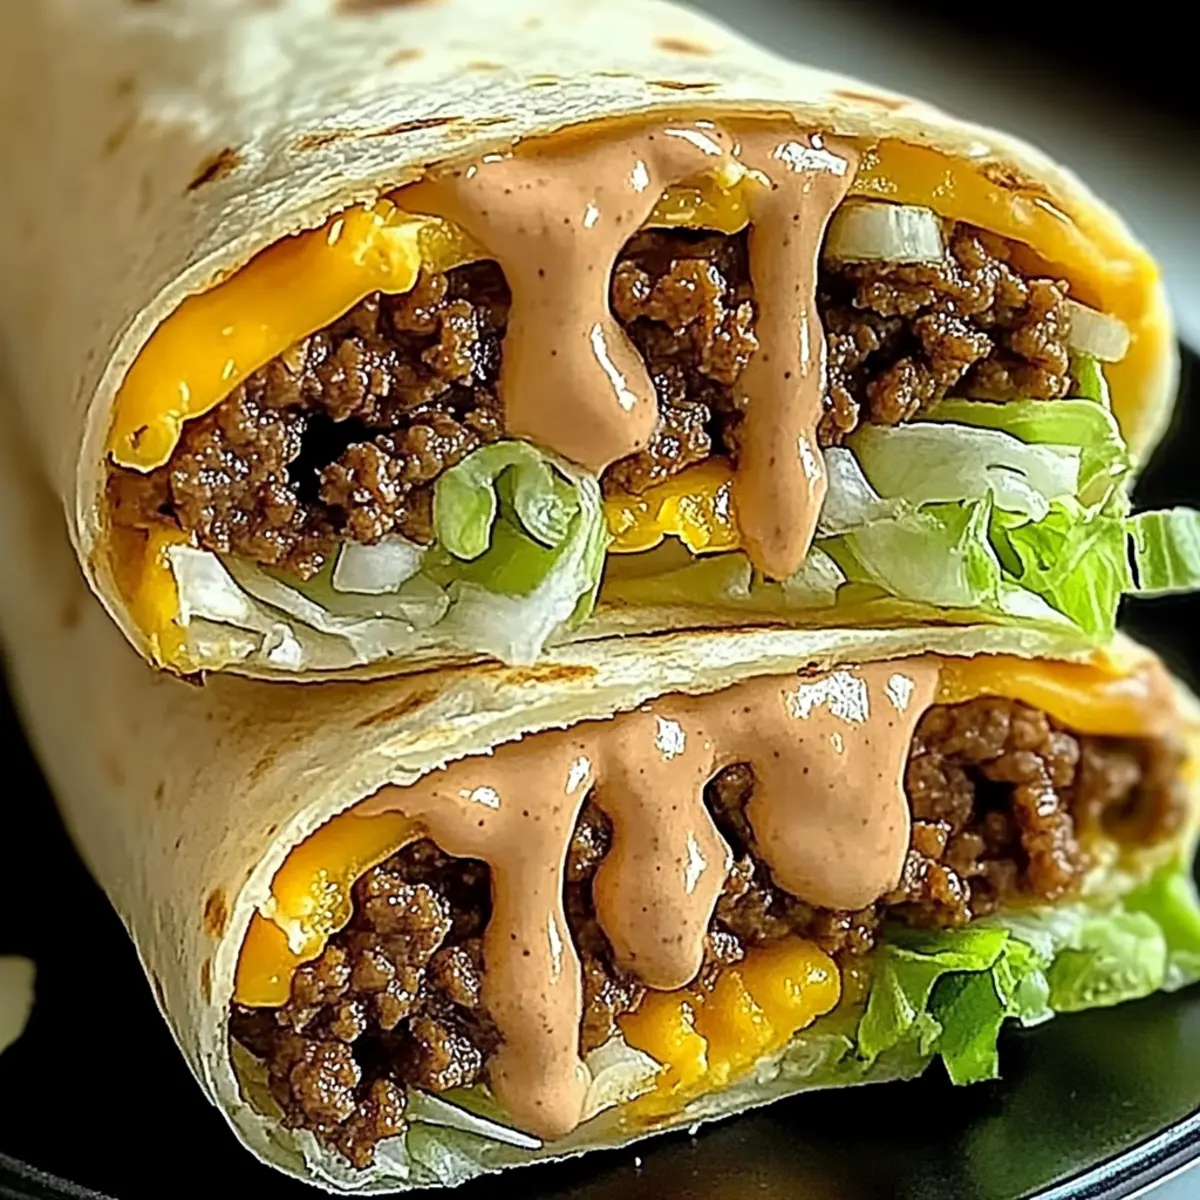
On each warm tortilla, spread about 2 tablespoons of the prepared special sauce evenly. Layer with approximately ⅓ cup of the cooked beef mixture, followed by a handful of shredded lettuce, a sprinkle of shredded cheddar cheese, and a few dill pickle slices if desired. Be generous with your toppings to create a deliciously filled wrap.
Step 5: Wrap and Serve
To wrap, fold in the sides of the tortilla then roll it tightly from the bottom up, ensuring the filling stays inside. If desired, slice the wraps in half diagonally for easy eating. Serve the Big Mac Wraps warm, and enjoy with your favorite sides or dips for a satisfying meal that brings together the classic Big Mac flavors!
Big Mac Wraps Recipe Variations
Feel free to mix and match ingredients to craft your own perfect Big Mac Wraps!
-
Ground Turkey: Use ground turkey instead of beef for a leaner, delicious option that’s just as satisfying.
The mild flavor of turkey makes it a versatile substitute. This swap ensures you enjoy a lighter wrap that’s still packed with flavor!
-
Spicy Touch: Add jalapeños or your favorite hot sauce for a kick of heat that elevates the flavor profile.
Transform your wraps into a fiery delight with this simplicity; just a few slices or dashes can make all the difference!
-
Alternative Tortillas: Opt for spinach or tomato-flavored tortillas for a colorful twist that packs added nutrients.
These vibrant wraps not only look appealing but also add a unique flavor that will surprise and delight your family!
-
Dairy-Free Option: Skip the cheese or substitute with avocado for creamy richness without the dairy.
Avocados can enhance texture while keeping things fresh and healthy. It's a delicious adjustment for anyone avoiding dairy!
-
Extra Veggies: Load your wraps with additional veggies like bell peppers or cucumbers for added crunch and nutrition.
The more, the merrier! These veggies not only provide a refreshing bite but also elevate the nutritional value of your meal.
-
Flavorful Sauces: Swap the special sauce for a chipotle mayo or a Caesar dressing for a different taste experience.
Experimenting with sauces can open up a delightful world of flavors—who knew wraps could be so versatile?
-
Grain-Free: Use large lettuce leaves as a wrap for a low-carb, grain-free alternative that still holds all the delicious fillings!
*Lettuce wraps are a fun and healthy way to enjoy the same flavors while cutting down on carbs—perfect for a lighter meal. *
-
Herb Infusion: Mix fresh herbs, like cilantro or dill, into the beef to elevate the aroma and flavor of the filling.
Herbs add a fresh and vibrant touch, bringing a burst of flavor that can make your wraps truly unforgettable!
Don’t forget to serve your Big Mac Wraps alongside a refreshing beverage, perhaps a soda or a delightful milkshake, for full nostalgic effect. For an added treat, you might even want to throw in some crispy fries or coleslaw on the side! Looking for more ideas? Check out how to add some zing with Chicken Adobo Again or see a refreshing dessert to complete your meal with Panna Cotta. Enjoy experimenting with these variations!
Expert Tips for Big Mac Wraps
• Fresh Ingredients Matter: Using fresh veggies like lettuce and cheese enhances flavor and texture, making your Big Mac Wraps truly irresistible.
• Customize the Sauce: Tailor the special sauce to your liking; add more pickles for crunch or a dash of hot sauce for some heat.
• Prevent Sogginess: Avoid adding lettuce until just before serving to keep it crisp, and ensure the beef is properly drained to maintain integrity.
• Warm Tortillas: Lightly warming tortillas makes them more pliable, preventing tears and making the wrapping process easier.
• Try Different Proteins: Switch ground beef for turkey or grilled chicken for a healthier twist while still compacting all the flavorful goodness of this Big Mac Wraps recipe!
Make Ahead Options
These Big Mac Wraps are perfect for meal prep enthusiasts looking to save time during busy weeknights! You can prepare the special sauce and cook the beef mixture up to 3 days in advance. Simply refrigerate each component in airtight containers to maintain their freshness. For the best texture, assemble the wraps just before serving to prevent the tortillas from getting soggy, and add the shredded lettuce and cheese right before wrapping. When ready to enjoy, simply grab a tortilla, spread the sauce, add your beef and toppings, wrap it up, and you’ll have a delicious homemade meal in minutes—just as satisfying as your favorite fast-food option!
What to Serve with Big Mac Wraps
Indulge in a satisfying home-cooked meal that's both delicious and easy to pull together, enhancing your dining experience.
- Crispy French Fries: The perfect crunchy contrast, French fries complement the softness of the wraps, making it feel like a true fast-food feast.
- Coleslaw: Creamy and tangy coleslaw brings a refreshing crunch, balancing the savory flavors of the Big Mac Wraps beautifully.
- Onion Rings: Their crispy texture and slight sweetness add an extra layer of enjoyment, reminiscent of classic drive-in meals.
- Fresh Veggie Salad: A light option, packed with seasonal ingredients, enhances the meal with freshness and color, making each bite feel vibrant.
- Sweet Potato Fries: Deliciously sweet and crispy, they create a delightful twist on standard fries, adding a nutritious flair to your plate.
- Pickle Chips: Serve on the side for extra tanginess; they echo the flavors in the wraps while providing a satisfying crunch.
- Milkshakes: A classic beverage to enjoy alongside your wraps; the creamy, sweet flavor makes every bite even more special.
- Lemonade: Refreshing and bright, a cold glass of lemonade offers the perfect contrast to the rich flavors of the Big Mac Wraps.
- Chocolate Brownies: For dessert, this indulgent option is the sweet ending to your meal, balancing savory flavors with something sweet and decadent.
These pairings elevate the Big Mac Wraps recipe into a delightful dining experience that you and your family will cherish!
How to Store and Freeze Big Mac Wraps
- Fridge: Store leftover Big Mac Wraps in an airtight container for up to 3 days to maintain freshness. Keep the sauce separate for optimal texture.
- Freezer: Wrap tightly in plastic wrap or aluminum foil and place in an airtight container to freeze. Enjoy frozen wraps within 1 month for best flavor.
- Reheating: Thaw in the fridge overnight if frozen; warm them in the microwave or a skillet over medium heat, ensuring they're heated through before serving.
- Make-Ahead Tips: Prepare the beef and sauce in advance, refrigerating them separately. Assemble the wraps quickly before mealtime for a hassle-free dinner.
Big Mac Wraps Recipe FAQs
What is the best way to select ripe ingredients for my Big Mac Wraps?
Absolutely, using fresh ingredients is key to delicious Big Mac Wraps! For the best flavor, choose ripe tomatoes that are firm but slightly give when gently squeezed. Opt for greens that are vibrant and crisp; avoid any with dark spots or wilting. When picking pickles, go for ones that are free from blemishes and have a satisfying crunch.
How should I store leftover Big Mac Wraps?
To maintain freshness, store your leftover Big Mac Wraps in an airtight container in the fridge. They'll stay good for up to 3 days. I often recommend keeping the special sauce separate until you're ready to eat, which helps maintain the texture and flavor of the wraps.
Can I freeze Big Mac Wraps?
Yes, you can freeze them! First, tightly wrap each assembled wrap in plastic wrap and then place them in an airtight container or freezer bag. They can be frozen for up to 1 month. When you’re ready to enjoy them, simply thaw in the fridge overnight and reheat in the microwave or a skillet until warmed through.
What can I do if my tortillas are tearing while wrapping?
If your tortillas are tearing, they may be too cold or thick. Try warming them slightly in the microwave for about 10-15 seconds or in a skillet over low heat for 1-2 minutes. This makes them more pliable and easier to fold without breaking!
Are there any dietary considerations I should keep in mind?
Definitely! If you're cooking for someone with allergies, make sure to check the ingredient labels for the mayonnaise and any sauces you use. You can easily substitute the mayonnaise with Greek yogurt for a healthier option that’s also dairy-free. Additionally, consider using gluten-free tortillas to accommodate gluten sensitivities.
How can I customize the recipe for different tastes?
The more the merrier! You can customize your Big Mac Wraps by swapping out the ground beef for ground turkey or adding extra veggies like jalapeños for a spicy kick. Feel free to experiment with different types of cheese, like pepper jack for zest or even skipping cheese altogether for a dairy-free version. Enjoy the creativity in your cooking!
Big Mac Wraps Recipe: Your New Favorite Homemade Delight
Ingredients
Equipment
Method
- In a mixing bowl, combine mayonnaise, dill pickles, yellow mustard, white vinegar, paprika, garlic powder, and onion powder. Stir well and refrigerate for 30 minutes.
- Heat olive oil in a skillet. Add chopped onion and sauté for 2-3 minutes. Add ground beef, season with salt and pepper, and cook for 6-8 minutes until browned.
- Warm flour tortillas in the microwave or skillet for about 10-15 seconds.
- On each tortilla, spread 2 tablespoons of special sauce, layer with cooked beef, shredded lettuce, shredded cheese, and dill pickle slices.
- Fold the sides in and roll the tortilla tightly. Slice in half diagonally if desired and serve warm.