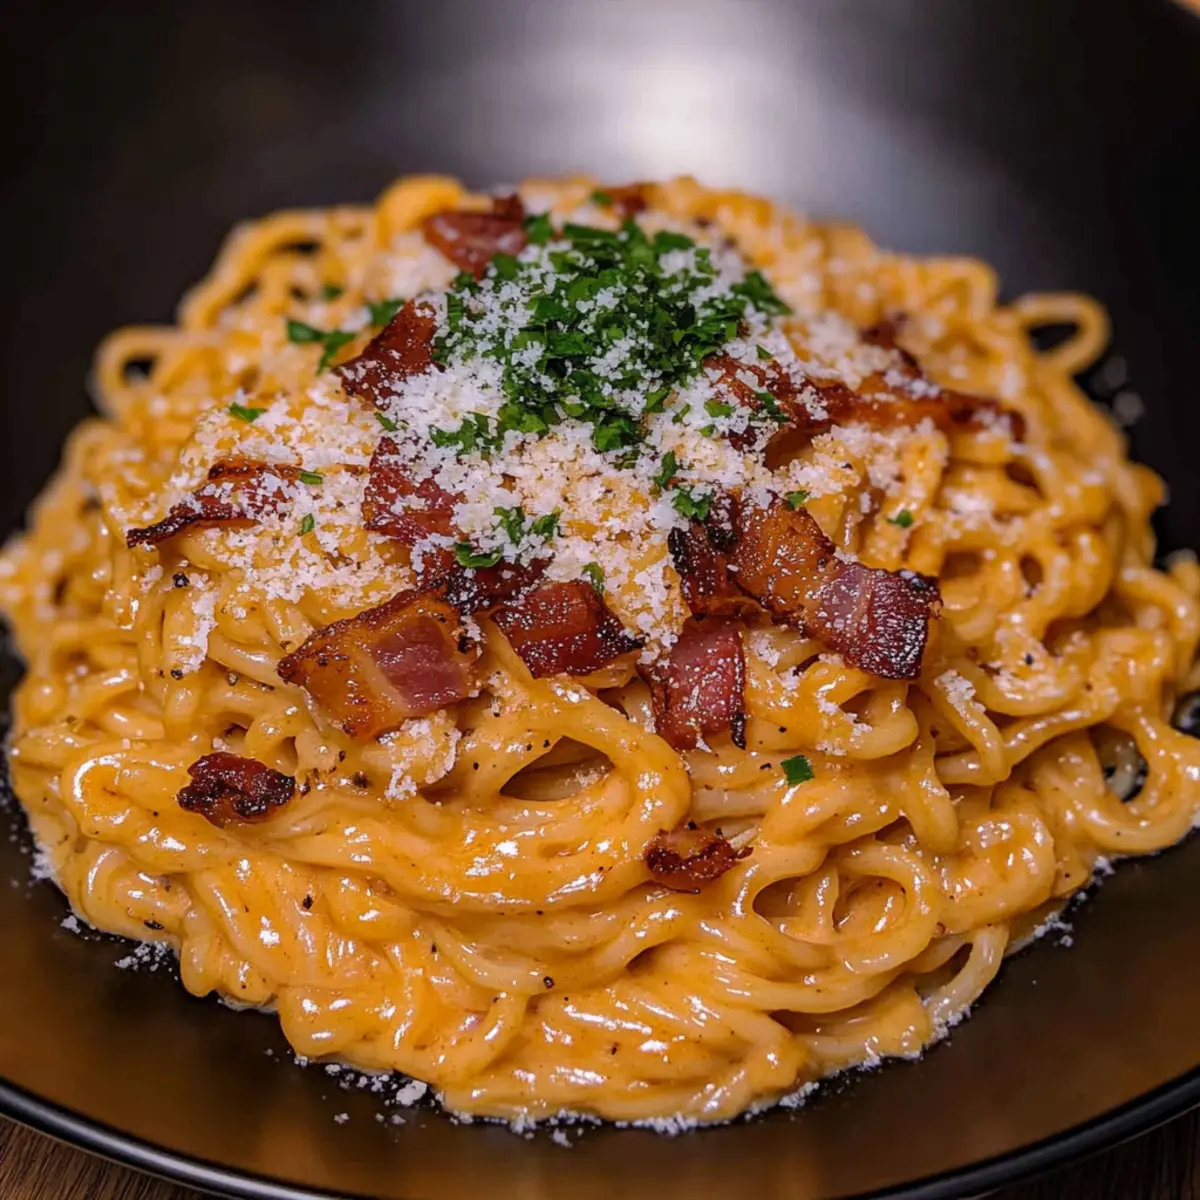
In my quest for the perfect weeknight meal, I stumbled upon a delightful revelation: Ramen Carbonara! This inventive fusion creates a comforting harmony between the creamy richness of classic Italian carbonara and the cheeky chew of Japanese ramen noodles. Imagine savoring a bowl that's not only ready in under 20 minutes but also boasts an irresistible blend of flavors and textures—definitely a win-win for busy evenings! With a luscious sauce made from eggs and parmesan, and a touch of crispy bacon (or mushrooms for my vegetarian friends), this dish is sure to tantalize your taste buds. So, are you ready to dive into this delicious culinary adventure that transforms traditional favorites into a quick dinner solution?
Why is Ramen Carbonara a Must-Try?
Unique Fusion: The Ramen Carbonara delightfully melds Italian and Japanese cuisines, showcasing flavors that are both familiar and exciting.
Quick Preparation: With a total cooking time of under 20 minutes, this dish is perfect for busy weeknights when time is of the essence.
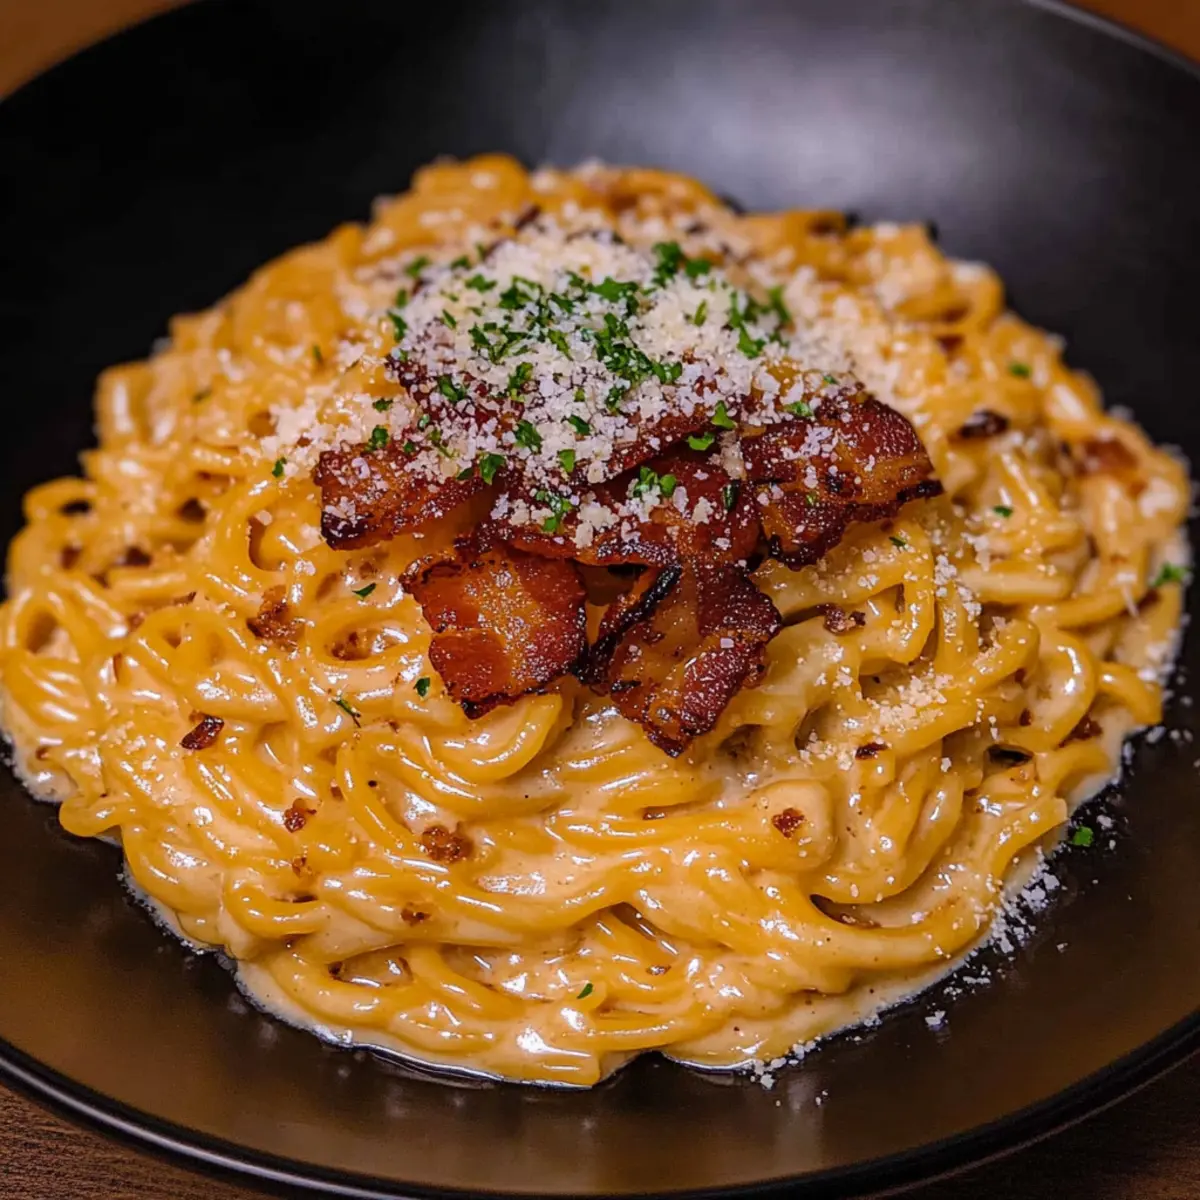
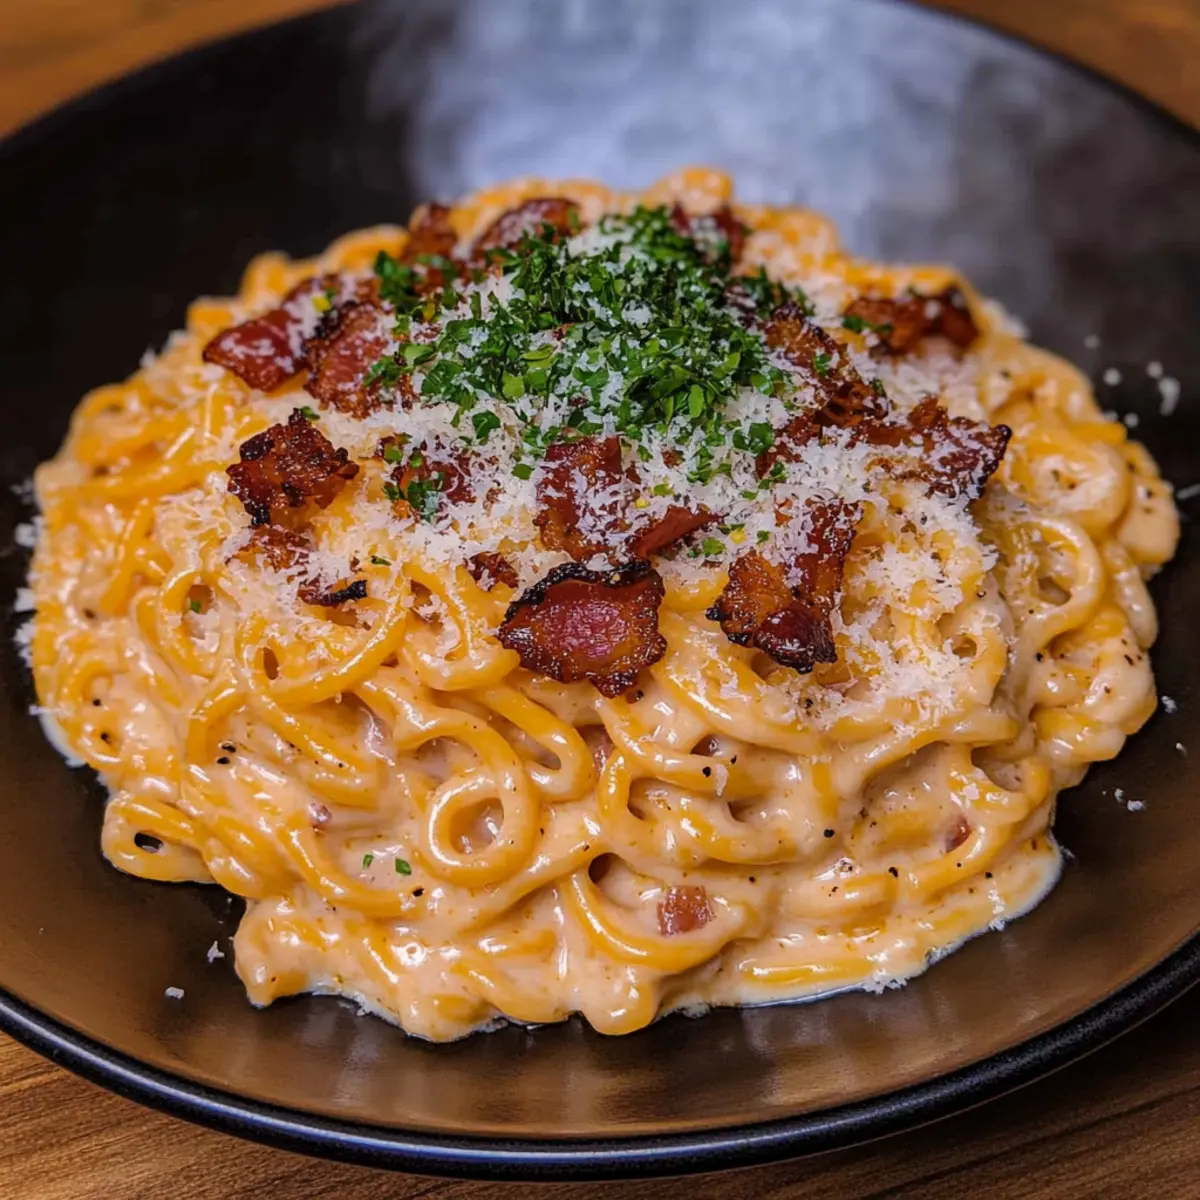
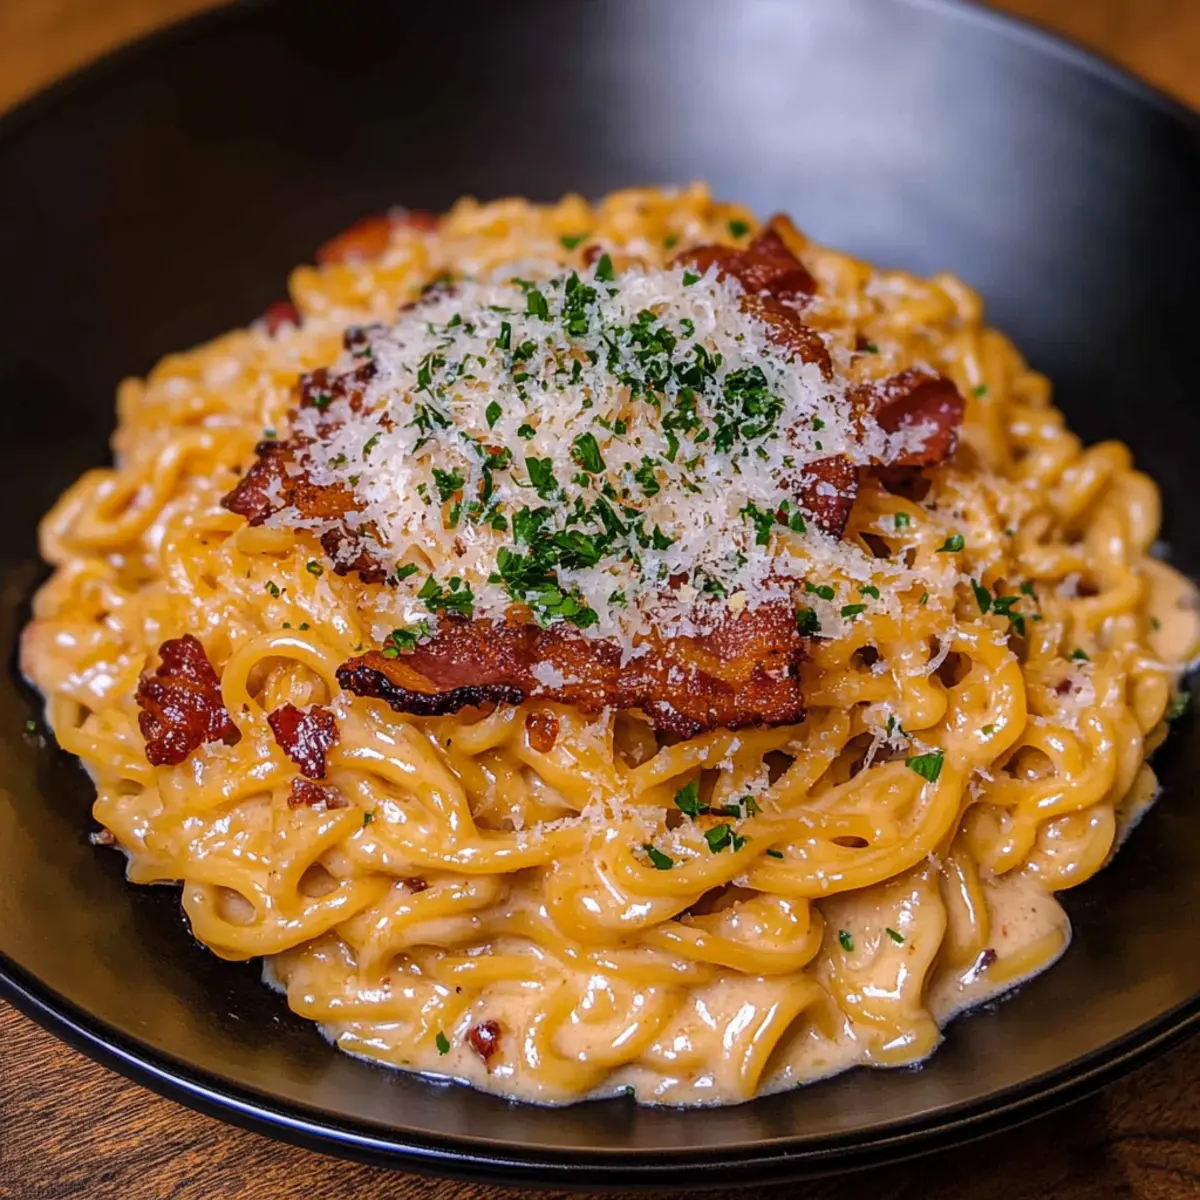
Creamy Goodness: The luscious sauce made from eggs and parmesan envelops each noodle, creating a rich, satisfying experience with every bite.
Versatile Option: Whether you’re in the mood for bacon or prefer a vegetarian twist with mushrooms, this recipe easily adapts to different dietary preferences.
Crowd-Pleasing Dish: Ideal for gatherings, this comforting bowl is sure to impress your family and friends alike, making it a staple for your dinner table!
Ramen Carbonara Ingredients
For the Noodles
• Ramen Noodles – Choose Shin Ramyun or wholegrain for a delightful chew that complements the creamy sauce.
For the Sauce
• Eggs – Use large eggs to enhance the richness of the sauce.
• Parmesan Cheese – Grated parmesan adds a nutty flavor; alternatives like pecorino can also work well.
For the Protein
• Bacon – Provides a savory crunch; middle bacon rashers are great, or swap for sautéed mushrooms for a vegetarian option.
For Flavor
• Gochujang or Hot Sauce – A dash will spice things up; adjust according to your taste for the perfect kick!
Step‑by‑Step Instructions for Ramen Carbonara
Step 1: Cook Ramen
Start by boiling a large pot of water over high heat. Once it reaches a rolling boil, add the ramen noodles and cook according to the package instructions, typically about 3–4 minutes. When the noodles are al dente, drain them in a colander, shaking off excess water, and set them aside while you prepare the creamy sauce.
Step 2: Prepare Sauce
In a separate mixing bowl, crack open the large eggs and whisk them together with the grated parmesan cheese until smooth and well combined. This mixture will create the luscious sauce for your Ramen Carbonara. Set it aside while you crisp the bacon to ensure a delightful contrast of flavors and textures in the finished dish.
Step 3: Crisp Bacon
Heat a skillet over medium heat and add your bacon rashers, cooking them until they turn golden and crispy, about 5–7 minutes. Pay attention to the sizzling sound, which indicates that the bacon is rendering its fat beautifully. Once crispy, transfer the bacon to a paper towel-lined plate to drain any excess fat, but leave some drippings in the skillet for flavor.
Step 4: Combine Ingredients
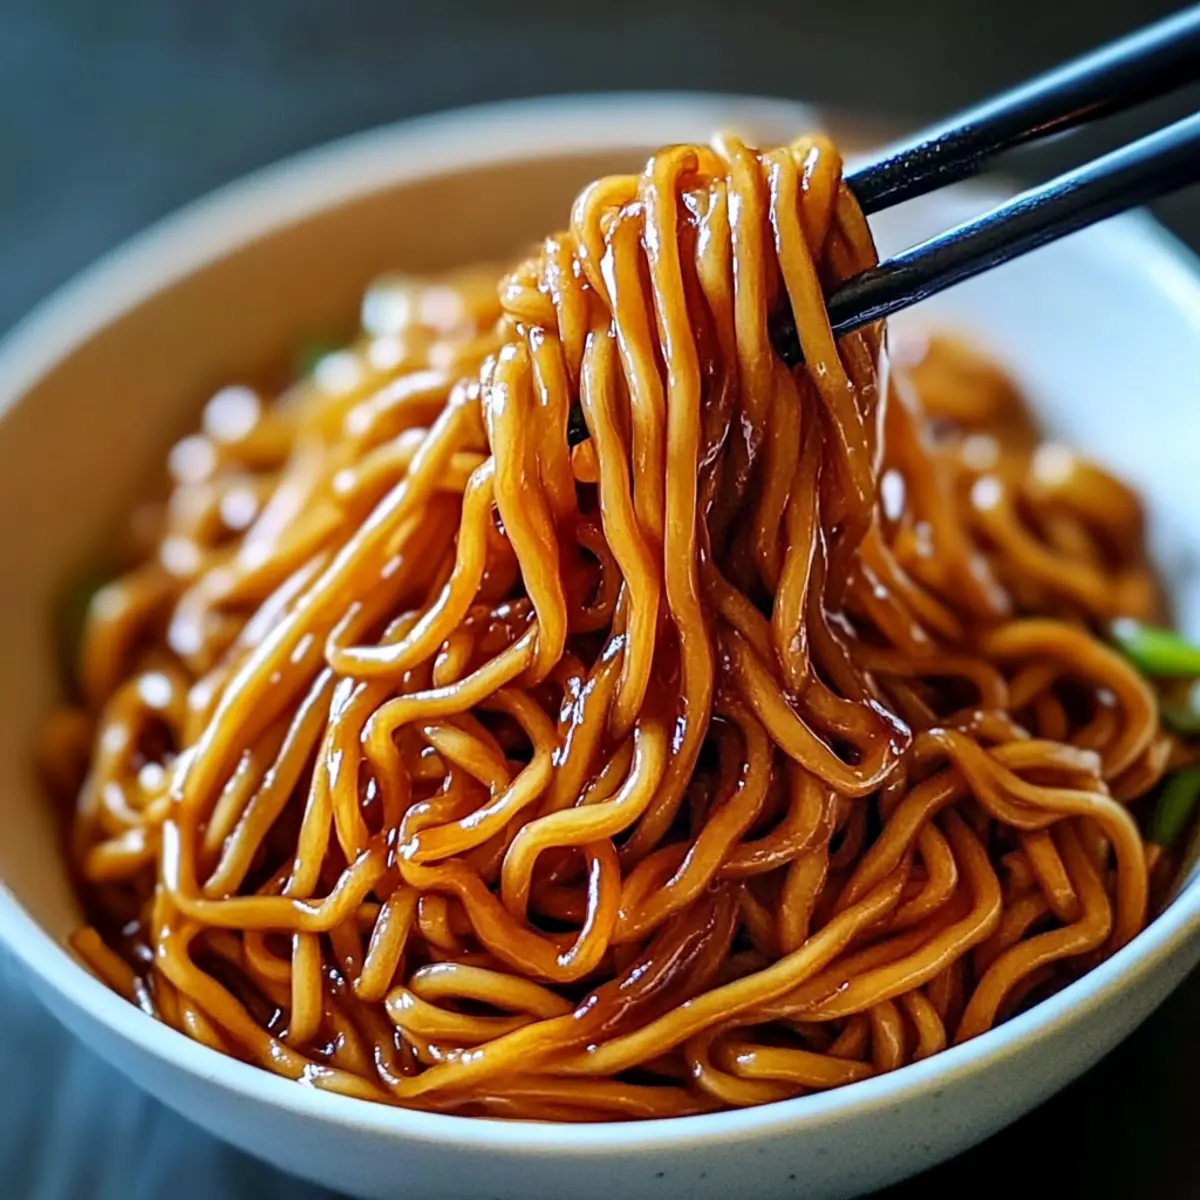
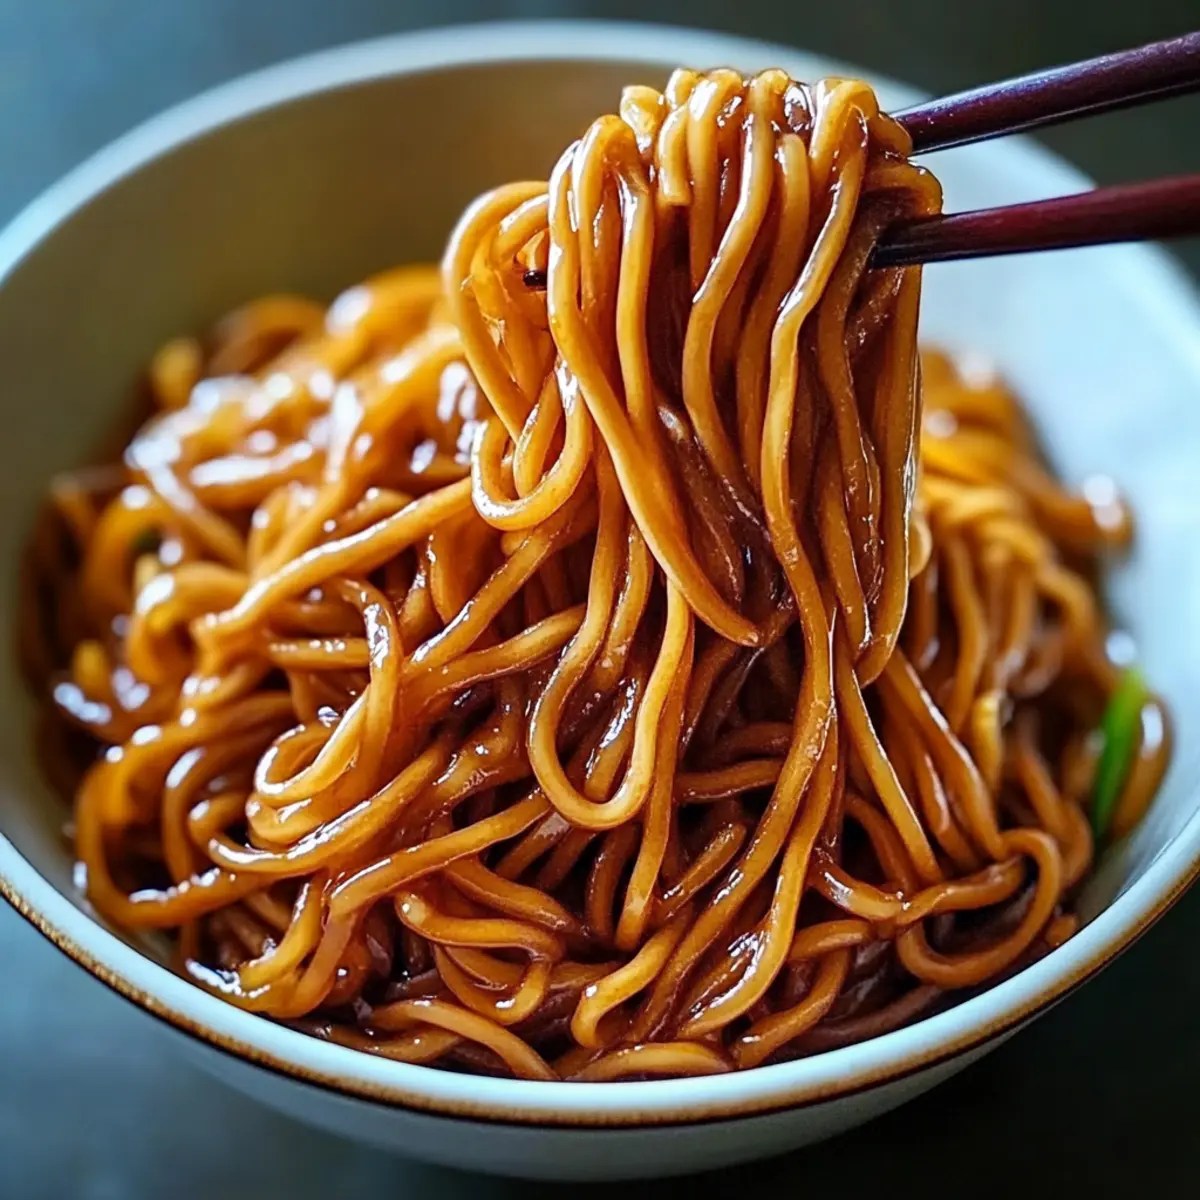
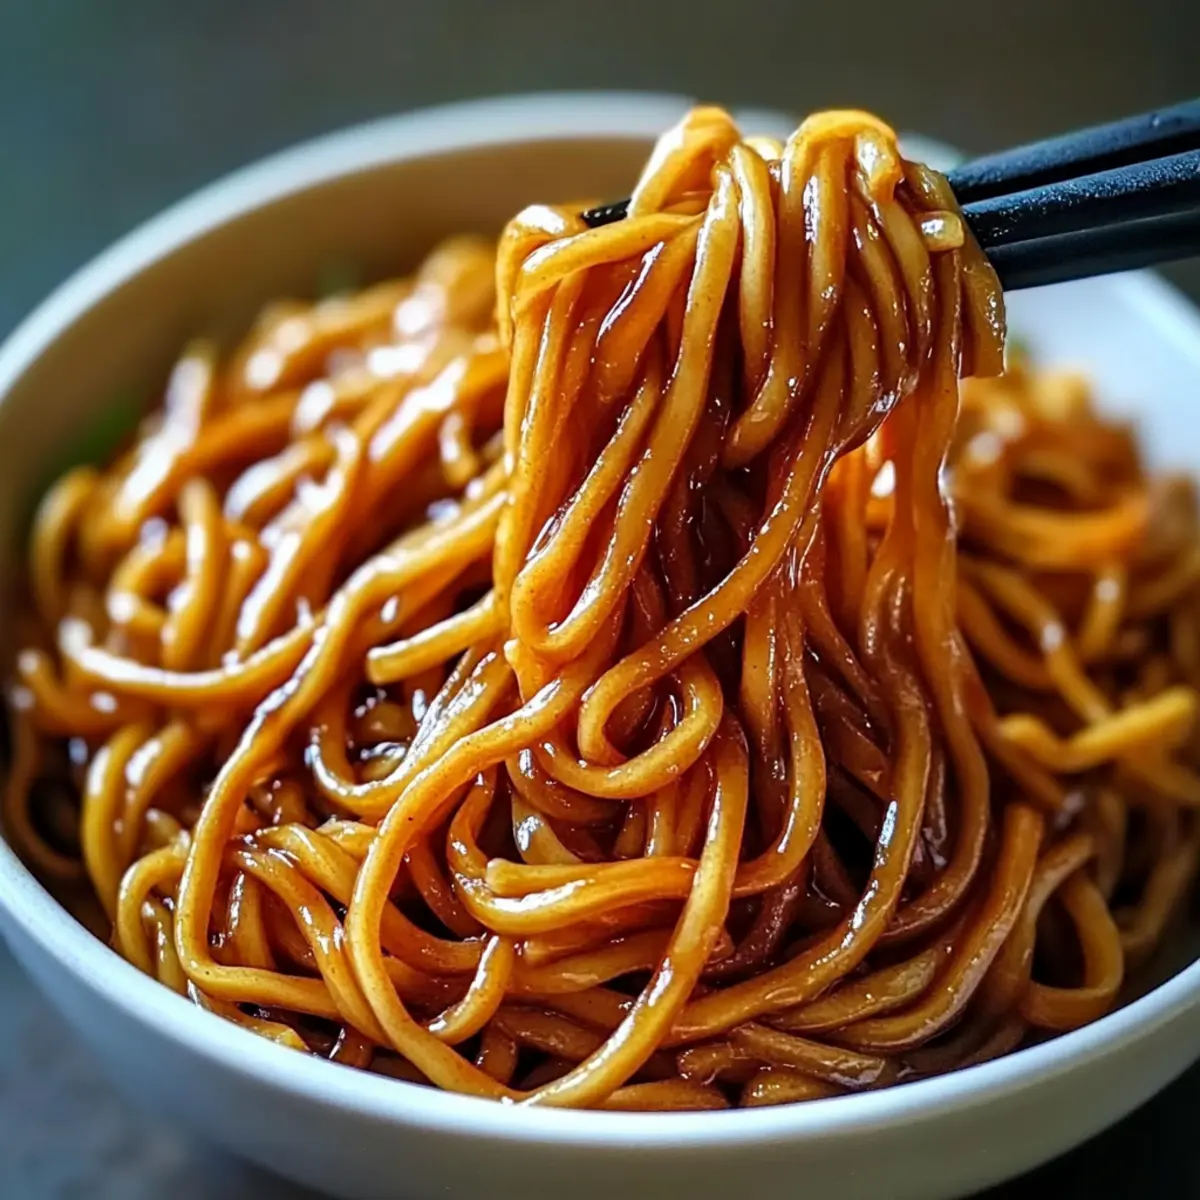
With the skillet still warm, add the drained ramen noodles to the bacon drippings, tossing gently to combine. Remove the skillet from heat, then quickly pour in the egg and parmesan mixture, stirring vigorously to coat the noodles without scrambling the eggs. In this key step, you’ll see the creamy sauce enveloping each strand of ramen beautifully.
Step 5: Season & Serve
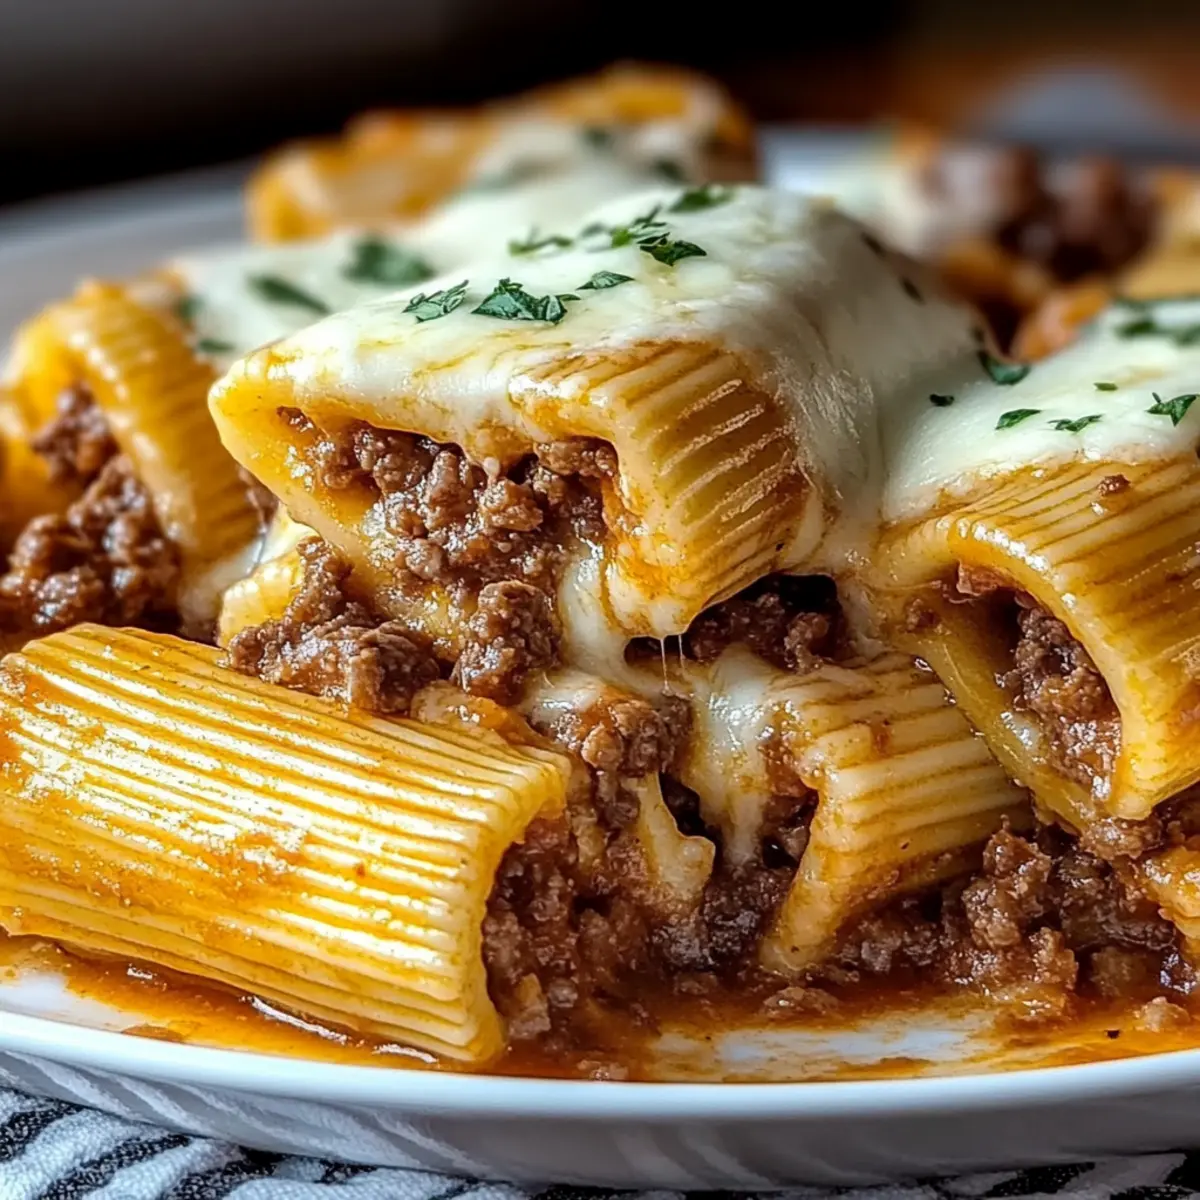
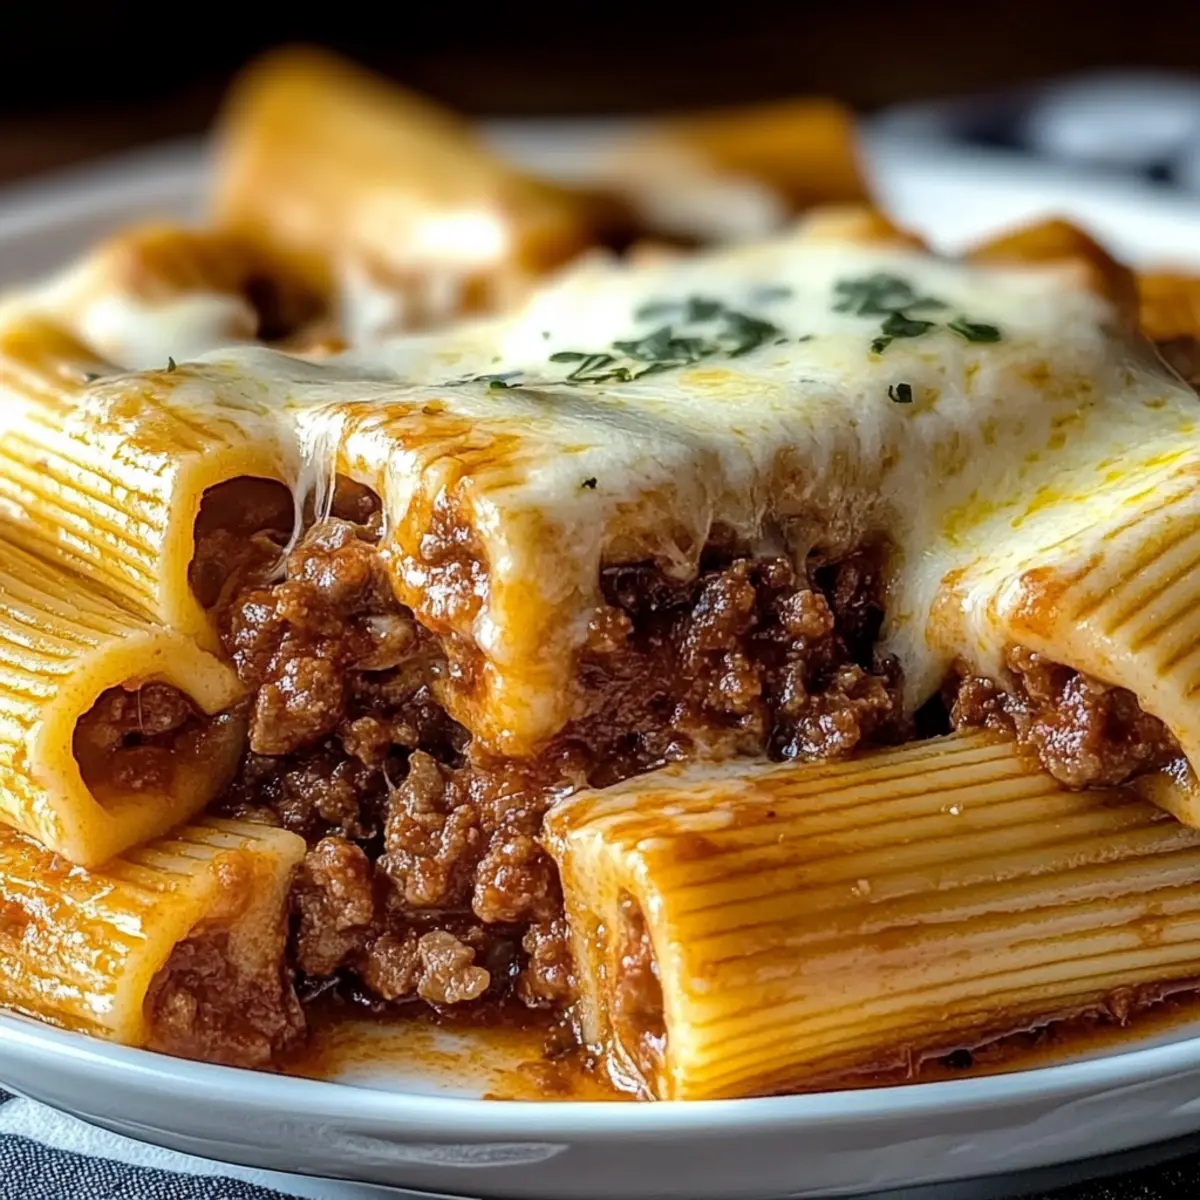
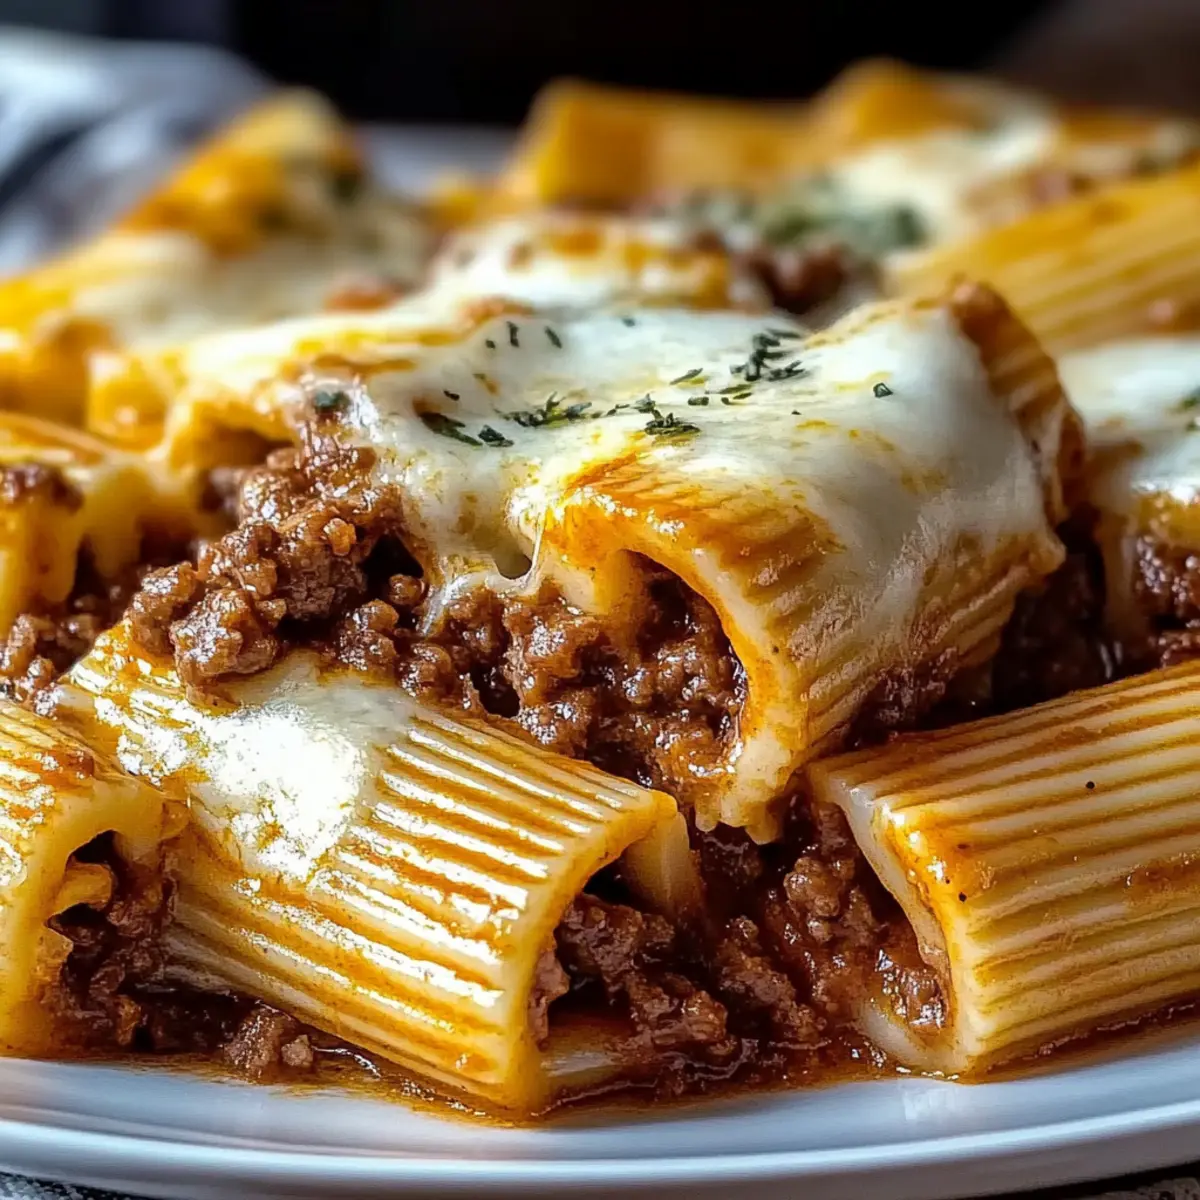
If desired, stir in gochujang or hot sauce to add an extra kick and mix well. Plate your delicious Ramen Carbonara, garnishing with extra parmesan and freshly chopped herbs like parsley or green onions for a pop of color and freshness. Enjoy this delightful fusion of Italian and Japanese flavors, perfect for a quick weeknight dinner!
Make Ahead Options
These Ramen Carbonara are perfect for busy weeknights and meal prep enthusiasts! You can cook the ramen noodles and crisp the bacon up to 24 hours in advance—just make sure to store them separately in airtight containers in the refrigerator. This prevents the noodles from becoming soggy and keeps the bacon crispy. You can also whisk together the egg and parmesan mixture ahead of time and refrigerate it until needed. When you're ready to serve, simply reheat the noodles and bacon gently in a skillet, remove from heat, and quickly stir in the egg mixture for that creamy finish. This way, you'll have a delicious and satisfying dinner with minimal effort!
Ramen Carbonara: Flavorful Variations Await!
Feel free to embrace your creativity and explore delightful twists that enhance this already delicious dish!
- Vegetarian Option: Swap bacon for sautéed mushrooms or tofu, and use vegetarian ramen seasoning. This way, you still enjoy a rich flavor without the meat.
- Add Vegetables: Incorporate peas, spinach, or bell peppers for a colorful nutrient boost. The added crunch and color elevate the overall dish.
- Cheese Variations: Experiment with different cheeses like pecorino or gouda for unique flavors. Each cheese brings its own character, transforming your carbonara in exciting ways.
- Spicy Kick: Introduce sliced chilies or a sprinkle of red pepper flakes for an extra heat level. This adds a fun bit of warmth that enhances the overall dish.
- Coconut Cream Twist: For a dairy-free experience, replace the egg mixture with coconut cream and nutritional yeast. This creates a creamy, comforting sauce with a hint of tropical flavor.
- Garlic Lovers Delight: Add minced garlic to the skillet while crisping the bacon for a fragrant aroma. This step brings depth and enhances the comforting essence of the dish.
- Noodle Swap: Try using soba or udon noodles instead if you’re craving a different texture or flavor. Both options provide satisfying twists that keep things interesting.
- Umami Boost: Stir in a splash of soy sauce or miso paste before serving to deepen the savory notes. This small addition creates new levels of flavor in each bite.
As you personalize your Ramen Carbonara, remember, creativity in cooking is all about exploring flavors and textures that resonate with your palate! If you're looking for another delicious comfort food dish, you might also enjoy these creamy garlic mushroom pasta or spicy chili ramen recipes to keep your culinary adventures thriving!
Expert Tips for Ramen Carbonara
• Heat Management: Remove the skillet from heat before adding the egg mixture to prevent scrambling; the residual heat gently cooks the eggs into a creamy sauce.
• Creamy Upgrade: For an extra touch of indulgence, whisk in a splash of cooking cream along with the eggs to enhance the richness of your Ramen Carbonara.
• Taste Test: Always taste and adjust seasoning with salt and pepper after combining the ingredients; this ensures every bite is full of flavor without overpowering the dish.
• Noodle Choice: Opt for Shin Ramyun or wholegrain ramen for the perfect chewy texture, enhancing the overall eating experience of your Carbonara.
• Vegetarian Twist: If you're opting for a vegetarian version, replace the bacon with sautéed mushrooms or tofu and use a vegetarian ramen seasoning for a delicious alternative.
How to Store and Freeze Ramen Carbonara
Fridge: Store leftover Ramen Carbonara in an airtight container for up to 2 days. Ensure it's cooled to room temperature before sealing to maintain freshness.
Freezer: For longer storage, freeze the Ramen Carbonara in a freezer-safe container for up to 3 months. Divide portions for convenient reheating later.
Reheating: Thaw overnight in the fridge before reheating. Gently warm on the stovetop over low heat, adding a splash of water or cream to restore the creamy texture.
Best When Fresh: While leftovers can be stored, Ramen Carbonara is best enjoyed fresh for that delightful creamy experience!
What to Serve with Ramen Carbonara?
Create a memorable meal by pairing delightful sides and finishes with your fusion masterpiece.
- Garlic Bread: Homemade or store-bought, its crispy, buttery texture complements the creaminess of the carbonara beautifully.
- Steamed Edamame: Lightly salted, these bite-sized beans add a fresh pop of color and a protein-packed snack.
- Asian Salad: A mix of crunchy vegetables, like cucumbers and carrots, dressed with sesame vinaigrette creates a refreshing contrast to the creamy dish.
- Chili Oil Drizzle: A simple drizzle of chili oil adds an exciting kick that enhances the flavor of your Ramen Carbonara.
- Sushi Rolls: Pairing with a few maki rolls offers the perfect fusion twist, bringing together contrasting textures and flavors in one meal.
- Cold Sake: A chilled glass of sake can elevate your dining experience, beautifully matching the savory notes of the carbonara.
- Green Tea Tiramisu: For dessert, this light and creamy fusion provides a refreshing end to your meal, balancing the richness of the carbonara.
Ramen Carbonara Recipe FAQs
What type of ramen noodles should I use?
For a delightful chew and texture, I recommend using Shin Ramyun or wholegrain ramen noodles. These varieties stand up well to the creamy sauce while providing the perfect foundation for your Ramen Carbonara.
How should I store leftover Ramen Carbonara?
Store any leftovers in an airtight container in the fridge for up to 2 days. Make sure the dish has cooled to room temperature before sealing to help maintain its freshness.
Can I freeze Ramen Carbonara?
Absolutely! To freeze, portion the Ramen Carbonara into freezer-safe containers and store for up to 3 months. When you're ready to enjoy it again, thaw overnight in the fridge, then gently warm it on the stovetop, adding a splash of water or cream to help restore that creamy texture.
What should I do if my sauce turns out too thick?
If your sauce is thicker than you'd like after mixing in the egg and cheese, don’t worry! Simply add a small splash of hot water or a bit more cream and stir vigorously until the desired consistency is reached. This will help loosen the sauce while keeping all the delicious flavors intact!
Can I make this dish vegetarian?
Definitely! For a vegetarian version of Ramen Carbonara, swap the bacon for sautéed mushrooms or even tofu. You can use a vegetarian seasoning for the ramen as well to enhance the flavors while keeping it meat-free.
How long does it take to prepare Ramen Carbonara?
This delightful dish is a quick winner! From start to finish, including all prep and cooking, you can have Ramen Carbonara ready in under 20 minutes. Perfect for those busy weeknights!
Savory Ramen Carbonara: A Quick Comfort Food Classic
Ingredients
Equipment
Method
- Start by boiling a large pot of water over high heat. Once boiling, add the ramen noodles and cook for about 3–4 minutes. Drain and set aside.
- In a mixing bowl, crack open the large eggs and whisk with the grated parmesan until smooth. Set aside.
- Heat a skillet over medium heat and add the bacon. Cook until golden and crispy, about 5–7 minutes. Transfer to a paper towel-lined plate.
- In the warm skillet, add drained ramen noodles to bacon drippings. Remove from heat and quickly stir in egg and parmesan mixture to coat noodles.
- Optional: Stir in gochujang or hot sauce. Serve garnished with extra parmesan and chopped herbs.