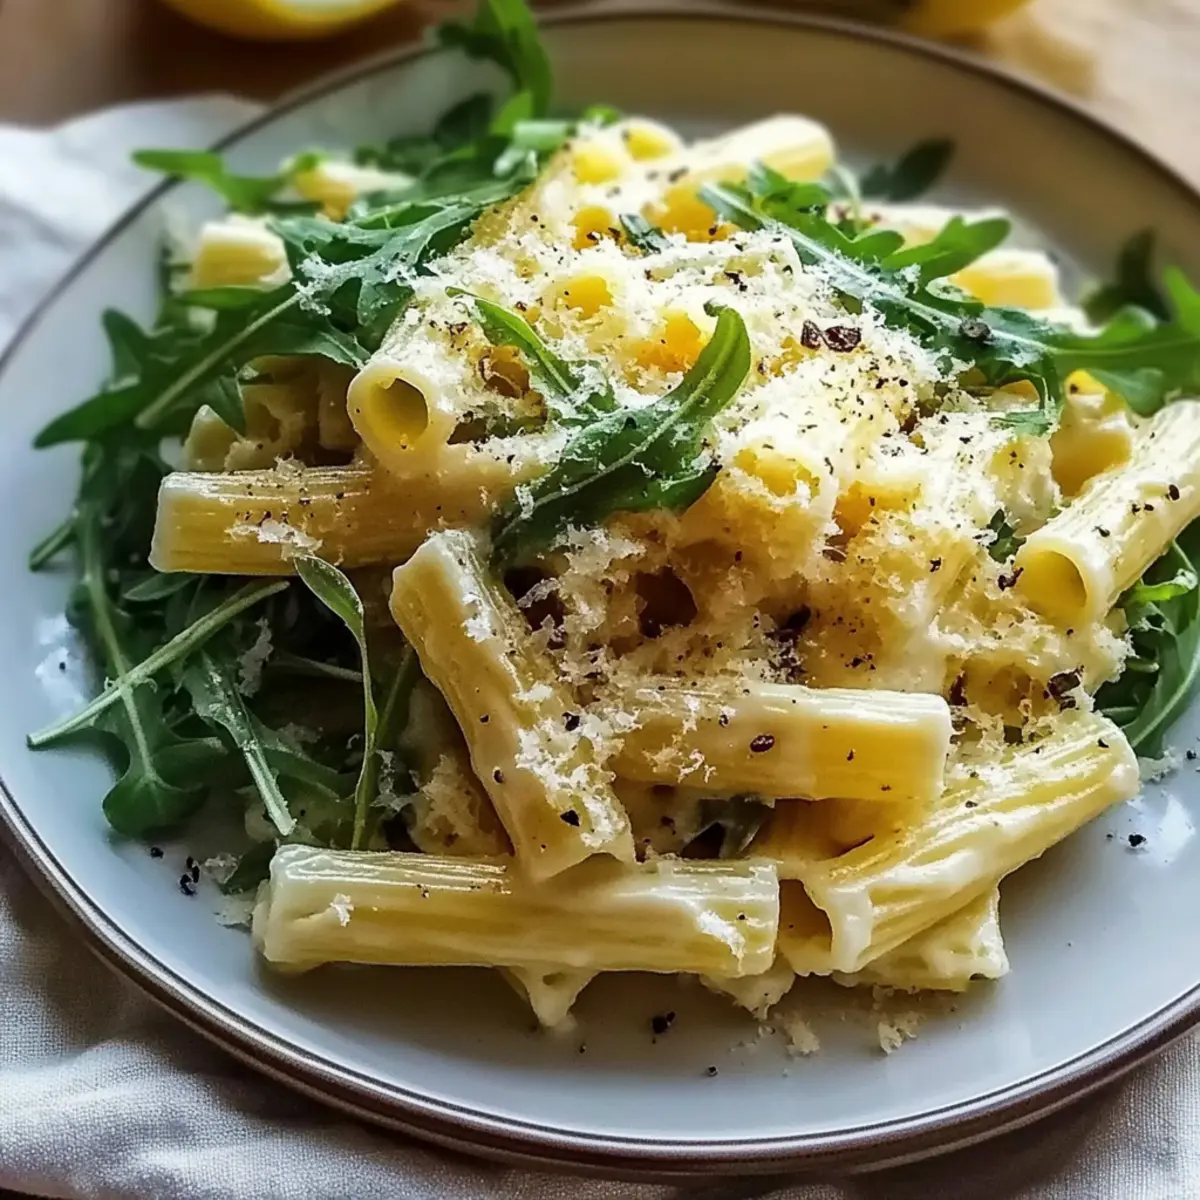
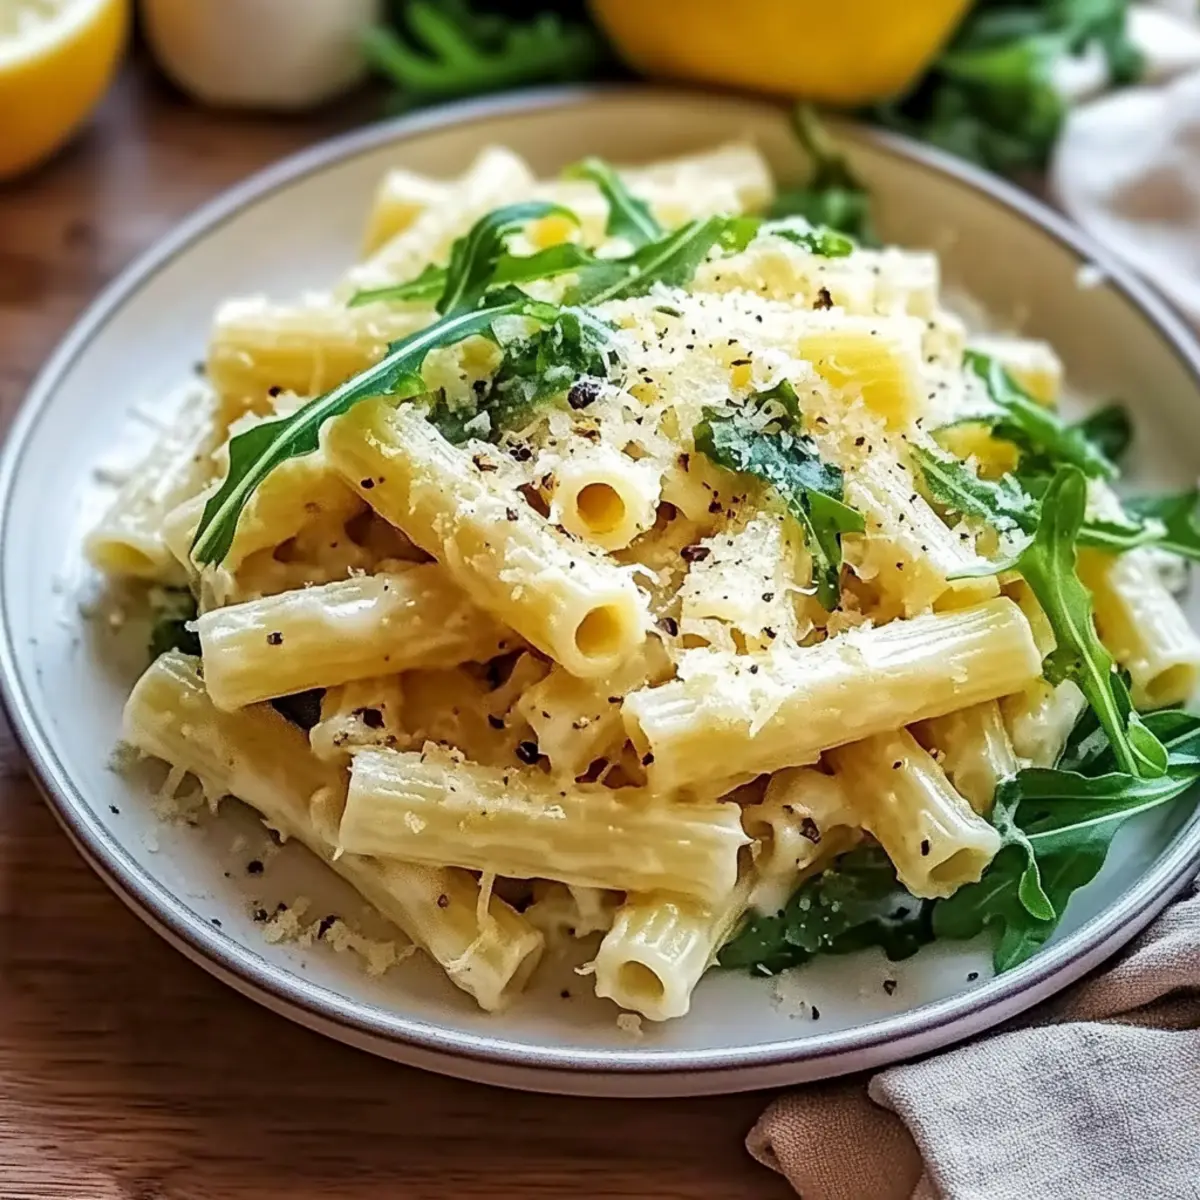
As I stirred the creamy mixture in the pan, the aroma of lemon and ricotta wafted through my kitchen, instantly transporting me to a sun-drenched Italian terrace. Stanley Tucci’s Creamy Lemon Ricotta Pasta with Arugula is not just a dish; it’s an experience that brings together rich, comforting flavors and a vibrant pop of freshness. This recipe is a true lifesaver for those busy weeknights, allowing you to whip up a quick meal that feels indulgent without the fuss. With its creamy base and peppery arugula, it’s equally perfect for a cozy dinner or an impressive dinner party. And if you're looking to accommodate dietary preferences, no worries—this pasta can easily be made vegan! What’s your favorite twist on classic pasta dishes?
Why is this pasta recipe so special?
Quick and Easy: This Stanley Tucci-inspired dish comes together in under 30 minutes, making it perfect for those chaotic weeknights.
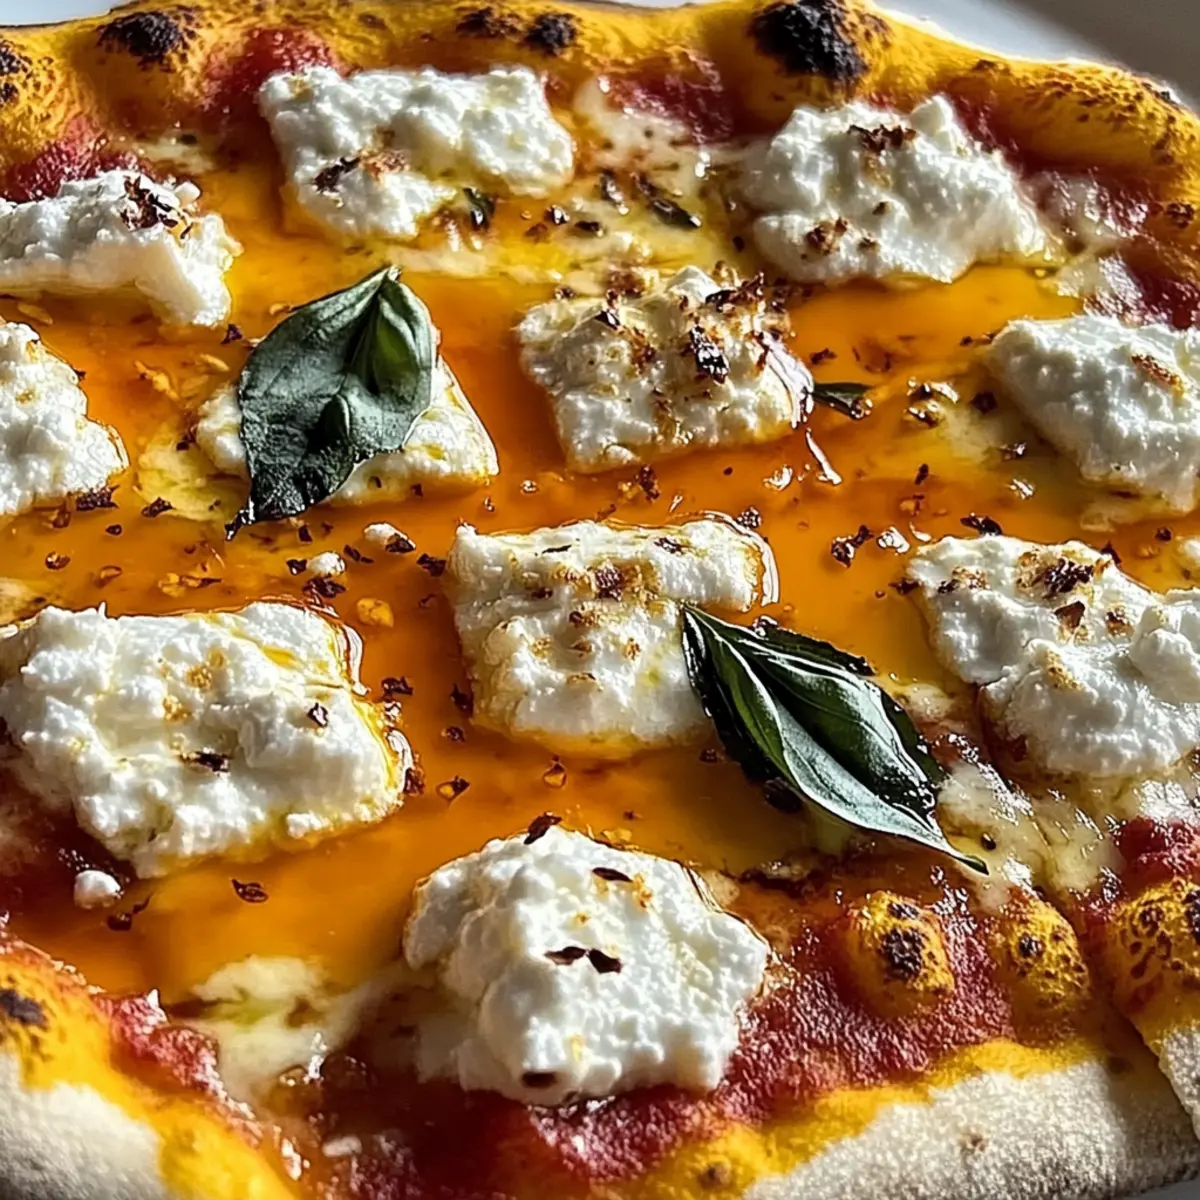
Creamy Delight: The luscious ricotta and zesty lemon create a flavor explosion that dances on your taste buds.
Versatile: With simple swaps like using gluten-free pasta or plant-based ricotta, it caters to various dietary needs.
Crowd-Pleasing: Impress your friends with sophisticated flavors that feel gourmet without the hassle.
Fresh Twist: The addition of peppery arugula adds a delightful crunch, making every bite a little celebration!
Pair it with a refreshing side salad or some garlic bread for a complete meal, and don't hesitate to check out my variations for more delicious options like Herby Ricotta Stuffed Peppers or a classic Seafood Pasta if you're looking to mix things up!
Stanley Tucci’s Creamy Lemon Ricotta Pasta Ingredients
-
For the Pasta
Pasta – Choose any pasta shape you prefer, like spaghetti or fettuccine, for a delicious base. -
For the Cream Sauce
Ricotta Cheese – This rich ingredient adds a creamy texture; substitute with plant-based ricotta for a vegan option.
Lemon Zest & Juice – Infuses brightness and acidity; adjust to enhance the tangy flavor as desired.
Olive Oil – Use high-quality olive oil to elevate the richness of your sauce. -
For the Garnish
Arugula – This peppery green adds freshness and crunch; feel free to replace it with spinach if preferred.
Parmesan Cheese – Enhances umami flavors; can be omitted for a vegan version.
Salt & Pepper – Essential for seasoning; taste and adjust as needed.
Embrace the vibrant taste with Stanley Tucci’s Creamy Lemon Ricotta Pasta, and you’ll be savoring every luscious bite!
Step‑by‑Step Instructions for Stanley Tucci’s Creamy Lemon Ricotta Pasta with Arugula
Step 1: Cook the Pasta
Begin by bringing a large pot of salted water to a rolling boil over high heat. Add your choice of pasta, such as spaghetti or fettuccine, and cook according to the package instructions until al dente, usually around 8-10 minutes. Once cooked, reserve about a cup of the starchy pasta water and drain the rest.
Step 2: Prepare the Cream Sauce
In a large skillet, combine 1 cup of ricotta cheese, the zest of one lemon, the juice from half the lemon, and a drizzle of high-quality olive oil. Heat over low to medium heat, stirring gently until the mixture is smooth and warmed through, which should take about 3-5 minutes. Be careful not to let it boil!
Step 3: Combine Pasta and Sauce
Add the drained pasta directly to the creamy sauce in the skillet. Toss everything together to ensure the pasta is well-coated. If the sauce appears thick, gradually add reserved pasta water, a few tablespoons at a time, until you reach the desired creamy consistency.
Step 4: Add the Arugula
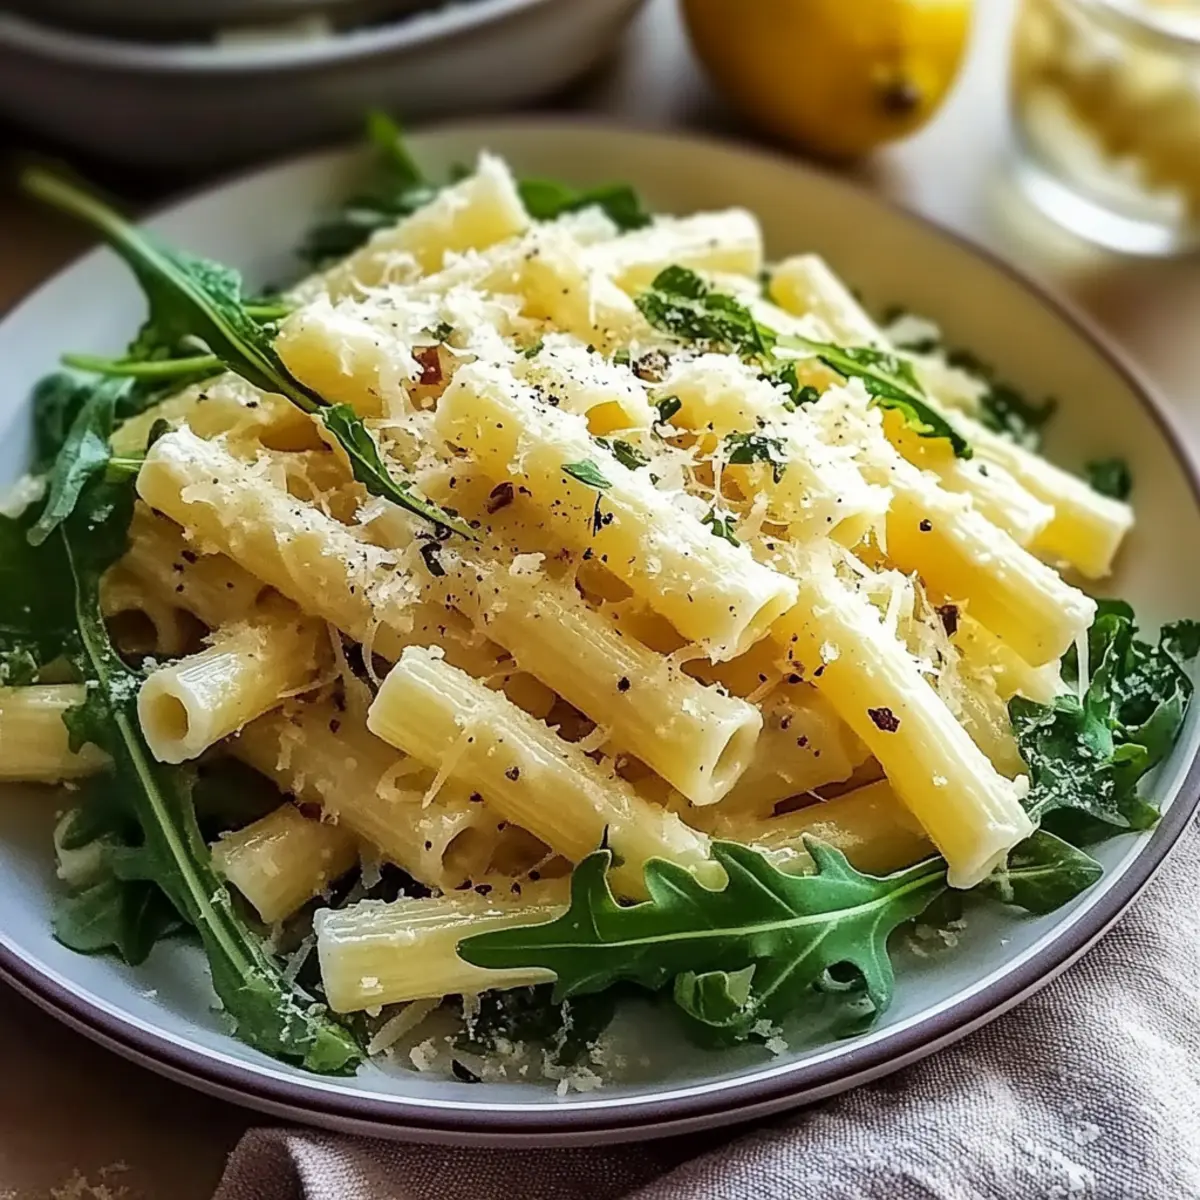
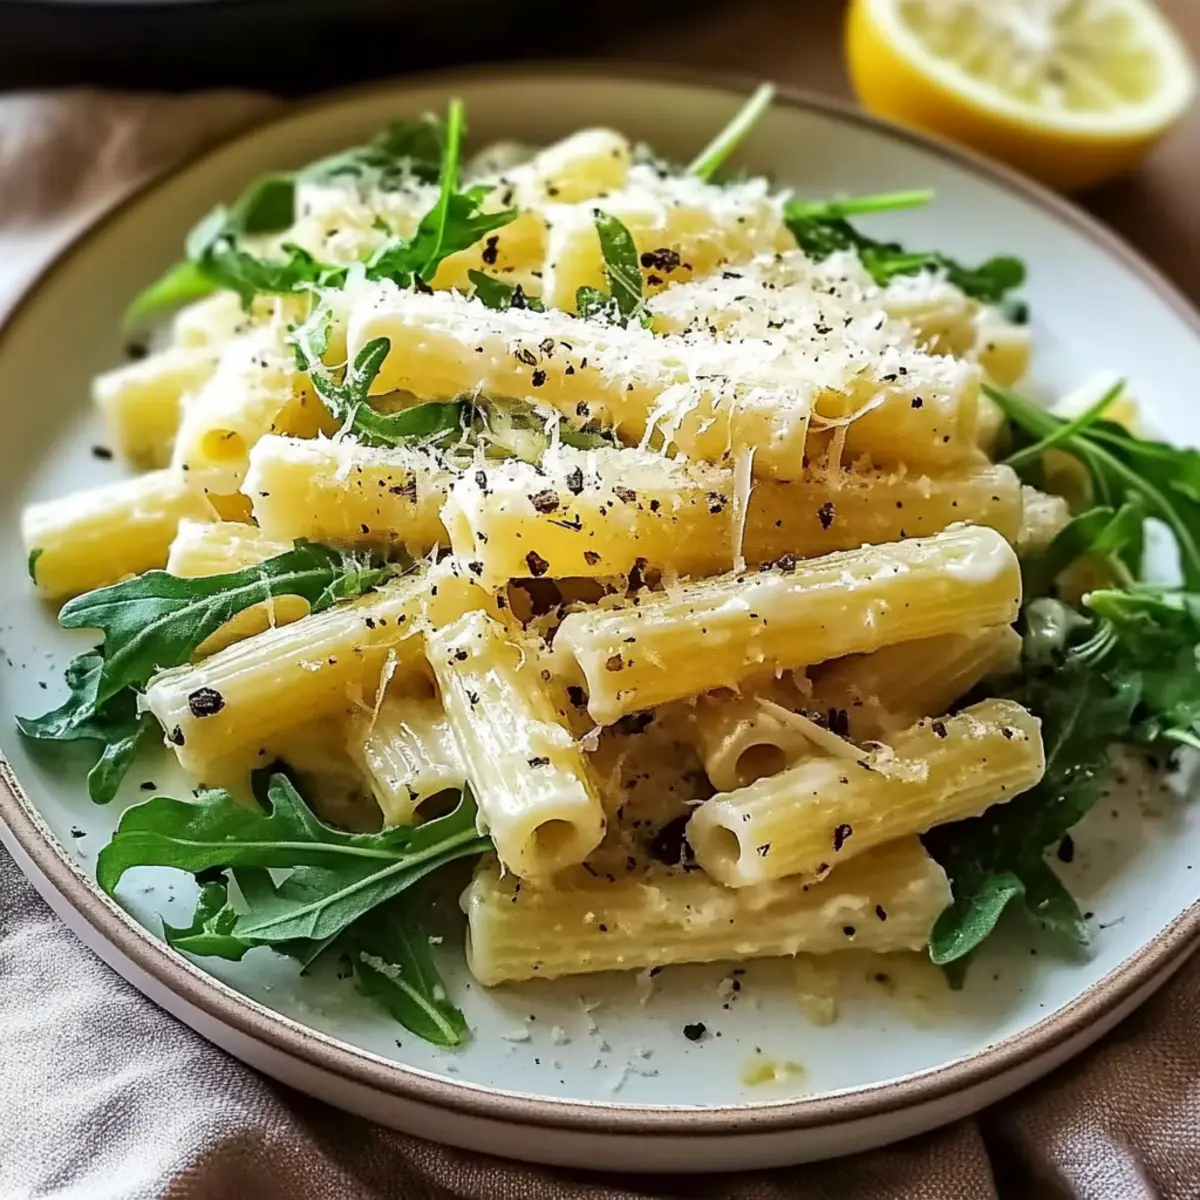
Once combined, stir in a generous handful of fresh arugula, allowing it to wilt slightly in the warm pasta. Season the mixture with salt and freshly cracked black pepper to taste. The peppery arugula will complement the creamy texture wonderfully in your Stanley Tucci’s Creamy Lemon Ricotta Pasta.
Step 5: Serve and Garnish
To plate, serve the pasta warm, garnished with freshly grated Parmesan cheese if desired, and an extra sprinkle of lemon zest for brightness. Enjoy the creamy delight of your dish, taking in the aromatic flavors that bring a touch of Italian authenticity to your table!
How to Store and Freeze Stanley Tucci’s Creamy Lemon Ricotta Pasta
-
Room Temperature: It's best to enjoy this pasta warm and freshly cooked. If left out, consume within 2 hours to ensure safety.
-
Fridge: Store any leftover Stanley Tucci’s Creamy Lemon Ricotta Pasta in an airtight container for up to 3 days. Reheat gently on the stove, adding a splash of water or olive oil to revitalize the creaminess.
-
Freezer: For longer storage, freeze the pasta in a freezer-safe container for up to 2 months. While it may alter the texture slightly, it will still be delicious upon reheating.
-
Reheating: To reheat from frozen, let it thaw in the refrigerator overnight. Reheat in a skillet over low heat, adding a bit of reserved pasta water or olive oil to restore its creamy goodness!
What to Serve with Stanley Tucci’s Creamy Lemon Ricotta Pasta with Arugula
Elevate your dining experience with delightful pairings that complement the zesty and creamy notes of this dish.
-
Garlic Bread: The buttery, garlicky flavor perfectly balances the creamy pasta, delivering a delightful crunch in every bite.
-
Simple Green Salad: A refreshing mix of greens with a light vinaigrette cuts through the richness, providing a vibrant contrast to the creamy pasta.
-
Roasted Vegetables: Roasted zucchini and cherry tomatoes add a sweet and caramelized depth, enhancing the freshness of the arugula.
-
Lemon Vinaigrette Drizzle: A tangy dressing over your salad brightens up the dish as beautifully as a splash of lemon in the pasta.
-
Sautéed Asparagus: Tender, lightly sautéed asparagus not only adds color but also brings a satisfying texture that complements the creamy sauce.
-
Chilled White Wine: A crisp Pinot Grigio or Sauvignon Blanc offers a refreshing counterpoint to the richness of the ricotta, perfect for a dinner party setting.
-
Fresh Fruit Dessert: Finish your meal with a light fruit tart or sorbet for a sweet, refreshing end, echoing the pasta's bright flavors.
-
Pesto Bruschetta: Crunchy bread topped with pesto adds a vibrant, herbaceous twist that resonates with the arugula, making it a perfect starter.
Expert Tips for Stanley Tucci’s Creamy Lemon Ricotta Pasta
-
Fresh Ingredients Matter: Always opt for high-quality ricotta and fresh lemons. The taste difference is remarkable and elevates your pasta dish significantly.
-
Pasta Perfection: Cook your pasta until al dente; it should retain a slight bite. Overcooked pasta becomes mushy and loses its charm in Stanley Tucci’s Creamy Lemon Ricotta Pasta.
-
Adjust to Taste: Don’t skip the tasting step! Adjust the lemon juice, salt, and pepper as needed to enhance flavors according to your personal preference.
-
Consistency Control: If your sauce is too thick, use the reserved pasta water to achieve the creamy consistency you desire, ensuring everything clings beautifully to the noodles.
-
Mix it Up: Feel free to add grilled chicken, shrimp, or your favorite veggies like cherry tomatoes for a twist—making it your unique version while keeping the main essence of the dish!
Make Ahead Options
Stanley Tucci’s Creamy Lemon Ricotta Pasta with Arugula is a fantastic meal prep option for busy weeknights! You can prepare the creamy sauce (ricotta, lemon zest, lemon juice, and olive oil) up to 24 hours in advance. Just refrigerate it in an airtight container to maintain its fresh flavor. Cook the pasta separately and store it in the fridge for up to 3 days. When you’re ready to indulge, simply reheat the sauce on low heat, add the cooked pasta, and toss in the fresh arugula right before serving, which will keep its crunch intact. This way, you'll have a delicious meal without the last-minute rush!
Stanley Tucci’s Creamy Lemon Ricotta Pasta Variations
Customize your culinary adventure with your favorite twists and variations for a delightful surprise in every bite!
-
Gluten-Free: Use gluten-free pasta to accommodate dietary restrictions without compromising taste. You won't even notice the difference!
-
Dairy-Free: Swap ricotta with plant-based ricotta for a vegan version that still delivers that creamy goodness. Let this adaptation open up a whole new world of flavors.
-
Vegetable Boost: Toss in sautéed cherry tomatoes, zucchini, or bell peppers for an extra layer of color and nutrition. These vibrant additions can transform your pasta into a rainbow on your plate.
-
Herbal Infusion: Add fresh basil or parsley to the creamy sauce for an aromatic lift. Imagine the delightful medley of herbs intertwining with your favorite flavors—it's like sunshine on a plate!
-
Protein Power: Incorporate grilled shrimp or chicken for a heartier meal packed with protein. This addition makes it not just a side dish, but a complete dinner compelling enough to impress guests.
-
Spicy Kick: A pinch of red pepper flakes can take your dish to new heat levels. Just imagine the tantalizing warmth dancing on your taste buds—in perfect harmony with the creamy sauce.
-
Citrus Twist: Try adding a splash of orange juice in place of some lemon juice for a fruity surprise. The aromatic zest will add a refreshing twist that'll keep everyone guessing what's next!
Feel free to experiment with these variations, or try pairing your pasta with a fresh side salad or delicious garlic bread like my Lemon Chicken Soup or Skillet Pasta Sun. Enjoy your culinary journey!
Stanley Tucci’s Creamy Lemon Ricotta Pasta with Arugula Recipe FAQs
What kind of pasta should I use for this recipe?
You can use any pasta shape you love, such as spaghetti, fettuccine, or penne. Just make sure to cook it al dente, as the texture will hold the creamy sauce better. I often recommend using whole grain for a bit of extra fiber!
How do I store leftover pasta?
Store any leftover Stanley Tucci’s Creamy Lemon Ricotta Pasta in an airtight container in the fridge for up to 3 days. To reheat, gently warm it on the stove with a splash of water or olive oil to bring back its creamy texture!
Can I freeze this pasta dish?
Absolutely! You can freeze the pasta in a freezer-safe container for up to 2 months. Just be aware that while it might alter the sauce’s texture slightly, it will still taste delicious. To reheat, let it thaw overnight in the fridge, then warm gently in a skillet, adding reserved pasta water if needed.
What should I do if the sauce is too thick?
If your sauce turns out too thick, no worries! Gradually add reserved pasta water, a tablespoon at a time, while tossing to achieve the desired creamy consistency. This will help everything combine smoothly without compromising the flavors.
Are there any dietary considerations with this recipe?
Yes! You can easily make this dish vegan by substituting the ricotta with a plant-based version and omitting the Parmesan cheese. It’s versatile enough to cater to gluten-free diets as well by using gluten-free pasta. Just check your labels if you're cooking for someone with allergies!
How can I enhance the flavors further?
To really elevate your dish, I recommend using high-quality, fresh ricotta and ripe lemons. Adjust the lemon juice, zest, salt, and pepper to suit your taste. You might also experiment by adding sautéed vegetables like cherry tomatoes or zucchini for extra nutrition and flavor!
Stanley Tucci’s Creamy Lemon Ricotta Pasta with Arugula Delight
Ingredients
Equipment
Method
- Bring a large pot of salted water to a rolling boil. Add pasta and cook until al dente, about 8-10 minutes. Reserve a cup of pasta water, then drain.
- In a large skillet, combine ricotta, lemon zest, lemon juice, and olive oil. Heat gently over low to medium, stirring until smooth, 3-5 minutes.
- Add drained pasta to the skillet, combining with the sauce. If too thick, add reserved pasta water gradually.
- Stir in arugula until slightly wilted. Season with salt and pepper.
- Serve warm, garnished with Parmesan and extra lemon zest if desired.