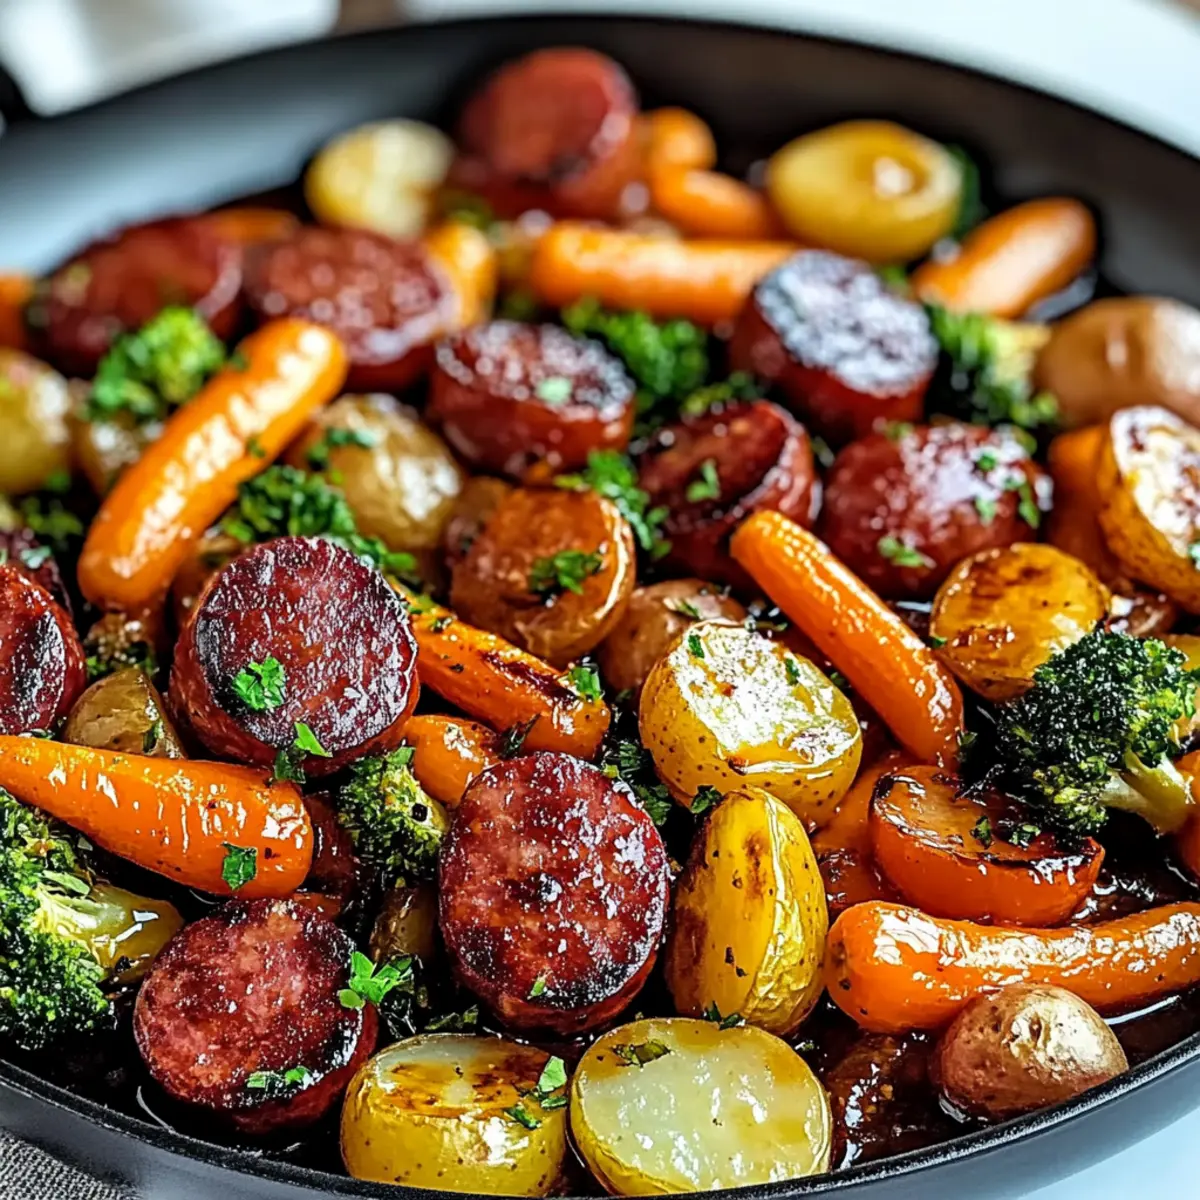
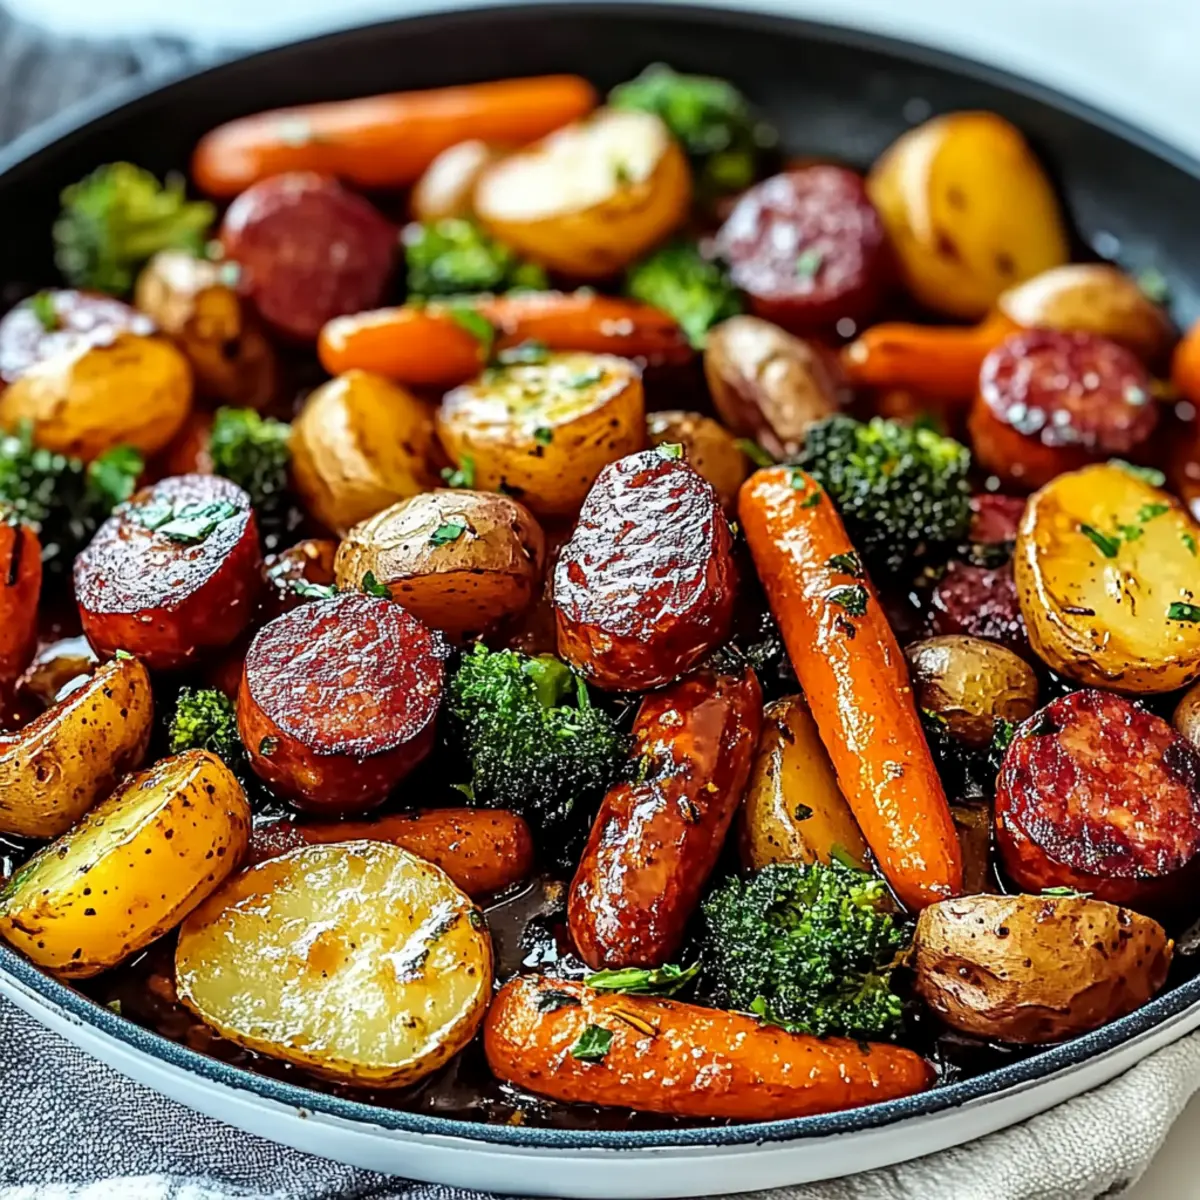
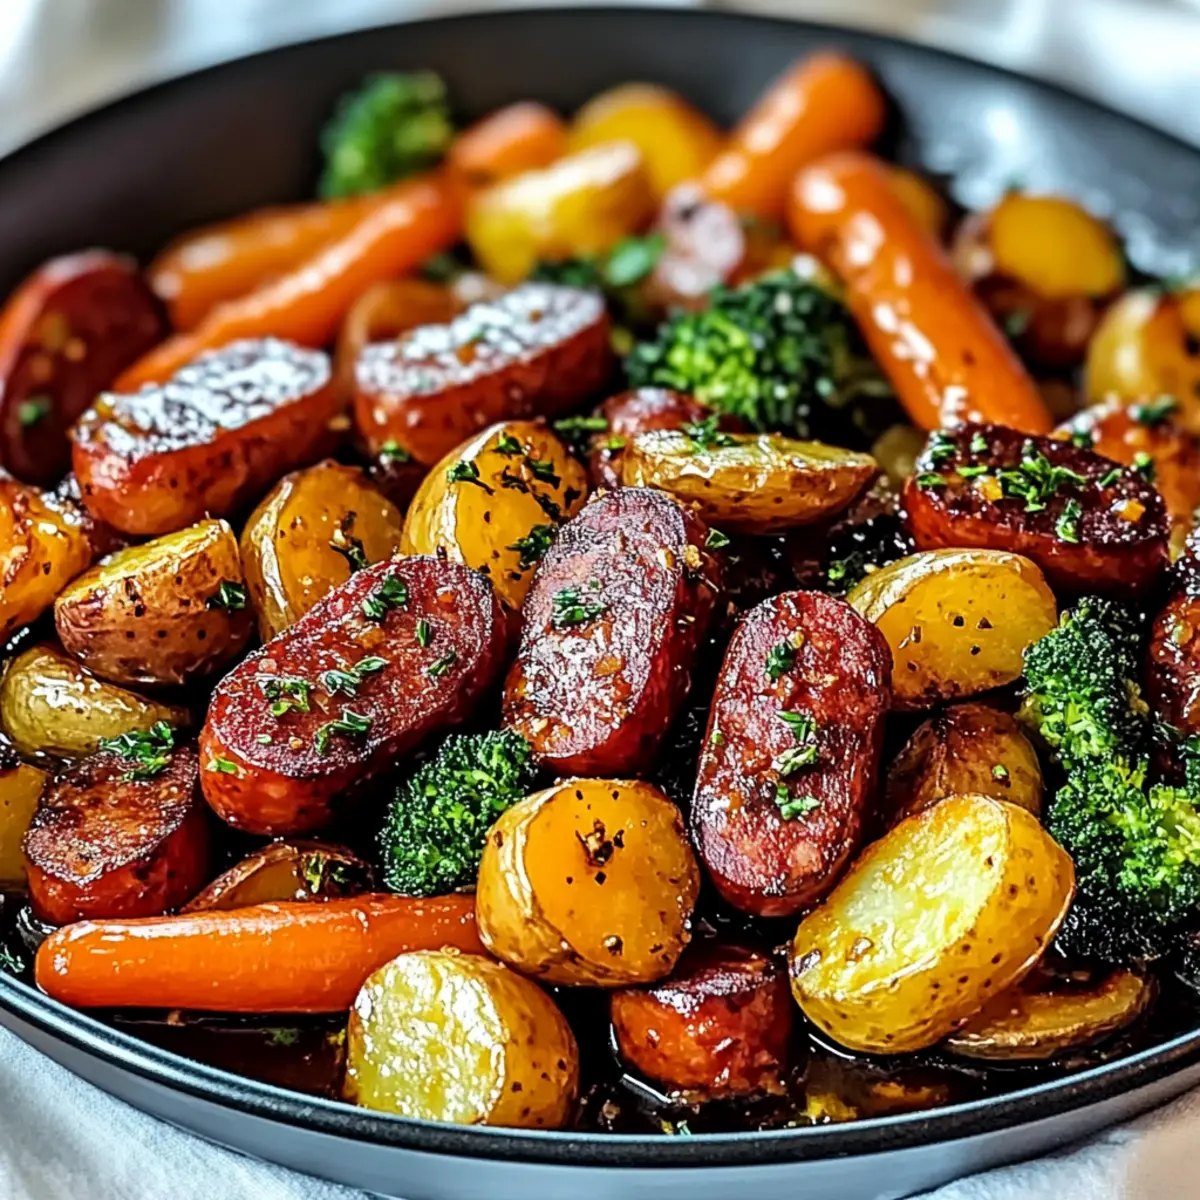
The aroma of honey and garlic swirling through the kitchen feels like a warm hug on a busy weeknight. Let me introduce you to my One-Pan Honey Garlic Kielbasa & Veggies—a dish that effortlessly combines savory kielbasa with an array of colorful vegetables, all while being incredibly easy to prepare. Perfect for those frantic evenings, this family-friendly recipe not only saves you time but also eliminates the hassle of multiple pots and pans. With its protein-rich ingredients and customizable options, you can make this dish fit every taste preference in your household. Curious how a single pan can create such a delightful medley? Keep reading to savor the magic!
Why is One-Pan Cooking a Game Changer?
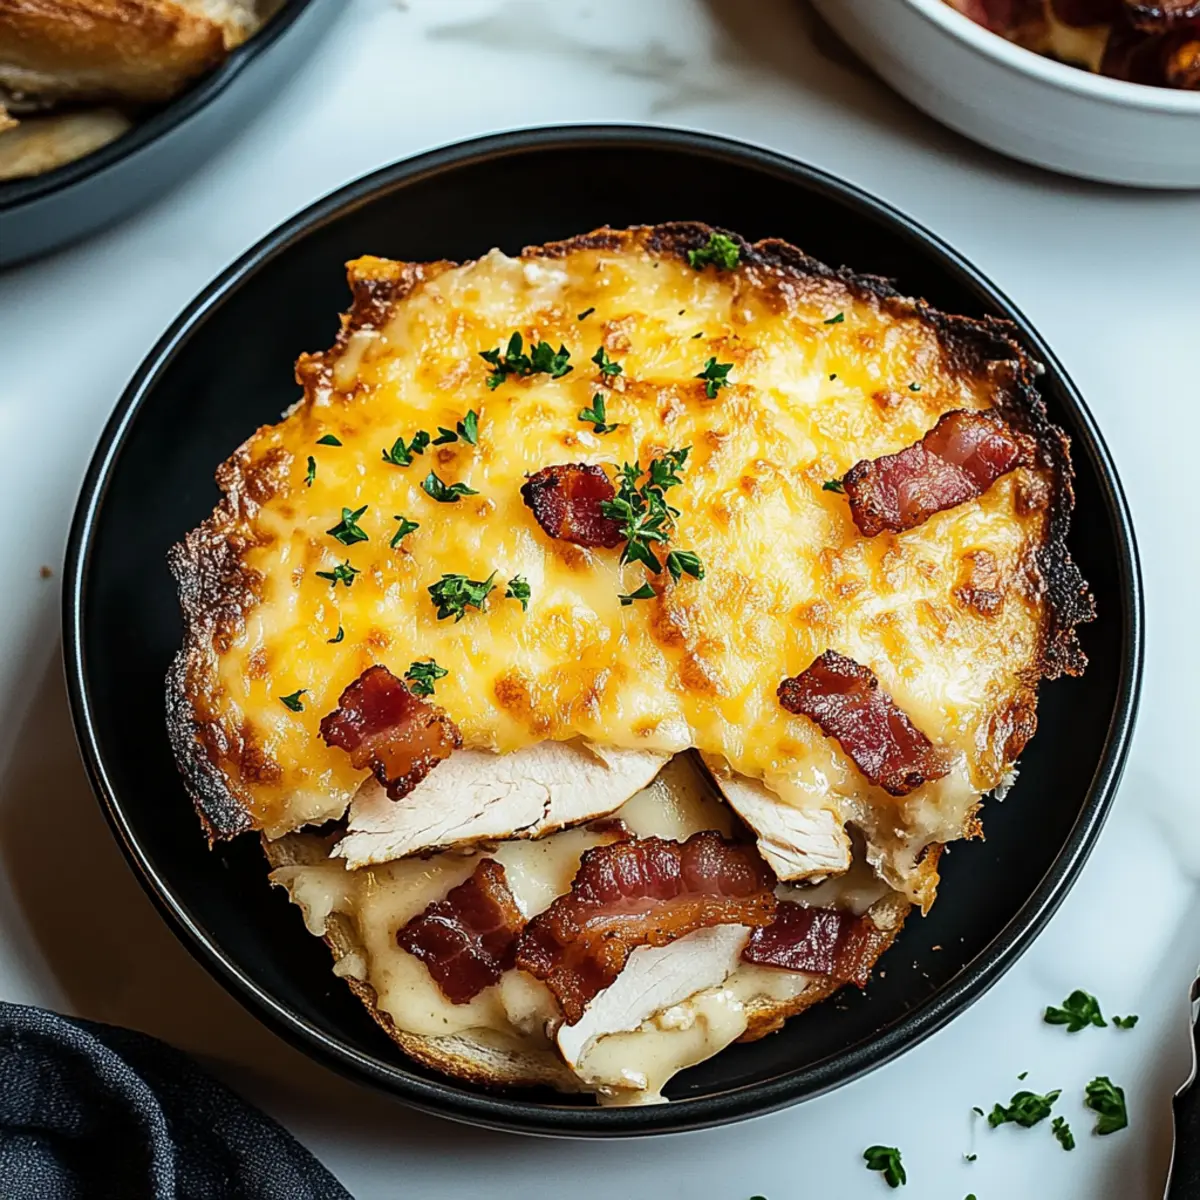
Convenience is at the forefront of this delightful recipe—ready in just 30 minutes, it’s perfect for those hectic weeknight dinners. Flavorful aromas of garlic and honey mingle beautifully, pleasing everyone at the table. Customizable to fit any dietary need, you can swap kielbasa for chicken or veggies based on your cravings. Minimal Cleanup means more time to enjoy your family meal, while the colorful presentation makes it visually appealing. Want an easy side? Serve it with Cheesy Garlic Bread to elevate your dinner experience!
One-Pan Honey Garlic Kielbasa & Veggies Ingredients
• For the Kielbasa
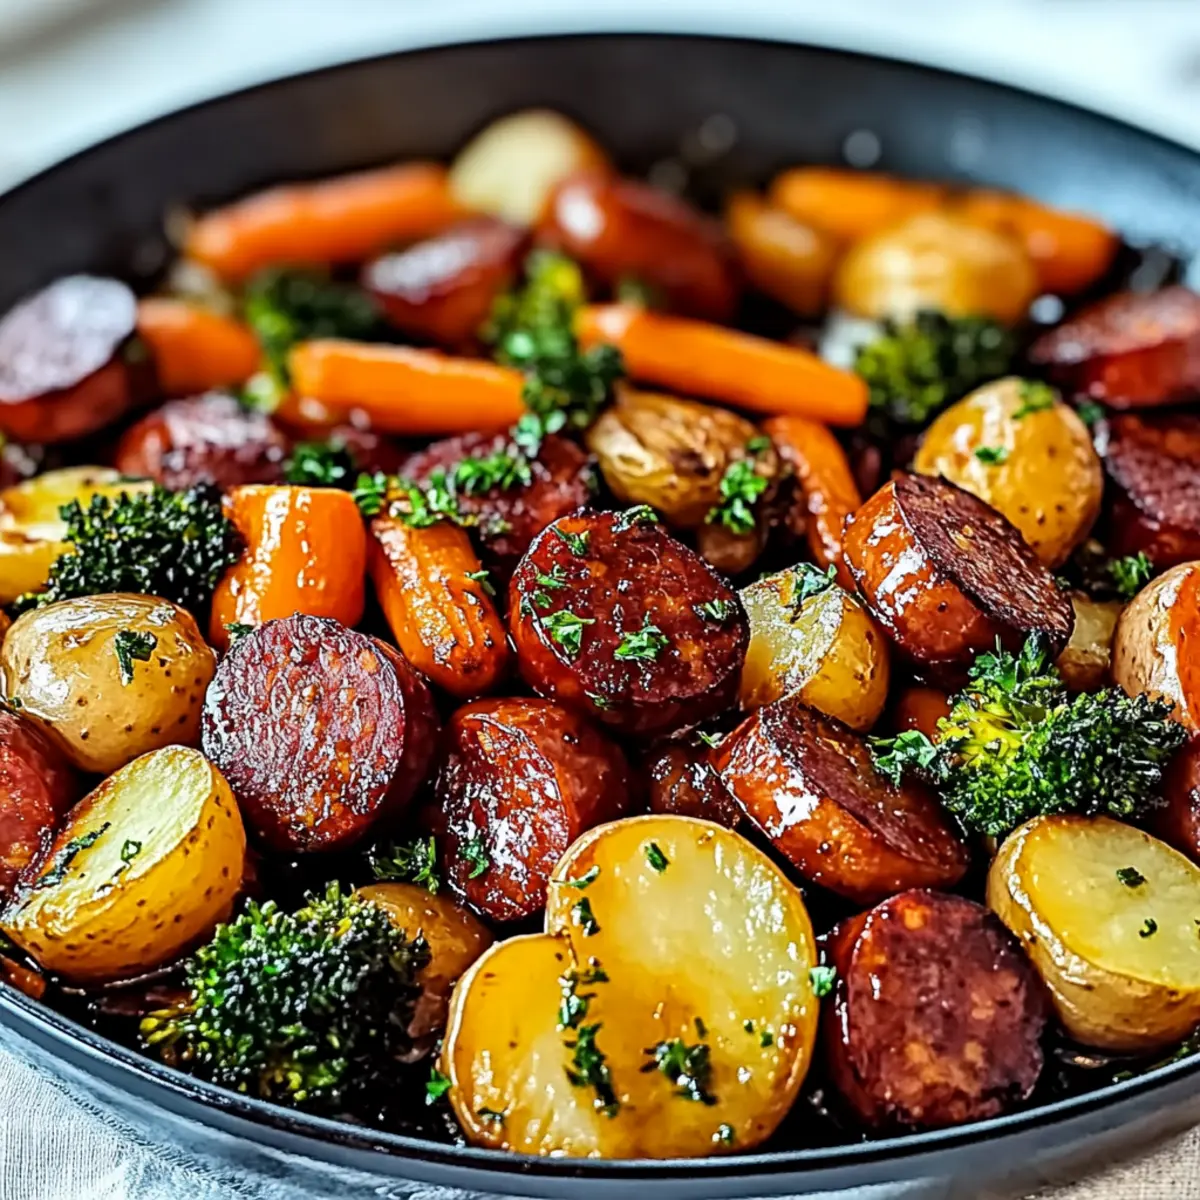
- Kielbasa – A protein-rich base that brings savory flavor; opt for high-quality for the best taste.
- Honey – Offers natural sweetness and enhances caramelization; local honey can add unique flavor notes.
- Garlic – Adds robust aroma and layered flavor; feel free to adjust the amount based on your love for garlic!
- Soy Sauce – Brings umami depth; low-sodium options are available for a healthier twist.
• For the Veggies
- Bell Peppers (red & yellow) – Provides sweetness and vibrant color; zucchini or asparagus make excellent substitutes.
- Baby Carrots – Contributes crunch and natural sweetness; regular carrots can be used, but adjust cooking time.
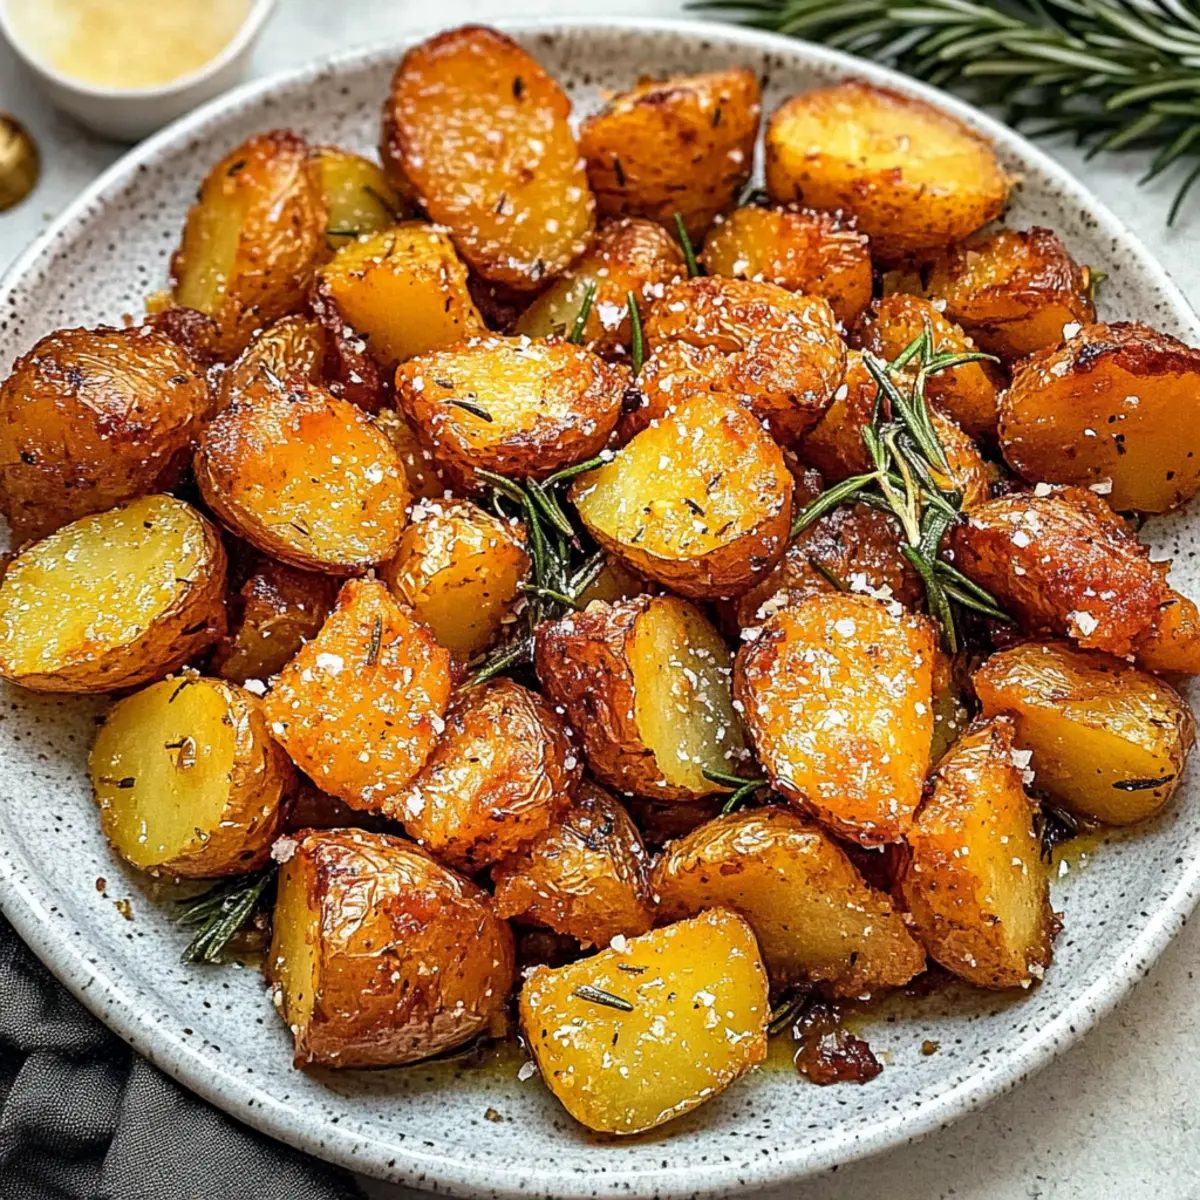
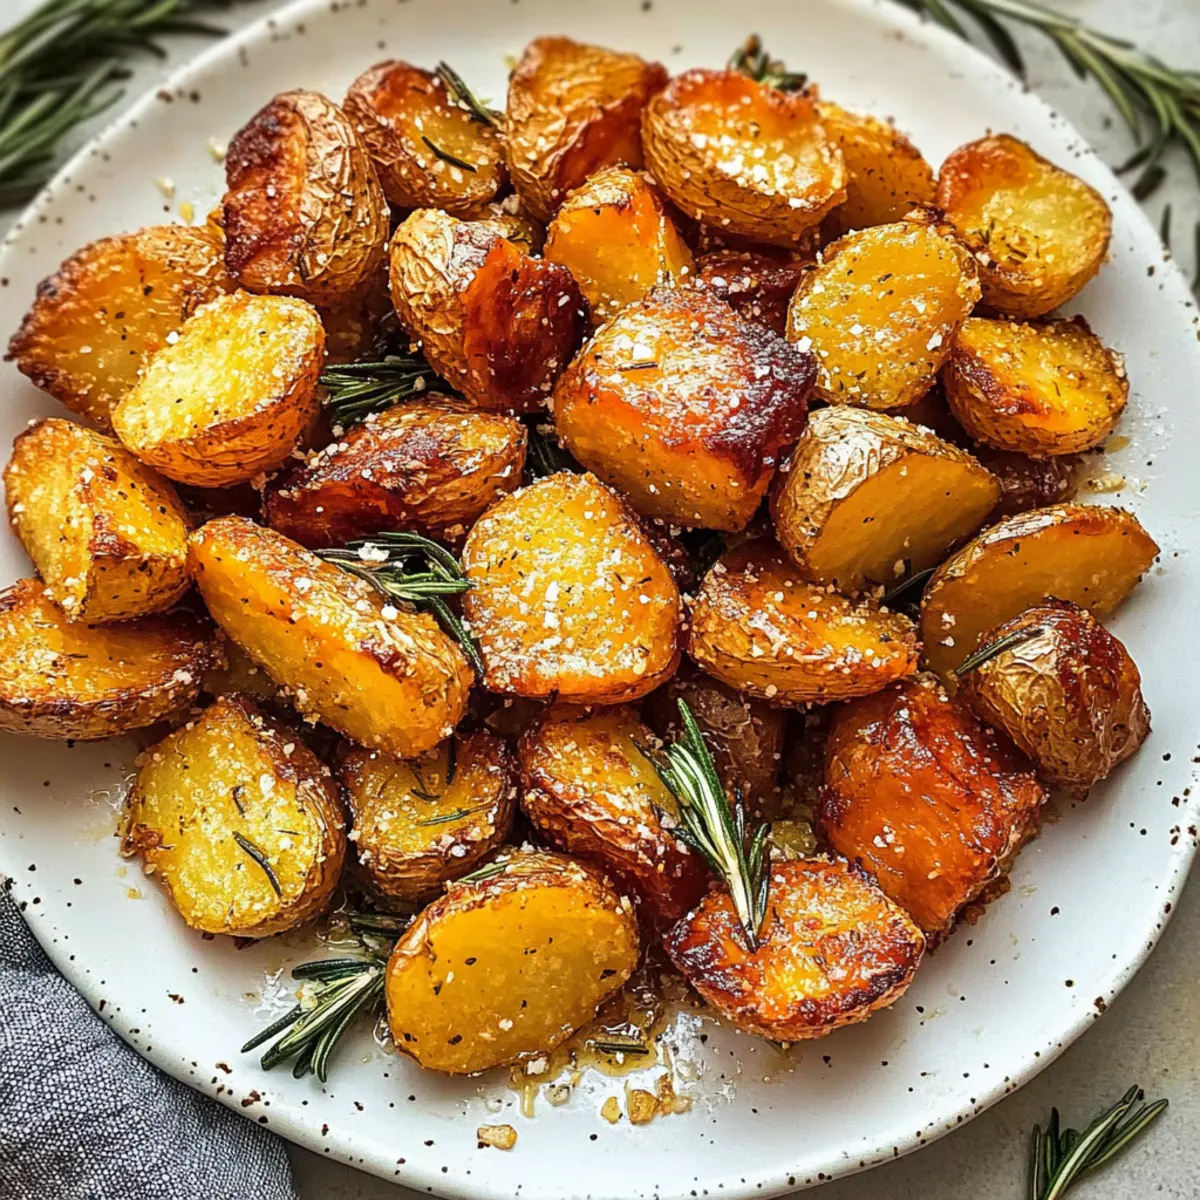
- Baby Potatoes – Adds hearty texture and satisfaction; swap for sweet potatoes for an interesting flavor shift.
- Olive Oil – Helps in roasting and achieving that lovely golden finish; any light cooking oil can work.
• For Finishing Touches
- Fresh Parsley or Green Onions – Enhances freshness and visual appeal to your dish; consider both for a colorful garnish.
With these ingredients, your One-Pan Honey Garlic Kielbasa & Veggies will be delicious and fitting for any busy weeknight dinner!
Step‑by‑Step Instructions for One-Pan Honey Garlic Kielbasa & Veggies
Step 1: Preheat the Oven
Begin by preheating your oven to 400°F (200°C). This temperature is perfect for achieving that delightful caramelization on your One-Pan Honey Garlic Kielbasa & Veggies. While the oven heats up, gather all your ingredients, including the sliced kielbasa, bell peppers, baby carrots, and baby potatoes, to streamline the process and keep everything at your fingertips.
Step 2: Mix Ingredients
In a large mixing bowl, combine the sliced kielbasa, colorful bell peppers, baby carrots, and baby potatoes. Drizzle in olive oil, then add honey, minced garlic, and soy sauce. Toss everything together until each piece is well-coated, ensuring every bite of your One-Pan Honey Garlic Kielbasa & Veggies is bursting with flavor. This step not only brings the ingredients together but also sets the stage for delicious roasting.
Step 3: Prepare the Baking Sheet
Line a large baking sheet with parchment paper. This handy trick makes for easy cleanup after enjoying your mouthwatering One-Pan Honey Garlic Kielbasa & Veggies. Spread the seasoned mixture out in an even layer on the prepared baking sheet, making sure there’s a little space between each piece to promote even roasting and browning.
Step 4: Roast to Perfection
Place the baking sheet in your preheated oven and roast your dish for 20-25 minutes. Halfway through this time, take a moment to stir the mixture gently. Keep an eye out for a golden-brown color and fork-tender vegetables; these visual cues indicate that your One-Pan Honey Garlic Kielbasa & Veggies are cooking perfectly.
Step 5: Garnish and Serve
Once the roasting time is up, safely remove the baking sheet from the oven. Give the dish a final stir and consider garnishing with freshly chopped parsley or green onions for that added touch of color and freshness. Serve your One-Pan Honey Garlic Kielbasa & Veggies hot, and watch as your family digs into this flavorful and satisfying meal!
Storage Tips for One-Pan Honey Garlic Kielbasa & Veggies
Fridge: Store leftovers in an airtight container for up to 3 days. When ready to enjoy again, simply reheat gently on the stovetop or in the microwave to preserve flavor and texture.
Freezer: For longer preservation, freeze the One-Pan Honey Garlic Kielbasa & Veggies in airtight containers for up to 3 months. Ensure that you cool the dish completely before freezing, separating layers with parchment paper to prevent sticking.
Reheating: When reheating from frozen, allow the dish to thaw in the fridge overnight for best results. Reheat thoroughly on the stovetop until warmed through, ensuring it's piping hot before serving.
Meal Prep: Consider portioning out individual servings before freezing, making it easier to grab a quick meal on those busy nights!
What to Serve with One-Pan Honey Garlic Kielbasa & Veggies
Elevate your dining experience with delightful pairings that create a comforting and full meal throughout the week.
-
Creamy Mashed Potatoes: The buttery smoothness adds a rich texture that balances the savory-sweet kielbasa, making every bite heavenly. Serve them alongside to soak up all that delicious honey garlic sauce!
-
Garlic Bread: Freshly baked, crusty garlic bread not only complements the main dish but also provides that satisfying crunch. Perfect for a little added indulgence during family dinners.
-
Crisp Green Salad: A refreshing mix of greens with a light vinaigrette introduces a fresh element that brightens the meal. The crunch of the veggies offers a perfect contrast to the tender kielbasa and roasted vegetables.
-
Roasted Broccoli or Asparagus: Tossed in olive oil and garlic, these vibrant veggies enhance the overall flavor profile, giving you a healthy green side that complements the dish’s sweet and savory notes.
-
Savory Quinoa: Fluffy quinoa provides a protein-packed, nutty texture that pairs beautifully with the kielbasa. It’s a lovely gluten-free option that builds a wholesome plate.
-
Sweet Corn on the Cob: Grilled or boiled, sweet corn brings a burst of sweetness that mirrors the honey glaze while offering a delightful crunch.
-
Light White Wine: A chilled glass of Chardonnay or Sauvignon Blanc can elevate the dining experience, enhancing the dish's flavors and refreshing your palate between bites.
-
Lemon Sorbet: For a light and refreshing dessert, finish your meal with a scoop of zesty lemon sorbet. Its bright flavors not only cleanse the palate but also add a touch of sweetness after the savory dishes.
Expert Tips for One-Pan Honey Garlic Kielbasa & Veggies
-
Uniform Sizing: Chop your vegetables into similar sizes to ensure even cooking, preventing any pieces from being undercooked or overcooked.
-
Taste as You Go: Adjust the flavors by tasting the mixture before roasting. This is the time to balance the honey and soy sauce based on your personal preference for sweetness and saltiness.
-
Check for Doneness: Use a fork to test the tenderness of both vegetables and kielbasa after the recommended roasting time; if they need more time, pop them back in the oven.
-
Optimal Cleanup: Line your baking sheet with parchment paper for quick and easy cleanup, allowing you to enjoy your One-Pan Honey Garlic Kielbasa & Veggies without the hassle afterward.
-
Prep Ahead: Save cooking time by preparing your veggies and slicing kielbasa a day in advance; storing them in the fridge allows for quick assembly on busy nights.
-
Portion Control: If you’re freezing leftovers, portion them into individual servings and separate layers with parchment paper to avoid sticking when reheating.
Make Ahead Options
These One-Pan Honey Garlic Kielbasa & Veggies are perfect for meal prep enthusiasts! You can chop the veggies and slice the kielbasa up to 24 hours in advance, keeping them stored in the refrigerator in an airtight container to maintain freshness. This prep allows you to simply mix all ingredients right before cooking, saving precious time on busy weeknights. Additionally, you can pre-combine the honey, soy sauce, and minced garlic, sealing it in a jar for easy access. When you're ready to serve, just preheat your oven and roast for 20-25 minutes, stirring halfway through, ensuring your meal is just as delicious and vibrant as when freshly prepared!
One-Pan Honey Garlic Kielbasa & Veggies: Customize Your Way
Feel free to stir things up with these fun and tasty variations!
-
Protein Swap: Substitute kielbasa with chicken or turkey sausage for a lighter option without losing flavor.
-
Vegetable Medley: Use seasonal vegetables like asparagus or Brussels sprouts to enhance flavor and nutrition, making it even more colorful.
-
Heat Element: Sprinkle red pepper flakes for a spicy kick, perfectly balanced by honey's sweetness, enhancing the dish's complexity.
-
Herb Infusion: Introduce fresh herbs such as thyme or rosemary for aromatic depth. Their fragrant notes add a delightful twist.
-
Citrus Zing: Finish with a squeeze of fresh lime or lemon juice. This brightens the dish and adds a refreshing finish.
-
Air Fryer Method: Try cooking it in an air fryer for a quicker prep time and extra crispiness on the veggies and kielbasa.
For a delightful pairing, consider serving this meal alongside some delicious Cheesy Garlic Bread or whip up a side of Honey Bbq Chicken for an unforgettable dining experience. Enjoy!
One-Pan Honey Garlic Kielbasa & Veggies Recipe FAQs
What kind of kielbasa should I use?
Absolutely! Opt for high-quality kielbasa for the best flavor in your One-Pan Honey Garlic Kielbasa & Veggies. Look for fresh polish or smoked varieties from a local butcher or grocery store, and consider organic options if available for a healthier twist.
How should I store leftovers?
Leftovers should be stored in an airtight container in the fridge for up to 3 days. When you're ready to enjoy them again, simply reheat gently either on the stovetop or in the microwave. This way, the flavors of your One-Pan Honey Garlic Kielbasa & Veggies will remain vibrant and delicious!
Can I freeze One-Pan Honey Garlic Kielbasa & Veggies?
Yes, you can! To freeze, cool your dish completely and then transfer it to airtight containers. It's best to separate layers of food with parchment paper to prevent them from sticking. This dish can be frozen for up to 3 months. When ready to enjoy, thaw in the fridge overnight and reheat thoroughly before serving.
What if my veggies are overcooked?
Very! If your veggies turned mushy, it might be due to the size of your cuts or too long in the oven. For next time, ensure uniform cuts and monitor the roasting closely. If they’re overcooked, you could try cooking them in a slightly lower oven temperature to allow for more control.
Is this recipe suitable for gluten-free diets?
Absolutely! To keep your One-Pan Honey Garlic Kielbasa & Veggies gluten-free, make sure to use gluten-free soy sauce or tamari in place of regular soy sauce. This small substitute ensures that everyone, including those with gluten sensitivities, can enjoy this delicious and hearty meal.
What if I want to add more vegetables?
The more the merrier! Feel free to add seasonal vegetables like asparagus, Brussels sprouts, or even assorted root vegetables! Just remember to adjust cooking times as needed; denser vegetables might require a little more roasting time. Enjoy experimenting to make this One-Pan Honey Garlic Kielbasa & Veggies even more delightful for your family!
One-Pan Honey Garlic Kielbasa & Veggies for Effortless Nights
Ingredients
Equipment
Method
- Preheat your oven to 400°F (200°C). Gather all your ingredients to streamline the process.
- In a large mixing bowl, combine sliced kielbasa, bell peppers, baby carrots, and baby potatoes. Add olive oil, honey, minced garlic, and soy sauce. Toss to coat.
- Line a large baking sheet with parchment paper. Spread the seasoned mixture out in an even layer.
- Roast in the oven for 20-25 minutes, stirring halfway through. Look for golden-brown and fork-tender vegetables.
- Remove from oven and garnish with freshly chopped parsley or green onions. Serve hot.