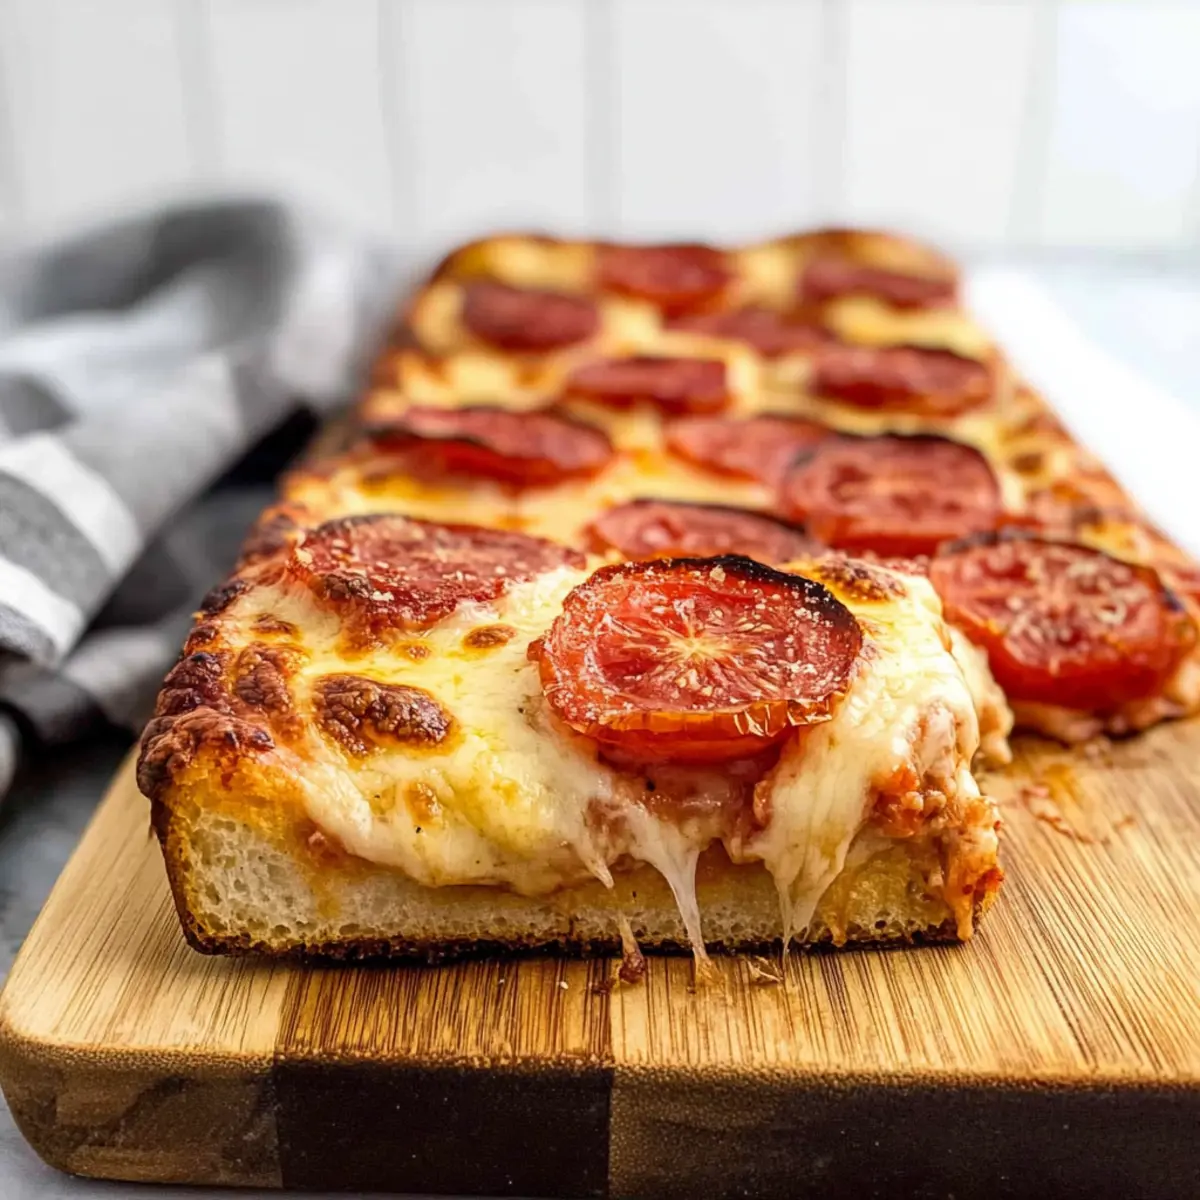
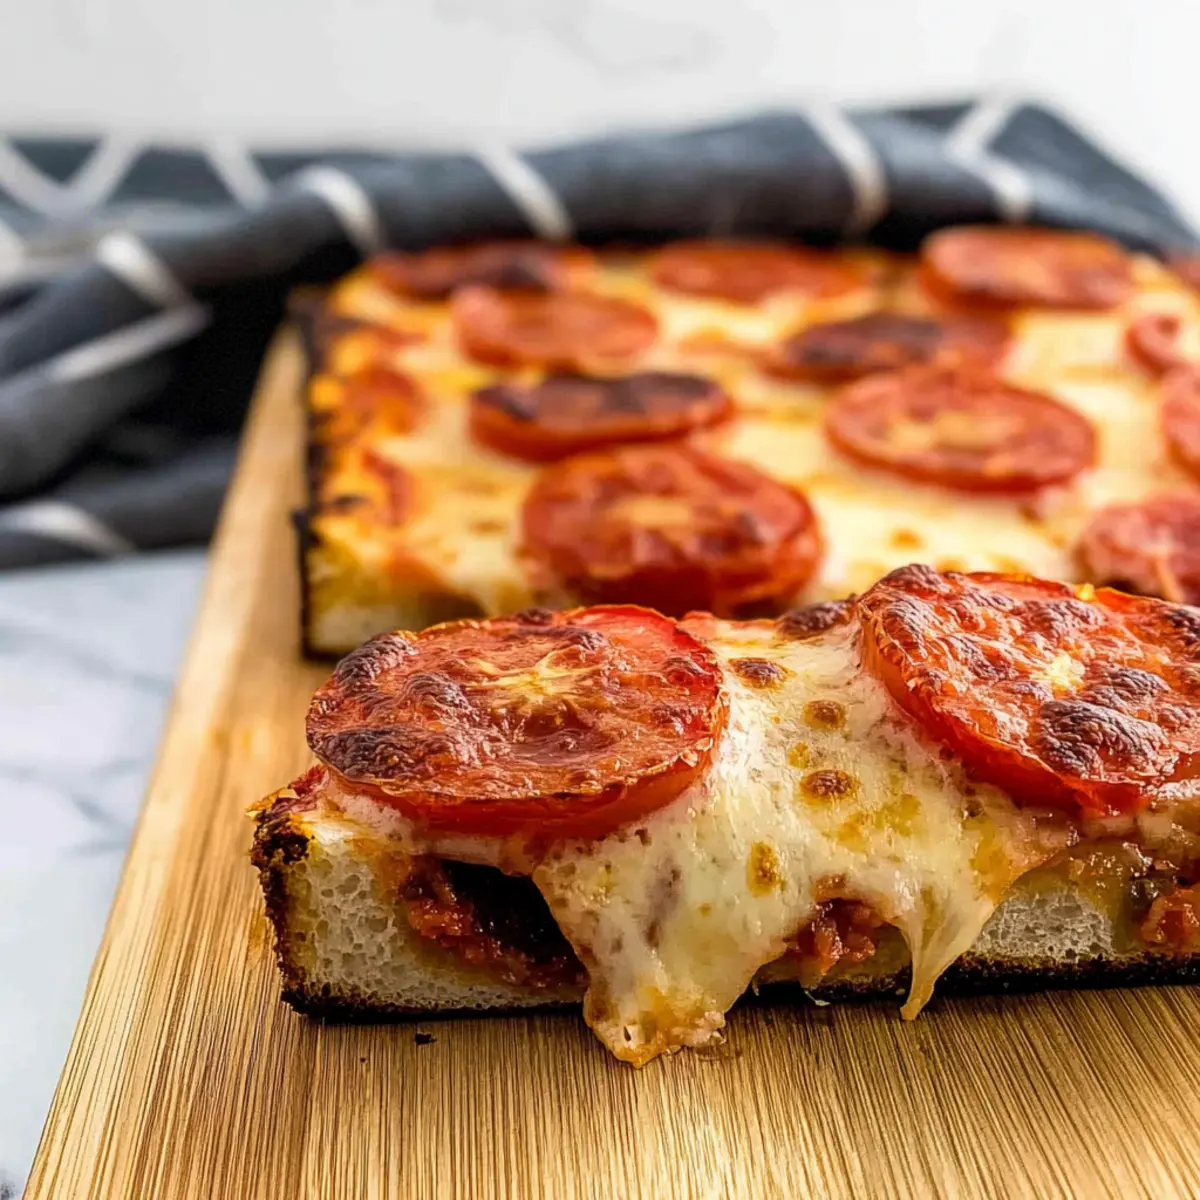
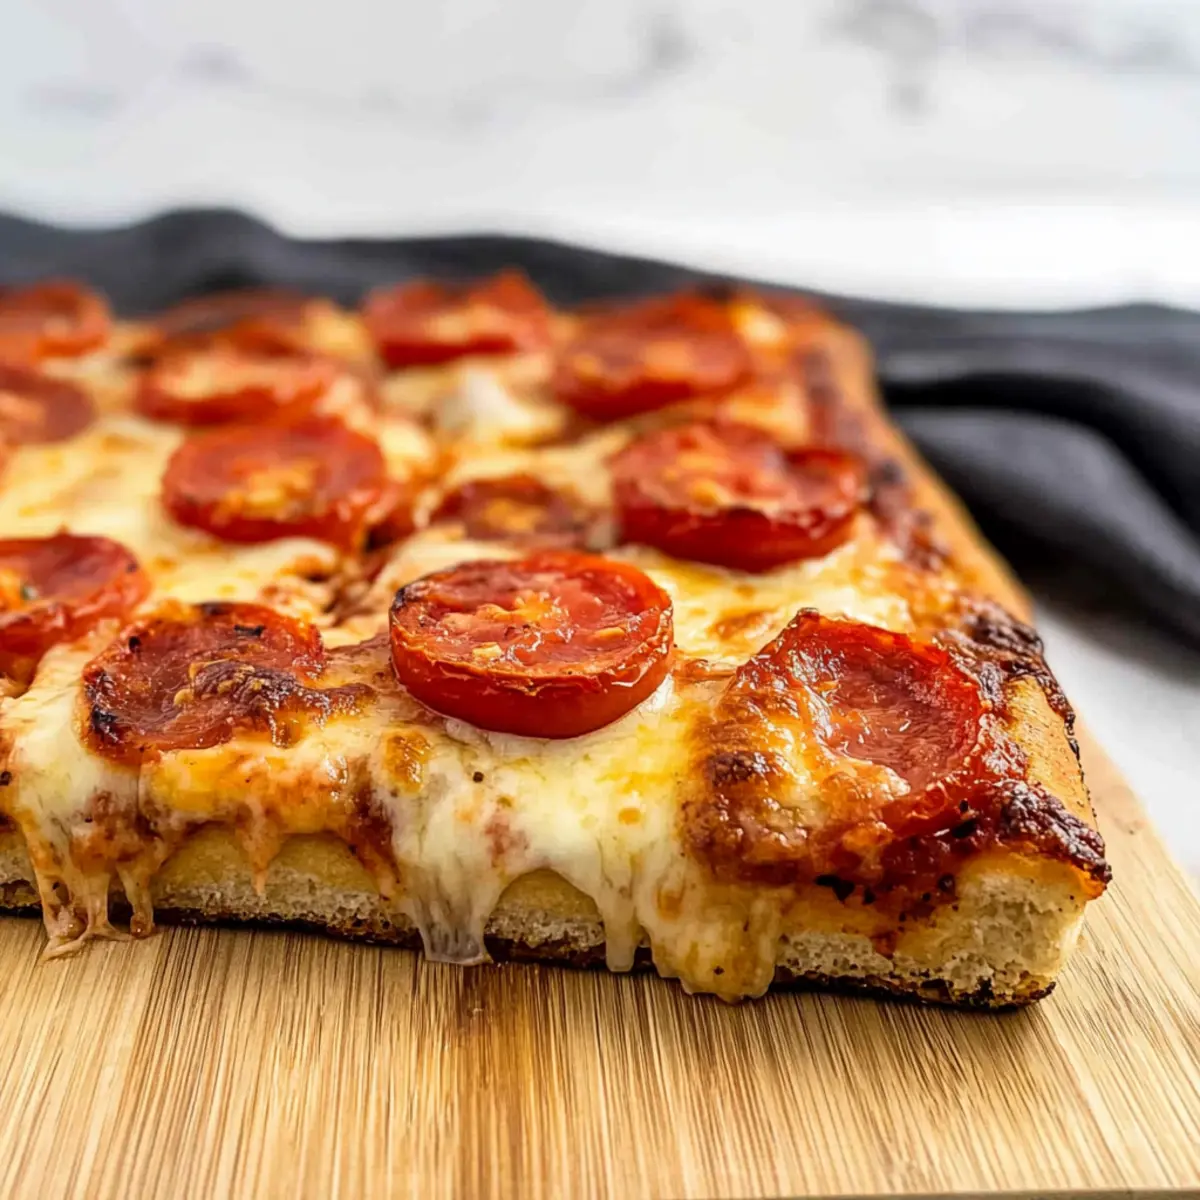
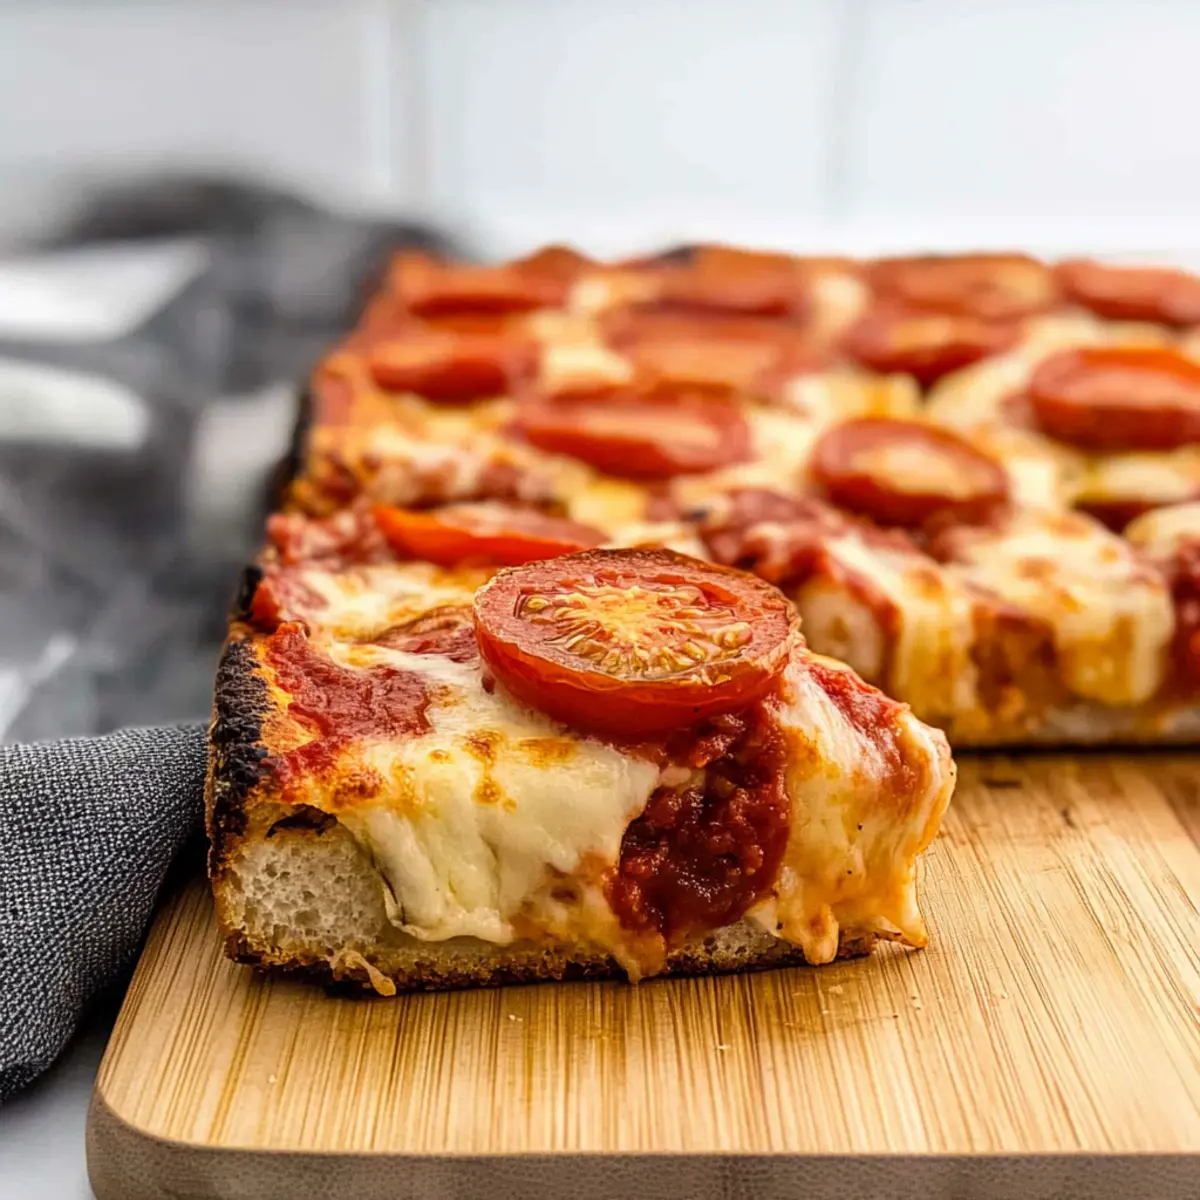
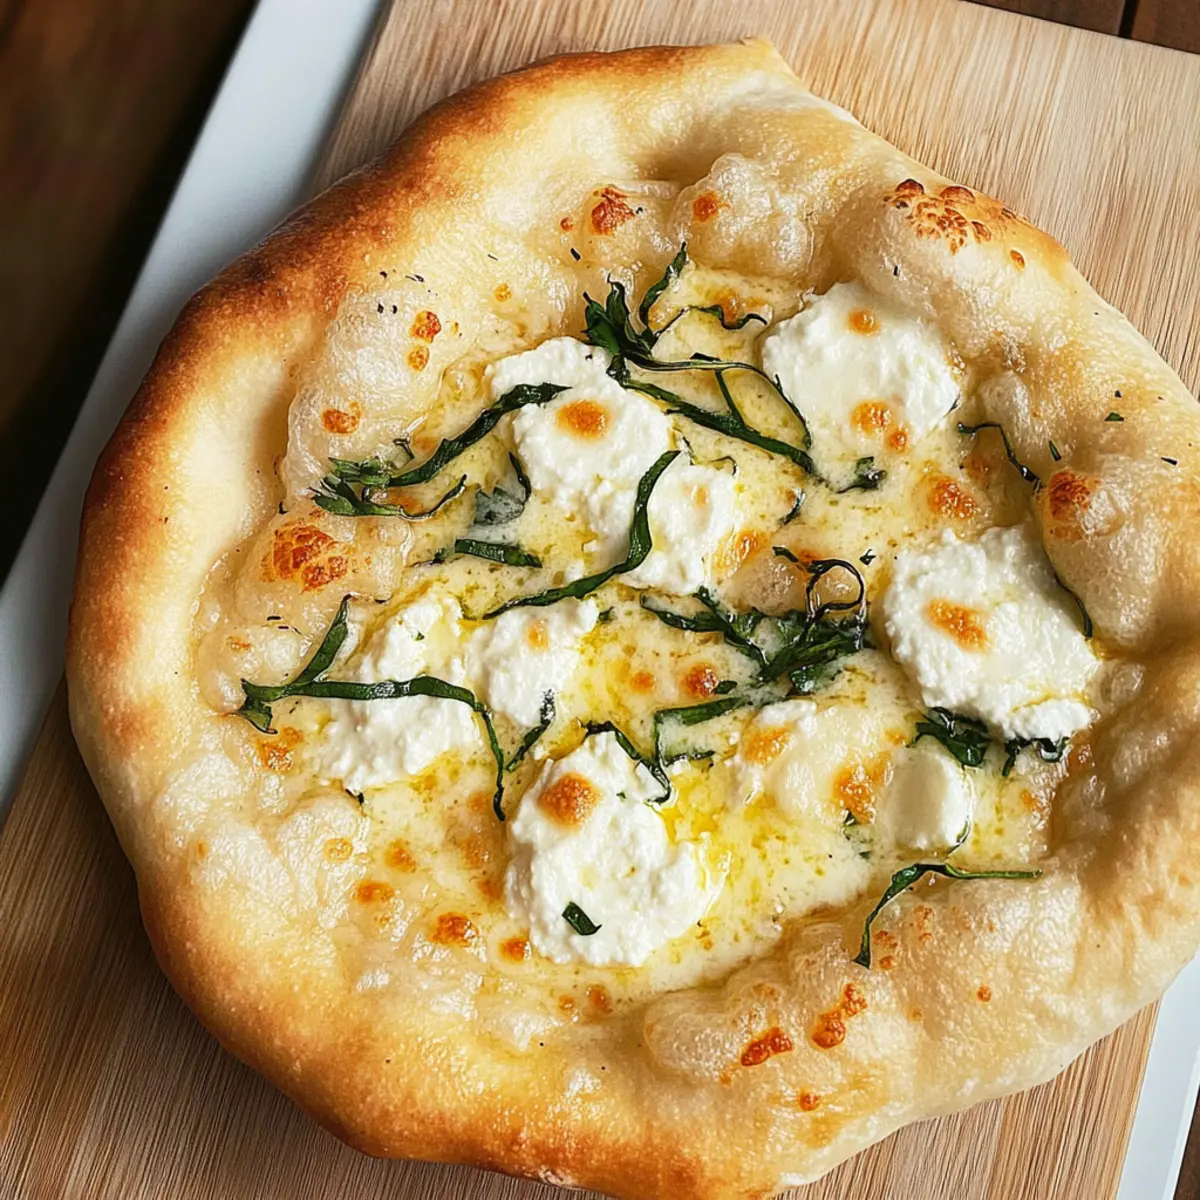
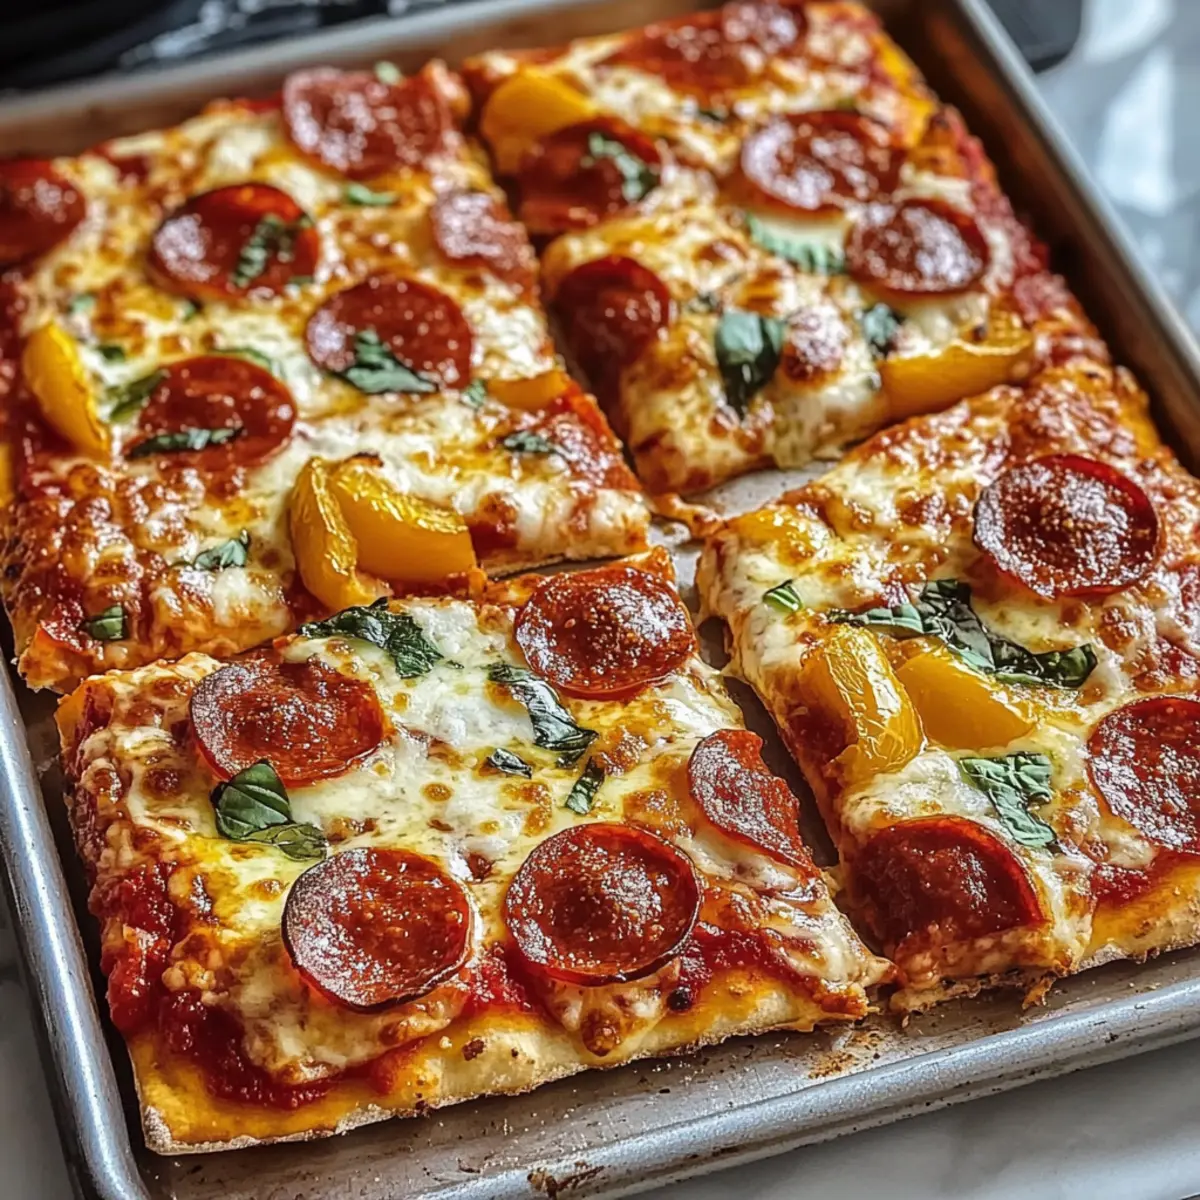
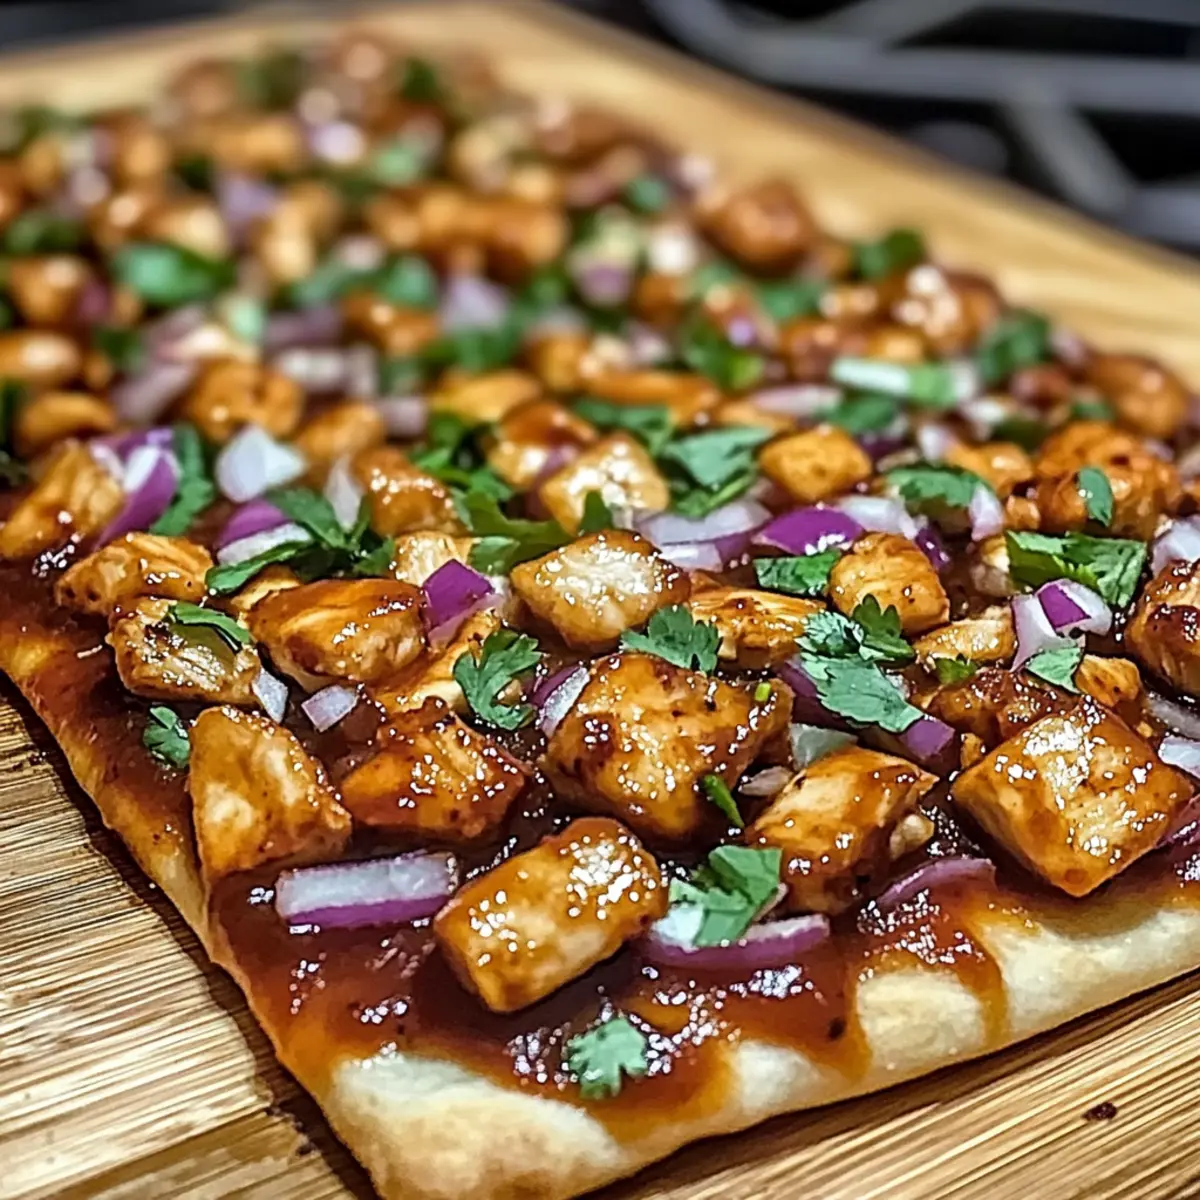
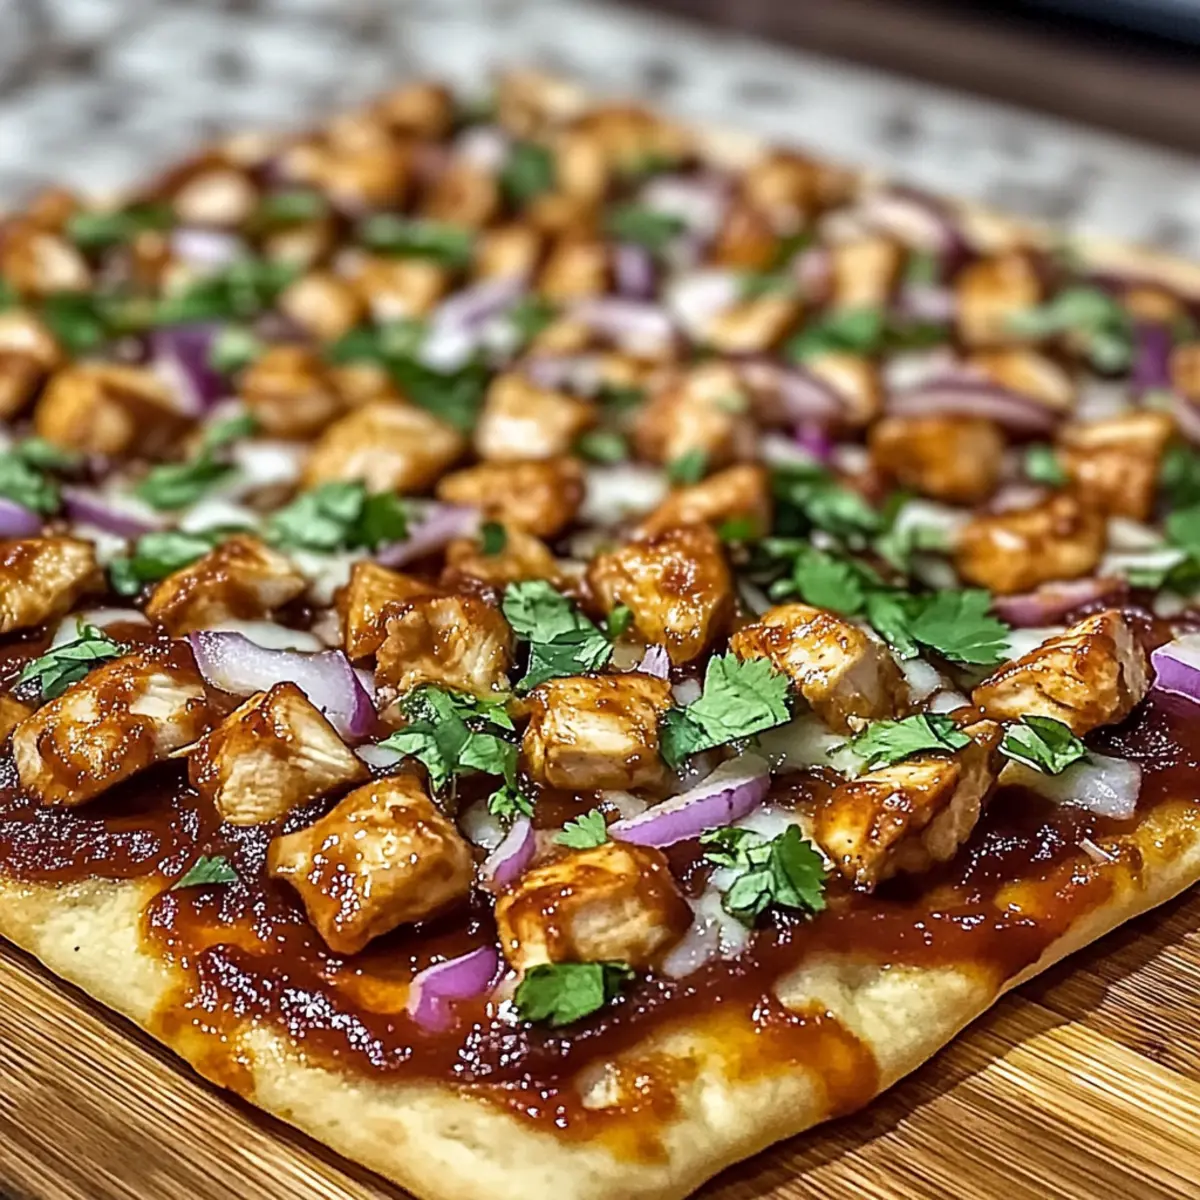
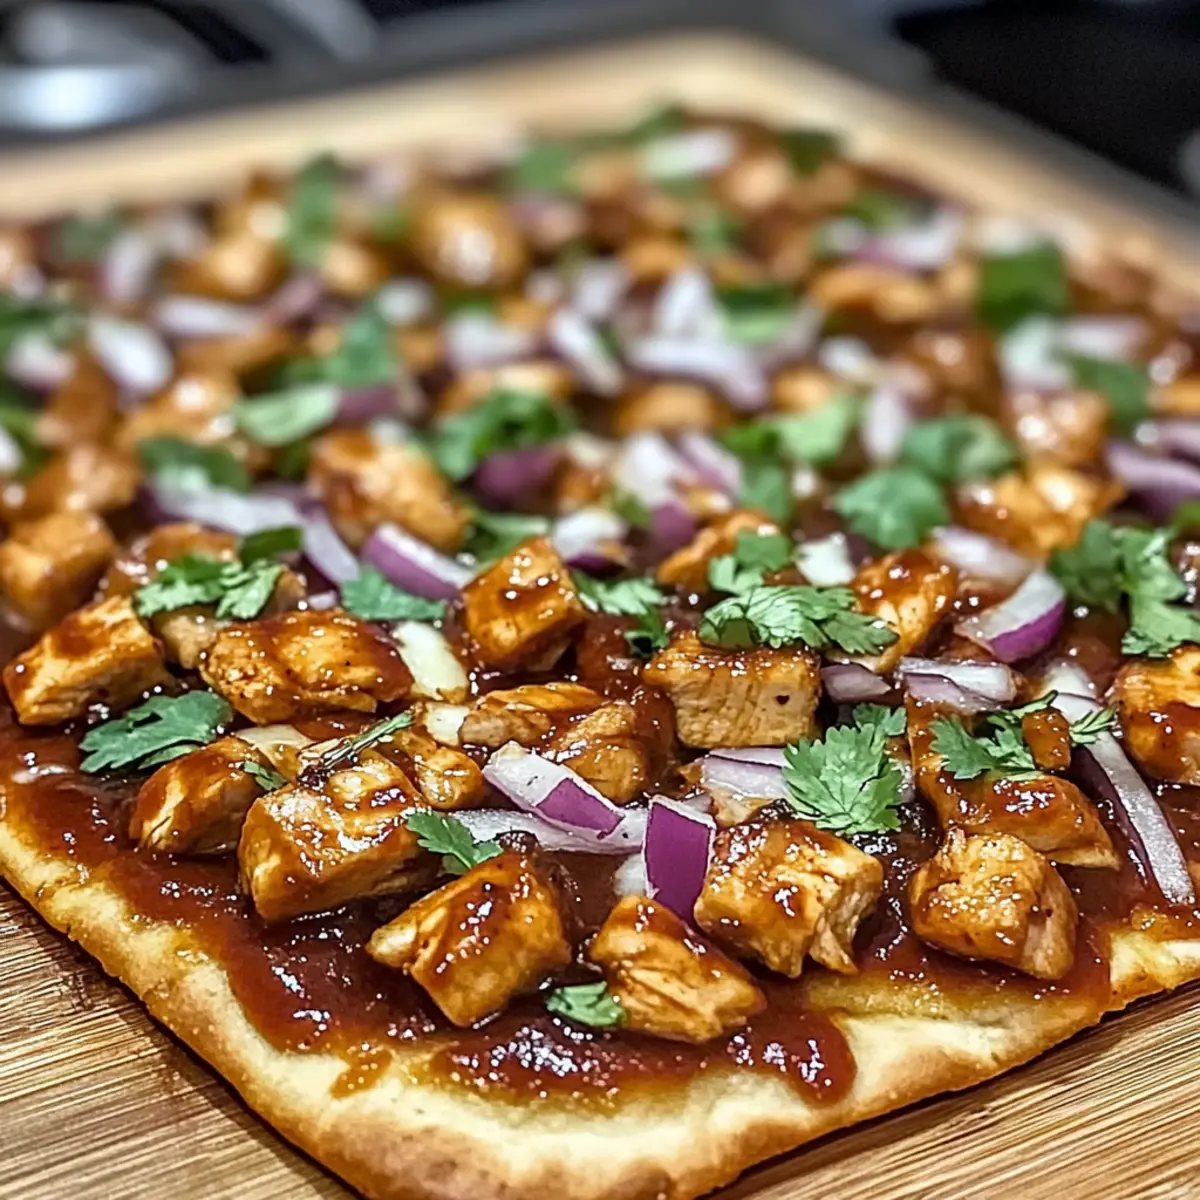
As I pulled my BBQ Chicken Flatbread Pizza from the oven, the enticing aroma of smoky BBQ mingled with bubbling cheese filled my kitchen like a warm embrace. This quick and flavorful dish is not only a delightful treat but also a lifesaver for busy weeknights, ready in just 22 minutes! Made with crispy flatbread, tender BBQ chicken, and customizable toppings, it’s a family-friendly meal that even the pickiest eaters will love. What's more, this recipe is a fantastic gluten-free option for those conscious of their dietary needs. Ready to dig into a satisfying slice of homemade comfort? Let’s get cooking!

Why is BBQ Chicken Flatbread Pizza a winner?
Quick Cooking: In just 22 minutes, you can serve up a delicious meal that caters to even the busiest schedules.
Family-Friendly: This recipe is a hit with both kids and adults, making it perfect for family dinners or gatherings.
Customizable: With endless topping options, everyone can build their perfect pizza! Add veggies, swap proteins, or even experiment with different cheeses.
Healthy Choices: Utilizing gluten-free flatbread and whole grains can make this dish a nutritious option for health-conscious families.
Flavor Explosion: The combination of smoky BBQ sauce, melted cheese, and crispy flatbread delivers an unforgettable flavor that rivals your favorite takeout.
Want more ideas? Check out our recipes for Honey BBQ Chicken or Crock Pot Chicken for more delicious options!
BBQ Chicken Flatbread Pizza Ingredients
• Perfect mix for a tasty meal!
For the Flatbread Base
- Gluten-Free Flatbread – Use gluten-free options to cater to dietary needs without sacrificing taste.
For the Chicken Topping
- Shredded Chicken – Main protein source; rotisserie chicken makes it quick and easy.
- BBQ Sauce – Adds that smoky, tangy flavor; go for your favorite store-bought or homemade blend.
For Baking
- Olive Oil – Brush the flatbread to achieve a crispy, golden crust.
For the Cheese
- Shredded Mozzarella Cheese – Melts perfectly for a gooey texture; low-fat alternatives can reduce calories.
For Extra Flavor
- Red Onion – Adds a satisfying crunch and sharp taste, elevating overall flavor.
- Fresh Cilantro – Optional but fresh; it adds a pop of color and brightens the dish.
Feel free to mix and match these ingredients to make your own perfect BBQ Chicken Flatbread Pizza!
Step‑by‑Step Instructions for BBQ Chicken Flatbread Pizza
Step 1: Preheat the Oven
Begin by preheating your oven to 400°F (200°C). This step is crucial for achieving a perfectly crispy and golden flatbread base for your BBQ Chicken Flatbread Pizza. Allow the oven to reach the desired temperature while you prepare the rest of your ingredients.
Step 2: Combine Chicken & BBQ Sauce
In a mixing bowl, take your shredded chicken and generously coat it with your favorite BBQ sauce. Stir until the chicken is fully covered, ensuring every bite will be packed with flavor. This will take about 2-3 minutes.
Step 3: Prepare Flatbreads
Spread out your gluten-free flatbreads on a baking sheet, ensuring they have enough space between each one. With a brush or your fingers, lightly coat the surface of each flatbread with olive oil, which will help achieve a crispy texture during baking.
Step 4: Assemble Pizza
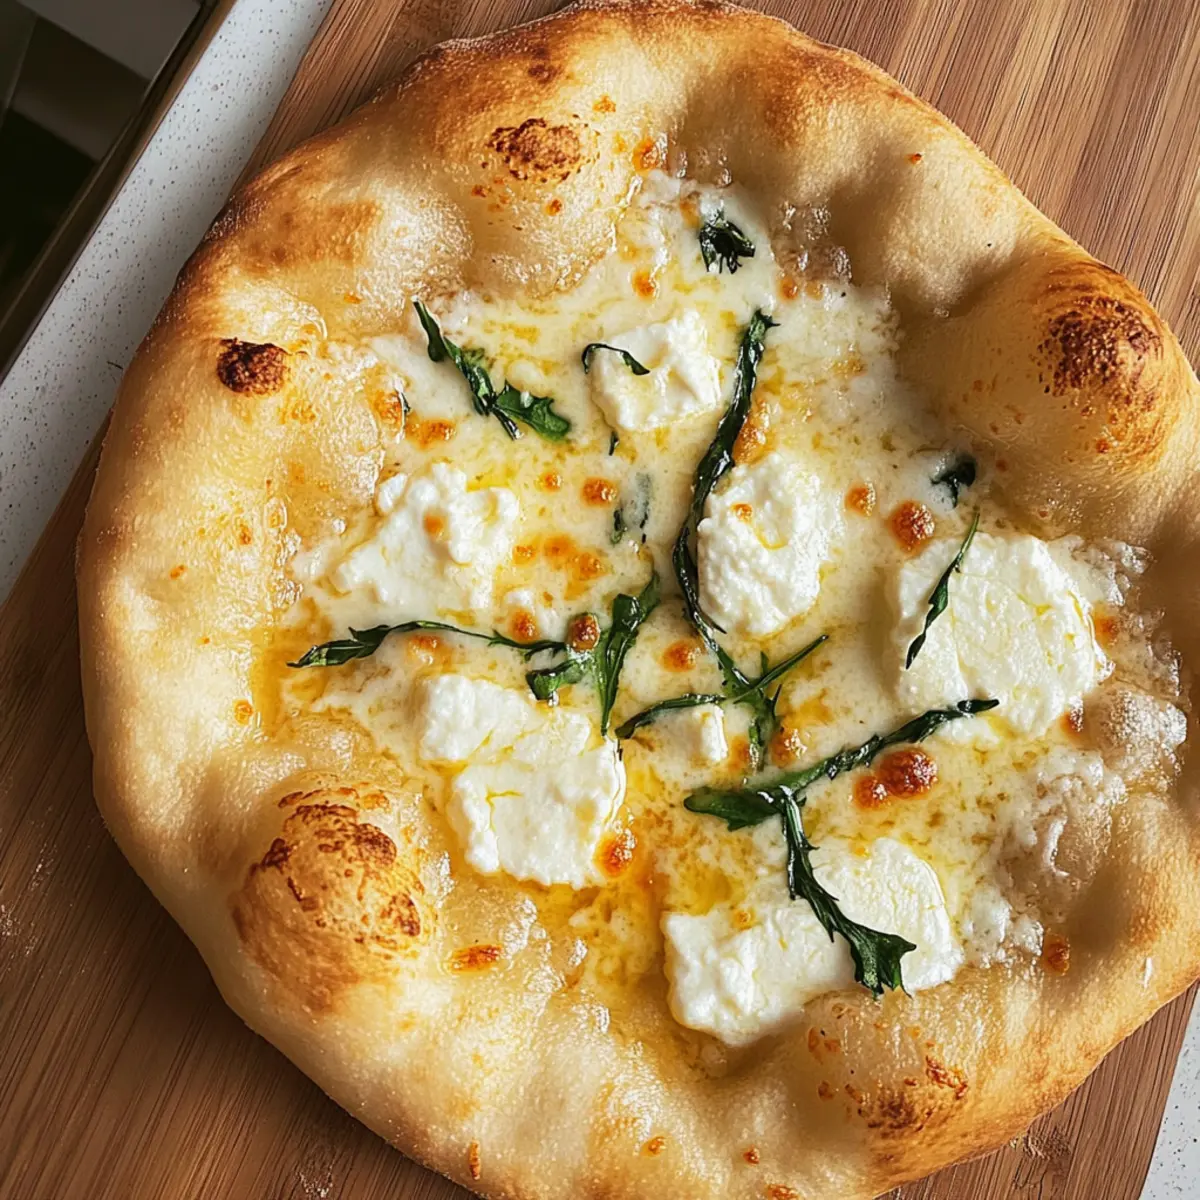
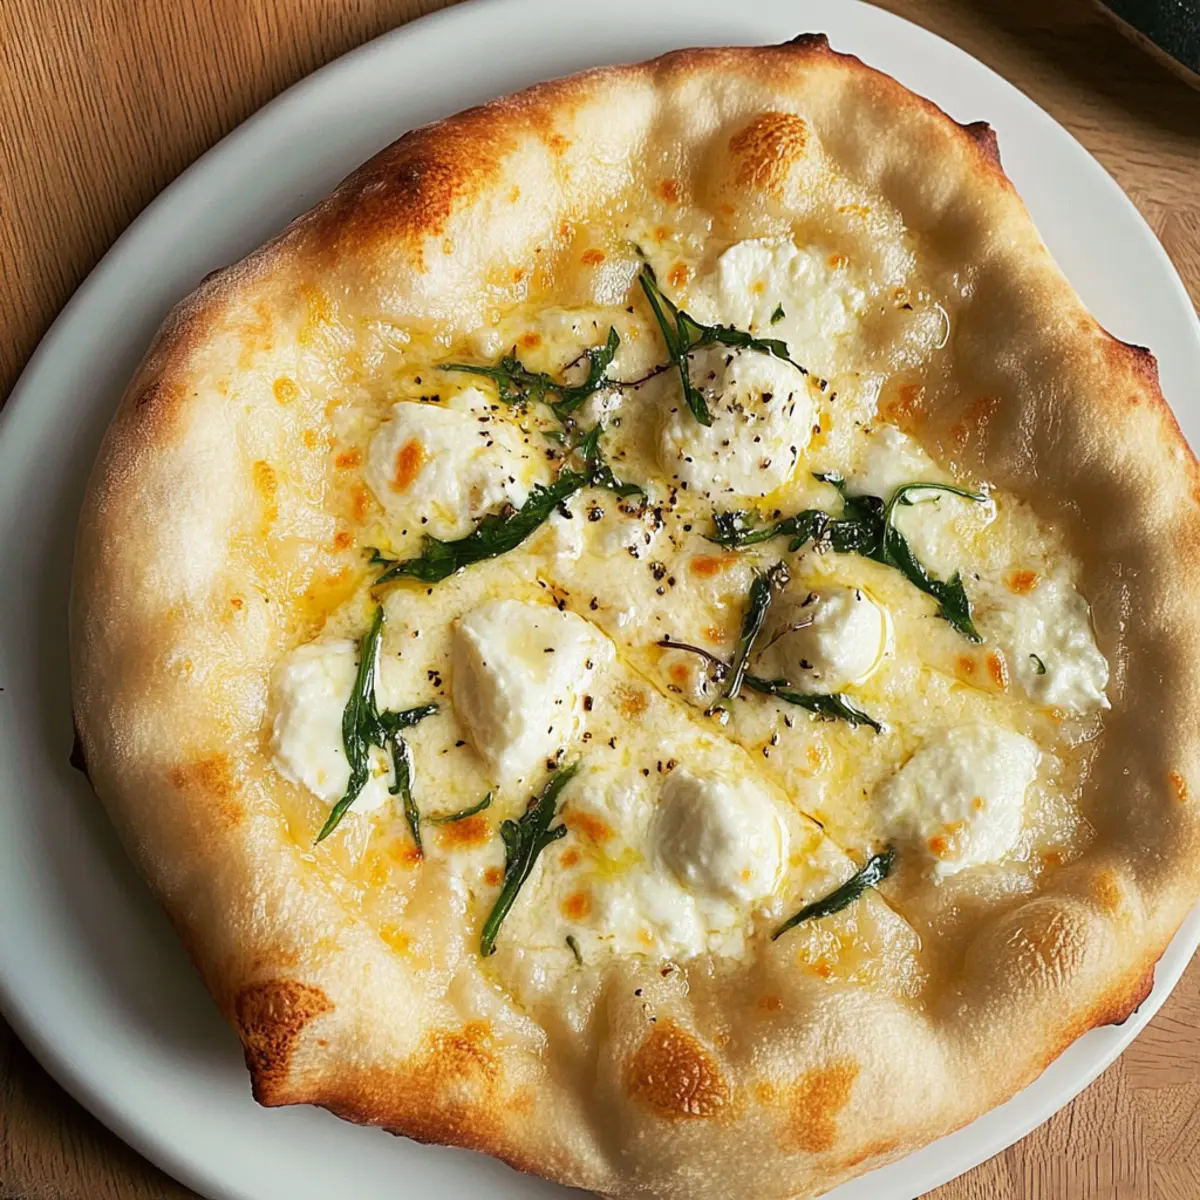
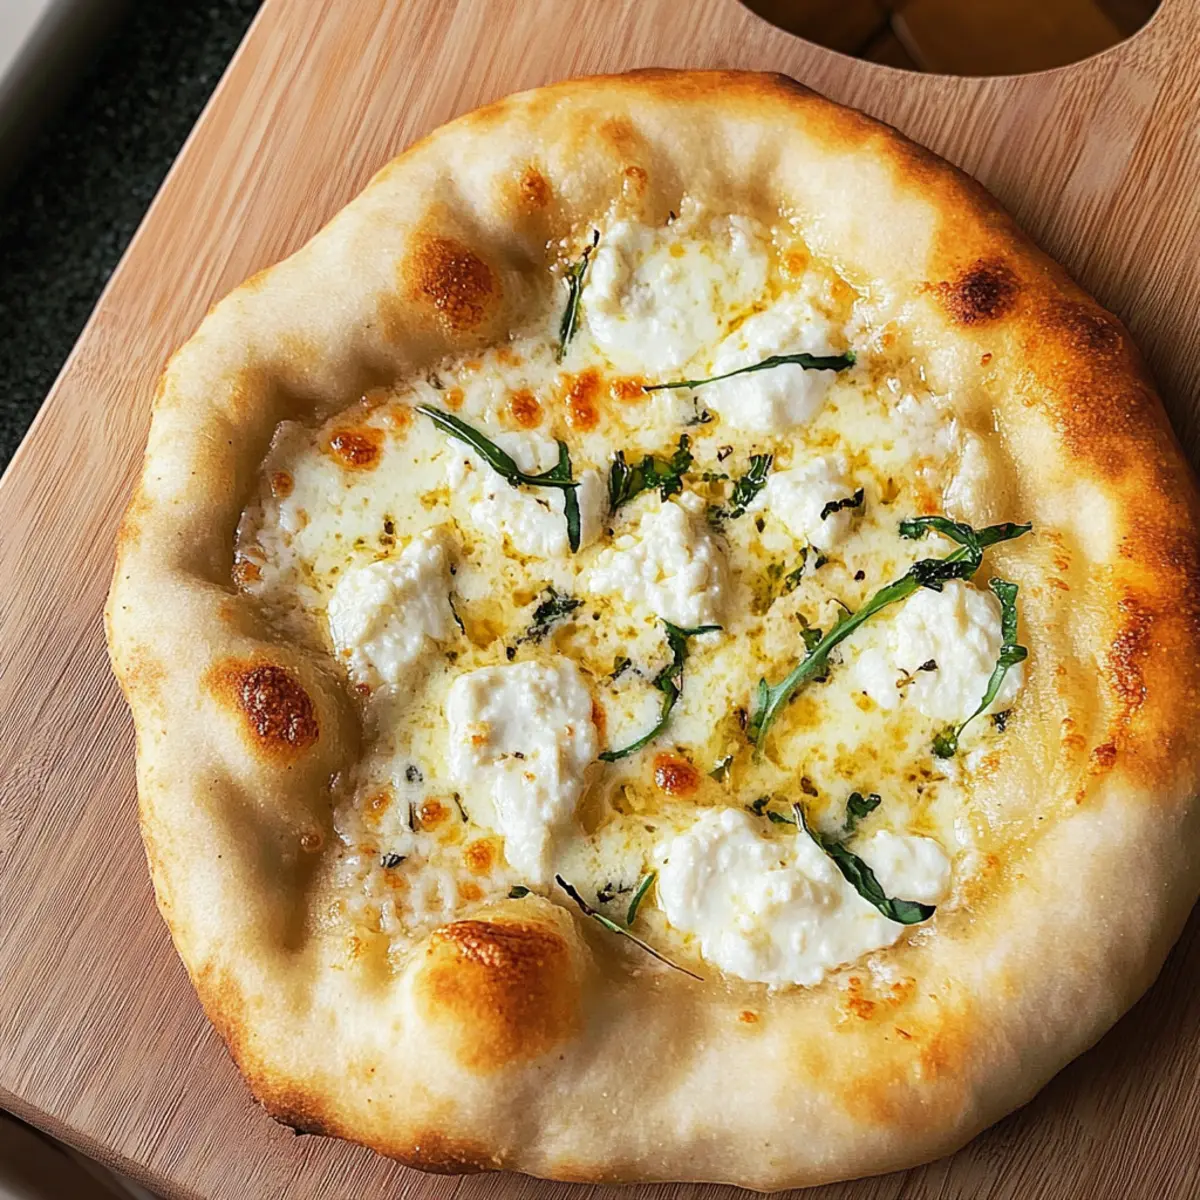
Now it’s time to assemble your BBQ Chicken Flatbread Pizza! Evenly distribute the BBQ chicken mixture over each flatbread, followed by a generous sprinkle of shredded mozzarella cheese. Finish by adding slices of red onion for an extra crunch and flavor in every bite.
Step 5: Bake
Carefully place the baking sheet in the preheated oven. Bake for 10-12 minutes, or until the cheese is bubbling and golden, and the edges of the flatbread are nicely crispy. Keep an eye on them during the last few minutes to prevent overbaking.
Step 6: Garnish & Serve
Once out of the oven, let the BBQ Chicken Flatbread Pizza cool for a minute. For a fresh touch, sprinkle with chopped cilantro. Slice into portions and serve hot. Your delicious, homemade comfort meal is ready to be enjoyed by the whole family!
Expert Tips for BBQ Chicken Flatbread Pizza
• Preheat Your Oven: Always make sure your oven is fully preheated at 400°F (200°C) to avoid a soggy flatbread base.
• Watch the Baking Time: Keep an eye on your pizza as it bakes; the last few minutes are crucial to achieving that perfect golden brown color without burning.
• Use Quality BBQ Sauce: A flavorful BBQ sauce enhances the overall taste of your BBQ Chicken Flatbread Pizza. Don't skimp on quality!
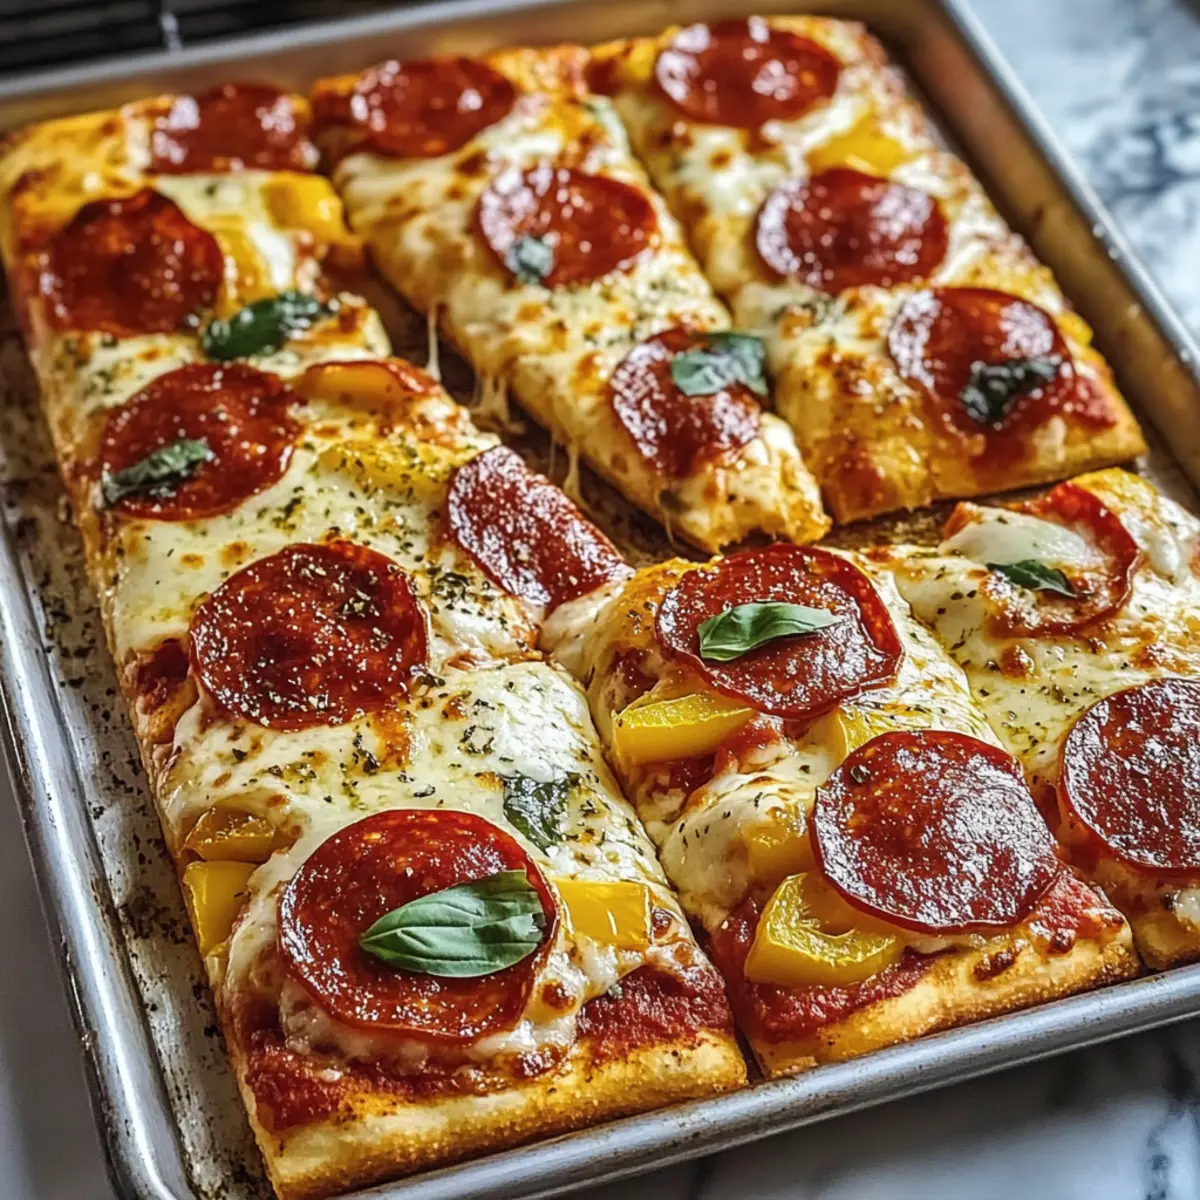
• Experiment with Toppings: Feel free to get creative with additional toppings like bell peppers, jalapeños, or even pineapple for a sweet contrast.
• Storage Savvy: If you have leftovers, store them in an airtight container in the fridge for up to 3 days. Reheat in the oven to maintain crispiness.
BBQ Chicken Flatbread Pizza Variations
Inviting your taste buds to explore flavors, this BBQ Chicken Flatbread Pizza is a wonderful canvas for creativity!
- Vegetarian: Swap shredded chicken for black beans or grilled vegetables to create a heartwarming meatless option.
- Spicy Twist: Add jalapeños or a sprinkle of red pepper flakes for those who crave an extra kick in their pizza experience.
- Cheesy Delight: Experiment with different cheeses like sharp cheddar or creamy goat cheese for a unique flavor profile.
- Herb Infusion: Toss in fresh basil or oregano with the cilantro for an aromatic twist that elevates every bite.
- BBQ Sauce Alternatives: Try different sauces like honey mustard or chipotle for a smoky and sweet variation, adding depth to your dish.
- Crunchy Veggies: Load your pizza with fresh spinach or diced bell peppers, giving it a nutritious boost and vibrant color.
- Flatbread Alternatives: Switch to a cauliflower crust or whole grain flatbread for a health-conscious approach without sacrificing taste.
- Fusion Flavors: Combine BBQ chicken with an Asian flair by adding sliced green onions and a drizzle of teriyaki sauce!
Ready to explore more recipes? Pair this pizza with refreshing options like Honey Garlic Chicken or delicious Chipotle Lime Chicken and Rice for a delightful spread!
Make Ahead Options
Preparing BBQ Chicken Flatbread Pizza in advance is a total lifesaver for busy weeknights! You can prepare the BBQ chicken mixture up to 24 hours in advance; simply mix shredded chicken with BBQ sauce and store it in an airtight container in the refrigerator. The flatbreads can also be brushed with olive oil and stored in a separate container. When you're ready to cook, just assemble the flatbreads with the prepped chicken, sprinkle with mozzarella and red onions, then bake as usual for 10-12 minutes. This method ensures your pizza comes out just as delicious, saving you time while still delivering that fresh, homemade taste your family loves!
How to Store and Freeze BBQ Chicken Flatbread Pizza
Fridge: Store leftovers in an airtight container for up to 3 days. Make sure to let the pizza cool completely before sealing to maintain texture.
Freezer: For longer storage, wrap the BBQ Chicken Flatbread Pizza tightly in plastic wrap followed by aluminum foil. It will keep well for up to three months.
Reheating: When ready to enjoy again, bake in a preheated oven at 350°F (175°C) for about 10-15 minutes to restore its crispy texture and melt the cheese.
Serving Suggestion: Add fresh toppings or a drizzle of warm BBQ sauce upon reheating to refresh the flavor of your leftover BBQ Chicken Flatbread Pizza.
What to Serve with BBQ Chicken Flatbread Pizza
Enhance your meal experience with delightful sides that complement the warm, smoky flavors of your BBQ Chicken Flatbread Pizza.
-
Crispy Sweet Potato Fries: Their natural sweetness and crunch create a lovely contrast to the savory pizza, making every bite memorable. Dip them in a zesty aioli for an extra flavor boost.
-
Garden Fresh Salad: A crisp salad full of mixed greens, cherry tomatoes, and a tangy vinaigrette adds a refreshing brightness that perfectly balances the richness of the pizza. The crunch of the veggies keeps the meal light and enjoyable.
-
Grilled Corn on the Cob: Smoky, charred corn brushed with lime butter brings a sweet, juicy flavor to your plate. It's perfect for summer BBQ vibes and is always a crowd-pleaser.
-
Garlic Breadsticks: Soft and buttery with a hint of garlic, these breadsticks provide that comforting, chewy texture that pairs beautifully with the BBQ Chicken Flatbread Pizza.
-
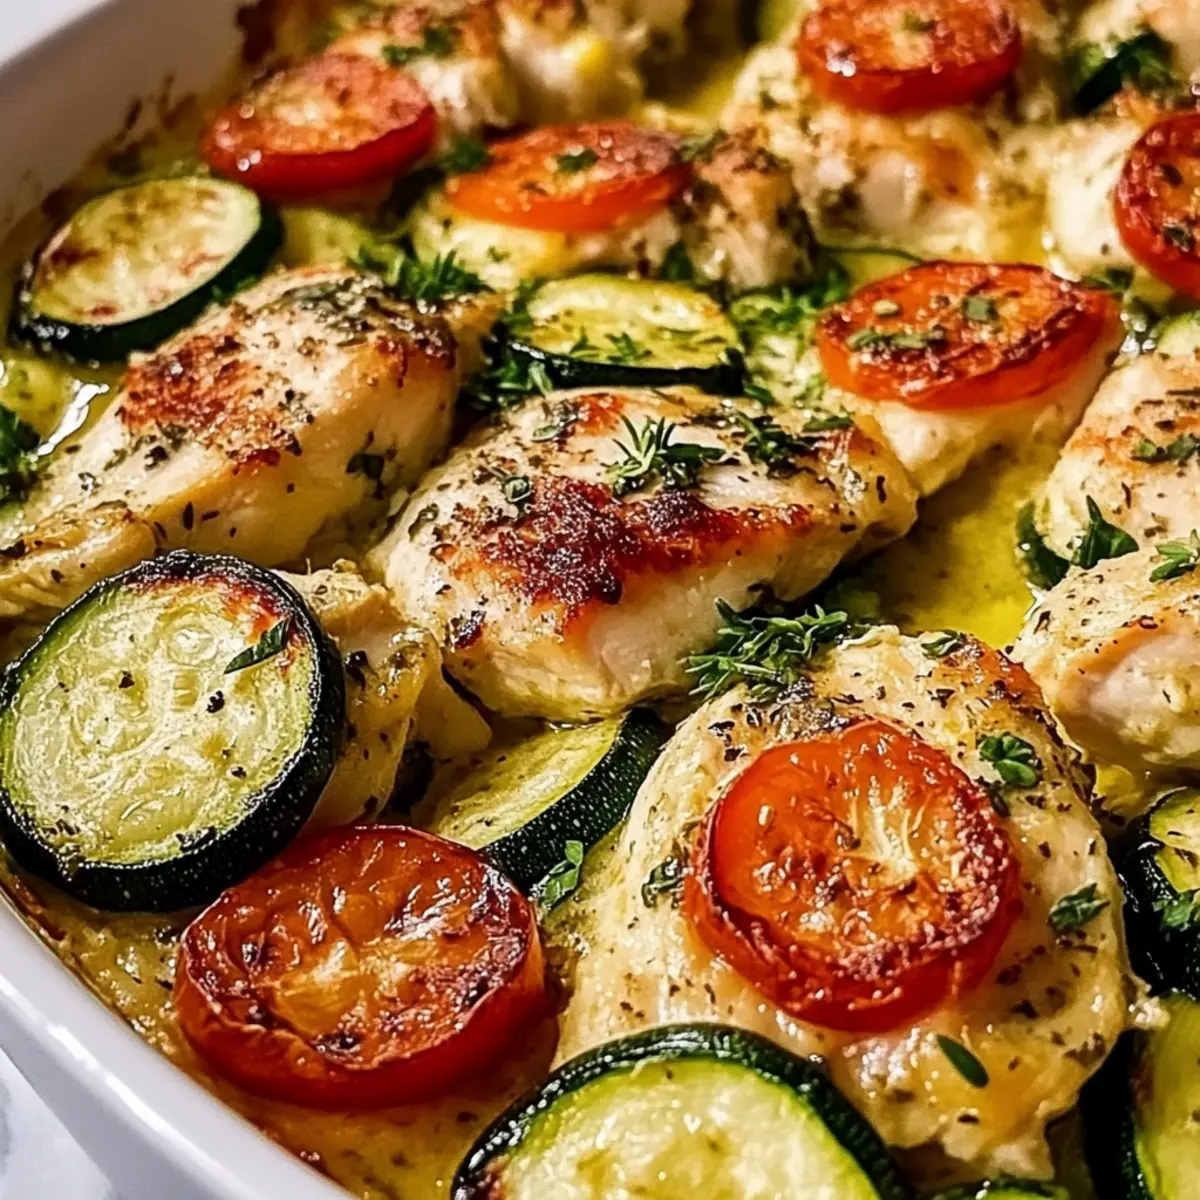
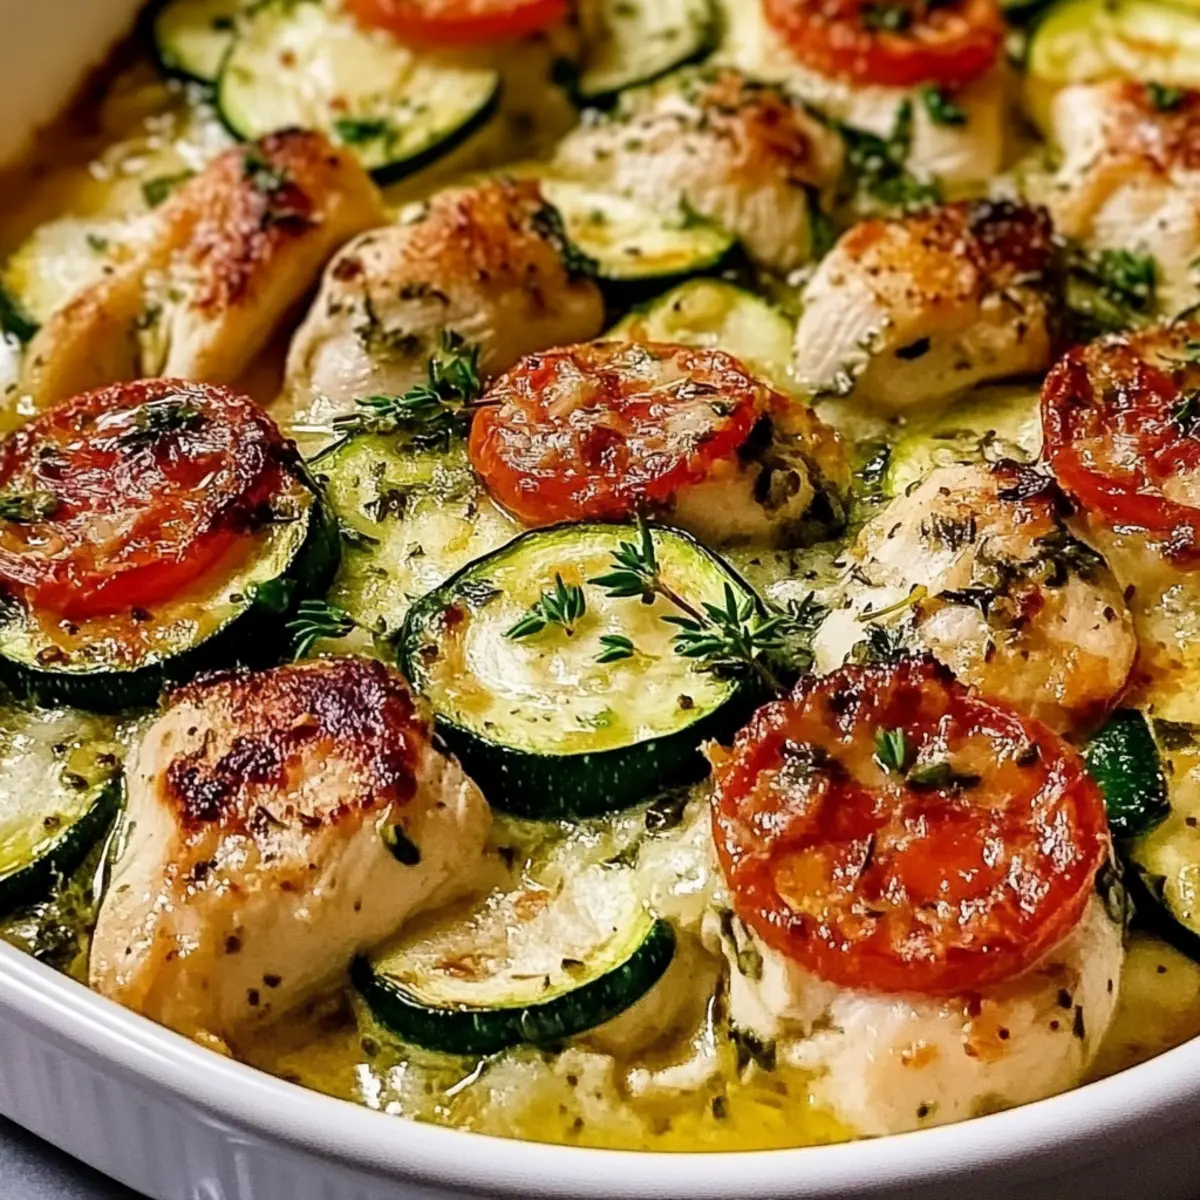
Roasted Veggies: A medley of seasonal roasted vegetables, like bell peppers and zucchini, not only adds color to your meal but also offers a healthy dose of nutrients. Their earthy warmth complements the bold flavors of the pizza.
-
Iced Tea or Lemonade: Refreshing and light, a glass of sweet iced tea or homemade lemonade offers a perfect cooling balance to the smoky richness of your pizza. Both drinks are family-friendly and easy to prepare!
BBQ Chicken Flatbread Pizza Recipe FAQs
How do I choose the right flatbread?
Absolutely! When selecting flatbread, look for options that are soft and pliable without dark spots all over, which indicates staleness. Gluten-free flatbreads are widely available and can be found in most grocery stores. I recommend checking the ingredient list for whole grains to enhance the nutritional value while maintaining that desirable texture.
What is the best way to store leftover BBQ Chicken Flatbread Pizza?
Leftovers can be stored in the fridge for up to 3 days. To do this, allow your pizza to cool completely, then place it in an airtight container or wrap it tightly in plastic wrap. This will help retain its flavor and texture. For longer storage, consider freezing it.
How can I freeze BBQ Chicken Flatbread Pizza properly?
Absolutely! To freeze your BBQ Chicken Flatbread Pizza, start by allowing it to cool completely. Wrap individual slices tightly in plastic wrap, then follow with aluminum foil to prevent freezer burn. This method allows you to enjoy the pizza for up to three months. Whenever you're ready to eat, simply reheat in a preheated oven at 350°F (175°C) for 10-15 minutes until the cheese is melty again.
What should I do if my flatbread is soggy after baking?
Very! Soggy flatbread might occur if the oven isn’t preheated properly or if too much BBQ sauce is used. To avoid this, make sure your oven reaches 400°F (200°C) before baking. If using a lot of sauce, consider draining some excess sauce from the chicken mixture to keep the texture crispy. Finally, keeping an eye on the baking time will help avoid overbaking or underbaking.
Can I make this BBQ Chicken Flatbread Pizza vegetarian?
Absolutely! For a delicious vegetarian version, swap the shredded chicken for grilled veggies or marinated tofu. You can also add toppings like bell peppers, mushrooms, or zucchini for an exciting flavor twist. Just ensure that your BBQ sauce is vegetarian-friendly, as some brands may contain meat-based ingredients.
Is BBQ Chicken Flatbread Pizza safe for my gluten-sensitive family members?
Yes! By using gluten-free flatbread and ensuring all other ingredients (like BBQ sauce and cheese) are gluten-free, you can create a delicious meal that caters to gluten-sensitive eaters. However, always double-check ingredient labels to ensure they are gluten-free. Your family can enjoy this comforting dish without worry!
BBQ Chicken Flatbread Pizza: Quick, Flavorful Family Delight
Ingredients
Equipment
Method
- Preheat your oven to 400°F (200°C).
- In a mixing bowl, take shredded chicken and coat it with BBQ sauce. Stir until fully covered.
- Spread out flatbreads on a baking sheet and lightly coat each with olive oil.
- Assemble the pizza by distributing BBQ chicken mixture over flatbreads, adding mozzarella cheese, and slices of red onion.
- Bake for 10-12 minutes until cheese is bubbly and flatbread is crispy.
- Let cool for a minute, garnish with cilantro, slice, and serve hot.