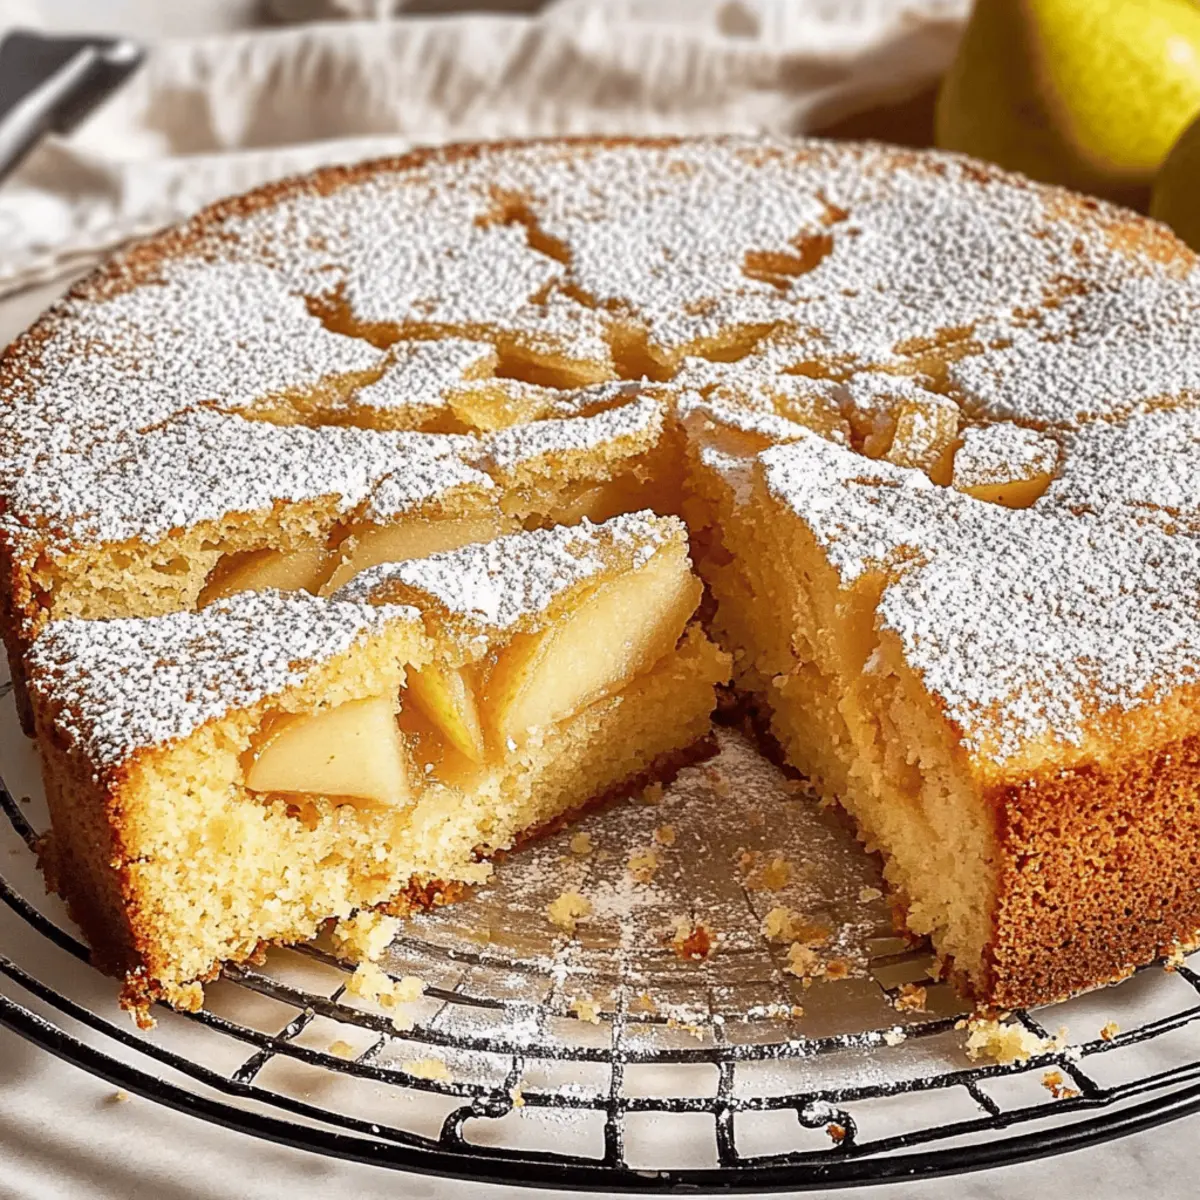
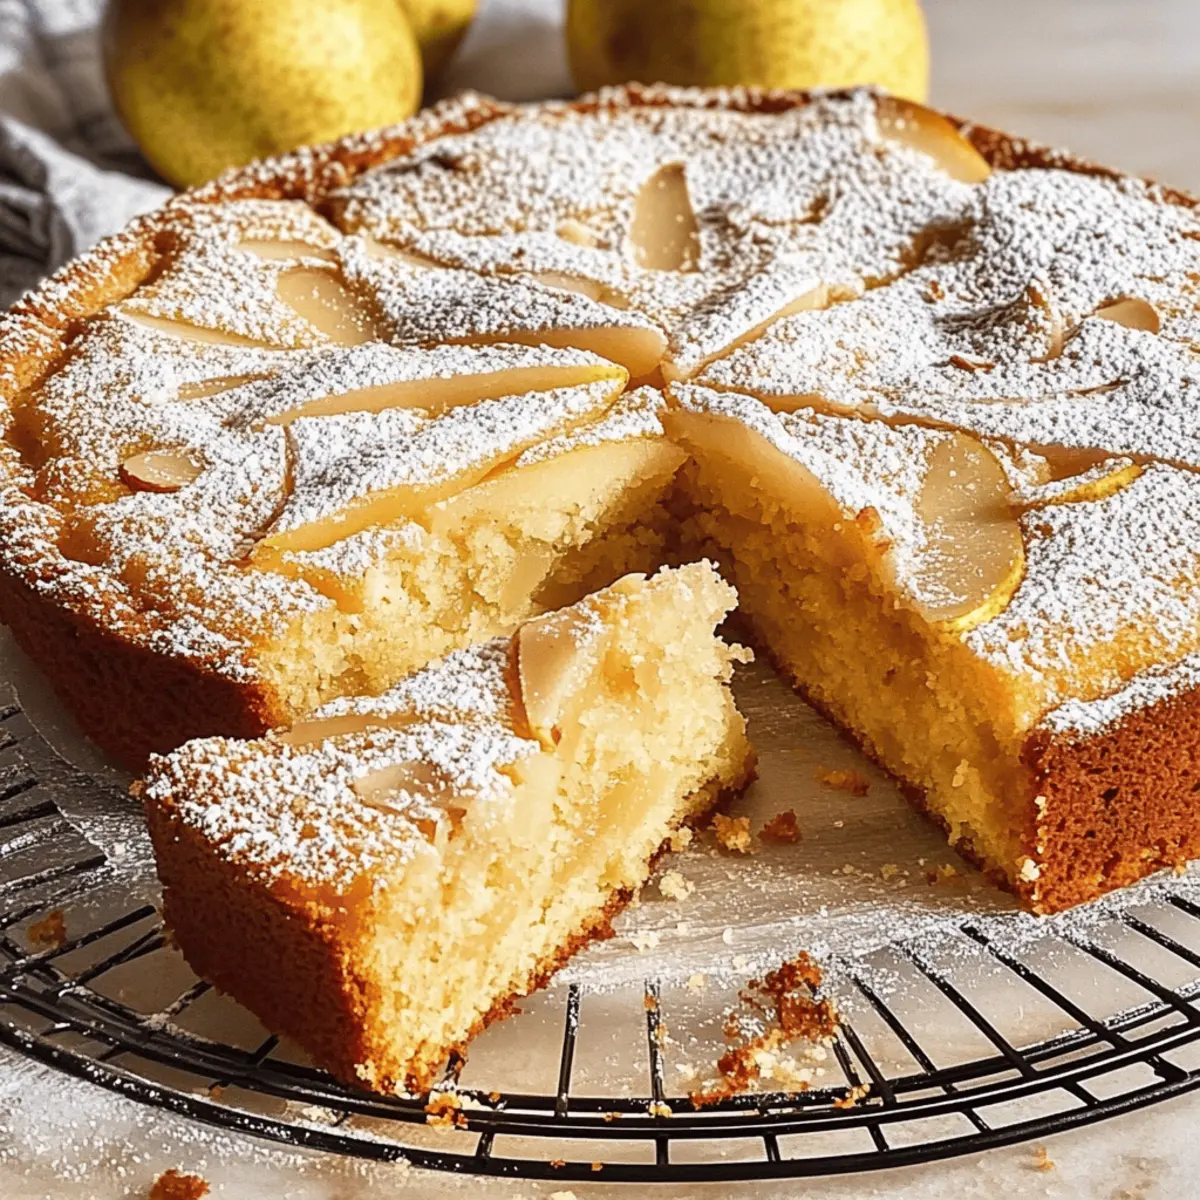
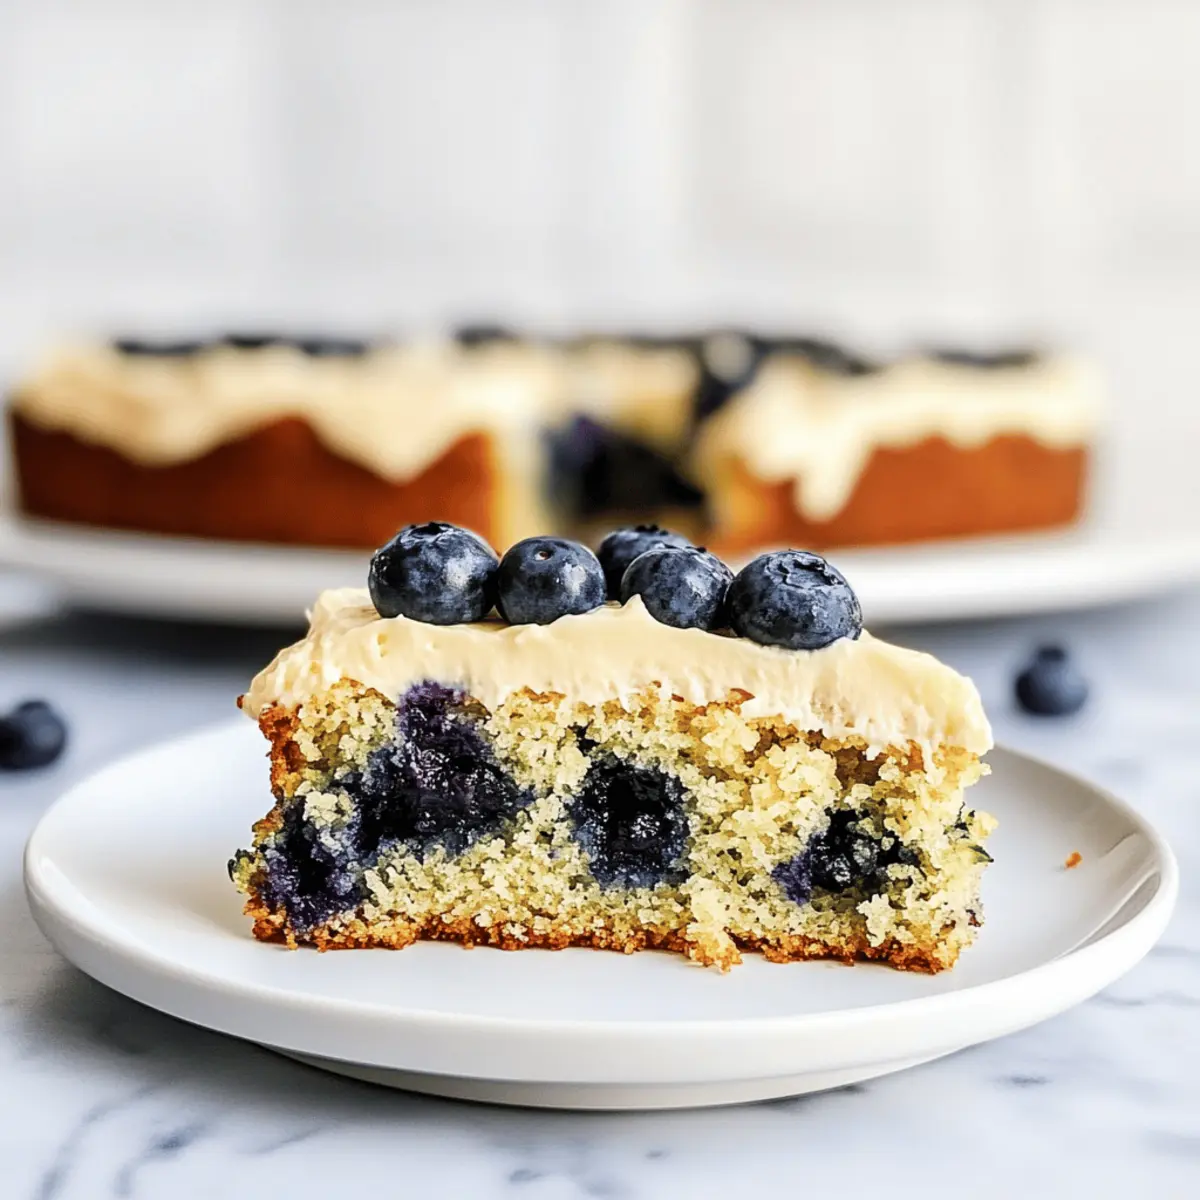
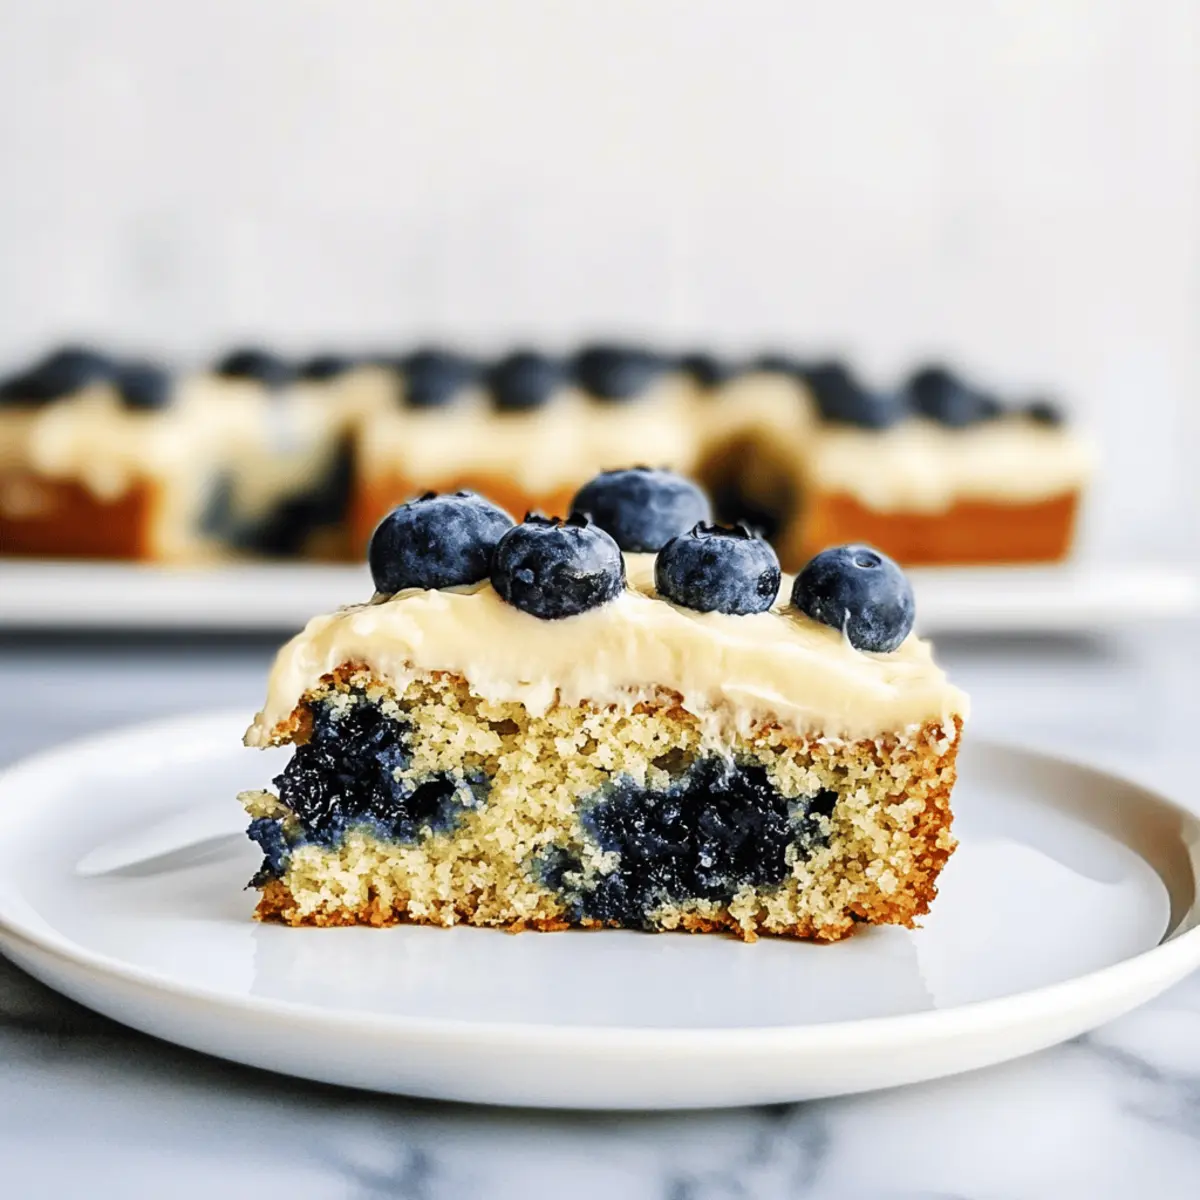
As I stood in my kitchen, a burst of citrusy aroma filled the air, whisking me away to sunny summer days. That’s when I knew it was time to bake a Lemon Blueberry Zucchini Cake with Lemon Frosting. This delightful dessert not only brings vibrant flavors to your table, but it also cleverly incorporates healthy zucchini, making it a guilt-free indulgence. The best part? It requires just one bowl and one pan, so cleanup is a breeze! Whether you’re looking for a sweet ending to a meal or a wholesome afternoon treat, this gluten-free cake will surely impress family and friends alike. Ready to uncover the secrets of this irresistible summer classic? Let’s dive in!
Why is this cake a must-try?
Unforgettable flavor: Each bite of this Lemon Blueberry Zucchini Cake delivers a zesty punch of freshness, perfectly complemented by juicy blueberries.
Effortless preparation: With its one-bowl method, this recipe is ideal for busy bakers, allowing you to whip up a delightful dessert without the fuss.
Healthy indulgence: Incorporating zucchini not only adds moisture but also boosts the nutrient content, making this cake a guilt-free sweet treat.
Bake it your way: Feel free to experiment! Swap in different fruits or leave off the frosting for a lighter dessert option that caters to everyone's taste.
Perfect for sharing: This cake is perfect for gatherings, sure to impress your guests while being a hit with both kids and adults. So, if you’re looking for a refreshing twist, you might also want to try my Lemon Chicken Soup or even a simpler dessert like Chocolate Pudding Cake.
Lemon Blueberry Zucchini Cake Ingredients
For the Cake
- Shredded Zucchini – Adds moisture and a nutritious boost; remember to squeeze out excess moisture before using.
- Eggs – These bind the ingredients together and provide structure to the cake.
- Honey – A natural sweetener that enhances moisture; maple syrup can be used as a substitute if desired.
- Lemon Zest & Juice – Infuses the cake with a vibrant citrus flavor that elevates every bite.
- Almond Extract – Contributes a subtle almond flavor; vanilla extract can replace it if needed.
- Almond Flour – This is essential for a gluten-free texture and moisture; no direct substitutes are recommended due to its unique properties.
- Gluten-Free Oat Flour – Helps create a tender crumb; it may be substituted with gluten-free all-purpose flour, though this hasn't been tested.
- Baking Soda – Acts as a leavening agent to help the cake rise beautifully.
- Salt – Enhances the overall flavor of the cake.
- Fresh Blueberries – Bursting with sweetness and tartness; toss them in flour to help prevent sinking in the batter.
For the Frosting
- Vegan Butter – Provides creaminess and richness; can be swapped for regular butter if you prefer.
- Powdered Sugar – Sweetens the frosting; for extra citrus punch, add a splash more of lemon juice.
This Lemon Blueberry Zucchini Cake with Lemon Frosting combines delicious flavors with healthy ingredients, setting the stage for a delightful baking adventure!
Step‑by‑Step Instructions for Lemon Blueberry Zucchini Cake with Lemon Frosting
Step 1: Preheat the Oven
Start by preheating your oven to 350°F (175°C). While it heats, prepare an 8x8 inch baking pan by lining it with parchment paper and spraying it with non-stick spray, ensuring a seamless release when it’s time to enjoy your Lemon Blueberry Zucchini Cake.
Step 2: Prepare the Zucchini
Grate the zucchini, then place it in a clean kitchen towel or cheesecloth. Squeeze out excess moisture over the sink, so your batter is not too watery. This step is crucial to achieving a moist cake without compromising its texture.
Step 3: Mix the Wet Ingredients
In a large mixing bowl, whisk together the prepared zucchini, eggs, honey, lemon zest, lemon juice, and almond extract until everything is evenly combined. The mixture should have a smooth, cohesive look and a lovely citrus aroma that hints at the freshness in your Lemon Blueberry Zucchini Cake.
Step 4: Combine the Dry Ingredients
Add the almond flour, gluten-free oat flour, baking soda, and salt to the wet mixture. Gently fold in the dry ingredients until just combined, being careful not to overmix. You want a batter that is thick yet well-mixed, ready to hold all those delightful blueberries.
Step 5: Add Blueberries
Toss the fresh blueberries in a tablespoon of gluten-free oat flour to prevent them from sinking in the batter. Carefully fold the blueberries into the mixture, ensuring they are evenly distributed throughout without smashing them; each bite should burst with blueberry flavor in your Lemon Blueberry Zucchini Cake.
Step 6: Bake the Cake
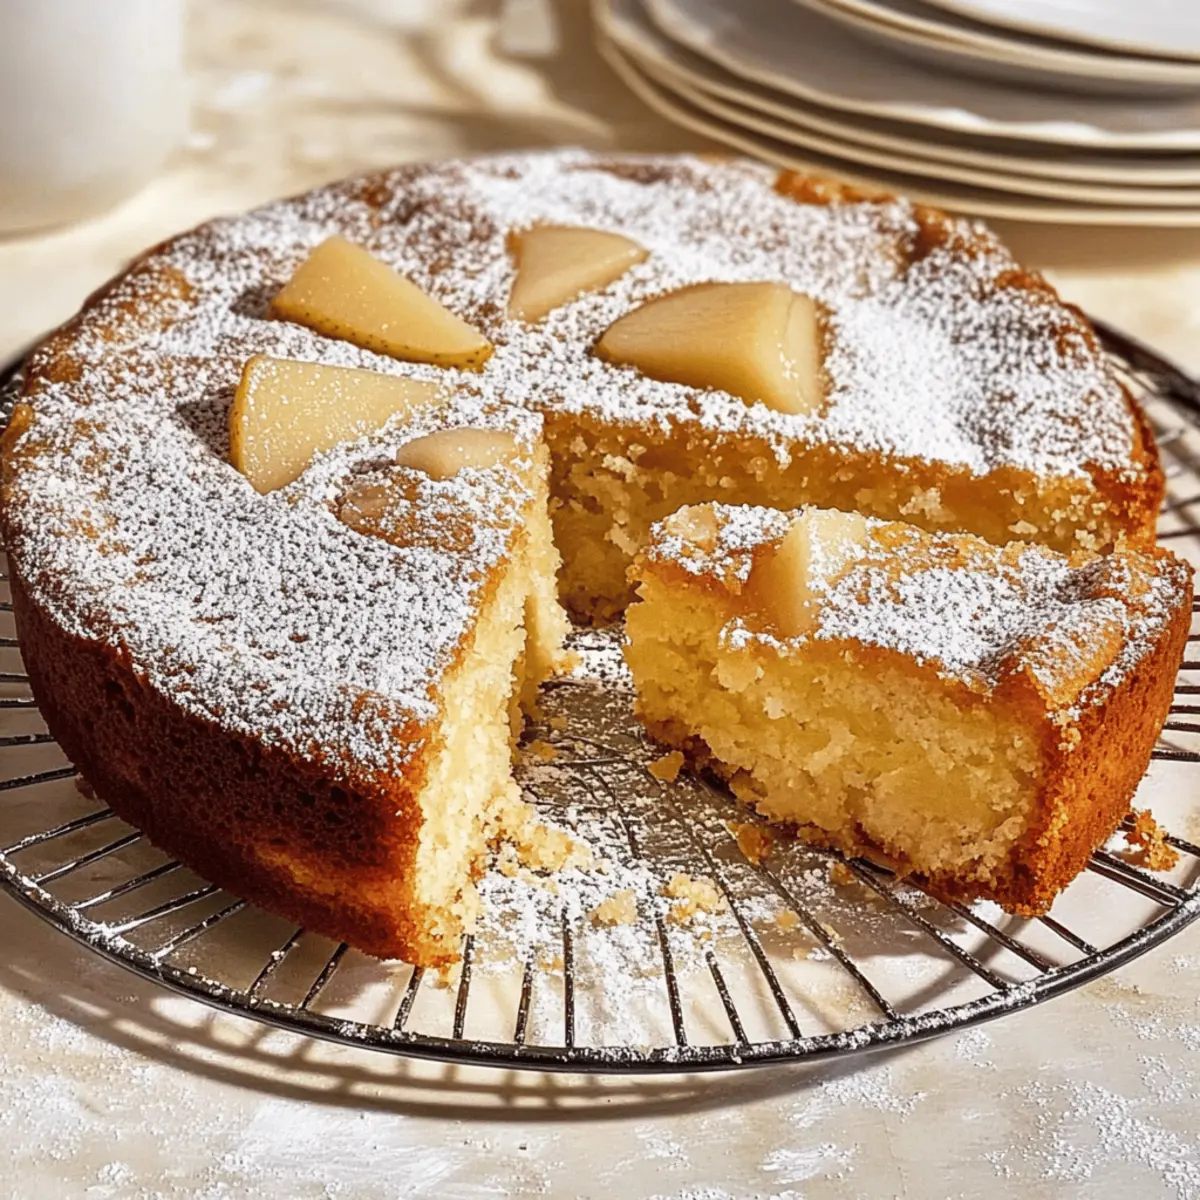
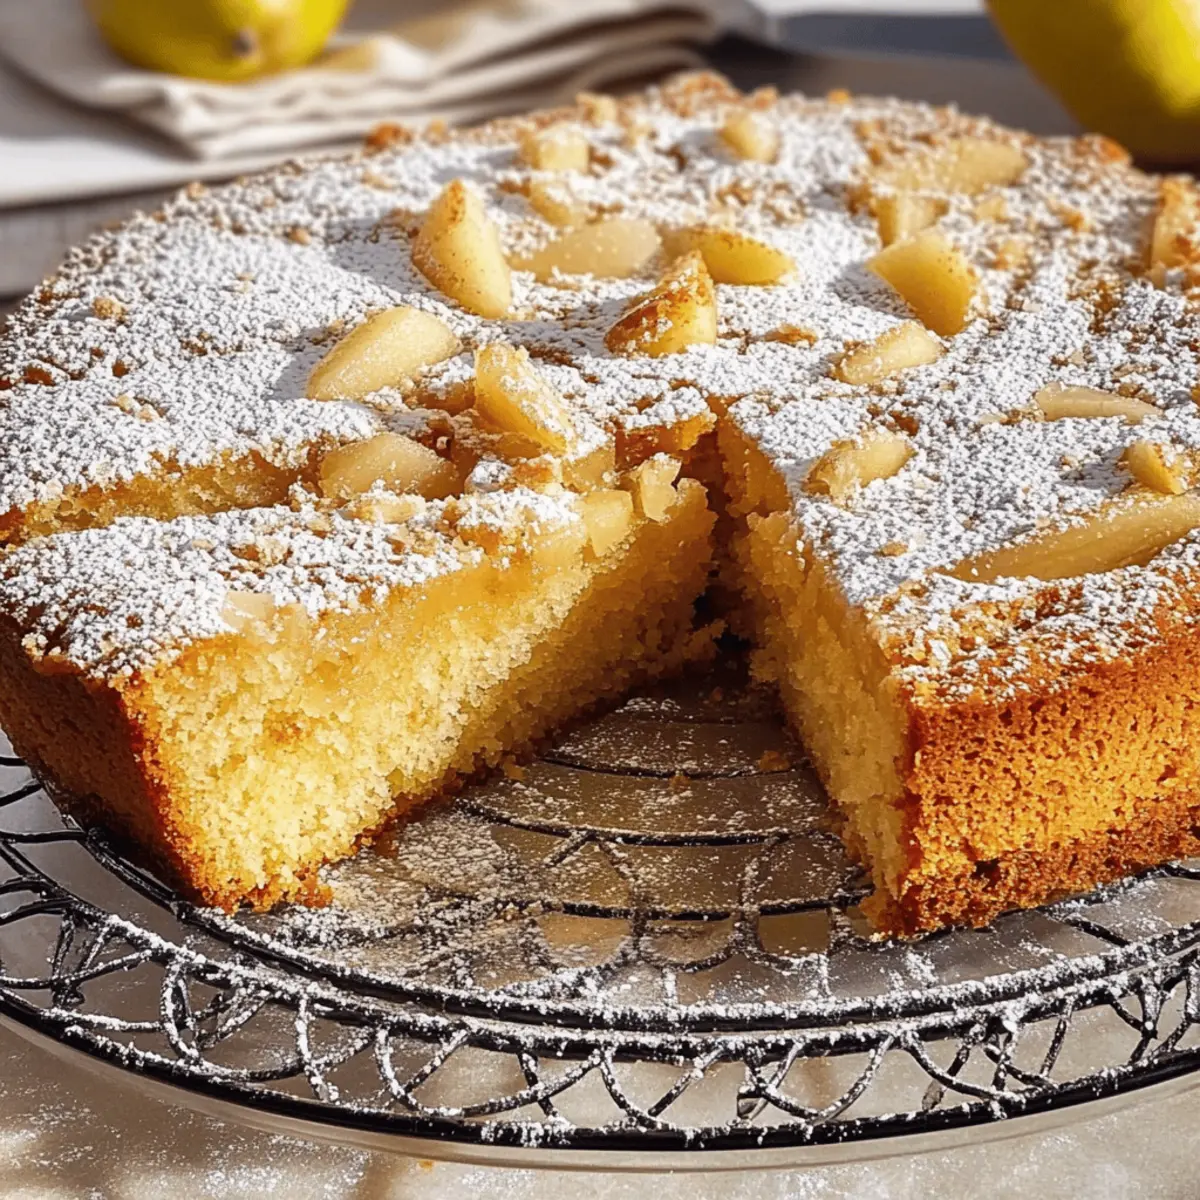
Pour the batter into your prepared baking pan, spreading it evenly with a spatula. Bake for 30-35 minutes, or until a toothpick inserted into the center comes out clean. The top should be golden brown and have a slight spring when you gently press it, signaling that your cake is perfectly baked.
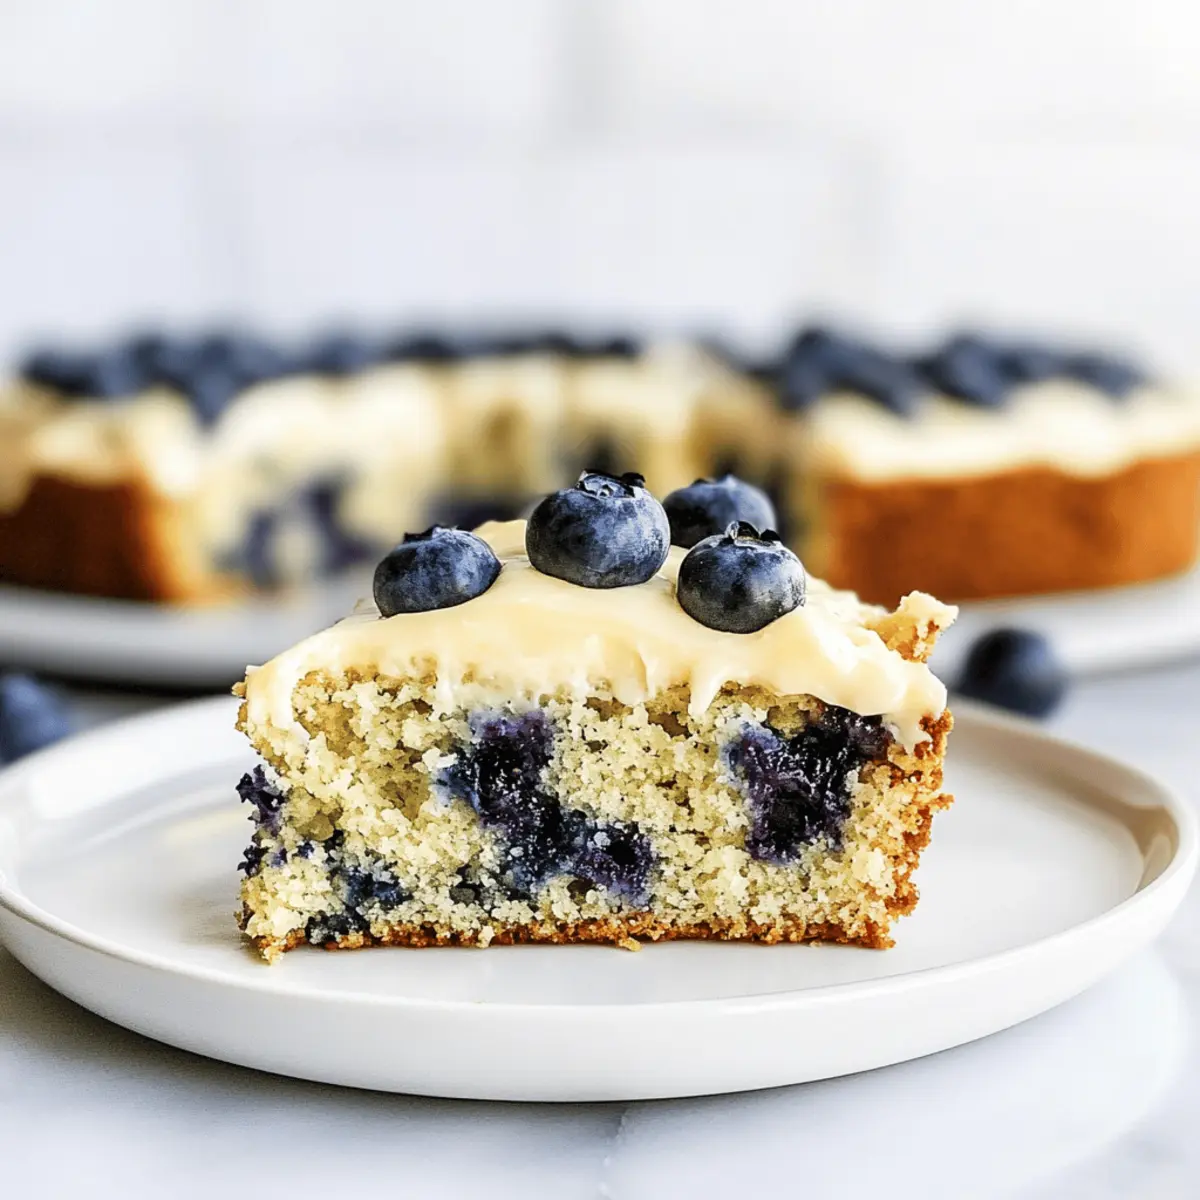
Step 7: Cool & Frost
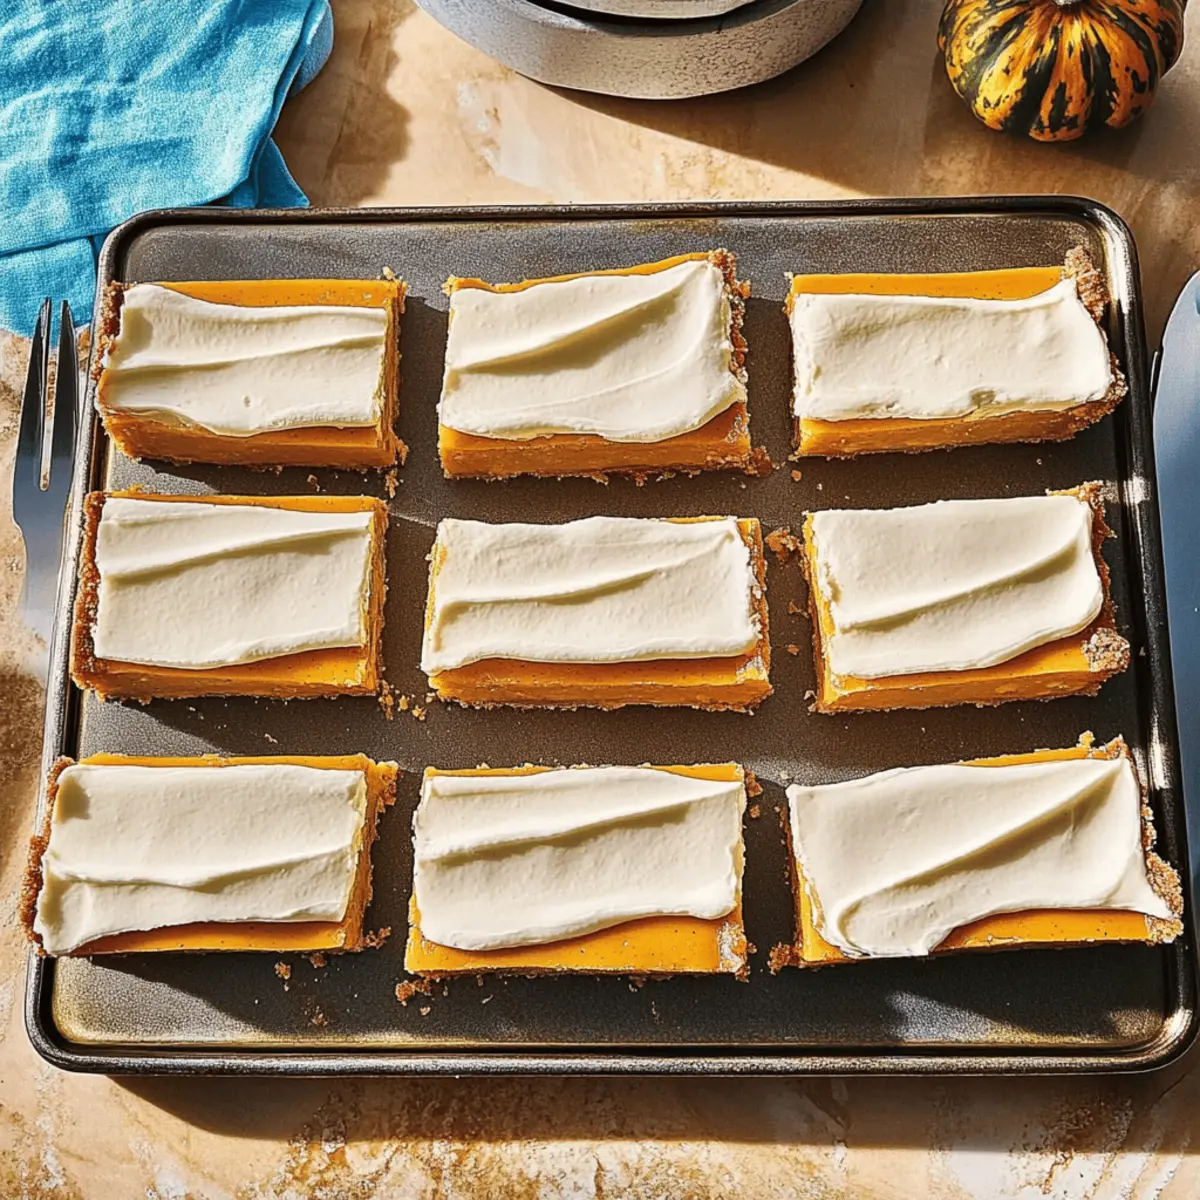
Once baked, remove the cake from the oven and let it cool in the pan for about 10 minutes. Carefully transfer it to a wire rack to cool completely. Once cooled, spread the luscious lemon frosting over the top, allowing the flavors to meld beautifully in your delicious Lemon Blueberry Zucchini Cake with Lemon Frosting.
What to Serve with Lemon Blueberry Zucchini Cake with Lemon Frosting
Looking to complement the vibrant flavors of this delightful cake? Let's build a full, mouthwatering spread together.
-
Creamy Mashed Potatoes: These buttery potatoes bring a comforting, velvety texture, offering a delightful contrast to the cake’s lightness.
-
Light Summer Salad: A refreshing mix of greens, cucumber, and a citrus vinaigrette enhances the cake's lemony notes, creating a harmonious balance.
-
Roasted Vegetables: Seasonal veggies roasted to caramelized perfection add earthy flavors, complementing the sweetness of the cake beautifully.
-
Chilled Lemonade: This classic drink with a zesty kick pairs perfectly, echoing the cake’s citrus essence while keeping things refreshingly cool.
-
Vanilla Ice Cream: A scoop of creamy ice cream melts deliciously when paired with warm slices of cake, amplifying the dessert experience to new heights.
-
Berry Compote: A tangy berry sauce drizzled over the cake heightens the fruity flavors, allowing every forkful to burst with summer freshness.
-
Sparkling Wine: A bubbly sip enhances gatherings and celebrations, and its crispness cuts through the sweetness, making each bite of cake even more enjoyable.
-
Chocolate Drizzle: Drizzling melted chocolate over slices introduces a rich element that pairs surprisingly well with the zest of lemon.
-
Almond Biscotti: This crunchy treat adds texture, while its nutty flavor harmonizes with the cake’s almond extract, creating a delightful tasting journey.
How to Store and Freeze Lemon Blueberry Zucchini Cake
-
Room Temperature: Store the cake at room temperature for 1 day, covered with a cake dome or plastic wrap to keep it moist, especially if serving soon.
-
Fridge: For longer storage, keep the Lemon Blueberry Zucchini Cake covered in the fridge for up to 3 days. This prevents drying and maintains its delightful taste.
-
Freezer: If you want to enjoy the cake later, wrap slices tightly in plastic wrap and then in aluminum foil. Freeze for up to 3 months. Thaw in the fridge overnight before enjoying!
-
Reheating: For a warm slice, reheat individual pieces in the microwave for 10-15 seconds. Enjoy it warm or at room temperature for the best experience!
Lemon Blueberry Zucchini Cake Variations
Feel free to get creative and personalize your Lemon Blueberry Zucchini Cake, making it uniquely yours!
-
Berry Swap: Replace blueberries with fresh raspberries or chopped strawberries for a delightful twist. The tartness of raspberries adds a unique zing that perfectly complements the lemon.
-
Nutty Flavor: Add chopped walnuts or pecans for a delightful crunch. The added texture will keep things interesting, almost like a surprise in every bite!
-
Omit Frosting: For a lighter option, skip the frosting and drizzle a simple glaze of lemon juice and powdered sugar instead. This keeps the flavors bright but cuts down on sweetness.
-
Vegan Version: Substitute eggs with a flax egg (1 tablespoon ground flax seeds mixed with 2.5 tablespoons water) for a plant-based twist. Enjoy the same gorgeous texture while catering to vegan friends.
-
Flour Variation: Swap gluten-free oat flour with almond flour for a denser cake. Just remember that the flavor profile will change slightly, adding more nuttiness.
-
Frozen Blueberries: Use frozen blueberries if fresh aren’t available. Make sure not to thaw them beforehand; they’ll hold their shape better, adding bursts of flavor as you bite through the cake.
-
Citrus Zing: Infuse the frosting with orange zest for an extra citrus kick. This combination of lemon and orange creates an unforgettable symphony of flavors that dances on your palate!
-
Spiced Delight: Add a pinch of cinnamon or nutmeg into the batter for a warm spice note. It’s like a cozy hug from the cake itself, perfect for enjoying with a cup of tea.
No matter which variation you choose, each option offers a unique spin on this scrumptious recipe. Don't forget to check out my favorite Cheesy Zucchini Bake for another delicious way to sneak in those zucchinis!
Expert Tips for Lemon Blueberry Zucchini Cake
-
Drain Well: Ensure you squeeze out as much moisture from the zucchini as possible; a watery batter can lead to a dense cake.
-
Use Fresh Blueberries: Fresh berries work best, but if using frozen blueberries, do not thaw them beforehand to prevent excess liquid in your Lemon Blueberry Zucchini Cake.
-
Check for Doneness: Ovens can vary; start checking for doneness a few minutes before the suggested baking time to prevent overbaking.
-
Cool Completely: Allow the cake to cool completely before frosting. If it’s warm, the lemon buttercream will melt and create a puddle rather than a beautiful frosted top.
-
Experiment with Flours: While almond flour is recommended, you can try combining different gluten-free flours to find your favorite texture, but be cautious with substitutions.
-
Store Properly: Keep the cake covered in the fridge for up to 2-3 days. This helps maintain its moisture and deliciousness for a longer time.
Make Ahead Options
These Lemon Blueberry Zucchini Cakes are perfect for meal prep enthusiasts! You can prepare the shredded zucchini and store it in the fridge for up to 3 days, ensuring it's well-drained to maintain the cake's moisture. Additionally, you can mix the dry ingredients (almond flour, oat flour, baking soda, and salt) and keep them in an airtight container for up to 24 hours. When you're ready to bake, simply combine the wet ingredients with the prepped dry mix, fold in the blueberries, and pour into the pan. Once baked and cooled, frost with the lemon buttercream, and enjoy a delightful, stress-free dessert that tastes just as delicious as if made fresh that day!
Lemon Blueberry Zucchini Cake with Lemon Frosting Recipe FAQs
How do I select the right zucchini for this cake?
Absolutely! When choosing zucchini, opt for ones that are firm and have smooth skin. Look for medium-sized zucchinis, as larger ones may contain more seeds and less flavor. I often check for those with a vibrant green hue and no dark spots. Freshly picked zucchinis are usually the sweetest and juiciest!
What’s the best way to store Lemon Blueberry Zucchini Cake?
Very! You can store the cake at room temperature for 1 day, covered with a cake dome or plastic wrap to keep it moist. For longer storage, keep it in the fridge for up to 3 days; this helps maintain its delightful taste and texture.
Can I freeze Lemon Blueberry Zucchini Cake?
Absolutely! To freeze your Lemon Blueberry Zucchini Cake, slice it first for convenience. Wrap each slice tightly in plastic wrap, then cover it with aluminum foil to prevent freezer burn. You can freeze it for up to 3 months. When you're ready to enjoy, simply thaw the slices in the fridge overnight.
What if my cake turns out too dense?
If your cake is dense, it might be due to excess moisture from the zucchini or overmixing the batter. Make sure to drain the zucchini well before adding it to your mix. When combining the dry and wet ingredients, gently fold them together until just mixed—overmixing can lead to a heavy texture.
Is this cake suitable for people with allergies?
The Lemon Blueberry Zucchini Cake is gluten-free, making it a great option for those with gluten sensitivities. However, it's worth noting that it contains eggs and may not be suitable for those with egg allergies. For a vegan version, you can replace the eggs with flax eggs (1 tablespoon ground flaxseed + 2.5 tablespoons water per egg) to maintain moisture and structure.
How long can I keep the frosting?
The lemon buttercream frosting can be stored in an airtight container in the fridge for about 1 week. If you have leftover frosting, make sure to bring it to room temperature before spreading it on your cake again for the best texture and flavor!
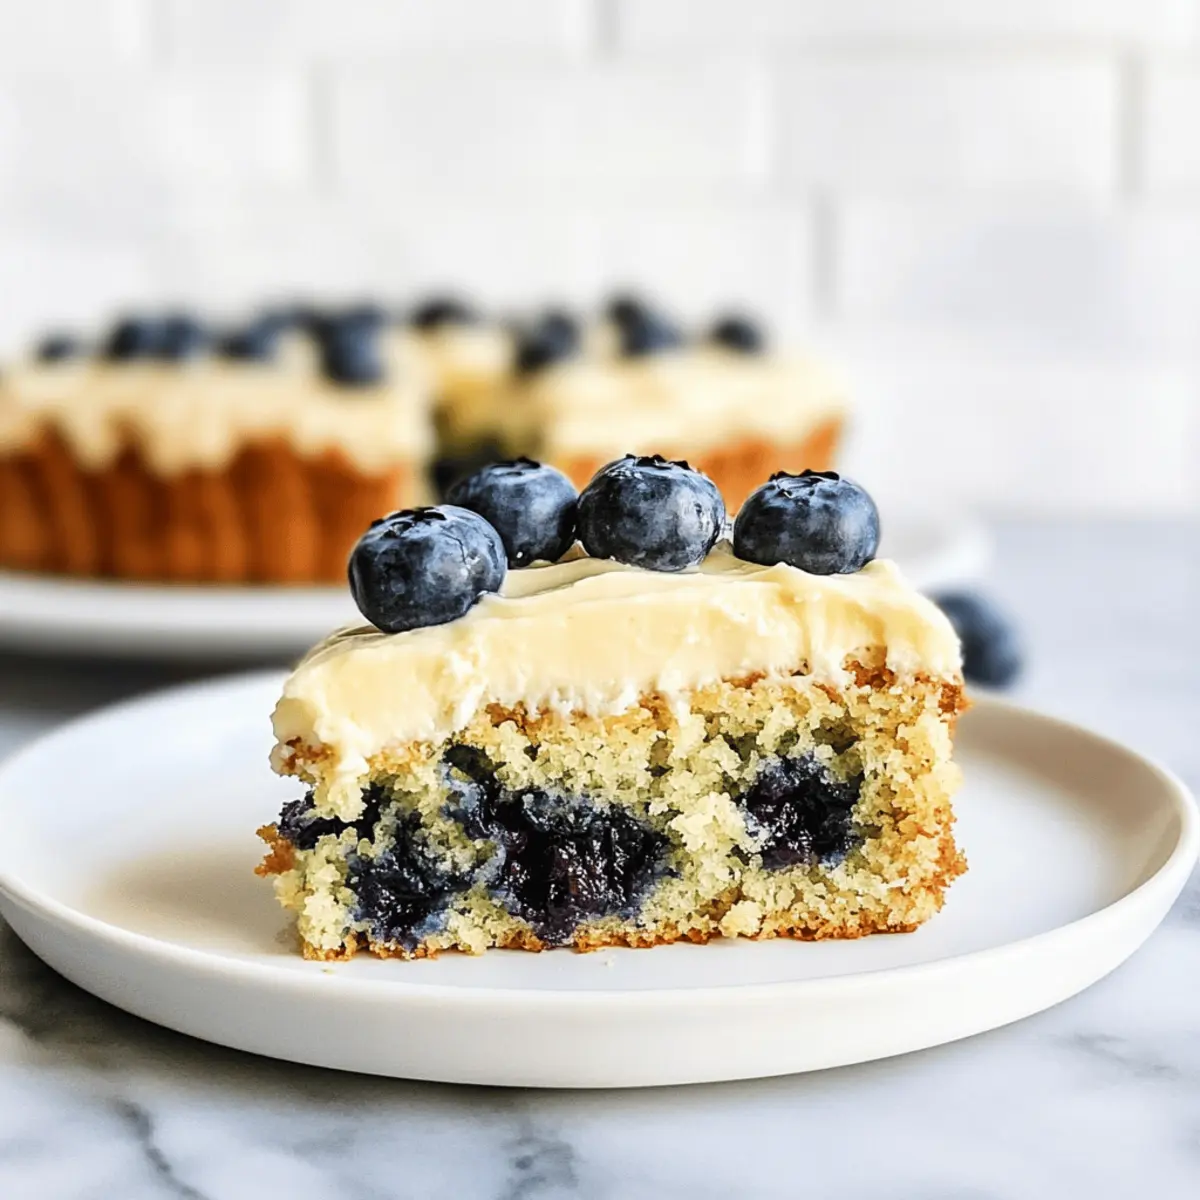
Lemon Blueberry Zucchini Cake with Lemon Frosting Bliss
Ingredients
Equipment
Method
- Preheat your oven to 350°F (175°C). Line an 8x8 inch baking pan with parchment paper and spray with non-stick spray.
- Grate the zucchini and squeeze out excess moisture. This is crucial for a moist cake.
- In a large bowl, whisk together the zucchini, eggs, honey, lemon zest, lemon juice, and almond extract until smooth.
- Add almond flour, gluten-free oat flour, baking soda, and salt. Fold gently until just combined.
- Toss fresh blueberries in a tablespoon of gluten-free oat flour and fold into the batter carefully.
- Pour the batter into the prepared pan and bake for 30-35 minutes. A toothpick should come out clean.
- Let the cake cool in the pan for about 10 minutes, then transfer to a wire rack to cool completely before frosting.