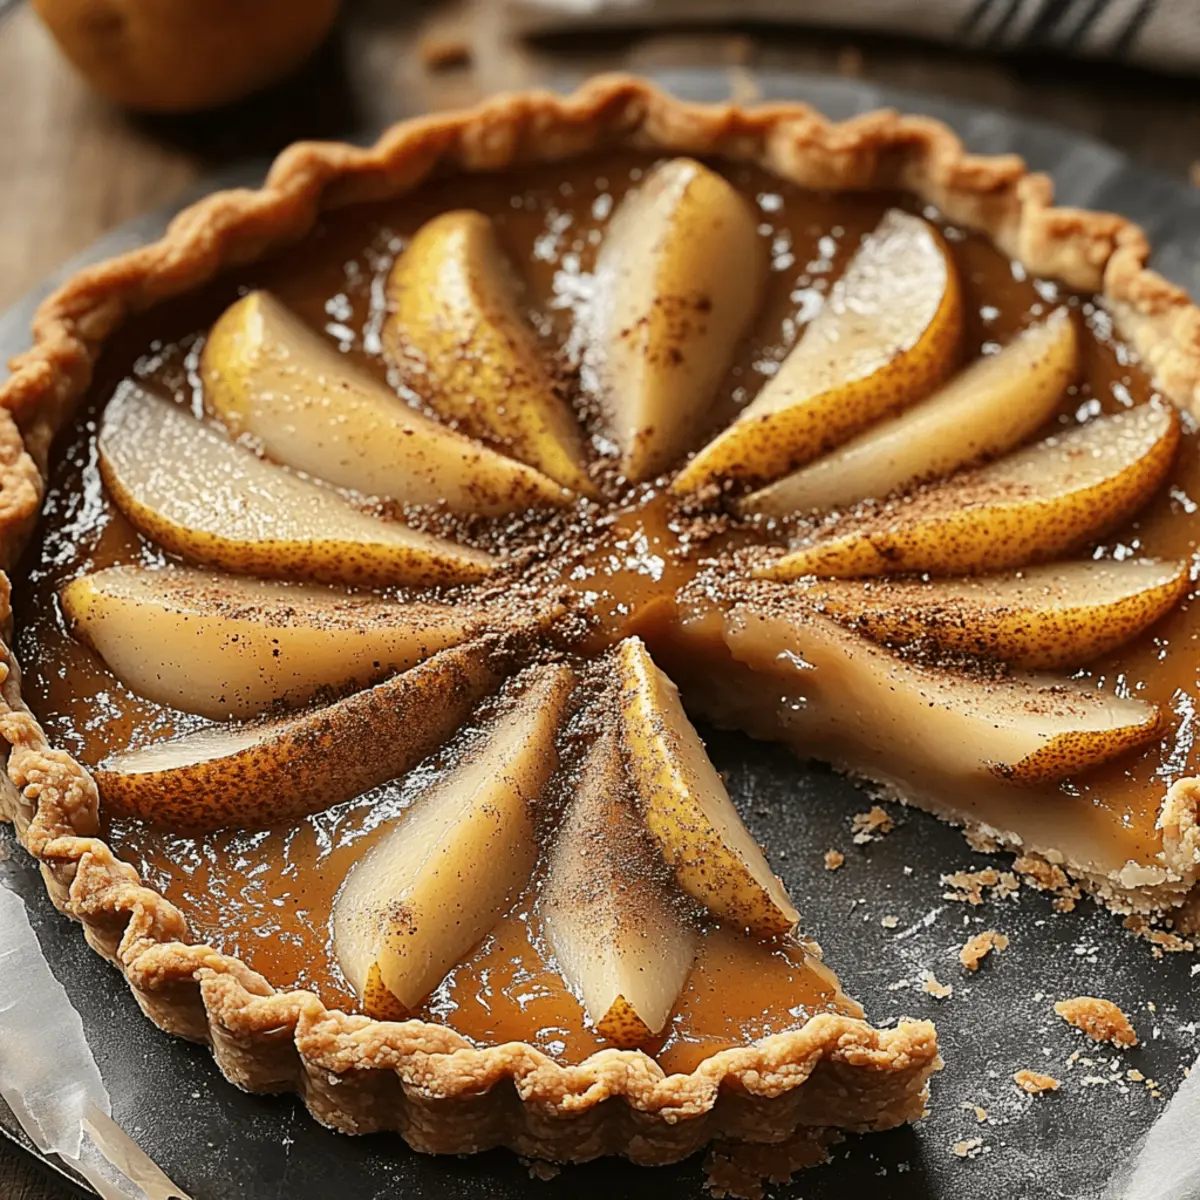
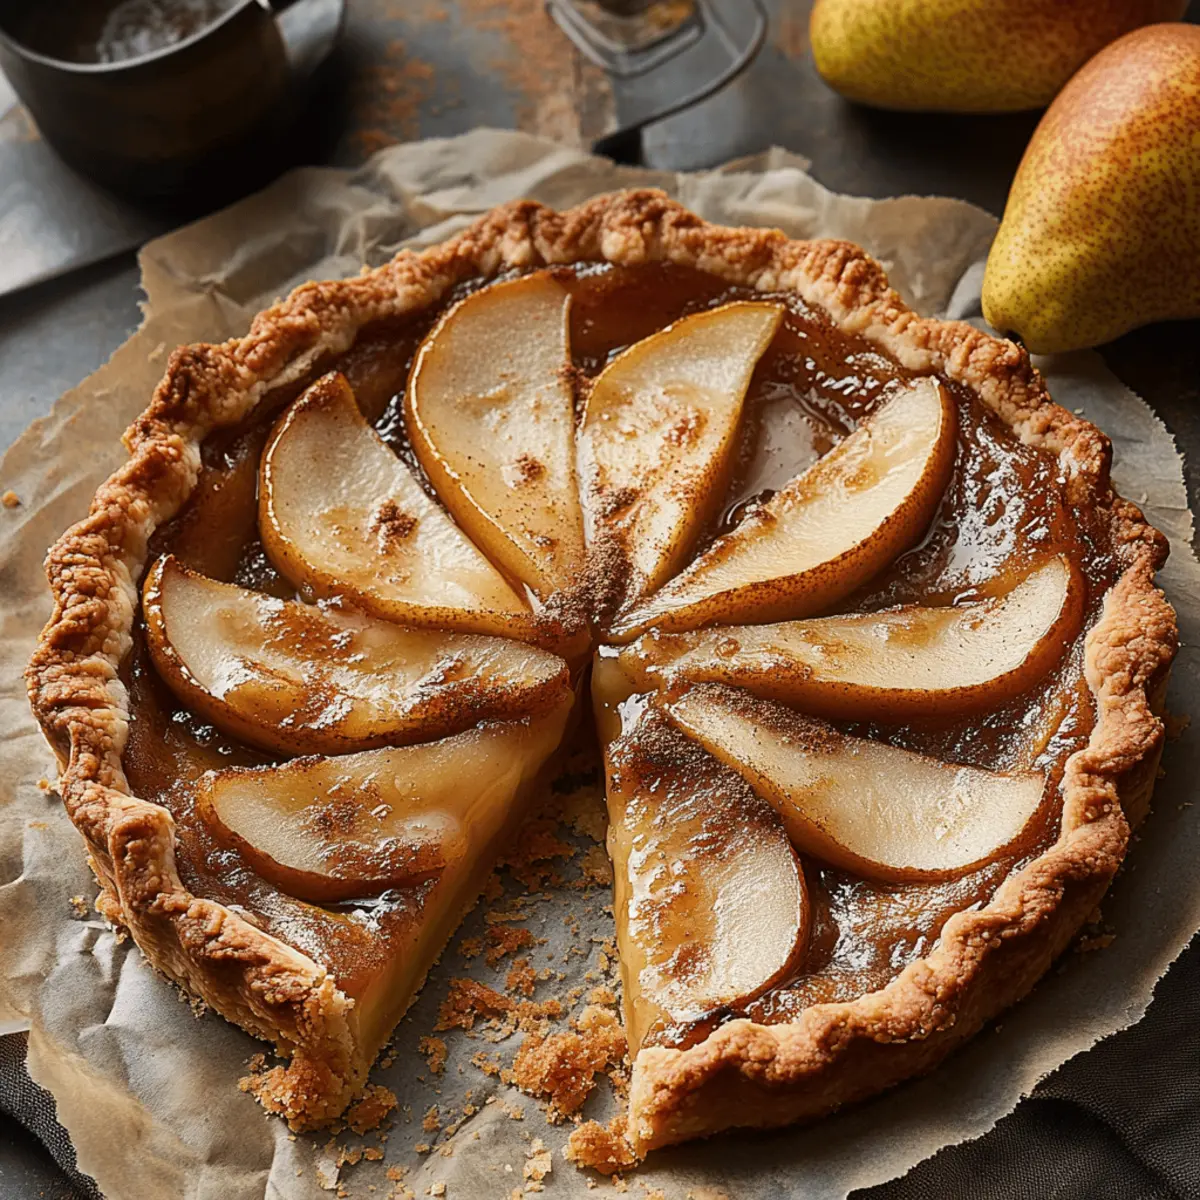
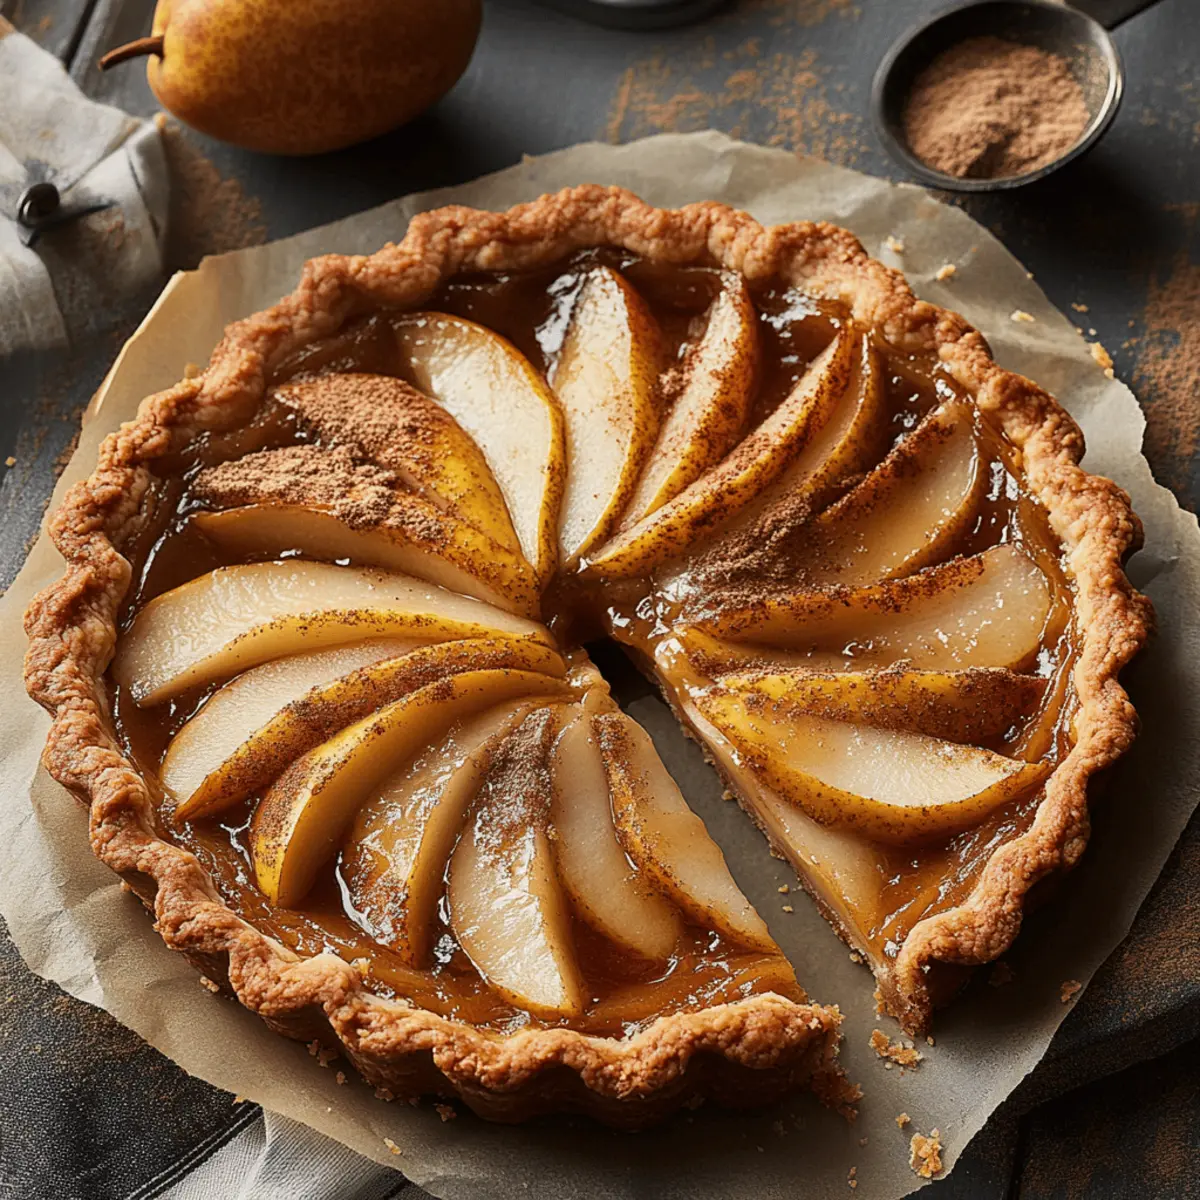
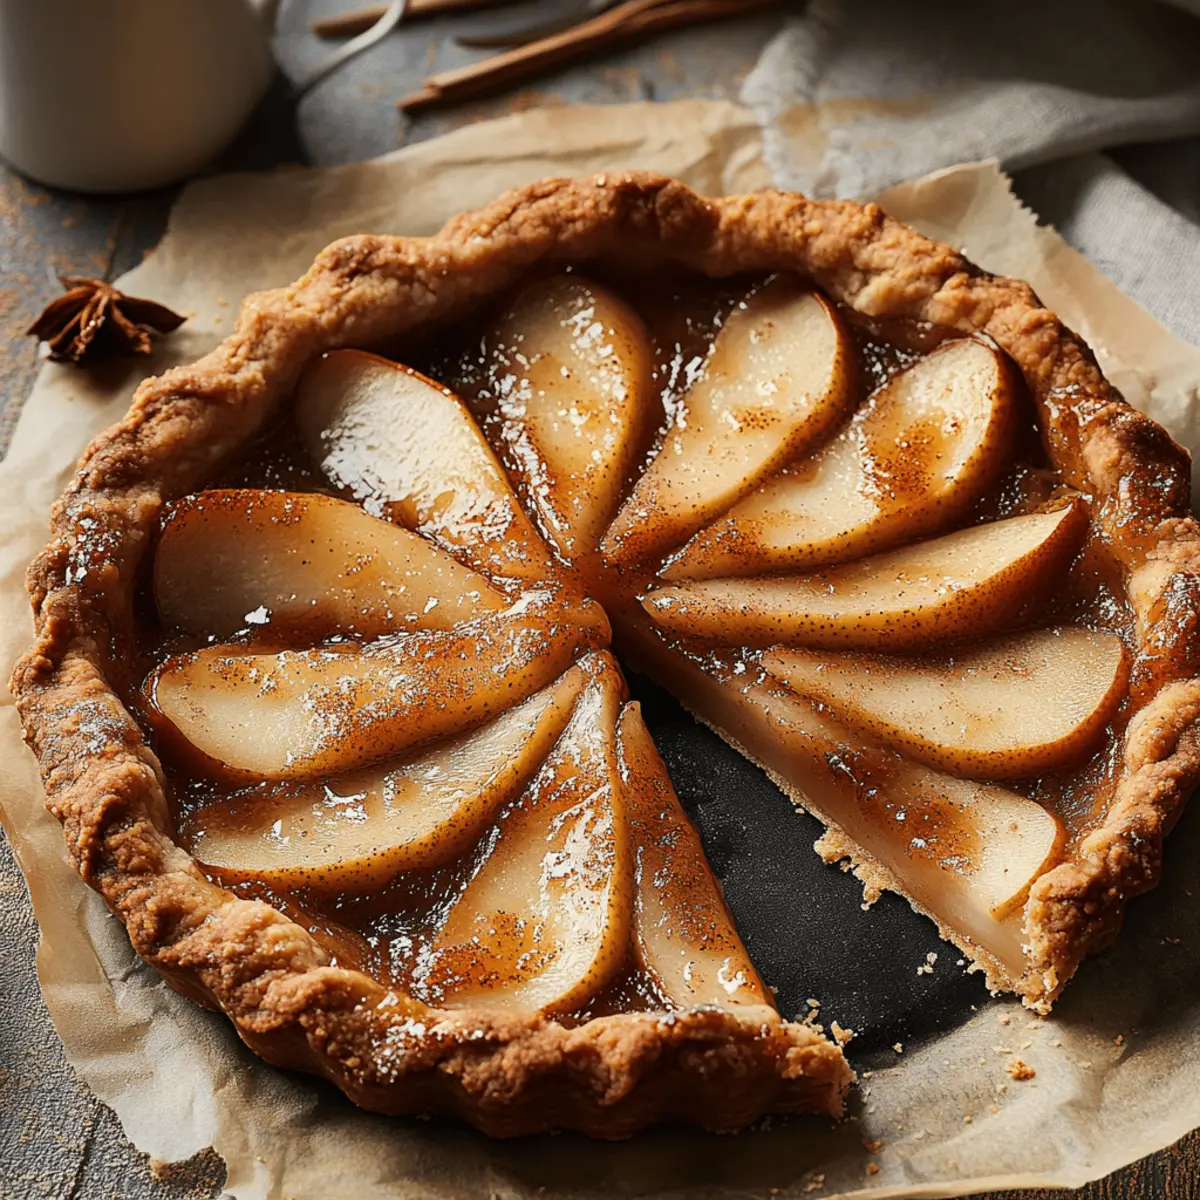
As I poured the steaming chai into my favorite mug, autumn's crispness surrounded me, sparking the idea for a delightful dessert: a Chai-Spiced Pear Tart. This cozy recipe not only channels the warm, inviting flavors of spiced pears but also results in a luscious custard nestled within a flaky, buttery crust. Perfect for impressing guests at gatherings or savoring quietly on a chilly evening, this tart is incredibly simple to make and invites improvisation, whether swapping in apples or even creating a vegan version! With its customizable twists, it’s bound to become a cherished favorite in your home kitchen. Ready to bring a taste of warmth and nostalgia to your table?

Why is this tart a crowd-pleaser?
Irresistible Aroma: The fragrant chai spices wafting through your kitchen will instantly captivate everyone around.
Simple Preparation: This recipe is easy to follow, perfect for both beginners and seasoned chefs looking for a cozy, indulgent treat.
Customizable Options: Whether you're craving an Apple-Chai Twist or a Vegan Version, it’s a canvas for your creativity.
Perfect for Any Occasion: From festive gatherings to quiet evenings, this Chai-Spiced Pear Tart fits seamlessly into any setting.
Make-Ahead Convenience: Prepare it in advance and simply serve, freeing you up to enjoy your time with loved ones.
Dive into this unique fusion of flavors by checking out the serving suggestions or explore other delightful variation ideas to make it truly your own!
Chai-Spiced Pear Tart Ingredients
For the Crust
- All-Purpose Flour – Provides structure for the tart crust; you can substitute with a gluten-free blend plus xanthan gum if needed.
- Cold Unsalted Butter – Creates a flaky texture in the crust; use coconut oil for a vegan option.
- Cold Water – Binds the crust together; add more if the dough feels too dry.
- Sugar – Adds sweetness to the crust—adjust according to your taste.
- Salt – Enhances flavor in the crust.
For the Chai Custard
- Whole Milk – Creates a creamy custard texture; full-fat coconut milk works as a dairy-free substitute.
- Heavy Cream – Adds richness to the custard; replace with coconut cream for a vegan version.
- Black Tea Bags – Infuses chai flavor into the custard; chai tea bags enhance the flavor further.
- Egg Yolks – Provide richness and help the custard set; no substitutes are available.
- Cornstarch – Thickens the custard; avoid substitutions.
- Vanilla Extract – Adds depth of flavor to the custard.
- Chai Spice – A blend of spices like cinnamon, ginger, and cardamom that enhances the chai flavor; adjust to your personal preference.
For the Topping
- Pears (Bosc or Anjou) – The main topping that adds sweetness and texture; opt for ripe ones for the best results.
Explore these ingredient possibilities and get creative with your very own Chai-Spiced Pear Tart!
Step‑by‑Step Instructions for Chai-Spiced Pear Tart
Step 1: Prepare the Crust
In a food processor, combine all-purpose flour, sugar, and salt. Cut in cold unsalted butter until the mixture resembles sandy crumbs. Gradually add cold water, pulsing until the dough holds together. Shape the dough into a disc, wrap it in plastic, and chill in the refrigerator for 30 minutes to firm it up.
Step 2: Roll Out the Crust
After chilling, roll the dough into a 12-inch circle on a lightly floured surface. Carefully transfer the rolled-out dough to a tart pan, pressing it into the edges while trimming any excess. Freeze the crust for 10 minutes, then preheat your oven to 375°F (190°C). Blind bake the crust for 15-18 minutes until it's golden brown.
Step 3: Make Chai Custard
In a saucepan, combine whole milk, heavy cream, and black tea bags over medium heat. Allow the mixture to simmer gently for about 10 minutes, allowing the flavors to infuse. Once fragrant, remove the tea bags and whisk together egg yolks, sugar, cornstarch, vanilla extract, and chai spice in a separate bowl until smooth.
Step 4: Temper Egg Mixture
Slowly incorporate the warm milk mixture into the egg mixture, whisking continuously to prevent curdling. Return the combined mixture to the saucepan and cook over medium heat, stirring constantly for about 4 minutes until thickened. Once thick, remove from heat and let it cool for 10 minutes while you prepare the pears.
Step 5: Assemble with Pears
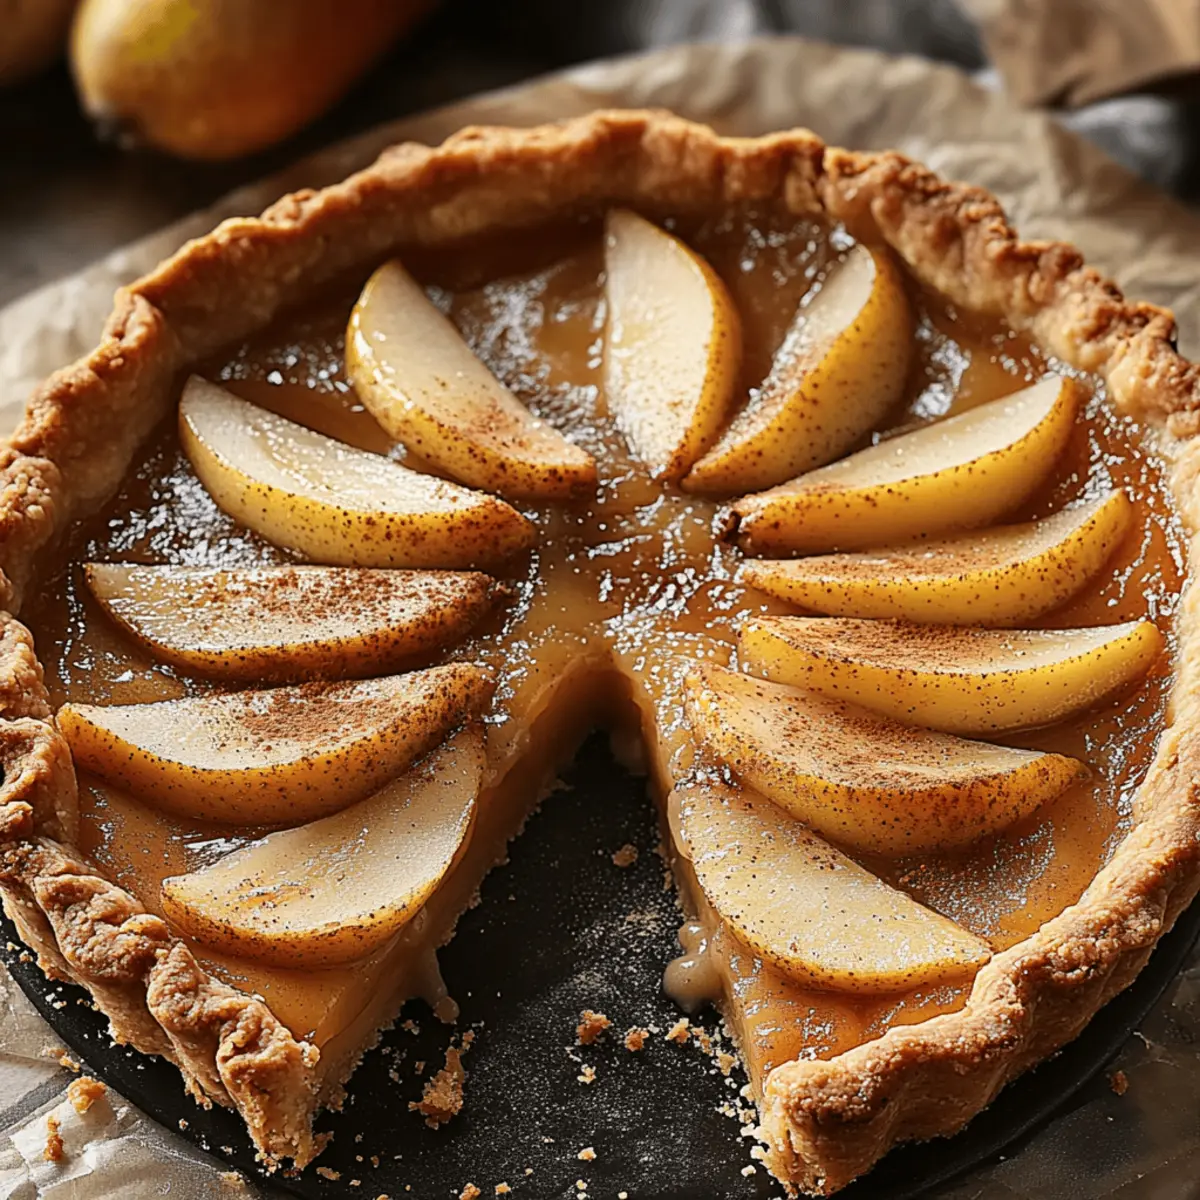
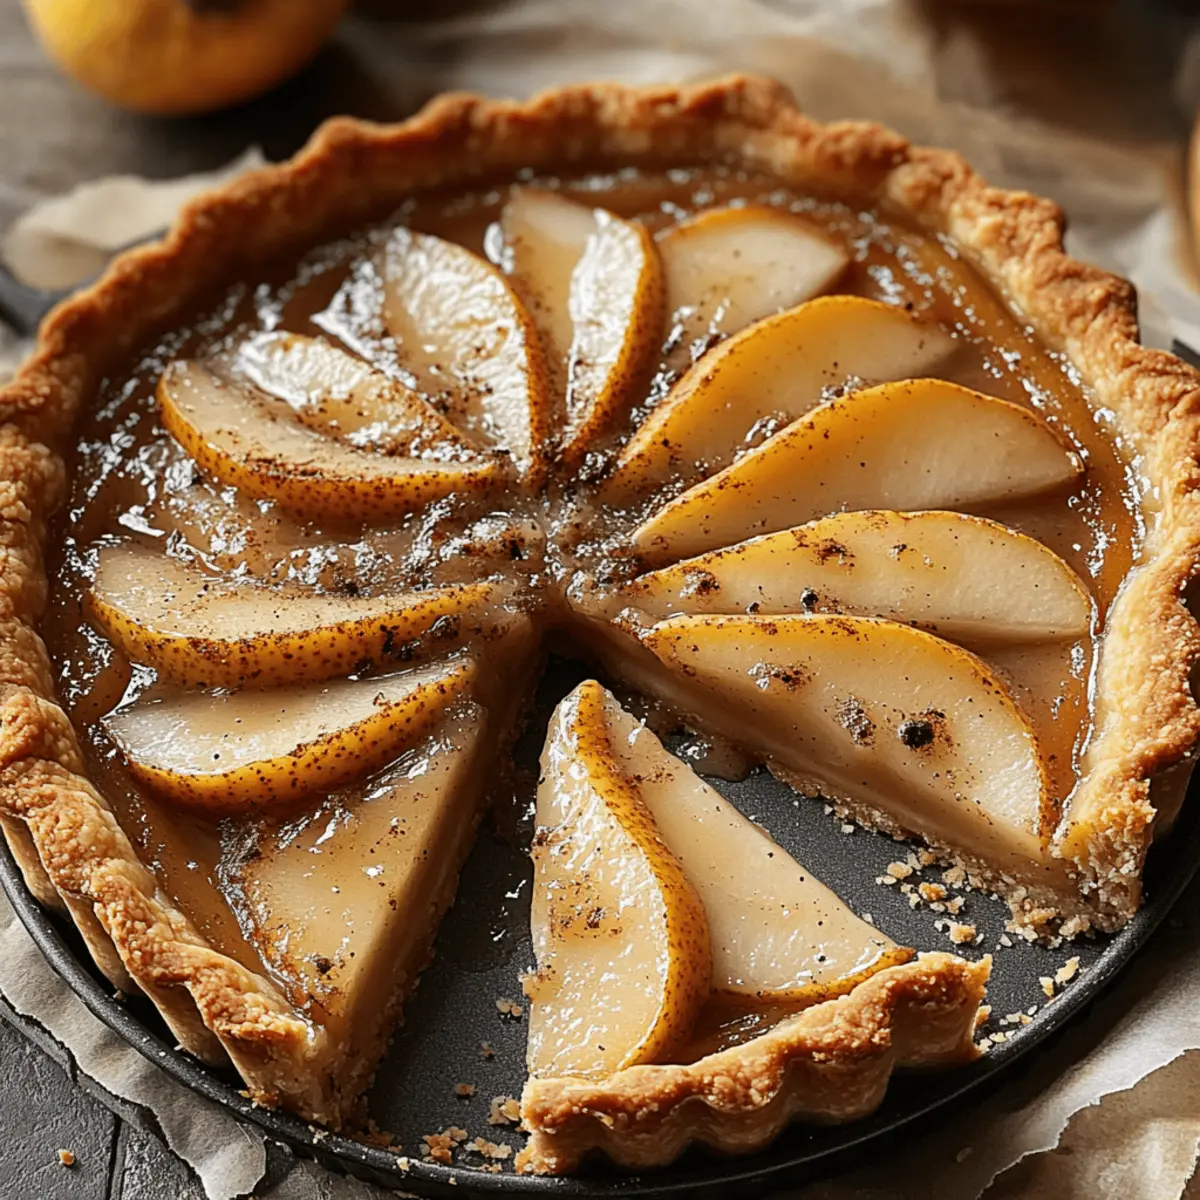
Thinly slice ripe pears, ensuring they're tender and sweet. Arrange the pear slices decoratively over the cooled custard, encircling the tart. Bake the assembled Chai-Spiced Pear Tart at 350°F (175°C) for 20-25 minutes until the custard jiggles slightly but is set. It should be golden and enticing.
Step 6: Cool and Serve
Once baked, allow the tart to cool for at least 1 hour at room temperature. Before serving, dust the top with powdered sugar for a beautiful finish. This Chai-Spiced Pear Tart can be served chilled or room temperature, perfect paired with honey or whipped cream to elevate your cozy dessert experience.
Storage Tips for Chai-Spiced Pear Tart
-
Fridge: Store leftover Chai-Spiced Pear Tart in an airtight container for up to 3 days to keep it fresh and flavorful.
-
Freezer: For longer storage, wrap the tart tightly in plastic wrap and then in aluminum foil. It will stay good in the freezer for up to 2 months.
-
Thawing: When ready to serve, thaw the tart overnight in the fridge. Optional: Reheat slices gently in the oven at 350°F (175°C) for a few minutes to restore some warmth.
-
Covering: Always ensure the tart is completely cool before storing, and avoid placing it in the refrigerator while still warm to prevent condensation.
Make Ahead Options
These Chai-Spiced Pear Tart components are perfect for meal prep, saving you valuable time on busy nights! You can prepare the crust and chai custard up to 24 hours in advance. For best quality, refrigerate the crust tightly wrapped in plastic, and store the custard in an airtight container. When you're ready to assemble, simply roll out the chilled crust into your tart pan, fill it with the prepared custard, and arrange your sliced pears on top. Bake according to the recipe instructions, and enjoy a delightful tart that tastes just as fresh and delicious as if it were made from scratch today!
What to Serve with Chai-Spiced Pear Tart
The warmth and inviting aromas of chai-infused sweetness beckon for complementary dishes to create a delightful meal experience.
- Vanilla Ice Cream: Rich and creamy, vanilla ice cream pairs beautifully with the spiced flavors, adding a refreshing contrast to the tart's warm notes.
- Honey Drizzle: A simple drizzle of honey over each slice enhances the sweetness while imparting an extra layer of richness that brightens every bite.
- Roasted Nuts: Crunchy roasted almonds or walnuts offer a delightful textural contrast, enhancing the overall flavor profile of the dish.
- Fresh Mint Leaves: A sprinkle of fresh mint adds a burst of color and freshness, balancing the rich custard and sweet pears.
- Spiced Chai Brew: Serve with a steaming cup of spiced chai tea to echo the tart's flavors, creating a comforting autumn atmosphere.
- Whipped Cream: Light and fluffy whipped cream gives a delightful creaminess, harmonizing the dessert’s textures while adding a touch of elegance.
Each pairing complements the Chai-Spiced Pear Tart, making your dessert not just a dish but a cozy culinary experience that warms the heart!
Chai-Spiced Pear Tart Variations & Substitutions
Feel free to make this Chai-Spiced Pear Tart your own with these delightful twists and substitutions that add unique flavors and cater to your dietary needs.
-
Apple-Chai Twist: Substitute pears with thinly sliced Honeycrisp apples and add a splash of bourbon for a warm, rich flavor.
-
Vegan Version: Replace cold unsalted butter with coconut oil and use full-fat coconut milk instead of whole milk. Cornstarch can be used in place of egg yolks for a creamy custard.
-
Nutty Crunch: Press chopped toasted almonds into the edges of the crust before baking for an added layer of texture that complements the creamy custard beautifully.
-
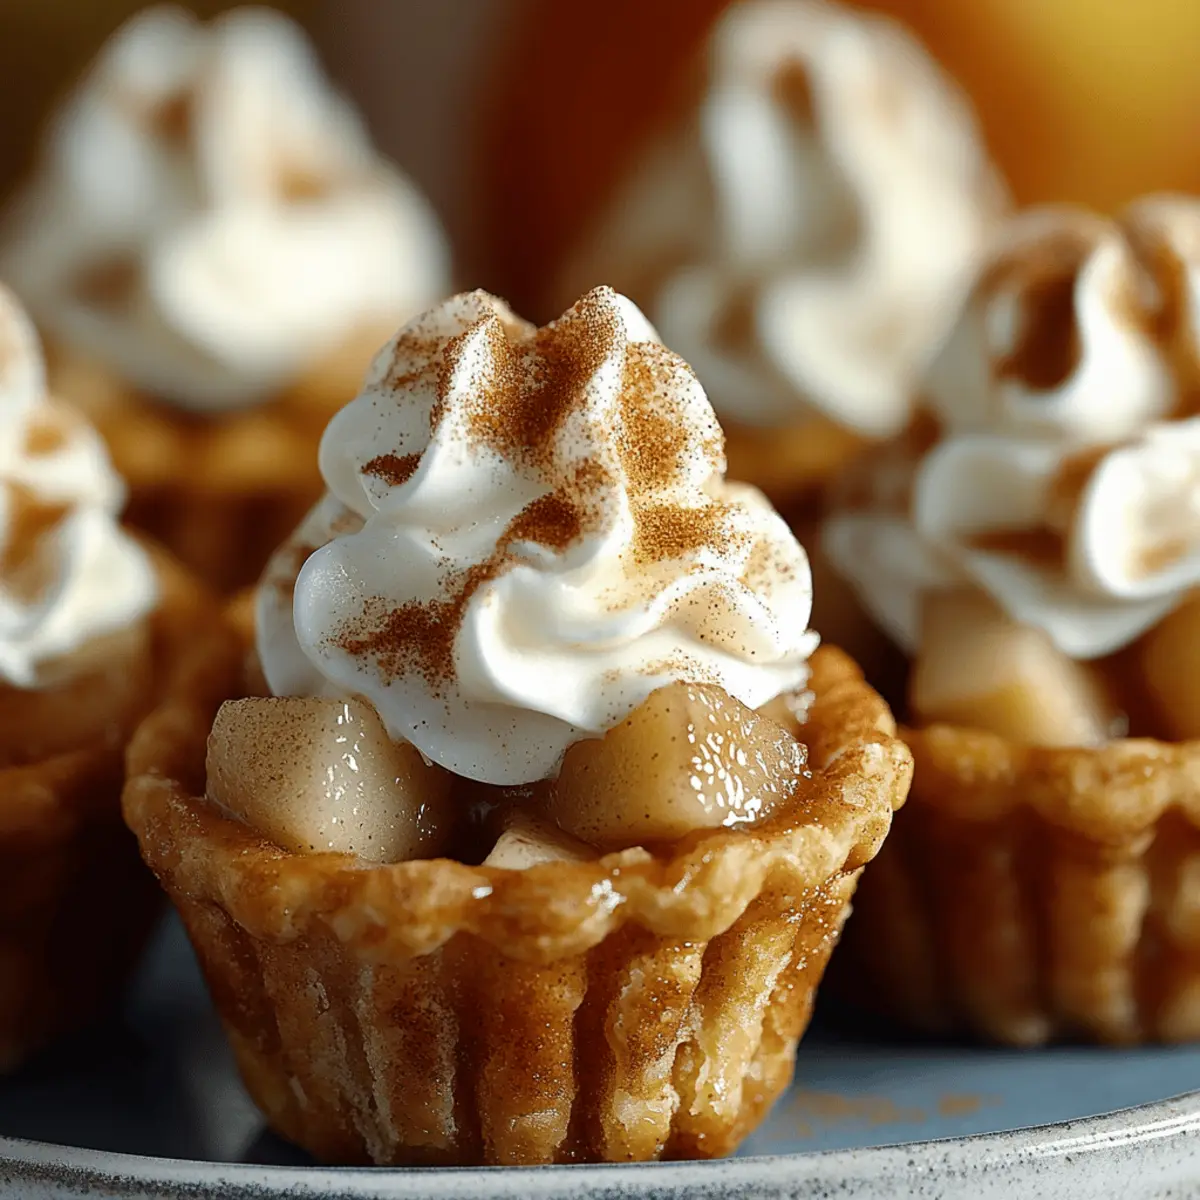
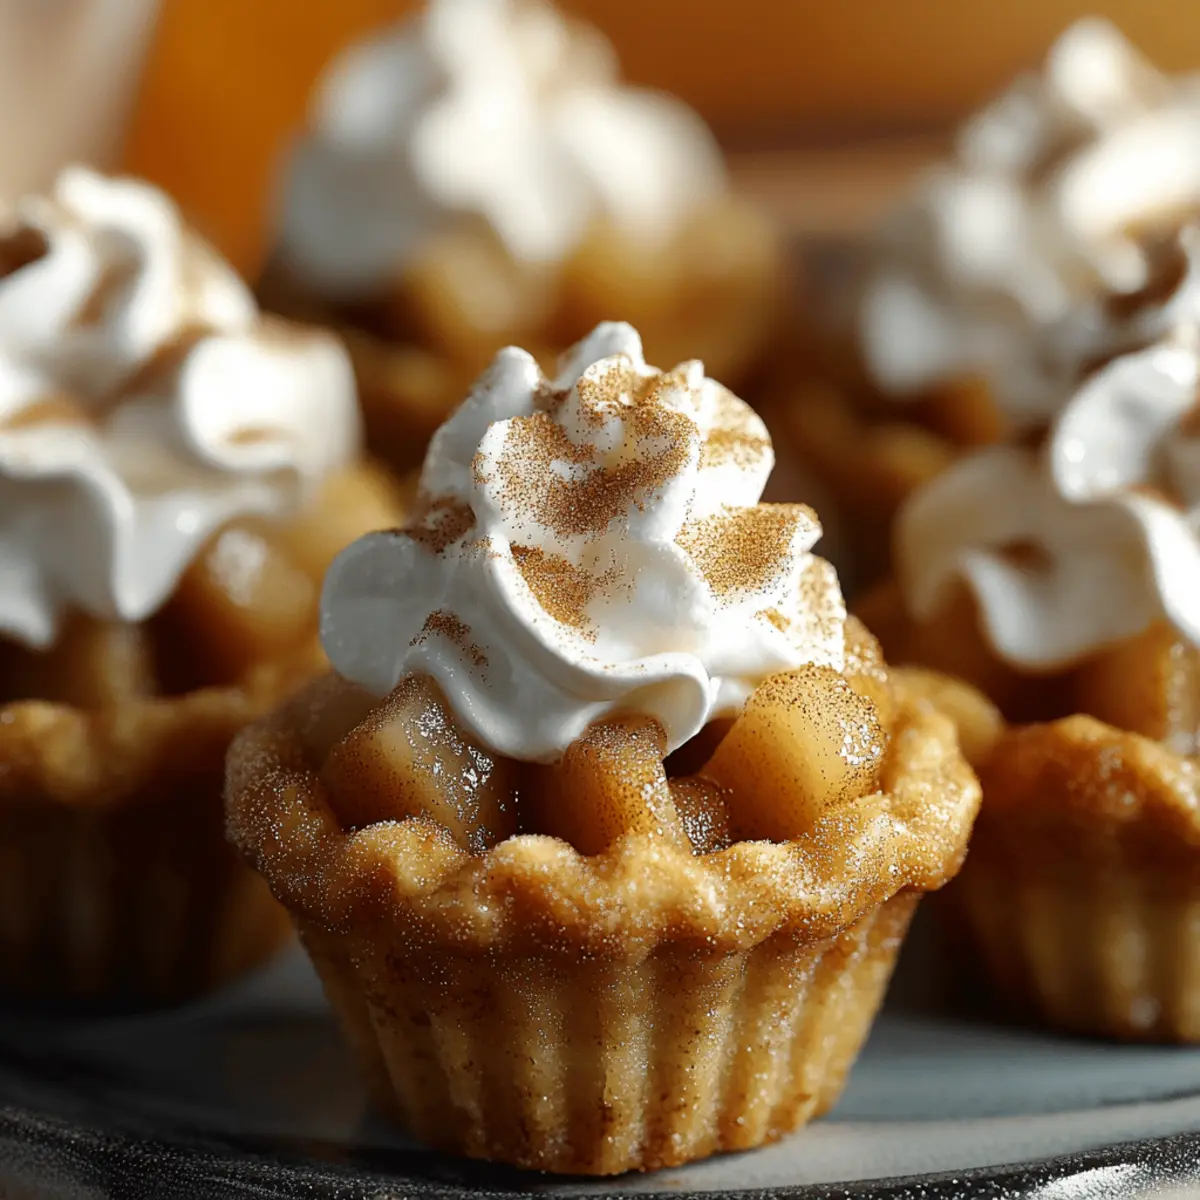
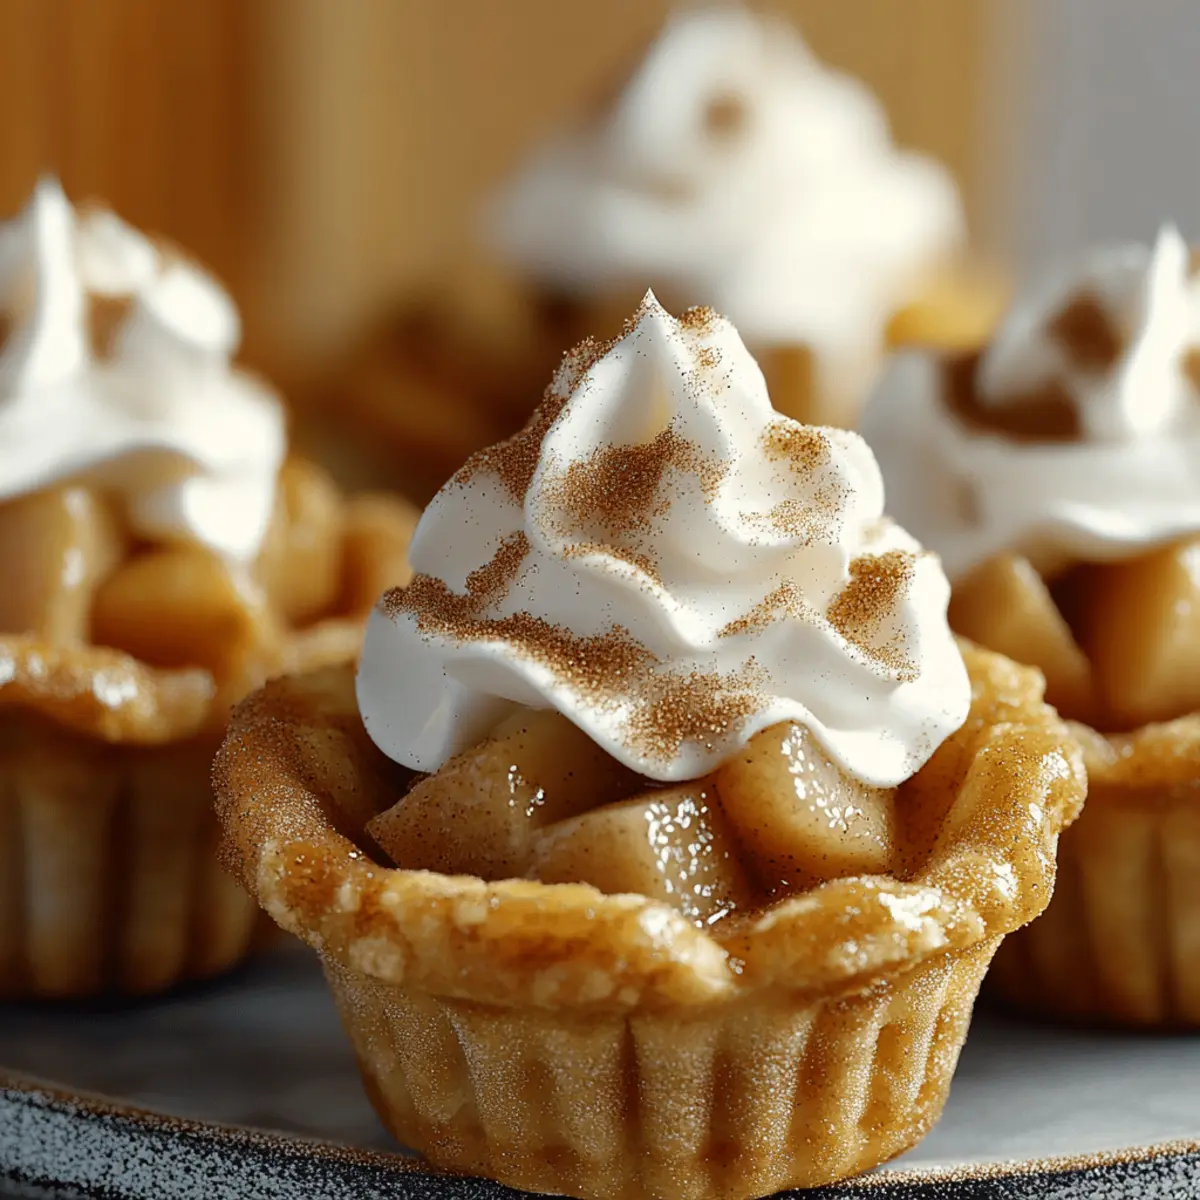
Mini Tartlets: Use muffin tins to create bite-sized portions; bake the crusts for 10 minutes, fill with custard, and bake again for 12-15 minutes for quick, individual treats.
-
Spiced Pear Upgrade: Toss slices of pears in a mixture of cinnamon and nutmeg before arranging them on the custard, enhancing that warm, autumnal vibe.
-
Gluten-Free Option: Use a gluten-free flour blend along with xanthan gum to create a crispy, tender crust without any gluten concerns.
-
Chai Tea Boost: Swap out regular black tea bags for spiced chai tea bags to intensify the chai flavor in your custard, making every bite even more aromatic.
-
Zesty Citrus Add-In: Add a splash of lemon zest to the custard for a bright, refreshing contrast to the sweetness of the pears.
Explore these variations to craft your perfect Chai-Spiced Pear Tart, and don't hesitate to try pairings like honey or a dollop of whipped cream to elevate your dessert experience even further!
Expert Tips for Chai-Spiced Pear Tart
-
Use Ripe Pears: Select perfectly ripe Bosc or Anjou pears for the best sweetness and texture; underripe pears can result in a less enjoyable dessert.
-
Keep Ingredients Cold: Ensure your butter remains cold when making the crust; this is critical for achieving that desired flaky texture. Avoid overworking the dough to maintain its integrity.
-
Watch the Baking Time: Monitor your tart closely while baking; overbaking can cause the custard to become rubbery. Check for a slight jiggle in the custard to know it’s just right.
-
Experiment with Spices: Personalize the chai flavor by adding a pinch of cayenne or nutmeg—this allows for a delightful twist that enhances your Chai-Spiced Pear Tart.
-
Chill Before Serving: Allow the tart to cool completely before serving to help the flavors meld together, enhancing that comforting autumn taste.
Chai-Spiced Pear Tart Recipe FAQs
What kind of pears should I use?
Absolutely! For the best results, choose ripe Bosc or Anjou pears. They'll offer optimal sweetness and a delightful texture when cooked. Avoid underripe pears, as they won't caramelize properly and might result in a tart that lacks the juicy, tender bite we love.
How should I store the Chai-Spiced Pear Tart?
To keep your Chai-Spiced Pear Tart fresh, store it in the refrigerator in an airtight container for up to 3 days. This will help retain the flavors and texture, allowing you to enjoy it later. If you have leftovers, simply cover them in plastic wrap before placing them in the fridge.
Can I freeze the Chai-Spiced Pear Tart?
Absolutely! For longer storage, wrap the tart tightly in plastic wrap and then in aluminum foil. It can be stored in the freezer for up to 2 months. When you're ready to enjoy it, thaw overnight in the fridge. For a warm treat, you can reheat slices in the oven at 350°F (175°C) for a few minutes.
What can I do if the custard doesn’t set properly?
If you notice that your custard has not set, there are a few tips to salvage it. First, ensure you didn’t skip the cornstarch—it's essential for thickening the custard. If you find it too runny after the baking process, you can try putting it back in the oven for a few extra minutes, checking frequently until it starts to jiggle slightly. Keep an eye on it to avoid overbaking!
Are there any dietary considerations with this recipe?
Very! This Chai-Spiced Pear Tart can be customized easily for various dietary needs. For a vegan version, substitute the butter with coconut oil and replace the heavy cream with coconut cream. Egg yolks can be replaced with a cornstarch slurry (1 tablespoon of cornstarch mixed with 2 tablespoons of water for each yolk). Additionally, be sure to watch for any allergies related to specific spices used in the chai blend.
Can I make the Tart ahead of time?
Definitely! You can prepare the crust and chai custard up to 24 hours in advance. Simply store them separately in the refrigerator. When you're ready to bake, assemble the components with the pears just before baking for the freshest flavor and experience. This lovely make-ahead tip frees you up to enjoy more moments with your family and friends!
Chai-Spiced Pear Tart: A Warm Embrace of Autumn Flavors
Ingredients
Equipment
Method
- In a food processor, combine all-purpose flour, sugar, and salt. Cut in cold unsalted butter until the mixture resembles sandy crumbs. Gradually add cold water, pulsing until the dough holds together. Shape the dough into a disc, wrap it in plastic, and chill in the refrigerator for 30 minutes to firm it up.
- After chilling, roll the dough into a 12-inch circle on a lightly floured surface. Carefully transfer the rolled-out dough to a tart pan, pressing it into the edges while trimming any excess. Freeze the crust for 10 minutes, then preheat your oven to 375°F (190°C). Blind bake the crust for 15-18 minutes until it's golden brown.
- In a saucepan, combine whole milk, heavy cream, and black tea bags over medium heat. Allow the mixture to simmer gently for about 10 minutes, allowing the flavors to infuse. Once fragrant, remove the tea bags and whisk together egg yolks, sugar, cornstarch, vanilla extract, and chai spice in a separate bowl until smooth.
- Slowly incorporate the warm milk mixture into the egg mixture, whisking continuously to prevent curdling. Return the combined mixture to the saucepan and cook over medium heat, stirring constantly for about 4 minutes until thickened. Once thick, remove from heat and let it cool for 10 minutes while you prepare the pears.
- Thinly slice ripe pears, ensuring they're tender and sweet. Arrange the pear slices decoratively over the cooled custard, encircling the tart. Bake the assembled Chai-Spiced Pear Tart at 350°F (175°C) for 20-25 minutes until the custard jiggles slightly but is set. It should be golden and enticing.
- Once baked, allow the tart to cool for at least 1 hour at room temperature. Before serving, dust the top with powdered sugar for a beautiful finish. This Chai-Spiced Pear Tart can be served chilled or at room temperature, perfect paired with honey or whipped cream.