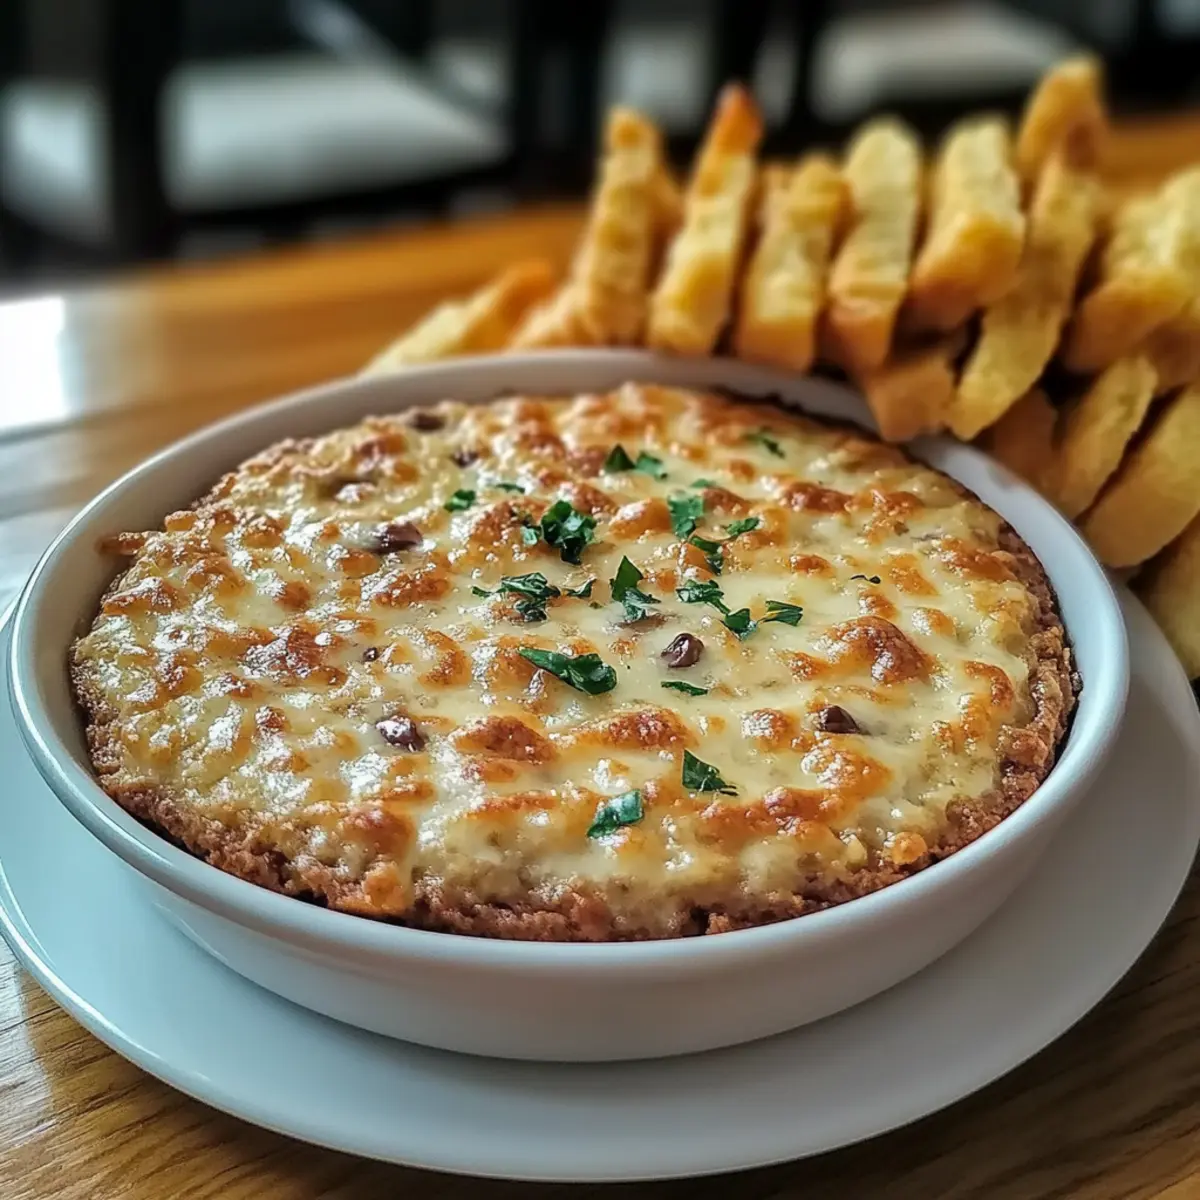
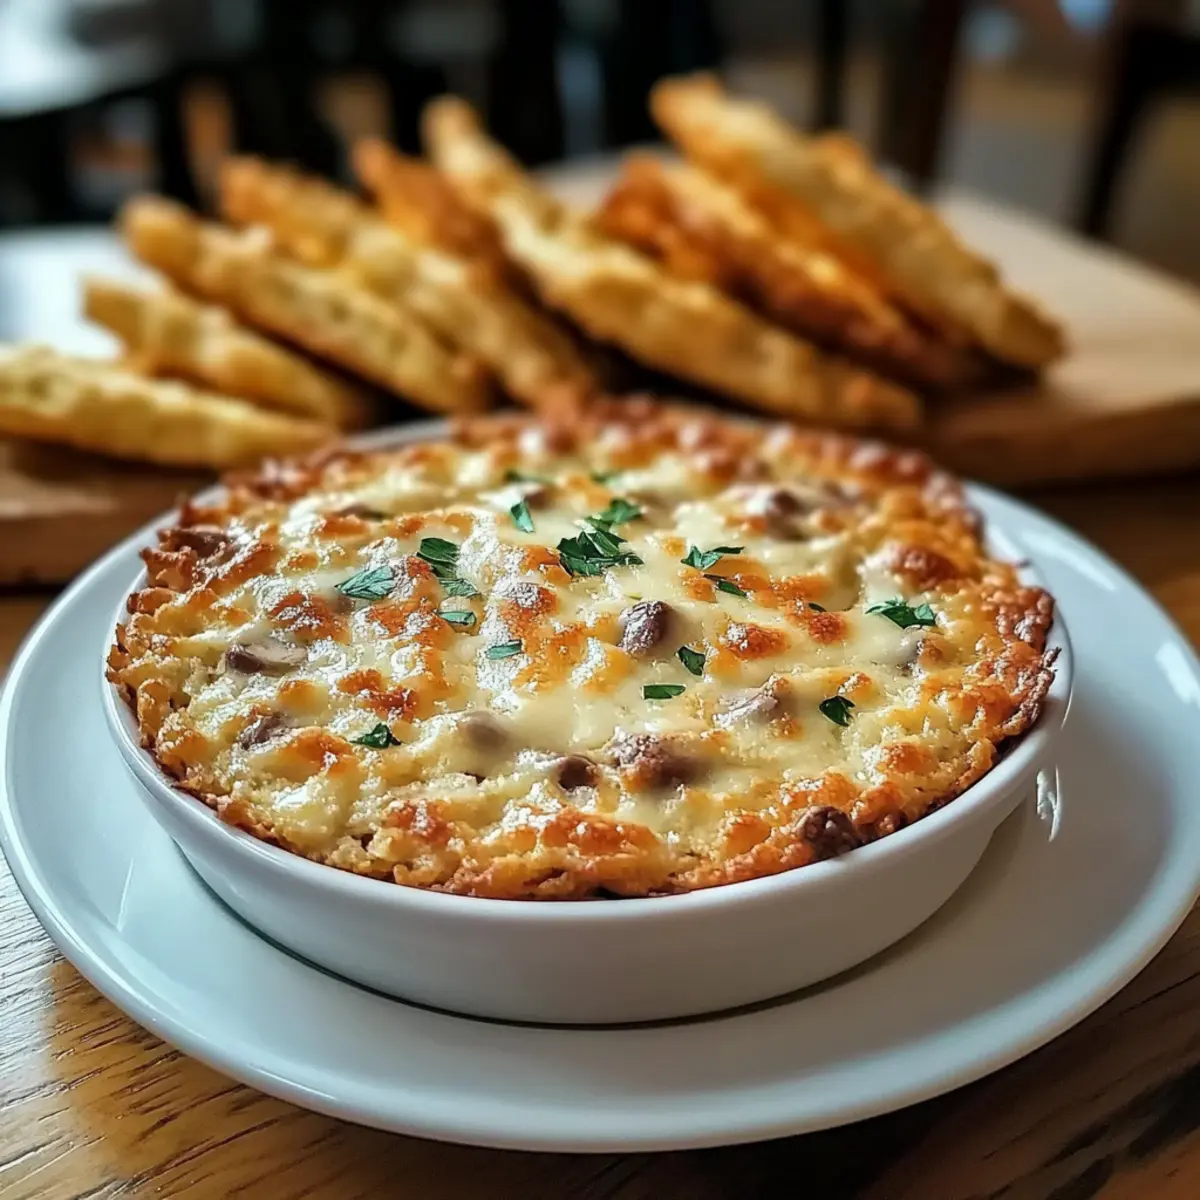
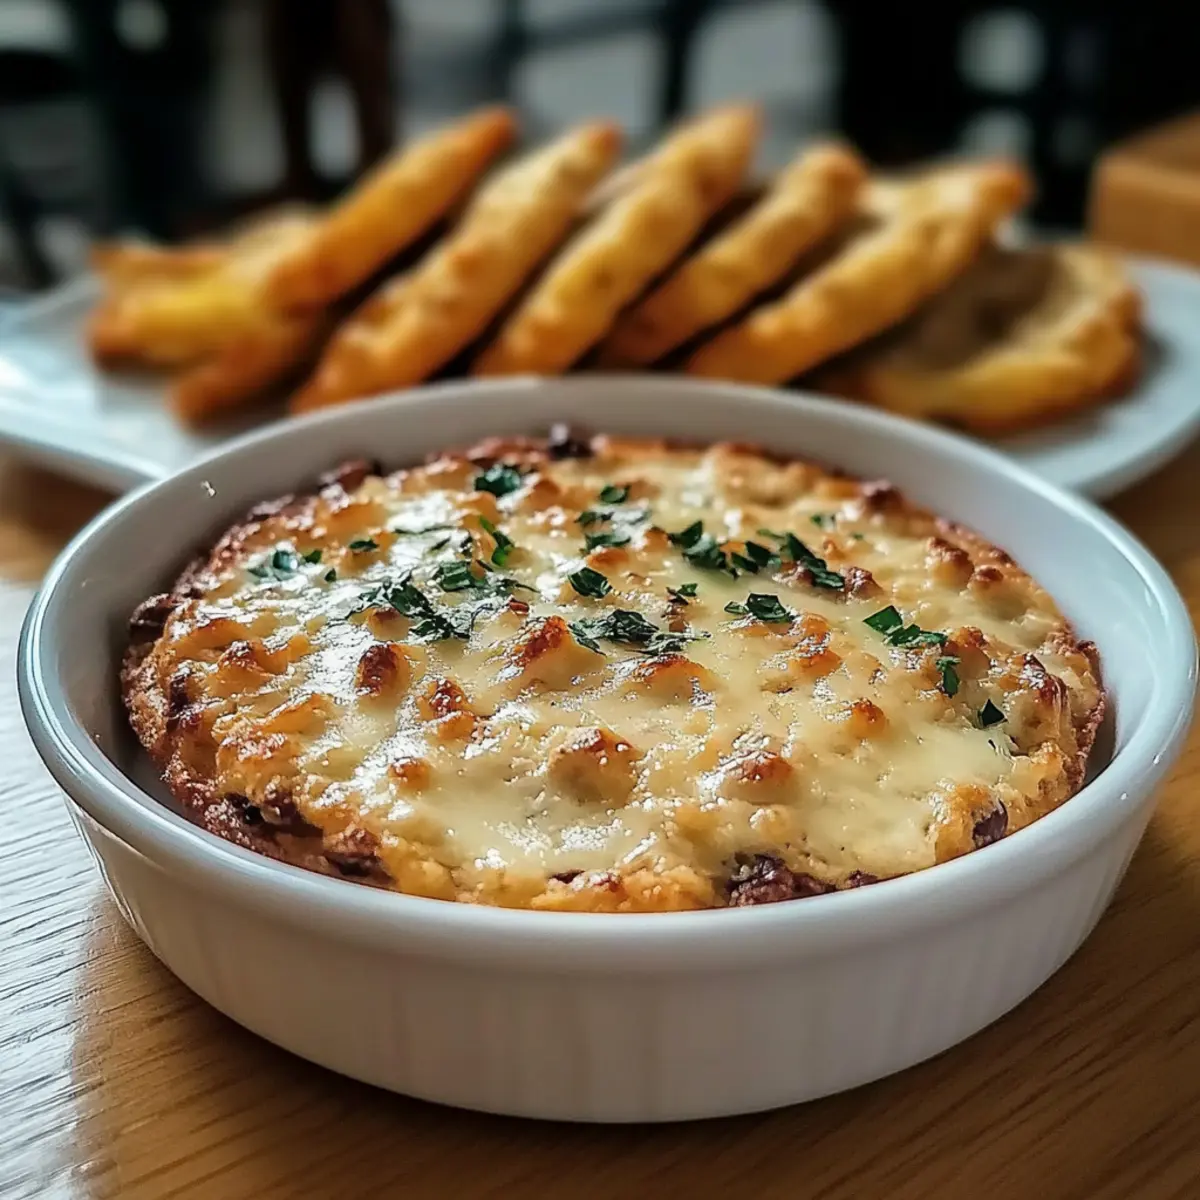
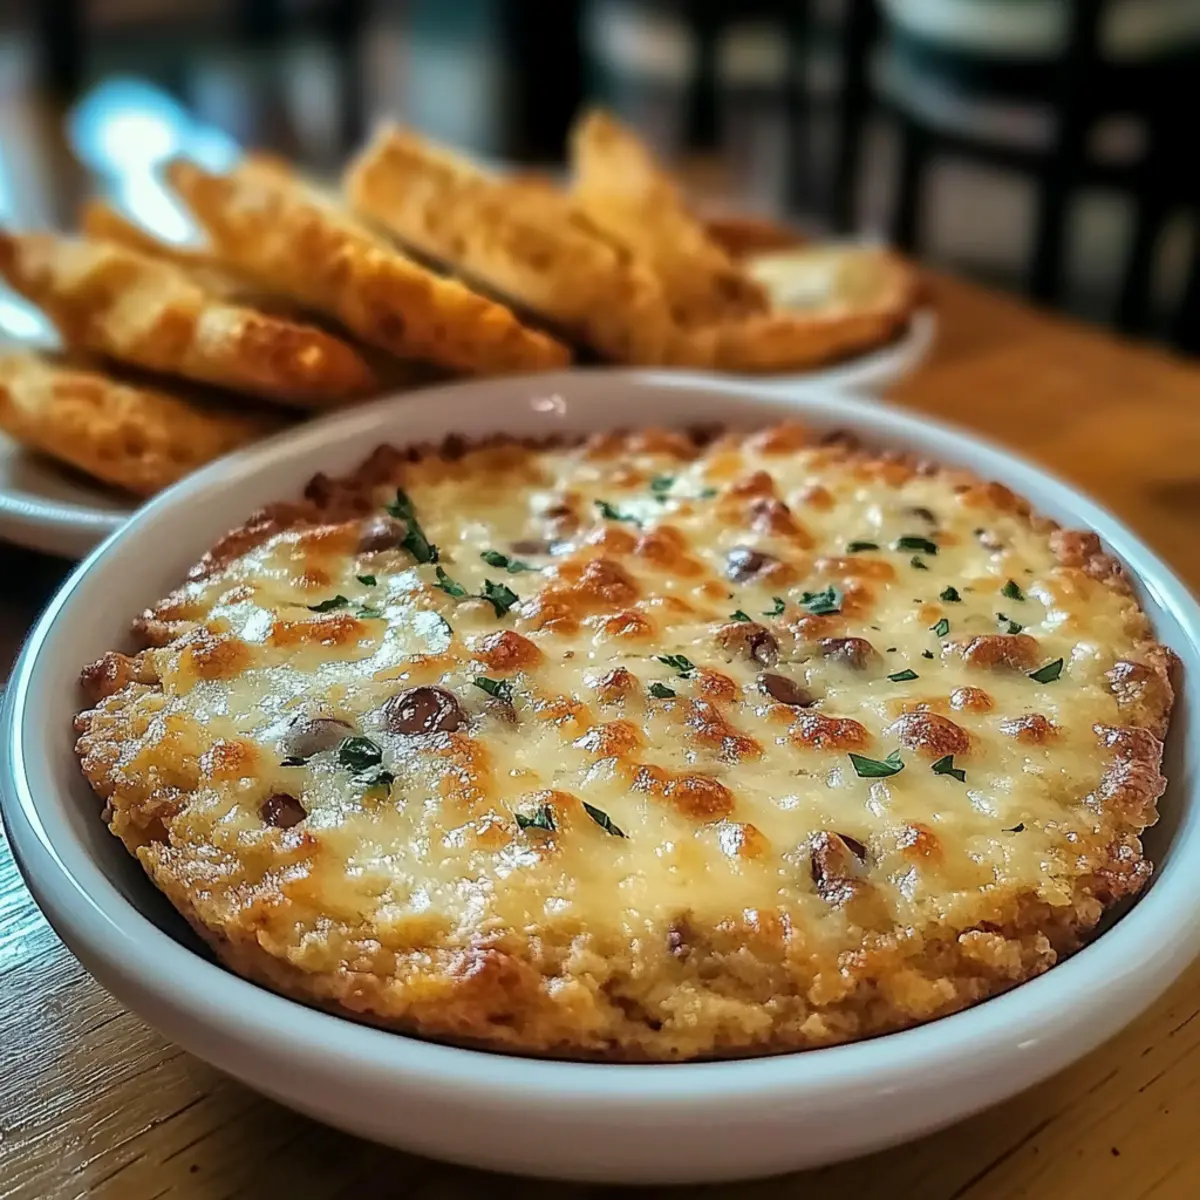
The aroma of sizzling chicken wafts through the kitchen, and suddenly, I'm reminded of the bustling buffet spreads where crispy delights beckon. Today, I’m excited to share my recipe for Crispy Buffet-Style Chinese Chicken Fingers, a perfect way to recreate that restaurant magic at home. These tasty morsels pack a satisfying crunch on the outside while revealing tender, juicy chicken within—a combo that’s sure to impress family and friends alike. Not only are they quick to prepare, making them ideal for busy weeknights or spontaneous gatherings, but they also bring a fun twist to your typical appetizer lineup. Imagine serving them with a zesty sweet and sour sauce that complements every bite! Ready to elevate your dining experience and dive into a world of flavor? Let’s get cooking!

Why Are These Chicken Fingers a Must-Try?
Crispy Delight: The perfectly fried exterior creates a satisfying crunch that rivals restaurant favorites.
Easy to Make: With just a few basic ingredients, you can whip these up in no time.
Flavorful Customization: Pair with your choice of dipping sauces— BBQ, teriyaki, or a homemade spicy sauce for added flair!
Family-Friendly Fun: Kids love them, making dinner a hit and a great way to enjoy quality time together.
Quick Cooking: Frying only takes a few minutes, perfect for those busy weeknights!
Why settle for takeout when you can create these fabulous Crispy Buffet-Style Chinese Chicken Fingers with Sweet and Sour Sauce at home?
Chinese Chicken Fingers Ingredients
For the Batter
- All-Purpose Flour – A foundational ingredient that provides structure; swap for gluten-free flour if needed.
- Cornstarch – Ensures a lighter, crispier coating; can use rice flour as an alternative.
- Sugar (or Honey) – Adds a hint of sweetness to the batter; honey can be used, but it might alter the texture slightly.
- Baking Powder – Key to aerating the batter for a fluffy texture; don’t skip this essential ingredient.
- Coarse Kosher Salt – Enhances the overall flavor; substitute with table salt in a smaller amount if necessary.
- Cold Water – Hydrates the batter for the perfect consistency; avoid warm water to prevent texture issues.
For the Chicken
- Chicken Breasts (3-4) – The star of the dish, sliced into ¼-inch strips for even cooking; chicken thighs can be a richer alternative if you prefer.
For the Sauce
- Ketchup – Forms the base of your sweet and sour sauce; feel free to experiment with different sauces for unique flavors.
- Brown Sugar – Balances the acidity of the ketchup for a tasty addition; adjust sweetness to your preference.
- Vinegar – Adds a tangy kick to the sauce; consider apple cider vinegar for a milder option.
- Lemon Juice – Brightens the sauce with acidity; fresh juice is best for flavor.
- Water – Helps adjust the sauce's thickness; make sure to stir while heating for a smooth consistency.
- Cornstarch – Thickens the sauce beautifully; mix with water before adding to prevent clumping.
Elevate your meals with these scrumptious Chinese Chicken Fingers and discover the joy of homemade flavor!
Step‑by‑Step Instructions for Crispy Buffet-Style Chinese Chicken Fingers
Step 1: Prepare the Batter
In a mixing bowl, whisk together 1 cup of all-purpose flour, ½ cup of cornstarch, 2 tablespoons of sugar, 1 teaspoon of baking powder, and ½ teaspoon of coarse kosher salt. Gradually add ¾ cup of cold water, stirring until the mixture is thick yet pourable. This batter should cling to your spoon, giving you a smooth consistency for your Chinese Chicken Fingers.
Step 2: Heat the Oil
In a deep pan, pour enough oil to create about 1 inch of depth and heat it over medium-high heat. Use a thermometer to monitor the temperature, aiming for 350°F (175°C). As the oil heats, it should shimmer but not smoke. This prepares the ideal frying environment to get those beautifully crispy chicken fingers.
Step 3: Coat the Chicken
Slice 3-4 chicken breasts into ¼-inch strips for quick cooking. Once the oil is ready, dip each chicken strip into the batter, ensuring full coverage. Allow any excess batter to drip off—the coating should be thick enough to cling but not overly heavy. This step is crucial for achieving the desired crispiness in your Chinese Chicken Fingers.
Step 4: Fry the Chicken
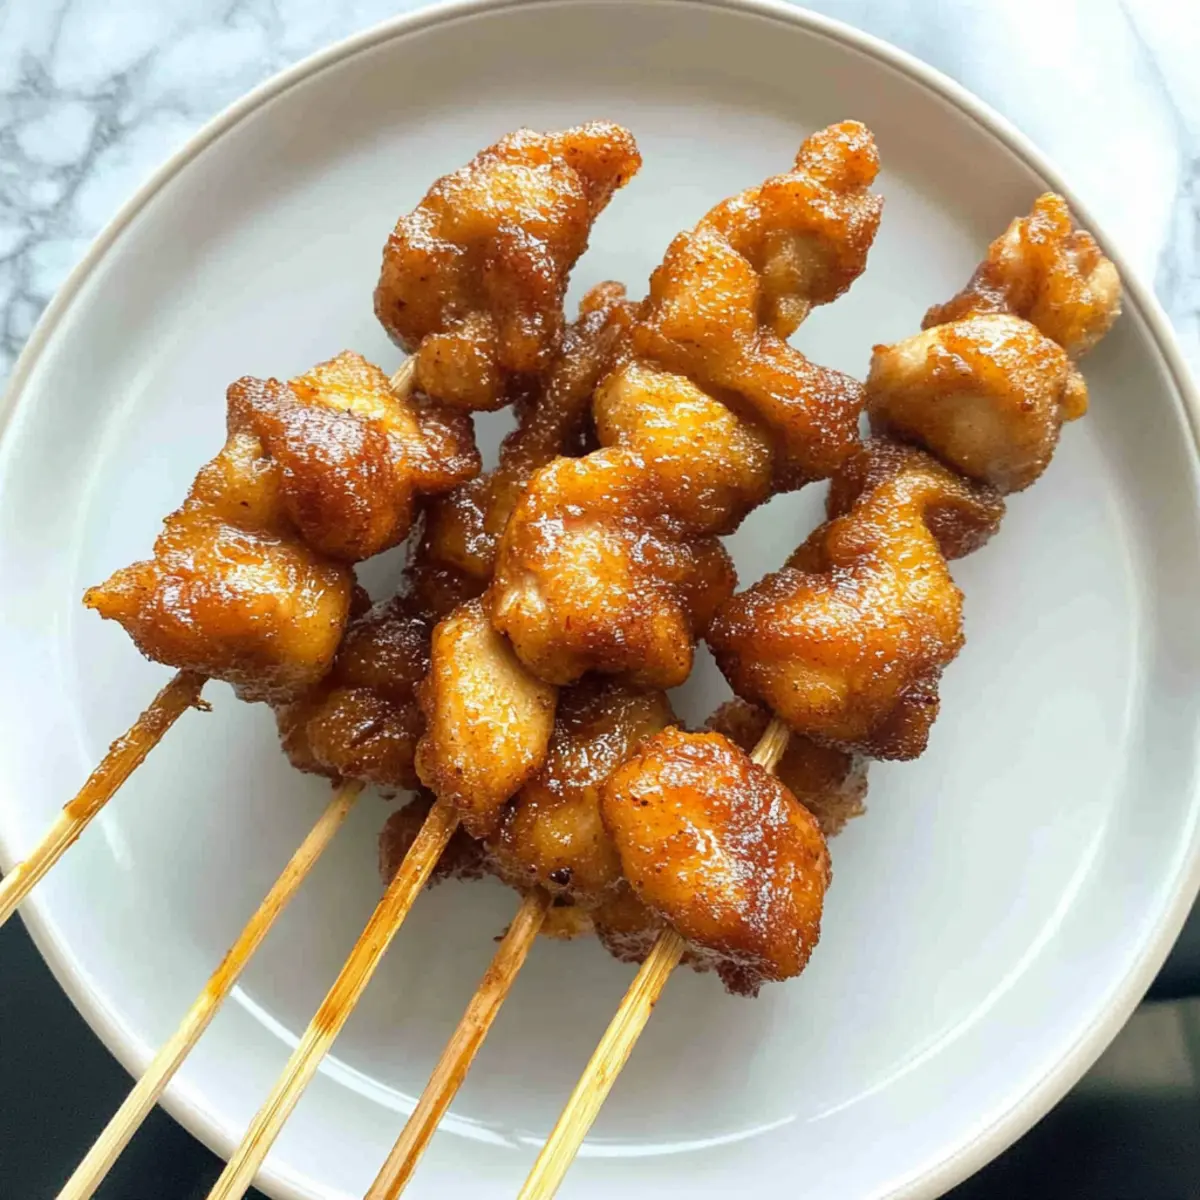
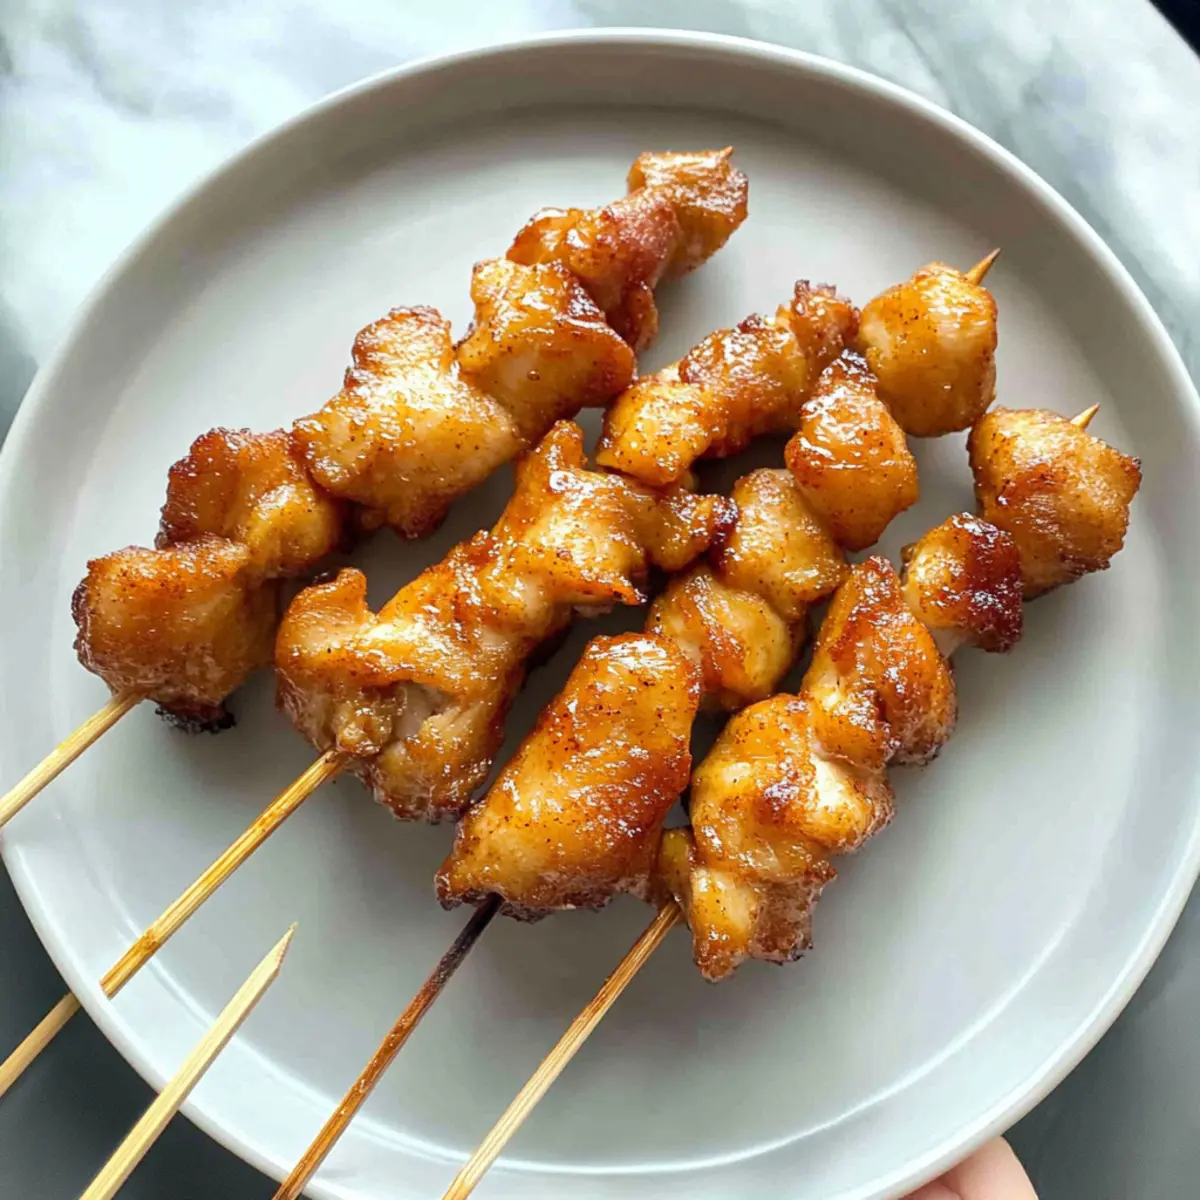
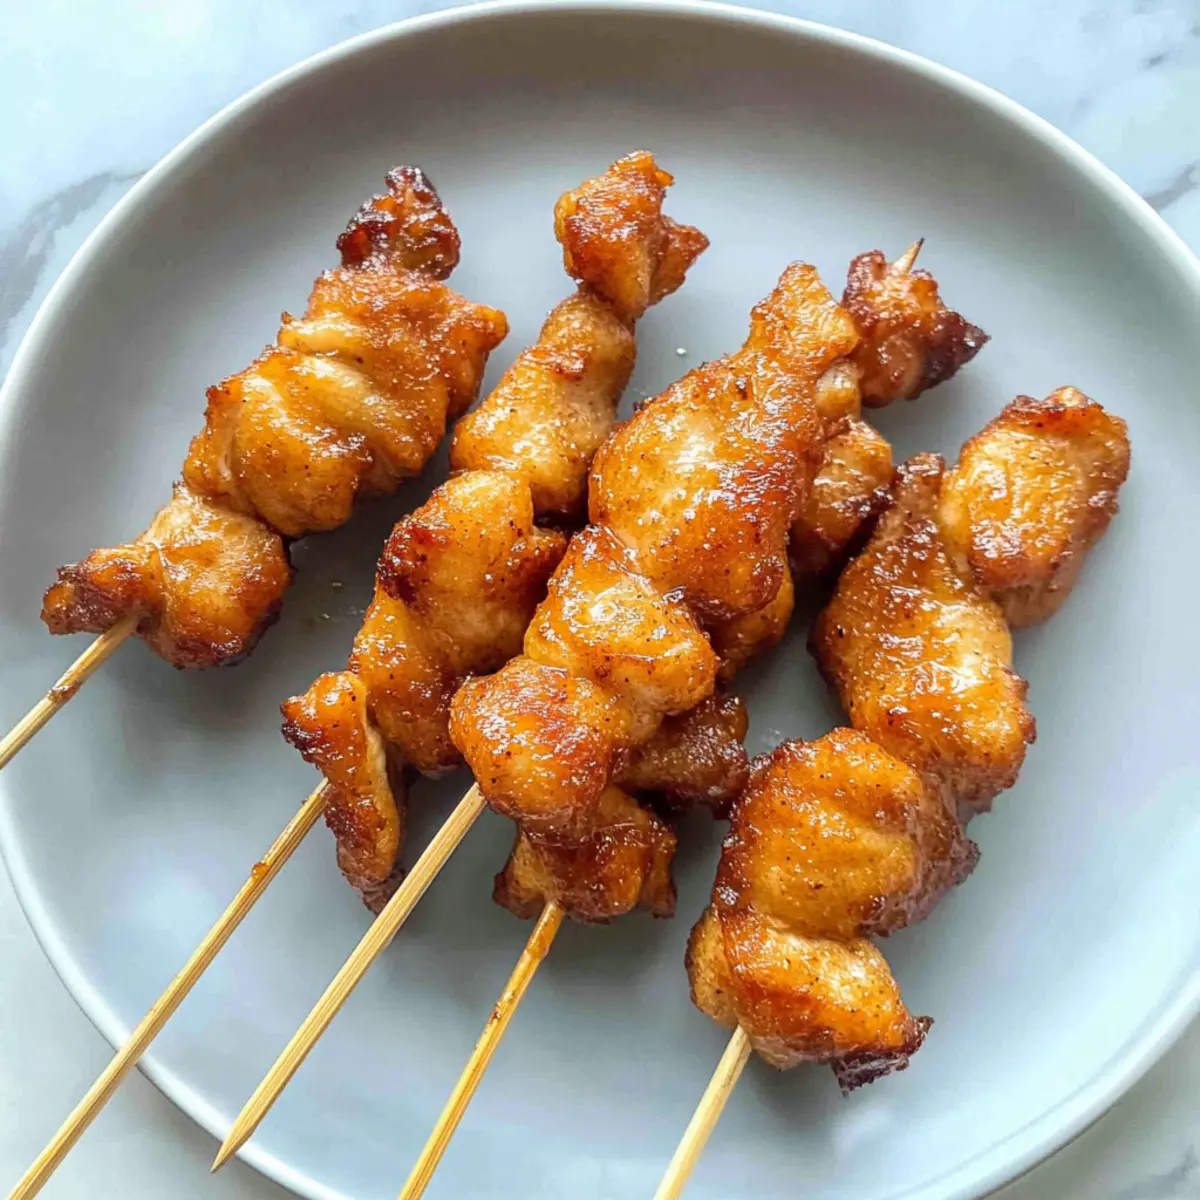
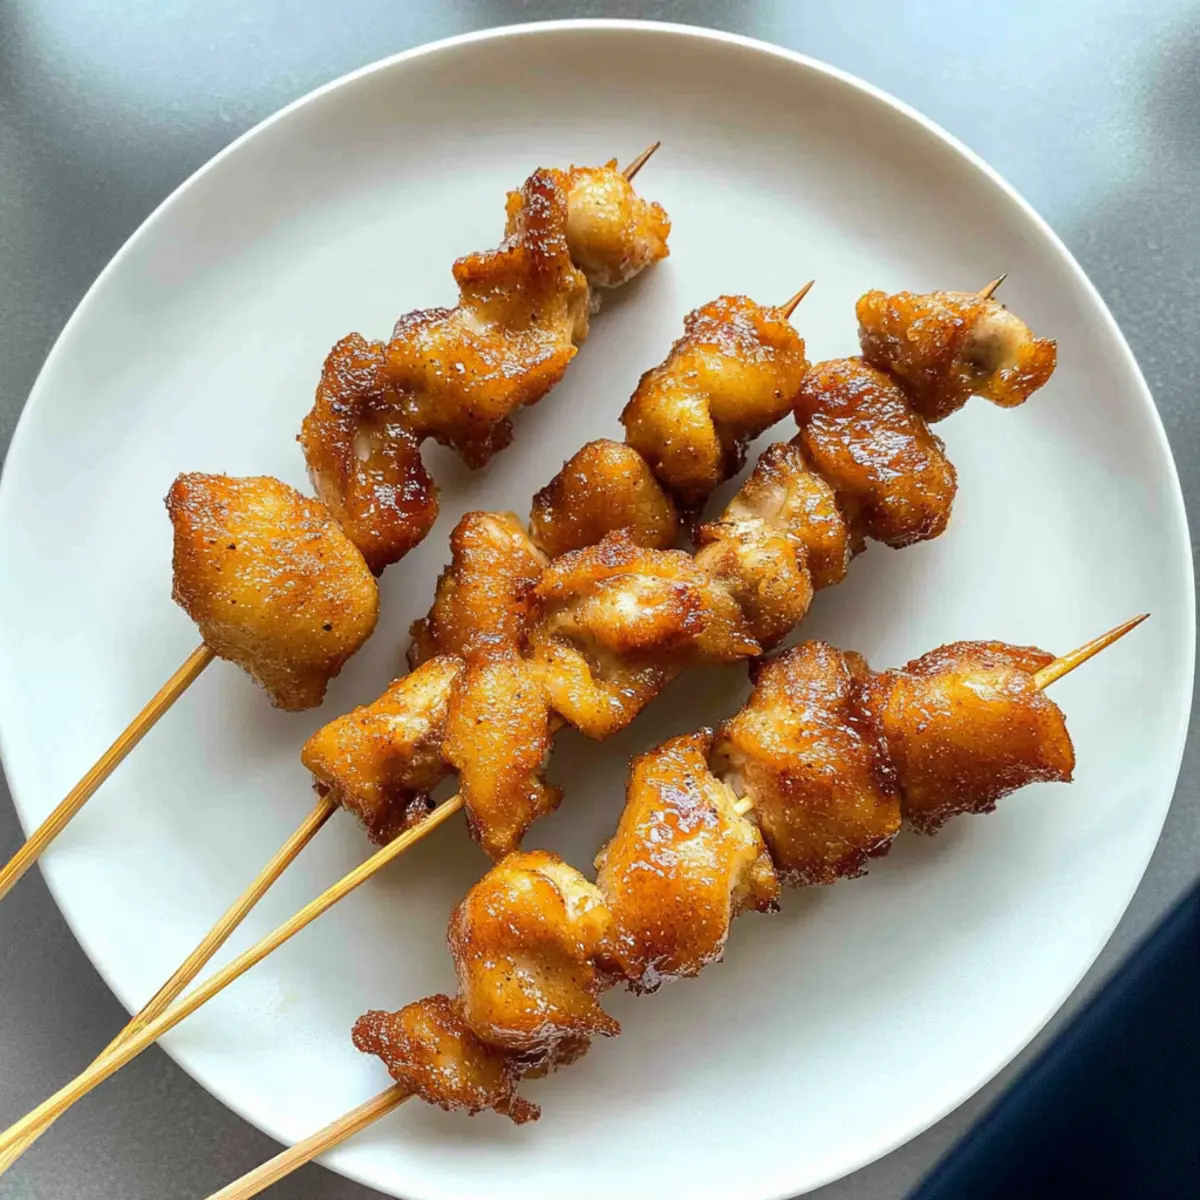
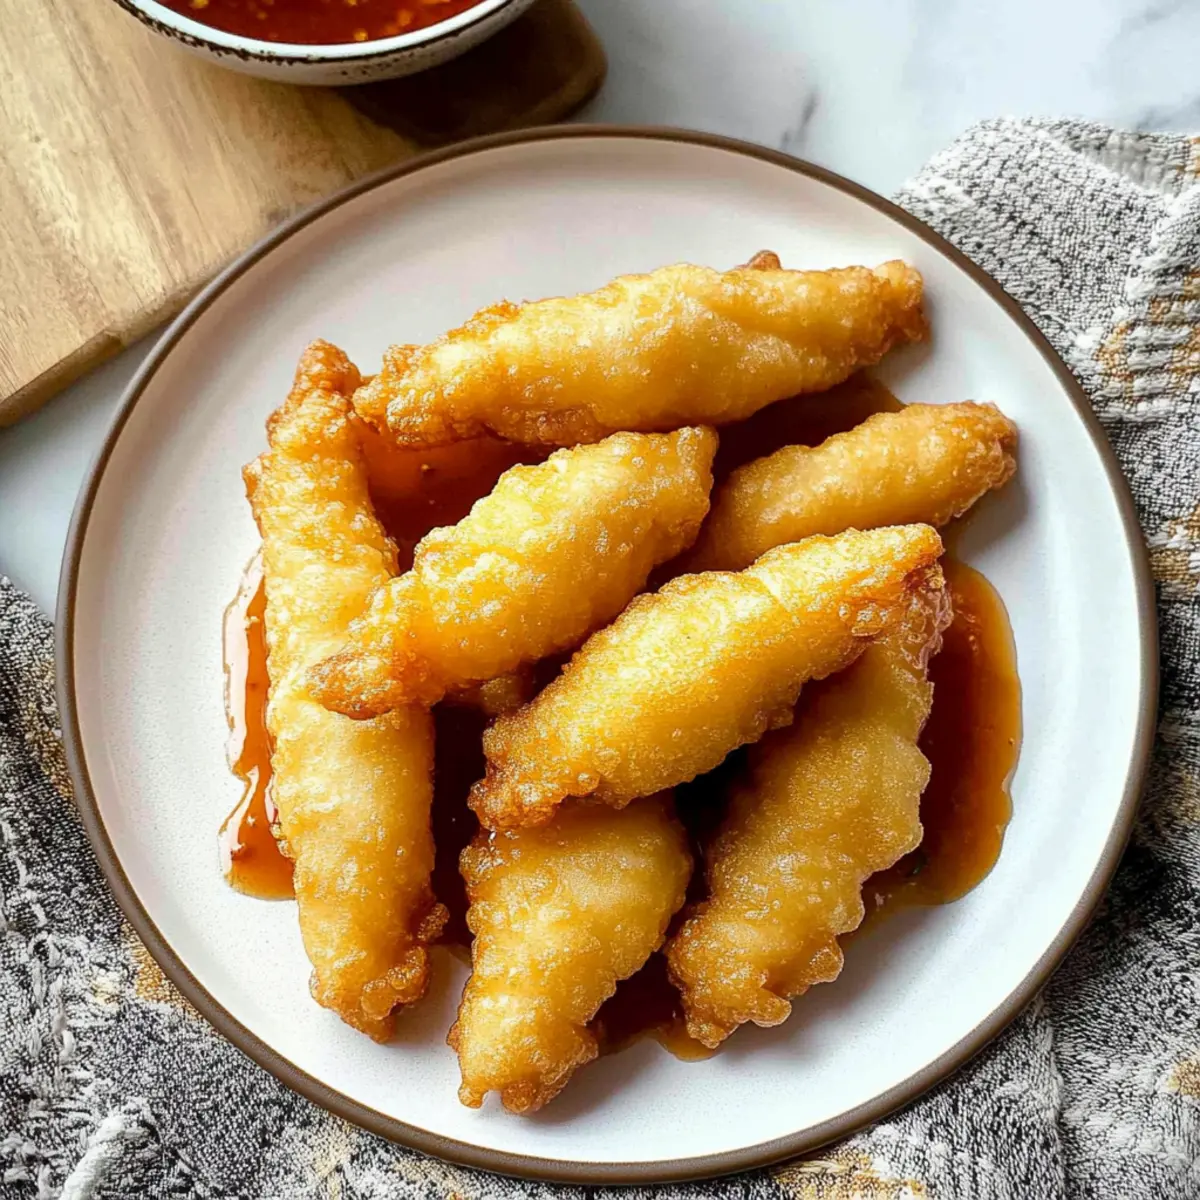
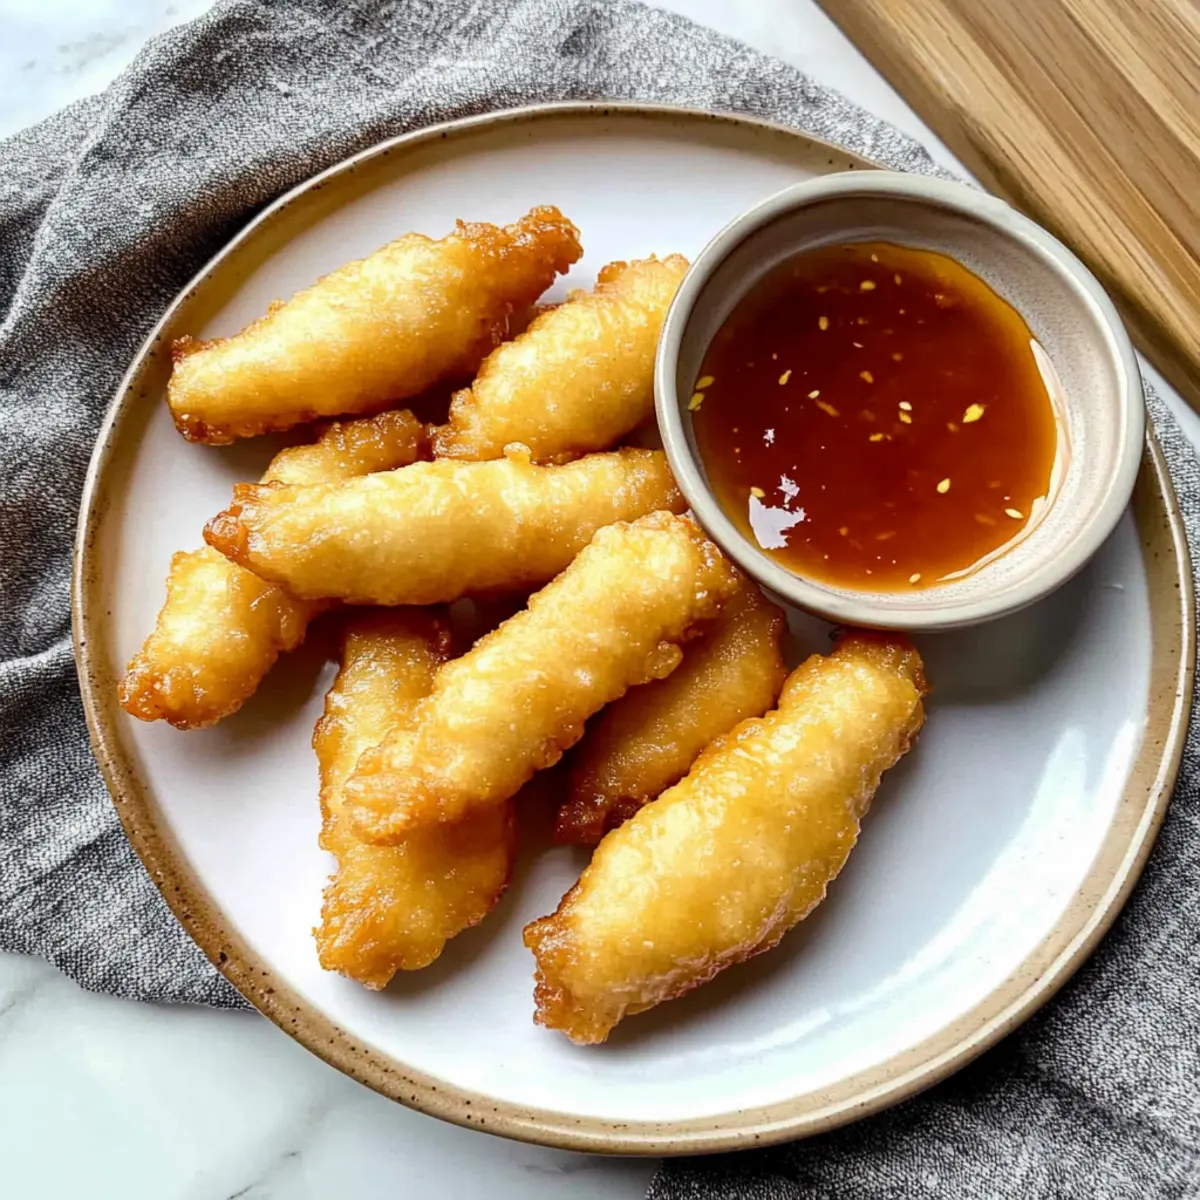
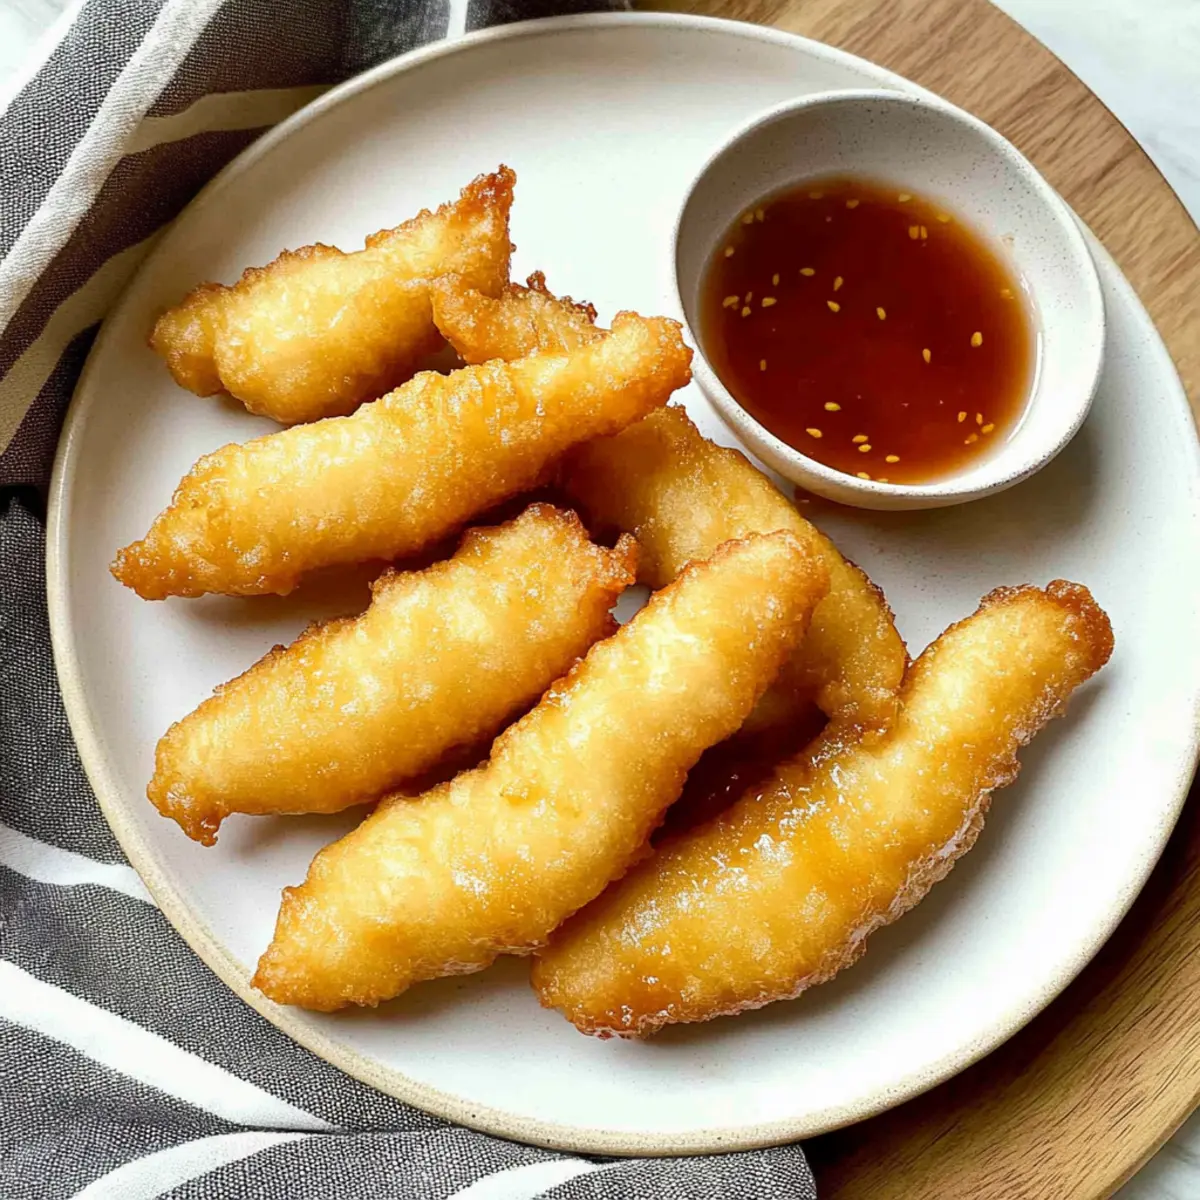
Carefully lower the battered chicken strips into the hot oil using tongs, ensuring not to overcrowd the pan. Fry them for 2-3 minutes on each side until they turn golden brown and crispy. Watch for a beautiful golden hue and a slight bubbling from the oil; this means your chicken fingers are cooking perfectly. Once done, transfer them to a paper towel-lined plate to drain excess oil.
Step 5: Make the Sauce
In a saucepan, combine ½ cup of ketchup, ¼ cup of brown sugar, 2 tablespoons of vinegar, 1 tablespoon of lemon juice, and ⅓ cup of water. Sprinkle in 1 teaspoon of cornstarch mixed with a little water to prevent clumping. Heat over medium heat, stirring until the sauce comes to a boil and thickens—this fragrant sauce will be the perfect accompaniment for your crispy chicken fingers.
Step 6: Serve and Enjoy
Once all the chicken fingers are cooked and the sauce is ready, serve them warm on a platter. Pair the crispy chicken fingers with your sweet and sour sauce for dipping, creating a delightful balance of flavors. Whether for a quick family dinner or a gathering, these Chinese Chicken Fingers will surely impress!
Storage Tips for Chinese Chicken Fingers
-
Room Temperature: Leftover chicken fingers can sit out for up to 2 hours; however, it's best to store them promptly in the fridge for optimal freshness.
-
Fridge: Keep your Chinese Chicken Fingers in an airtight container for up to 3 days. This will help maintain their flavor and moisture without sacrificing texture.
-
Freezer: For longer storage, freeze the chicken fingers in a single layer on a baking sheet. Once frozen, transfer them to a freezer-safe bag for up to 3 months—perfect for quick future meals!
-
Reheating: Reheat in the oven at 350°F (175°C) for about 10–15 minutes to regain their crispy texture, instead of the microwave, which may make them soggy.
Expert Tips for Crispy Chinese Chicken Fingers
-
Oil Temperature: Make sure the oil is at 350°F (175°C) before frying. If it’s not hot enough, your chicken fingers will absorb too much oil and become soggy.
-
Batter Consistency: Aim for a smooth, thick batter that clings to the chicken. If it’s too thin, your Chinese Chicken Fingers won’t have that delightful crunch!
-
Fry in Batches: Avoid overcrowding the pan while frying. This can lower the oil temperature and lead to unevenly cooked chicken fingers.
-
Drain Properly: After frying, let your chicken fingers rest on paper towels. This will help remove excess oil and keep them crispy for longer.
-
Experiment with Sauces: While sweet and sour sauce is classic, don’t hesitate to try different options like teriyaki or spicy mayo for a unique twist!
Make Ahead Options
These Crispy Buffet-Style Chinese Chicken Fingers are perfect for busy weeknights! You can prepare the batter up to 24 hours in advance by combining the dry ingredients and storing them in the refrigerator. Additionally, slice the chicken breasts and coat them in the batter the night before, then refrigerate—this not only saves time but allows the flavors to meld beautifully. When you’re ready to enjoy them, simply heat the oil and fry the chicken fingers directly from the fridge for a quick meal. To maintain that irresistible crunch, make sure not to overcrowd the pan and serve immediately after frying for the best results!
Chinese Chicken Fingers Variations & Substitutions
Feel free to explore these delightful twists to make your Chinese Chicken Fingers uniquely yours!
-
Gluten-Free: Swap all-purpose flour with gluten-free flour for a deliciously crisp alternative without sacrificing taste.
-
Spicy Kick: Add 1 teaspoon of cayenne pepper or chili powder to the batter for a fiery flavor that will ignite your taste buds. If you really love heat, consider a zingy dipping sauce with sriracha!
-
Flavor Boost: Mix in some garlic powder or onion powder to the batter to elevate the taste profile enticingly—it's a small change that makes a big difference.
-
Tender Chicken Thighs: Use chicken thighs instead of breasts for a juicier bite—this alternative adds a touch of richness that's breathtakingly mouthwatering!
-
Alternate Sauces: Experiment with different dipping options, such as teriyaki or a zesty homemade cilantro-lime sauce. The versatility of these chicken fingers pairs beautifully with just about anything.
-
Oven-Baked Version: For a healthier twist, try baking the chicken fingers. Coat them on a cooking spray-prepped sheet and bake at 400°F (200°C) for 15-20 minutes, flipping halfway for a crispy finish.
-
Herb-Infused Batter: Incorporate dried herbs like thyme or oregano into the batter to add an aromatic layer that complements the chicken perfectly.
-
Homemade Sweet and Sour: While you're at it, why not try a homemade sweet and sour sauce? Combine pineapple juice, sugar, and soy sauce for an irresistibly fresh take.
Whichever variation you choose, these Chicken Fingers are sure to steal the spotlight at your next gathering! For more scrumptious chicken dishes, take a look at my Honey Garlic Chicken Thighs and Crock Pot Chicken recipes.
What to Serve with Crispy Buffet-Style Chinese Chicken Fingers
Transform your meal into an unforgettable experience by complementing these crispy delights with a variety of tasty accompaniments.
-
Fried Rice: This classic combination enhances the Asian flair, adding a comforting and hearty base to your meal. The savory, fluffy rice pairs beautifully with the crunchy chicken fingers.
-
Asian Slaw: A light and refreshing slaw brings bright colors and crunch that contrast with the crispy chicken. Toss it with a tangy dressing for a delightful palate cleanser.
-
Dipping Sauces: Beyond sweet and sour, try spicy mayo or hoisin for extra flavor versatility. These sauces provide a spectrum of tastes, elevating each chicken bite!
-
Steamed Broccoli: Nutritious and vibrant, steamed broccoli adds a splash of color and complements the flavors of the chicken without overshadowing them.
-
Egg Rolls: For a party-ready platter, serve these alongside your chicken fingers to amplify the crunch factor. The combination of textures delights every guest at the table.
-
Hot Green Tea: Balancing the rich flavors, a warm cup of green tea cleanses the palate and enhances the dining experience.
Embrace the joy of flavor combinations and make your meal shine with these delightful pairings!
Chinese Chicken Fingers Recipe FAQs
How do I choose the right chicken breasts for this recipe?
Absolutely! Look for chicken breasts that are firm and plump, with a smooth texture and no dark spots. This ensures you're getting quality meat that will remain juicy during cooking. If you prefer a richer flavor, chicken thighs are a fantastic alternative, but remember they will alter the appearance slightly as well.
What’s the best way to store leftover Chinese Chicken Fingers?
Very! It's important to let your crispy chicken fingers cool completely before storing. Keep them in an airtight container in the refrigerator for up to 3 days. If you're storing them longer, I recommend freezing them instead. Just place them on a baking sheet in a single layer to freeze first—this prevents them from sticking together—and then transfer to a freezer-safe bag where they can last up to 3 months.
Can I freeze the uncooked chicken fingers?
Yes, indeed! To freeze uncooked Chinese Chicken Fingers, coat your chicken strips in the batter, then lay them on a parchment-lined baking sheet so they’re not touching. Freeze until solid, then transfer them to a freezer bag. They can be cooked straight from frozen—just add a couple of extra minutes to the frying time and ensure they reach an internal temperature of 165°F (74°C).
What if my batter isn’t sticking to the chicken?
Oh, this can happen! If your batter isn't adhering well, it may be too thin. To fix this, add a little more flour or cornstarch to thicken it up. Make sure to properly coat the chicken strips and let any excess batter drip off before frying. Having the chicken dry and at room temperature can also help the batter stick better.
Can I make this recipe gluten-free?
Absolutely! Just swap out the all-purpose flour with a gluten-free flour blend, and use cornstarch as is since it's naturally gluten-free. Be sure to check product labels for any hidden gluten. This version of Chinese Chicken Fingers will still retain that delightful crunch and flavor, so everyone can join in on the fun!
Are there any dietary considerations I should keep in mind for this dish?
Very! If you or your guests have allergies, it's crucial to consider ingredient alternatives. For example, replace the sugar with a social sweetener like agave if needed, and be cautious with sauces to ensure they are free from allergens. While this recipe is generally kid-friendly, always double-check for anything that may not suit your family’s dietary needs.
Crispy Chinese Chicken Fingers That Beat Takeout Every Time
Ingredients
Equipment
Method
- In a mixing bowl, whisk together all-purpose flour, cornstarch, sugar, baking powder, and coarse kosher salt. Gradually add cold water, stirring until thick yet pourable.
- Pour enough oil into a deep pan to create about 1 inch of depth and heat it over medium-high heat until it shimmer but not smoke, aiming for 350°F (175°C).
- Slice chicken breasts into ¼-inch strips and dip each strip into the batter, ensuring full coverage before draining excess batter.
- Lower battered chicken strips into hot oil carefully, frying for 2-3 minutes on each side until golden brown and crispy. Drain on paper toweling.
- In a saucepan, combine ketchup, brown sugar, vinegar, lemon juice, and water. Add mixed cornstarch and heat over medium until sauce thickens.
- Serve warm chicken fingers with sweet and sour sauce for dipping.