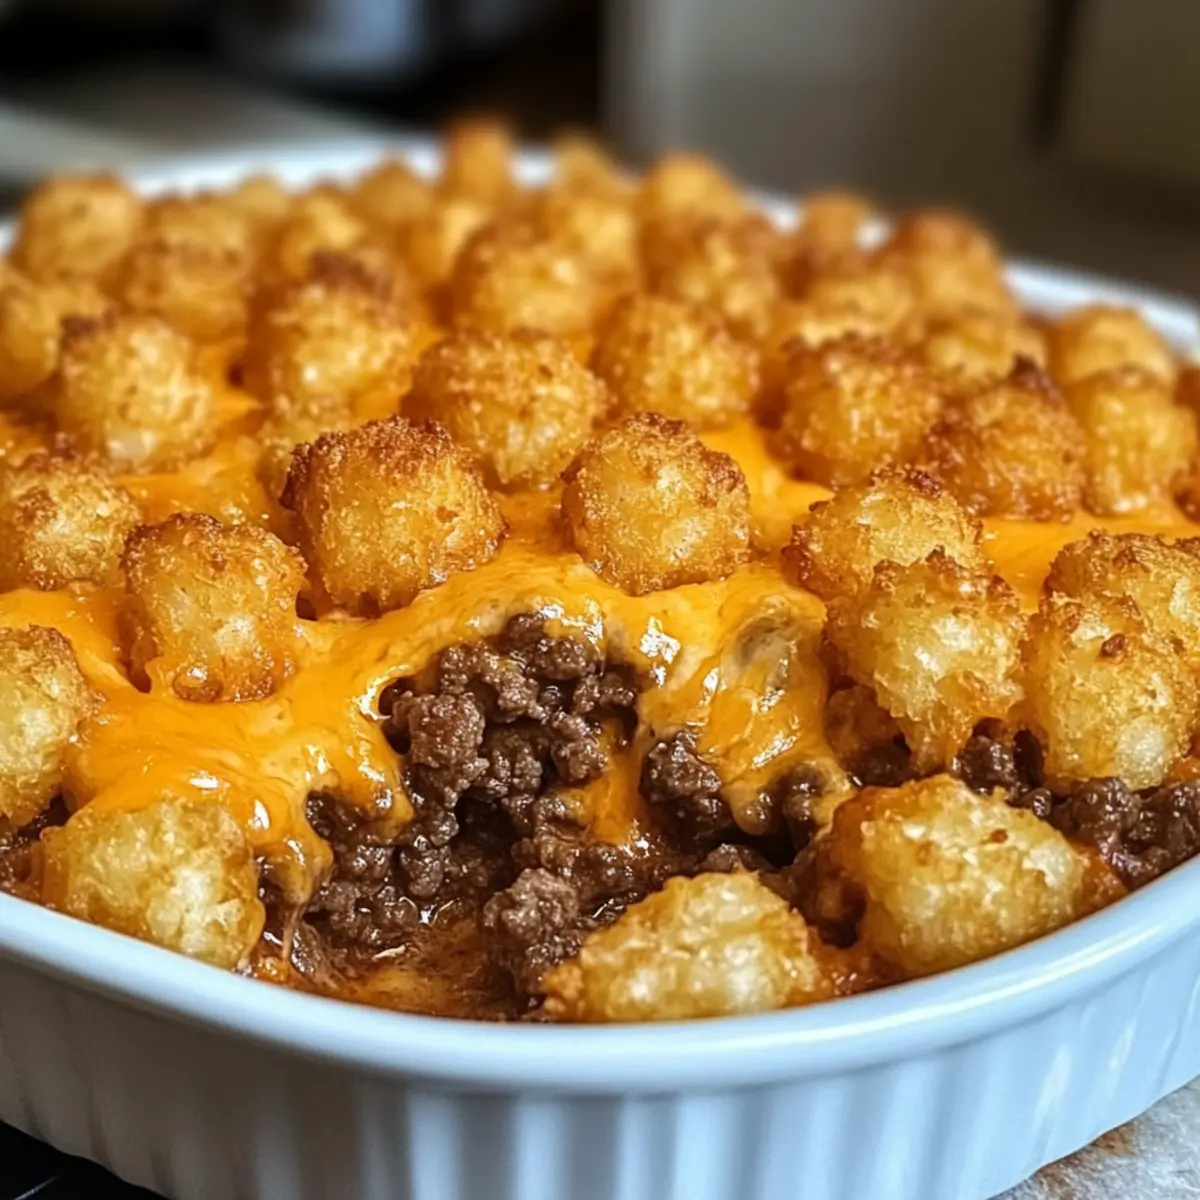
In a bustling kitchen filled with laughter and the aroma of something comforting, the magic happens with one simple dish: Tater Tot Casserole with Ground Beef. This isn’t just another meal; it’s a hug on a plate, offering warmth and nostalgia that can turn even the busiest weeknights into cozy family gatherings. With its glorious layers of savory ground beef, golden crispy tater tots, and ooey-gooey cheddar cheese, this casserole strikes the perfect balance between simplicity and satisfaction. Not only is it an easy weeknight dinner, but it’s also incredibly customizable, allowing you to add your twist with veggies or alternative proteins. Ready to dive into this delicious comfort food that’s sure to keep everyone asking for seconds? Let’s get started on creating this heartwarming masterpiece!

What makes this casserole a must-try?
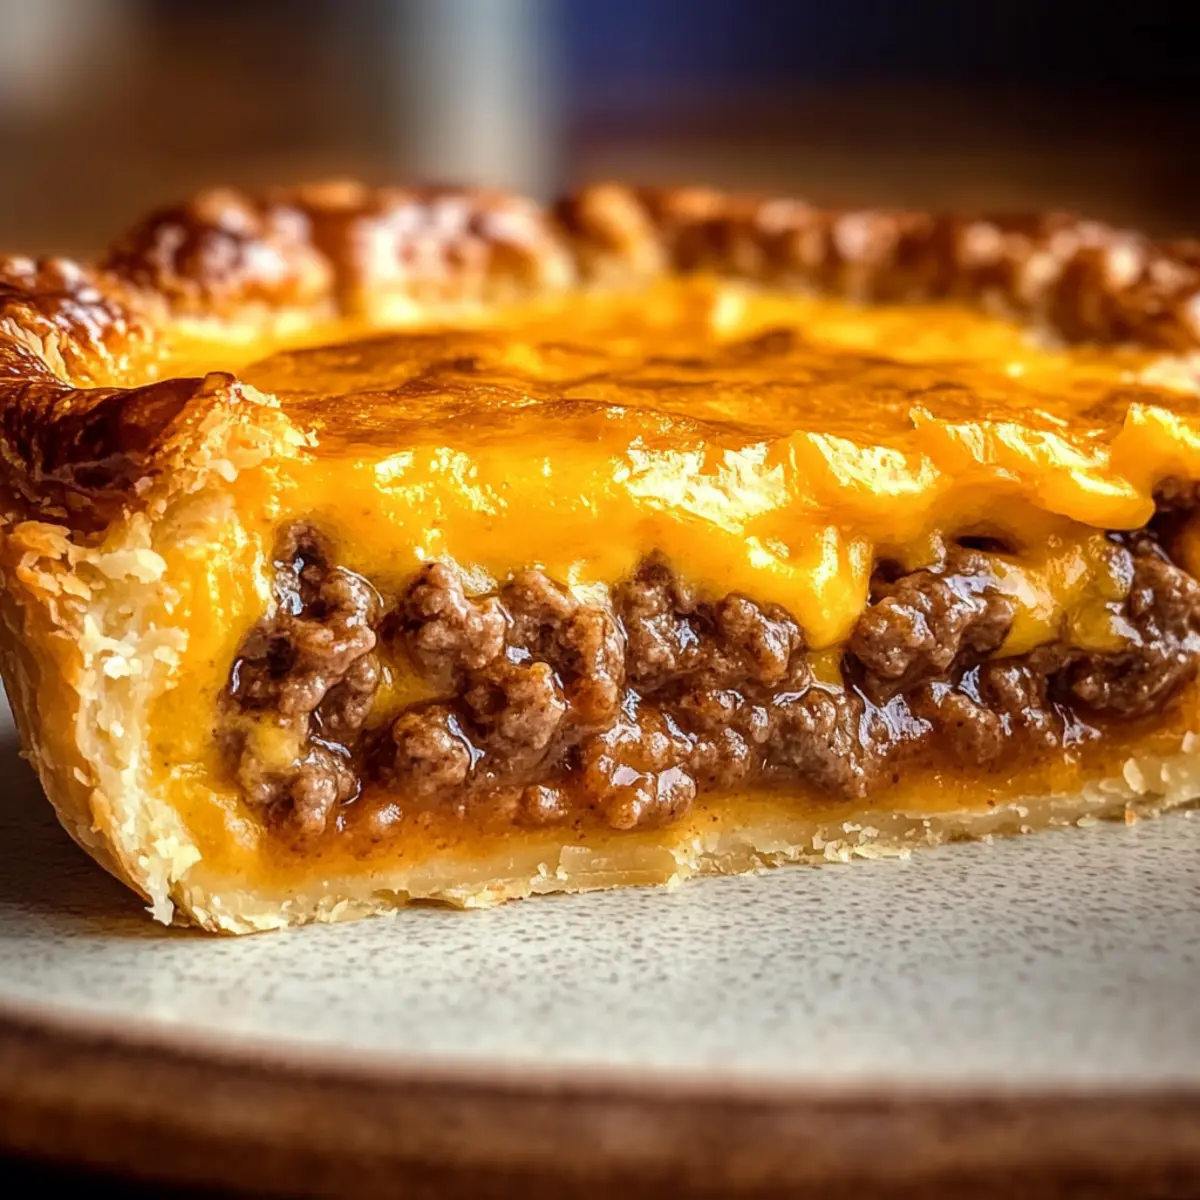
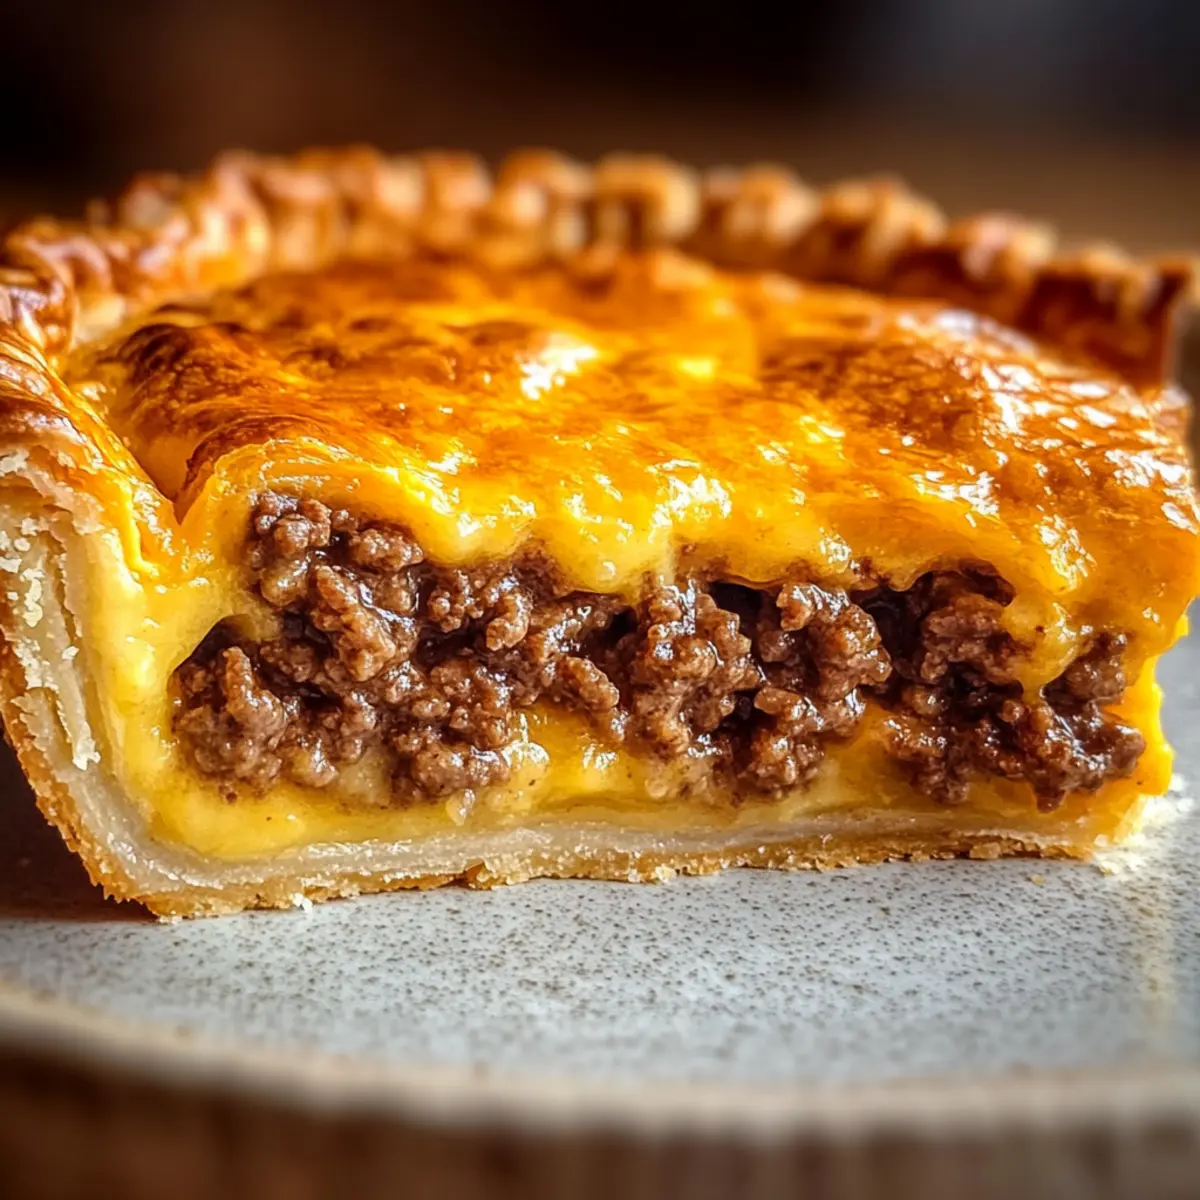
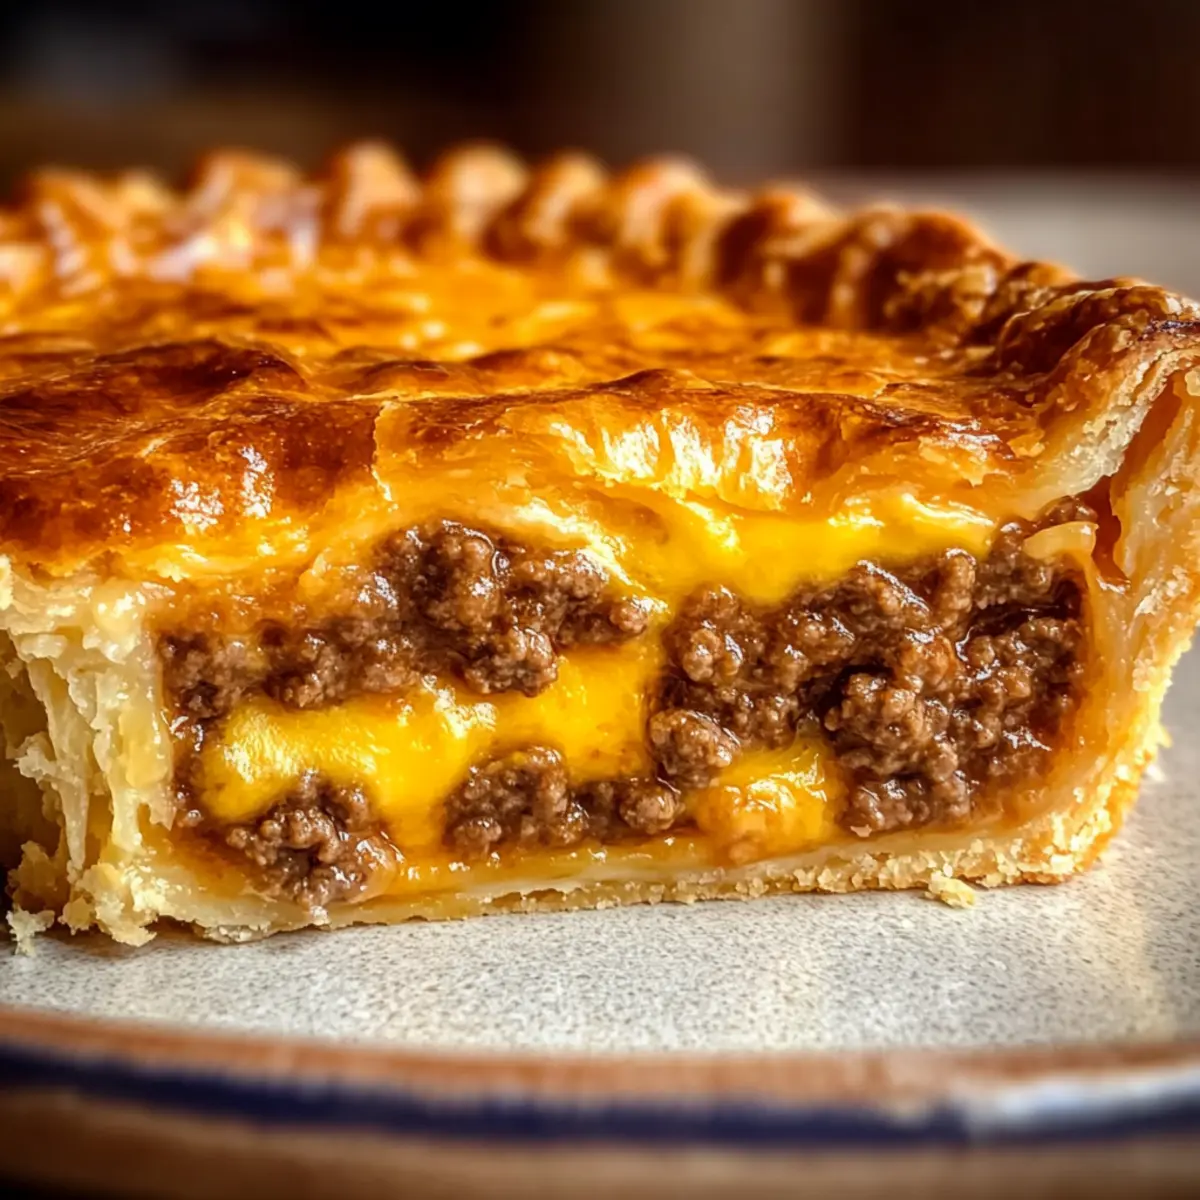
Comforting, Hearty Layers: The blend of savory ground beef and creamy, rich flavors creates a dish that warms both heart and soul.
Customization Galore: Whether you prefer additional veggies or alternate proteins, tailor this casserole to fit your family’s taste!
Quick and Easy to Prepare: Perfect for busy weeknights, this dish comes together in no time, allowing more moments for family.
Crowd-Pleasing Goodness: Serve this at gatherings, potlucks, or cozy dinners, and watch everyone come back for seconds—it's that type of dish!
Ideal for Leftovers: Not only delicious fresh out of the oven, but this casserole also makes for excellent reheating, making mealtime simpler, especially on hectic days.
Experience more delicious comfort food with our Sweet Potato Casserole or the savory goodness of our Ground Beef Enchiladas!
Tater Tot Casserole with Ground Beef Ingredients
For the Casserole
• Ground Beef – Provides a savory, hearty base; swap for ground turkey or chicken for a lighter option.
• Cream of Mushroom Soup – Adds creaminess and depth; can be replaced with a homemade cream sauce for a fresh twist.
• Sour Cream – Enhances the creamy texture; use a non-dairy alternative for a plant-based version.
• Onion – Adds sweetness and flavor depth; shallots or leeks work well as substitutes.
• Cheddar Cheese – Offers a gooey layer of flavor; a mix of sharp cheese can enhance the taste.
• Frozen Tater Tots – Delivers a crispy topping and base layer; consider homemade seasoned potatoes for an extra touch.
Use these ingredients to craft a delightful Tater Tot Casserole with Ground Beef that everyone will love!
Step‑by‑Step Instructions for Tater Tot Casserole with Ground Beef
Step 1: Preheat the Oven
Begin by preheating your oven to 375°F (190°C). This will ensure the Tater Tot Casserole with Ground Beef bakes evenly and achieves that delicious golden crisp on top. While the oven warms up, gather all your ingredients so you’re ready to make this comforting dish.
Step 2: Brown the Beef and Onions
In a large skillet over medium heat, add the ground beef and diced onions. Cook for about 5-7 minutes, breaking the meat apart with a spatula until it's browned and fully cooked. Be sure to season generously with salt, pepper, and optional spices like garlic powder for extra flavor. Drain any excess fat from the skillet, as this will keep your casserole from becoming greasy.
Step 3: Combine the Sauces
Stir in the cream of mushroom soup and sour cream into the skillet with the cooked beef. Mix thoroughly for about 3 minutes until the mixture is smooth and heated through, creating a rich and creamy filling. This step is essential for adding that comforting texture to your Tater Tot Casserole.
Step 4: Prepare the Casserole Dish
Lightly grease a 9x13 inch casserole dish with non-stick spray or a bit of oil to prevent sticking. Spread the beef and mushroom mixture evenly across the bottom of the dish. This even layer serves as the hearty base, packed with flavor that perfectly complements the tater tots.
Step 5: Add the Cheese Layer
Sprinkle 1 cup of shredded cheddar cheese evenly over the beef mixture. This will create a luscious, gooey layer that melts beautifully as the casserole bakes. Cheddar is classic, but feel free to use a blend of cheeses for a more complex flavor in your Tater Tot Casserole with Ground Beef.
Step 6: Layer the Tater Tots
Take the frozen tater tots and arrange them in a single layer over the cheese, ensuring they do not overlap. This will help them crisp up perfectly during baking. The tater tots act as a golden topping that adds a delightful crunch to this comforting casserole.
Step 7: Bake the Casserole
Place the casserole in your preheated oven and bake for 25-30 minutes. Keep an eye on it—you're looking for the tater tots to become golden brown and crispy on top. The aroma will fill your kitchen, teasing your taste buds and making everyone eager for dinner!
Step 8: Add More Cheese
Once the initial baking time is complete, remove the casserole from the oven and sprinkle any remaining cheddar cheese on top. Return it to the oven for an additional 5 minutes, allowing the cheese to melt and bubble beautifully. This finishing touch creates a gooey and irresistible topping for your Tater Tot Casserole.
Step 9: Cool and Serve
After baking, let the casserole cool for about 5 minutes before serving. This will help the layers set a bit, making it easier to scoop. The finished dish should be a stunning sight, with a golden, crispy top hiding creamy and savory layers underneath, ready to be enjoyed!

Expert Tips for Tater Tot Casserole
-
Fresh Cheese Matters: Use freshly shredded cheese to enhance melting quality and flavor in your Tater Tot Casserole with Ground Beef.
-
Drain Fat: After browning the beef, drain excess fat to prevent the casserole from becoming greasy and preserve its delightful texture.
-
Single Layer Tots: Ensure tater tots are arranged in a single layer without overlap for that perfectly crispy topping.
-
Broil for Crunch: For extra crunch, consider broiling the casserole for 1-2 minutes at the end, watching carefully to avoid burning.
-
Customize Wisely: Feel free to add veggies or switch proteins, but keep a balanced flavor profile to ensure harmony in your casserole.
What to Serve with Cheesy Tater Tot Casserole with Ground Beef
Nothing complements the cozy comfort of this casserole like a selection of fresh, vibrant sides and satisfying drinks that round out your meal beautifully.
-
Crispy Green Salad: A light and zesty salad with mixed greens, cucumbers, and a tangy vinaigrette adds brightness, balancing the richness of the casserole.
-
Steamed Green Beans: Tender, steamed green beans with a sprinkle of sea salt offer a crunchy contrast, enhancing the overall texture of your meal.
-
Garlic Breadsticks: Soft, buttery breadsticks with a hint of garlic create a satisfying carb complement, perfect for soaking up the casserole's creamy goodness.
-
Roasted Veggies: A medley of colorful, roasted vegetables, such as zucchini and bell peppers, packs a nutritious punch, visually appealing while adding flavors to your dinner table.
-
Warm Biscuits: Fluffy biscuits slathered with honey or butter are delightful, providing a warm, comforting addition that echoes the cozy vibes of the casserole.
-
Homestyle Apple Crisp: This sweet, cinnamon-spiced dessert is perfect for finishing off the meal, providing a delightful contrast to the savory casserole with its warm, comforting flavors.
-
Iced Tea or Lemonade: Refreshing beverages like iced tea or homemade lemonade cleanse the palate and keep the meal light and enjoyable, perfectly complementing each bite.
How to Store and Freeze Tater Tot Casserole
Fridge: Store leftover Tater Tot Casserole with Ground Beef in an airtight container for up to 3-4 days. Ensure it's completely cooled before sealing to maintain freshness.
Freezer: For longer storage, wrap the casserole tightly in plastic wrap and then aluminum foil. It can be frozen for 2-3 months. Thaw overnight in the refrigerator before reheating.
Reheating: Reheat the casserole in the oven at 350°F (175°C) for about 20-25 minutes or until heated through. For a crispy top, consider broiling for a couple of minutes at the end.
Tater Tot Casserole with Ground Beef Variations
Feel the joy of customizing your Tater Tot Casserole with Ground Beef and take it to exciting new heights!
- Turkey Swap: Replace ground beef with ground turkey for a leaner alternative, keeping it just as hearty and flavorful.
- Veggie Boost: Add sautéed vegetables like bell peppers, peas, or corn for added nutrition and vibrant colors. They’ll bring fresh flavors that brighten every bite!
- Cheese Blend: Use a mixture of cheeses like mozzarella and pepper jack to create a gooey, flavorful topping that adds a spicy kick!
- Dairy-Free Creaminess: Swap cream of mushroom soup with a vegan cream sauce for a plant-based delight that doesn’t skimp on taste.
- Sweet Potato Tots: Try using sweet potato tater tots instead for a hint of sweetness and added nutrients, making the dish a bit sweeter and more colorful.
- Spicy Surprise: Add diced jalapeños or a sprinkle of cayenne pepper to the meat mixture, bringing a lovely heat that enhances the overall flavor.
- Homemade Tater Tots: For a fun twist, make your own tater tots from scratch using seasoned diced potatoes, offering a fresher taste and crispy texture!
- Mushroom Medley: If you're a mushroom lover, mix in sautéed cremini or shiitake mushrooms with the beef for deeper umami flavors in each forkful.
For more comforting recipes, try serving this tasty casserole alongside a fresh salad or pair it with a delightful Cornbread Breakfast Casserole for a warm Sunday brunch!
Make Ahead Options
These Tater Tot Casserole with Ground Beef meals are perfect for busy weeknights! You can prepare the beef and soup mixture up to 24 hours in advance—just cook the ground beef and onions, mix in the soup and sour cream, and store in an airtight container in the refrigerator. The tater tots can also be arranged on top just before baking for optimal crispness. When you're ready to serve, simply layer the beef mixture in your greased casserole dish, add the cheese, and top with tater tots. Bake as instructed, and you’ll enjoy a delicious meal that's just as comforting and flavorful as if made fresh!

Tater Tot Casserole with Ground Beef Recipe FAQs
How do I choose the right ground beef for this casserole?
For your Tater Tot Casserole with Ground Beef, I recommend using 80/20 ground beef for the best flavor and texture. The fat content provides moisture and richness, but you can opt for leaner cuts like 90/10 if you're looking to reduce fat. Ground turkey or chicken also work well for a lighter option!
What are the best storage methods for leftovers?
Absolutely! After you've enjoyed your delicious casserole, let it cool completely. Store leftovers in an airtight container in the refrigerator for up to 3-4 days. If you have more, simply wrap the casserole tightly in plastic wrap and then aluminum foil for freezer storage. It will last up to 2-3 months this way, perfect for future meals!
Can I freeze the Tater Tot Casserole before baking?
Yes, you can prepare your Tater Tot Casserole with Ground Beef ahead of time and freeze it before baking! Simply assemble the casserole as instructed, wrap it tightly with plastic wrap and then aluminum foil. It’s best to bake it from frozen—just increase the baking time to about 50-60 minutes at 375°F (190°C). Let it thaw overnight in the fridge before baking if you prefer that method!
What if my casserole looks too greasy after baking?
No worries! If you find your casserole to be too greasy, it might be due to excess fat from the ground beef. Always drain the fat after browning the beef before mixing in the sauces. For an extra tip, after baking, you can use a paper towel to gently blot any surface grease. Just remember to allow it to rest for a few minutes before serving so it sets up and is easier to scoop.
Are there any dietary considerations I should be aware of?
Yes, when preparing your Tater Tot Casserole, be mindful of allergies—especially if serving guests. Dairy allergies may require substitutes like non-dairy sour cream and cheese alternatives. If you have vegetarian or vegan friends, consider swapping the ground beef with plant-based alternatives and using dairy-free products to make it inclusive for everyone!
Comforting Tater Tot Casserole with Ground Beef Delight
Ingredients
Equipment
Method
- Preheat your oven to 375°F (190°C). Gather all your ingredients while the oven warms up.
- In a large skillet over medium heat, brown the ground beef and diced onions for 5-7 minutes. Season with salt, pepper, and optional spices. Drain excess fat.
- Stir in the cream of mushroom soup and sour cream into the cooked beef mixture, mixing thoroughly for about 3 minutes until smooth and heated through.
- Lightly grease a 9x13 inch casserole dish and spread the beef and mushroom mixture evenly across the bottom.
- Sprinkle 1 cup of shredded cheddar cheese evenly over the beef mixture.
- Arrange the frozen tater tots in a single layer over the cheese, ensuring they do not overlap.
- Bake the casserole in the preheated oven for 25-30 minutes until the tater tots are golden brown and crispy.
- Remove the casserole and sprinkle any remaining cheddar cheese on top, then return to the oven for an additional 5 minutes.
- Let the casserole cool for about 5 minutes before serving.