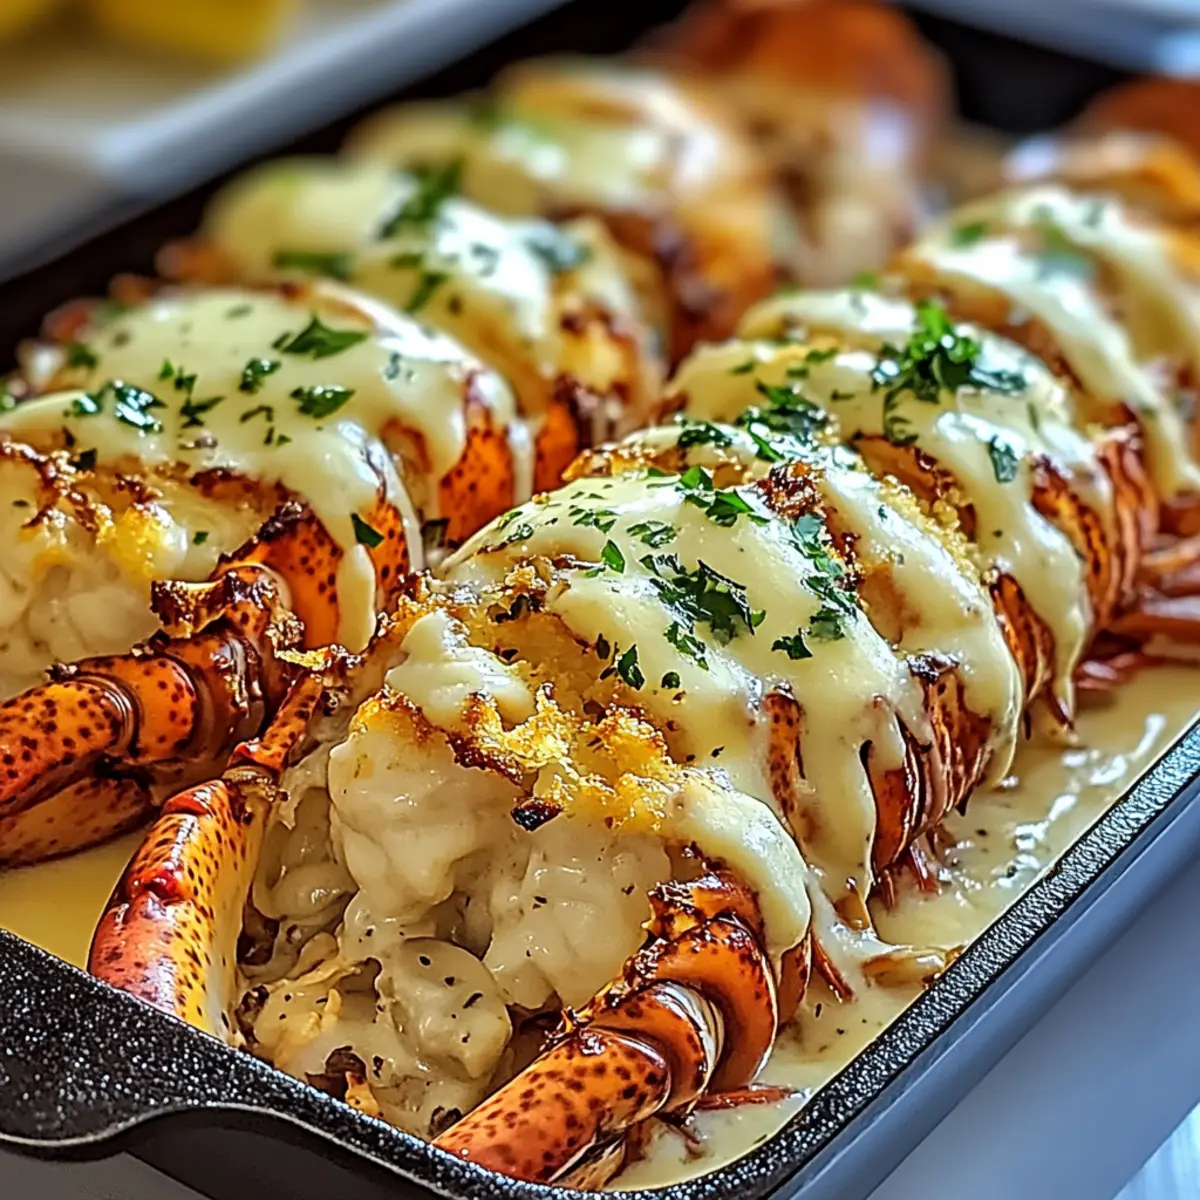
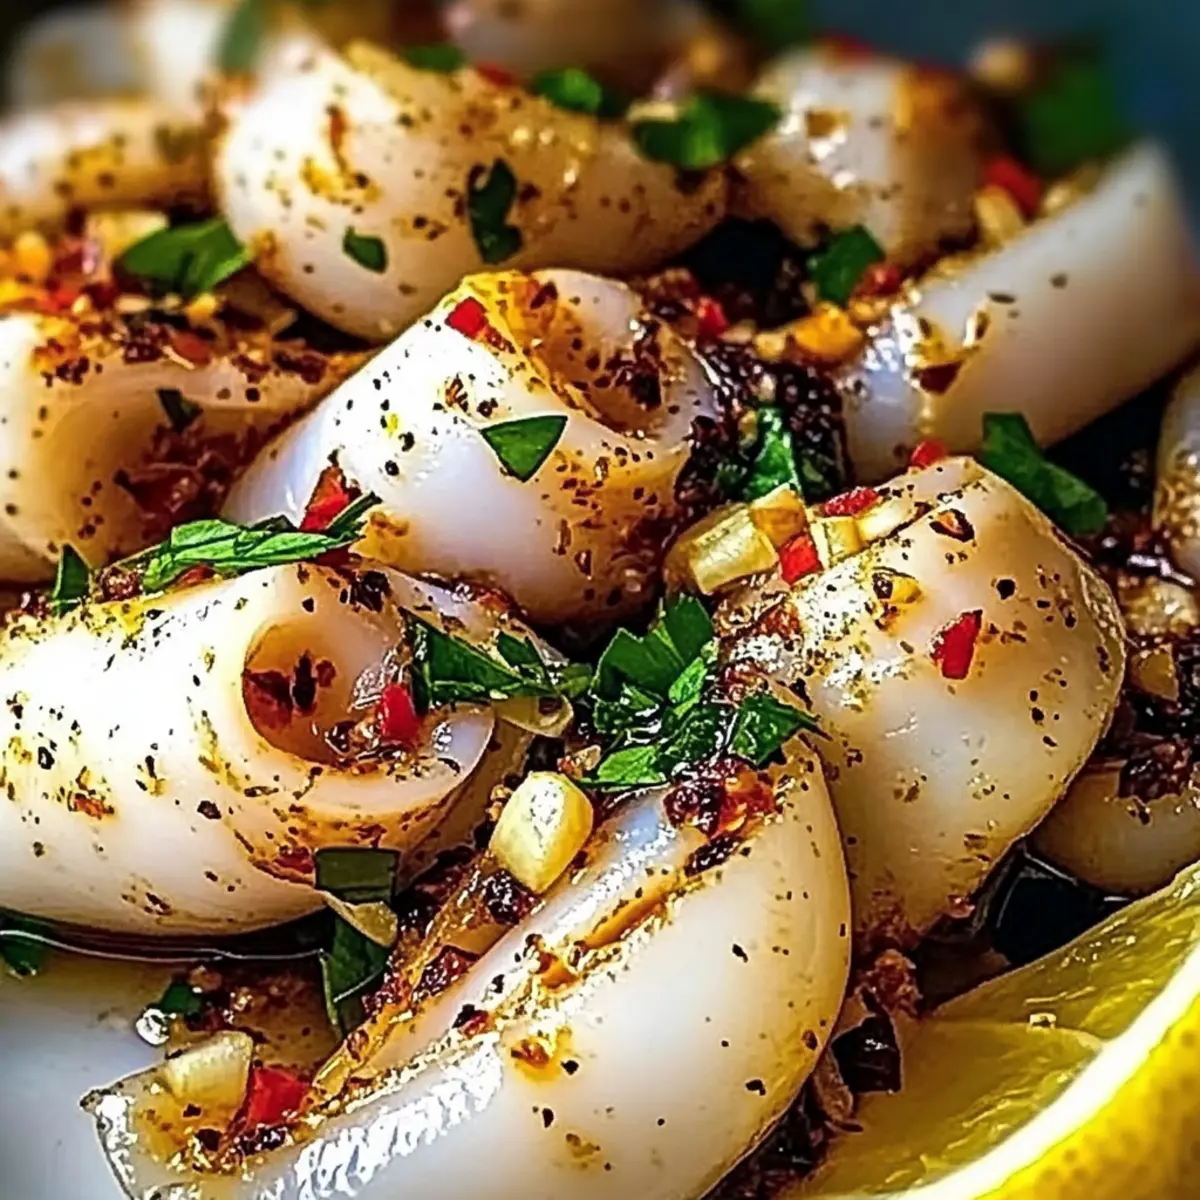
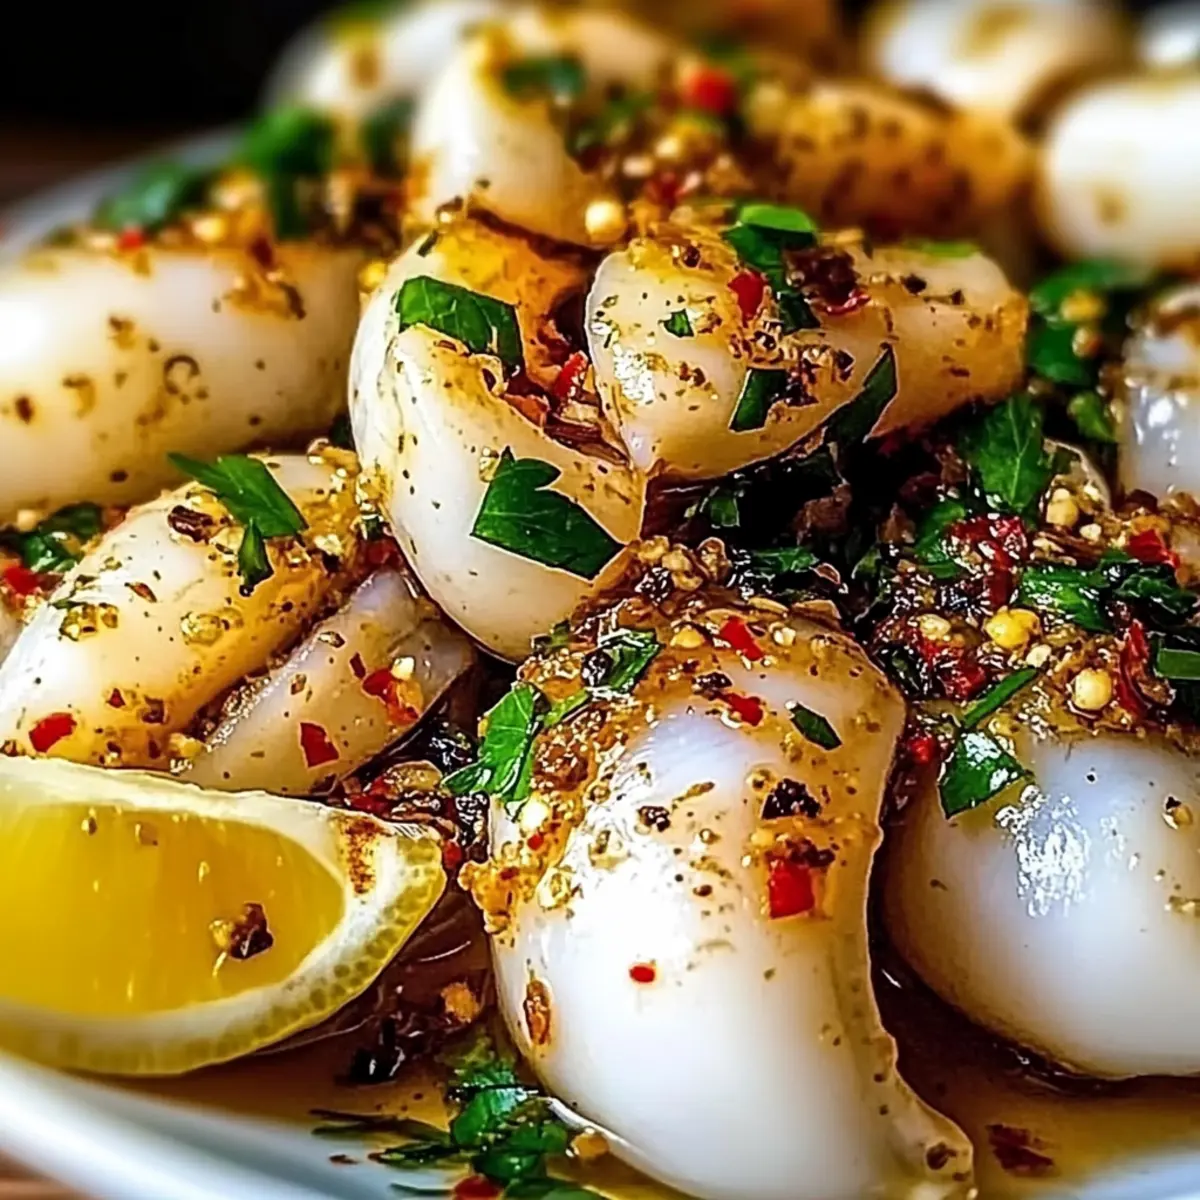
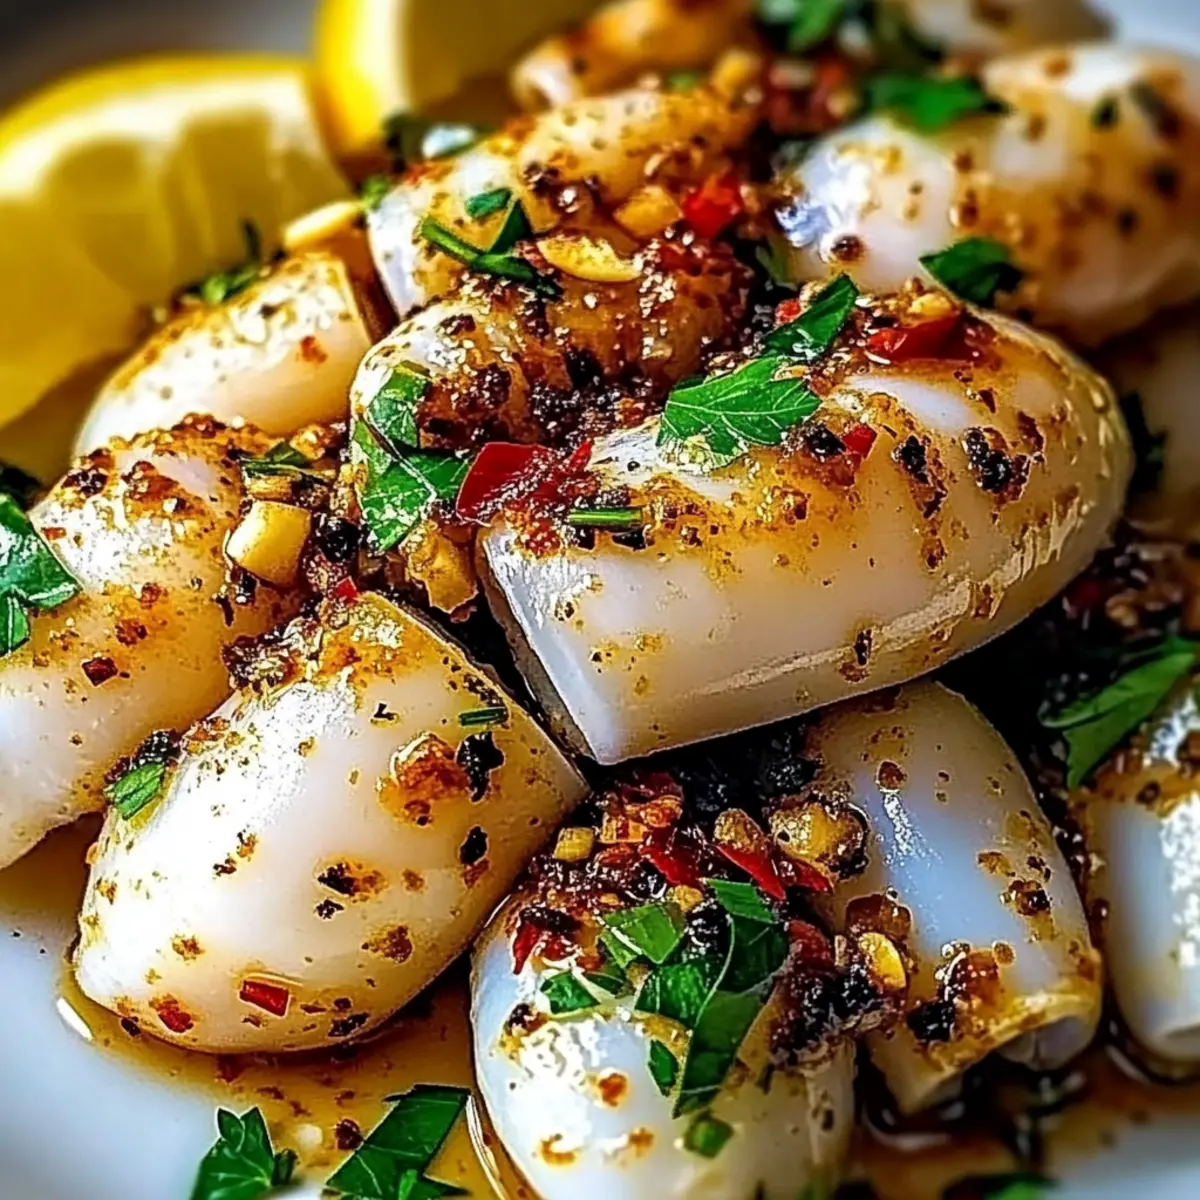
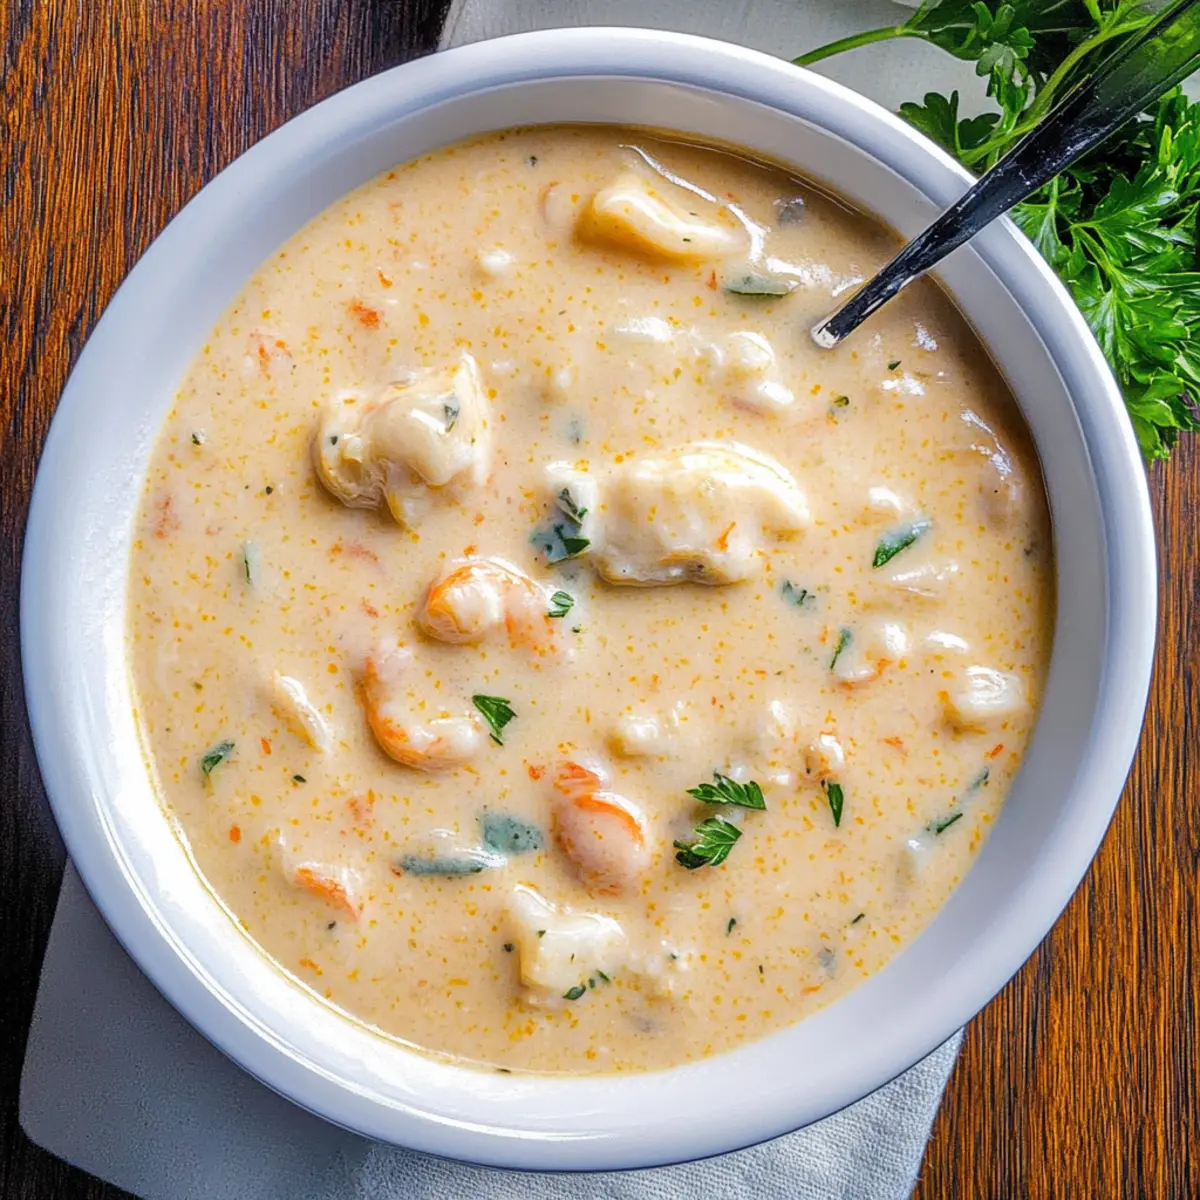
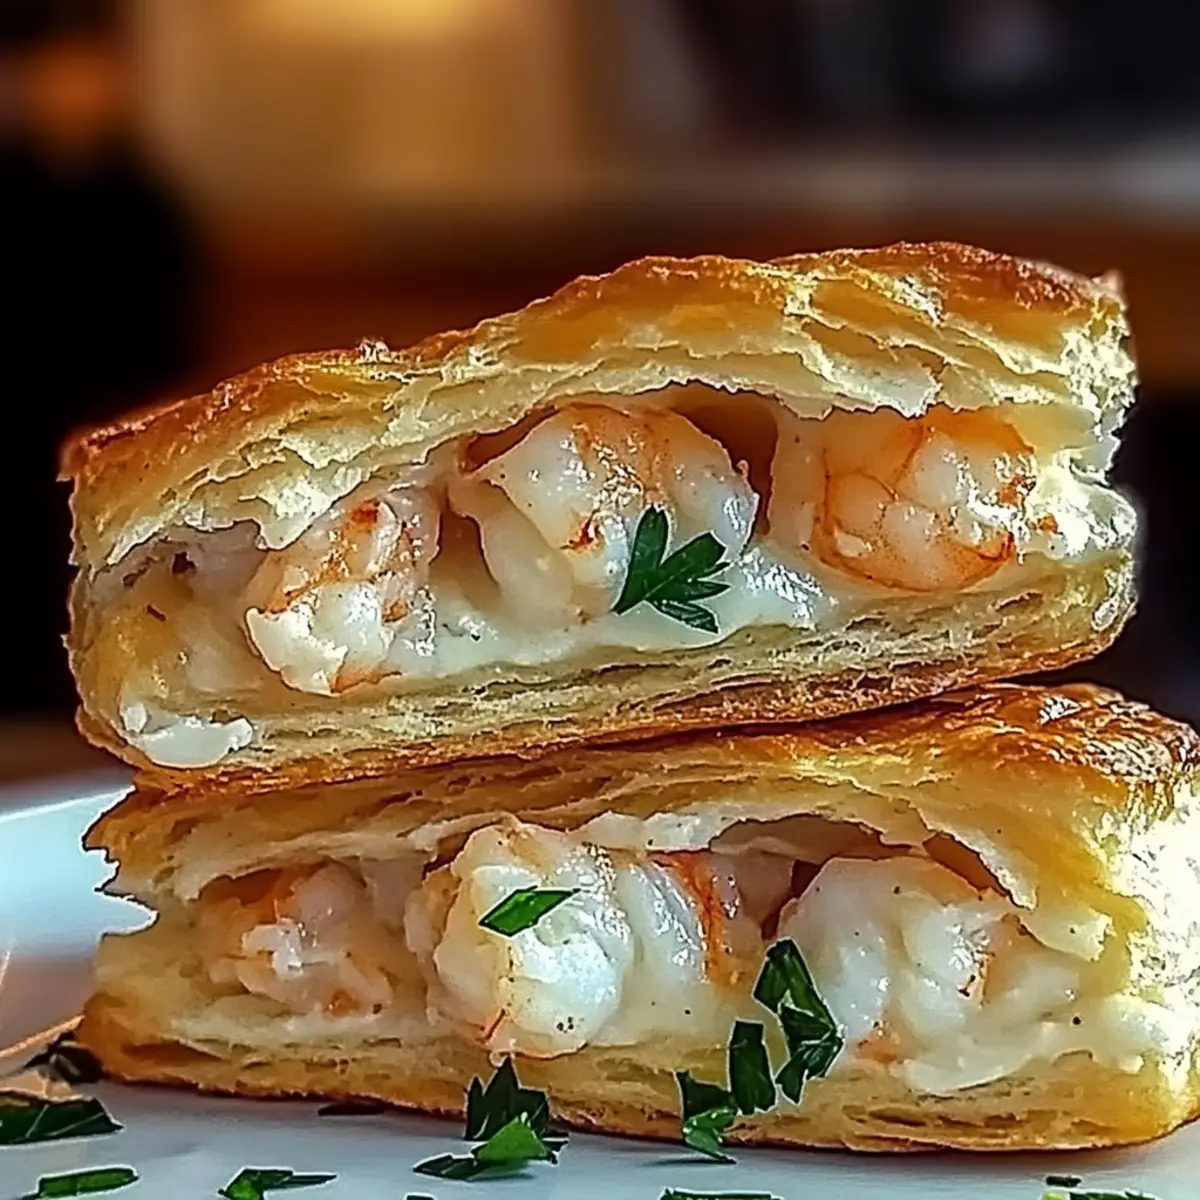
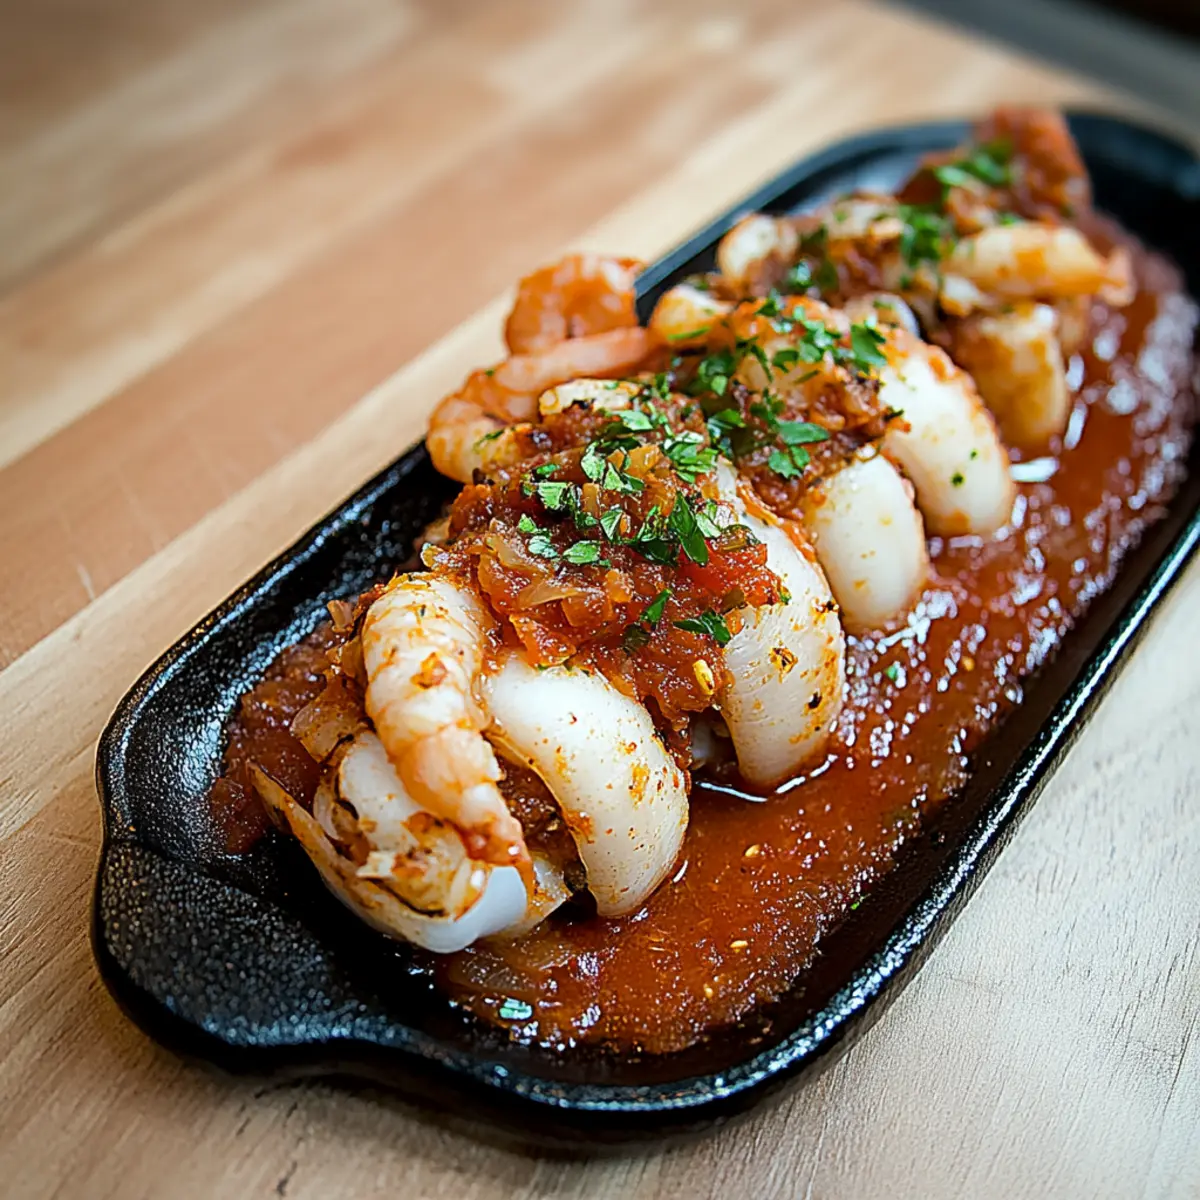
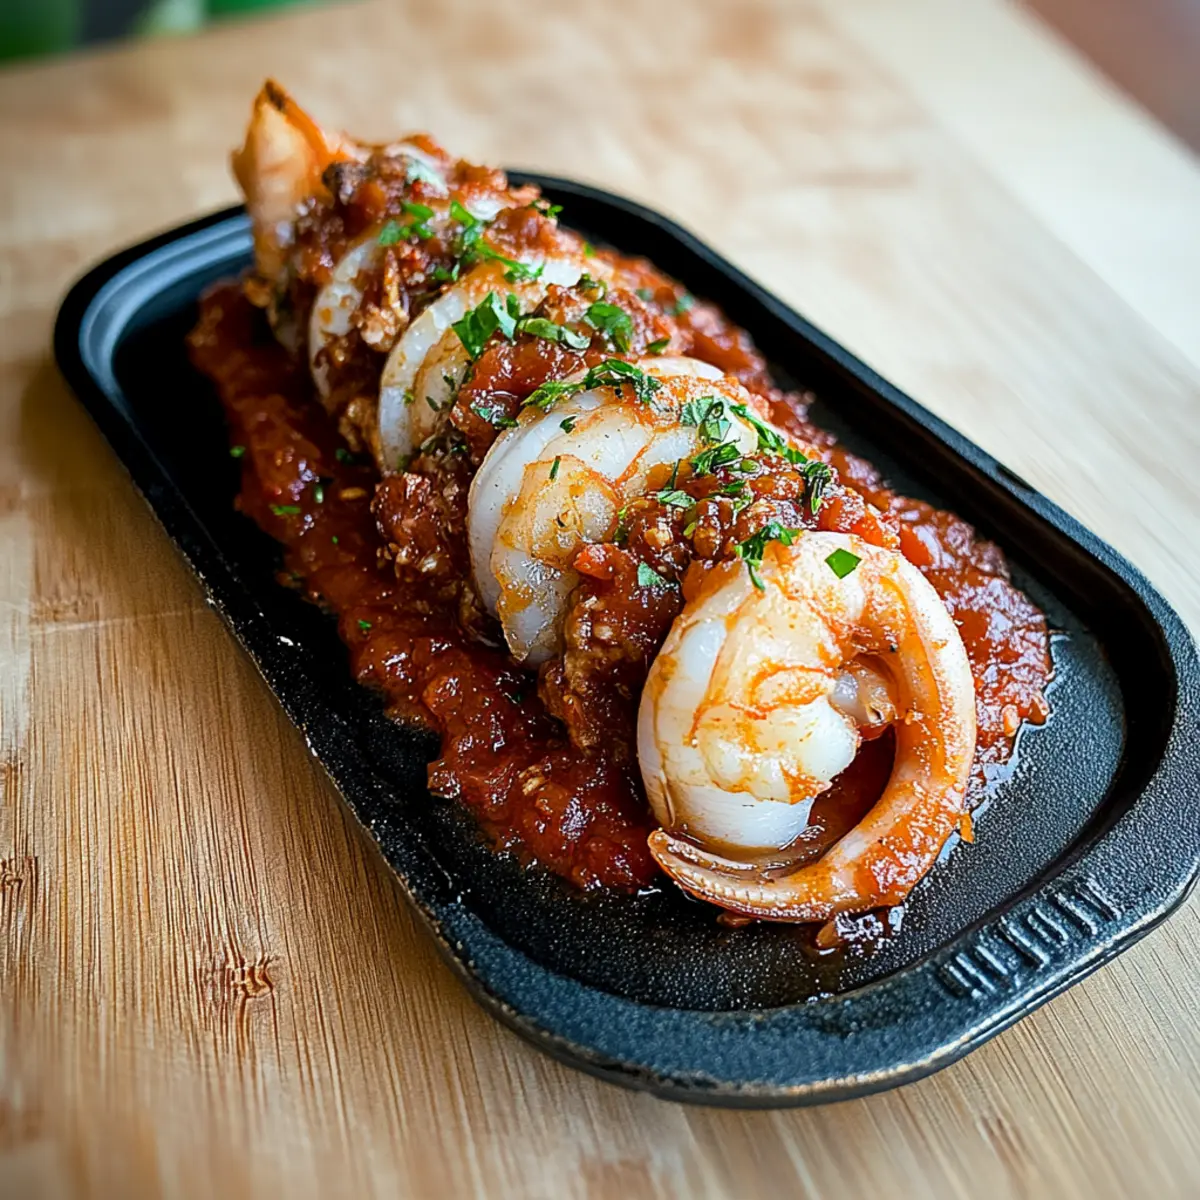
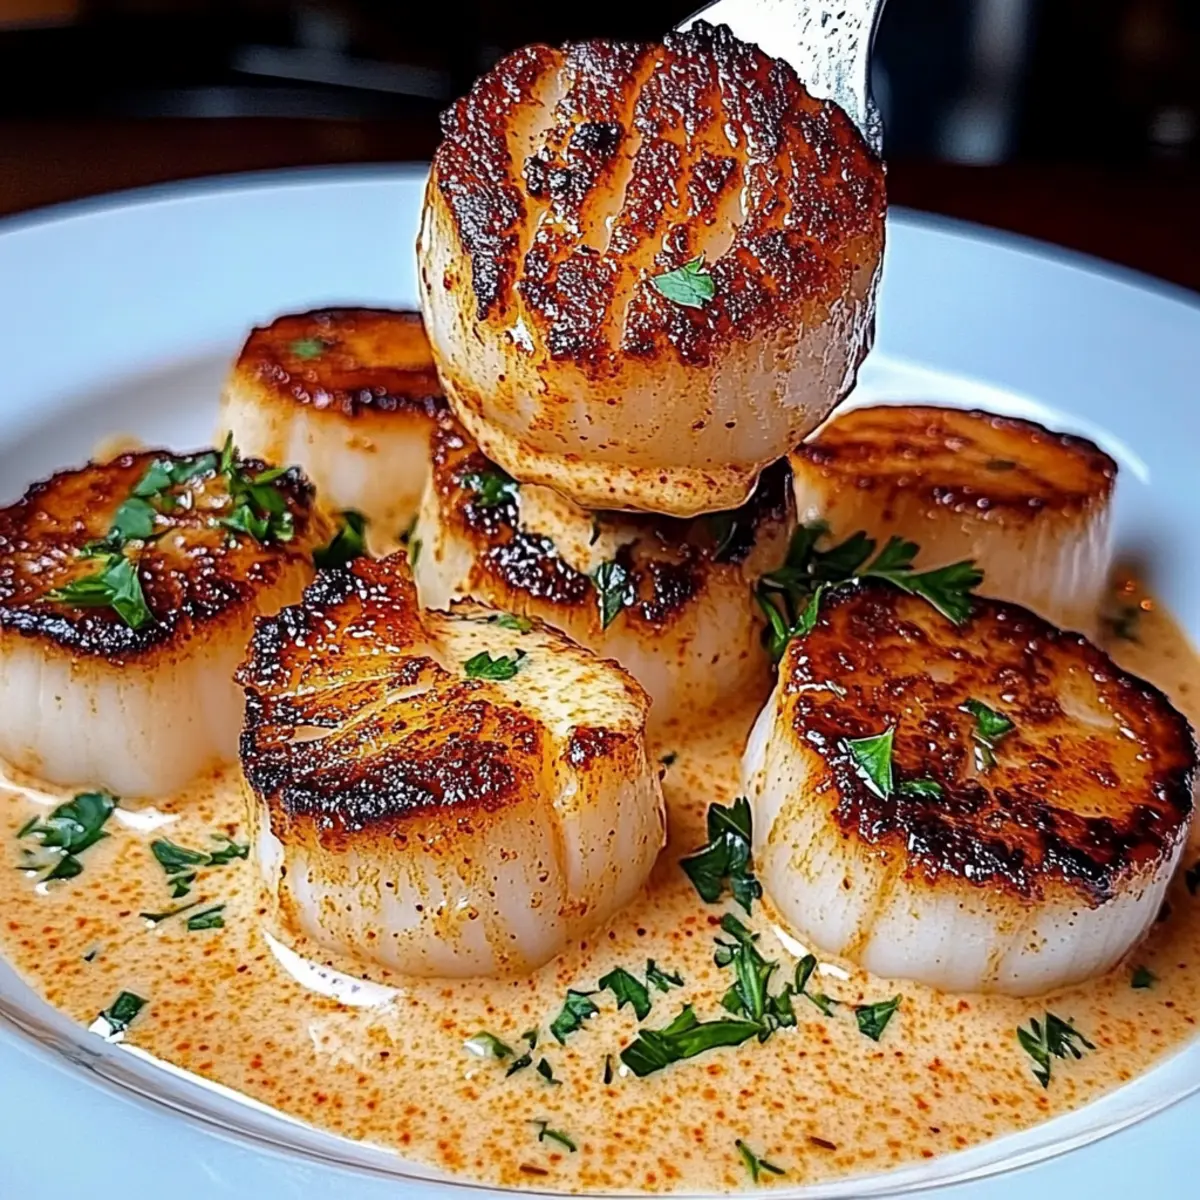
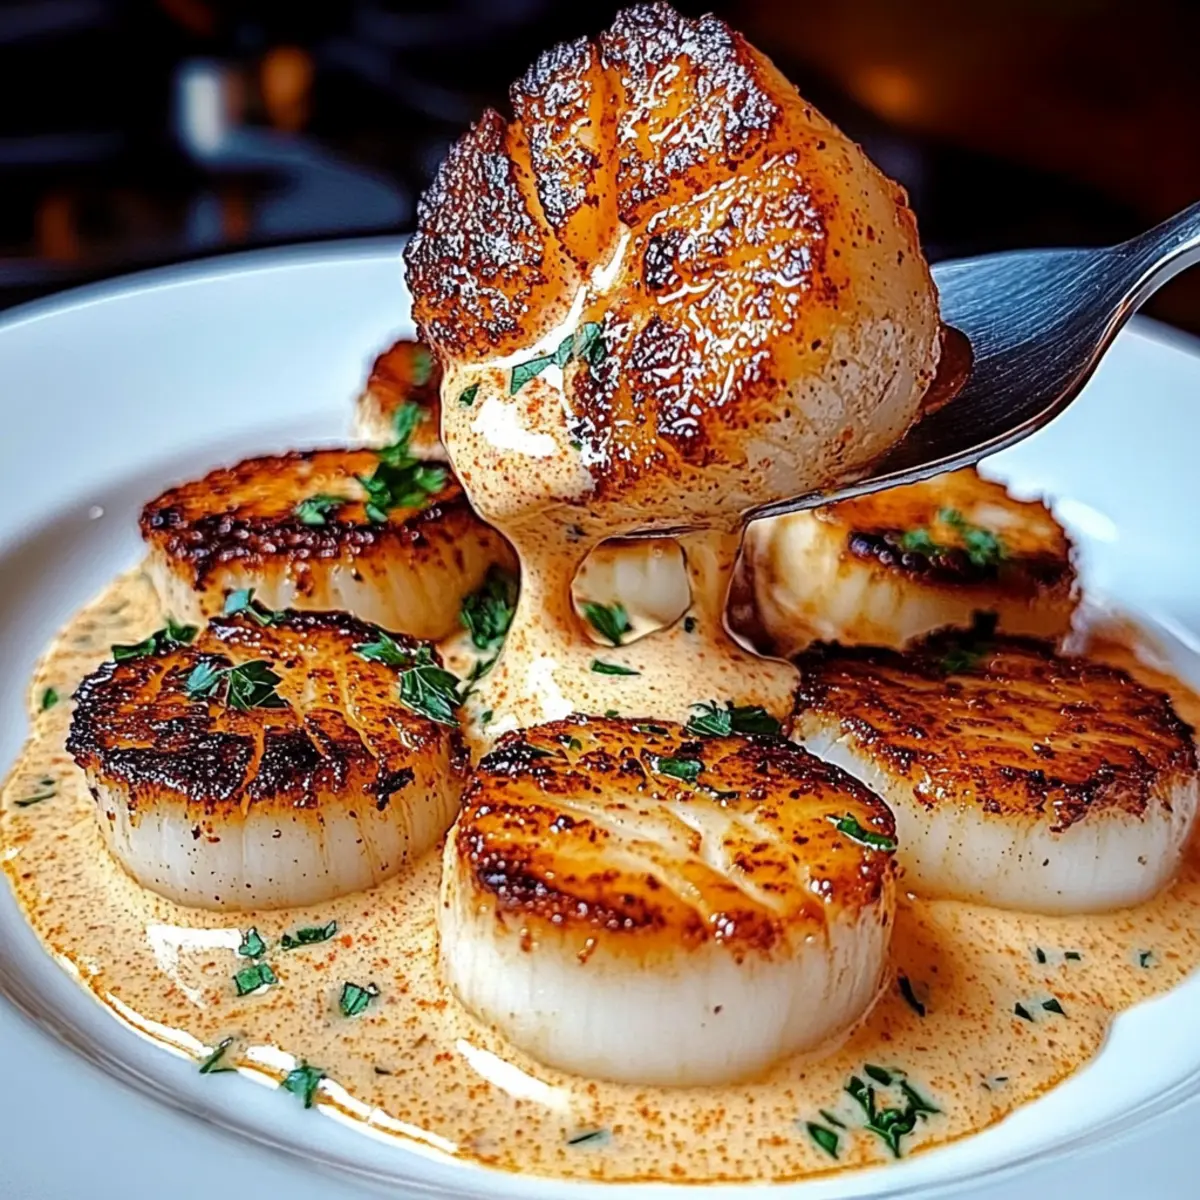
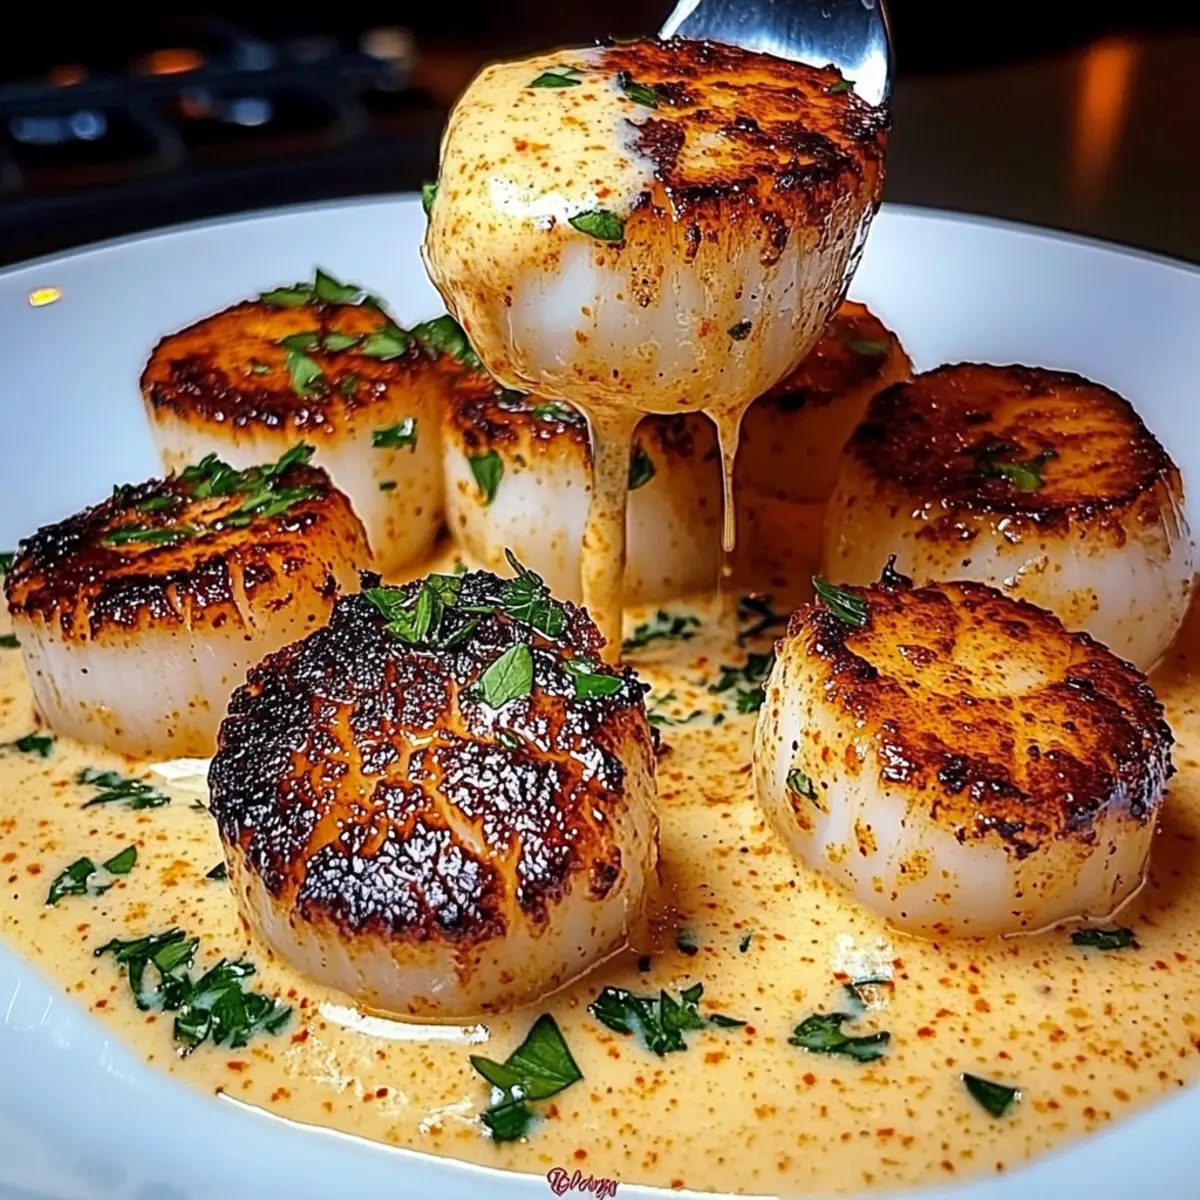
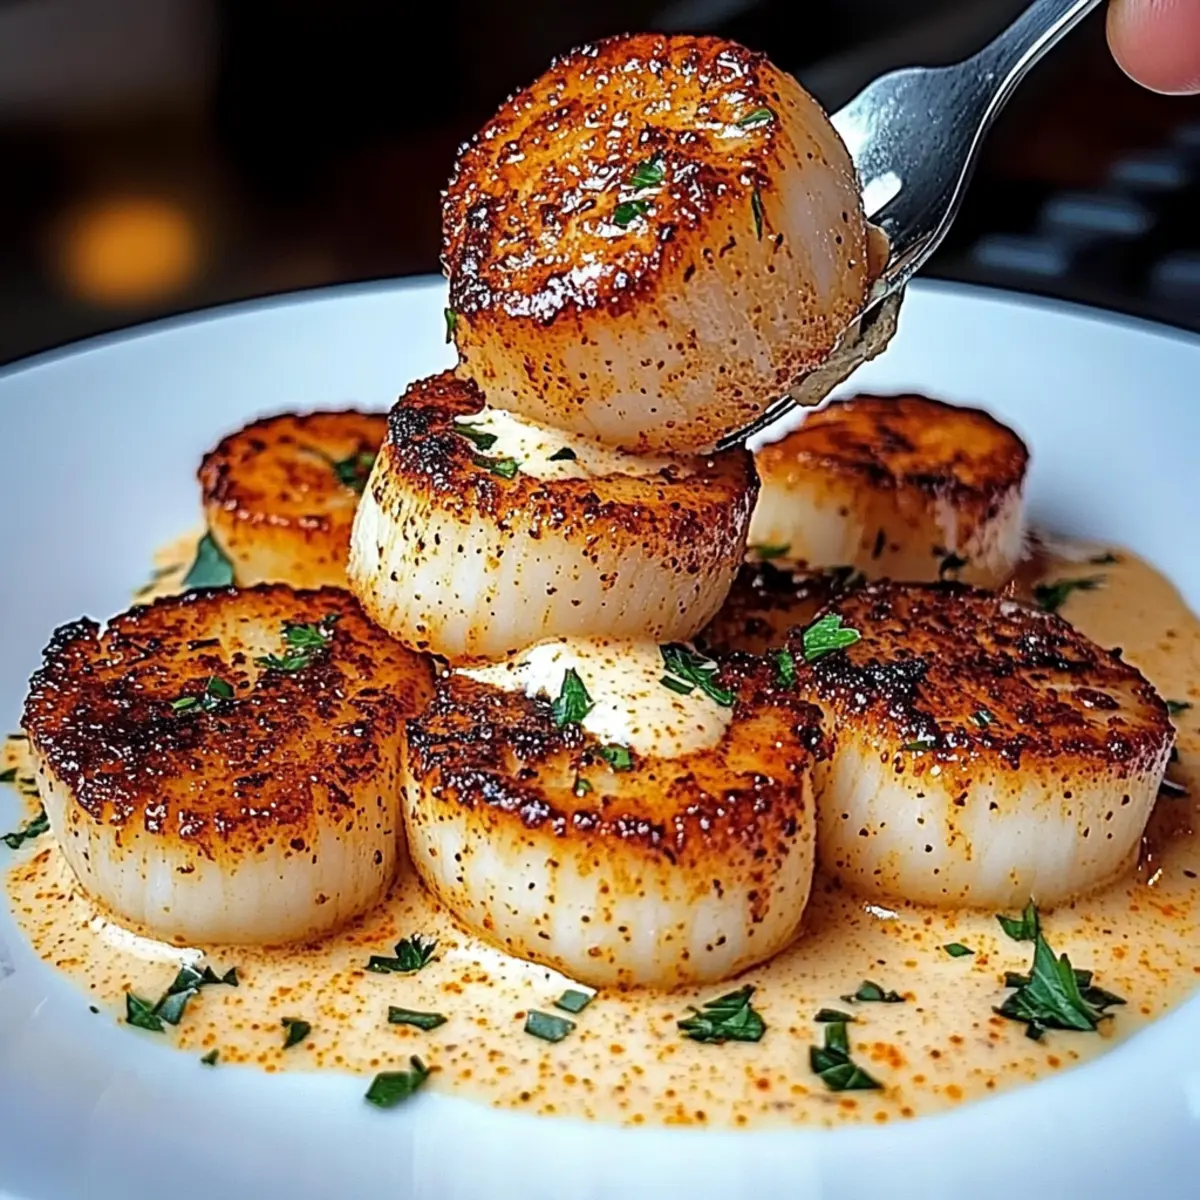
As I stood in my kitchen, the enticing aroma of sizzling scallops began to dance in the air, and I couldn’t help but smile. There’s something undeniably special about creating a dish as elegant as Seared Scallops with Spicy Cajun Cream Sauce. This meal not only elevates a simple dinner into a culinary celebration but also keeps you on track with your health goals—it’s low in carbs and high in protein, making it a perfect choice for keto or gluten-free diets. What’s even better is how quick and straightforward it is to whip up this gourmet delight right at home. So, why not treat yourself to a date night that’s full of flavor and affectionate charm? Let’s dive into this yummy journey!
Why are Seared Scallops a Must-Try?
Elegant Flavor: The spicy Cajun cream sauce elevates the sweetness of the scallops, creating a delightful contrast that dances on your palate.
Quick and Easy: With just 10 minutes of cooking, you can impress guests or enjoy a sophisticated meal at home without the fuss.
Health-Conscious Delight: Following a keto or low-carb diet? This dish is not only indulgent but also fits perfectly into your lifestyle.
Versatile Pairings: Serve with creamy risotto or simple fresh salad, adding versatility to your dining experience that can adapt to any occasion.
Make it a themed dinner by pairing it with Cajeta Ice Cream for dessert—your taste buds will thank you!
Seared Scallops Ingredients
For the Scallops
• Scallops – The star ingredient providing sweetness; choose dry scallops for a superior sear.
• Olive Oil – Perfect for cooking; adds richness and assists in achieving that golden crust.
• Butter – Enhances flavor and helps with browning; you can swap with a non-dairy option for a lighter version.
For the Cajun Cream Sauce
• Garlic (minced) – Adds aromatic complexity; fresh garlic makes all the difference for the sauce.
• Heavy Cream – Creates that luxurious texture; use half-and-half if you prefer a lighter sauce.
• Cajun Seasoning – Imparts a bold flavor and heat; feel free to create a homemade version if desired.
• Smoked Paprika – Introduces depth and smokiness; regular paprika works in a pinch.
• Cayenne Pepper – Adds spice; adjust according to your heat preference.
• Parmesan Cheese (grated) – Brings in richness and umami; consider nutritional yeast for a vegan alternative.
• Lemon Juice – Brightens the sauce and balances the creaminess.
• Salt & Pepper – Essential for enhancement; freshly ground is best for maximum flavor.
For Deglazing
• White wine or seafood broth – Adds complexity and richness to the sauce; optional but highly recommended.
This Seared Scallops with Spicy Cajun Cream Sauce is not just a dish; it’s an experience, ready to transport you to a world of culinary bliss!
Step‑by‑Step Instructions for Seared Scallops with Spicy Cajun Cream Sauce
Step 1: Prepare the Scallops
Start by patting the scallops dry with paper towels to remove excess moisture, ensuring a perfect sear. Allow them to rest at room temperature for about 15 minutes. This step is essential as it helps the scallops cook evenly, resulting in a beautifully golden crust when seared.
Step 2: Season the Scallops
Gently season both sides of the scallops with freshly ground salt and black pepper. This simple seasoning complements the sweet flavors of the scallops while allowing their natural taste to shine through. Make sure to coat them evenly for the best flavor in your Seared Scallops with Spicy Cajun Cream Sauce.
Step 3: Heat the Skillet
In a cast iron skillet, heat 1 tablespoon of olive oil and 1 tablespoon of butter over medium-high heat until shimmering, about 2 minutes. The mixture should be hot but not smoking, ensuring the scallops get a beautiful sear. This is where the magic begins, setting the stage for that irresistible golden crust.
Step 4: Sear the Scallops
Carefully place the scallops in the hot skillet flat side down, making sure not to overcrowd the pan. Sear without moving for 2-3 minutes until they develop a golden-brown crust. Watch for the scallops to release easily from the pan when they’re ready to flip, indicating perfect doneness and flavor enhancement.
Step 5: Flip the Scallops
Using tongs, gently flip the scallops and cook for an additional 1-2 minutes. They should feel firm to the touch but remain tender inside. Once they are opaque and cooked through, transfer the scallops to a warm plate to keep them cozy while you make the sauce.
Step 6: Make the Spicy Cajun Cream Sauce
Reduce the skillet heat to medium and add another tablespoon of butter. Sauté the minced garlic for about 30 seconds or until fragrant, stirring continuously to prevent burning. This infusion of garlic flavor will form the base of your creamy sauce that envelopes the scallops.
Step 7: Deglaze the Skillet
Carefully pour in a splash of white wine or seafood broth to deglaze the skillet, scraping the browned bits from the bottom. This step adds incredible depth to the sauce. Let it simmer for about 1-2 minutes until slightly reduced, inviting a symphony of flavors for your spicy cream sauce.
Step 8: Prepare the Cream Sauce
Stir in the heavy cream, Cajun seasoning, smoked paprika, and cayenne pepper. Let the mixture simmer gently for 3-4 minutes until it thickens slightly. The creamy sauce will begin to bubble and envelop the flavors, creating a rich and inviting sauce for your seared scallops.
Step 9: Finish the Sauce
Add the grated Parmesan cheese and a squeeze of fresh lemon juice to the sauce, stirring until the cheese melts and the sauce becomes velvety. Taste and adjust the seasoning with salt and pepper, ensuring the flavors complement your Seared Scallops with Spicy Cajun Cream Sauce perfectly.
Step 10: Combine and Serve
Return the seared scallops to the skillet, spooning the creamy sauce over them. Let them warm together for about 1 minute, allowing the flavors to meld. Serve immediately, garnished with fresh parsley for a pop of color and freshness. Your delectable Seared Scallops with Spicy Cajun Cream Sauce is ready to impress!
Expert Tips for Seared Scallops with Spicy Cajun Cream Sauce
-
Drying is Key: Ensure your scallops are fully dry before searing; excess moisture can prevent that perfect golden crust and lead to steaming instead.
-
Use the Right Pan: Opt for a cast iron skillet or heavy-bottomed pan to guarantee even heat distribution, resulting in flawlessly seared scallops.
-
Timing Matters: Keep a close eye on the cooking scallops; overcooking can lead to rubbery texture. They should be firm yet tender when done.
-
Adjust the Heat: If you prefer a milder flavor, reduce the cayenne pepper in the spice mix, ensuring that your Seared Scallops with Spicy Cajun Cream Sauce is cooked to your taste.
-
Make Ahead: Prepare the Cajun cream sauce ahead of time, then gently reheat with a splash of cream or broth before serving to keep it creamy and vibrant.
Make Ahead Options
These Seared Scallops with Spicy Cajun Cream Sauce are perfect for meal prep enthusiasts! You can prepare the Cajun cream sauce up to 3 days in advance. Simply sauté the garlic and mix in the cream, spices, and cheese as outlined in the recipe. Store the sauce in an airtight container in the fridge. To maintain its delicious quality, reheat gently over low heat, adding a splash of cream or broth to revive the texture before serving. As for the scallops, it’s best to sear them fresh right before serving to ensure they remain perfectly caramelized and tender. This way, you’ll save time on busy evenings while still enjoying restaurant-quality results!
What to Serve with Seared Scallops with Spicy Cajun Cream Sauce
Creating a memorable meal is easy when you pair these golden scallops with delightful accompaniments that elevate each bite.
- Creamy Risotto: The rich, creamy texture of risotto complements the sauce beautifully, making for a luxurious dining experience.
- Garlic Mashed Potatoes: Buttery mashed potatoes provide a comforting balance to the spicy scallops, soaking up the delicious cream sauce.
- Sautéed Asparagus: This vibrant veggie adds a fresh crunch, providing a delightful contrast to the richness of the dish.
- Zesty Arugula Salad: A bright salad with lemon vinaigrette can cut through the creamy sauce, offering a refreshing palate cleanser.
- Lemon Herb Quinoa: Light and fluffy quinoa is a perfect base that absorbs flavors while adding a nutty texture to your meal.
- Roasted Brussels Sprouts: Caramelized Brussels sprouts bring a touch of sweetness and smokiness, enhancing the overall flavor profile beautifully.
- Chilled White Wine: A crisp Sauvignon Blanc or Chardonnay pairs harmoniously, balancing the heat and enhancing the scallops' natural sweetness.
- Dark Chocolate Mousse: Conclude your gourmet journey with a rich dessert that contrasts the meal's savory notes, leaving a lasting impression.
Seared Scallops with Spicy Cajun Cream Sauce Variations
Feel free to customize your dish with these delicious twists that cater to different tastes and dietary needs!
-
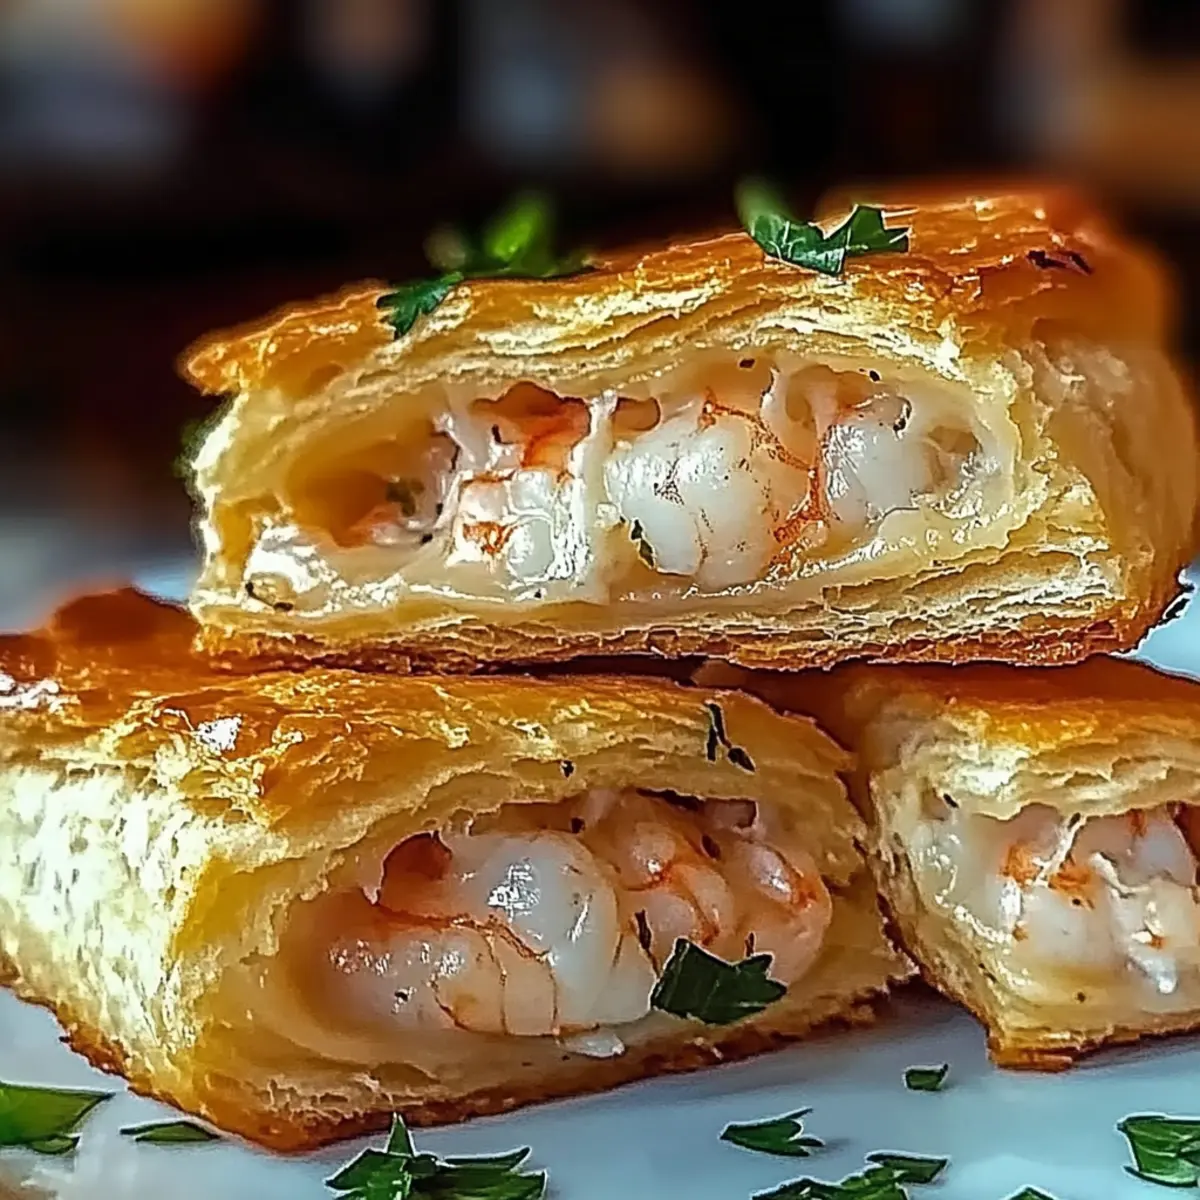
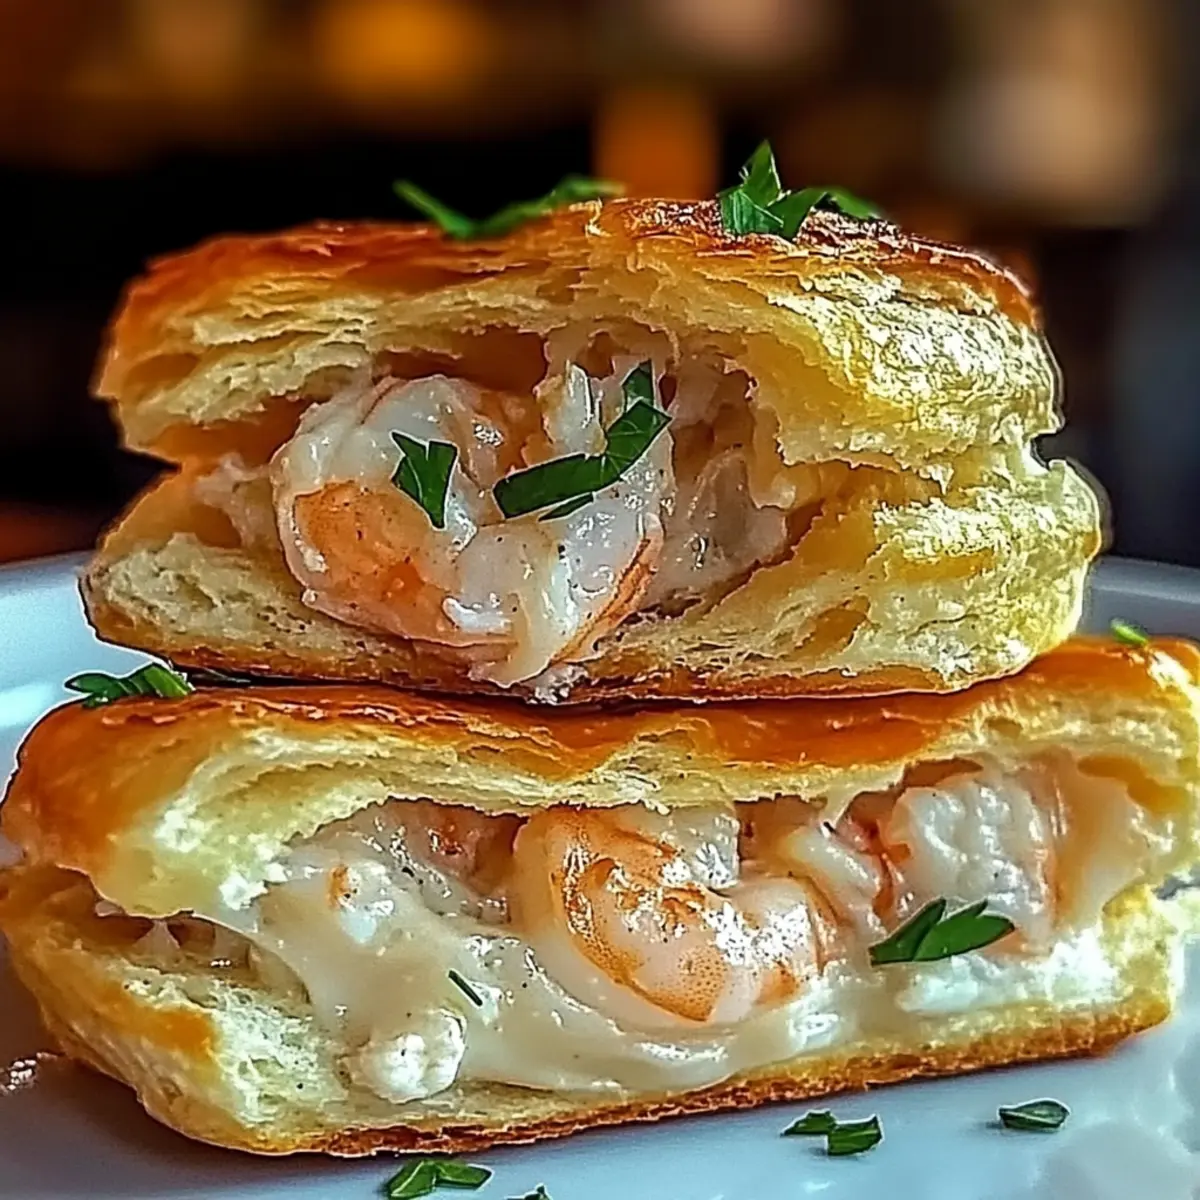
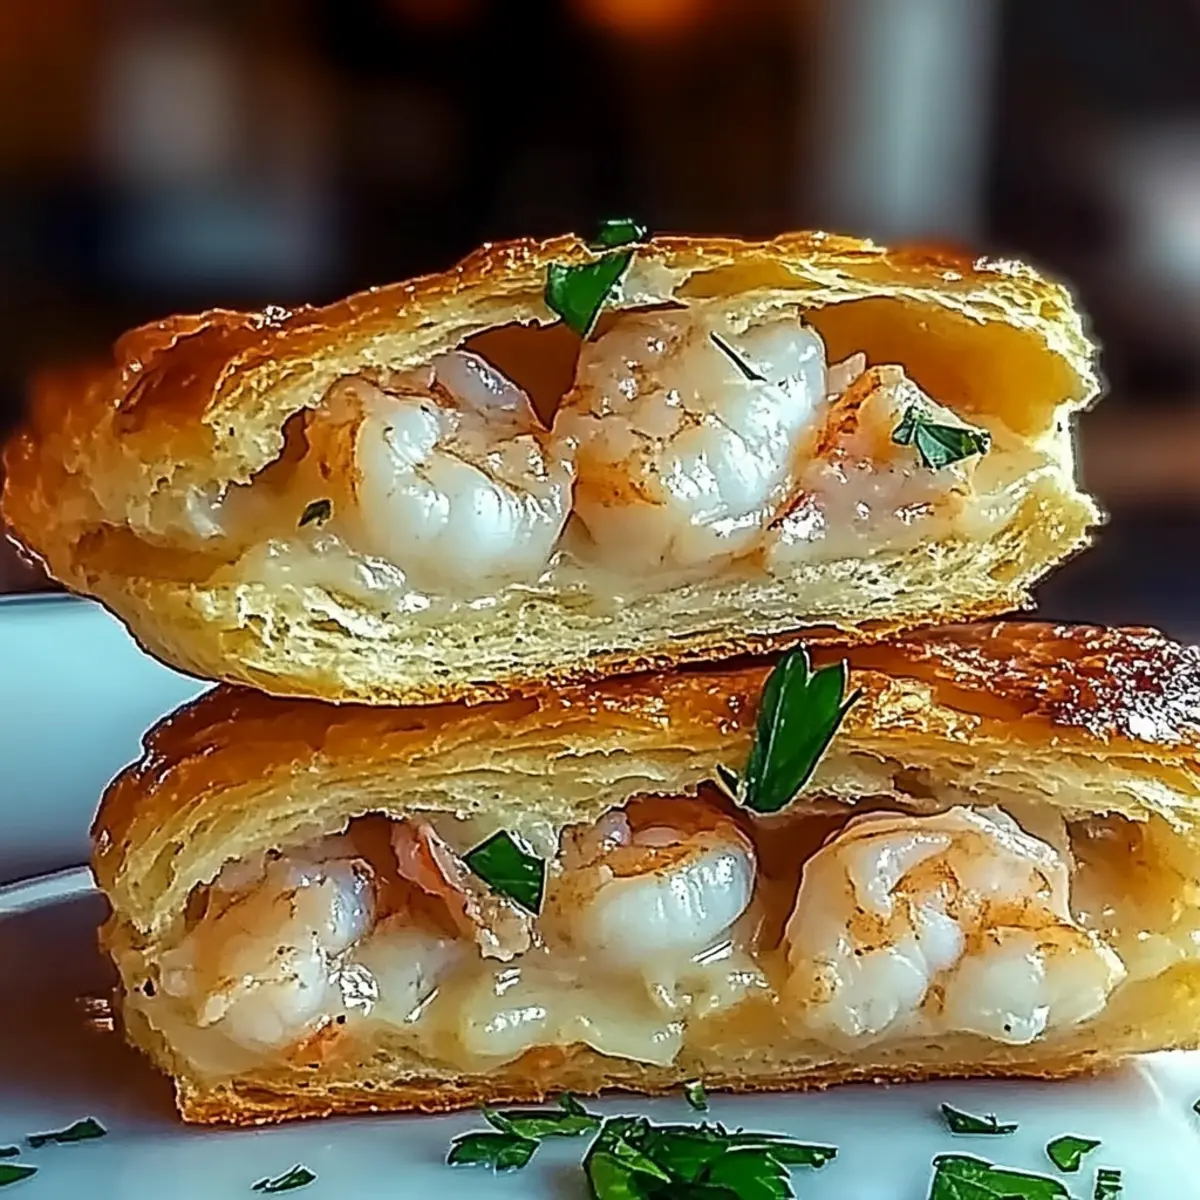
Shrimp Swap: Substitute scallops with shrimp for a quick seafood twist; shrimp cooks up just as beautifully in the sauce.
-
Chicken Delight: For a heartier option, use diced chicken breast instead of scallops. This adds a comforting element while still keeping it low-carb.
-
Dairy-Free Dream: Replace heavy cream with full-fat coconut milk for a creamy, dairy-free version that carries its own unique flavor profile.
-
Spice Level Adjust: For those who enjoy a milder kick, cut back on the cayenne pepper. Alternatively, add sweet paprika for depth without the heat.
-
Herb Infusion: Incorporate fresh herbs like thyme or chives into the sauce for a refreshing herbal note that complements the richness beautifully.
-
Veggie Boost: Add sautéed spinach or roasted bell peppers into the sauce for a vibrant color and extra nutrients in your dish.
-
Zesty Twist: Enhance by incorporating a dash of hot sauce or a sprinkle of lemon zest for an added layer of brightness.
-
Richness Reinvented: For a gourmet touch, add a splash of rich seafood broth when deglazing to intensify the sauce's flavor and complexity.
For an extra treat, why not finish your meal with a scoop of Cajeta Ice Cream for dessert? Pair these variations to create a dinner full of flavor and heartwarming memories!
How to Store and Freeze Seared Scallops with Spicy Cajun Cream Sauce
Fridge: Store any leftovers of the Seared Scallops in an airtight container for up to 2 days. Make sure the scallops cool completely before sealing to avoid sogginess.
Freezer: For longer storage, freeze the scallops without the sauce in a single layer on a baking sheet. Once frozen, transfer to an airtight container or freezer bag for up to 2 months.
Reheating: To reheat, thaw scallops overnight in the fridge and gently warm in a skillet over low heat, adding a splash of cream to help revive the sauce's richness if desired.
Sauce Storage: If you have leftover Cajun cream sauce, store it in the fridge for up to 3 days. Reheat gently on the stove while stirring to maintain a smooth texture.
Seared Scallops with Spicy Cajun Cream Sauce Recipe FAQs
How do I choose the best scallops?
Absolutely! When selecting scallops, look for dry scallops which are freshly caught and have not been treated with preservatives. They should have a slightly sweet smell and firm texture. Avoid scallops that are slimy or have a strong fishy odor. A good visual cue is a somewhat translucent appearance.
How should I store leftovers?
Great question! If you have leftovers of the Seared Scallops with Spicy Cajun Cream Sauce, store them in an airtight container in the fridge for up to 2 days. Make sure to let them cool completely before sealing, as trapping heat can result in sogginess.
Can I freeze uncooked scallops?
Yes, you can freeze scallops! For best quality, lay the uncooked scallops in a single layer on a baking sheet until they are frozen solid. Once fully frozen, transfer them to an airtight container or freezer bag. This way, they can last up to 2 months. To use, simply thaw them overnight in the fridge before cooking.
Is it possible to make this dish dairy-free?
Absolutely! You can easily substitute the butter in the recipe with a non-dairy option like olive oil or coconut oil. For the cream, use coconut cream or a non-dairy heavy cream alternative, which will still create a luscious sauce without compromising on flavor.
What should I do if my scallops released too much moisture?
No worries! If your scallops released excess moisture while cooking, this likely prevented a perfect sear. If this happens, simply cook them in batches. After seasoning, pat them dry again, then make sure your pan is hot enough before adding the scallops. Also, refrain from moving them around for the first few minutes to ensure proper browning.
Can I prepare the sauce in advance?
Yes, you can prepare the Cajun cream sauce ahead of time! Make it following the recipe and store it in an airtight container in the fridge for up to 3 days. When you're ready to serve, gently reheat the sauce on the stove, stirring in a splash of cream or broth to revive its creamy texture.
Seared Scallops with Spicy Cajun Cream Sauce for a Gourmet Night
Ingredients
Equipment
Method
- Pat scallops dry with paper towels and rest at room temperature for 15 minutes.
- Season both sides of scallops with salt and pepper.
- Heat olive oil and butter in a cast iron skillet over medium-high heat until shimmering.
- Sear scallops flat side down for 2-3 minutes until golden-brown crust forms.
- Flip the scallops and cook for an additional 1-2 minutes until opaque.
- Reduce heat to medium, add butter, and sauté minced garlic until fragrant.
- Deglaze the skillet with white wine or seafood broth, scraping browned bits.
- Stir in heavy cream, Cajun seasoning, smoked paprika, and cayenne pepper; simmer for 3-4 minutes.
- Add Parmesan cheese and lemon juice, stirring until melted and creamy.
- Return scallops to the skillet, warm together for 1 minute, and serve immediately.