“Did you hear the sizzle of something delicious?” It was my friend at brunch, and I could see the excitement on her face as she recounted how she transformed a simple can of salmon into a hearty meal. That conversation sparked the inspiration behind this Salmon Loaf Recipe with Mayonnaise. This dish is a true showstopper, delivering on both ease and flavor—perfect for those busy weeknights or when you're entertaining family. The best part? It’s not only quick to whip up but also incredibly customizable, accommodating various tastes and dietary needs. Whether you opt for a gluten-free version or throw in your favorite herbs, this salmon loaf envelops each bite in comfort and nostalgia. Have you ever tried reimagining classic dishes? Let’s dive into this cozy recipe that will have everyone asking for seconds!

Why is this salmon loaf a must-try?
Versatile: This salmon loaf plays well with various flavors. Whether you prefer a Mediterranean twist with olives and feta or a spicy kick with red pepper flakes, the options are endless.
Easy Weeknight Meal: Perfect for busy nights, this dish comes together in no time, making it an ideal choice for families craving homemade comfort without the fuss.
Customizable: Gluten-free? Vegan? No problem! With simple ingredient swaps like using oat flour or mashed potatoes, everyone can enjoy a slice of this delightful loaf.
Crowd-Pleaser: Served warm or cold, it’s a hit at any gathering. Pair it with roasted vegetables or a fresh green salad for a balanced meal that satisfies.
Healthy and Wholesome: Packed with protein and omega-3 fatty acids, this dish not only tastes great but also offers nutritional benefits that support a healthy lifestyle.
Get inspired and let this salmon loaf recipe with mayonnaise guide you through a delicious weeknight dinner that both you and your loved ones will adore!
Salmon Loaf Ingredients
• Dive into the essentials for a mouthwatering salmon loaf packed with flavor!
For the Loaf
- Canned Salmon – The star protein of this dish; feel free to swap in fresh, flaked salmon.
- Mayonnaise – Adds creaminess and moisture; using light mayo can reduce calories.
- Breadcrumbs – Provides structure; opt for gluten-free breadcrumbs for a dietary twist.
- Onion (finely chopped) – Enhances flavor and moisture; shallots make a milder substitute.
- Celery (finely chopped) – Brings a crunchy texture; bell peppers can be a tasty alternative.
- Eggs (beaten) – Binds the loaf together; for a vegan twist, use 1/4 cup mashed potatoes instead.
- Lemon Juice – Brightens the flavor; lime juice works for a zesty twist.
- Parsley (chopped) – Freshens up the loaf; alternate with dill or chives for a different herb flavor.
- Salt and Pepper – Essential seasonings; adjust to suit your taste!
With these ingredients ready, you're just a few steps away from crafting a delightful salmon loaf that everyone will love!
Step‑by‑Step Instructions for Salmon Loaf Recipe with Mayonnaise
Step 1: Preheat the Oven
Begin your culinary journey by preheating your oven to 350°F (175°C). This ensures a perfectly cooked salmon loaf with a delightful texture. As the oven warms up, gather your ingredients and equipment, including a loaf pan and mixing bowl, to streamline the cooking process.
Step 2: Prepare the Salmon Mixture
In a large mixing bowl, combine the drained canned salmon with creamy mayonnaise, breadcrumbs, chopped onion, and celery. Add the beaten eggs, freshly squeezed lemon juice, and chopped parsley for a burst of flavor. Mix gently with a spatula to keep the salmon loaf light and airy, avoiding overmixing as you incorporate all the ingredients.
Step 3: Season and Transfer
Sprinkle salt and pepper into the salmon mixture according to your taste preferences, ensuring all flavors blend beautifully. Once seasoned, carefully transfer the mixture into a greased loaf pan. Use a spatula to spread the mixture evenly, smoothing out the top for a uniform baking surface that will turn golden and firm.
Step 4: Bake the Salmon Loaf
Place the loaf pan in your preheated oven and bake for 30–35 minutes. Keep an eye on the salmon loaf as it cooks; you'll know it’s done when the top is lightly golden and the loaf feels firm to the touch. This is the moment where your kitchen will fill with that comforting aroma!
Step 5: Cool and Slice
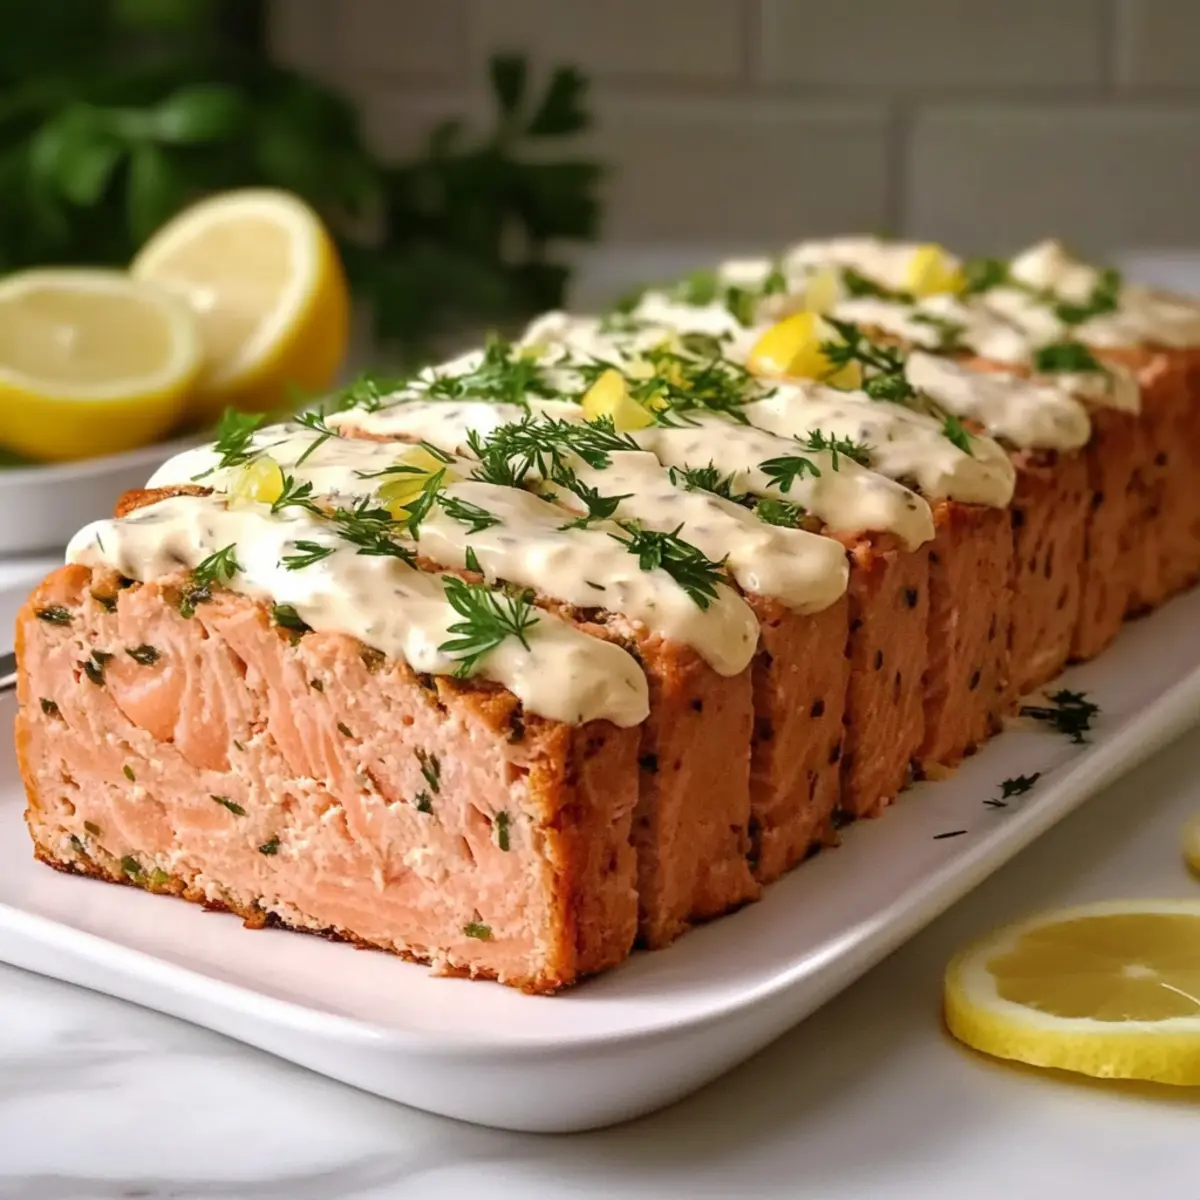
Once baked to perfection, remove the salmon loaf from the oven and let it cool for about 5–10 minutes in the pan. This resting time helps firm up the loaf, making it easier to slice without falling apart. Carefully transfer it to a cutting board and prepare to serve this delicious salmon loaf recipe with mayonnaise.

How to Store and Freeze Salmon Loaf Recipe with Mayonnaise
Fridge: Store any leftover salmon loaf tightly wrapped in plastic wrap or in an airtight container for up to 3 days to maintain freshness.
Freezer: To freeze, wrap the cooled salmon loaf tightly in foil or plastic wrap, then place it in a freezer-safe bag. It can last for up to 3 months.
Reheating: For best results, thaw the frozen salmon loaf in the refrigerator overnight before reheating. Warm slices in the microwave or oven until heated through, adding a splash of water or a bit of mayonnaise for moisture.
Serving Tips: Leftover salmon loaf can be enjoyed cold in sandwiches or reheated, making it a versatile option for quick meals throughout the week.
Make Ahead Options
These Salmon Loaf Recipe with Mayonnaise make-ahead options are perfect for busy weeknights! You can prepare the salmon mixture (without baking) up to 24 hours in advance—just combine the drained canned salmon, mayonnaise, breadcrumbs, and seasonings in a bowl, cover tightly, and refrigerate. If you're looking to save even more time, the fully baked loaf can be stored in the fridge for up to 3 days. Simply reheat the leftovers in the oven or microwave before serving to maintain its delicious texture. Enjoy this hearty dish with minimal effort while still delighting your family with comforting homemade flavors!
What to Serve with Salmon Loaf Recipe with Mayonnaise
Transform your salmon loaf experience into a delightful meal by pairing it with comforting sides and refreshing additions.
-
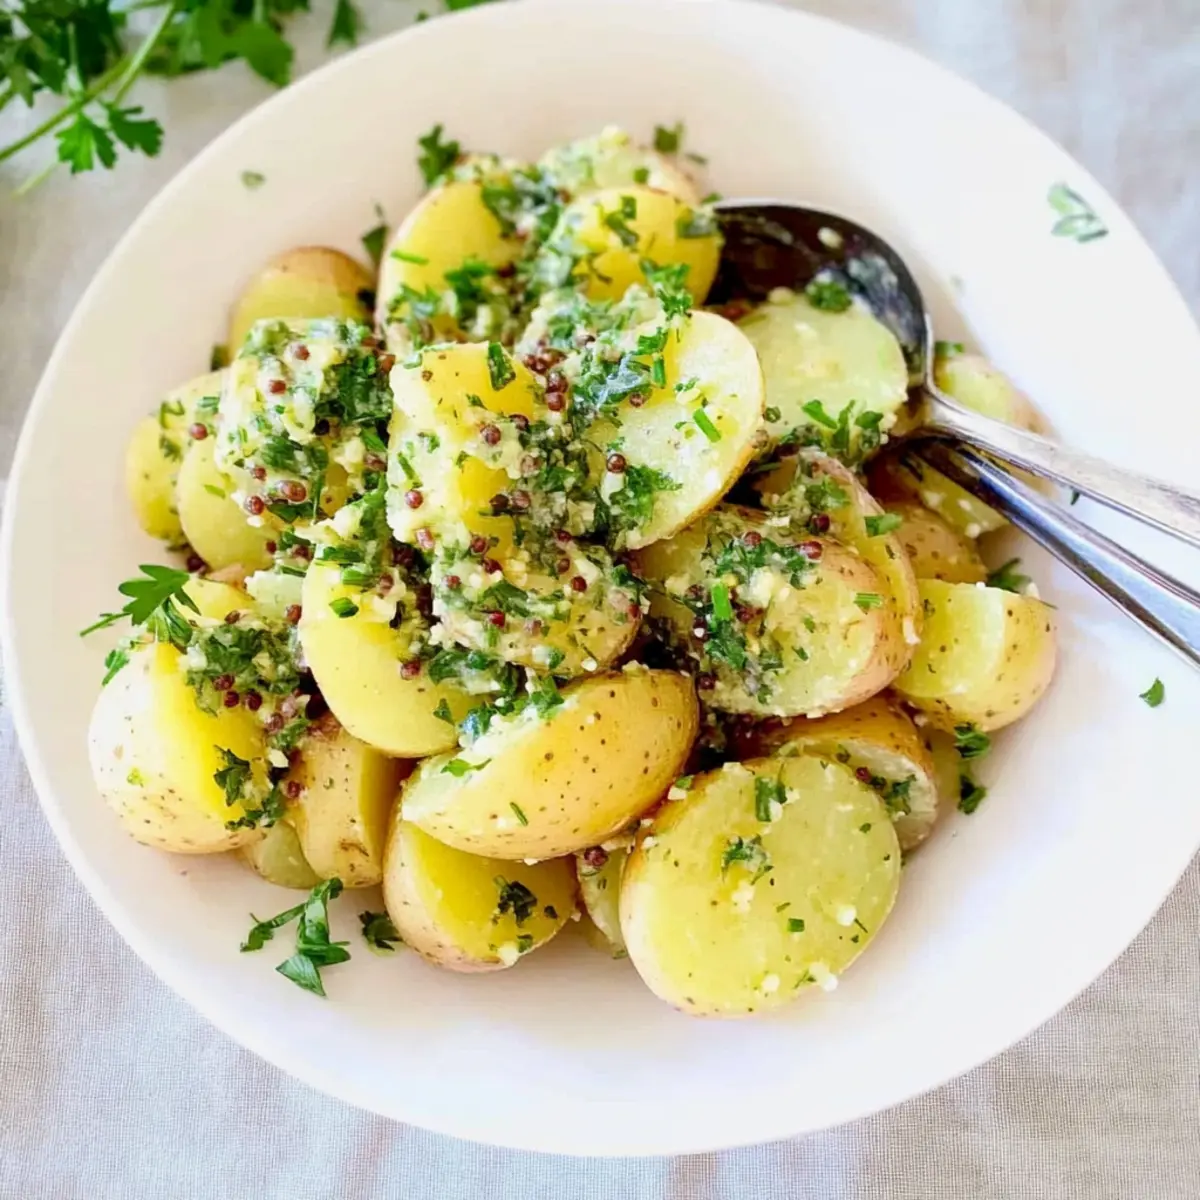
Creamy Mashed Potatoes: The rich, buttery texture of mashed potatoes complements the moist salmon loaf perfectly, creating a satisfying bite.
-
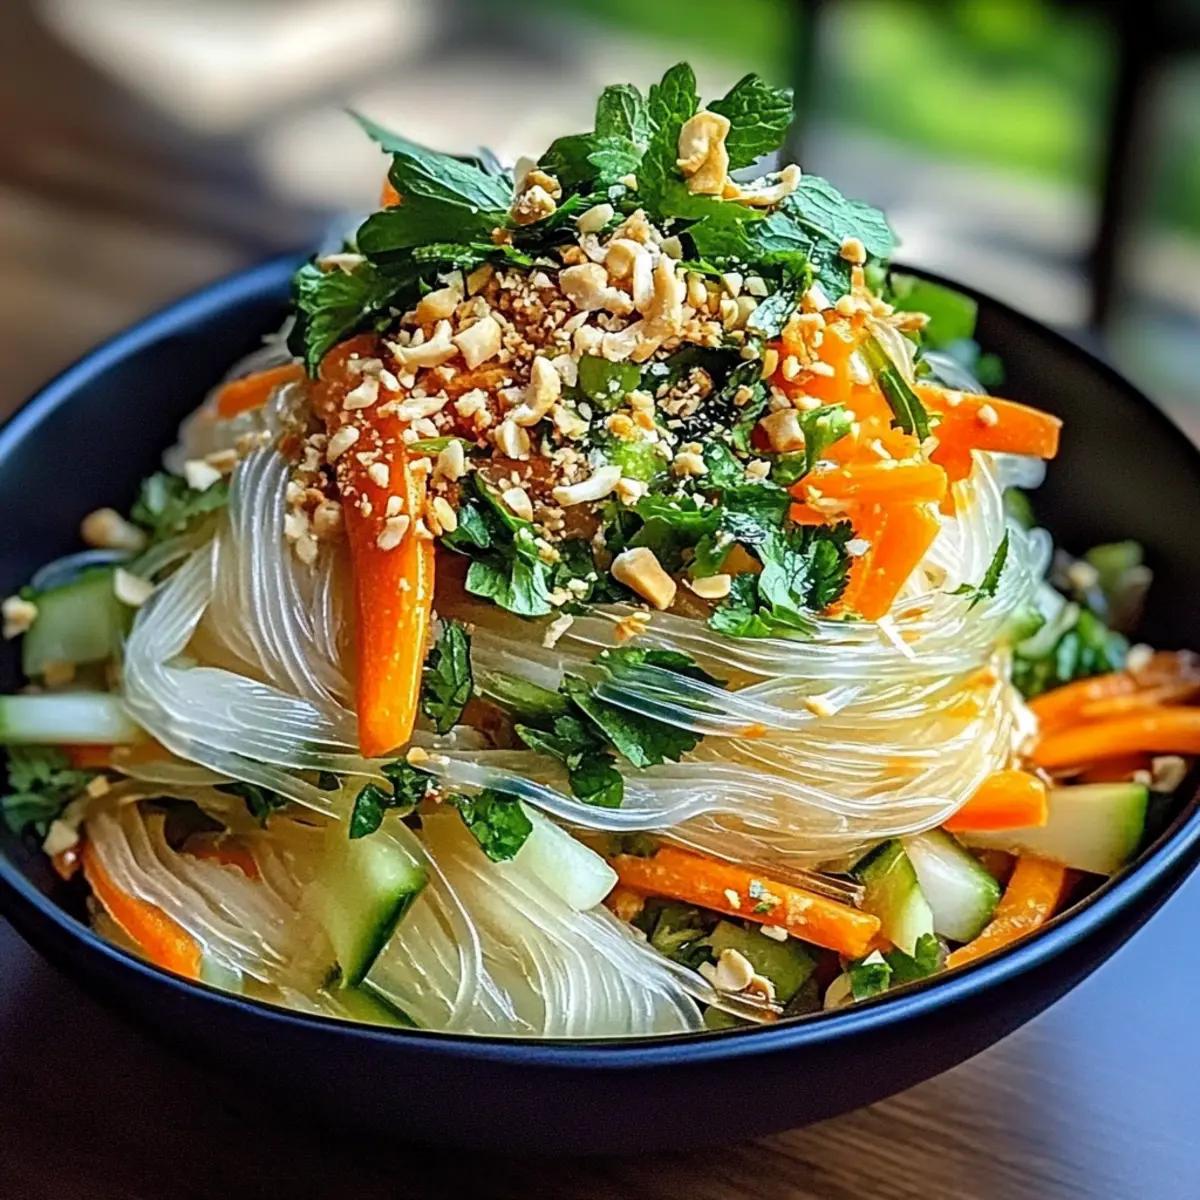
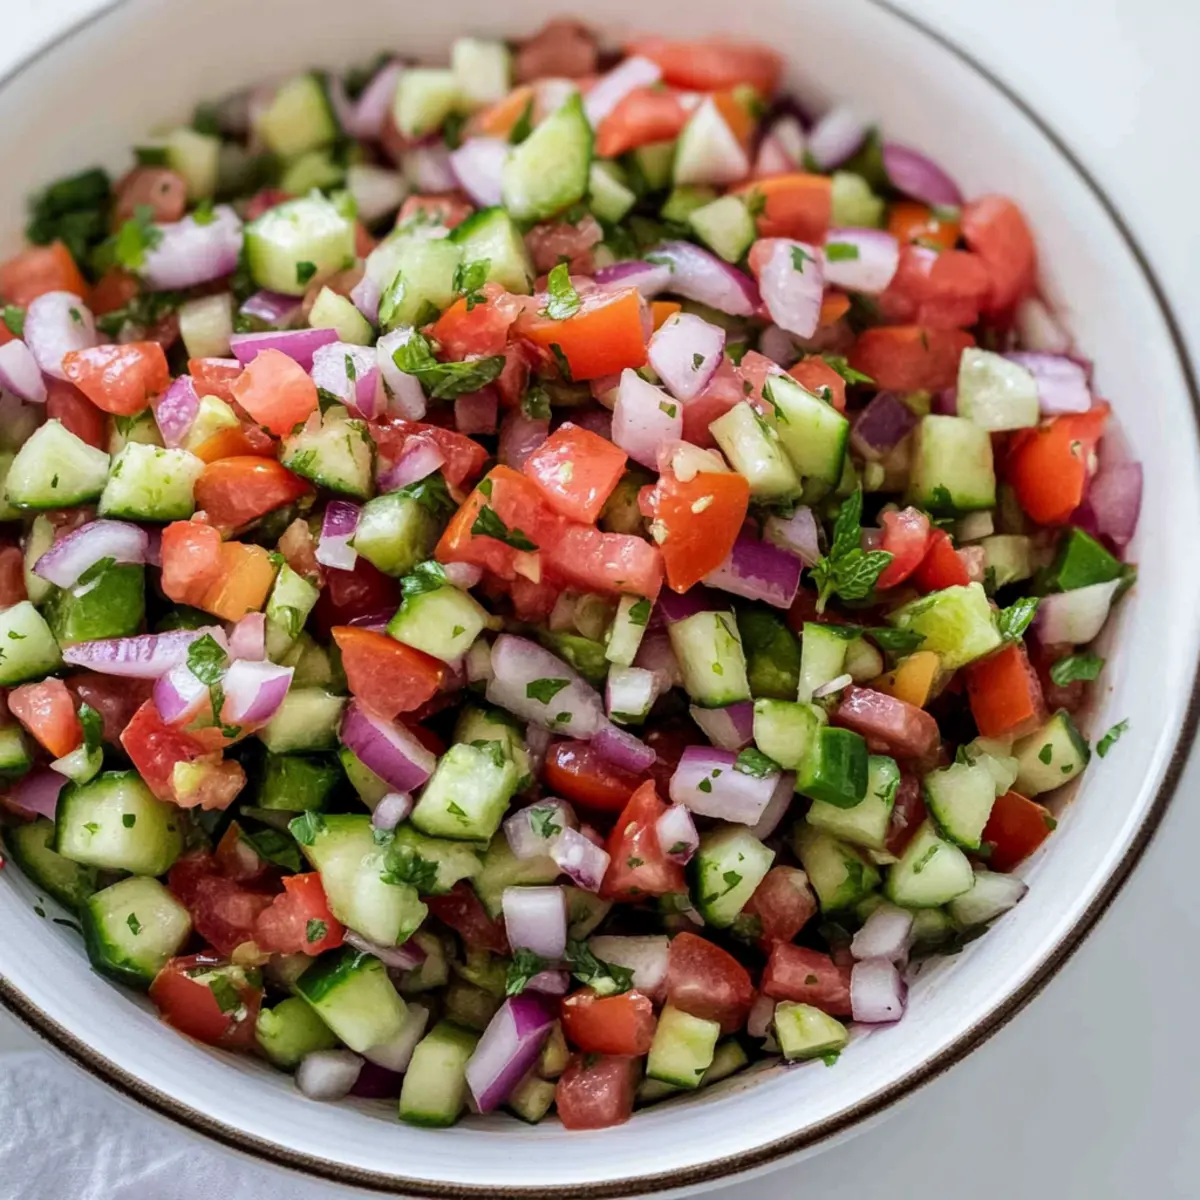
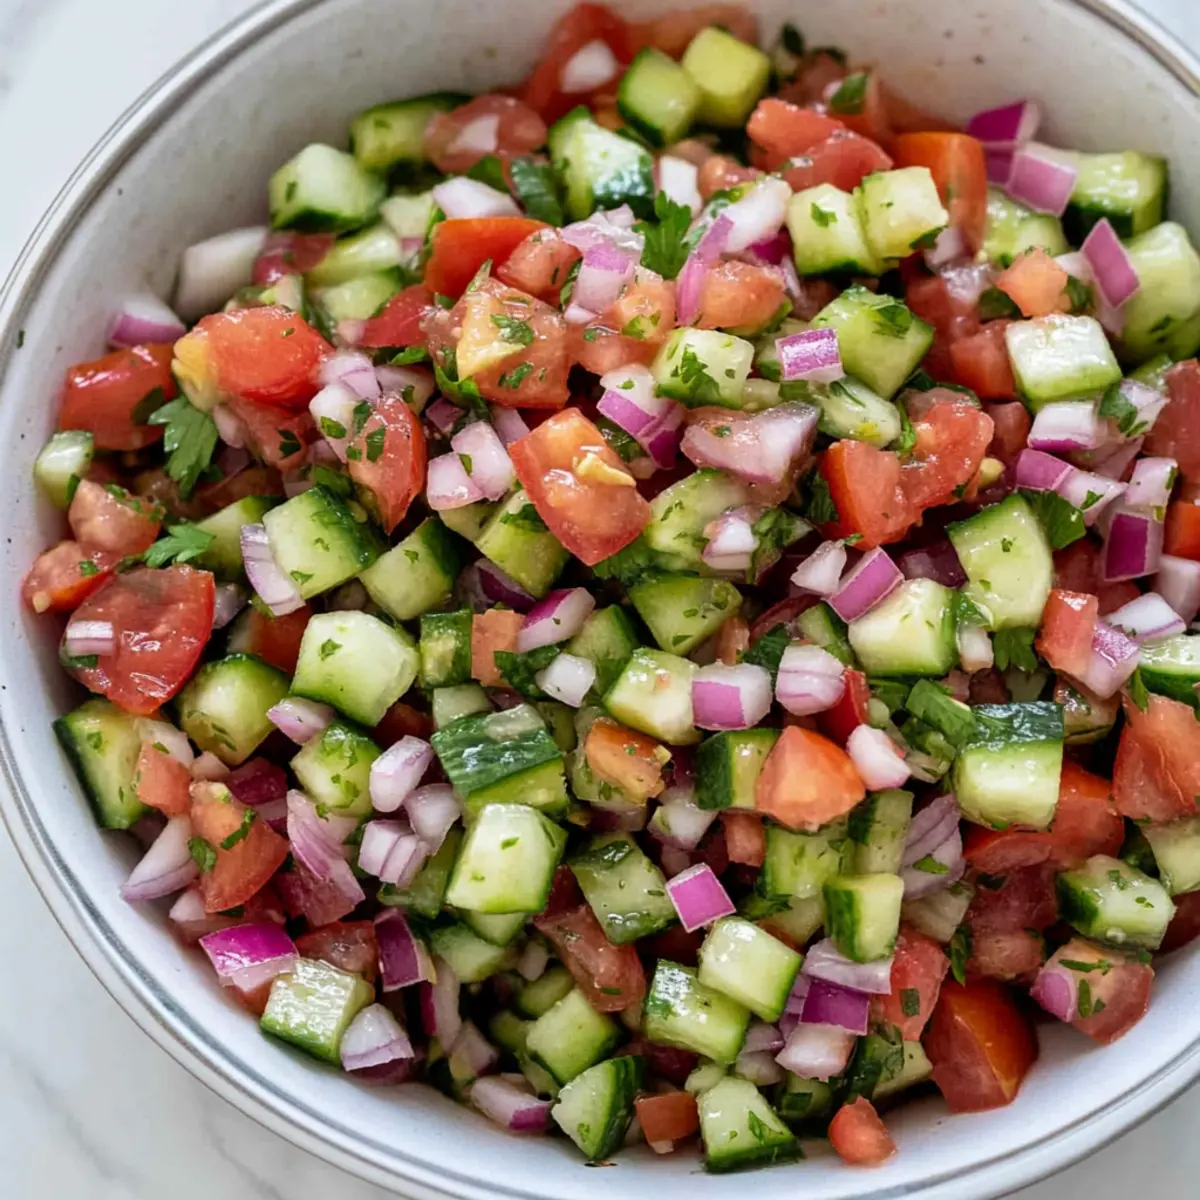
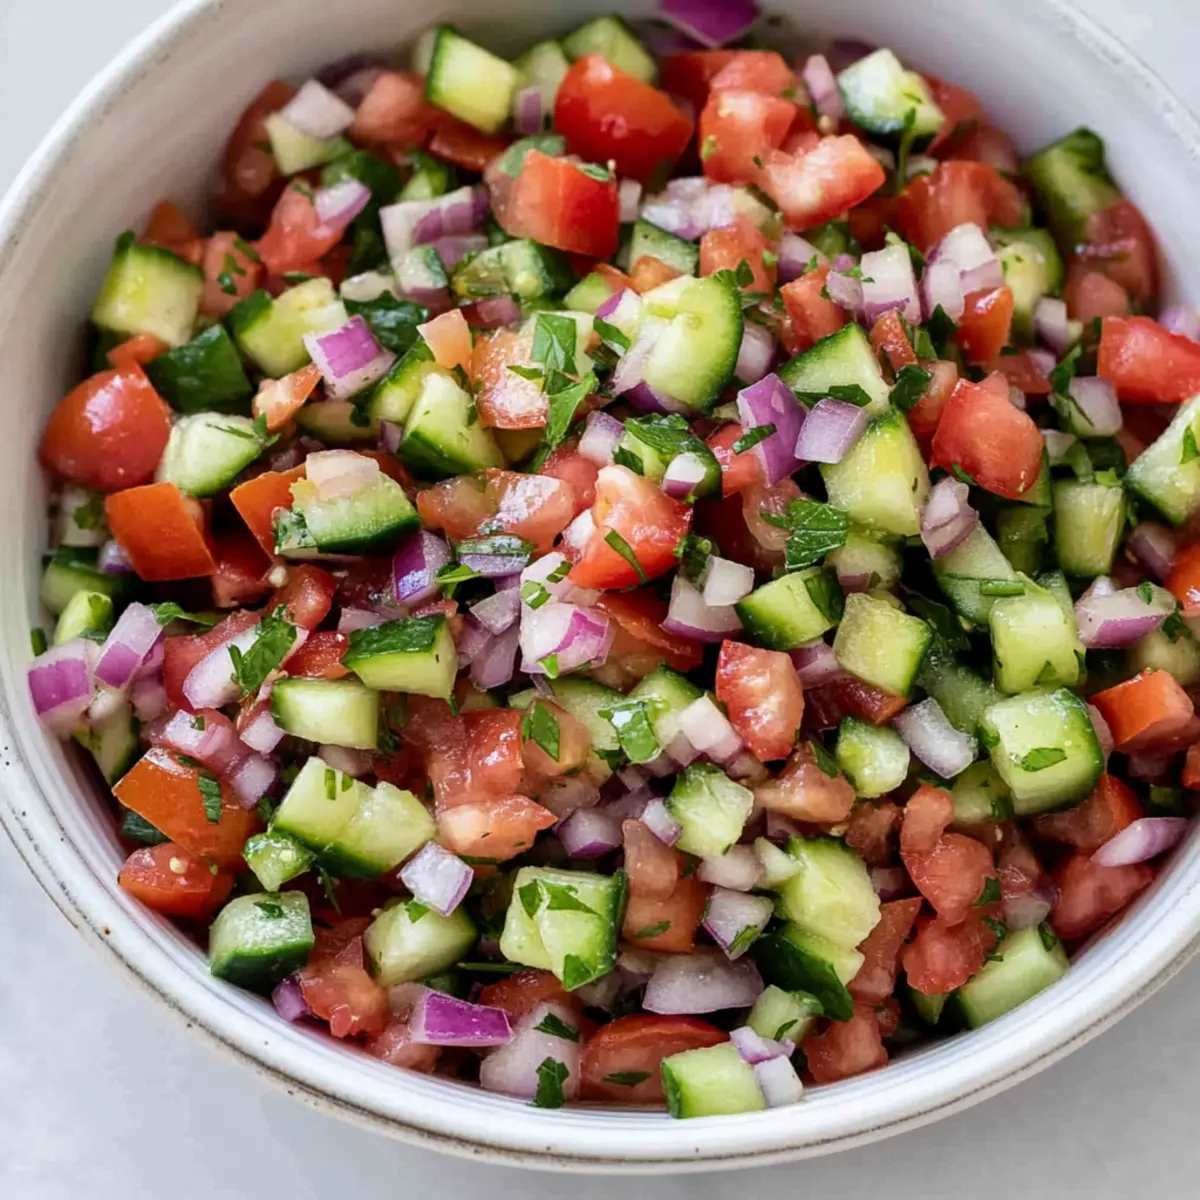
Fresh Green Salad: A vibrant mix of greens, tomatoes, and cucumbers adds a refreshing crunch, balancing the richness of the salmon loaf. Toss with a light vinaigrette for extra zest.
-
Roasted Vegetables: Caramelized veggies like carrots, zucchini, and bell peppers enhance the meal’s flavor profile while providing a healthy serving of nutrients.
-
Steamed Broccoli: Crisp-tender broccoli is not only visually appealing but also adds a nutritious green element that pairs beautifully with the savory loaf.
-
Couscous or Quinoa: These grains offer a delightful chewy texture, soaking up any savory juices or toppings while introducing added fiber to your meal.
-
Sautéed Spinach: Quickly sautéed with garlic, spinach introduces a fresh, earthy flavor that contrasts nicely with the salmon.
-
Homemade Tartare Sauce: A tangy, creamy sauce served on the side enhances the salmon loaf with an unexpected kick, making each bite irresistible.
-
Lemon Wedges: A splash of fresh lemon juice can brighten the dish's flavors, bringing out the freshness in the salmon loaf for a gourmet touch.
-
Chilled White Wine: An excellent pairing option, a glass of crisp Sauvignon Blanc complements the dish’s flavors and elevates your dining experience.
With these delightful sides and additions, you’ll create a cozy, well-rounded meal everyone will love!
Expert Tips for Salmon Loaf Recipe with Mayonnaise
-
Avoid Overmixing: Mix just until combined to keep the loaf light and airy. Overmixing can lead to a dense texture.
-
Use Quality Salmon: Opt for high-quality canned salmon or fresh flaked salmon for a richer flavor and better texture in your salmon loaf.
-
Seasoning is Key: Adjust salt and pepper to your taste. Feel free to add your favorite spices or herbs to enhance the flavor profile of the dish.
-
Let it Rest: Allow the loaf to cool for a few minutes before slicing. This helps to set the structure and makes slicing easier without crumbling.
-
Storage Tips: Store leftovers in an airtight container in the refrigerator for up to three days. This salmon loaf recipe with mayonnaise makes for a delicious quick lunch!
Salmon Loaf Recipe with Mayonnaise Variations
Feel free to explore these exciting twists to make this salmon loaf your own—each variation adds a unique touch to an already delightful dish!
-
Spicy Kick: Mix in hot sauce or red pepper flakes for that extra heat that tantalizes your taste buds. A little spice can elevate the entire dish.
-
Mediterranean Twist: Stir in kalamata olives, sun-dried tomatoes, and crumbled feta cheese for a savory-sophisticated flavor profile. This addition not only enhances the flavor but also adds texture.
-
Vegetable Boost: Incorporate finely chopped bell peppers or shredded carrots for added nutrients and a pop of color. Imagine each bite packed with crunch and freshness!
-
Gluten-Free Version: Swap traditional breadcrumbs for gluten-free alternatives or use oat flour, keeping the lovely texture without the gluten. Everyone can savor this comfort food!
-
Herb Explosion: Experiment with herbs like dill or chives in place of parsley for an aromatic touch. The refreshing flavor will make every slice sing!
-
Citrus Burst: Try using lime juice instead of lemon juice for a vibrant zesty note. This small change can refresh the entire dish, making it even more exciting.
-
Creamy Cheese: Add a handful of shredded cheese, like mozzarella or cheddar, for a melty, delicious layer of flavor. Who doesn't love cheesy goodness?
-
Seafood Medley: Enhance the taste by mixing in a bit of cooked shrimp or crab meat. This delicious addition will take your salmon loaf to a luxurious new level.
For additional inspiration, you might also enjoy serving this salmon loaf with roasted vegetables or alongside a hearty salad that elevates your meal even further. The combinations are endless, so get creative and enjoy!
Salmon Loaf Recipe with Mayonnaise Recipe FAQs
How do I choose the best canned salmon for this recipe?
Absolutely! Look for canned salmon that is packed in water or oil and has no added preservatives. For the best flavor and texture, I recommend skipping the light tuna and opting for wild-caught salmon that tends to offer a richer taste. Avoid cans with dark spots or swelling, as they might indicate spoilage.
How should I store leftovers from the salmon loaf?
Very easy! Store any leftover salmon loaf tightly wrapped in plastic wrap or in an airtight container in the refrigerator. It will stay fresh for up to 3 days. When you're ready to enjoy it again, just reheat in the oven at 350°F (175°C) for about 10-15 minutes, or you can microwave slices for about 1-2 minutes until warmed through.
Can I freeze salmon loaf and how?
Yes, you can! To freeze your salmon loaf, make sure it has completely cooled after baking. Wrap it tightly in foil or plastic wrap, ensuring no air is trapped, and place it in a freezer-safe bag. This method helps preserve its moisture and flavor for up to 3 months. When you're ready to enjoy it, thaw it in the refrigerator overnight before reheating.
What should I do if my salmon loaf is too dry?
If you find that your salmon loaf has turned out dry, don’t worry! Next time, consider adding a little more mayonnaise to the mixture or an extra egg to help boost moisture. You could also mix in grated vegetables like zucchini or carrots for added moisture and flavor. If you're already at the table, serve it with a dollop of sauce or dressing to make each bite juicier!
Are there any allergy considerations with this recipe?
Definitely! This salmon loaf contains common allergens like eggs and breadcrumbs. For those with gluten sensitivity, simply swap regular breadcrumbs for gluten-free options like crushed rice cakes or gluten-free bread crumbs. If allergies to fish or eggs are a concern, you can use plant-based protein substitutes like lentils and flaxseed meal mixed with water as a binder instead of eggs.
What spices can I add for extra flavor without losing the dish's essence?
You can get creative! I often recommend blending in spices like cayenne pepper for a hint of heat or herbs like dill for a fresh taste. Adding paprika or even a bit of lemon zest can enhance the flavor without overpowering the salmon's natural taste. The more the merrier, so adjust seasonings to your preference!

Delicious Salmon Loaf Recipe with Mayonnaise for Weeknight Comfort
Ingredients
Equipment
Method
- Preheat your oven to 350°F (175°C). Gather your ingredients and equipment, including a loaf pan and mixing bowl.
- In a large mixing bowl, combine the drained canned salmon with mayonnaise, breadcrumbs, chopped onion, and celery. Add the beaten eggs, lemon juice, and parsley. Mix gently.
- Sprinkle salt and pepper into the salmon mixture. Transfer the mixture into a greased loaf pan, smoothing out the top.
- Place the loaf pan in the preheated oven and bake for 30–35 minutes until the top is lightly golden and the loaf feels firm.
- Once baked, let it cool for about 5–10 minutes in the pan before transferring to a cutting board for slicing.