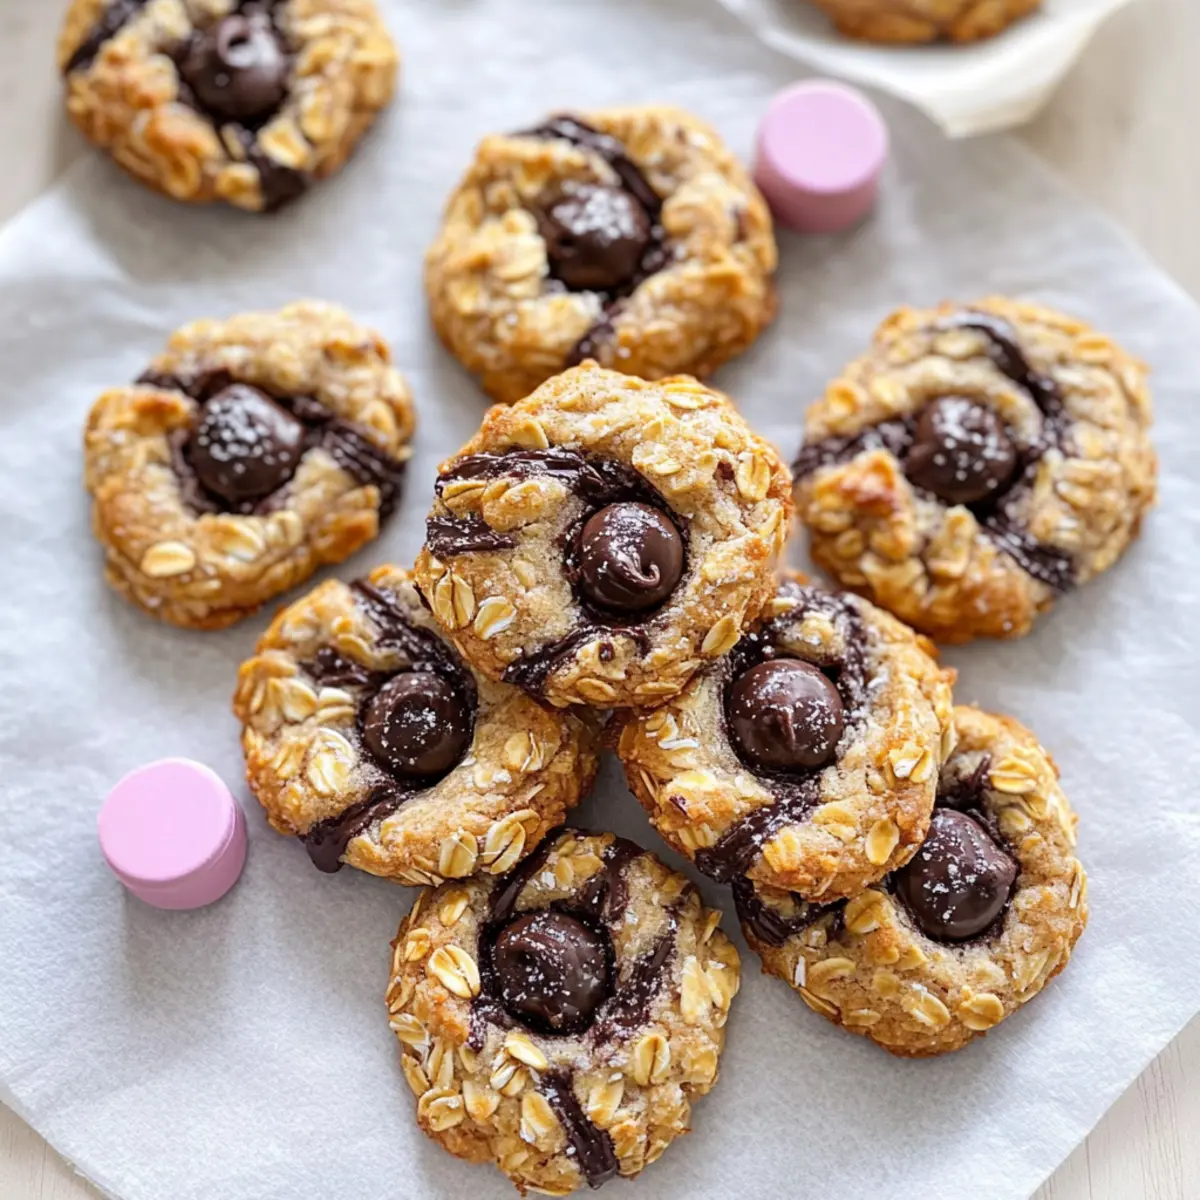
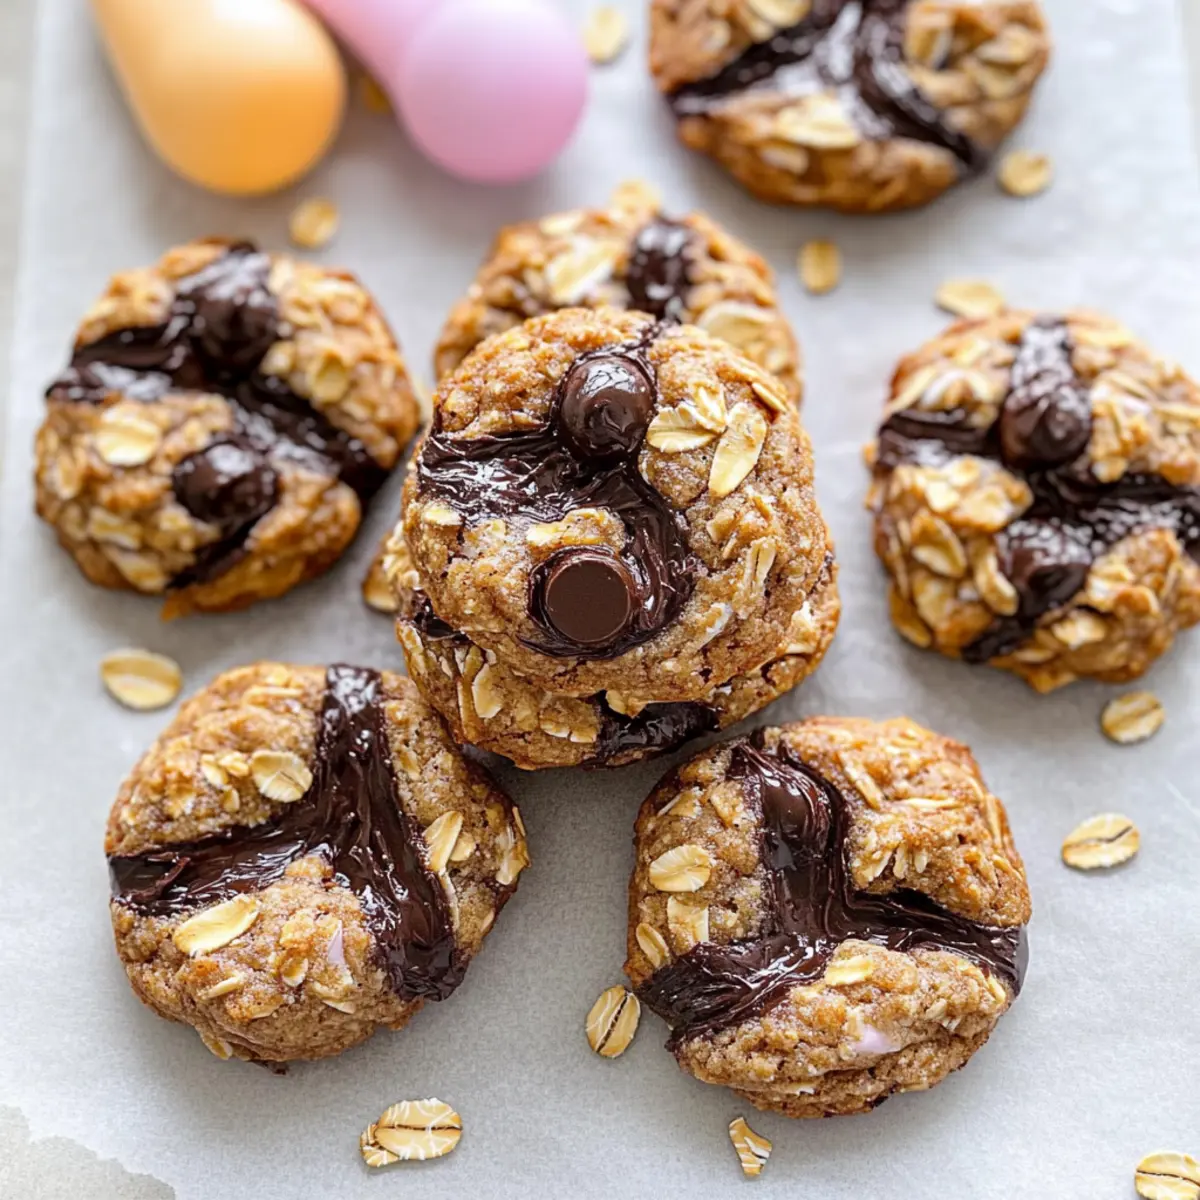
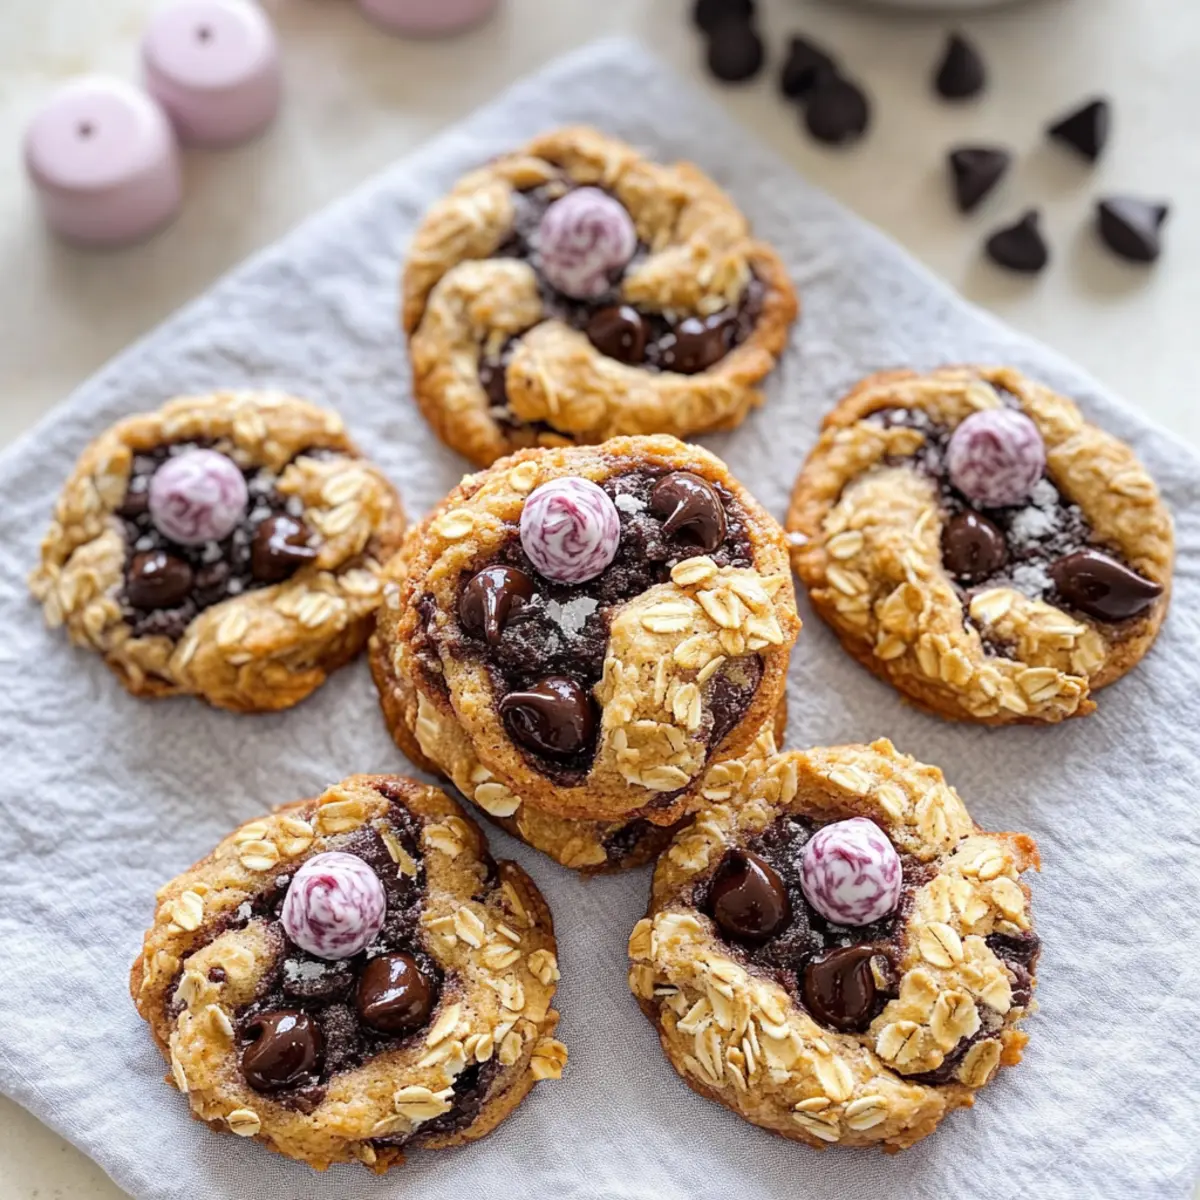
As the sweet aroma of chocolate cookies wafts through my kitchen, I'm reminded of those cherished moments when I first started baking for loved ones. These Valentine Ganache Cookies offer a delightful twist in both flavor and appearance, featuring soft, fudgy chocolate and a playful pink raspberry dough. Not only are they easy to make, but they’re also a customizable treat that’s perfect for any romantic occasion or cozy gathering. Each cookie is a treasure, filled with creamy ganache that promises to steal hearts with every bite. So, are you ready to indulge in this delightful dessert that combines creativity with a sprinkle of love?
Why Will You Adore These Cookies?
Decadent Flavor: These Valentine Ganache Cookies combine rich chocolate and vibrant raspberry, creating a flavor explosion that’s incredibly satisfying. Customizable Delight: You can easily tailor the colors and fillings for any occasion, keeping your treats unique and fun! Effortless Baking: With straightforward steps and minimal fuss, you’ll be whipping these up in no time. Crowd Pleaser: Perfect for sharing, these cookies are sure to impress your loved ones—whether it’s a romantic dinner or a cozy family gathering. Gorgeous Presentation: Their stunning hues and elegant ganache filling make them a feast for the eyes—just like a classic Thumbprint Cookie but with a delightful twist!
Valentine Ganache Cookies Ingredients
For the Chocolate Cookie Dough
- Unsalted Butter – Provides richness and moisture; can substitute with margarine for dairy-free.
- Granulated Sugar – Adds sweetness and moisture; no substitutions recommended for sugar content.
- Brown Sugar – Enhances chewiness and adds a caramel note.
- Egg – Binds ingredients and adds moisture; a flax egg can be used as a vegan alternative.
- Vanilla Extract – Adds depth of flavor; use pure vanilla for the best taste.
- All-Purpose Flour – Provides structure; can substitute with gluten-free flour blend.
- Unsweetened Cocoa Powder – Offers chocolate flavor and color; Dutch-processed cocoa for a milder taste.
- Baking Soda – A leavening agent to help cookies rise.
- Salt – Enhances flavor; essential in all baked goods.
- Espresso Powder – Optional; amplifies the chocolate flavor in these Valentine Ganache Cookies.
For the Pink/Raspberry Cookie Dough
- Unsalted Butter – Rich base similar to the chocolate dough for a delicious experience.
- Granulated Sugar – Sweetness without the flavor variations; perfect for balancing flavors.
- Brown Sugar – Ensures a soft texture that melts in your mouth.
- Egg – For binding and moisture; helps the dough hold together.
- Vanilla Extract – Flavor enhancer; use pure for the best outcome.
- All-Purpose Flour – Structure-building ingredient; vital for cookie consistency.
- Baking Soda – Provides the right texture and rise for your cookies.
- Freeze-dried Raspberry Powder or Pink Food Coloring – Imparts both flavor and color; cocoa powder could substitute for a chocolate-raspberry combo.
For the Ganache Filling
- Heavy Cream – The rich base for ganache that creates a smooth mouthfeel.
- Dark or White Chocolate Chips – Provides smooth sweetness; chocolate bars can be used if chopped finely.
- Butter – Optional; makes ganache silkier and richer.
For the Toppings (Optional)
- Freeze-dried Raspberries – Adds crunch and color to your cookies.
- Chocolate Squares – Decorative and flavorful, enhancing visual appeal.
- Heart Sprinkles – A festive touch that adds charm.
- Melted White Chocolate – For drizzling elegance and extra sweetness on top.
Step‑by‑Step Instructions for Valentine Ganache Cookies
Step 1: Prepare the Doughs
Start by creaming together 1 cup of unsalted butter and the sugars in separate bowls for the chocolate and pink raspberry doughs. Beat in an egg and a splash of pure vanilla extract to each mixture. Gradually mix in the dry ingredients specific to each flavor. Once combined, chill both doughs in the refrigerator for 30 minutes to firm them up, making them easier to handle.
Step 2: Form Cookies
Preheat your oven to 350°F (175°C) while you scoop the chilled dough into uniform balls—about one tablespoon each. Place the balls on a parchment-lined baking sheet, remembering to create a small indentation in the center of each to hold the ganache later. Bake for 10-12 minutes until the edges are set and the tops look slightly puffy. After baking, re-press the centers gently to maintain the indentation.
Step 3: Make the Ganache
In a small saucepan, heat ½ cup of heavy cream over medium heat until it simmers gently. Remove from heat and pour the hot cream over 1 cup of chopped dark or white chocolate chips in a mixing bowl. Let it sit for a minute, then stir until smooth and glossy. This filling will be rich and delicious, perfectly complementing your Valentine Ganache Cookies.
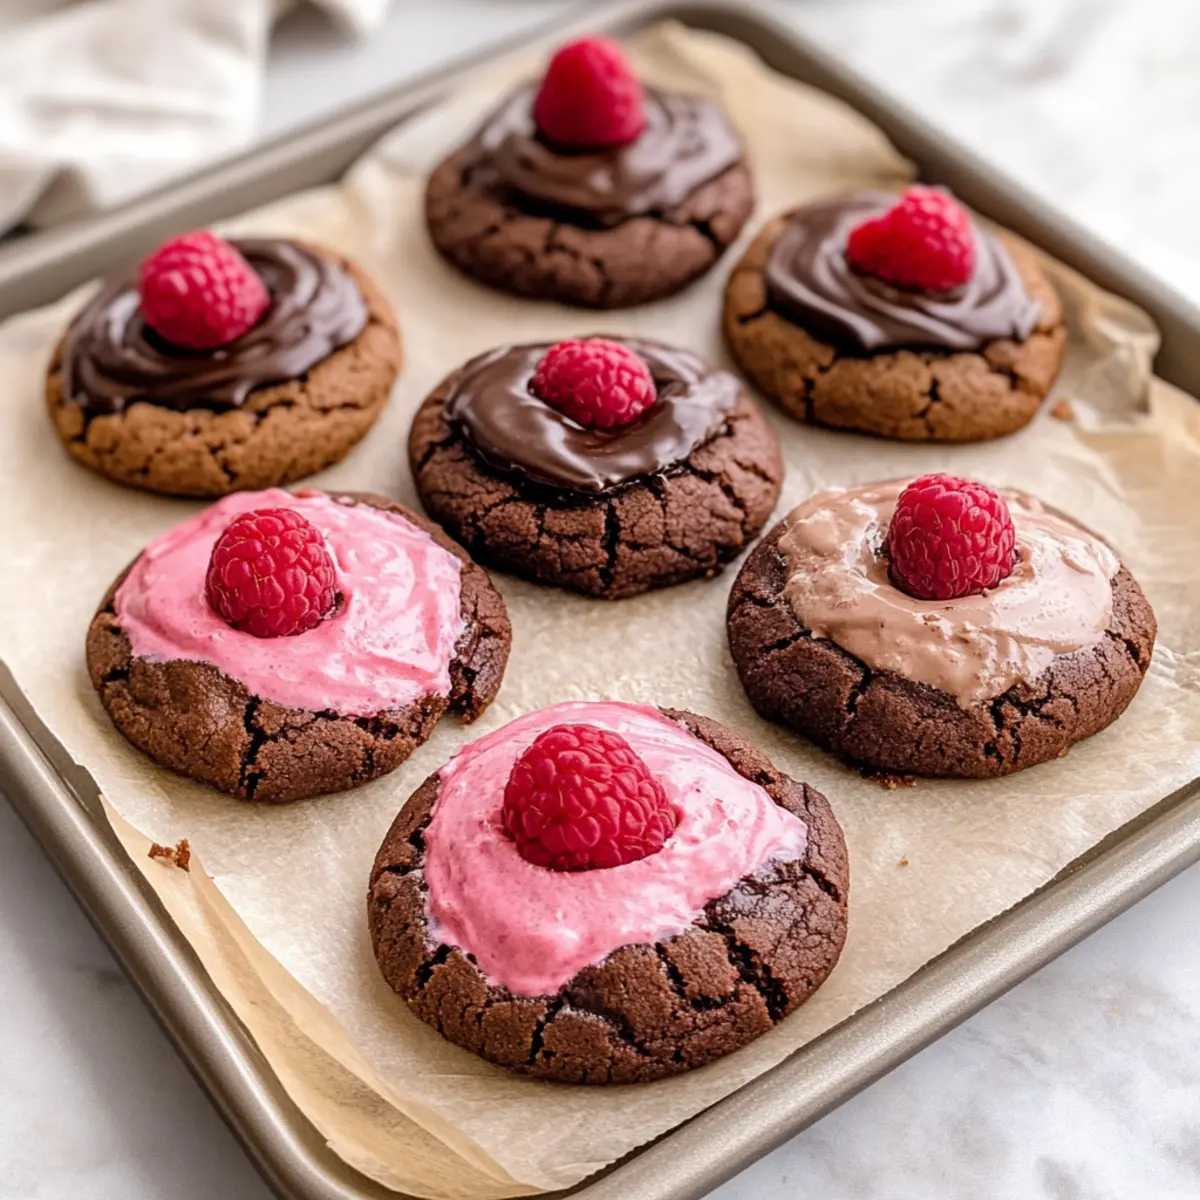
Step 4: Fill and Decorate
Ensure the cookies have cooled completely on a wire rack before filling them with ganache. Use a spoon or piping bag to fill each center with a generous amount of ganache. After filling, feel free to get creative by decorating your cookies with toppings such as freeze-dried raspberries, heart sprinkles, or a drizzle of melted white chocolate for that extra festive flair.
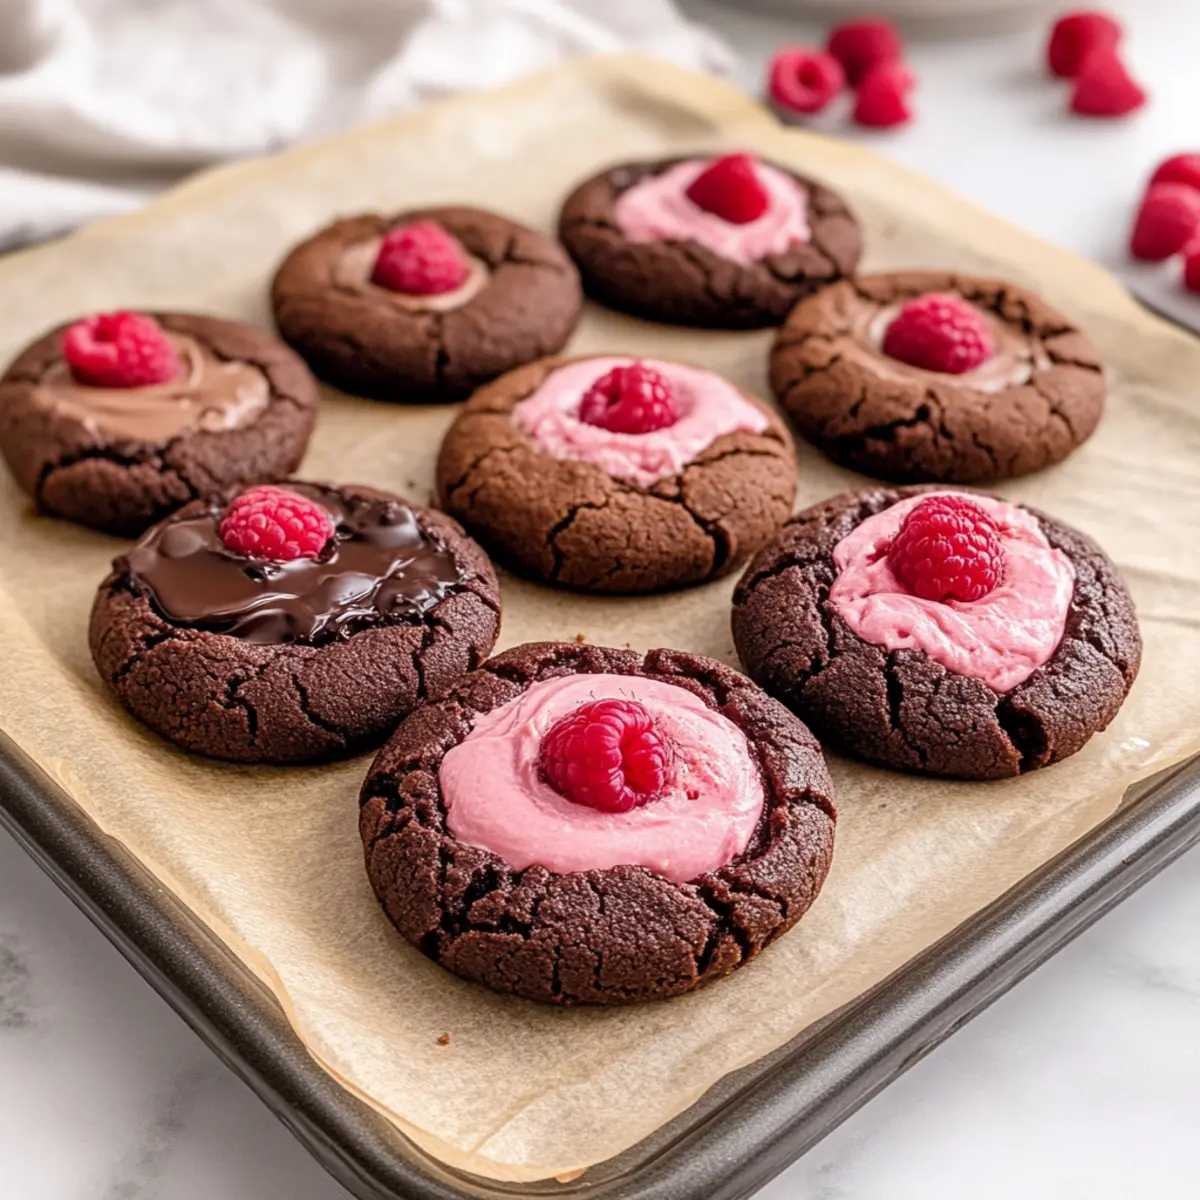
Step 5: Set and Serve
Let the ganache set at room temperature, or chill the cookies for a few minutes to firm up the filling. This will ensure the ganache stays in place when you handle them. Once set, your Valentine Ganache Cookies are ready to be served, spreading joy and sweetness at any occasion. They’re perfect for sharing or savoring all to yourself!
Valentine Ganache Cookies Variations
Feel free to get creative and adapt your Valentine Ganache Cookies to suit your taste buds and special occasions!
-
Nut-Free: Use sunbutter or pumpkin seed butter in place of nut-based spreads for a nut-free delight. These alternatives will keep your cookies deliciously creamy, without any nutty flavor.
-
Gluten-Free: Swap all-purpose flour with a 1:1 gluten-free flour blend for a gluten-free version. Your cookies will still maintain that soft and chewy goodness everyone loves!
-
Dairy-Free: Replace butter with coconut oil and use dairy-free chocolate for a luscious dairy-free option. The subtle coconut flavor adds an intriguing twist to the overall taste.
-
Extra Zing: Add a teaspoon of orange zest to the pink raspberry dough for a citrus boost. This bright note enhances the berry flavor beautifully—just like a delightful sunny day!
-
Flavor Variations: Experiment with flavored extracts like almond or coconut instead of vanilla. Each extract brings its unique flair, making these cookies a personal reflection of your tastes.
-
Berry Bonanza: Fold fresh raspberries or diced strawberries into the pink dough for an explosion of fruitiness. The juicy berries add a fun burst of flavor and a lovely homey feel.
-
Decadent Drizzle: Top with a rich chocolate or white chocolate drizzle after the ganache has set. It adds a stunning visual element and an extra sweetness—perfect for those who love a little indulgence.
-
Crushed Cookie Garnish: Crumble up your leftover cookie pieces as a whimsical topping on the ganache. It adds texture and a delightful mini crunch to each bite, reminiscent of classic Thumbprint Cookies Melt.
Let your imagination soar with these delightful variations, and enjoy creating your perfect batch of Valentine Ganache Cookies!
Expert Tips for Valentine Ganache Cookies
-
Quality Ingredients: Use high-quality chocolate for the ganache, as it truly makes a difference in flavor and richness in your Valentine Ganache Cookies.
-
Chill Doughs: Don’t skip the chilling step! Allowing the doughs to chill for 30 minutes makes them easier to work with and helps in achieving the perfect chewy texture.
-
Indentation Technique: Create a deep enough indentation in the cookie centers to hold the ganache, ensuring each bite is filled with smooth goodness.
-
Cooling Time: Allow cookies to cool completely before filling to prevent the warm ganache from melting and running out, keeping your Valentine Ganache Cookies beautifully presented.
-
Customize Flavors: Experiment with different flavored extracts in the dough, like almond or peppermint, for a unique twist tailored to your and your loved ones’ tastes!
How to Store and Freeze Valentine Ganache Cookies
Room Temperature: Keep your Valentine Ganache Cookies in an airtight container for up to 3 days at room temperature. This keeps them soft and fresh for indulging later.
Fridge: If you'd like to extend their life, store them in the fridge for up to one week. Make sure they’re in a sealed container to prevent them from absorbing odors.
Freezer: For longer storage, freeze the cookies in a single layer on a baking sheet. Once frozen, transfer them to an airtight container, where they can last up to 3 months while retaining their deliciousness.
Reheating: To enjoy warm cookies again, simply microwave them for about 10-15 seconds. This will gently warm them, bringing back that melt-in-your-mouth experience!
What to Serve with Valentine Ganache Cookies
The perfect indulgence for a sweet occasion, these cookies invite delightful pairings that enhance every bite.
-
Creamy Hot Chocolate: A classic pairing that brings warmth and richness, complementing the cookies' flavors beautifully.
-
Fresh Berries: The tartness of strawberries or raspberries works well against the sweet, chocolatey goodness of the cookies, adding a refreshing touch.
-
Vanilla Ice Cream: The creamy texture and cool temperature make this a delightful contrast, enhancing the indulgence with each spoonful.
-
Specialty Coffee: A smooth espresso or cappuccino elevates your dessert experience, offering a delightful balance of flavors.
-
Sweet Wine: A glass of rosé or sweet dessert wine pairs surprisingly well, enhancing the fruity notes of the raspberry cookie dough.
-
Chocolate-Covered Strawberries: For a touch of elegance, these not only echo the flavors but also create a romantic presentation that's perfect for the occasion.
-
Decorative Dessert Platter: Arrange your cookies with assorted chocolates, truffles, and colorful sprinkles for a whimsical and inviting display sure to impress guests.
-
Warm Apple Crisp: The comforting flavors of warm spiced apples create a delicious contrast, suggesting a cozy gathering atmosphere while enjoying.
Make Ahead Options
These Valentine Ganache Cookies are ideal for meal prep, allowing you to enjoy the sweet moments without the stress! You can prepare both cookie doughs up to 24 hours in advance by mixing and chilling them in your fridge (this helps maintain freshness). The ganache filling can also be made ahead and stored in an airtight container for up to 3 days—just reheat gently if it becomes too firm. When you’re ready to bake, scoop, form the cookie shapes, and bake as directed. Filling them with ganache and decorating right before serving ensures that every bite is just as delightful as when first made, making these cookies a surefire hit!
Valentine Ganache Cookies Recipe FAQs
What type of chocolate should I use for the ganache?
Absolutely! Using high-quality chocolate—either dark or white—makes a significant difference in your ganache's richness and flavor. For the best results, opt for chocolate with at least 60% cocoa content if you’re using dark chocolate, as it will provide a more robust flavor.
How do I know when my cookies are done baking?
Very! Your cookies are baked perfectly when the edges are set and the tops appear slightly puffy. They will firm up as they cool on the baking sheet. Remember to create the indentation for the ganache center while they’re still warm!
Can I store these cookies in the fridge?
Absolutely! You can store your Valentine Ganache Cookies in an airtight container in the fridge for up to 1 week. Just make sure the container is well-sealed to prevent them from absorbing any odors.
How do I freeze my Valentine Ganache Cookies?
The more the merrier! To freeze, place your cookies in a single layer on a baking sheet first to prevent sticking. Once they are solid (about 1-2 hours), transfer them to an airtight container. They will stay fresh for up to 3 months! Just remember to thaw them in the fridge before enjoying your sweet treats!
Can I replace the egg with a vegan alternative?
Very! You can absolutely use a flax egg as a substitute. To make one, combine 1 tablespoon of ground flaxseed with 3 tablespoons of water. Let it sit for about 5-10 minutes until it thickens. This will work well in both the chocolate and pink doughs!
Are these cookies safe for pets?
No, these Valentine Ganache Cookies contain chocolate, which is toxic to dogs and many other pets. Always keep these delicious treats out of reach of your furry friends to ensure their safety!
Valentine Ganache Cookies: Sweet Indulgence for Loved Ones
Ingredients
Equipment
Method
- Start by creaming together 1 cup of unsalted butter and the sugars in separate bowls for the chocolate and pink raspberry doughs. Beat in an egg and a splash of pure vanilla extract to each mixture. Gradually mix in the dry ingredients specific to each flavor. Once combined, chill both doughs in the refrigerator for 30 minutes to firm them up, making them easier to handle.
- Preheat your oven to 350°F (175°C) while you scoop the chilled dough into uniform balls—about one tablespoon each. Place the balls on a parchment-lined baking sheet, remembering to create a small indentation in the center of each to hold the ganache later. Bake for 10-12 minutes until the edges are set and the tops look slightly puffy. After baking, re-press the centers gently to maintain the indentation.
- In a small saucepan, heat ½ cup of heavy cream over medium heat until it simmers gently. Remove from heat and pour the hot cream over 1 cup of chopped dark or white chocolate chips in a mixing bowl. Let it sit for a minute, then stir until smooth and glossy.
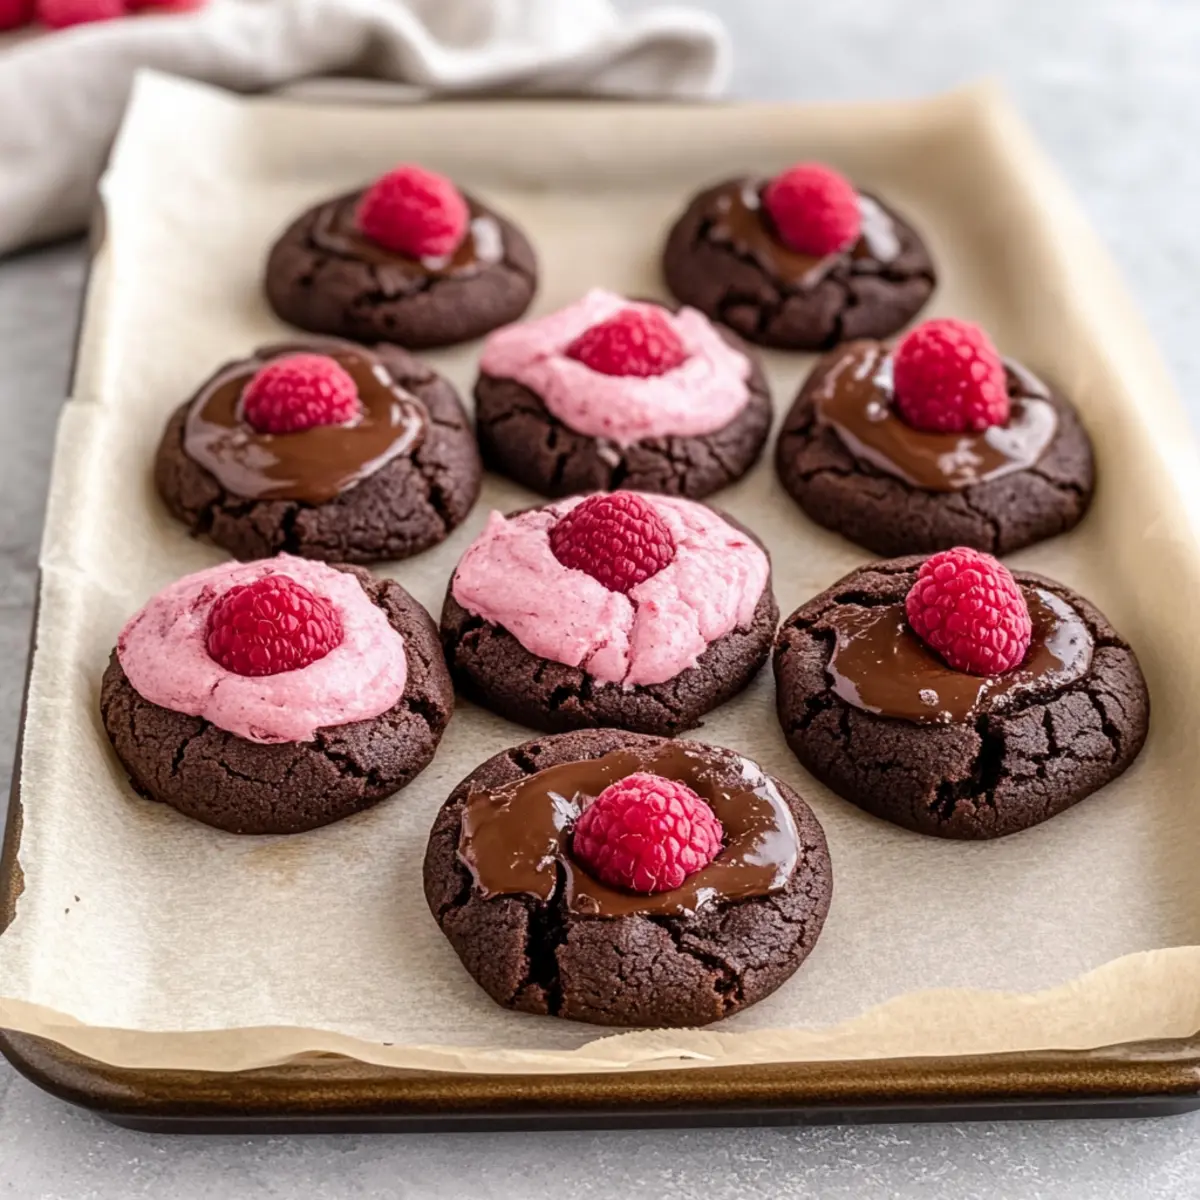
- Ensure the cookies have cooled completely on a wire rack before filling them with ganache. Use a spoon or piping bag to fill each center with a generous amount of ganache. After filling, feel free to get creative by decorating your cookies with toppings such as freeze-dried raspberries, heart sprinkles, or a drizzle of melted white chocolate.
- Let the ganache set at room temperature, or chill the cookies for a few minutes to firm up the filling. Once set, your Valentine Ganache Cookies are ready to be served.