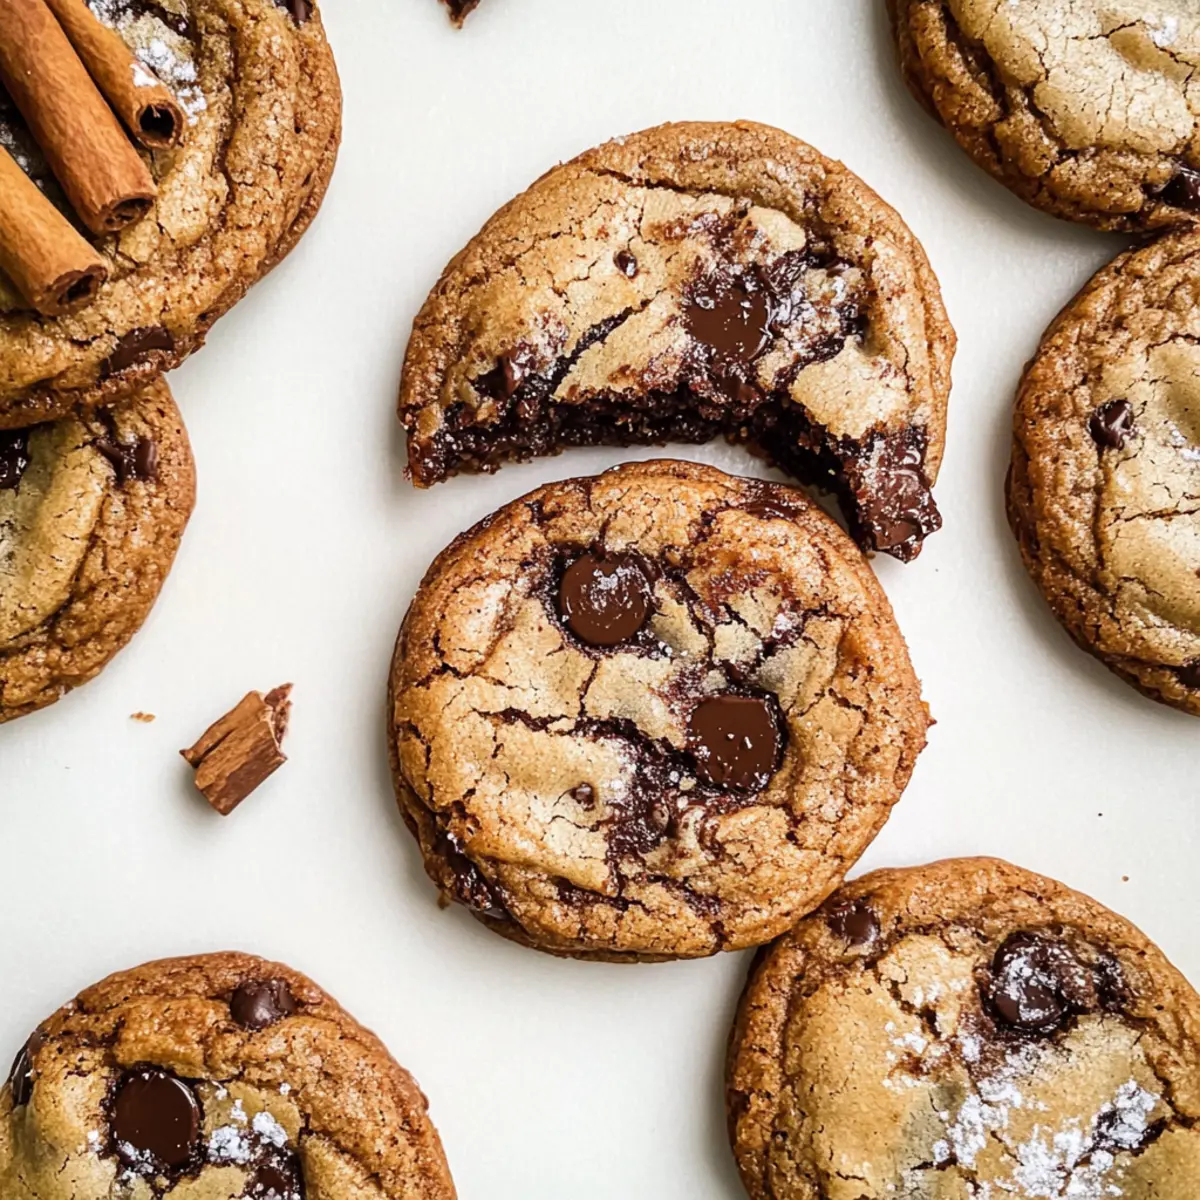
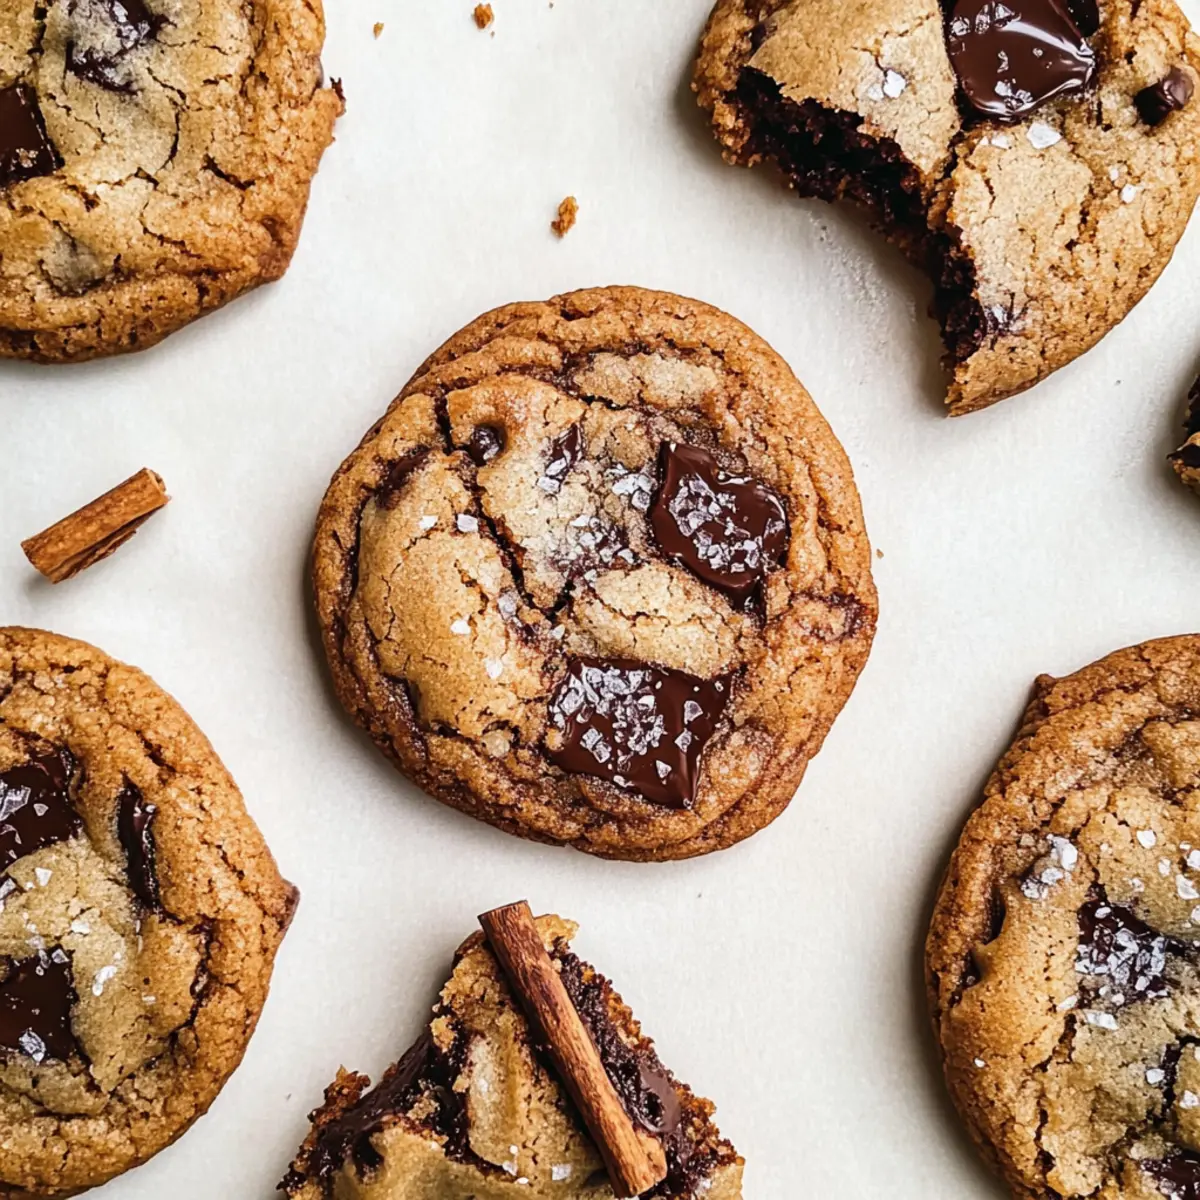
As I sifted through the bowl of warm, fragrant ingredients, the enticing aroma of brown butter wafted through my kitchen, wrapping me in a cozy hug. Today, I’m excited to share my twist on a beloved classic with these Vietnamese Cinnamon Chocolate Chip Cookies. Not only do they make a fantastic crowd-pleaser, but their unique flavor profile is designed for those who seek a cookie that isn’t overly sweet. The nutty depth of the brown butter, paired with the warm spices of Vietnamese cinnamon, creates a delectable balance that will make your taste buds dance. Whether you’re treating yourself or sharing a batch with friends, these cookies promise to be a delightful addition to your homemade desserts. Curious how to make these luscious cookies with a distinct twist? Let’s dive in!
Why are these cookies so special?
Unique Flavor: The infusion of Vietnamese cinnamon lends an aromatic warmth that sets these cookies apart from the ordinary.
Nutty Twist: Elevate your cookie game with brown butter that introduces a rich, nutty flavor.
Perfect Balance: With just the right amount of sweetness, these cookies cater to those who shy away from overly sugary treats.
Versatile Options: Customize them with different chocolates or nuts to suit your cravings!
Easy to Whip Up: Enjoy the straightforward steps that anyone can follow, perfect for both novice bakers and seasoned chefs.
Pair them with a glass of milk or a warm cup of dark roast coffee for the ultimate treat experience!
Vietnamese Cinnamon Chocolate Chip Cookie Ingredients
• Get ready to create something truly special!
For the Cookie Dough
- All-Purpose Flour – The base structure for cookies; works well with a gluten-free flour substitute.
- Baking Soda – Acts as a leavening agent, helping your cookies rise to perfection.
- Salt – Enhances the overall flavor without making your cookies salty.
- Espresso Powder – Adds a rich depth to the chocolate flavor; substitute with finely ground instant coffee if needed.
- Vietnamese Cinnamon – Brings a unique warmth; regular cinnamon can be used if needed, but the flavor will differ slightly.
- Unsalted Butter – Adds moisture and flavor; browning it enhances the taste incredibly. Avoid margarine for best results.
- Granulated Sugar – Sweetens the cookies, contributing to a delightful crispiness.
- Dark Brown Sugar – Adds moisture and a subtle molasses flavor for enhanced chewiness.
- Light Brown Sugar – Balances flavor and color; perfect for additional sweetness.
- Egg – Binds everything together and helps with rising; room temperature yields the best results.
- Vanilla Extract – Infuses sweetness and aroma; can be omitted but enhances flavor beautifully.
- Dark Chocolate Chips – Provides richness; swap for semi-sweet chocolate if you prefer a sweeter touch.
Optional Toppings
- Nuts (e.g., Walnuts, Pecans) – Add a delightful crunch and extra texture.
- Additional Spices (e.g., Nutmeg, Cardamom) – Customize your flavor profile for a unique twist!
Dive into baking these delightful Vietnamese Cinnamon Chocolate Chip Cookies and experience flavors that are soothing yet exciting!
Step‑by‑Step Instructions for Vietnamese Cinnamon Chocolate Chip Cookies
Step 1: Brown the Butter
In a medium-sized saucepan, melt 1 cup of unsalted butter over medium heat. Continue cooking, stirring frequently until the butter turns a rich golden brown and gives off a nutty aroma, about 5-7 minutes. Once browned, remove it from the heat and let it cool for 10 minutes.
Step 2: Mix Dry Ingredients
While the butter cools, whisk together 2 ¼ cups of all-purpose flour, 1 teaspoon of baking soda, ½ teaspoon of salt, 1 teaspoon of espresso powder, and 2 teaspoons of Vietnamese cinnamon in a large bowl. This step ensures that your dry ingredients are evenly combined, preparing a perfect base for the Vietnamese Cinnamon Chocolate Chip Cookies.
Step 3: Combine Wet Ingredients
In the bowl with the cooled brown butter, add ½ cup of granulated sugar and ¾ cup each of dark and light brown sugar. Mix well until fully incorporated before adding 1 large egg and 1 teaspoon of vanilla extract. Stir until the mixture is smooth and slightly glossy, creating a rich and flavorful cookie base.
Step 4: Combine Mixtures
Gently fold the dry ingredient mixture into the wet ingredients using a spatula or wooden spoon. Be careful not to overmix; you want to stop as soon as there are no visible flour streaks remaining. This will keep your Vietnamese Cinnamon Chocolate Chip Cookies light and tender.
Step 5: Add Chocolate Chips
Once combined, fold in 1 cup of dark chocolate chips, distributing them evenly throughout the cookie dough. Ensure each bite will have those decadent chocolate morsels. At this stage, your dough should feel soft and slightly sticky.
Step 6: Chill Dough
Cover the bowl with plastic wrap and chill the dough in the refrigerator for 45 minutes. This step solidifies the butter, preventing the cookies from spreading too much while baking and helping to achieve the desired chewy texture when baked.
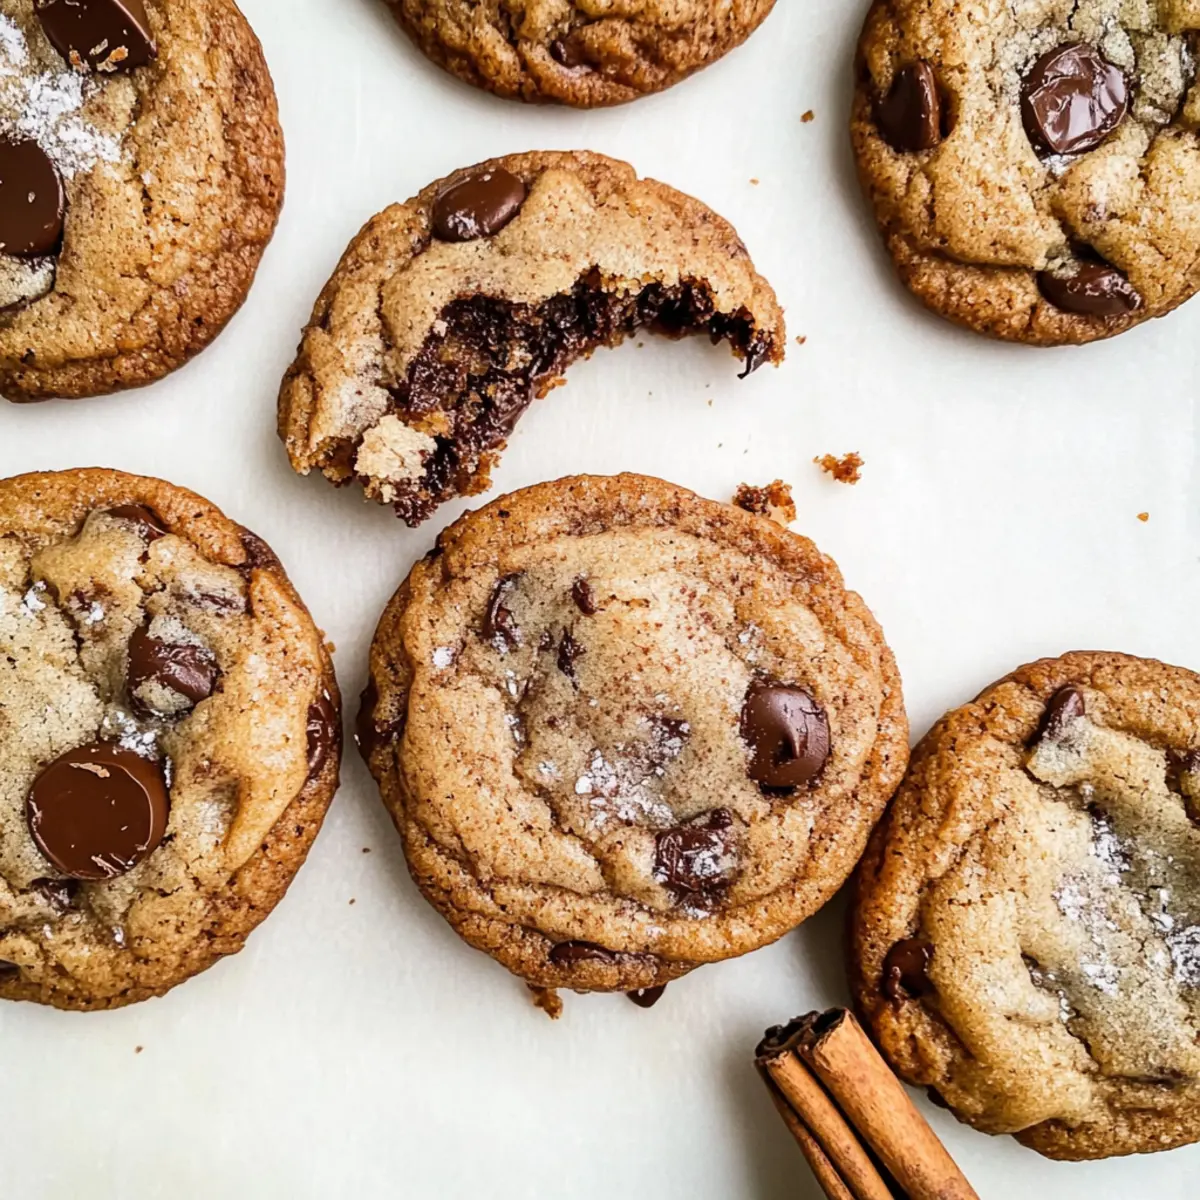
Step 7: Bake Cookies
Preheat your oven to 350°F (177°C) and line baking sheets with parchment paper. Scoop the chilled cookie dough onto the prepared sheets, leaving space between each scoop. Bake for 14-16 minutes or until the edges are light brown and the centers look set but slightly soft.
Step 8: Cool
After baking, let the cookies rest on the baking sheet for about 10 minutes. This allows them to firm up before transferring them to a cooling rack for another 10 minutes. The cooling process is essential, as the cookies will continue to bake slightly while on the tray. Enjoy your Vietnamese Cinnamon Chocolate Chip Cookies warm!
Make Ahead Options
These Vietnamese Cinnamon Chocolate Chip Cookies are perfect for meal prep enthusiasts! You can prepare the cookie dough up to 24 hours in advance by following the first six steps, then cover the bowl with plastic wrap and refrigerate it. If you’d like to keep it even longer, you can freeze the dough for up to 3 months. When you're ready to bake, simply thaw overnight in the refrigerator, scoop onto lined baking sheets, and bake according to the original instructions. This method not only saves you time during busy weeknights but also ensures your cookies maintain their delightful texture and flavor, making them just as delicious as if they were freshly made!
What to Serve with Vietnamese Cinnamon Chocolate Chip Cookies
These delightful cookies are perfect companions to elevate your dessert experience beyond just a sweet nibble.
-
Creamy Vanilla Ice Cream: The cold, creamy texture of vanilla ice cream complements the warm, spiced cookies beautifully, creating a delightful contrast in temperatures.
-
Rich Dark Roast Coffee: A smooth cup of dark coffee balances the sweetness of the cookies while enhancing the nutty undertones from the brown butter.
-
Fresh Berries: Juicy strawberries, raspberries, or blueberries add a burst of freshness, brightening each bite and providing a gorgeous color contrast on your dessert plate.
-
Spiced Chai Latte: The warm spices in chai echo the Vietnamese cinnamon, crafting a cohesive flavor experience that’s aromatic and comforting.
-
Whipped Cream Topping: Lightly sweetened whipped cream can be dolloped on top for a luxurious touch that enhances the richness of the cookies.
-
Nutty Granola: A sprinkle of crunchy granola on the side provides a satisfying textural contrast to the chewy cookies while adding an earthy flavor.
-
Coconut Milk Drink: Serve the cookies with a glass of chilled coconut milk for a refreshing, tropical flavor that perfectly complements their spices.
-
Chocolate Milk: For a nostalgic pairing, rich chocolate milk not only enhances the cookie’s chocolatey delight but also attracts kids and adults alike!
With these thoughtful pairings, your Vietnamese Cinnamon Chocolate Chip Cookies will shine as a centerpiece in any gathering.
Variations & Substitutions for Vietnamese Cinnamon Chocolate Chip Cookies
Feel free to let your imagination run wild and customize these cookies to suit your tastes and dietary needs!
-
Gluten-Free: Use a gluten-free flour blend instead of all-purpose flour to cater to those avoiding gluten. It keeps the texture deliciously enjoyable!
-
Dairy-Free: Swap unsalted butter for coconut oil or a dairy-free butter substitute, making these cookies accessible for everyone to enjoy. The flavor will shift a little, but they will still be delightful!
-
Sweetener Swap: Replace granulated sugar with coconut sugar for a lower glycemic index alternative that adds a subtle caramel flavor to your cookies.
-
Spice Boost: Want more spice? Add a pinch of ground nutmeg or cardamom to elevate the warmth and richness of the cookies, making them even cozier for cooler days.
-
Different Chocolates: Go for a sweeter palate by substituting dark chocolate chips with milk or white chocolate chips. This switch provides a delightful contrast to the rich flavors.
-
Nutty Addition: Toss in chopped walnuts or pecans for extra crunch and a satisfying texture, bringing a lovely contrast to the soft chewiness.
-
Flavor Fusion: Mix in some zesty orange or lemon zest for a surprising citrus twist that adds brightness to each bite. It beautifully balances the richer flavors while introducing a refreshing note.
For more delicious recipe inspiration, try my Matcha Cookies Soft or explore my delightful Eggnog Cookies Soft during the festive season. Each treat has its own nuanced flavors worth savoring!
How to Store and Freeze Vietnamese Cinnamon Chocolate Chip Cookies
Airtight Container: Store your baked cookies in an airtight container at room temperature for up to 3 days to maintain their freshness and texture.
Freezer: To freeze, place unbaked cookie dough in an airtight container or sealable bag after chilling. It can be frozen for up to 3 months. Bake directly from frozen, adding an extra minute or two to the baking time.
Reheating: For the best experience, warm stored cookies in the microwave for about 10-15 seconds, or pop them in a preheated oven at 350°F (177°C) for a few minutes. This revives that delightful softness!
Dough Portioning: Consider portioning the dough into individual cookie scoops before freezing, allowing you to bake fresh Vietnamese Cinnamon Chocolate Chip Cookies whenever the craving strikes!
Expert Tips for Vietnamese Cinnamon Chocolate Chip Cookies
-
Room Temperature Ingredients: Using room temperature ingredients helps achieve better emulsification, resulting in a smoother cookie dough with an even texture.
-
Brown the Butter: Don't skip browning the butter! This step adds a rich, nutty flavor that elevates your Vietnamese Cinnamon Chocolate Chip Cookies to new heights.
-
Chill the Dough: Resting the dough in the refrigerator for at least 45 minutes is crucial. It prevents spreading, ensuring your cookies maintain that perfect chewy texture.
-
Avoid Overmixing: Gently fold your ingredients together until just combined. Overmixing can lead to tough cookies—a few flour streaks are okay!
-
Cooling Time is Important: Allow cookies to rest on the baking sheet for 10 minutes before transferring to a cooling rack. This helps them set up perfectly and avoid crumbling.
Vietnamese Cinnamon Chocolate Chip Cookies Recipe FAQs
What type of cinnamon should I use for these cookies?
Absolutely! Vietnamese cinnamon is highly recommended for its unique flavor profile, which adds aromatic warmth without overwhelming sweetness. However, if it's not available, you can substitute it with regular ground cinnamon, keeping in mind that the taste may vary slightly.
How should I store the cookies once they are baked?
For optimal freshness, store your baked Vietnamese Cinnamon Chocolate Chip Cookies in an airtight container at room temperature for up to 3 days. This helps them maintain their delightful chewy texture and keeps the flavors intact, so you can enjoy them longer!
Can I freeze the cookie dough? How do I do it?
Very! Freezing is a fantastic way to have freshly baked cookies on demand. After chilling the dough, scoop it into individual portions and place them in an airtight container or resealable bag. Seal it tightly and label it with the date. You can freeze the dough for up to 3 months! When ready to bake, simply preheat your oven, place the frozen cookie dough on a lined baking sheet, and add an extra minute or two to the baking time.
What should I do if my cookies spread too much during baking?
If you notice your Vietnamese Cinnamon Chocolate Chip Cookies spreading too much, it's likely due to the dough not being chilled enough. Always make sure to chill it for at least 45 minutes. Additionally, if you've inadvertently overmixed the dough, this can lead to spreading as well, as it affects the gluten structure. Remember to stop mixing once the flour just disappears.
Are these cookies suitable for anyone with nut allergies?
While the main ingredients in Vietnamese Cinnamon Chocolate Chip Cookies do not include nuts, it's important to ensure that any chocolate chips or other add-ins you use are nut-free, as cross-contamination can occur. If you're baking for someone with allergies, it's best to double-check ingredient labels to ensure they're safe!
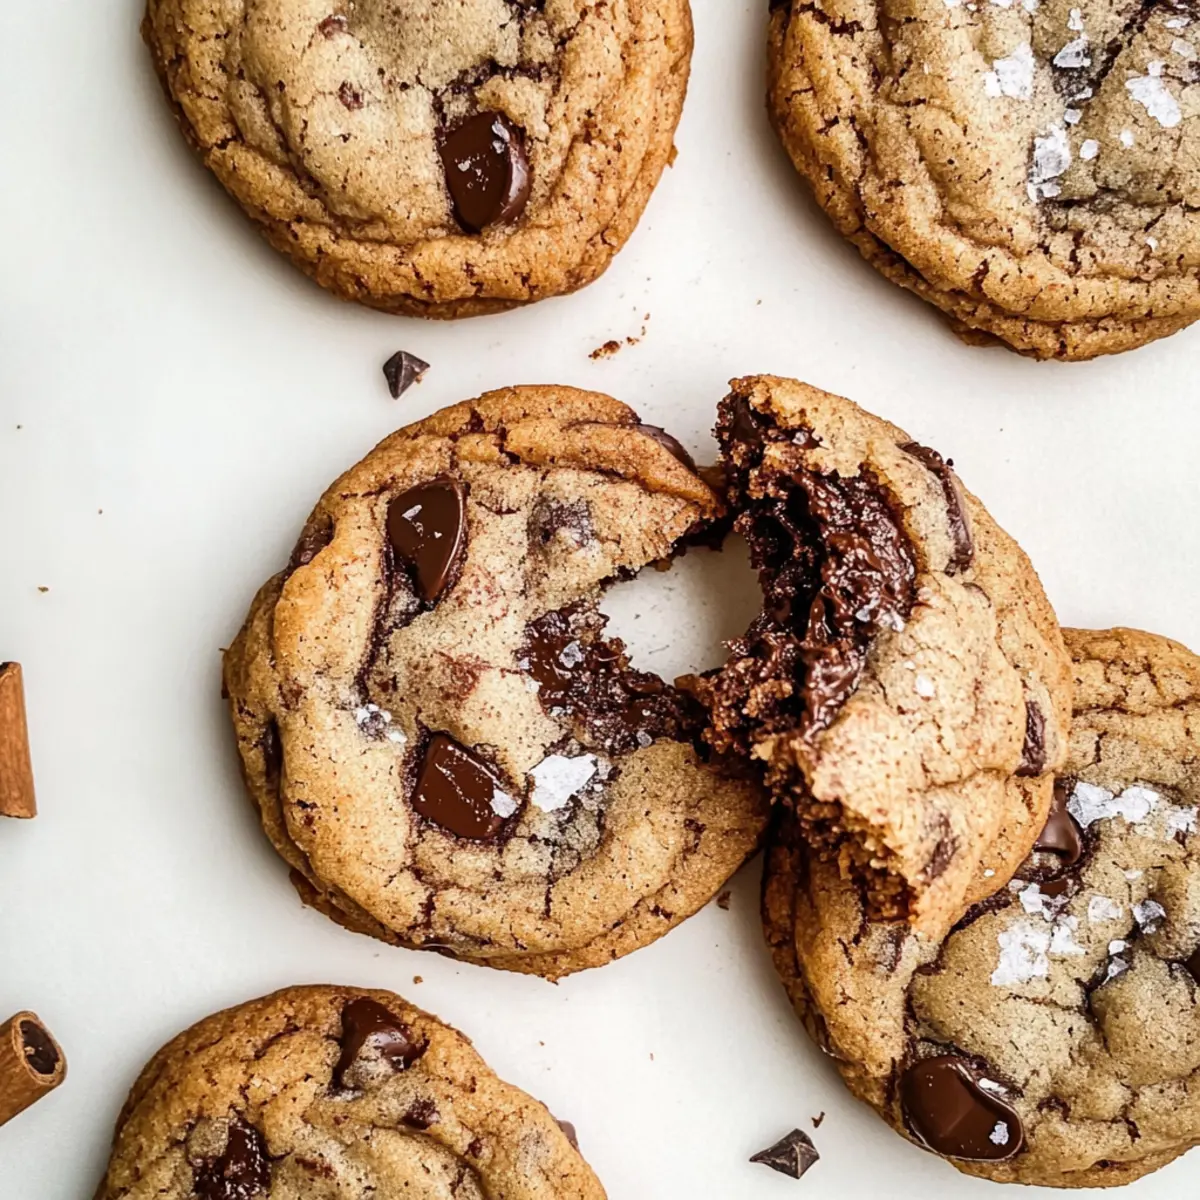
How can I achieve the perfect chewy texture?
To achieve that delightful, chewy texture in your Vietnamese Cinnamon Chocolate Chip Cookies, be sure to chill the dough thoroughly before baking and avoid overmixing once you combine the wet and dry ingredients. Additionally, using a combination of dark and light brown sugar contributes to moisture, enhancing that chewy quality. Finally, allow your cookies to rest on the baking sheet as they continue to bake for a few minutes after being pulled from the oven.
Irresistible Vietnamese Cinnamon Chocolate Chip Cookies Recipe
Ingredients
Equipment
Method
- In a medium-sized saucepan, melt the butter over medium heat until it turns a rich golden brown and gives off a nutty aroma, about 5-7 minutes. Remove from heat and let cool for 10 minutes.
- While the butter cools, whisk together flour, baking soda, salt, espresso powder, and Vietnamese cinnamon in a large bowl.
- In the bowl with the cooled brown butter, add granulated sugar and dark and light brown sugar. Mix well before adding egg and vanilla extract. Stir until smooth.
- Gently fold the dry ingredient mixture into the wet ingredients, stopping as soon as there are no visible flour streaks.
- Fold in the dark chocolate chips evenly throughout the dough.
- Cover the bowl with plastic wrap and chill the dough in the refrigerator for 45 minutes.
- Preheat your oven to 350°F (177°C) and line baking sheets with parchment paper. Scoop the chilled dough onto prepared sheets and bake for 14-16 minutes.
- After baking, let the cookies rest on the baking sheet for about 10 minutes, then transfer to a cooling rack for another 10 minutes.