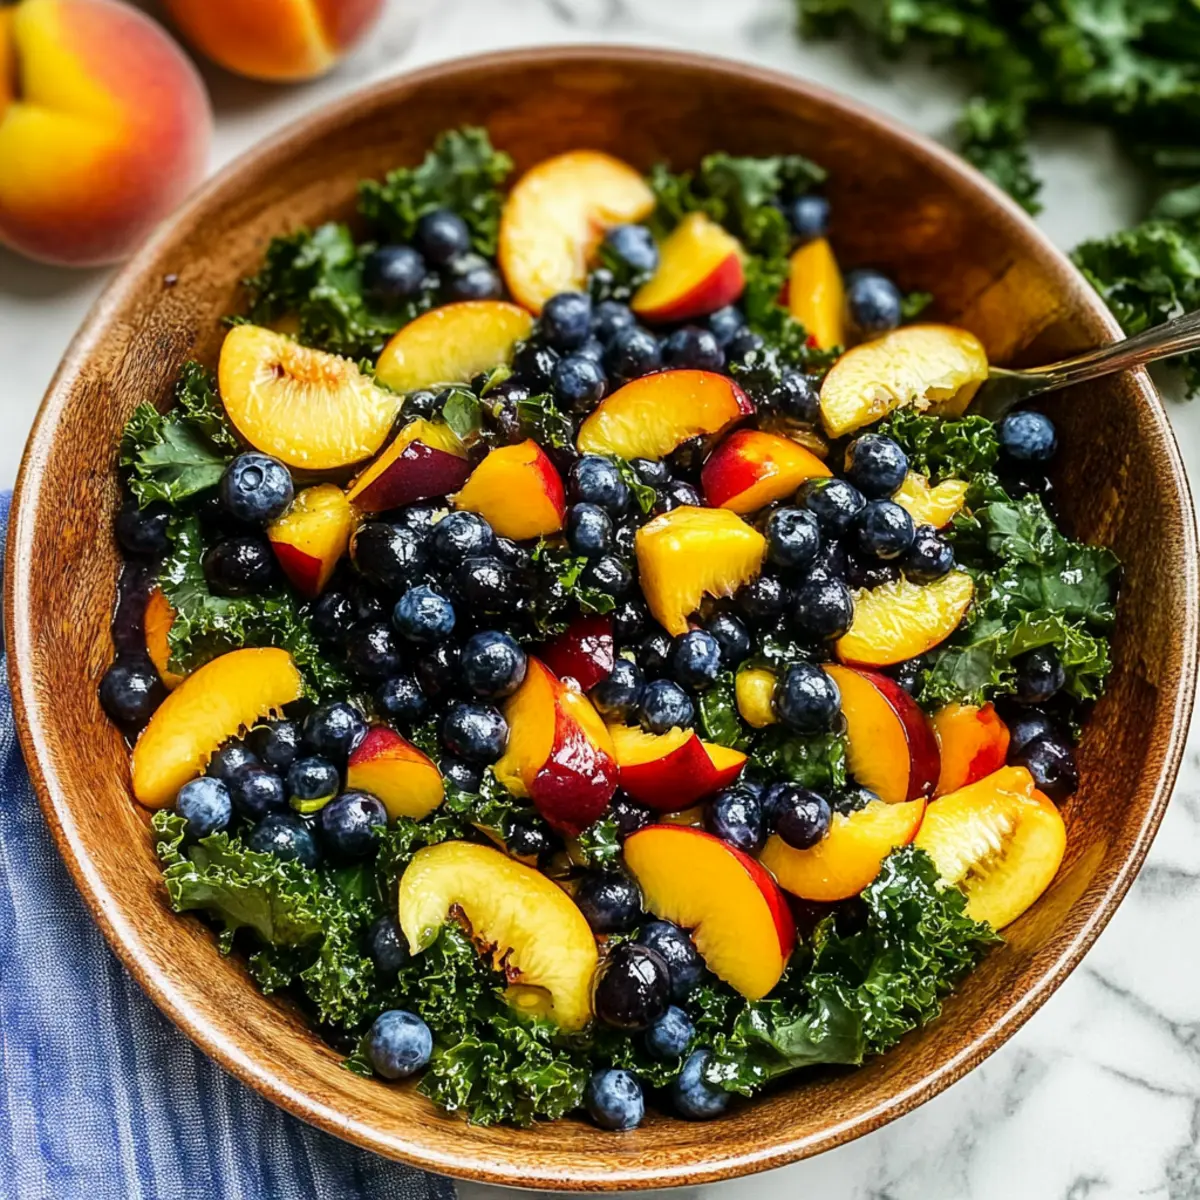
As the sun shines brighter and summer fruits come into their prime, there's nothing quite like a vibrant salad to celebrate the season. This Summer Peach Blueberry Kale Salad with Honey-Lemon Vinaigrette is an inviting bowl of crisp goodness that showcases the perfect marriage of juicy peaches and tart blueberries, all atop a bed of massaged kale. This refreshing salad is not only quick to prepare but also brings a wealth of nutrients to your table, making it a fantastic choice for light lunches or summer barbecues. With crunchy pepitas adding delightful texture, each bite becomes an experience of flavor and freshness. Curious about how to bring this colorful dish to life? Let’s dive into the recipe!
Why is This Salad a Summer Essential?
Fresh, Seasonal Ingredients: This peach blueberry kale salad highlights the best of summer produce, ensuring you enjoy every vibrant bite.
Quick Preparation: With just a few simple steps, you can whip up this delicious salad in no time. Perfect for those busy summer days!
Nutrient-Rich Delight: Packed with vitamins and antioxidants, this salad supports your health while tantalizing your taste buds.
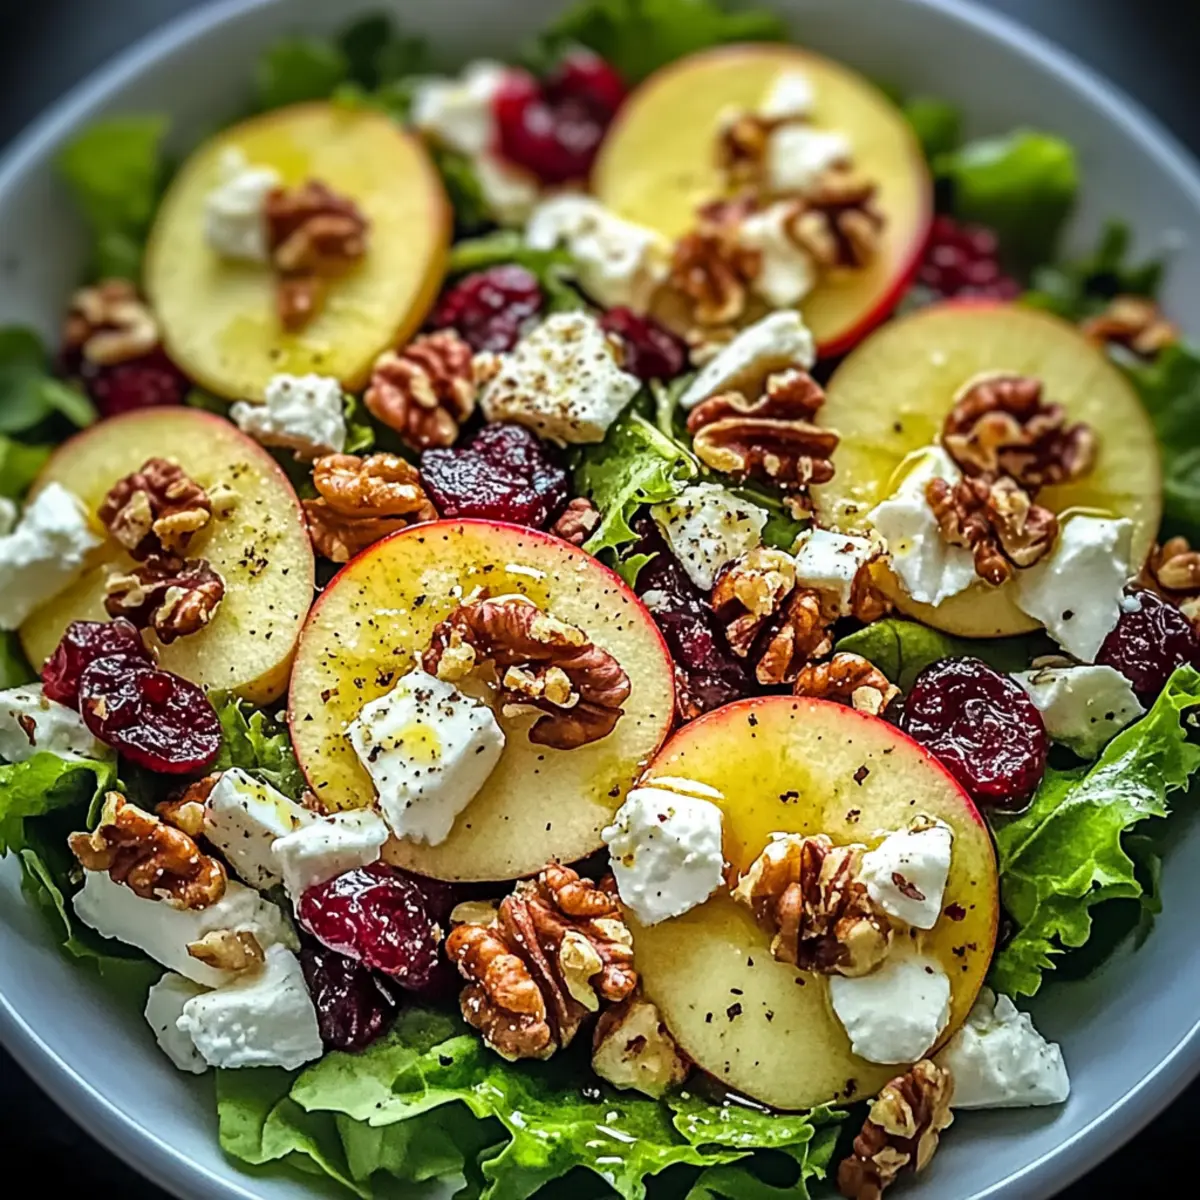
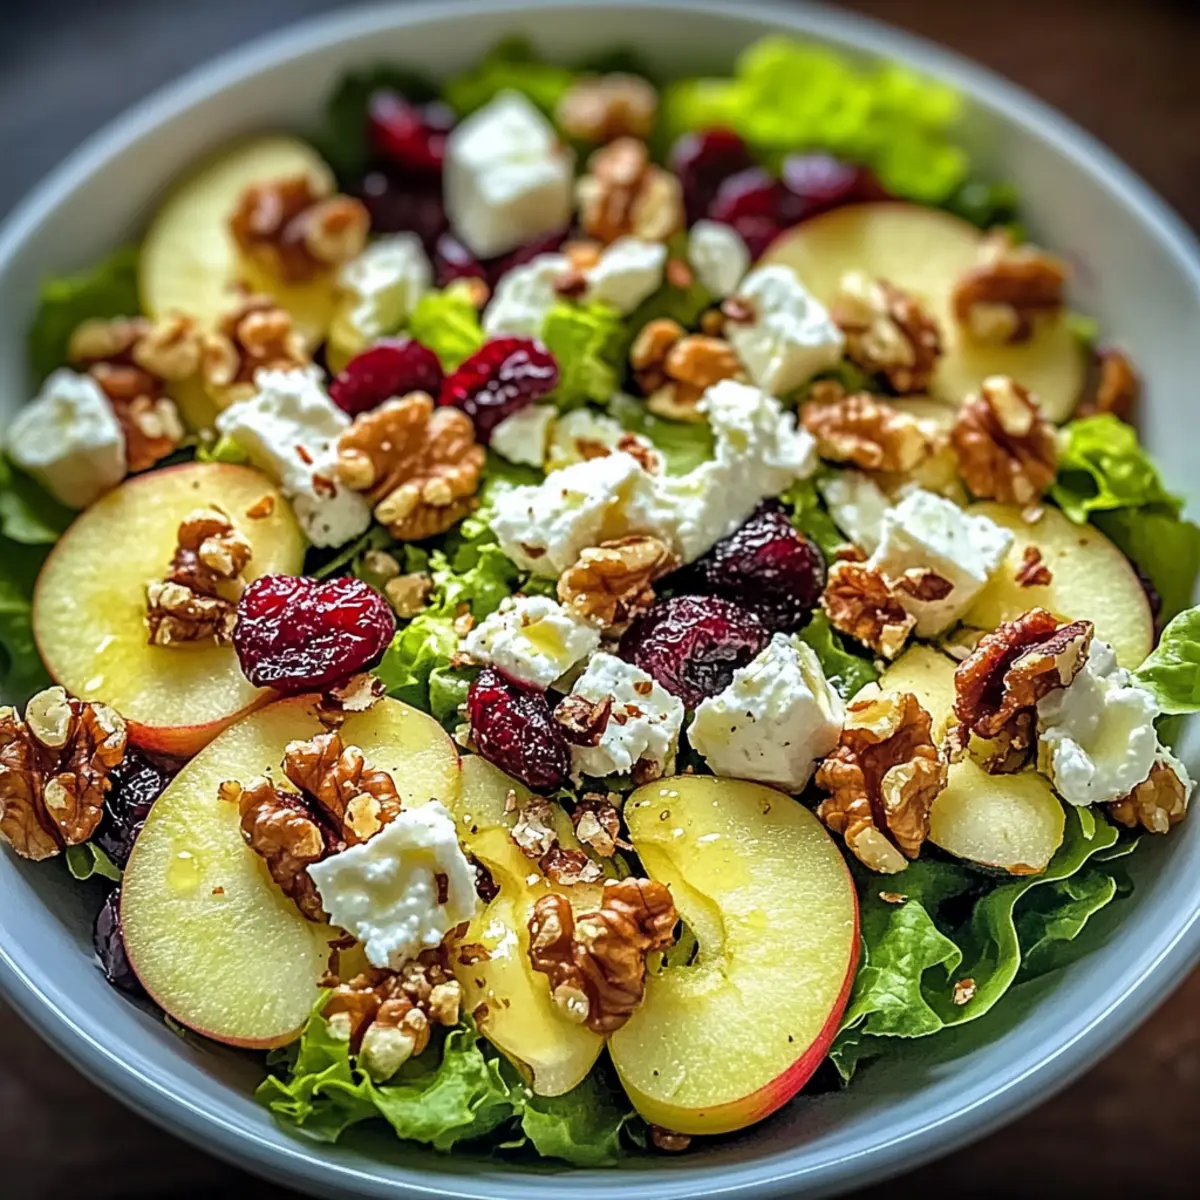
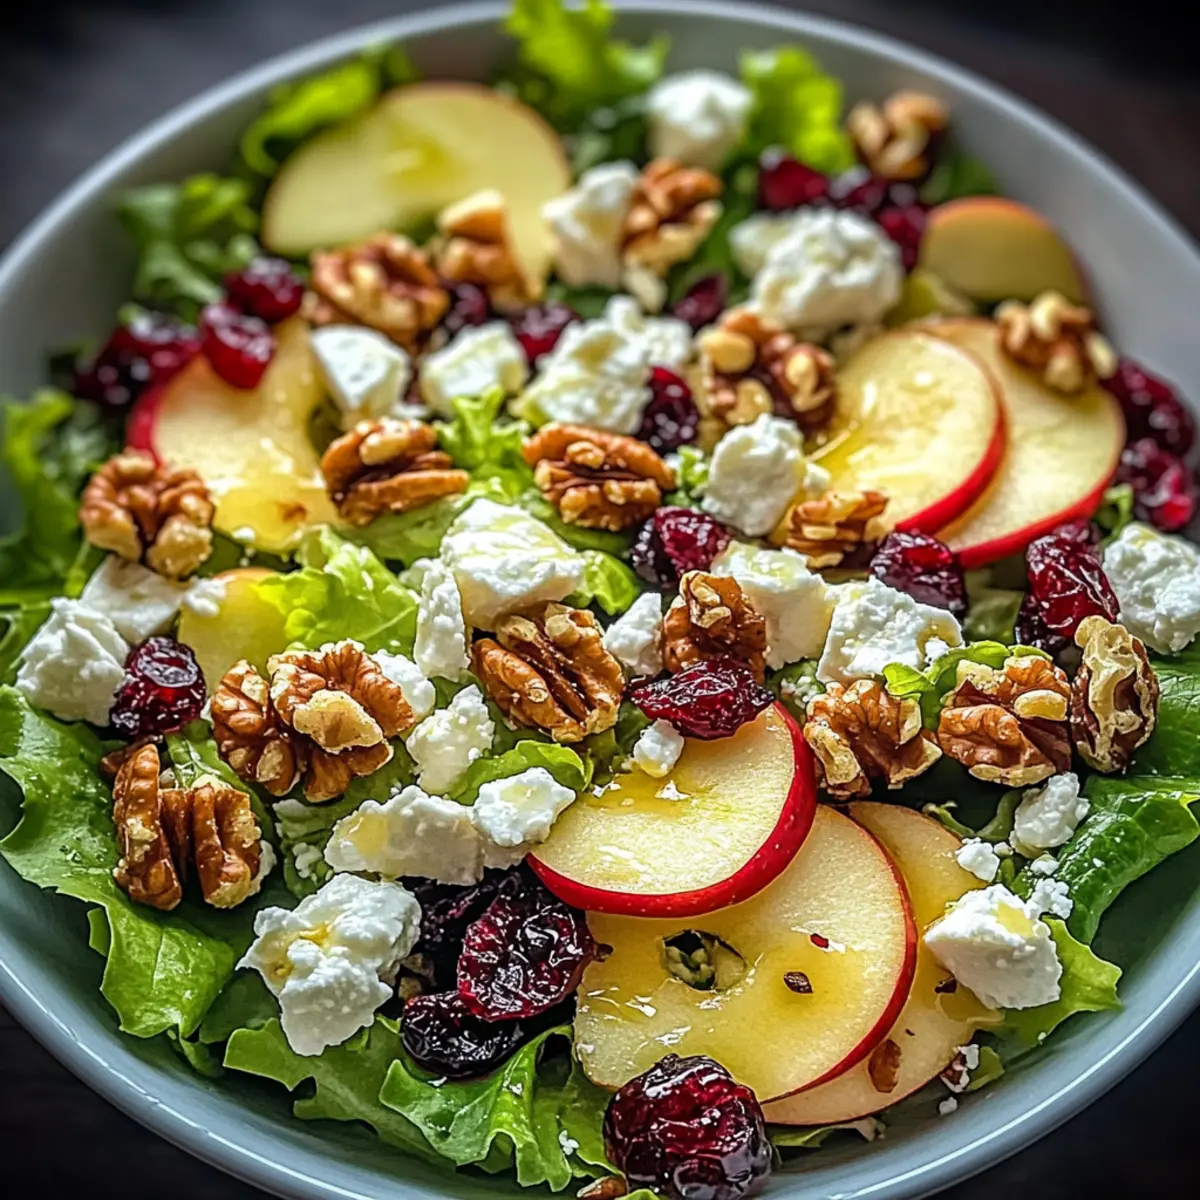
Versatile Pairing Options: Enjoy it as a standalone dish, or pair it with grilled meats or burgers for a complete meal. Need ideas? Check out this Chicken Salad with Apples for a great protein companion!
Textural Harmony: The combination of crunchy kale, juicy peaches, and crisp pepitas creates a satisfying sensory experience. Enjoy the crunch that complements your fresh fruits!
Peach Blueberry Kale Salad Ingredients
• Dive into vibrant flavors with this fresh and healthy peach blueberry kale salad!
For the Salad
- Green Curly Kale – The main base of your salad; massaging it softens and enhances its flavors.
- Ripe Peaches – Adds natural sweetness and juiciness; cut them just before serving to keep them fresh.
- Fresh Blueberries – Offers a burst of tartness and antioxidants; smaller blueberries provide a delightful balance.
- Toasted Pepitas – These pumpkin seeds add a crunchy texture and nutty flavor, which enhances the salad's appeal.
For the Vinaigrette
- Mild Olive Oil – Used to massage the kale and in the vinaigrette; choose a light flavor that complements the salad.
- Lemons – Fresh juice is key for both massaging kale and the vinaigrette; adjust oil for your desired acidity.
- Honey – A natural sweetener that balances the vinaigrette’s flavors; adjust to your preferred sweetness.
- Cracked Black Pepper – Essential for flavoring the vinaigrette; use it according to your taste.
This peach blueberry kale salad is not just a delight for the senses, but a nutritious addition to your summer meals!
Step‑by‑Step Instructions for peach blueberry kale salad
Step 1: Toast Pepitas
Preheat your oven to 375°F (190°C). Spread the pepitas evenly across a baking pan and toast them for about 5-6 minutes, or until they turn golden brown and release a lovely nutty aroma. Keep an eye on them to avoid burning—this step will elevate the flavor of your peach blueberry kale salad!
Step 2: Make Vinaigrette
In a medium mixing bowl, whisk together the fresh lemon juice, honey, olive oil, and a pinch of cracked black pepper until smooth and emulsified. Adjust the sweetness and acidity to your preference by tasting as you go. Once well combined, refrigerate the vinaigrette to let the flavors meld while you prepare the salad.
Step 3: Massage Kale
Chop the green curly kale into bite-sized pieces and place them in a large mixing bowl. Drizzle a splash of olive oil and the juice of one lemon over the kale, then gently massage the leaves for about 5 minutes. You'll know it’s ready when the kale softens and turns a vibrant, deep green, making it perfect for your peach blueberry kale salad.
Step 4: Prepare Fruits
Slice the ripe peaches into wedges, being careful to avoid browning them by cutting them just before assembly. Rinse the fresh blueberries under cold water and gently pat them dry. These fruits will add delightful sweetness and tartness to your peach blueberry kale salad.
Step 5: Combine Ingredients
Add the diced peaches and fresh blueberries to the bowl with the massaged kale. Drizzle the chilled honey-lemon vinaigrette over the mixture, ensuring even coverage. Toss everything together gently until the fresh ingredients are well combined, allowing the flavors to infuse beautifully into your salad.
Step 6: Serve
Scoop generous portions of your vibrant peach blueberry kale salad into serving bowls. Top each bowl with the toasted pepitas for a lovely crunch. This fresh, colorful salad is now ready to be enjoyed—embrace the joys of summer with every delightful bite!
Expert Tips for Peach Blueberry Kale Salad
-
Kale Texture: Massage with care: Don’t be shy while massaging the kale! The pressure breaks down tough fibers, making it more tender and enjoyable in your salad.
-
Fruit Freshness: Cut just before serving: To maintain flavor and appearance, slice peaches right before you mix the salad, preventing browning and preserving their juiciness.
-
Nut Tasting: Toasting pepitas properly: Keep a close watch while toasting pepitas to avoid burning; the goal is a golden hue that enhances their nutty flavor, elevating your peach blueberry kale salad.
-
Vinaigrette Balance: Taste as you go: The magic of the honey-lemon vinaigrette lies in personal preference. Adjust sweetness and acidity to your liking by gentle tasting.
-
Seasonal Swaps: Experiment with fruits: Feel free to substitute peaches with seasonal fruits like nectarines or cherries, making your peach blueberry kale salad a versatile delight!
Peach Blueberry Kale Salad Variations
Feel free to mix things up and make this salad your own with these delightful twists!
-
Fruity Swaps: Replace peaches with nectarines or cherries to introduce new flavors while maintaining that summer freshness. Each fruit brings its unique sweetness, making this salad a canvas for seasonal delights.
-
Sunflower Crunch: Use sunflower seeds in place of pepitas for a delightful twist! They’ll add a different texture and nutty flavor that pairs beautifully with the fruits.
-
Creamy Add-ins: Add crumbled feta cheese or diced avocado for luxurious creaminess. Either choice enhances the flavor profile and brings a wonderful richness to each bite.
-
Herb Infusion: Toss in some fresh mint or basil for an aromatic boost. Their fragrant notes will take your peach blueberry kale salad to a whole new level.
-
Heat Factor: For a spicy kick, sprinkle in some red pepper flakes or diced jalapeños. This will create an exciting contrast to the sweetness of the fruits, awakening your taste buds.
-
Changing Dressings: Swap the honey-lemon vinaigrette for a balsamic vinaigrette to create a richer, more complex flavor. This twist offers a delightful tartness that enhances the salad's overall profile.
-
Berry Medley: Mix in strawberries or raspberries for additional berry goodness. Not only will this add a vibrant pop of color, but it will also bring an extra tartness that contrasts beautifully with the sweet peaches.
-
Bulk it Up: Add some cooked quinoa or farro for a heartier salad. These grains will transform your peach blueberry kale salad into a filling main dish perfect for lunch or dinner.
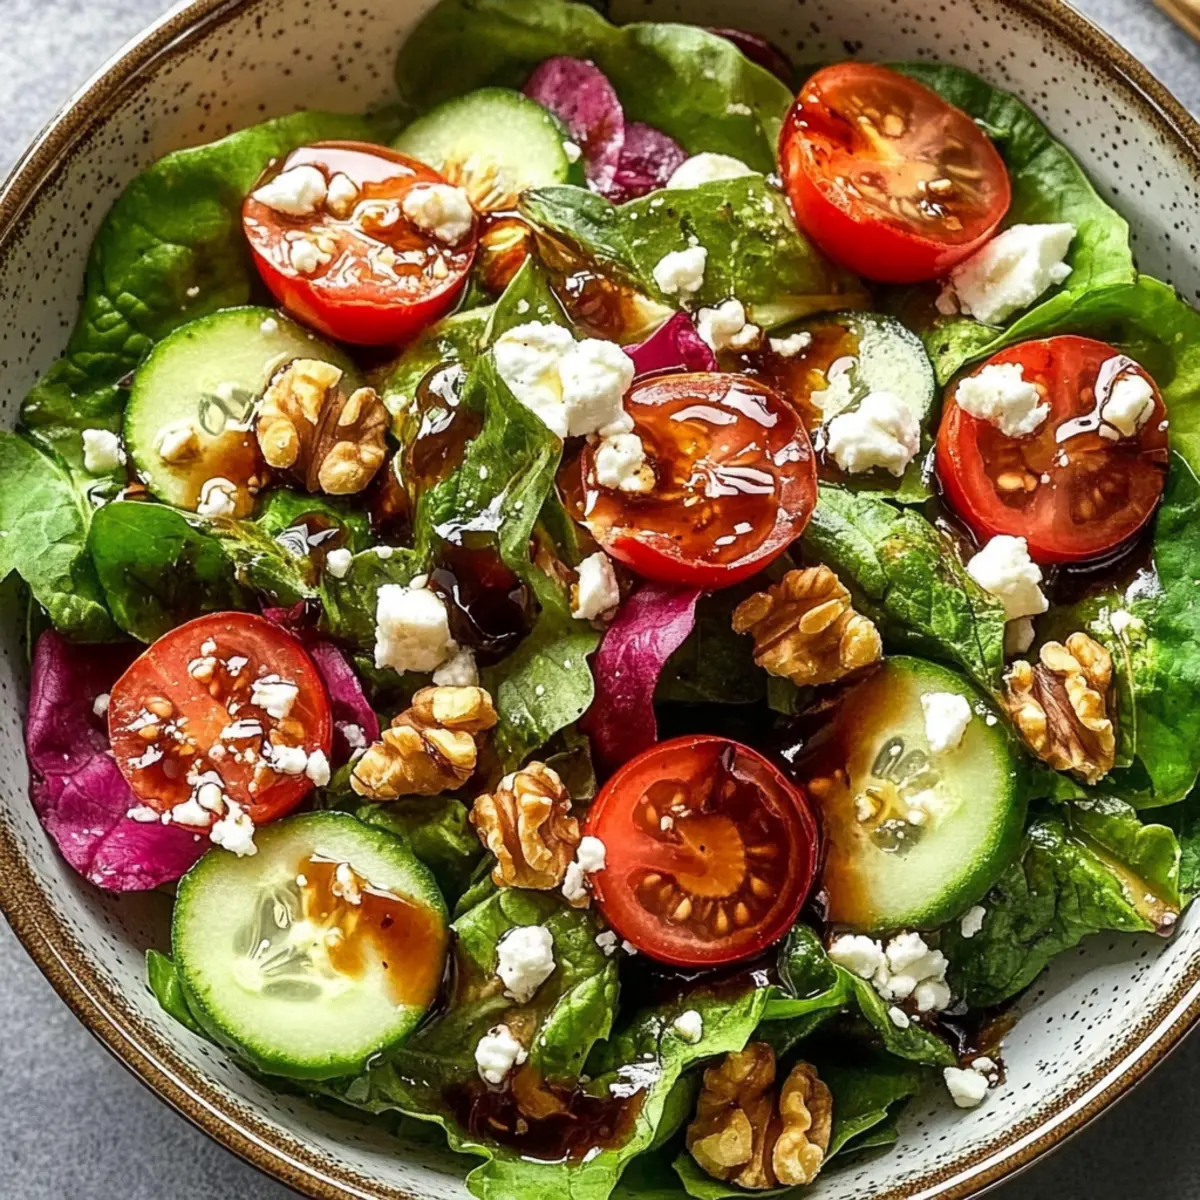
For a delicious complement, consider pairing it with a Balsamic Steak Salad or taking it up a notch with a refreshing Tofu Caesar Salad!
What to Serve With Summer Peach Blueberry Kale Salad
Elevate your summer dining experience with delightful pairings that complement the vibrant flavors of this refreshing salad.
- Grilled Chicken: Juicy, smoky chicken enhances the salad’s freshness, creating a satisfying, protein-packed meal perfect for summer cookouts.
- Quinoa Pilaf: A fluffy side with herbs and spices provides a nutty flavor that melds beautifully with the salad’s fruity notes.
- Corn on the Cob: Sweet, buttery corn adds a delightful crunch and an irresistible summer vibe, making it a classic companion.
- Watermelon Feta Salad: The saltiness of feta against refreshing watermelon echoes the sweet and savory contrast of your kale salad, refreshing your palate.
- White Wine Spritzer: A chilled spritzer combines fruity notes with crispness, enhancing the lively atmosphere of any summer gathering.
- Grilled Shrimp Tacos: A zesty addition, topped with tangy sauce, brings a wonderful texture, pairing perfectly with the sweet blueberries and juicy peaches.
- Berry Tart: End your meal on a sweet note; its rich creaminess and tart flavor harmonize with the salad’s fresh ingredients.
- Chilled Cucumber Soup: Light and refreshing, this soup provides a cool, creamy counterbalance to the salad’s crunchy texture, keeping the vibe summery.
- Herbed Couscous: Its fluffy texture and zestful herb blending perfectly complements the sweet, tangy elements of your peach blueberry kale salad.
Storage Tips for Peach Blueberry Kale Salad
Fridge: Store any leftover salad tightly covered in the refrigerator for up to 2 days. Keep the vinaigrette separate to maintain freshness and prevent sogginess.
Prepared Ingredients: You can prepare the kale, fruits, and toasted pepitas ahead of time. Store each component in airtight containers in the fridge for up to 3 days, combining them just before serving.
Freezer: It’s best not to freeze the peach blueberry kale salad as the fresh ingredients can lose their texture and flavor. However, you can freeze the toasted pepitas in a zip-top bag for up to 3 months.
Reheating: Since this salad is best enjoyed cold and fresh, there's no need to reheat it. Simply toss together the prepared ingredients and enjoy!
Make Ahead Options
These Summer Peach Blueberry Kale Salad components are perfect for busy home cooks seeking to save time during the week! You can prepare the honey-lemon vinaigrette up to 3 days in advance by whisking together the ingredients and refrigerating them to allow the flavors to meld. For the salad, massage the kale and store it in an airtight container in the fridge so it remains crisp for up to 2 days. While you can slice the peaches a few hours ahead, it’s best to add them just before serving to prevent browning—brown apples or avocados! Simply combine the prepared ingredients and drizzle with vinaigrette just before diving into this delightful peach blueberry kale salad.
Peach Blueberry Kale Salad Recipe FAQs
How do I choose the right peaches for the salad?
Absolutely! For your peach blueberry kale salad, look for ripe to slightly underripe peaches. They should be firm but yield slightly to pressure. Avoid any with dark spots or bruises, as they may be overripe and less flavorful.
How should I store the peach blueberry kale salad?
To keep your salad fresh, store any leftovers in the refrigerator in an airtight container for up to 2 days. It’s best to keep the vinaigrette separate to avoid sogginess. Make sure to mix the ingredients when you're ready to enjoy!
Can I prepare ingredients in advance?
Very! You can prepare the kale, blueberries, and toasted pepitas ahead of time. Store each component in airtight containers in the fridge for up to 3 days. Combine them just before serving for the freshest taste!
Is it okay to freeze any components of the salad?
While it's not ideal to freeze the peach blueberry kale salad with fresh ingredients, you can freeze the toasted pepitas. Place them in a zip-top bag, and they’ll last for up to 3 months. Let them thaw before adding them to your salad when ready to serve!
What if I have allergies to any ingredients?
If you have allergies, it’s important to adjust the salad accordingly. For instance, if you're allergic to nuts or seeds, simply omit the pepitas or replace them with a safe alternative like sunflower seeds. Always make sure to check labels on ingredients like honey for potential allergens!
Peach Blueberry Kale Salad: A Refreshing Summer Delight
Ingredients
Equipment
Method
- Preheat your oven to 375°F (190°C). Spread the pepitas evenly across a baking pan and toast them for about 5-6 minutes, or until golden brown.
- In a medium mixing bowl, whisk together the fresh lemon juice, honey, olive oil, and a pinch of cracked black pepper until smooth. Refrigerate to let flavors meld.
- Chop the kale into bite-sized pieces, drizzle with olive oil and lemon juice, and massage gently for about 5 minutes until softened.
- Slice the peaches into wedges and rinse the blueberries under cold water. Prepare just before assembly.
- Add the diced peaches and blueberries to the massaged kale. Drizzle the vinaigrette over and toss gently until combined.
- Scoop portions of salad into bowls and top with toasted pepitas. Serve immediately.