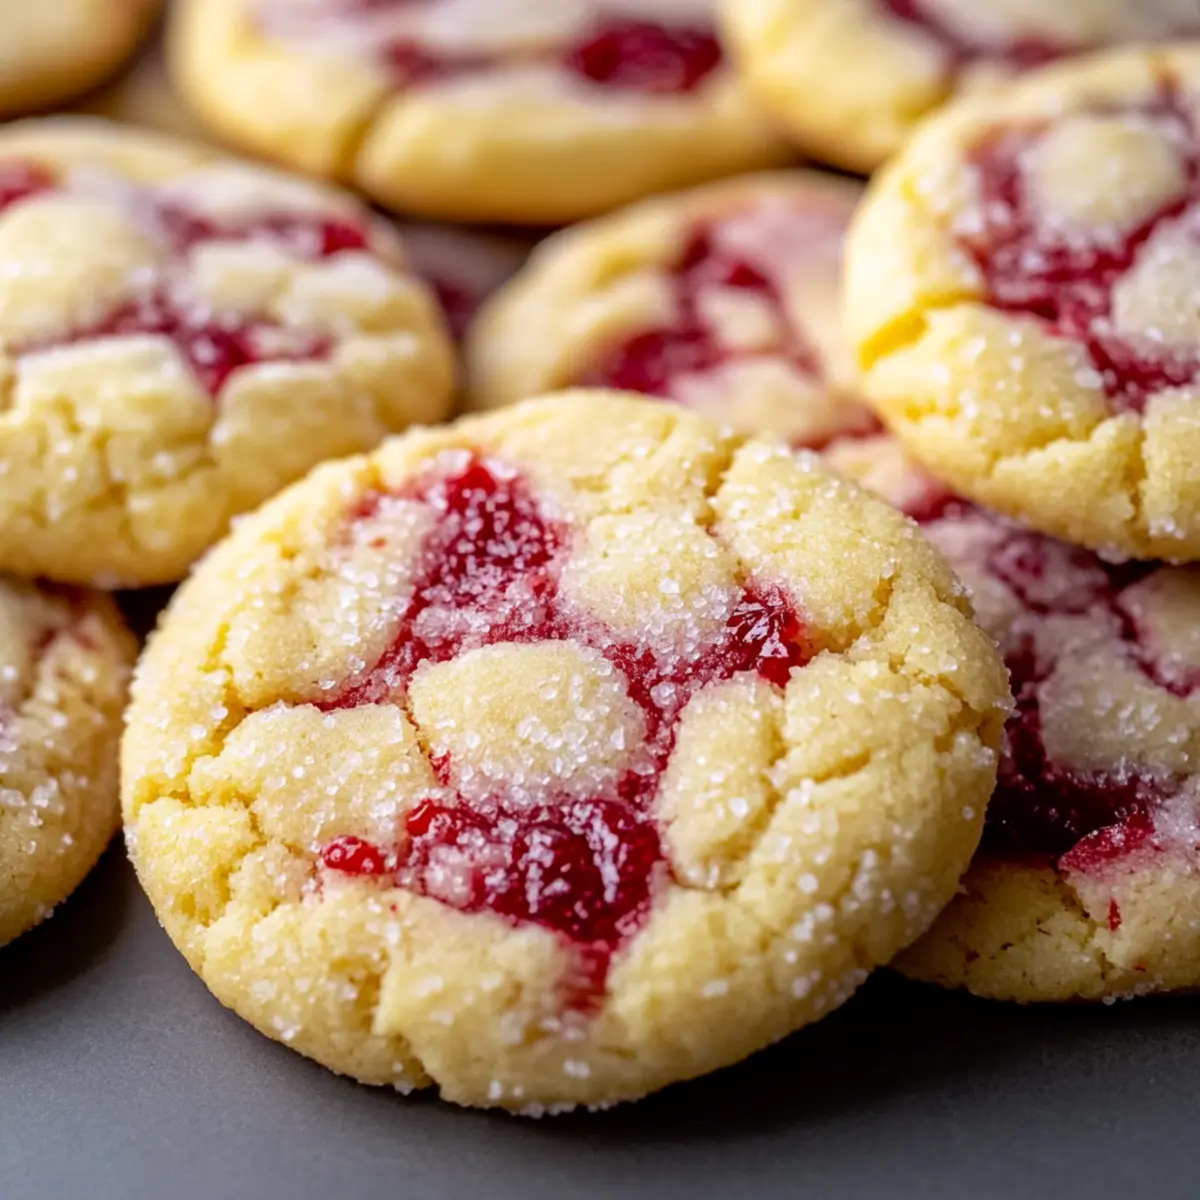
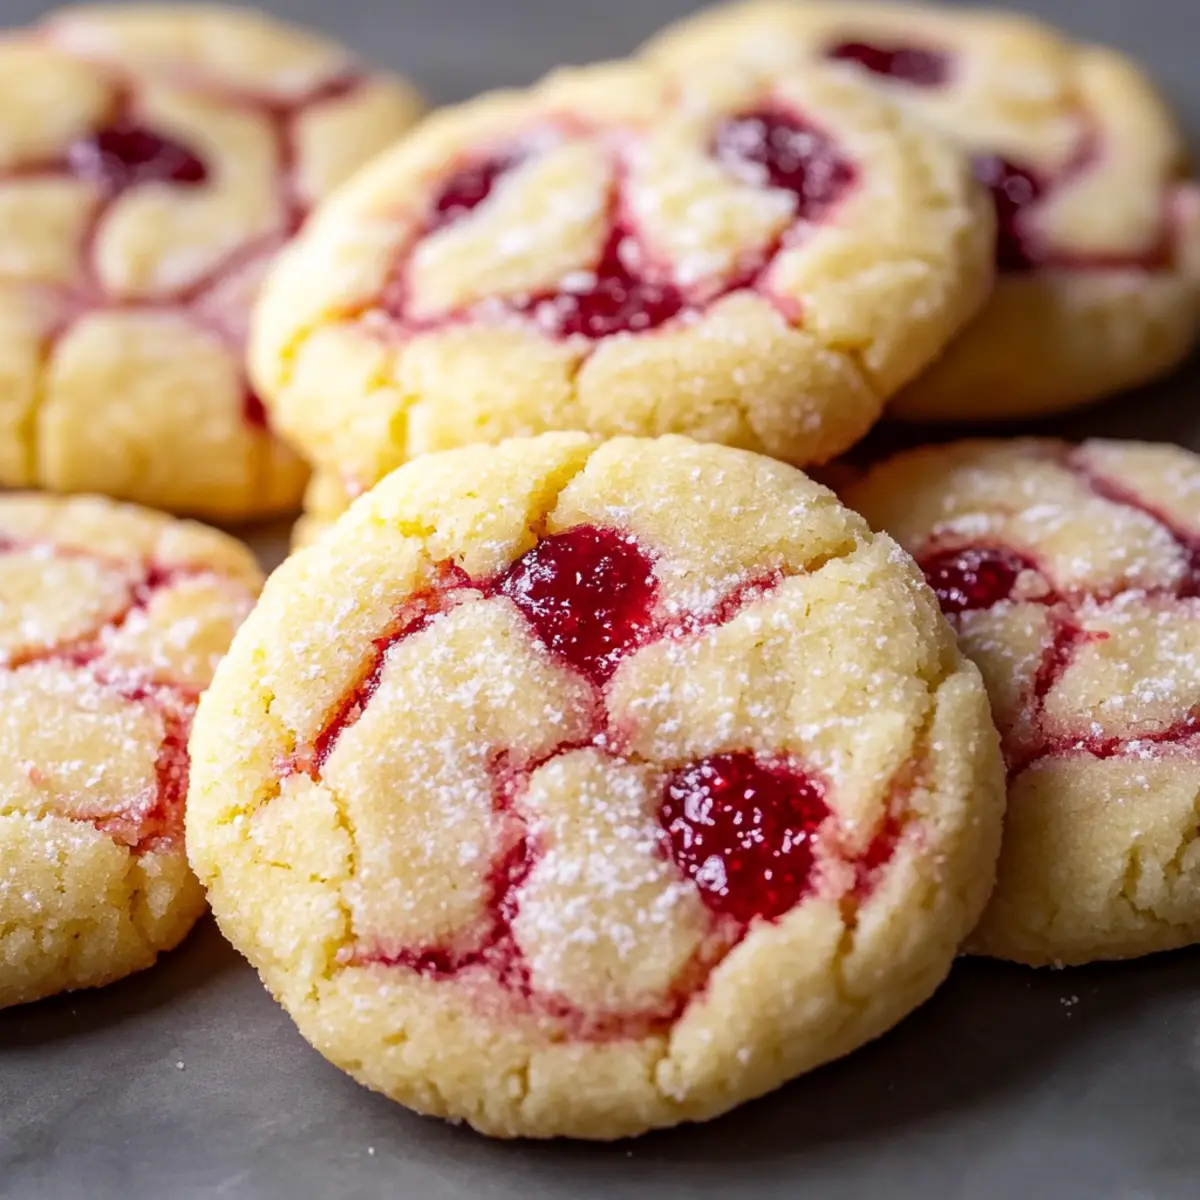
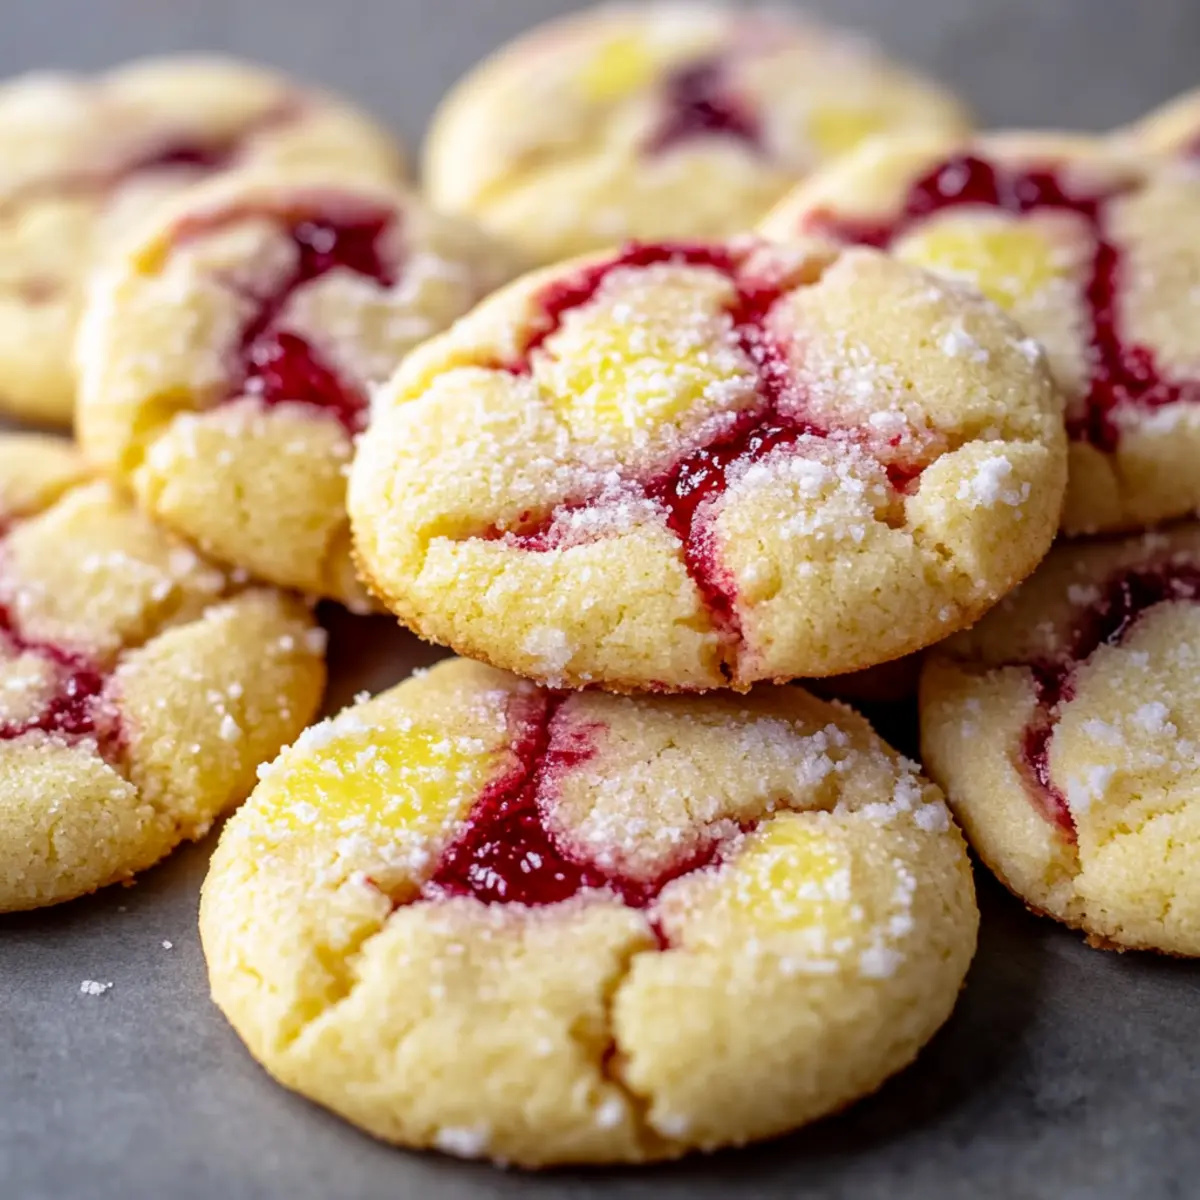
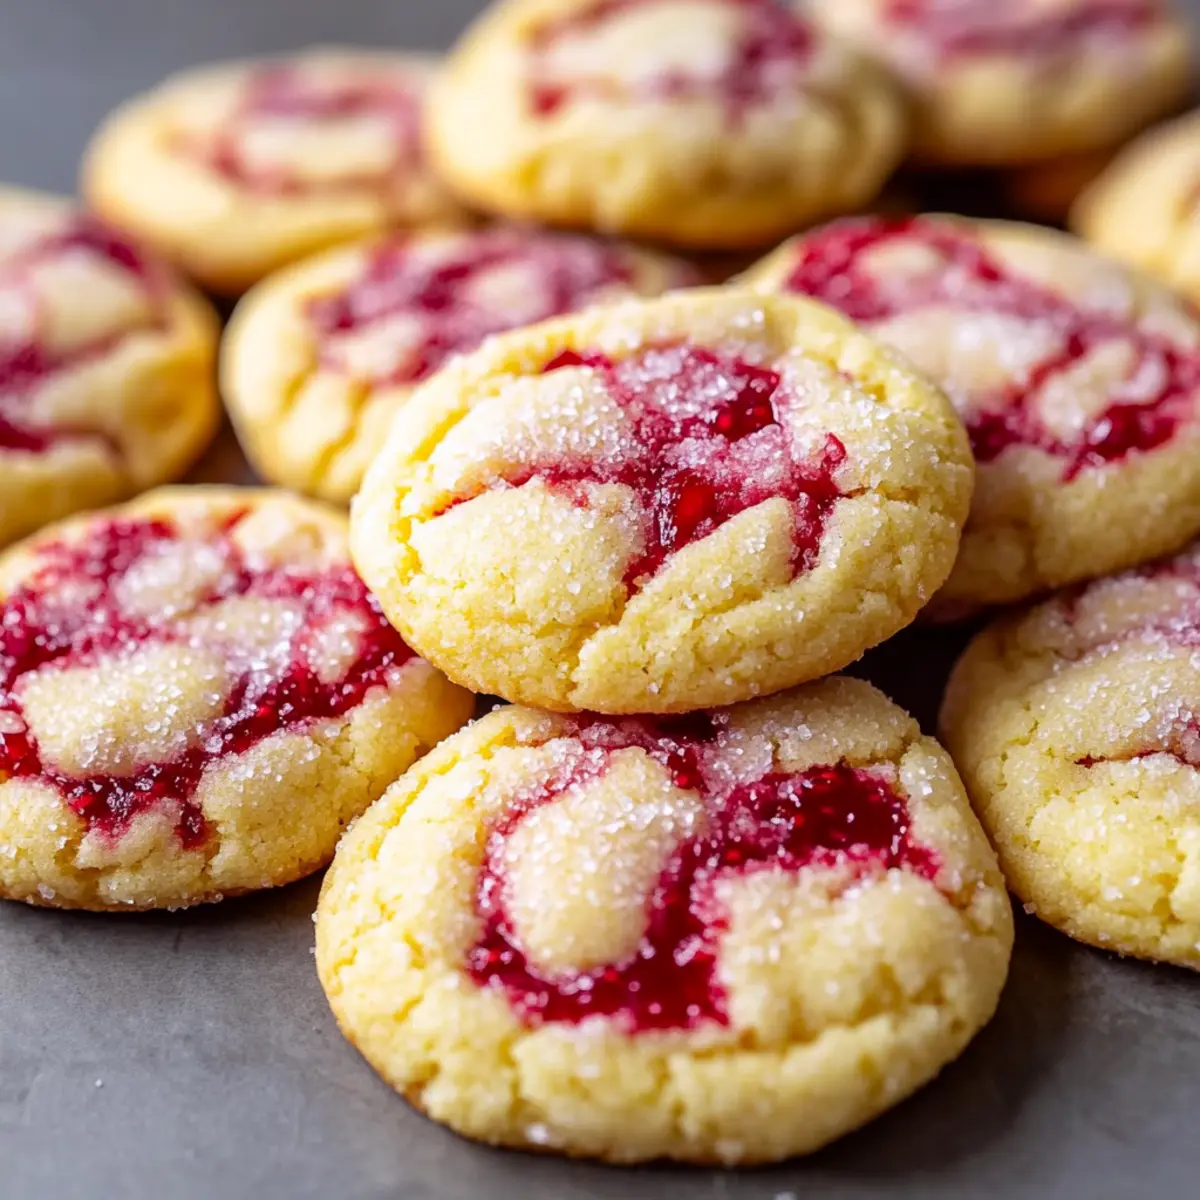
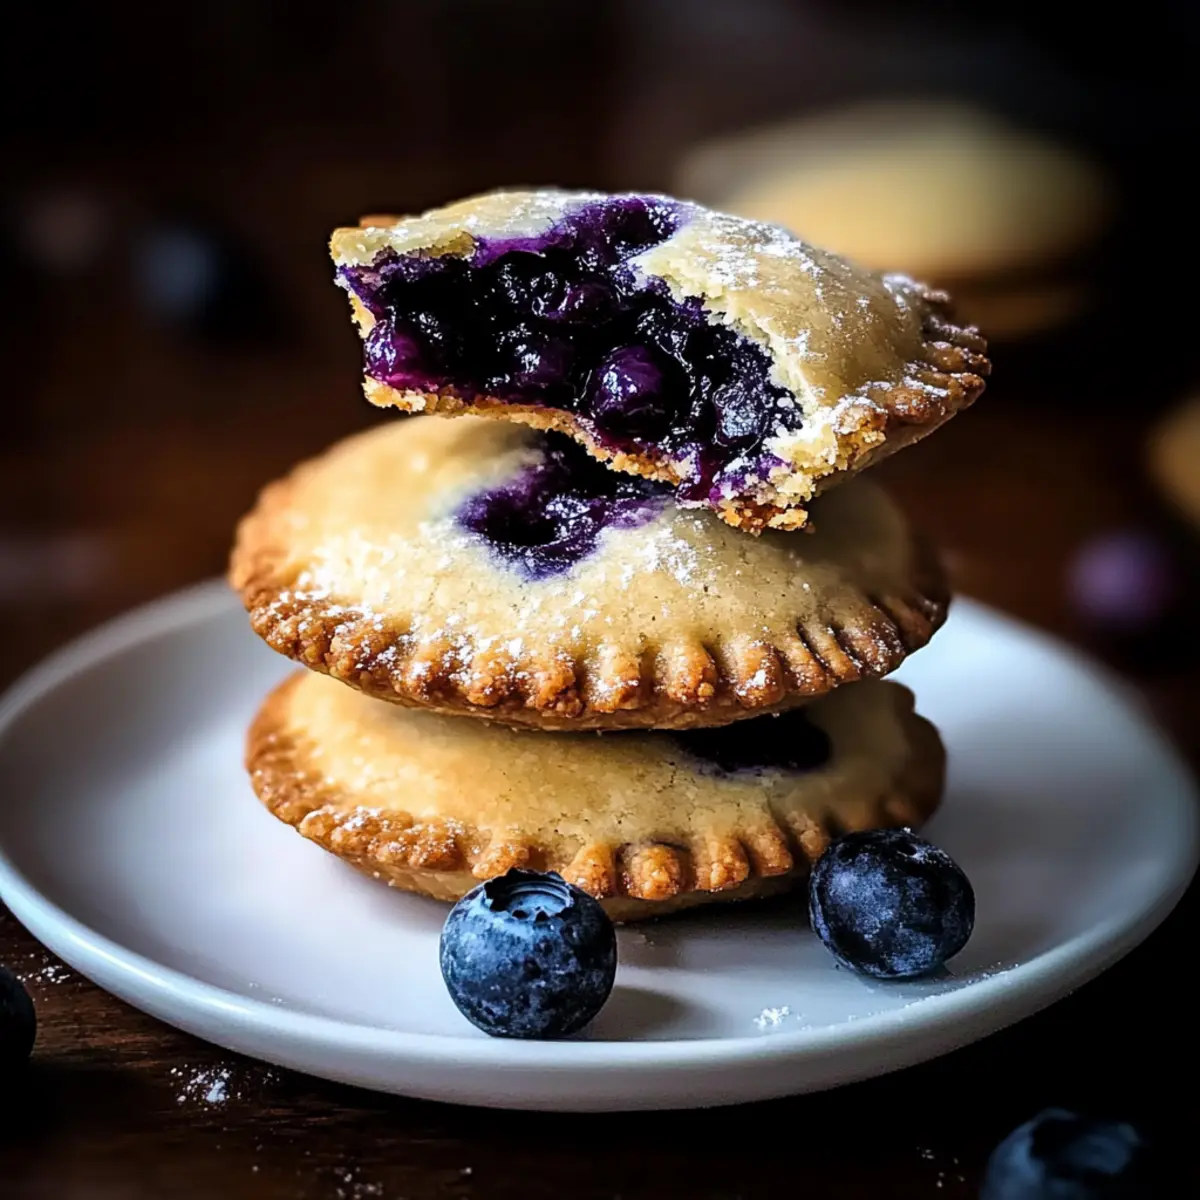
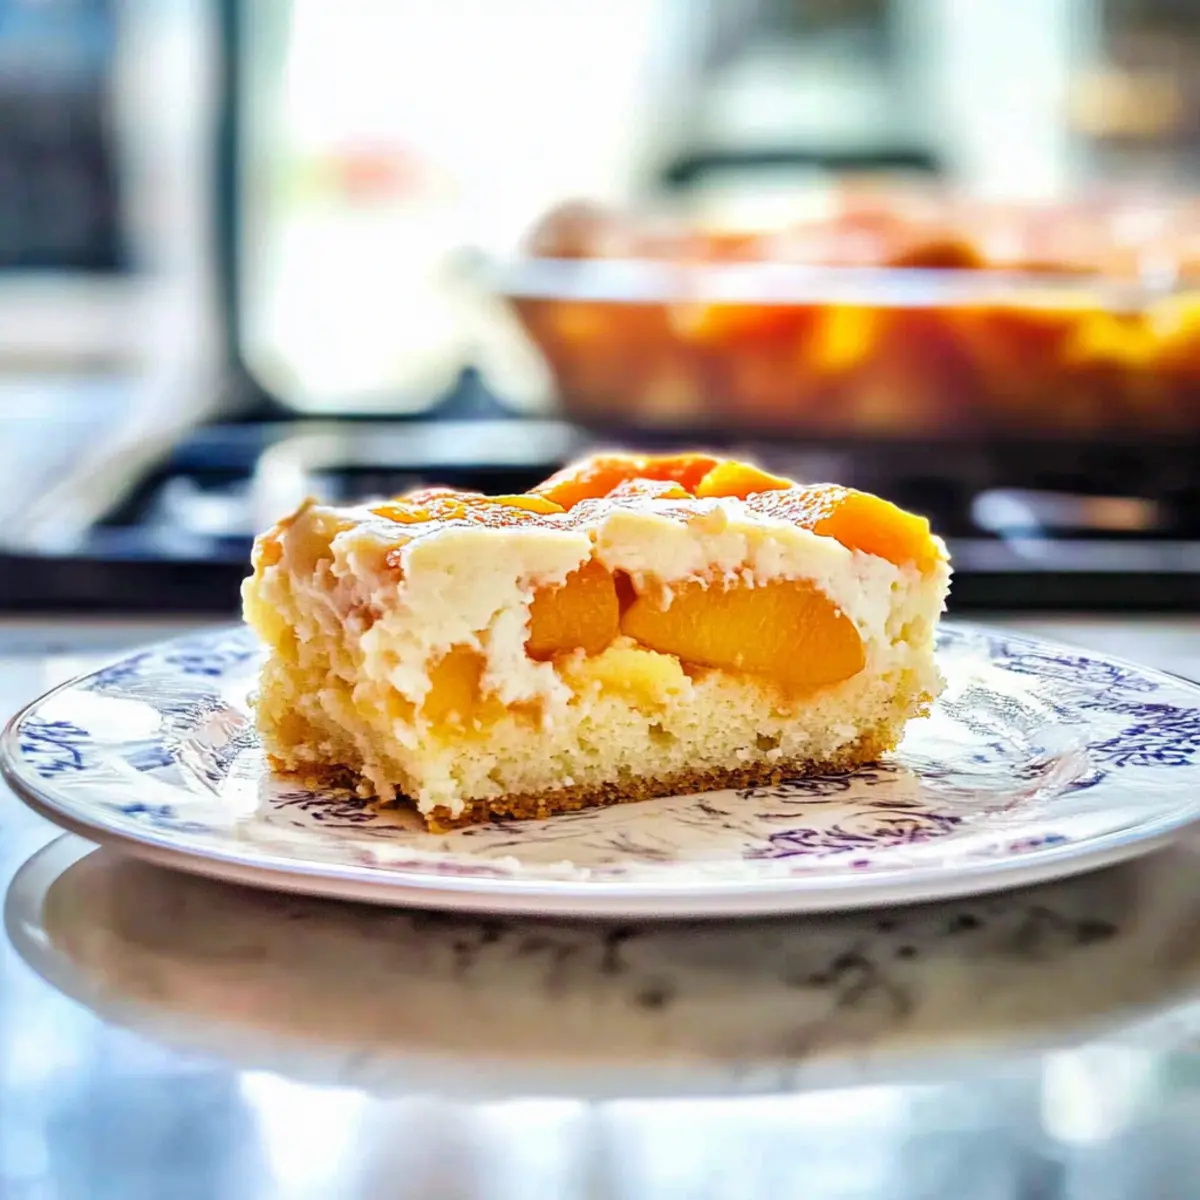
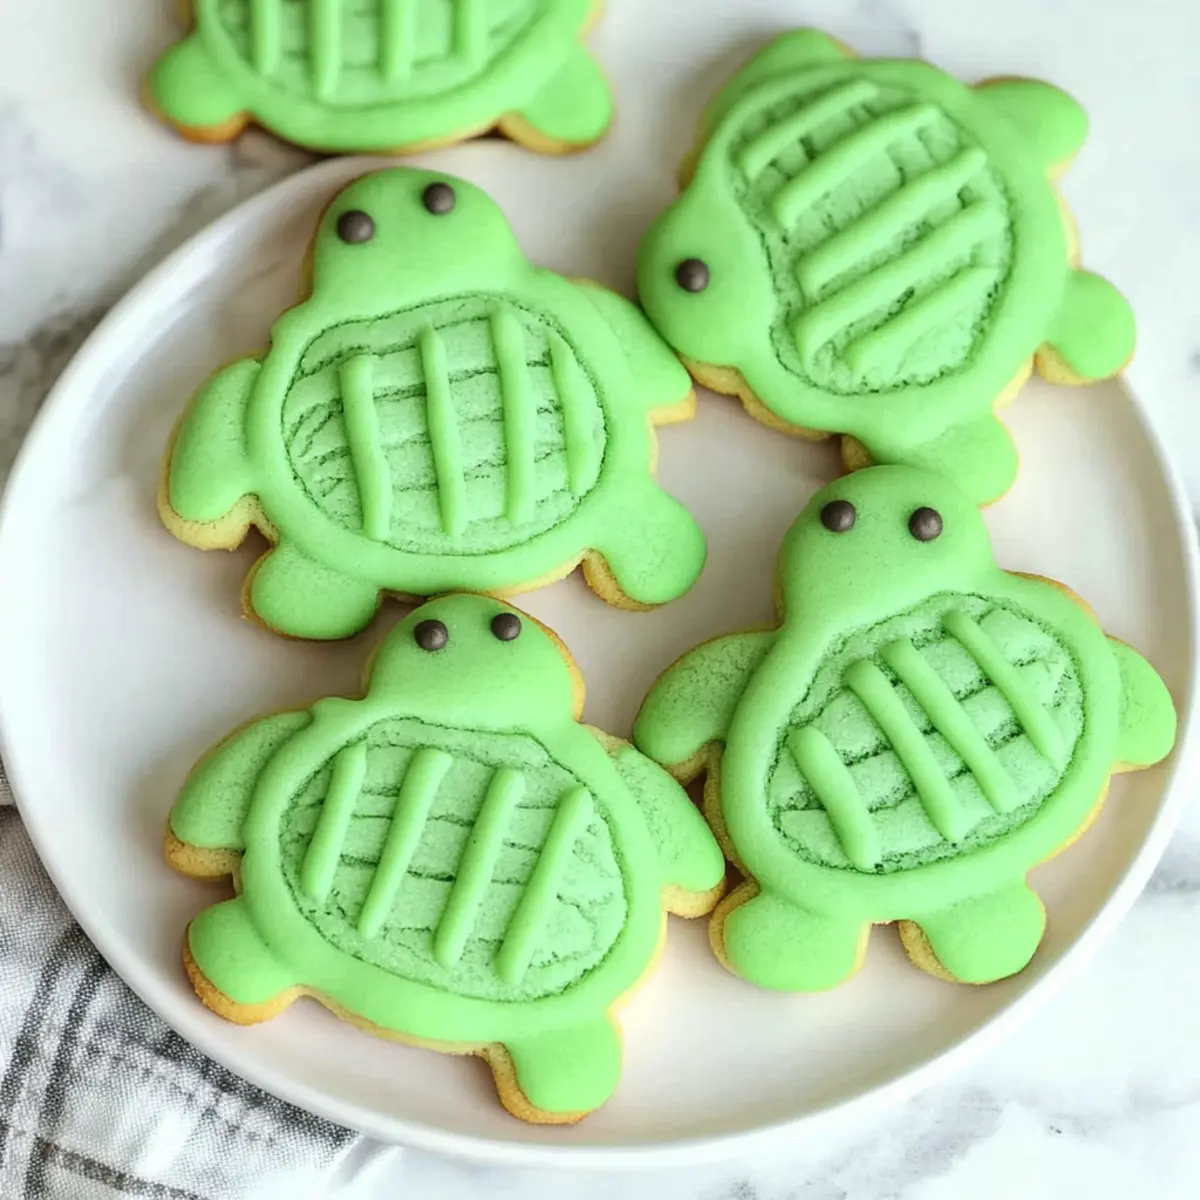
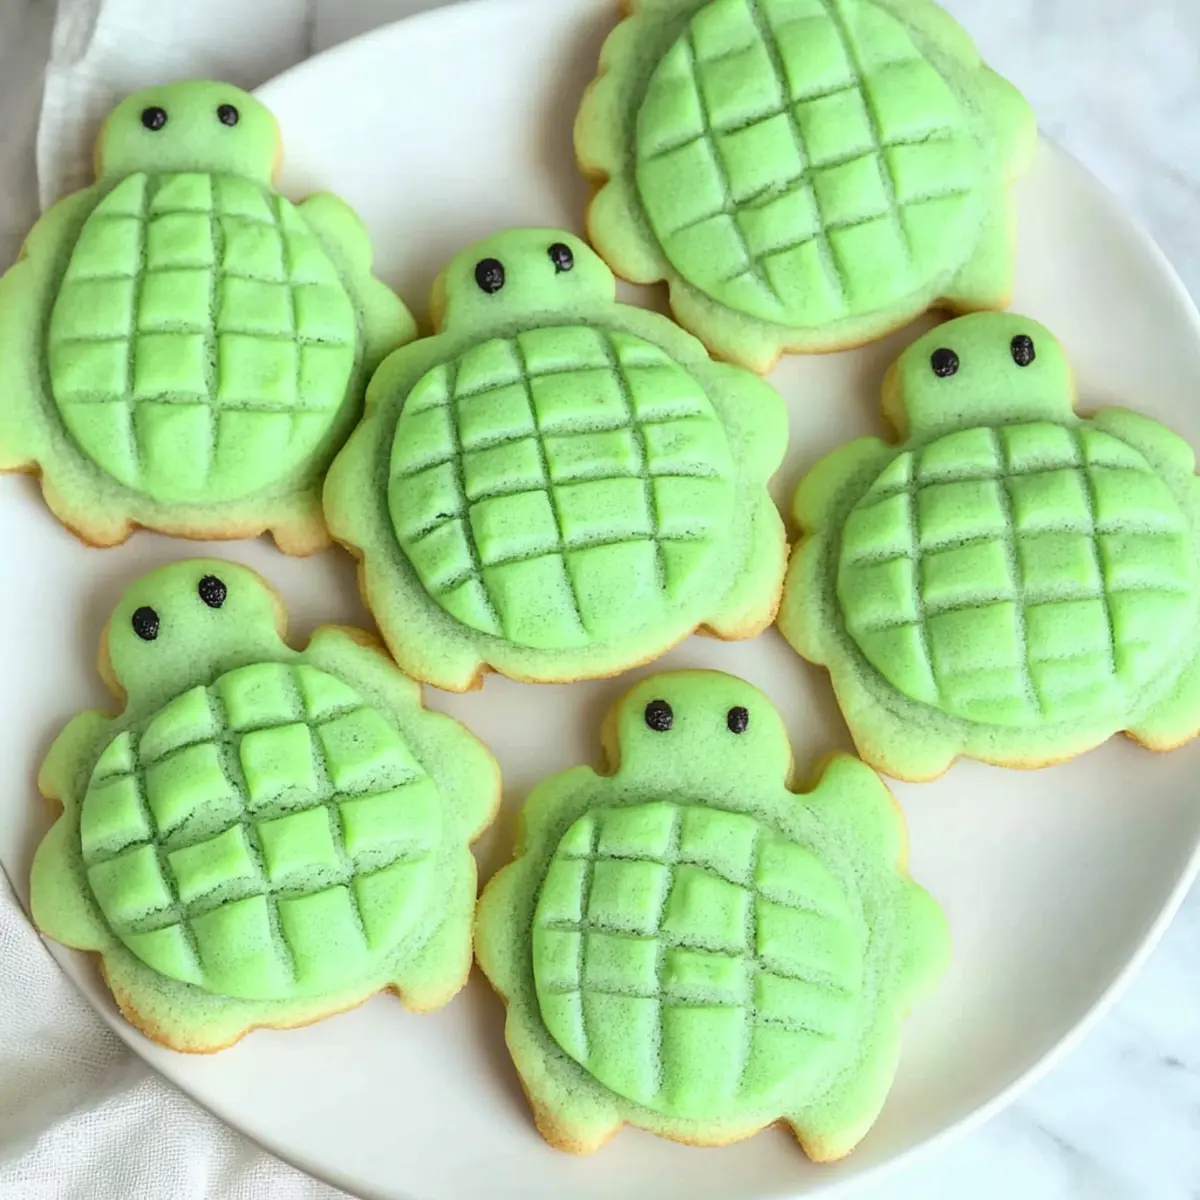
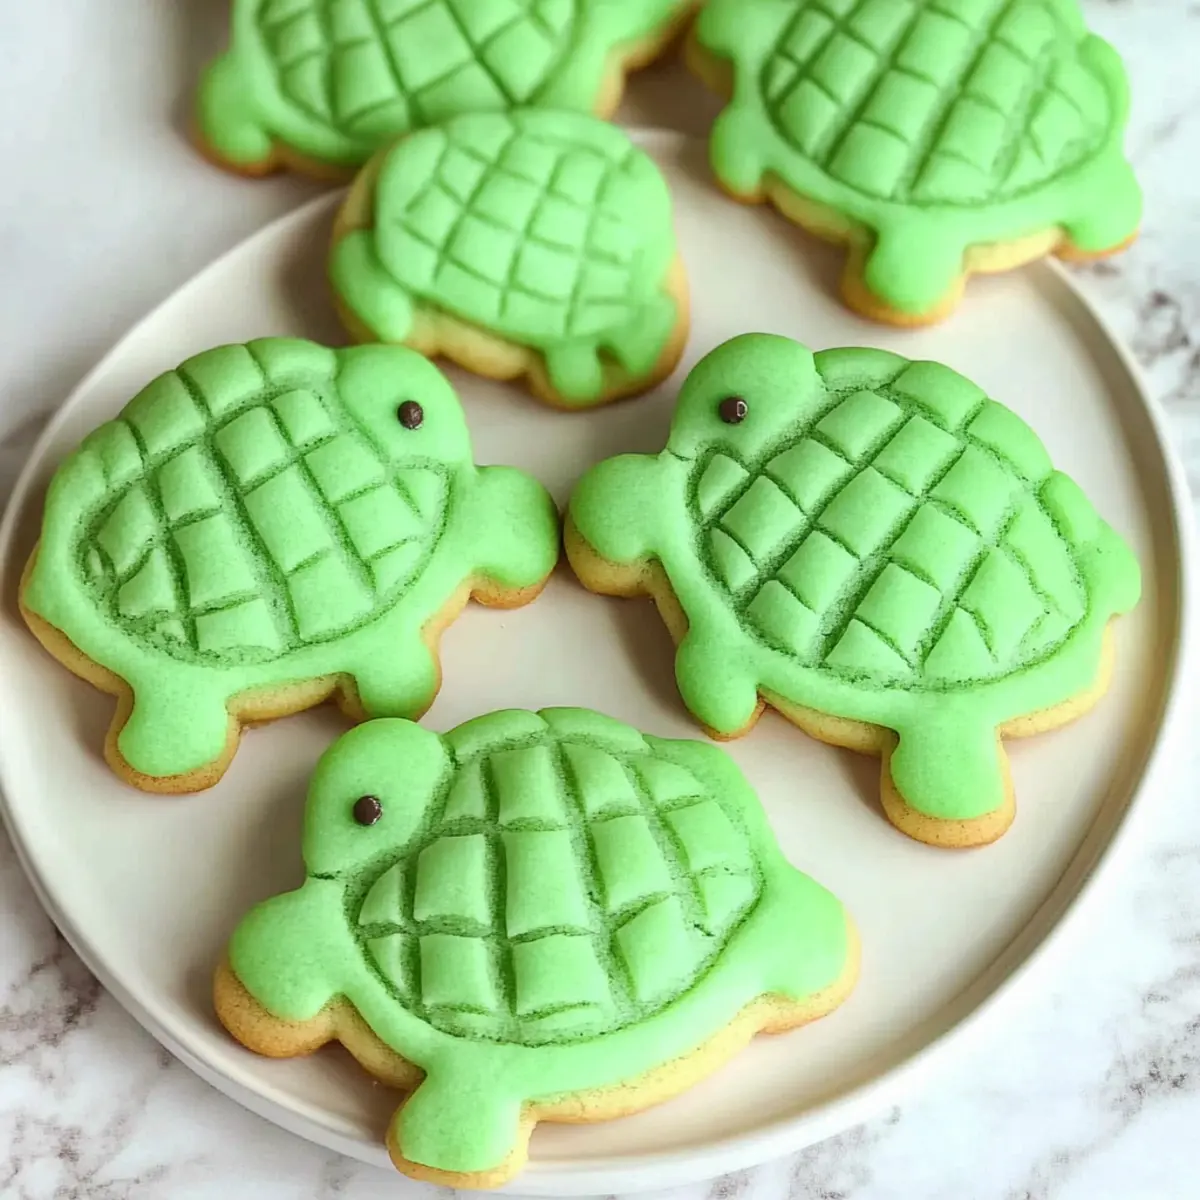
There’s something truly magical about crafting a whimsical treat that captures the hearts of both kids and adults alike. Enter my Turtle Sugar Cookies—soft, chewy, and adorned with vibrant green hues that mimic adorable sea turtles. These delightful cookies don’t just look charming; they are incredibly easy to make, making them the perfect go-to dessert for any party or fun occasion. With just a few baking staples and simple techniques, you’ll have a batch of these charming creations ready to dazzle your loved ones in no time! What could be more satisfying than baking something that brings smiles all around? Let me show you how to bring these playful cookies to life!
Why Are Turtle Sugar Cookies So Appealing?
Whimsical Appeal: These Turtle Sugar Cookies are not only delicious but also bring a touch of fun to any dessert table, capturing the hearts of both kids and adults alike.
Simple to Create: With just a few staple ingredients and easy steps, these cookies are perfect for bakers of all skill levels, making baking a stress-free joy!
Soft & Chewy Texture: The delightful texture of these cookies is a crowd-pleaser, reminiscent of classic sugar cookies but with a playful twist—every bite is a treat!
Versatile Variations: Feel free to experiment! You can add colorful sprinkles or even swap in chocolate chips to make each batch uniquely yours. For more inspiration, check out these Matcha Cookies Soft and Eggnog Cookies Soft.
Perfect for Any Occasion: Whether it’s a birthday, holiday, or just a fun gathering with friends, these cookies are sure to bring smiles and delight!
Turtle Sugar Cookies Ingredients
For the Cookie Dough
• Sugar – Provides sweetness and is essential for the cookie structure and flavor.
• Butter (1/2 cup, softened) – Adds richness and moisture; make sure it’s at room temperature for easy creaming.
• Vanilla (1 tsp) – Enhances flavor; use pure vanilla extract for the best taste.
• Egg (1) – Binds ingredients and adds richness; can substitute with a flax egg for a vegan version.
• Flour (1 3/4 cups) – The main structure of the cookies; use all-purpose flour, or a gluten-free alternative for those dietary needs.
• Baking Powder (1/2 tsp) – Provides lift; ensure it’s fresh for optimal results.
• Baking Soda (1/2 tsp) – Works with baking powder for proper rising.
• Salt (1/2 tsp) – Balances sweetness and enhances flavors.
For the Turtle Color
• Green Gel Food Coloring – Provides the turtle color; adjust the quantity to achieve your desired shade.
With these Turtle Sugar Cookies ingredients in hand, you’re all set to embark on a delightful baking adventure that will surely spread joy in every bite!
Step‑by‑Step Instructions for Turtle Sugar Cookies
Step 1: Preheat and Prepare
Begin by preheating your oven to 400°F (200°C) and lining a baking sheet with parchment paper for easy cookie transfer. Gather all your ingredients, making sure your butter is softened and at room temperature. This will help you achieve a creamy consistency when mixing.
Step 2: Cream Butter and Sugar
In a large mixing bowl, combine the softened butter, sugar, and vanilla extract. Using an electric mixer, beat the mixture on medium speed for about 2-3 minutes until it is light and fluffy. The mixture should appear pale and well-combined, indicating that air has been incorporated for softness in your Turtle Sugar Cookies.
Step 3: Incorporate the Egg
Crack one egg into the bowl with your creamed butter and sugar. Mix on low speed until the egg is fully incorporated, about 1 minute. The mixture should be smooth and creamy, which helps bind your dough together as you move on to adding the dry ingredients.
Step 4: Combine Dry Ingredients
In a separate bowl, whisk together the flour, baking powder, baking soda, and salt. Gradually add the dry mixture to the wet ingredients, mixing on low speed until just combined, about 1-2 minutes. The dough will start to come together, forming a smooth texture perfect for your Turtle Sugar Cookies.
Step 5: Add Color
Now it's time to bring the fun to your dough! Add a few drops of green gel food coloring to the cookie dough. Mix thoroughly until the color is evenly distributed, creating a cheerful green hue that will mimic the turtles. Adjust the gel to achieve your desired shade; the dough should be vibrant.
Step 6: Shape the Cookies
Using a tablespoon, scoop out portions of dough and roll them into balls. Place the dough balls on the prepared baking sheet, giving them some space to spread. Aim for about 2 inches apart. Each ball should look smooth and round, setting the stage for your adorable Turtle Sugar Cookies.
Step 7: Flatten and Form Turtles
With a fork, gently flatten each ball to create the turtle bodies. Aim for a slightly oval shape. Then, roll smaller balls of dough for the turtle's head and four legs, gently attaching them to the flattened cookie. This step is crucial for creating the whimsical turtle shapes that will delight everyone.
Step 8: Bake the Cookies
Place the baking sheet in your preheated oven and bake for 5-7 minutes. Keep a close eye on them; the bottoms should be lightly browned, while the tops remain soft. Remove from the oven once done, as they will continue to firm up while cooling. The delightful aroma will fill your kitchen!
Step 9: Cool and Decorate
Allow the Turtle Sugar Cookies to cool on the baking sheet for a few minutes before transferring them to a wire rack. Let them cool completely before using edible markers to add eyes and other designs. This ensures that your decorations won’t smudge, allowing your turtles to shine!

Expert Tips for Turtle Sugar Cookies
• Creaming Matters: Cream the butter and sugar thoroughly for a light and fluffy texture—this step is crucial for soft Turtle Sugar Cookies.
• Gentle Shaping: Use a delicate touch when forming the head and legs to prevent squishing the cookie body—this preserves the whimsical turtle shape!
• Cooling Time: Allow the cookies to cool completely before decorating. This will help maintain their shape and prevent smudging of your designs.
• Watch the Oven: Keep an eye on your cookies while baking; they’ll firm up as they cool. Aim for light brown bottoms for the perfect chewy texture.
• Coloring Adjustments: Don’t be afraid to experiment with the green gel food coloring—add more or less to achieve your desired turtle shade.
Make Ahead Options
These Turtle Sugar Cookies are perfect for meal prep enthusiasts! You can prepare the cookie dough up to 24 hours in advance, simply wrap it tightly in plastic wrap after mixing. To maintain quality, refrigerate the dough to prevent browning and drying out. You can also shape the cookies into turtle forms and refrigerate them for up to 3 days prior to baking—just remember to let them sit at room temperature for about 10 minutes before baking to ensure they bake evenly. When you're ready to serve these delightful Turtle Sugar Cookies, just pop them in the oven and bake until lightly browned, allowing you to enjoy a homemade treat with minimal effort.
Turtle Sugar Cookies Variations
Feel free to let your creativity soar and customize these cookies just the way you like!
-
Different Colors: Swap green gel food coloring for other vibrant hues, creating a rainbow of turtle cookies for extra fun!
Experimenting with colors can turn your cookies into an exciting visual treat for gatherings or themed events. -
Add Chocolate Chips: Incorporate chocolate chips into the dough for a delicious gooeyness that complements the cookie's soft texture.
This simple addition can transform your Turtle Sugar Cookies into a chocolate lover's dream! -
Coconut Twist: Fold in shredded coconut for a tropical flavor that's both chewy and unexpected.
The coconut adds a delightful chewiness that pairs beautifully with the sugar cookie base. -
Nut Variations: Add finely chopped nuts for an earthy crunch. Walnuts or pecans work wonderfully, enhancing the cookie's texture.
This will give your cookies an extra heartiness and a comforting taste that everyone will enjoy. -
Experiment with Sprinkles: Top your turtles with colorful sprinkles for a festive touch that adds extra crunch and visual appeal.
It’s a delightful way to make your cookies pop, making them even more eye-catching at parties. -
Chocolatey Adventure: For a richer cookie experience, replace 1/2 cup of flour with cocoa powder for a chocolatey version.
This swap will create a decadent chocolate turtle that’s sure to please all the chocoholics in your life! -
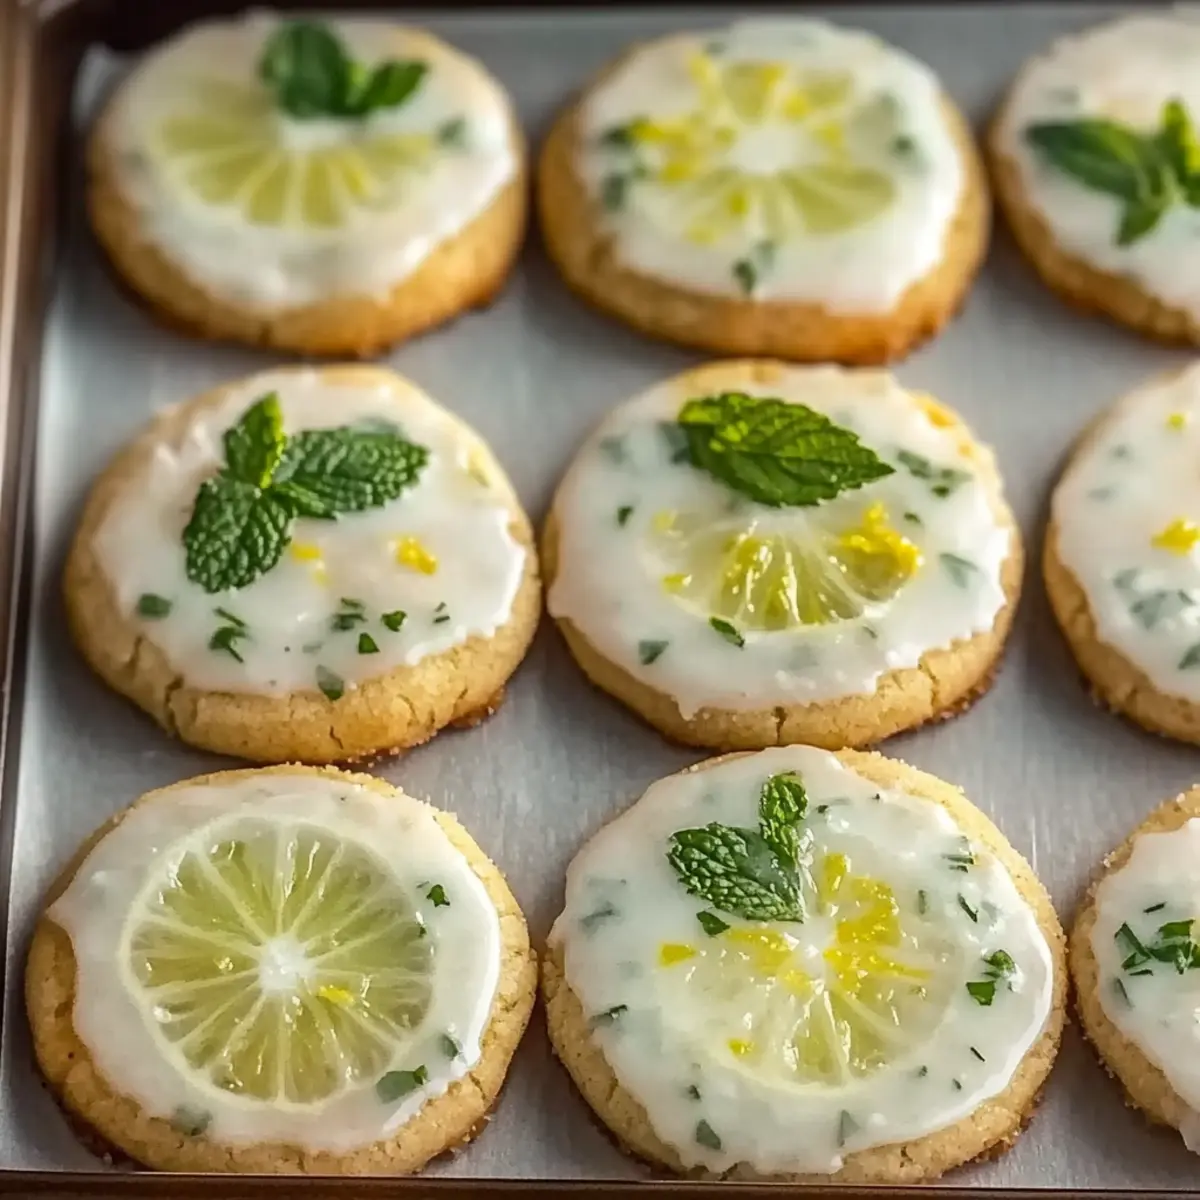
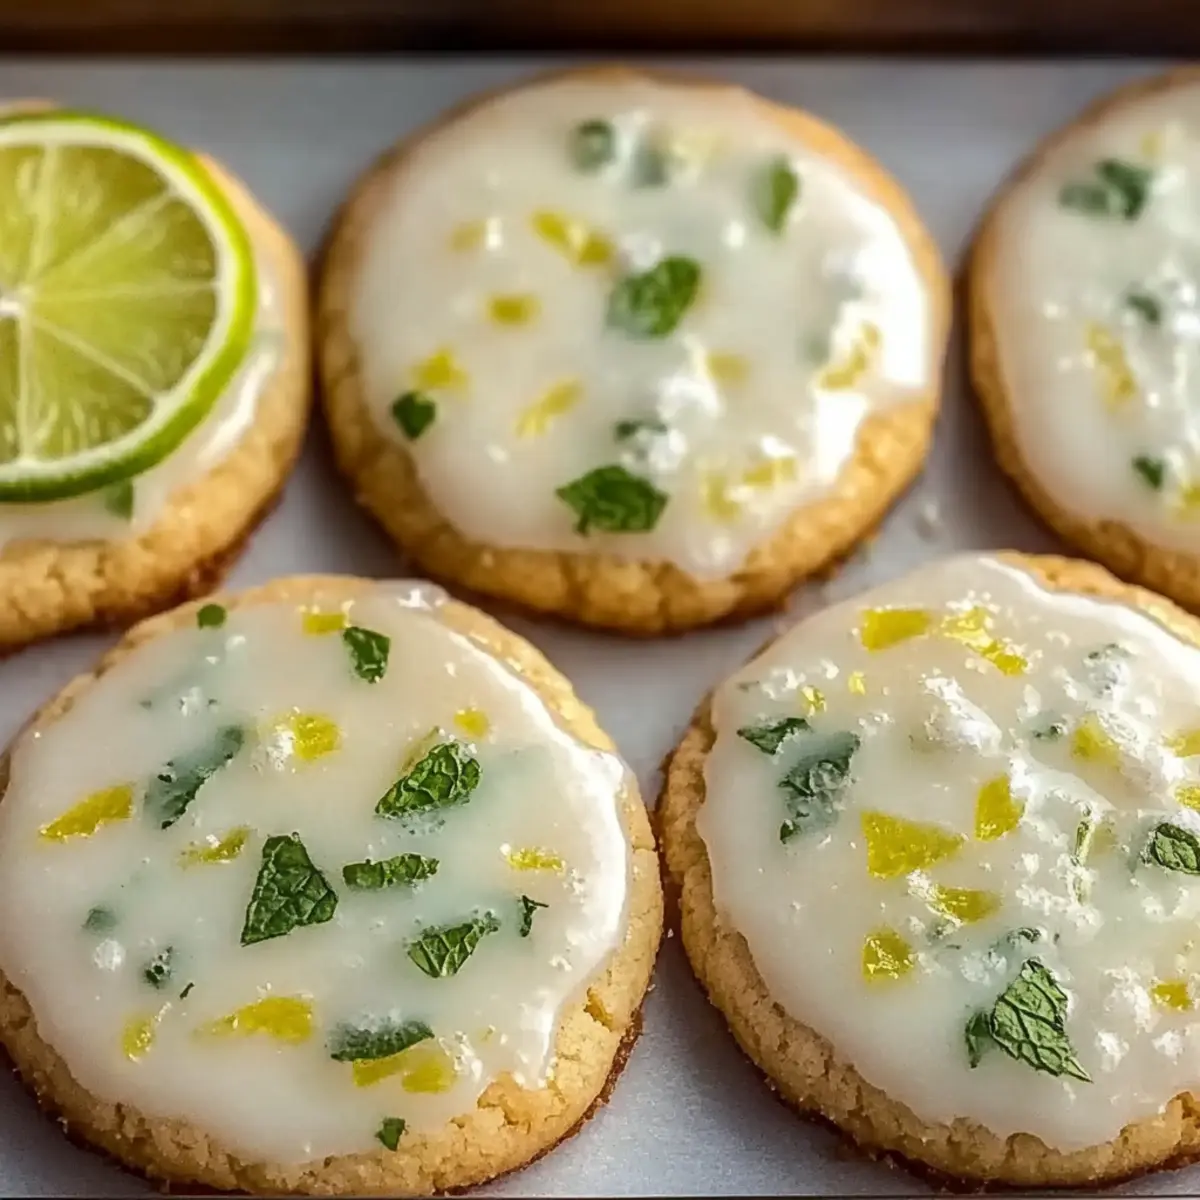
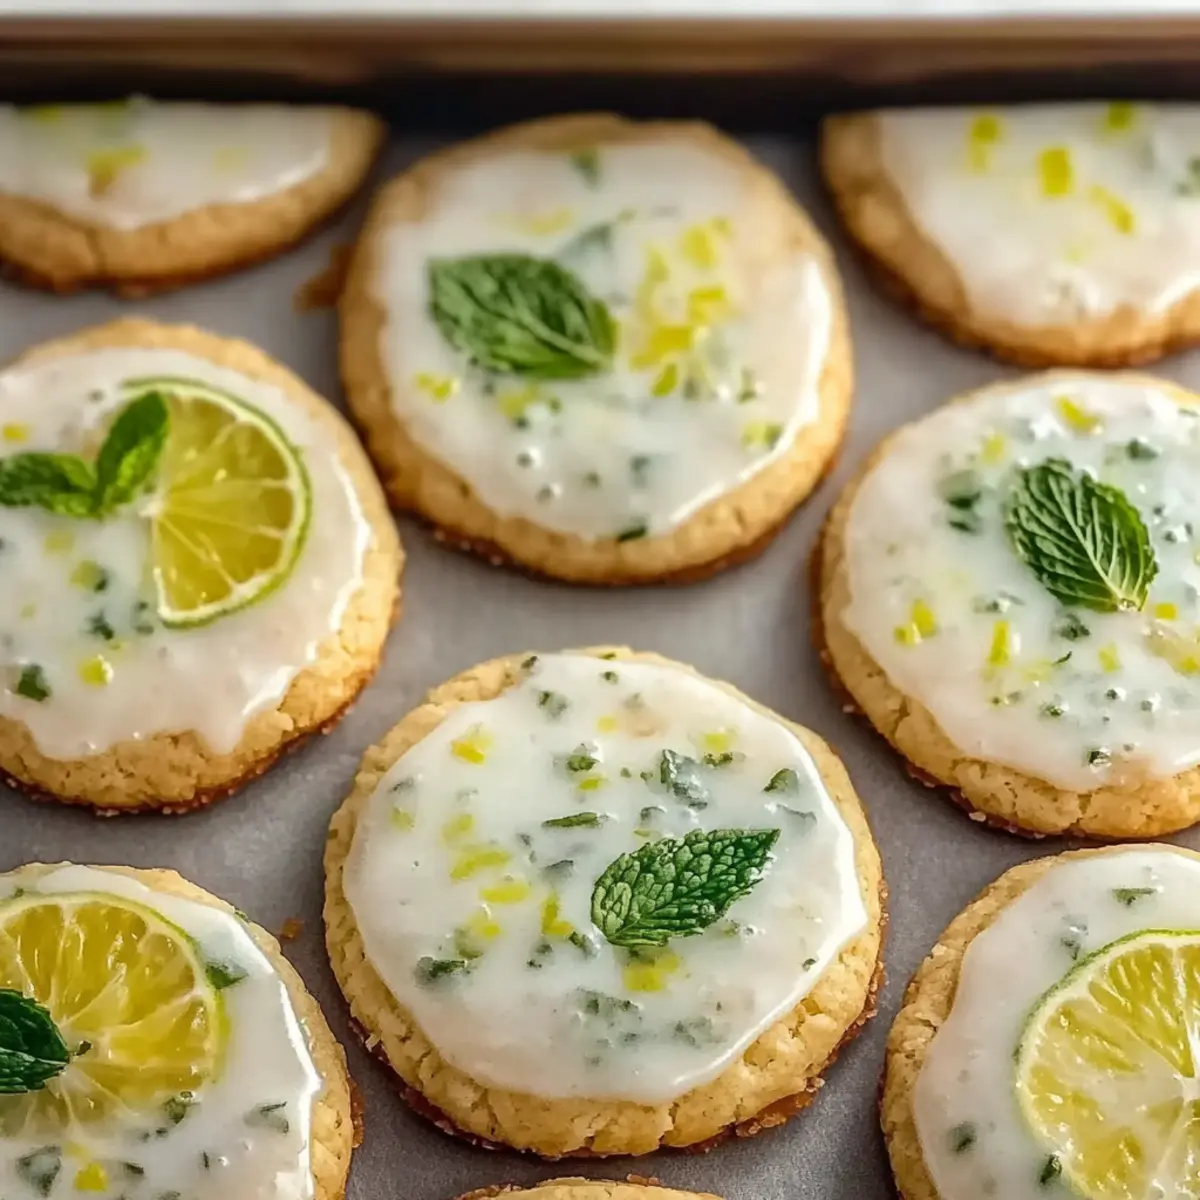
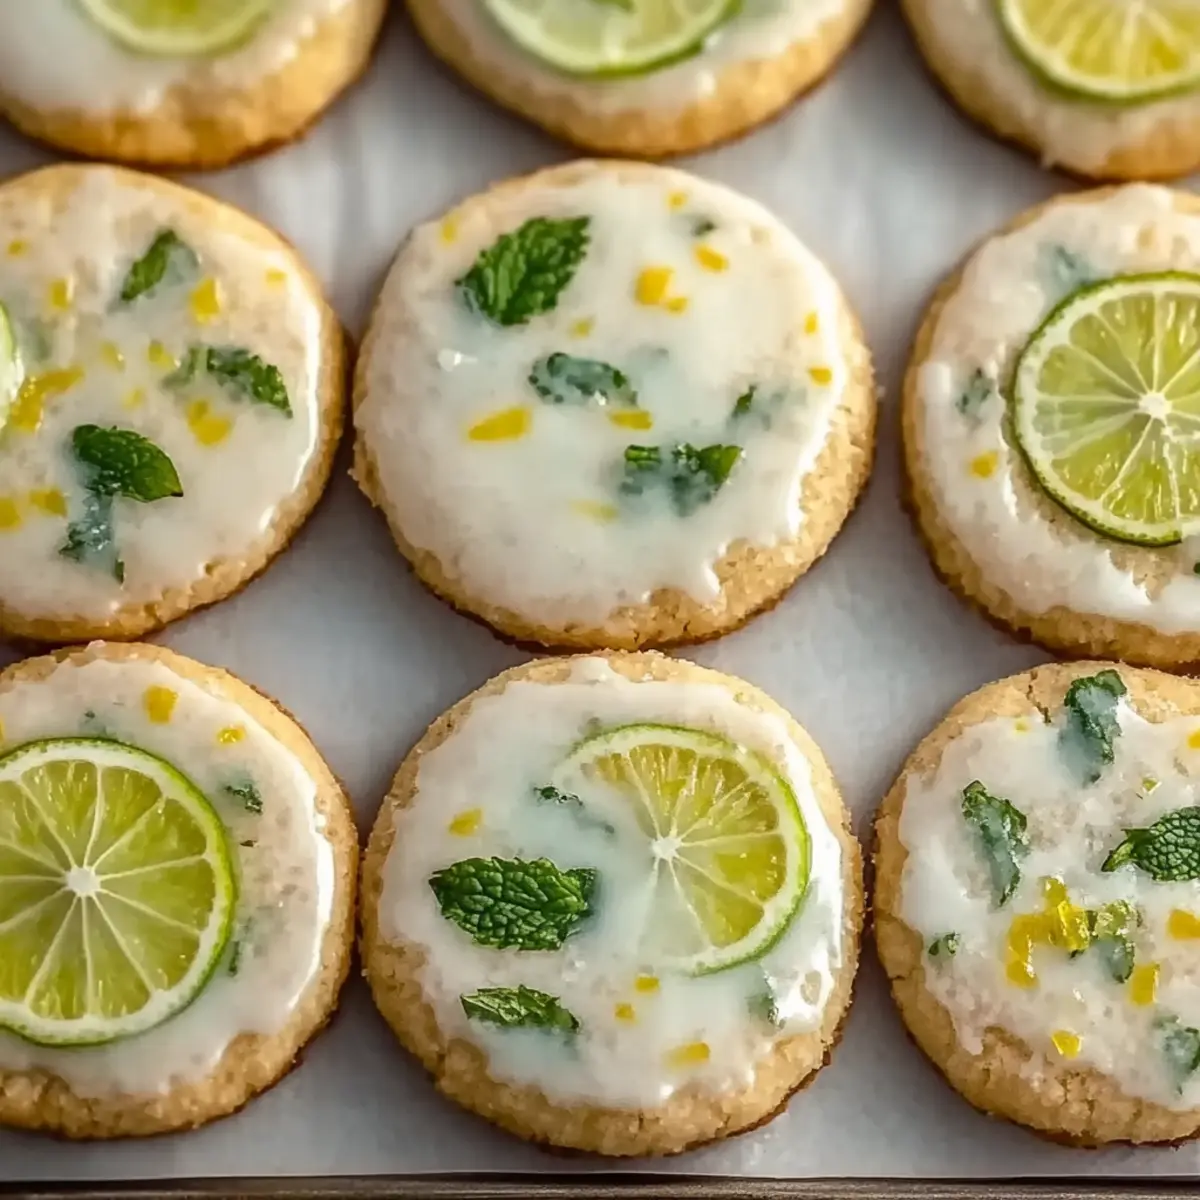
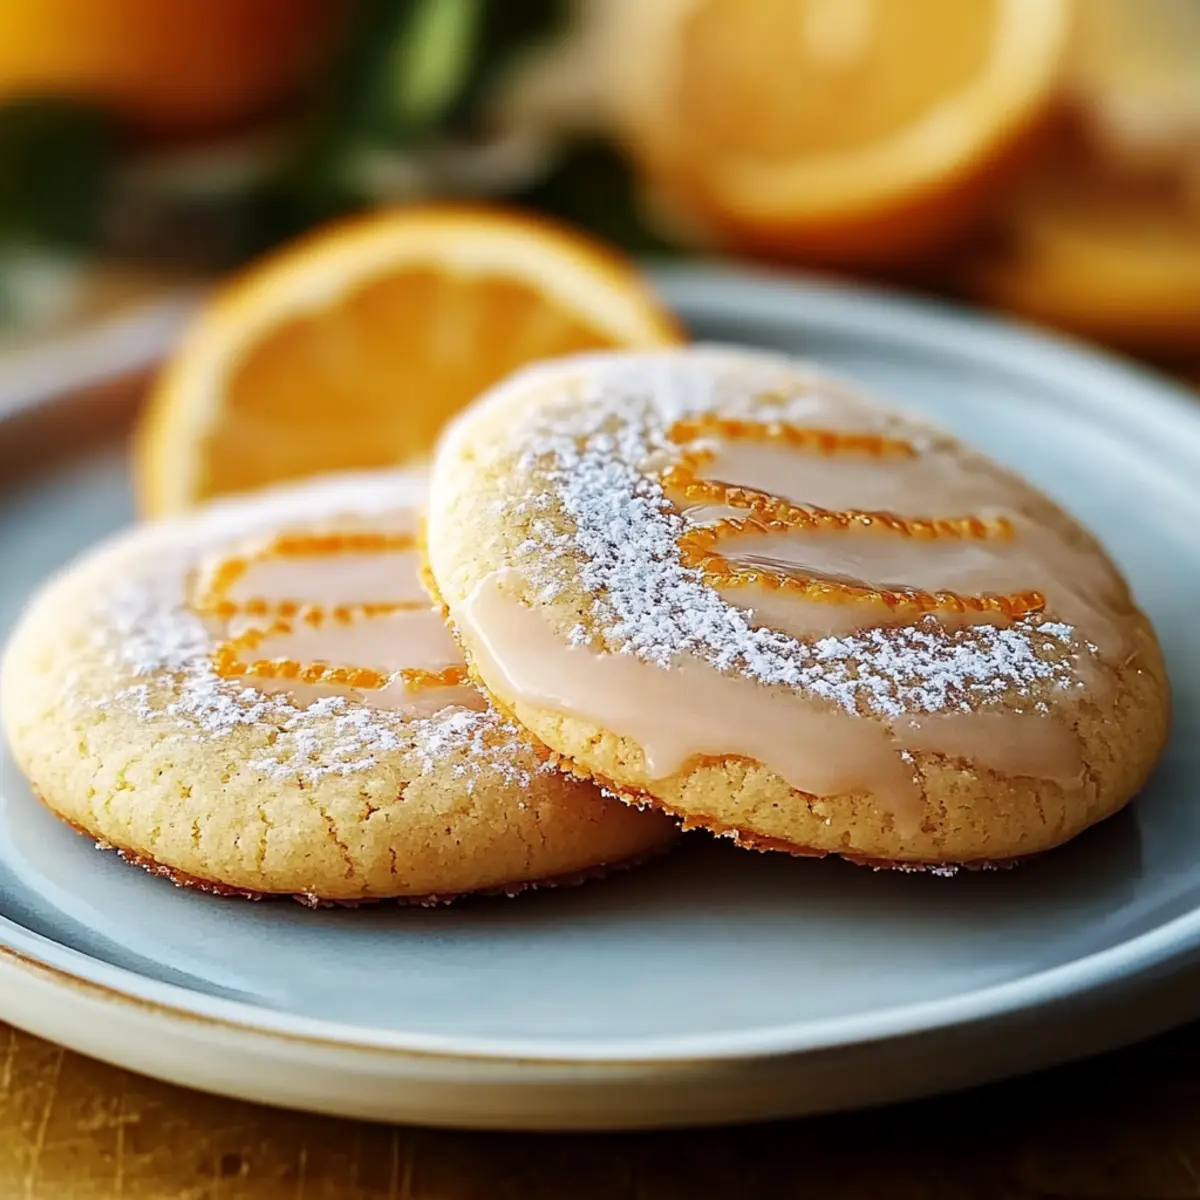
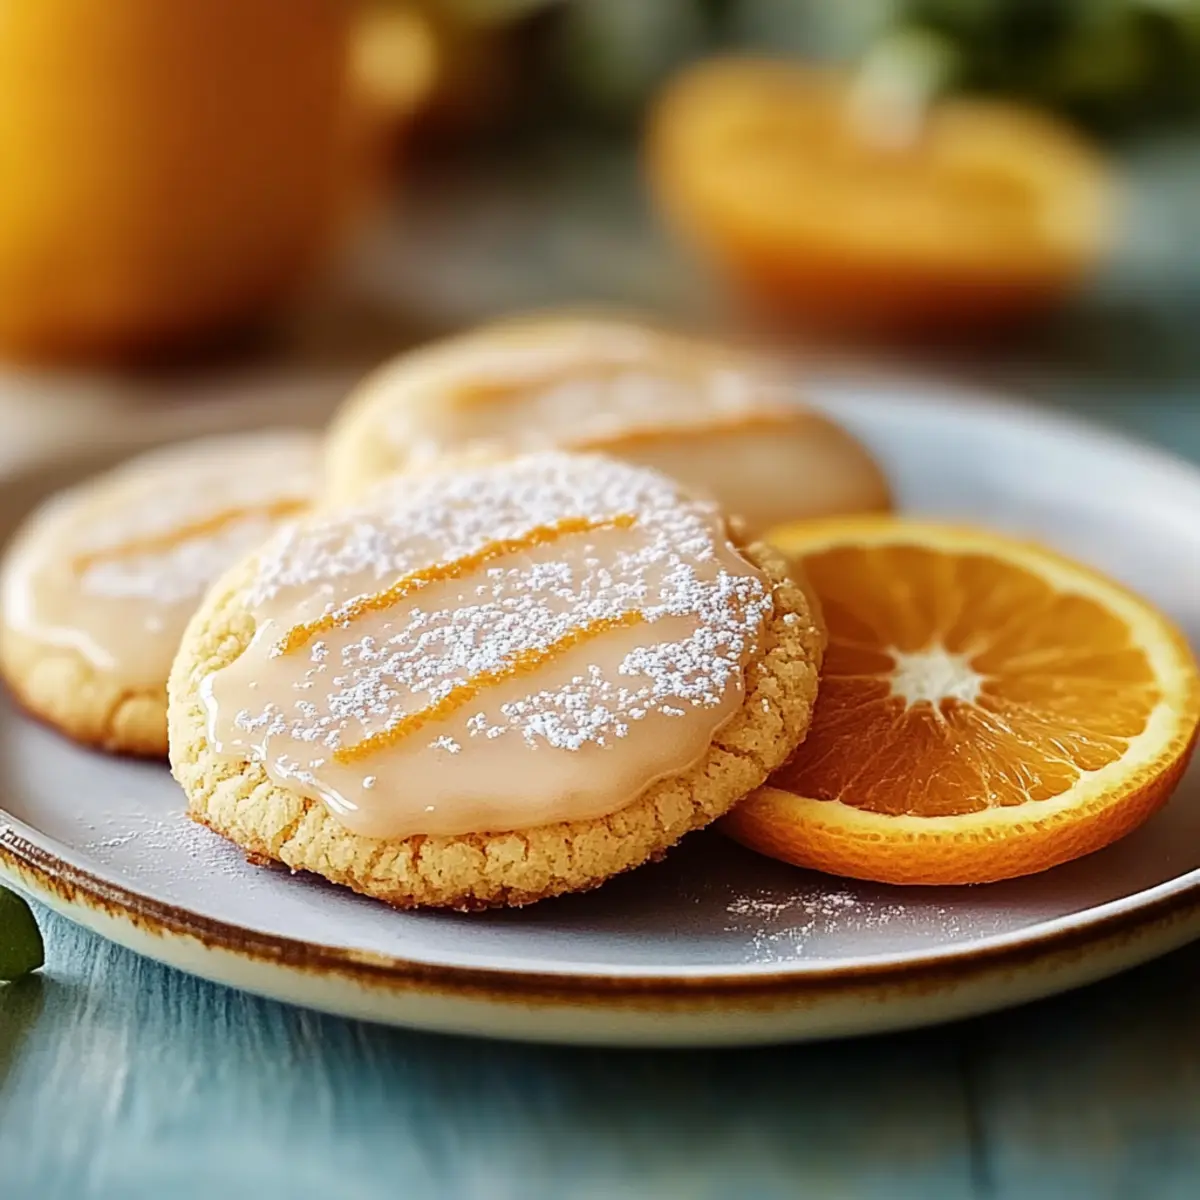
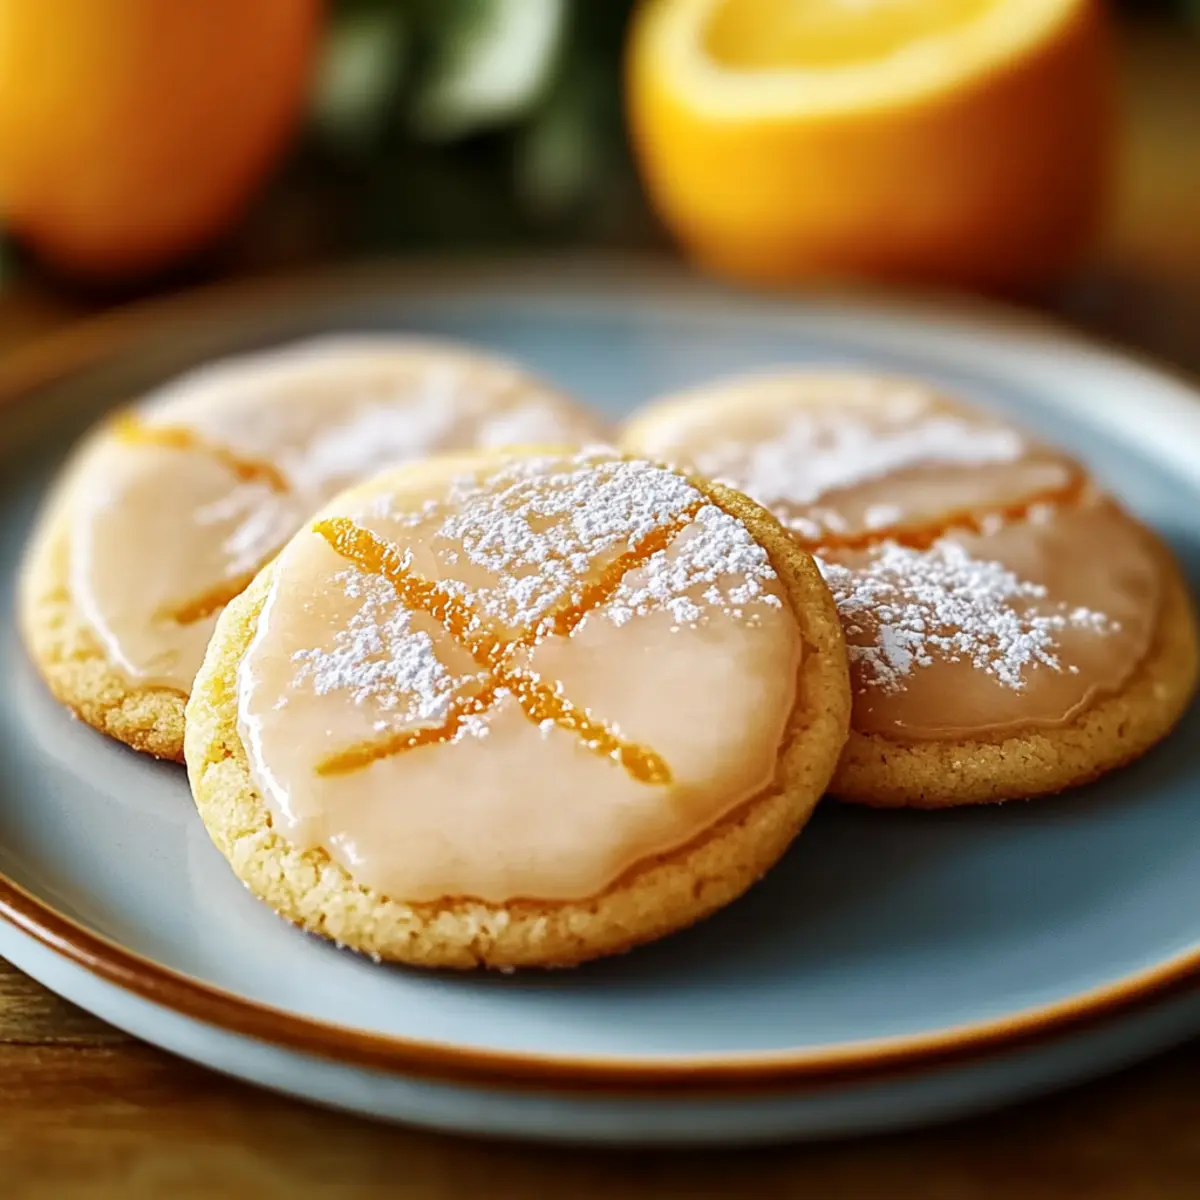
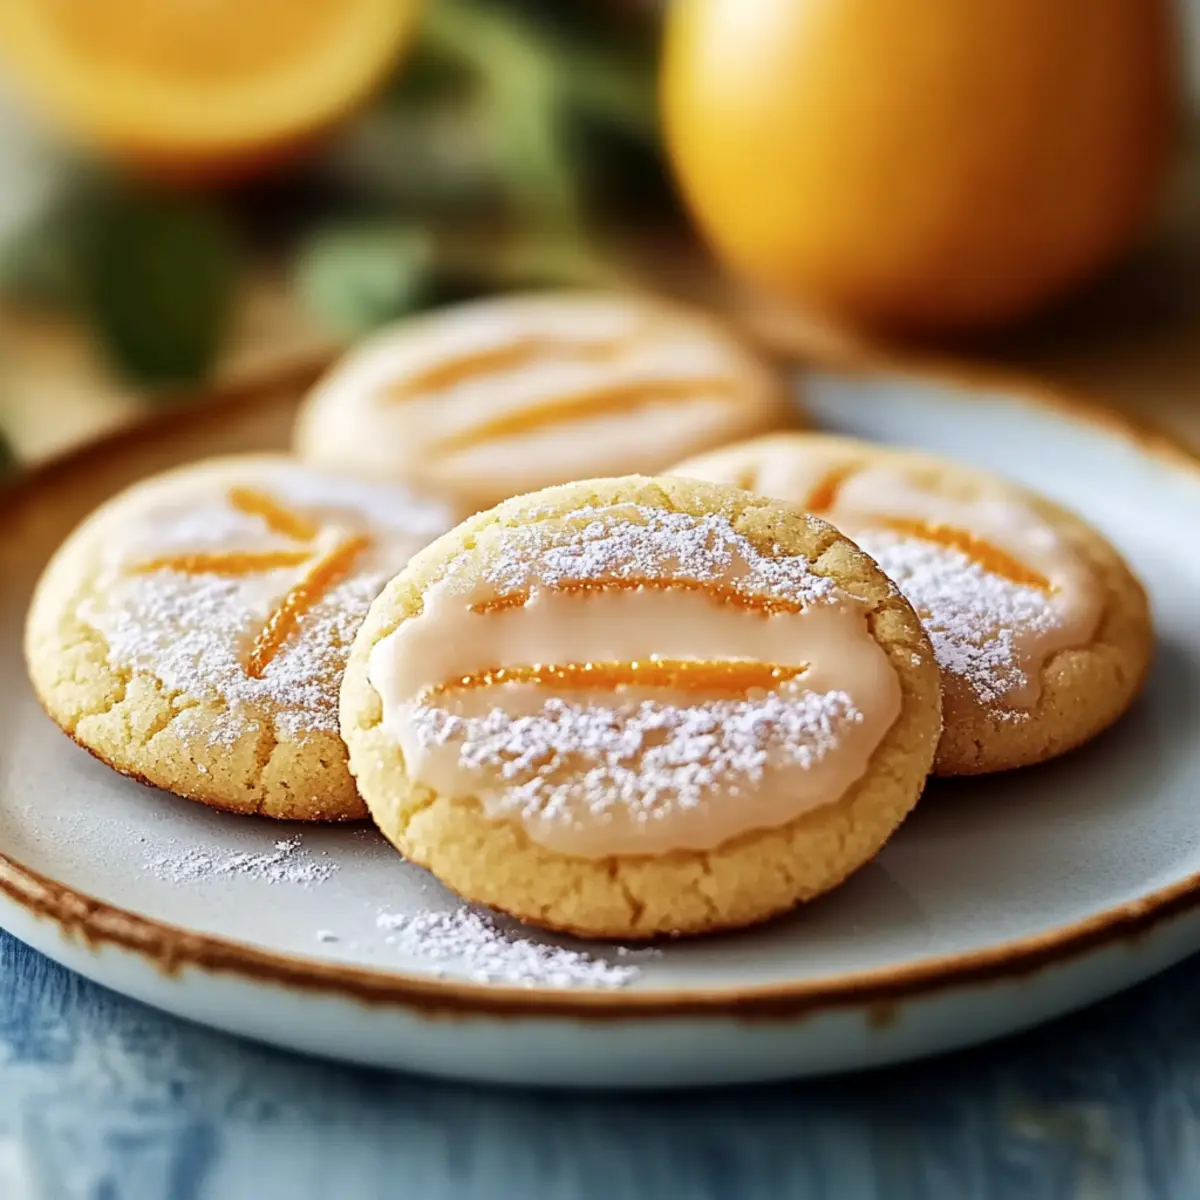
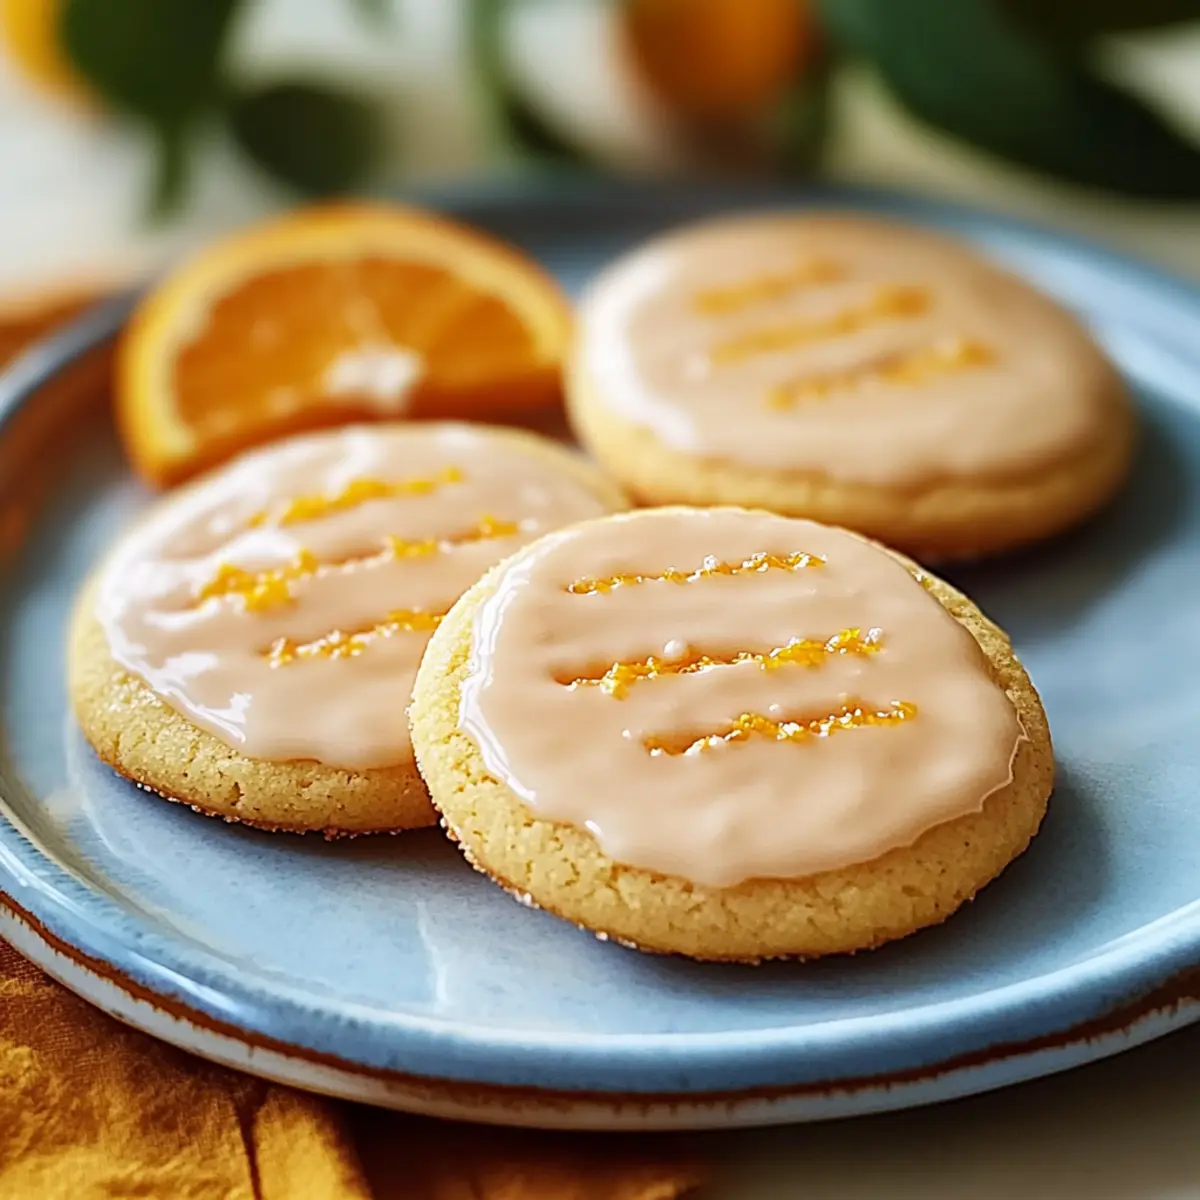
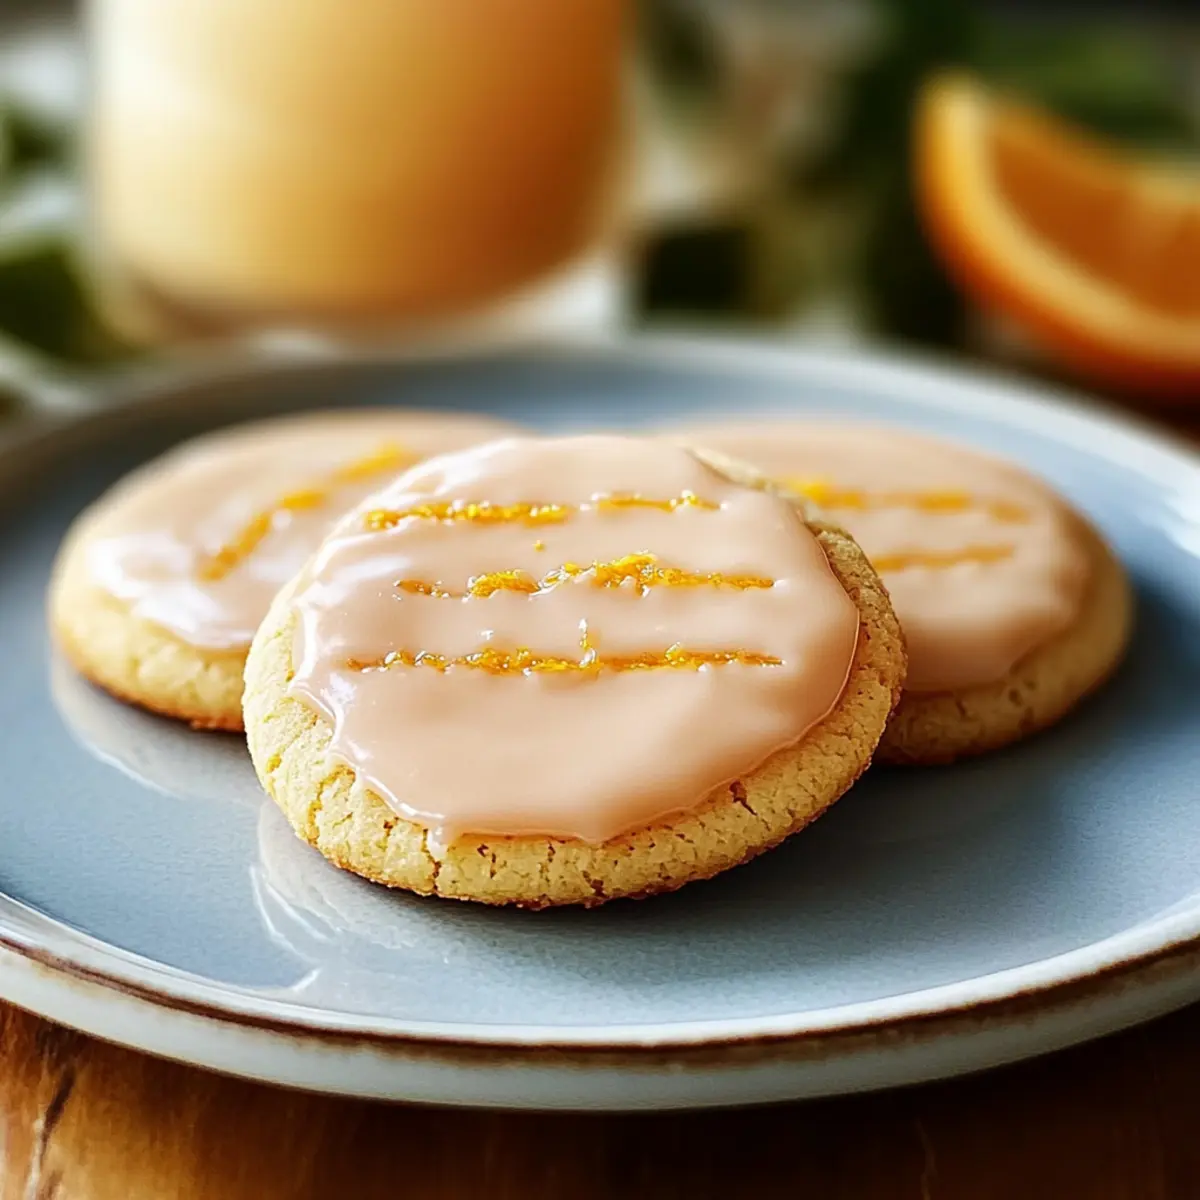
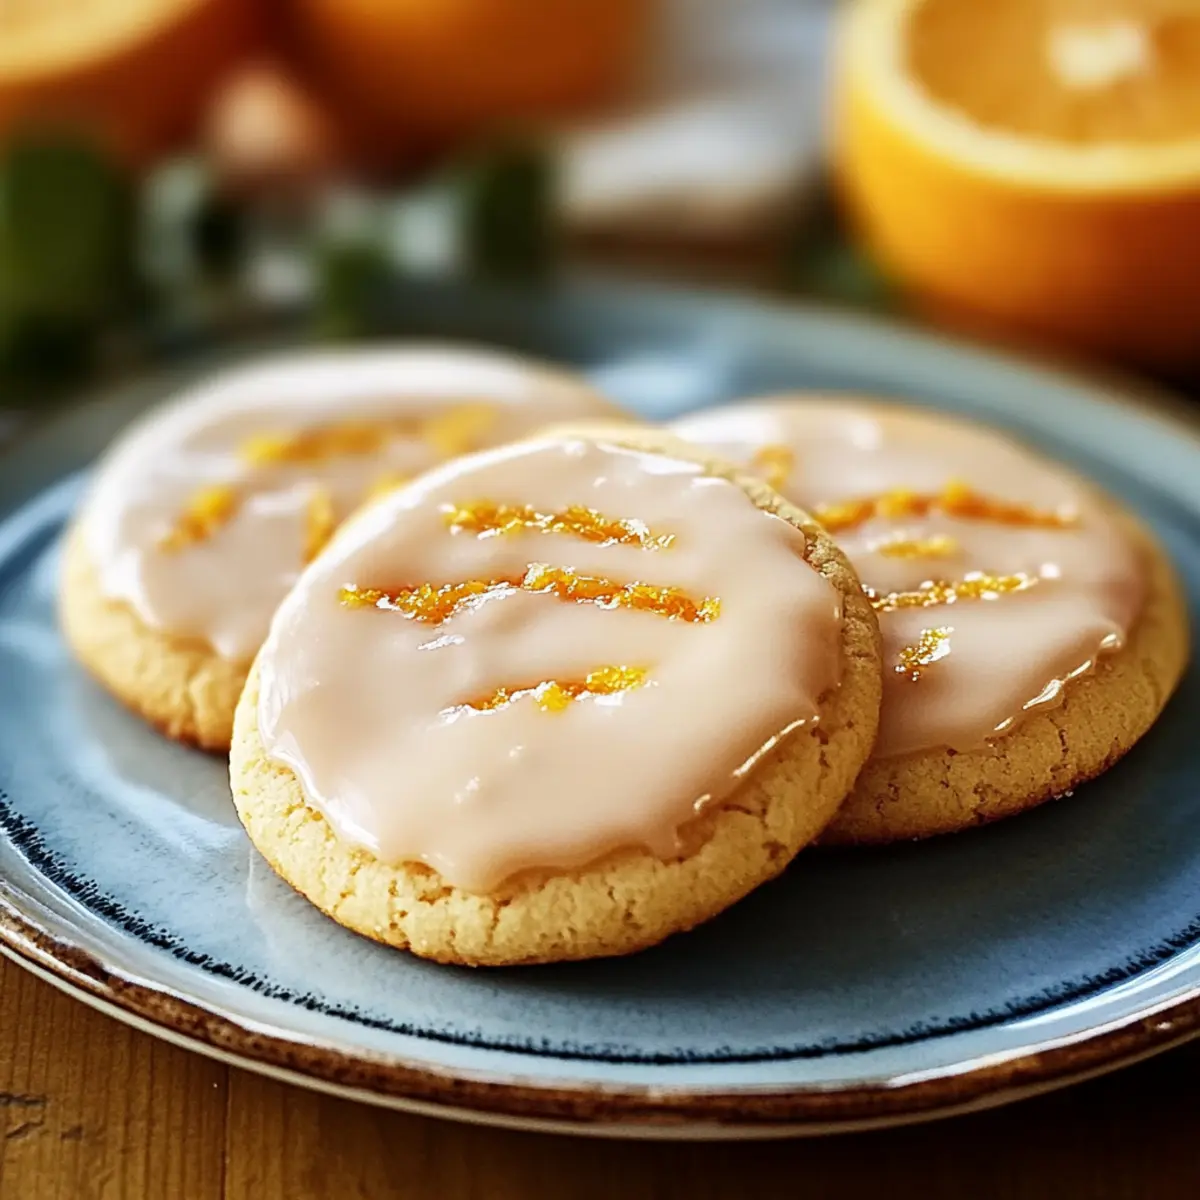
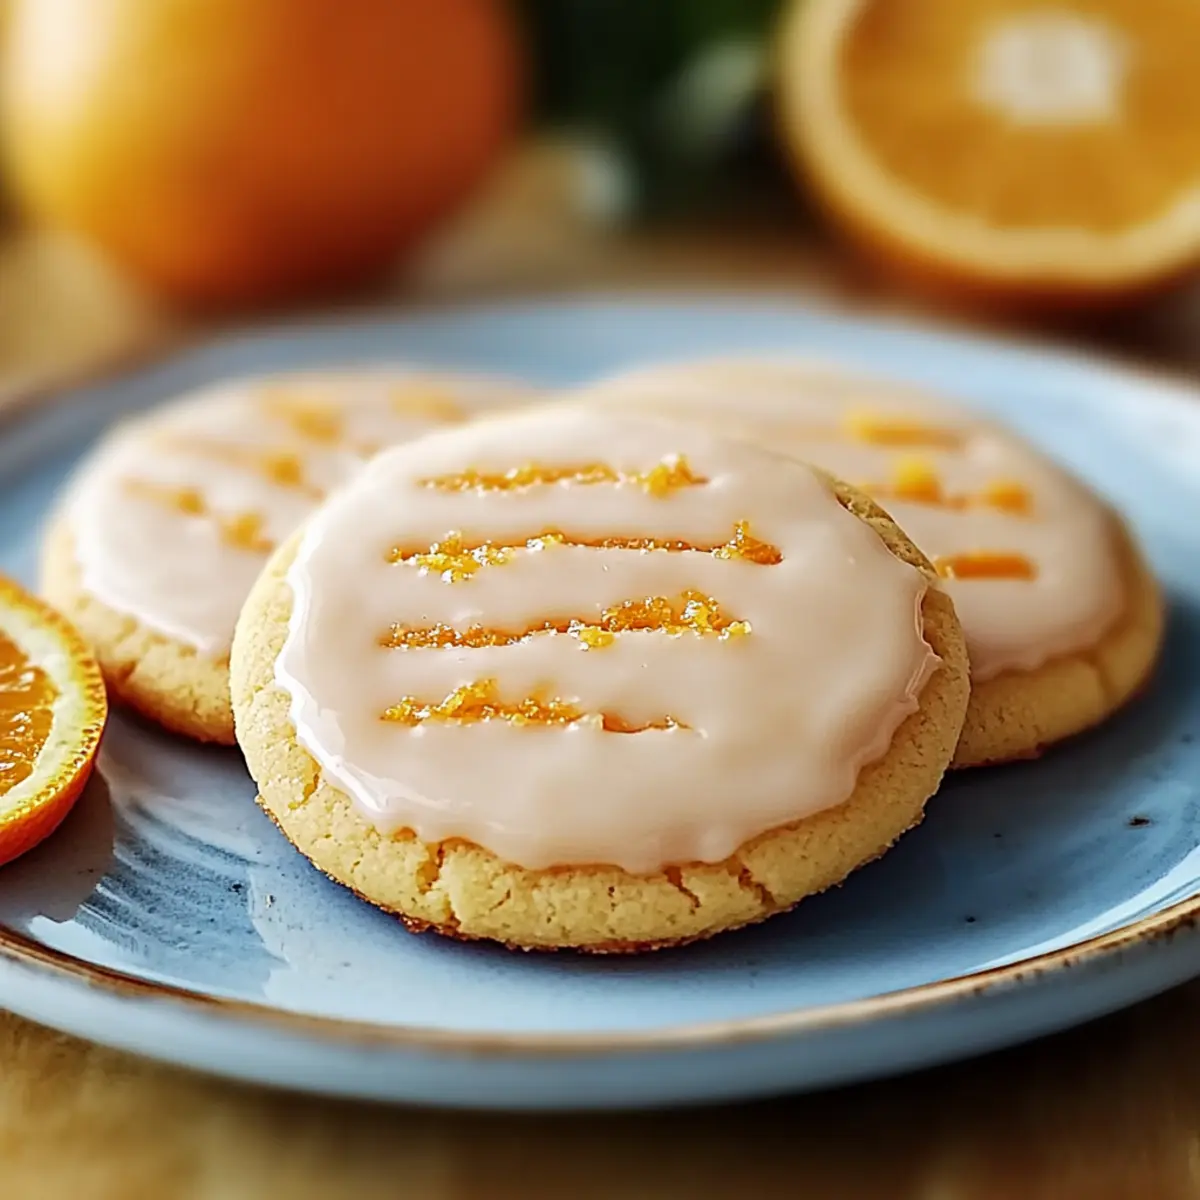
Flavors with Zest: Add a teaspoon of orange zest or lemon zest to the dough for a fresh twist that brightens the flavor profile.
The citrus notes will elevate your Turtle Sugar Cookies and surprise your taste buds! -
Gluten-Free Option: Substitute all-purpose flour with a 1:1 gluten-free baking flour for a tasty treat everyone can enjoy.
Making your cookies gluten-free doesn’t mean sacrificing flavor; they'll still be wonderfully soft and chewy!
For more delightful cookie ideas, take a look at these adorable Thumbprint Cookies Melt and the delicious Mexican Wedding Cookies. Enjoy your sweet baking adventure!
What to Serve with Turtle Sugar Cookies
Let the delightful charm of these cookies inspire a full meal that tantalizes the taste buds and warms the heart!
-
Cold Glass of Milk: The classic pairing! A cold glass of milk complements the sweetness of the cookies, making every bite more enjoyable.
-
Rich Hot Cocoa: For an extra indulgent treat, serve your cookies with steaming hot cocoa crowned with whipped cream; it adds a cozy touch to any gathering.
-
Vanilla Ice Cream: Scoop a little vanilla ice cream alongside these whimsical cookies for a delightful contrast of temperatures and textures that everyone will love.
-
Fresh Fruit Salad: The natural sweetness and acidity of fresh fruits, like strawberries or kiwi, balance the richness of the cookies while adding a refreshing element to your dessert spread.
-
Lemonade or Iced Tea: Serve with a glass of homemade lemonade or iced tea for a sweet and tangy refreshment that beautifully offsets the cookies’ rich flavor.
-
Chocolate Dipped Strawberries: Elevate the dessert experience with fresh, juicy strawberries dipped in chocolate. The sweetness and acidity of the berries create a delightful flavor harmony with the cookies.
-
Coffee or Espresso: A steaming cup of coffee or a shot of espresso pairs well, adding a sophisticated note to your sweet treat while balancing the cookie's sweetness.
-
Mini Cheesecakes: For something special, consider serving mini cheesecakes. Their creamy texture and flavor will contrast wonderfully with the chewy Turtle Sugar Cookies.
Storage Tips for Turtle Sugar Cookies
-
Room Temperature: Store your Turtle Sugar Cookies in an airtight container for up to 5 days to keep them soft and fresh.
-
Refrigeration: If you want to keep them for longer, refrigerate your cookies in an airtight container for up to 10 days; they will retain their delightful chewy texture.
-
Freezing: These cookies can be frozen for up to 3 months. Wrap them tightly in a freezer-safe container to preserve their flavor and texture.
-
Thawing: To enjoy frozen Turtle Sugar Cookies, thaw them in the refrigerator overnight and let them sit at room temperature for a bit before serving for the best taste.
Turtle Sugar Cookies Recipe FAQs
What kind of butter should I use for Turtle Sugar Cookies?
It’s best to use unsalted butter that's softened and at room temperature. This ensures easy creaming with the sugar, resulting in a light and chewy cookie texture. If you're in a hurry, place the butter in the microwave on low power for about 10-15 seconds—just watch it closely to avoid melting!
How should I store Turtle Sugar Cookies to keep them fresh?
Store your Turtle Sugar Cookies in an airtight container at room temperature for up to 5 days. This keeps them delightfully soft. If you want them to last longer, transfer them to the fridge where they can stay fresh for up to 10 days. Just remember to bring them back to room temperature before enjoying!
Can I freeze my Turtle Sugar Cookies?
Absolutely! You can freeze these cookies for up to 3 months. To do this, first allow the cookies to cool completely. Then, wrap them tightly in plastic wrap or place them in a freezer-safe container. When you’re ready to enjoy, simply thaw them in the refrigerator overnight and let them sit at room temperature for a short while before serving.
Why are my Turtle Sugar Cookies spreading too much?
If your cookies are spreading excessively, it may be due to melted butter or not enough flour in the dough. Ensure your butter is softened, but not melted. If the dough feels too loose, you can add a tablespoon of flour at a time until the right consistency is reached—a good dough should be soft but hold its shape.
Are there any allergy considerations for Turtle Sugar Cookies?
Yes, this recipe contains common allergens such as eggs and dairy. For a vegan version, substitute the egg with a flax egg (1 tablespoon ground flaxseed mixed with 3 tablespoons water) and use vegan butter. Be mindful of gluten if you're using all-purpose flour; opting for a gluten-free flour blend can make these cookies suitable for those with gluten intolerance.
How can I adjust the color of my Turtle Sugar Cookies?
To achieve the vibrant turtle green you desire, start with a few drops of green gel food coloring and mix it into your dough. If you want a lighter shade, just add a bit more flour. For those seeking different colors, you can easily swap the green food coloring for other shades—blue or yellow can create a fun twist.
Sweet Turtle Sugar Cookies - Chewy, Soft, and Fun to Make
Ingredients
Equipment
Method
- Preheat your oven to 400°F (200°C) and line a baking sheet with parchment paper.
- In a large bowl, cream together softened butter, sugar, and vanilla extract until light and fluffy.
- Add the egg and mix until fully incorporated.
- In a separate bowl, whisk together flour, baking powder, baking soda, and salt, then gradually add to the wet ingredients until just combined.
- Add green gel food coloring to the dough and mix thoroughly until color is evenly distributed.
- Scoop portions of dough, roll into balls, and place on the prepared baking sheet, spaced 2 inches apart.
- Flatten each ball slightly to create the turtle bodies, then form smaller balls for heads and legs, attaching them gently.
- Bake for 5-7 minutes until bottoms are lightly browned and tops remain soft.
- Cool on the baking sheet for a few minutes before transferring to a wire rack to cool completely before decorating.