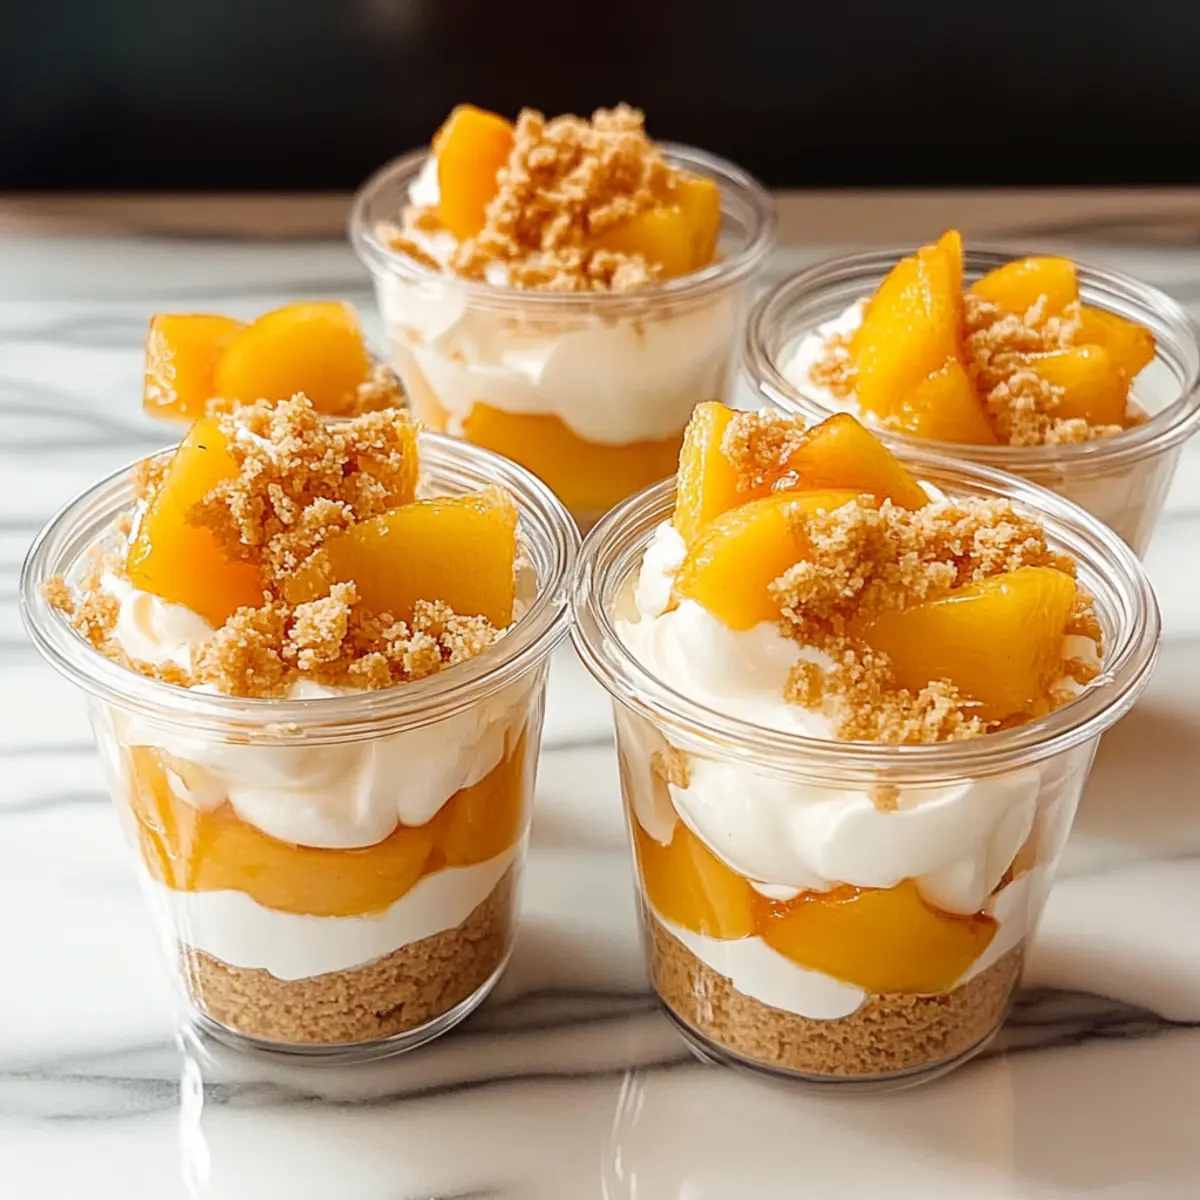
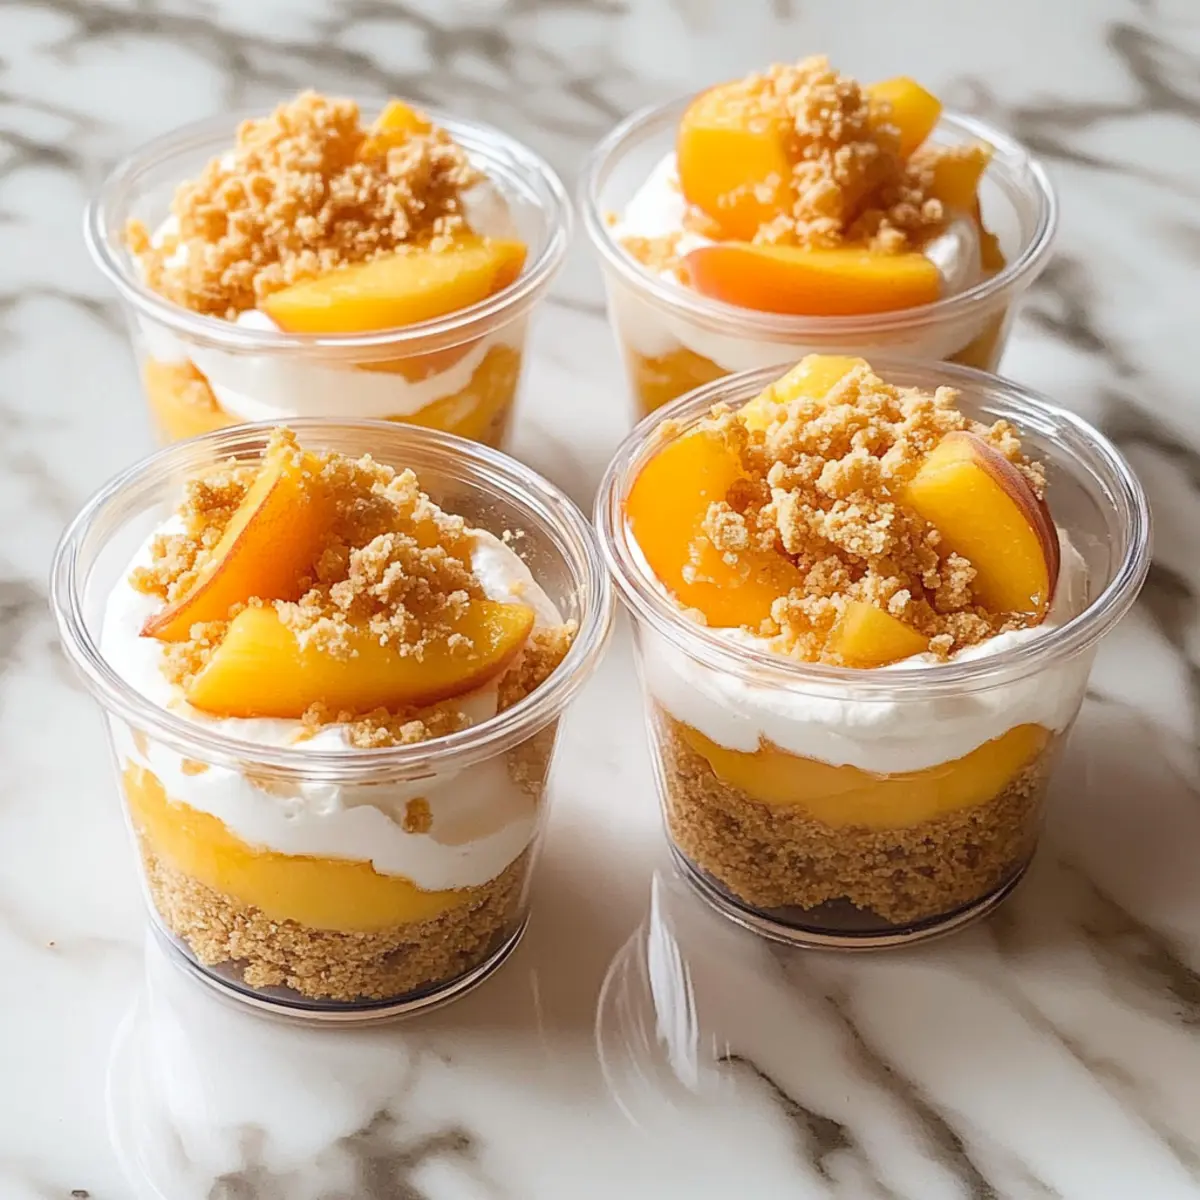
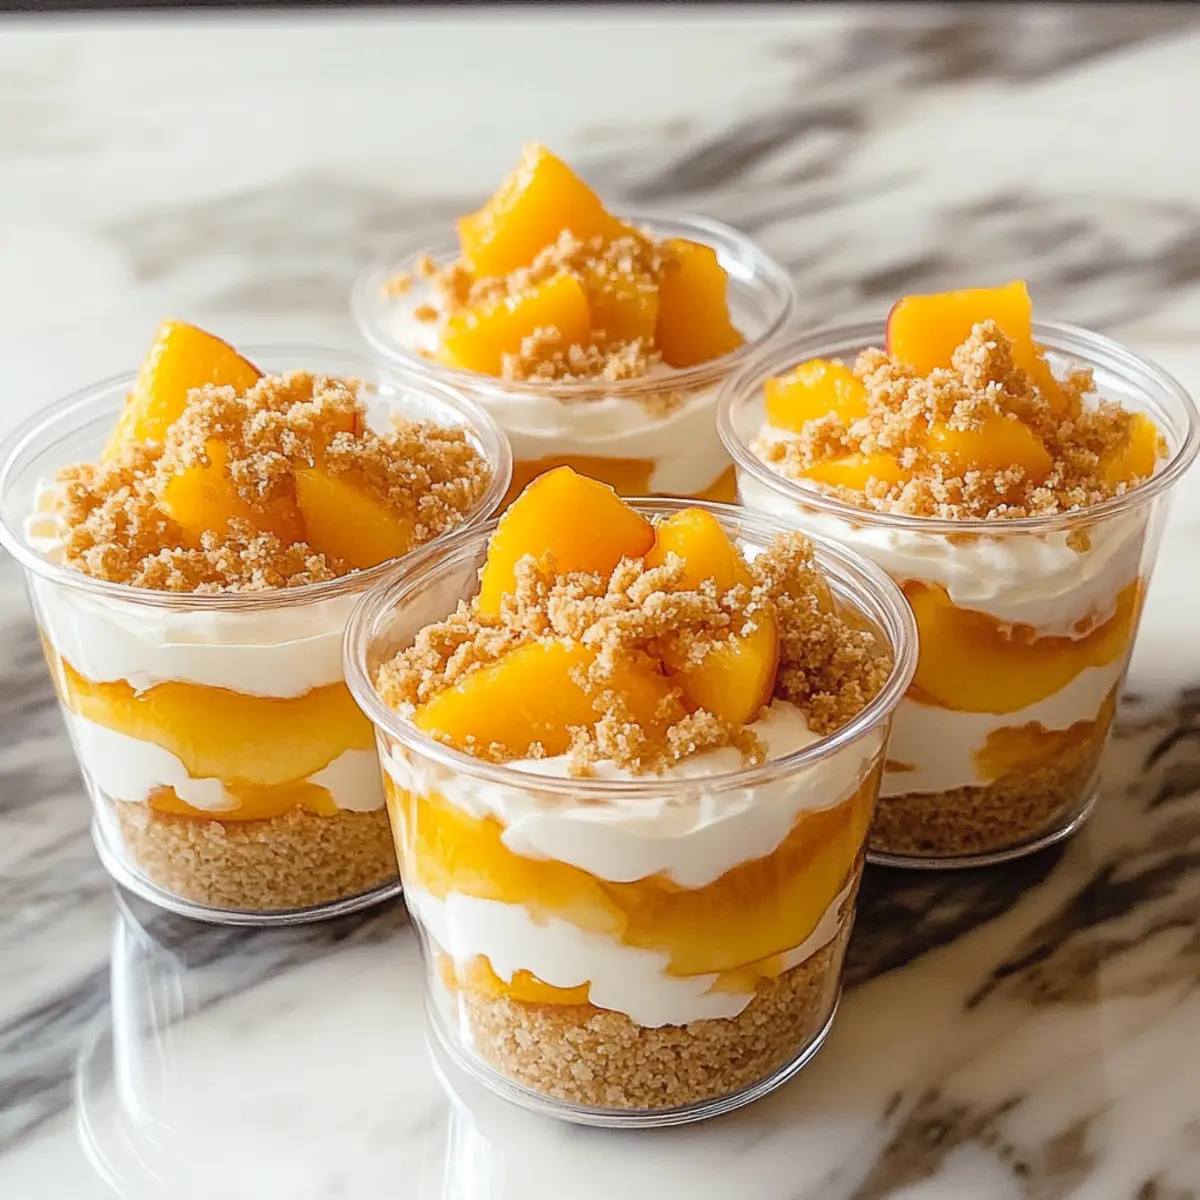
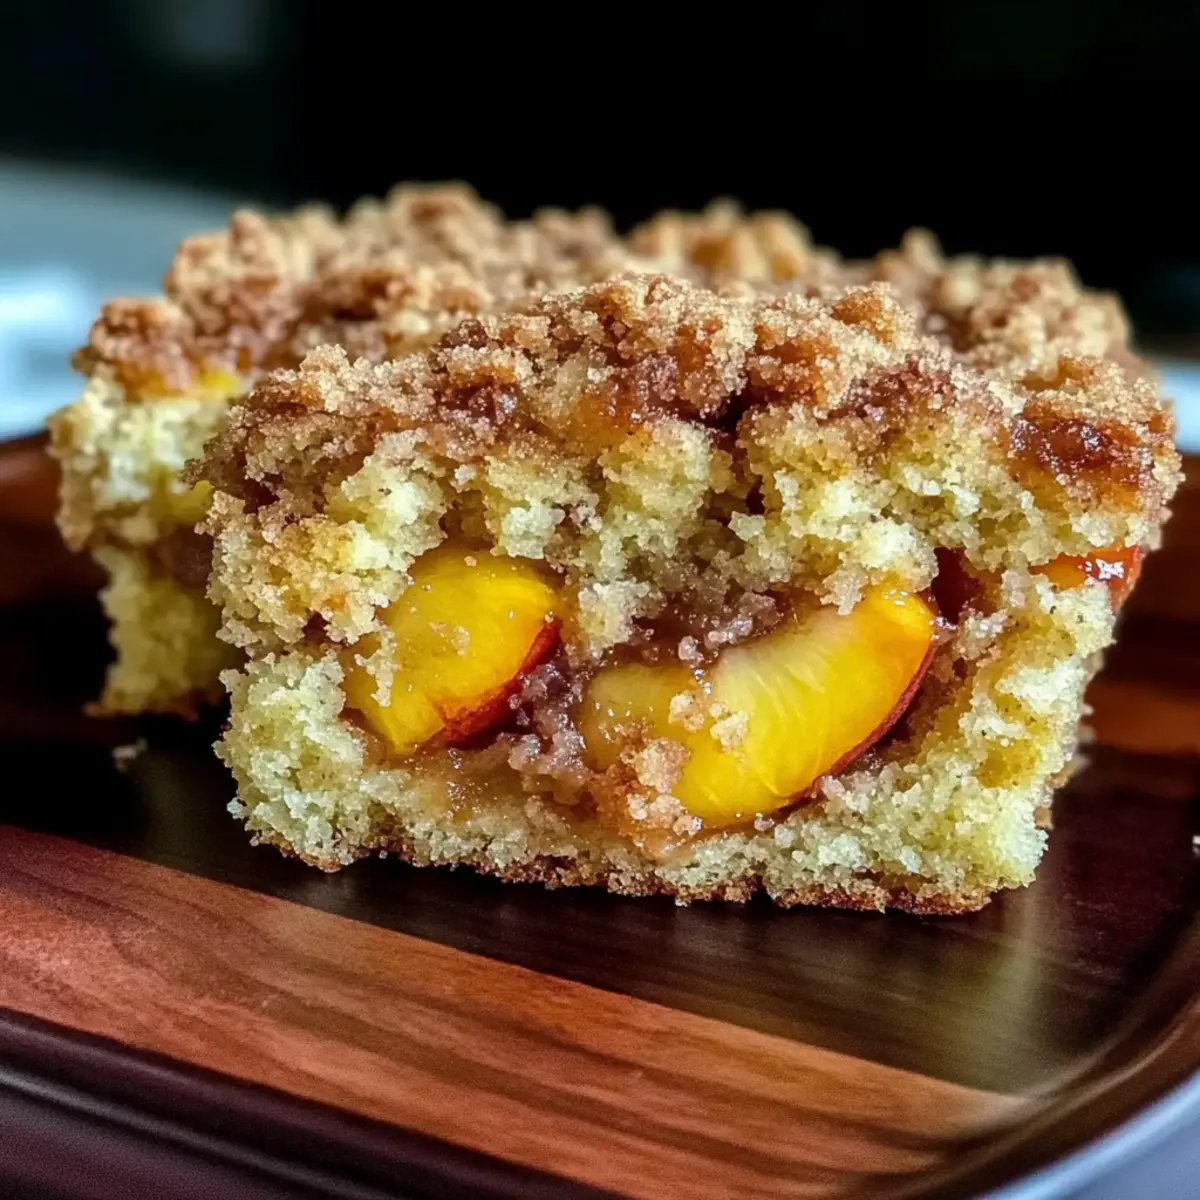
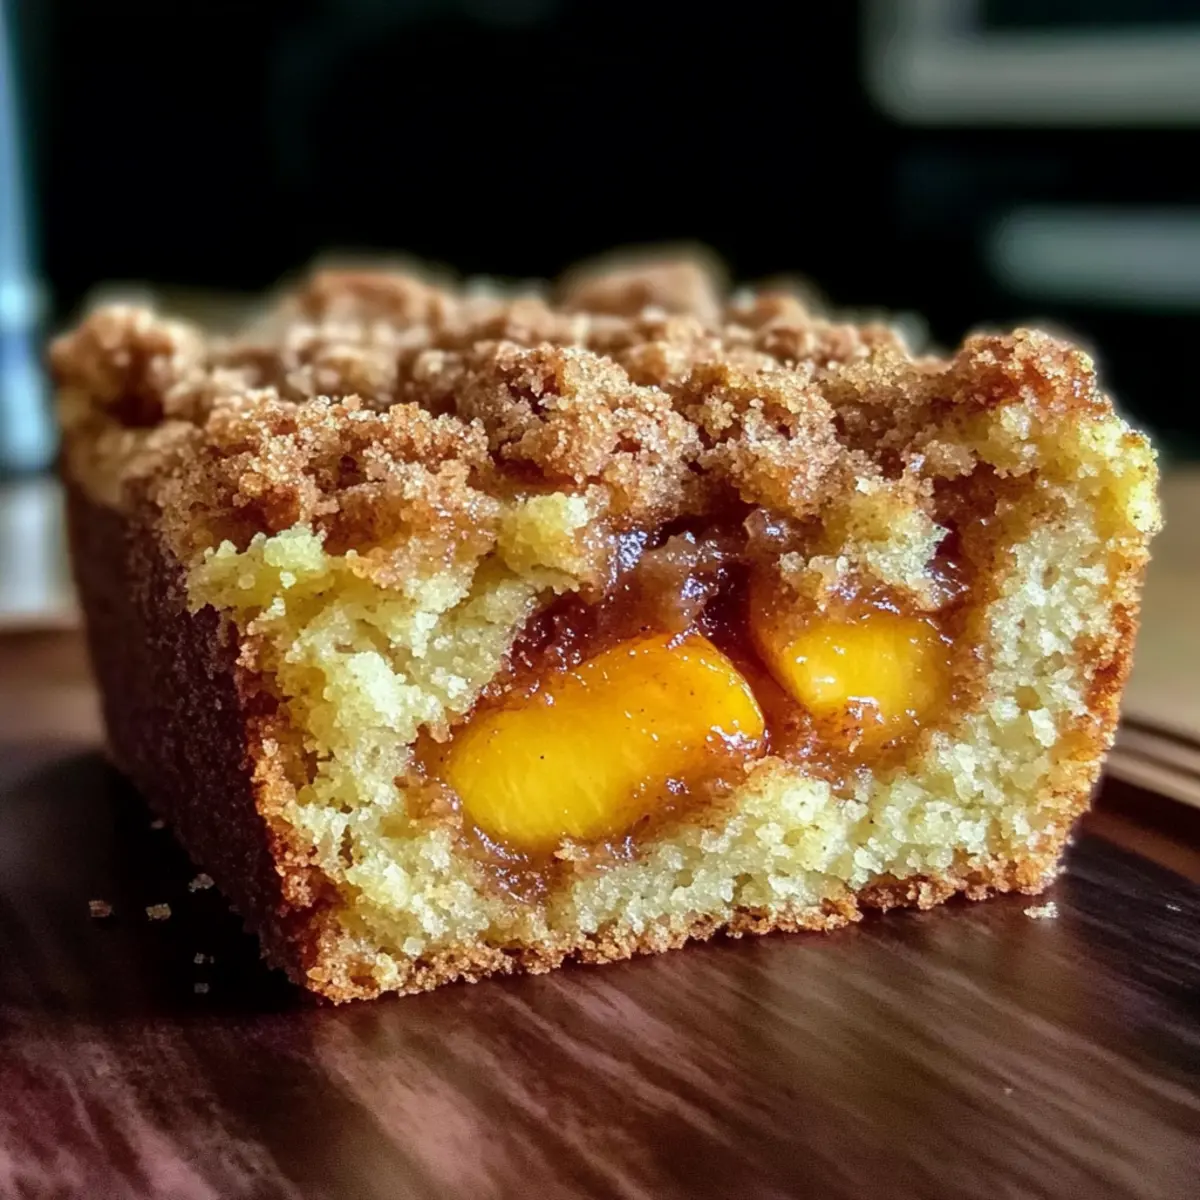
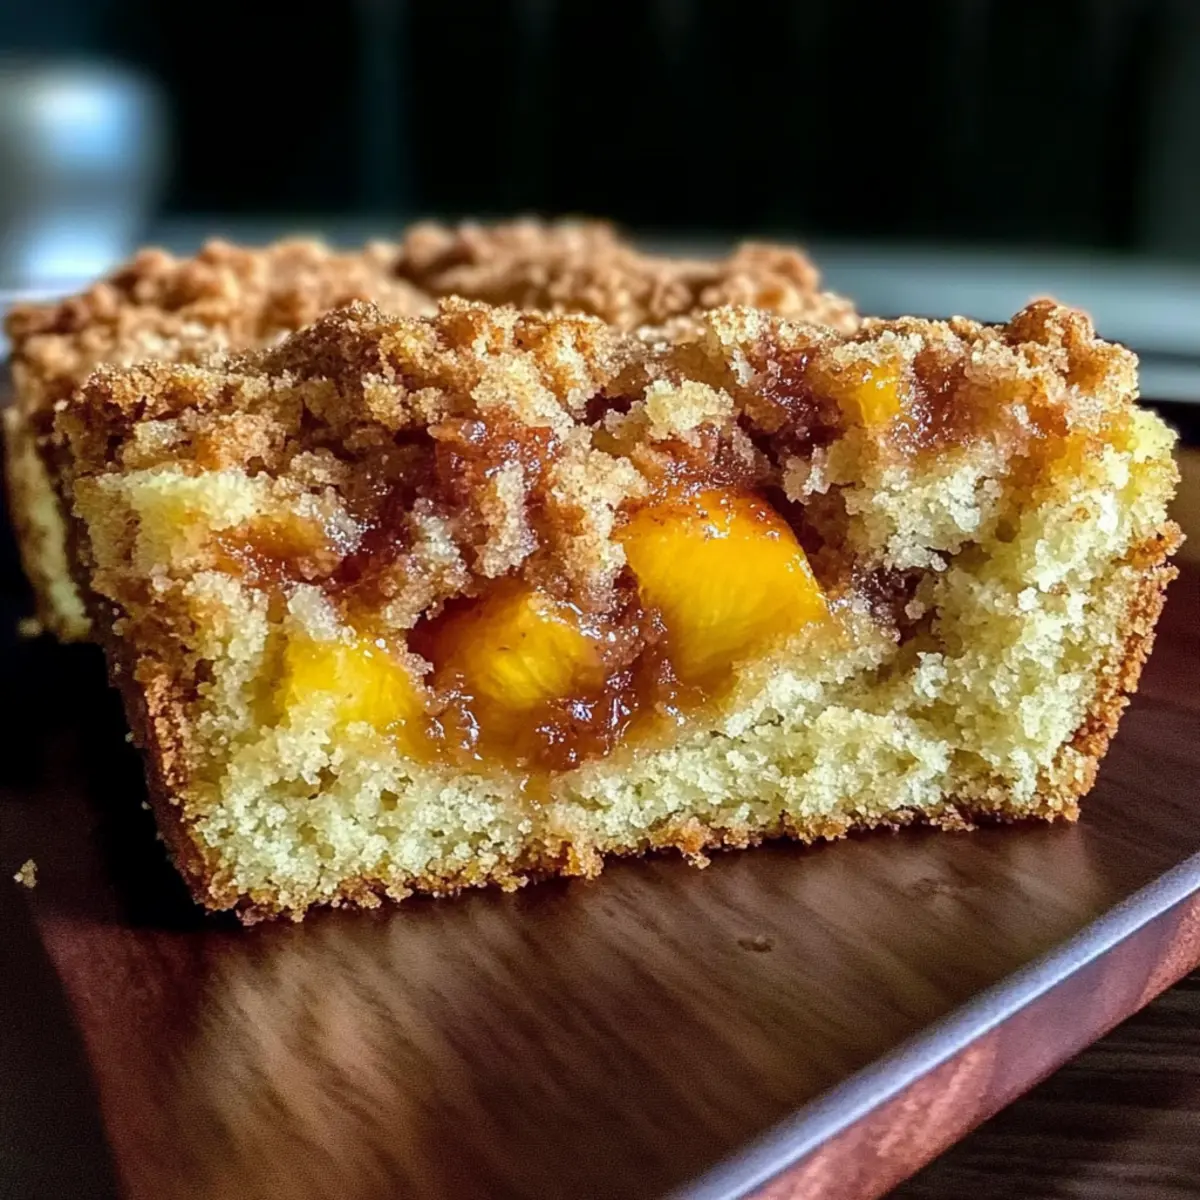
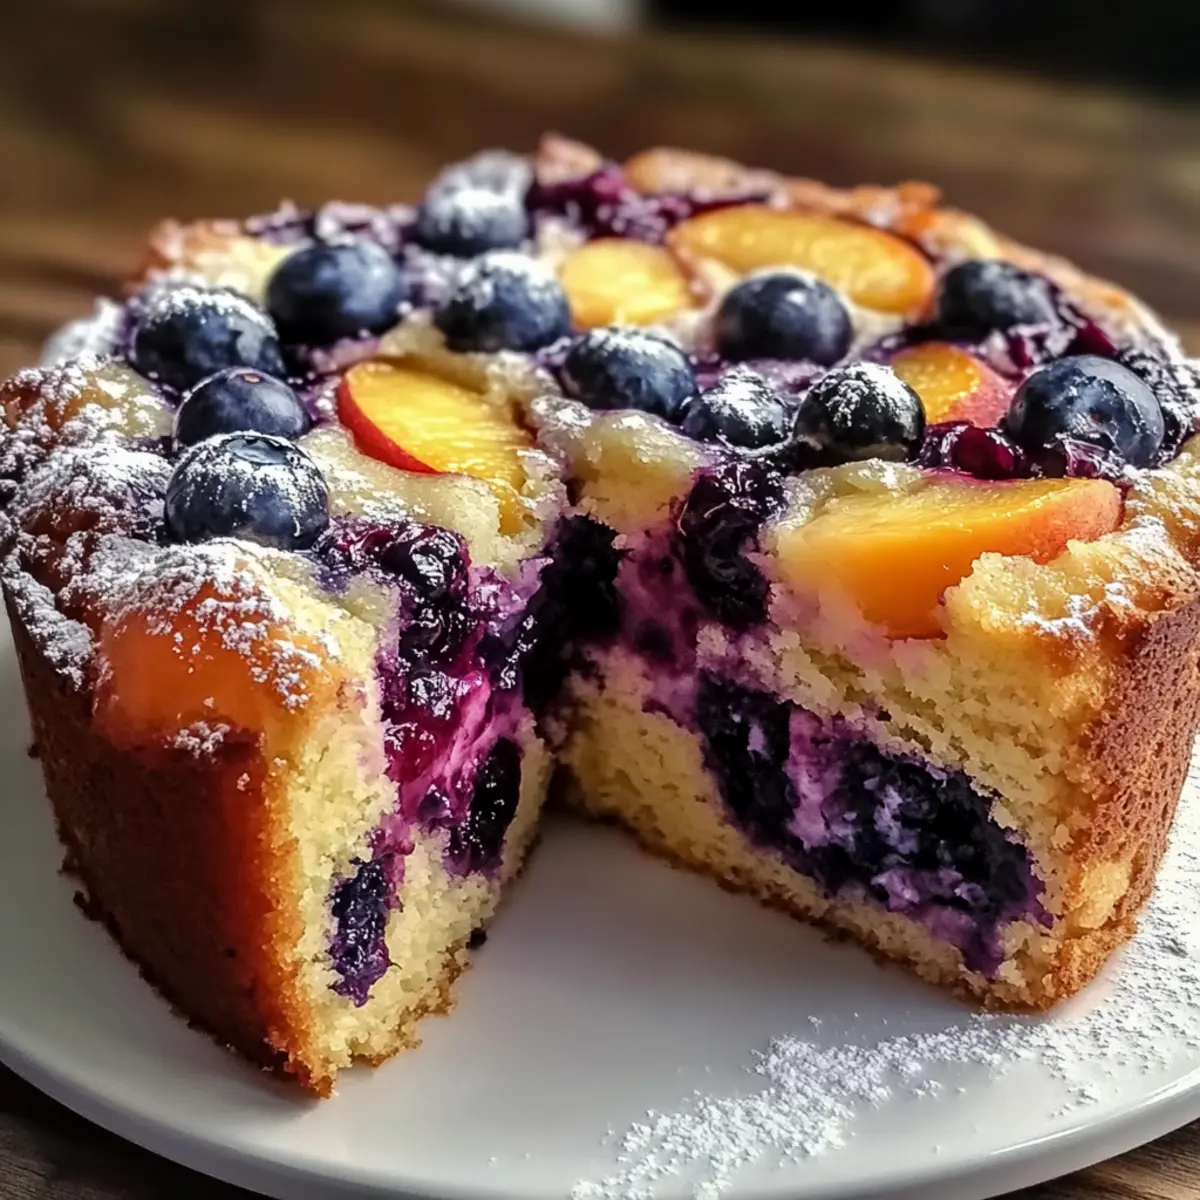
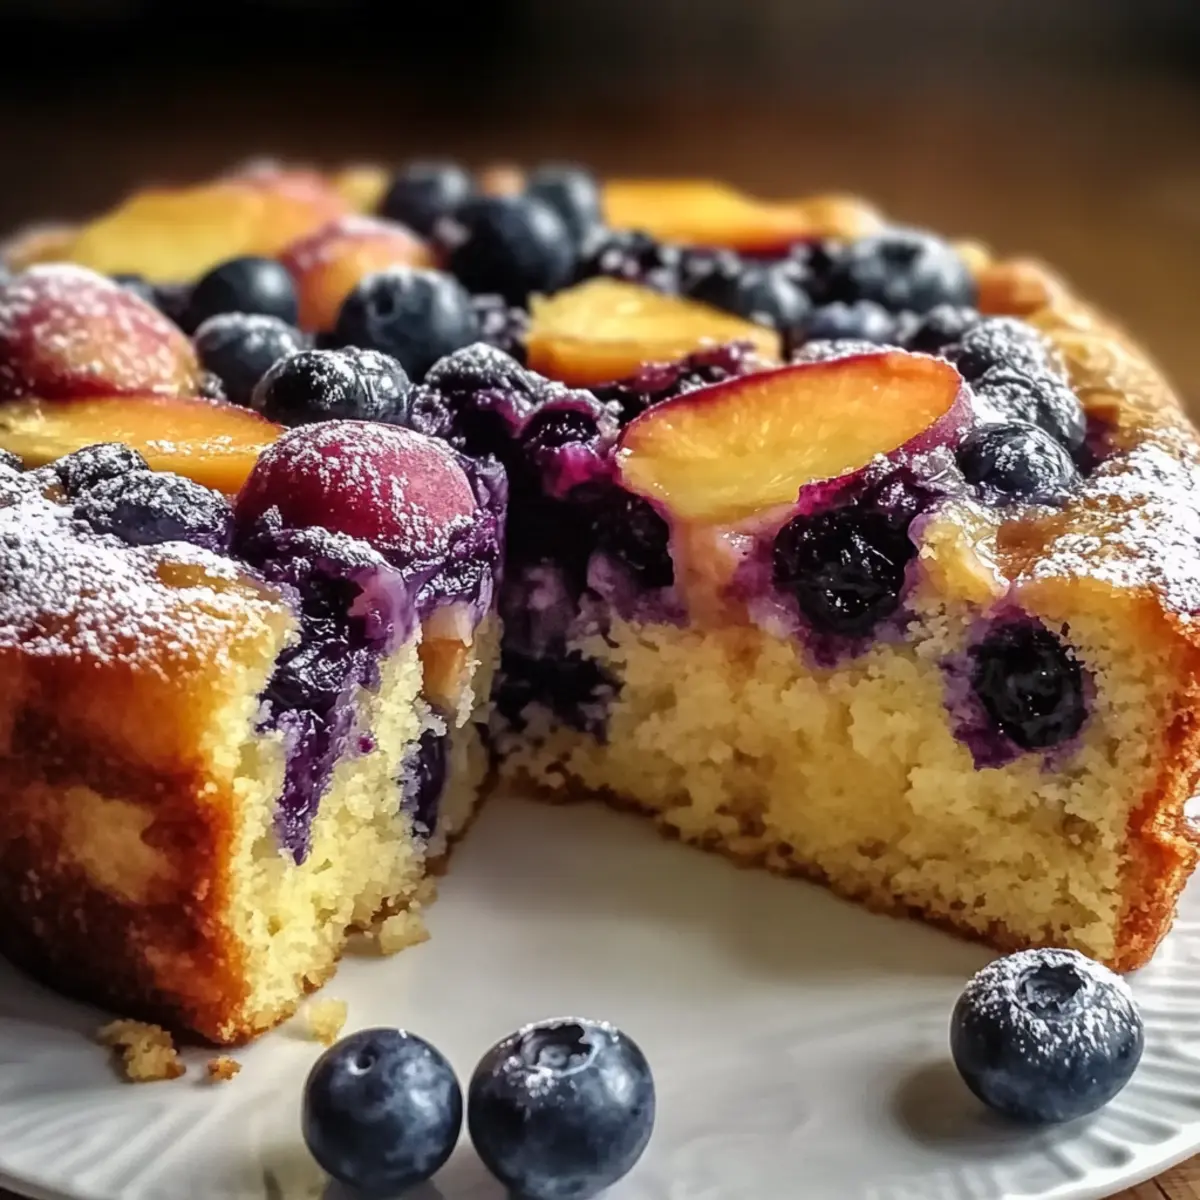
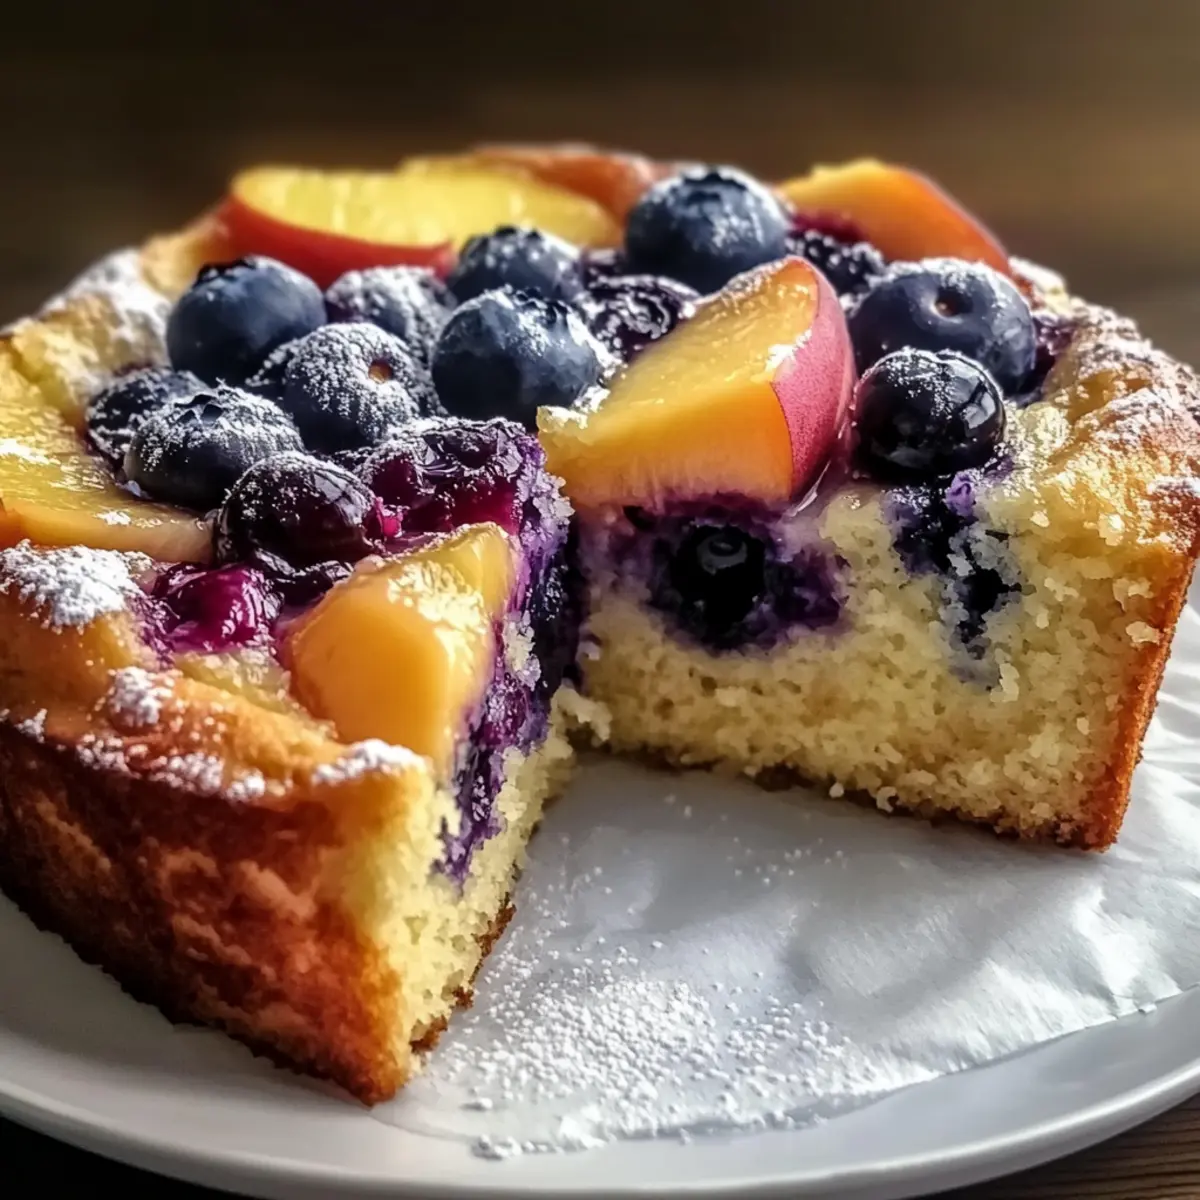
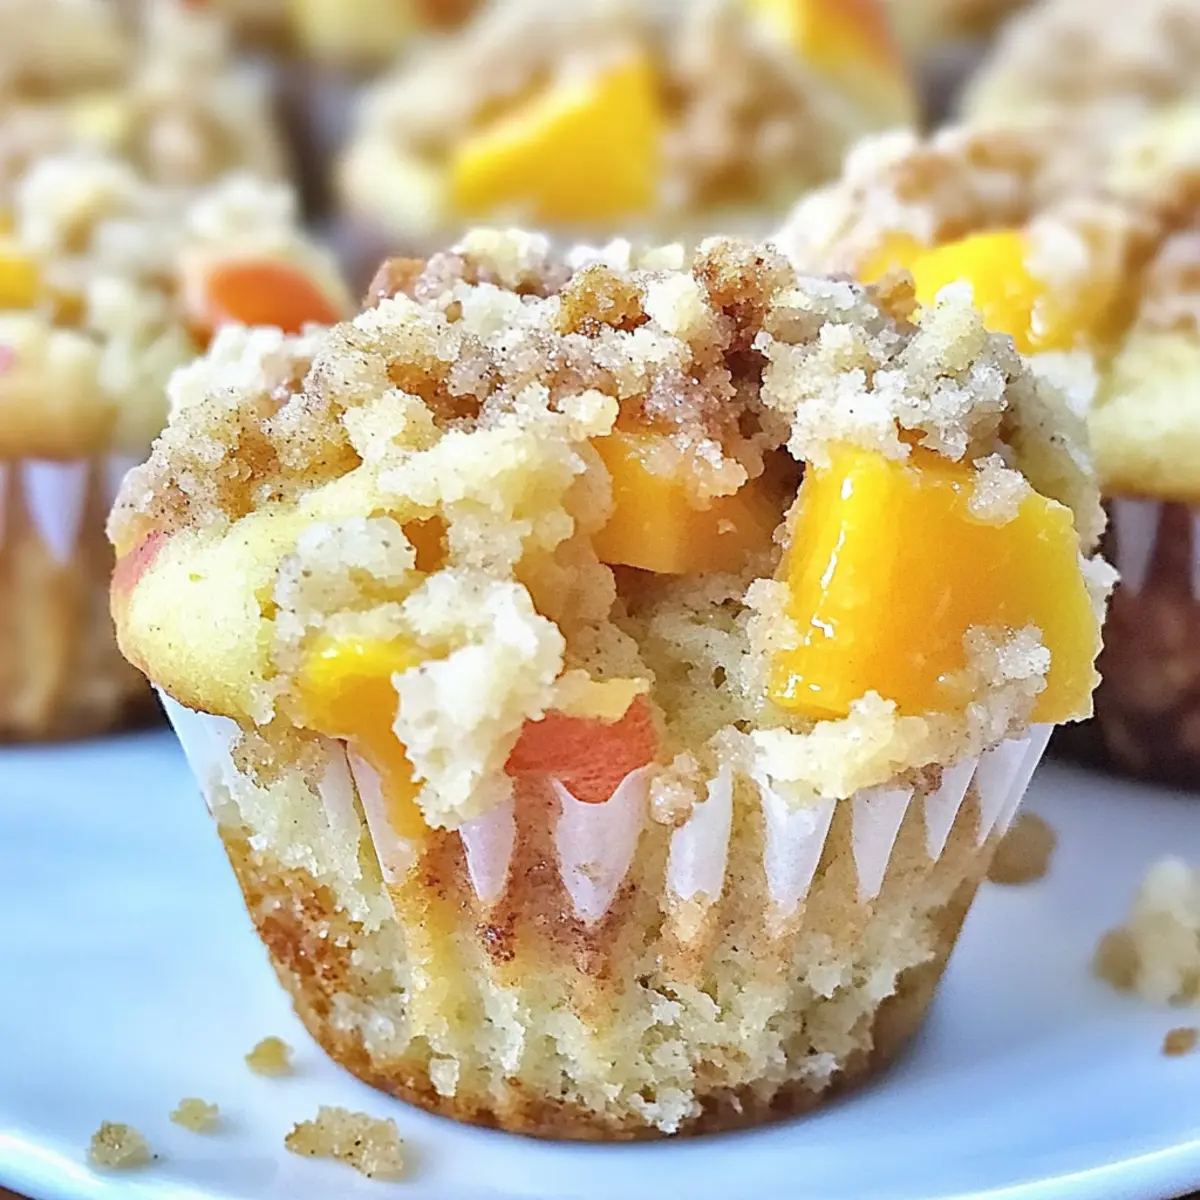
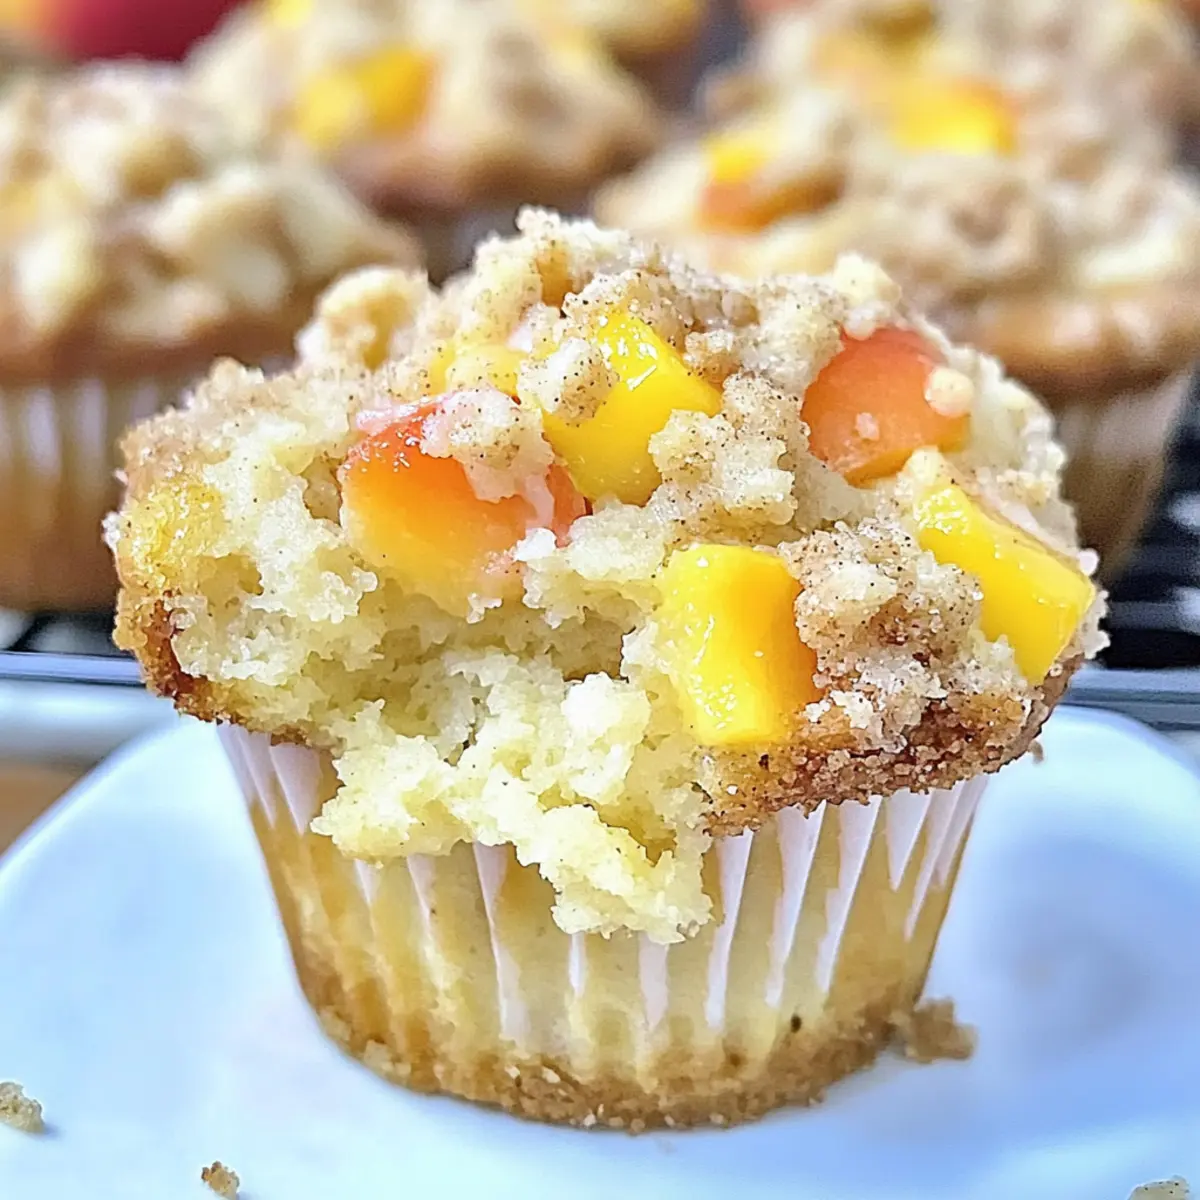
As the sun begins to set, casting a golden glow over the kitchen, the aroma of baking peaches wafts through the air, igniting a wave of nostalgia. This Joanna Gaines Peach Cobbler recipe is a celebration of summer, transforming juicy, ripe peaches into a warm, comforting dessert that's bound to become a family favorite. With its delightful buttery crust and sweet peach filling, this cobbler is not only a crowd-pleaser but also remarkably easy to whip up, making it perfect for those spontaneous gatherings or quiet evenings on the porch. Whether you’re a seasoned home chef or a beginner looking for a wholesome homemade treat, you’ll find joy in every bite of this timeless classic. Are you ready to gather your ingredients and share in the joy of creating something special?
Why is this peach cobbler irresistible?
Unforgettable aroma: As it bakes, your kitchen will fill with the warm, inviting scent of sweet peaches and buttery crust. Easy preparation: Perfect for novice chefs; this recipe requires only basic techniques for a delicious result. Crowd-pleasing: Serve it at gatherings, and watch it disappear quickly! Versatile options: Feel free to swap peaches for other fruits like berries for a twist, as noted in Peaches Cream Cookies. Perfect pairing: Enjoy it warm with a scoop of vanilla ice cream or whipped cream for an indulgent treat!
Joanna Gaines Peach Cobbler Ingredients
-
For the Peach Mixture
-
Fresh Peaches – 6 cups, peeled and sliced; fresh peaches are essential for sweetness and moisture, and canned peaches can be used but reduce sugar.
-
Granulated Sugar (for Peaches) – 1 cup; this sugar sweetens the peaches beautifully, ensuring a delightful flavor.
-
Water – ¼ cup; combined with sugar, it creates a lovely syrup to enhance the filling.
-
Fresh Lemon Juice – 1 tablespoon; this brightens the peach flavor, with bottled lemon juice as a suitable substitute.
-
For the Batter
-
Unsalted Butter – ½ cup; melted butter adds richness and moisture to the cobbler, but margarine can be a non-dairy alternative.
-
All-Purpose Flour – 1½ cups; this provides structure to the batter; gluten-free flour can be used as a substitute for dietary needs.
-
Granulated Sugar (for Batter) – 1 cup; this sugar sweetens the batter, creating a mouthwatering combo with the peaches.
-
Baking Powder – 2 teaspoons; a fresh leavening agent is vital for achieving a fluffy texture.
-
Salt – ½ teaspoon; this balances the sweetness perfectly, elevating the overall flavor.
-
Whole Milk – 1 cup; it adds moisture and a rich texture to the batter; dairy-free alternatives are available for a vegan version.
-
Pure Vanilla Extract – 1 teaspoon; this enhances the sweetness of the batter, making each bite more delicious.
-
Ground Cinnamon – ½ teaspoon; it adds warmth and flavor, with nutmeg as an alternative for a unique twist.
-
Ground Nutmeg – ¼ teaspoon; it complements the cinnamon beautifully, but you can omit it for simplicity.
Step‑by‑Step Instructions for Joanna Gaines Peach Cobbler
Step 1: Preheat the Oven
Begin by preheating your oven to 350°F (175°C). This step is crucial for achieving that perfect golden-brown crust on your Joanna Gaines Peach Cobbler. Set a timer for 10 minutes, so you ensure the oven reaches the right temperature before placing the cobbler inside.
Step 2: Prepare the Peach Mixture
In a large mixing bowl, combine 6 cups of peeled and sliced fresh peaches, 1 cup of granulated sugar, ¼ cup of water, and 1 tablespoon of fresh lemon juice. Gently toss the ingredients together and let the mixture sit for about 15 minutes. This process allows the peaches to release their juices, creating a luscious syrup that will enhance the filling.
Step 3: Make the Batter
While the peaches are resting, melt ½ cup of unsalted butter in a microwave-safe bowl. In a separate bowl, whisk together 1½ cups of all-purpose flour, 1 cup of granulated sugar, 2 teaspoons of baking powder, and ½ teaspoon of salt until well combined. Pour the melted butter into the dry ingredients and mix until crumbly, then gradually stir in 1 cup of whole milk and 1 teaspoon of pure vanilla extract until the batter is smooth.
Step 4: Add Spices to the Batter
Next, mix in ½ teaspoon of ground cinnamon and ¼ teaspoon of ground nutmeg into the batter. These warm spices will elevate your Joanna Gaines Peach Cobbler, adding depth and flavor. Stir until fully incorporated, ensuring a fragrant blend that will complement the sweetness of the peaches.
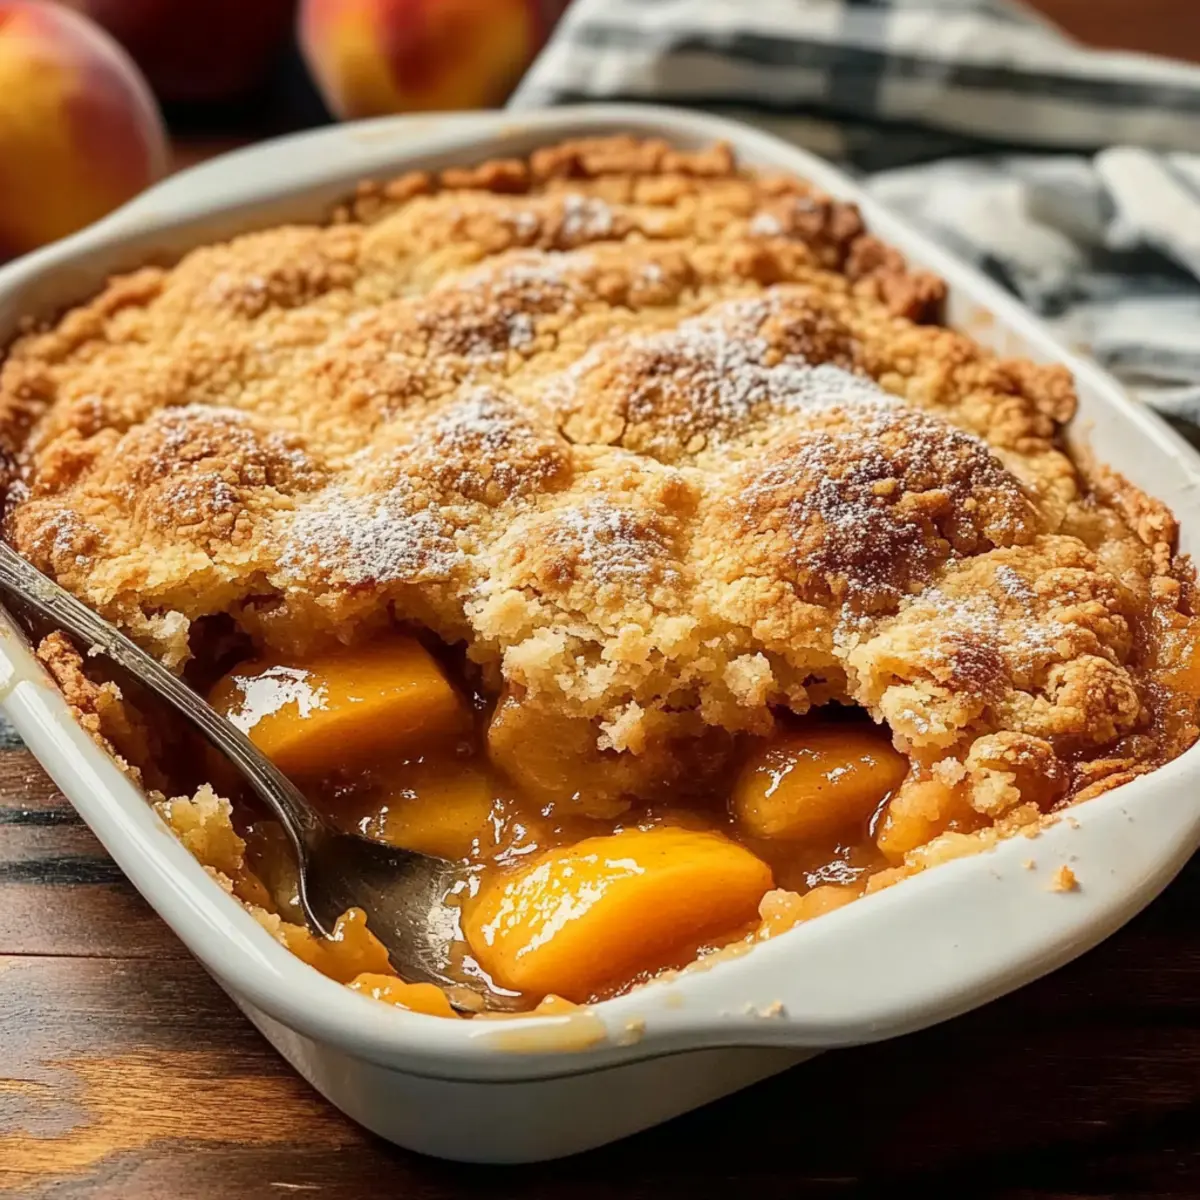
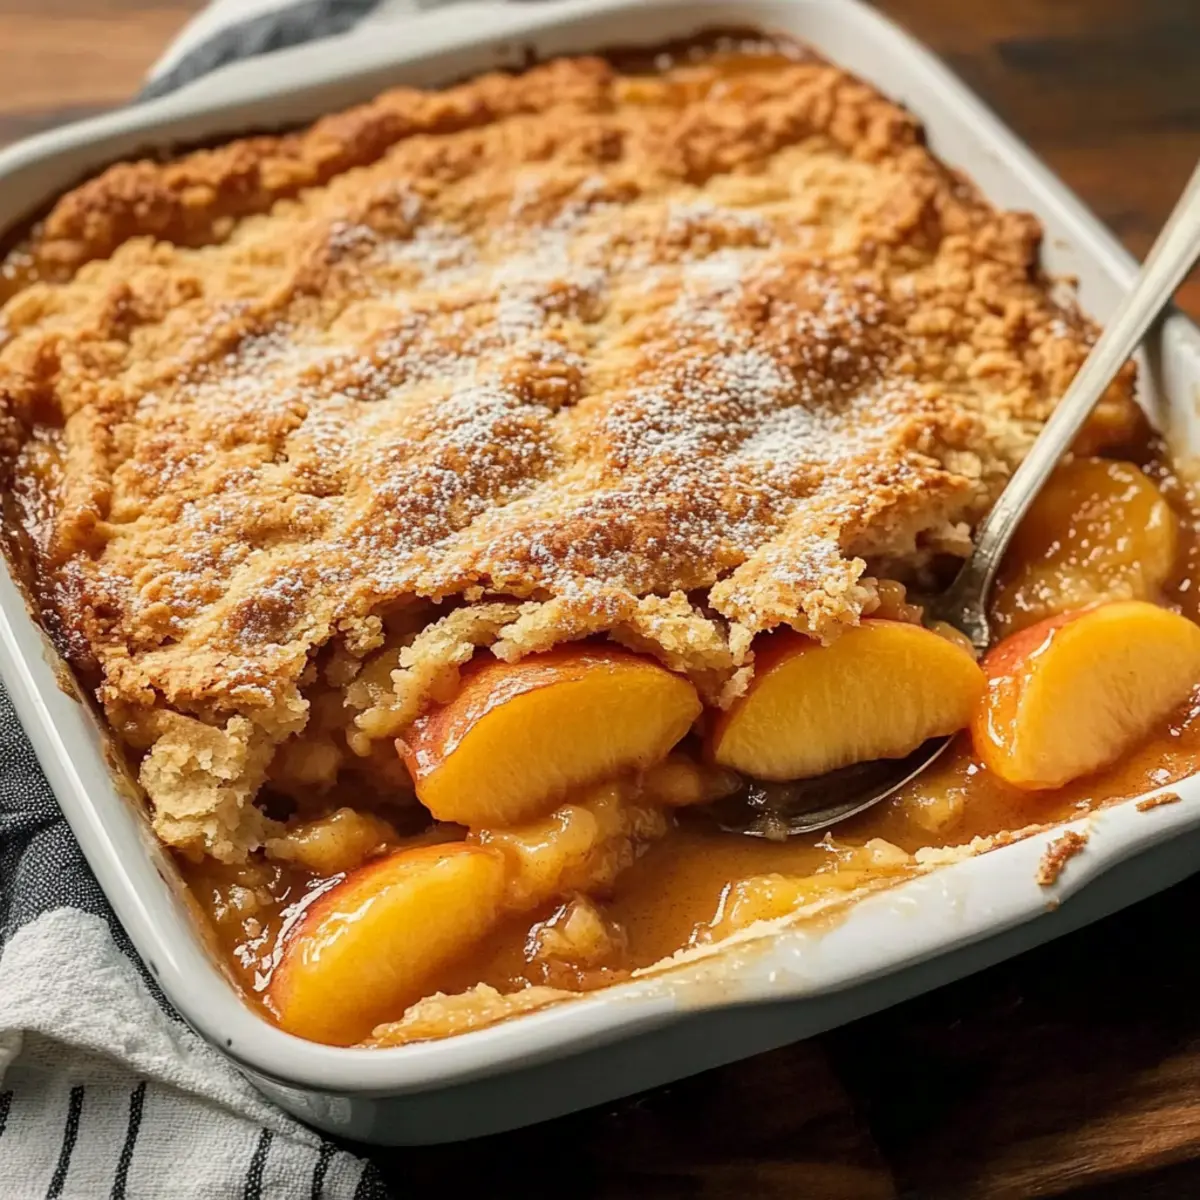
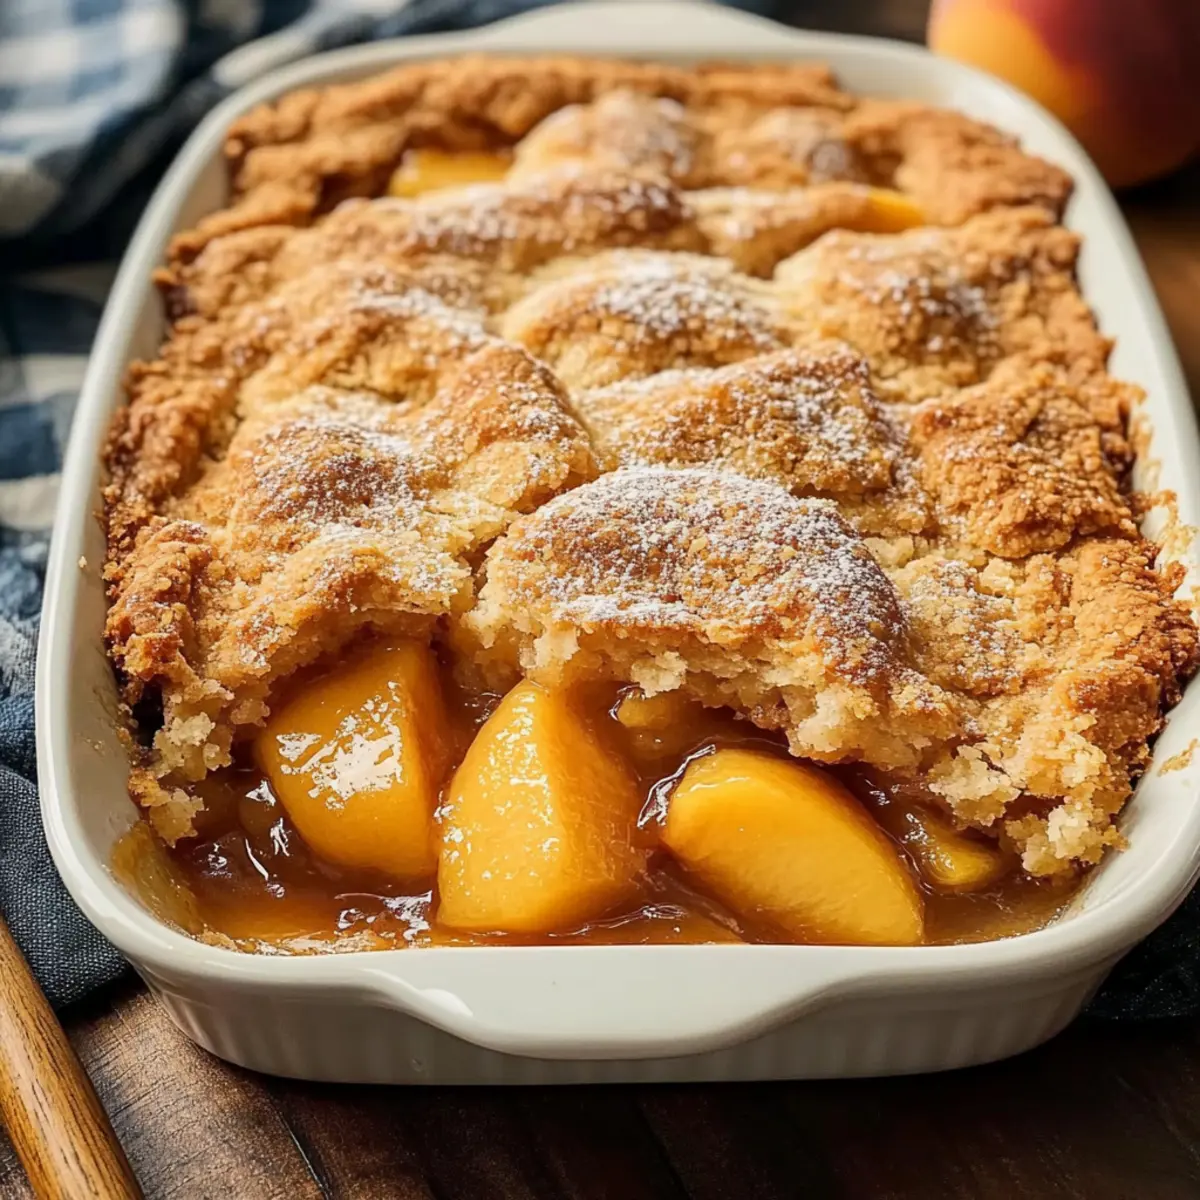
Step 5: Assemble the Cobbler
Grease a 9x13 inch baking dish with cooking spray or butter. Pour the batter evenly into the dish, smoothing it out with a spatula. Carefully spoon the peach mixture over the batter, distributing the peaches and their syrup as evenly as possible without stirring. This layering creates the best texture as it bakes.
Step 6: Bake the Cobbler
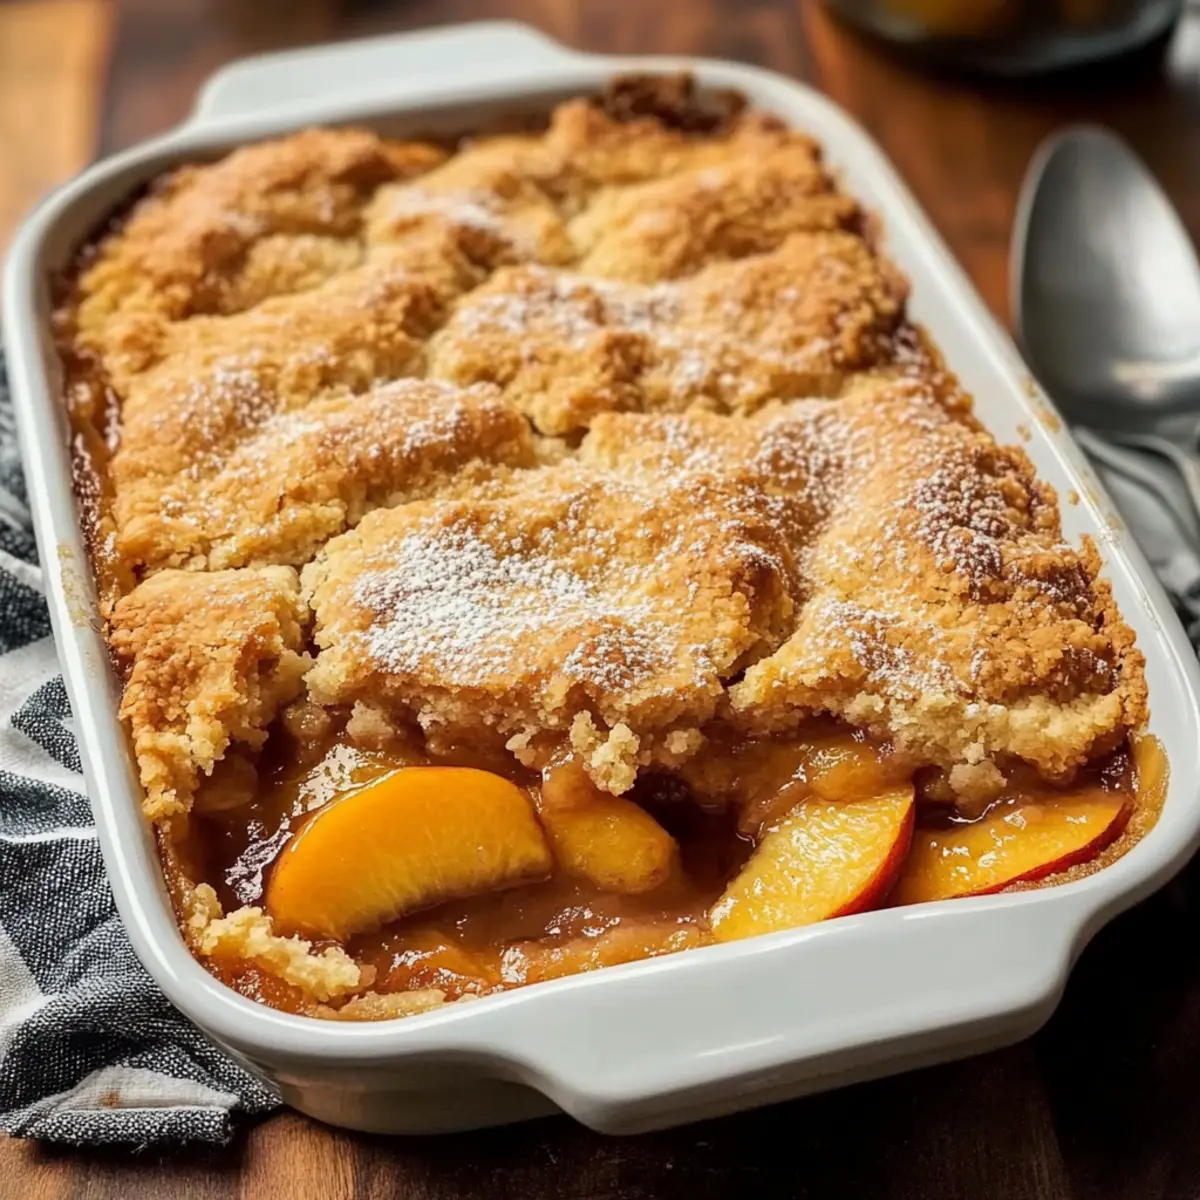
Place the assembled cobbler in the preheated oven and bake for 45-50 minutes. Keep an eye on it as it bakes; look for a bubbly, golden-brown crust. The edges should pull away slightly from the sides of the dish as it sets, indicating it's ready to come out.
Step 7: Cool Before Serving
Once baked, remove the Joanna Gaines Peach Cobbler from the oven and allow it to cool for 10-15 minutes. This resting period is essential for thickening the juices and making it easier to serve. The inviting aroma will fill your kitchen, enticing everyone to gather around for a warm slice.
What to Serve with Joanna Gaines Peach Cobbler
This delicious dessert deserves the perfect companions to create a delightful meal experience.
- Creamy Vanilla Ice Cream: A scoop of rich, creamy vanilla ice cream melts beautifully on warm cobbler, enhancing the sweet peach flavors.
- Fresh Whipped Cream: Light and airy whipped cream adds a whipped sweetness, creating a perfect contrast to the warm, buttery crust.
- Light Watermelon Peach Salad: This refreshing salad provides a crisp texture, balancing the sweetness of the cobbler with juicy watermelon and a hint of mint.
- Crusty French Bread: Serve slices of crusty bread on the side to soak up any extra peach syrup, providing a savory element to your meal.
- Sweet Tea or Lemonade: A glass of chilled sweet tea or homemade lemonade complements the cozy flavors of peach cobbler, promising a taste of summer.
- Coconut Cream Pie: For dessert lovers, a slice of light coconut cream pie can serve as an elegant counterpoint to the hearty cobbler. Each bite offers a soft and velvety texture.
- Grilled Chicken Salad: A light, citrus-flavored grilled chicken salad adds protein and a zesty brightness, making for a balanced meal option.
- Chocolate Chip Cookies: For a playful dessert pairing, serve up warm chocolate chip cookies alongside your cobbler for a nostalgic twist.
- Peach Sangria: A refreshing peach sangria makes for a delightful drink pairing, enhances the peach flavor while keeping the atmosphere light and festive.
How to Store and Freeze Joanna Gaines Peach Cobbler
Fridge: Store your leftover Joanna Gaines Peach Cobbler in an airtight container for up to 4 days. Make sure it’s completely cooled before covering to preserve its delightful texture.
Freezer: For long-term storage, slice the cobbler into individual portions and wrap each slice tightly in plastic wrap. Place them in a freezer bag for up to 3 months.
Reheating: To enjoy your frozen cobbler, simply thaw in the refrigerator overnight and then reheat in the oven at 350°F (175°C) for about 15-20 minutes until warmed through.
Room Temperature: If serving immediately after baking, let the cobbler cool for about 10-15 minutes. It’s best enjoyed warm but can be left at room temperature for up to 2 hours.
Joanna Gaines Peach Cobbler Variations & Substitutions
Embrace your creativity and personalize your Joanna Gaines Peach Cobbler with these delicious variations that will tantalize your taste buds!
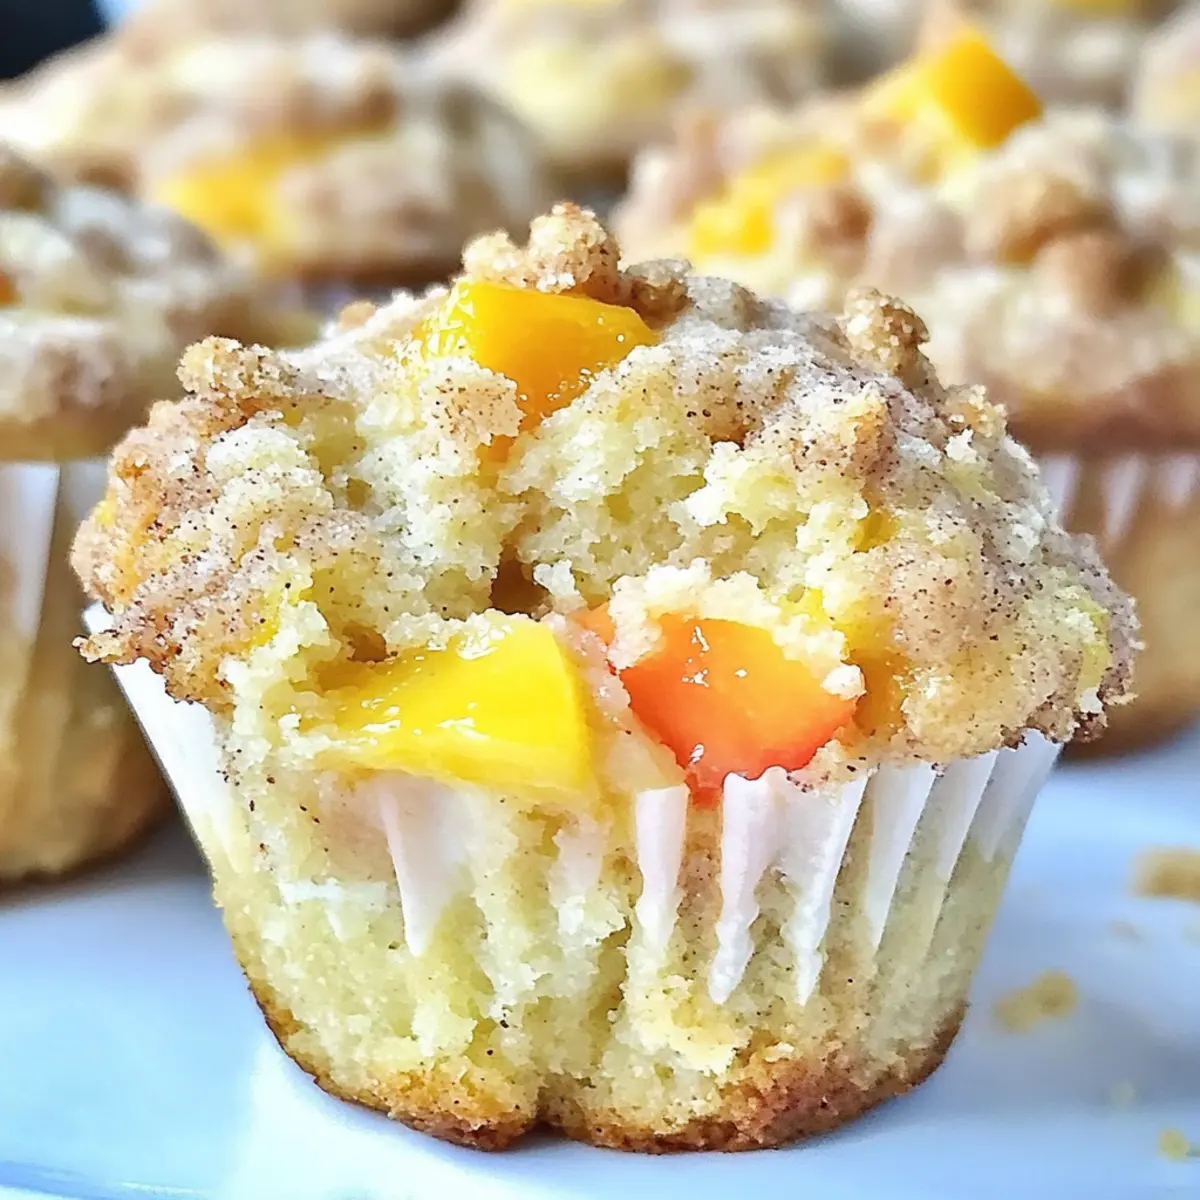
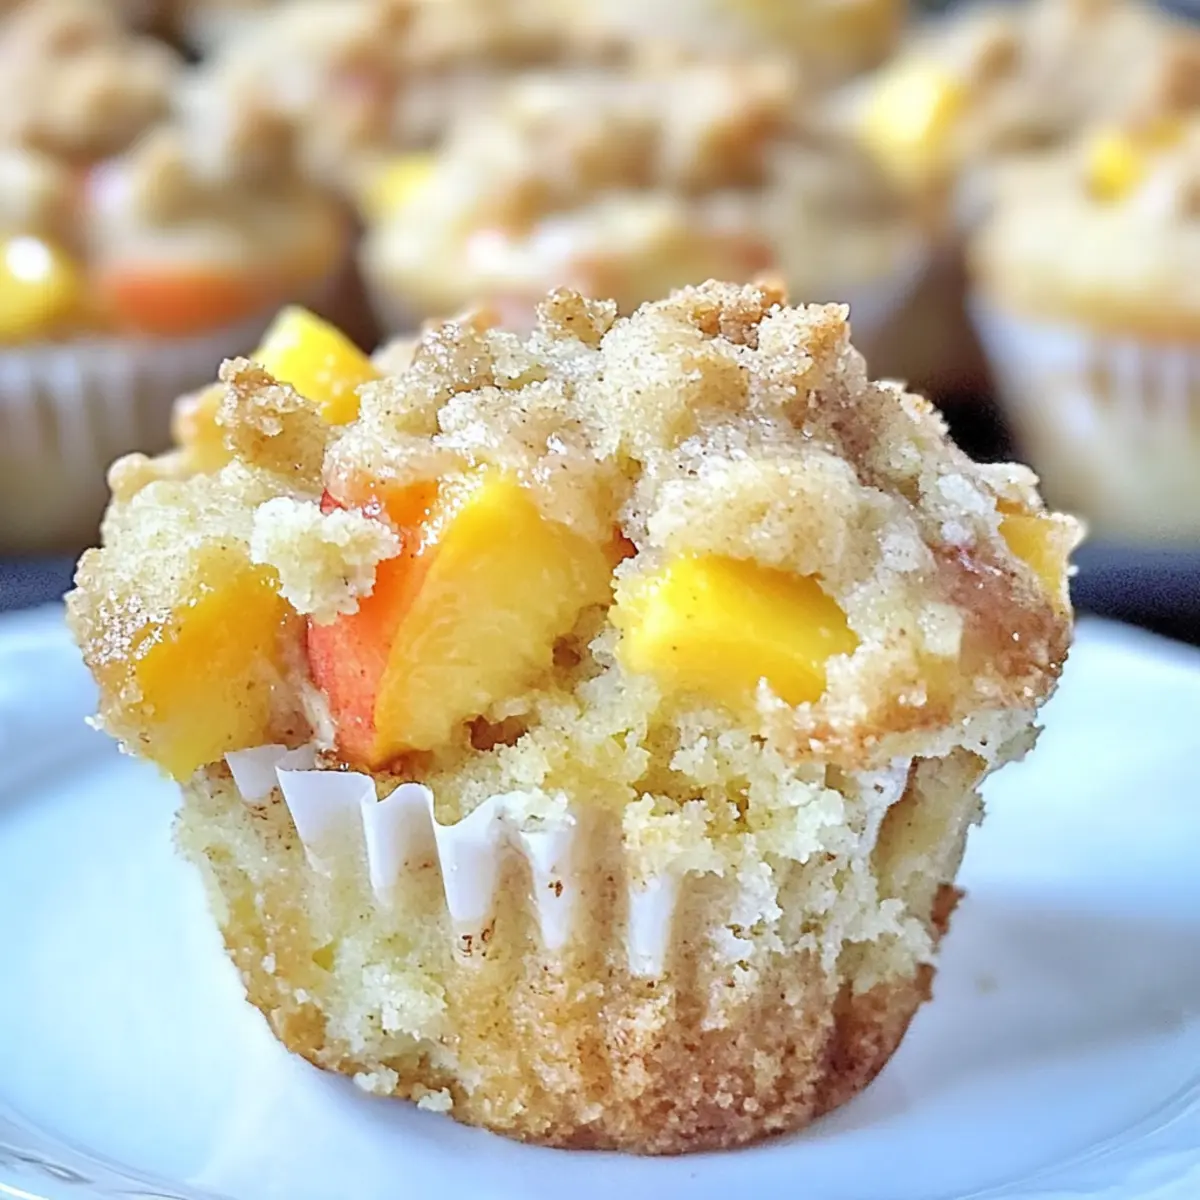
- Berry Delight: Swap peaches for mixed berries like blueberries, raspberries, or blackberries for a tangy twist. The burst of berry flavor paired with the buttery crust is simply sublime.
- Cinnamon Roll Twist: Add chopped cinnamon rolls to the batter for a delightful cinnamon sugar experience. The gooeyness of the rolls creates a uniquely delicious texture.
- Nutty Crust: Mix in chopped pecans or walnuts into the batter for added crunch and flavor. The nutty texture complements the peaches beautifully, making each bite irresistible.
- Spicy Heat: Sprinkle a pinch of cayenne pepper into the batter for a surprising kick of heat. The combination of sweet peaches with a hint of spice will awaken your senses.
- Gluten-Free: Use a gluten-free flour blend as a substitute for all-purpose flour. This option ensures everyone can enjoy this comforting dessert without compromising on taste.
- Vegan-Friendly: Substitute the milk with almond milk and replace butter with coconut oil or margarine for a dairy-free version. You won't miss the creaminess in this delectable recipe.
- Caramel Drizzle: Before serving, drizzle warm caramel sauce over slices for an extra indulgent treat. This sweet addition brings a whole new layer of flavor.
- Biscoff Cookie Crust: Crumble Biscoff cookies into the batter for a unique spiced flavor. This delightful twist is sure to surprise your guests and leave them wanting more.
Whether you choose to stick to the classic or explore these exciting twists, there's no wrong way to enjoy a slice of this seasonal favorite. The warm flavors and aroma will surely bring family and friends together, just like a comforting hug from the oven that reminds you of home. If you're curious about other delicious desserts, check out these delightful Peaches Cream Cookies for a sweet adventure!
Expert Tips for Joanna Gaines Peach Cobbler
-
Choose Ripe Peaches: Select peaches that are fragrant and slightly soft to the touch; they provide the best flavor and sweetness for your cobbler.
-
Preheat is Key: Always preheat your oven before baking. This ensures a perfectly golden crust on your Joanna Gaines Peach Cobbler.
-
Be Mindful of Sugar: If using canned peaches, reduce the amount of added sugar to prevent an overly sweet dessert.
-
Cooling Time Matters: Allow the cobbler to rest for 10-15 minutes after baking; this step thickens the juices and enhances the overall texture.
-
Experiment with Spices: Consider adding a pinch of nutmeg or experimenting with other fruits like blackberries for a unique twist on the classic flavor.
Make Ahead Options
These Joanna Gaines Peach Cobbler preparations are ideal for busy home cooks looking to save time! You can slice and combine the peaches with sugar, water, and lemon juice up to 24 hours in advance and store the mixture in the refrigerator to enhance the flavor as it sits. The dry ingredients for the batter—flour, sugar, baking powder, and salt—can be pre-mixed and kept in an airtight container for up to 3 days. When you're ready to bake, simply combine the melted butter, milk, and vanilla with the dry mix, layer it with the peach mixture, and bake as directed. This way, you’ll enjoy the same delicious results without the last-minute rush!
Joanna Gaines Peach Cobbler Recipe FAQs
What type of peaches should I use?
Absolutely, using ripe, fresh peaches is crucial for achieving the best flavor and sweetness in your Joanna Gaines Peach Cobbler. Look for peaches that are fragrant and slightly soft to the touch. If fresh peaches aren’t available, you can use canned peaches—just remember to reduce the added sugar to avoid an overly sweet dessert.
How should I store leftover cobbler?
Once your cobbler has cooled completely, cover it with plastic wrap or transfer it to an airtight container. It will stay fresh in the refrigerator for up to 4 days. This way, you can enjoy it at your leisure—perhaps with a scoop of ice cream the next day!
Can I freeze the Joanna Gaines Peach Cobbler?
Very! To freeze, slice the cobbler into individual portions and wrap each slice tightly in plastic wrap. Then place them in a freezer bag, ensuring to remove as much air as possible, and store for up to 3 months. When you’re ready to enjoy it, thaw overnight in the refrigerator and reheat in the oven at 350°F (175°C) for about 15-20 minutes until warmed through.
What if my cobbler is too soupy?
If your Joanna Gaines Peach Cobbler turns out soupy, this might be due to extra juicy peaches or not allowing it enough cooling time. To improve the texture, you can bake it a little longer (check at 5-minute intervals) or let it rest uncovered after baking to allow steam to escape, helping thicken the juices.
Are there any dietary considerations for this recipe?
Yes! If you need to accommodate dietary restrictions, you can substitute unsalted butter with margarine or a dairy-free alternative for a vegan version. Additionally, gluten-free flour can be used to replace all-purpose flour if gluten is a concern. Just double-check all other ingredients to ensure they align with dietary needs.
How long can I leave the peach cobbler at room temperature?
It’s best to enjoy your freshly baked cobbler warm, but if you need to leave it out, it should not sit at room temperature for more than 2 hours. After that, it’s important to refrigerate any leftovers to maintain freshness and safety.
Joanna Gaines Peach Cobbler: The Ultimate Summer Comfort
Ingredients
Equipment
Method
- Begin by preheating your oven to 350°F (175°C).
- In a large mixing bowl, combine 6 cups of peeled and sliced fresh peaches, 1 cup of granulated sugar, ¼ cup of water, and 1 tablespoon of fresh lemon juice. Gently toss the ingredients together and let the mixture sit for about 15 minutes.
- While the peaches are resting, melt ½ cup of unsalted butter in a microwave-safe bowl. In a separate bowl, whisk together 1½ cups of all-purpose flour, 1 cup of granulated sugar, 2 teaspoons of baking powder, and ½ teaspoon of salt until well combined. Pour the melted butter into the dry ingredients and mix until crumbly, then gradually stir in 1 cup of whole milk and 1 teaspoon of pure vanilla extract until the batter is smooth.
- Next, mix in ½ teaspoon of ground cinnamon and ¼ teaspoon of ground nutmeg into the batter.
- Grease a 9x13 inch baking dish with cooking spray or butter. Pour the batter evenly into the dish, smoothing it out with a spatula. Carefully spoon the peach mixture over the batter.
- Place the assembled cobbler in the preheated oven and bake for 45-50 minutes.
- Once baked, remove the Joanna Gaines Peach Cobbler from the oven and allow it to cool for 10-15 minutes.