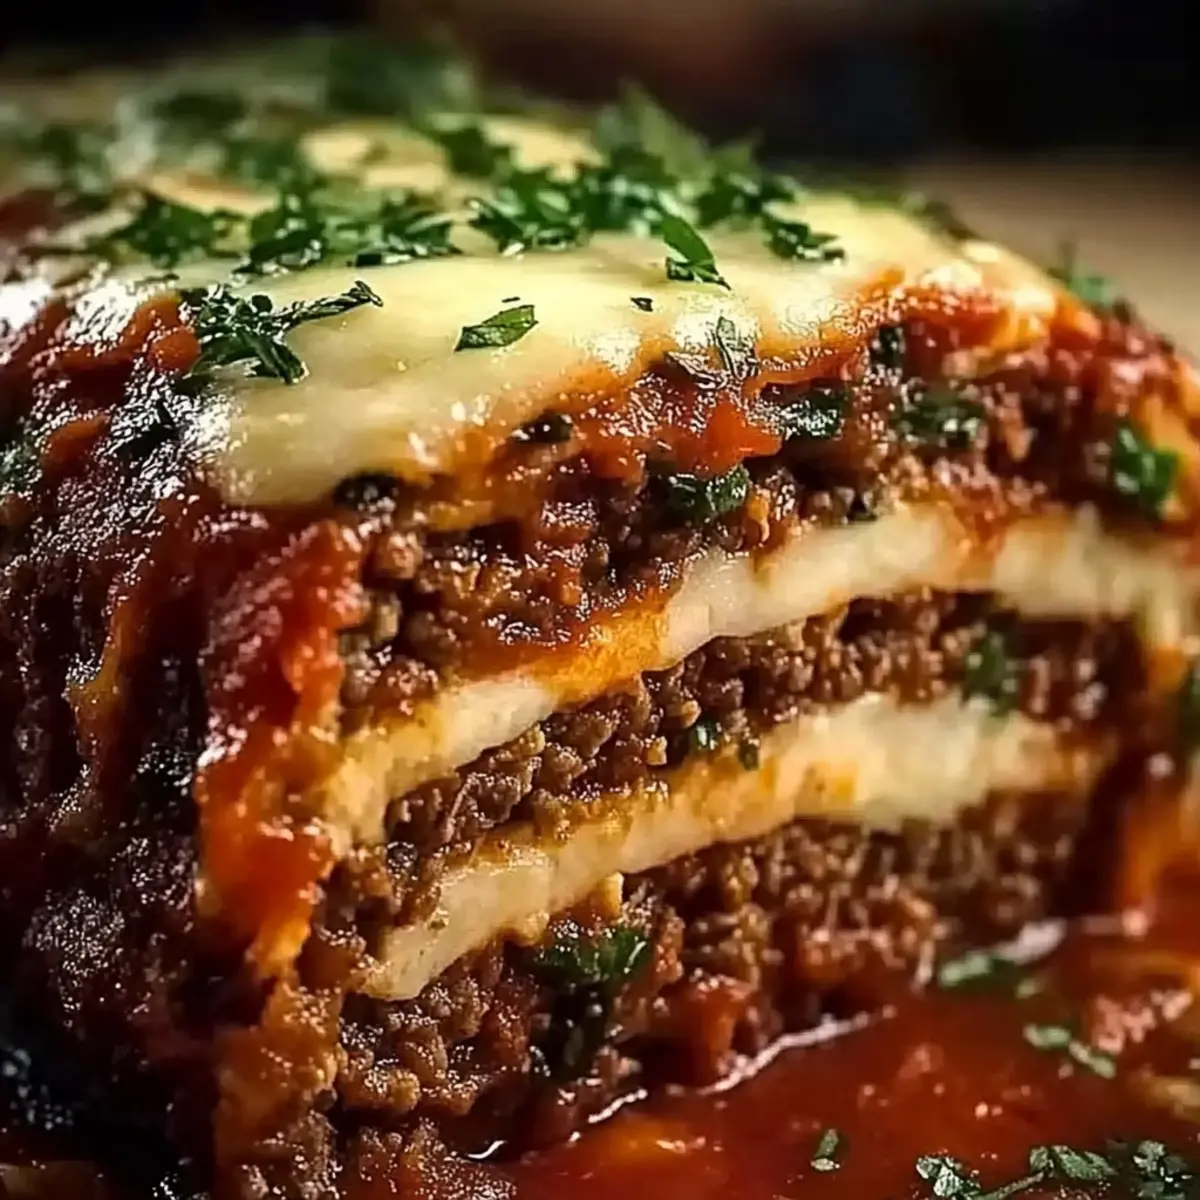
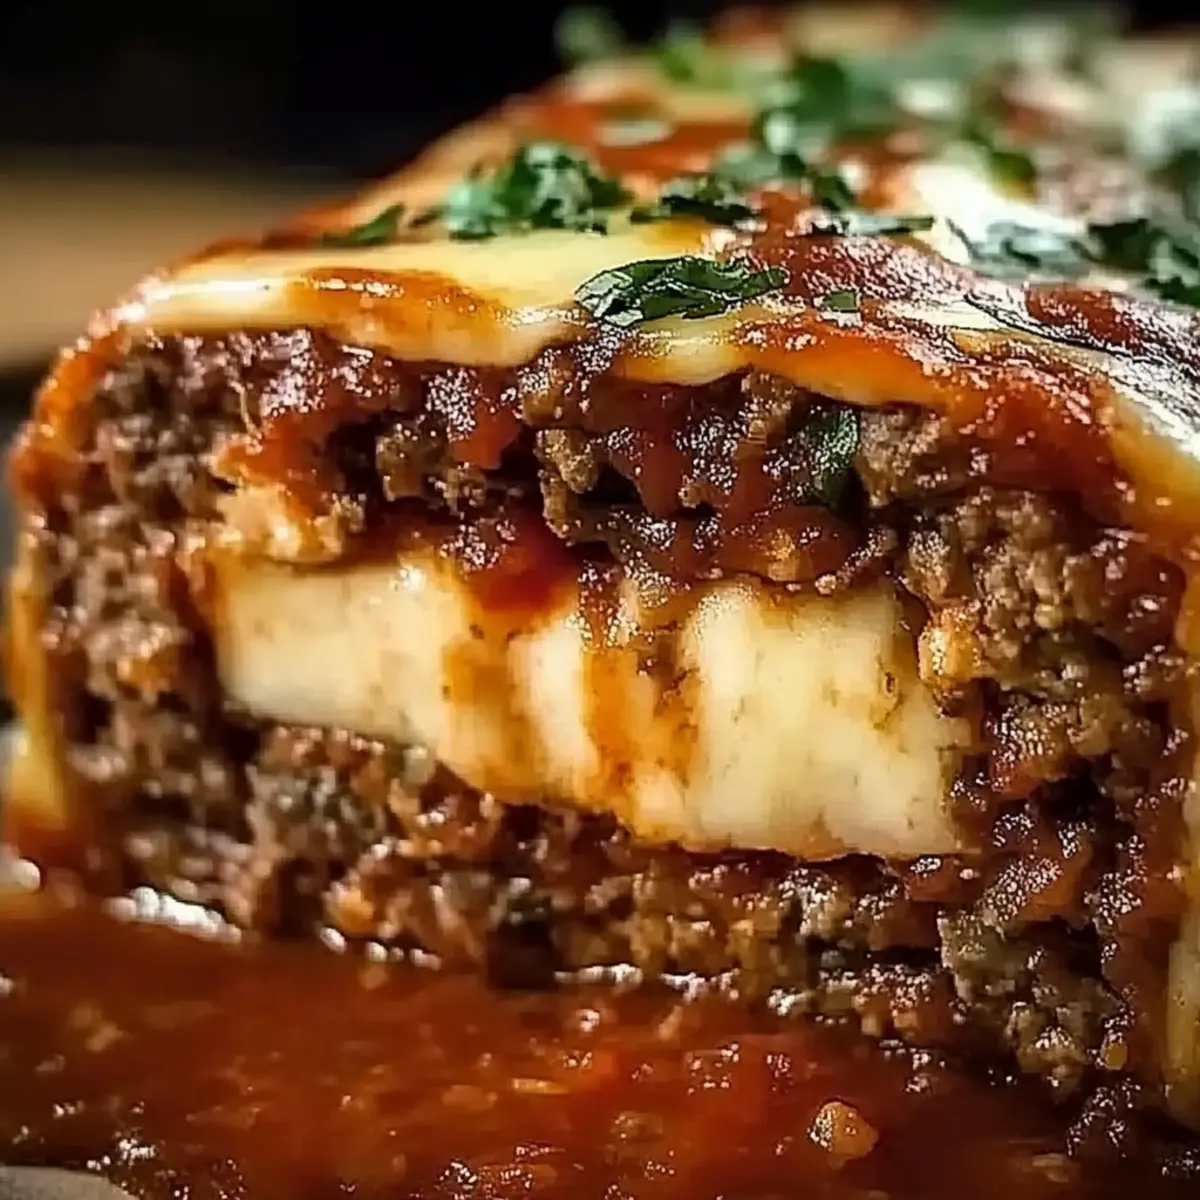
There’s something enchanting about the first time you slice into a stuffed Italian meatloaf, revealing layers of melted cheese and savory goodness within. This dish isn’t just a recipe; it’s a home-cooked hug that brings warmth to your dinner table, perfect for those hectic weeknights. My ultimate stuffed Italian meatloaf combines hearty ground beef, aromatic herbs, and gooey mozzarella—all rolled into a comforting masterpiece. Not only is it a crowd-pleaser that will impress your family and friends, but its easy prep makes it accessible even for the busiest home chefs. Imagine the aroma filling your kitchen as it bakes, urging everyone to gather ‘round for a plate of this delicious comfort food. Want to discover the secret to making your own? Let's dive into this delightful recipe!
Why is This Meatloaf a Game-Changer?
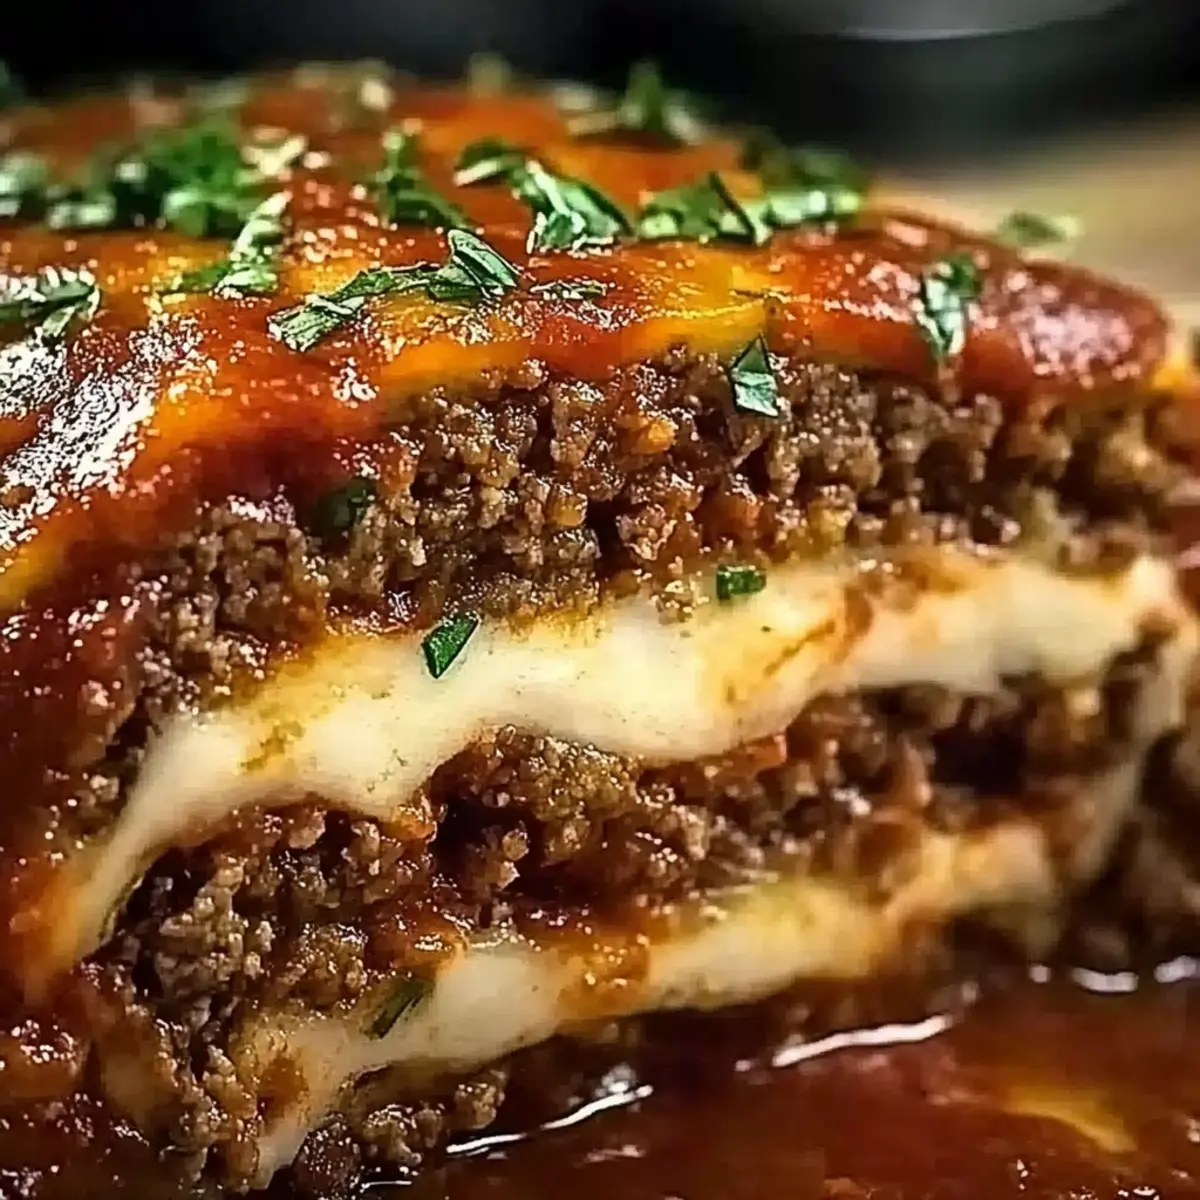
Flavor Explosion: The combination of seasoned ground beef and melted mozzarella creates a mouthwatering experience that delights the taste buds.
Easy Preparation: This recipe simplifies meatloaf-making, making it perfect for those busy weeknights. You’ll find that combining simple ingredients brings a satisfying result without hassle.
Comfort Food Classic: With its gooey center and crispy outside, this stuffed Italian meatloaf is sure to remind you of home cooking, making it a wonderful dish to share.
Crowd-Pleasing Appeal: Whether it’s a family dinner or a gathering with friends, this meatloaf is bound to impress and become a favorite at the table. If you enjoy comforting meals like this, you might also love Herby Ricotta Stuffed peppers!
Budget-Friendly: Utilizing basic ingredients makes this recipe not only delicious but also easy on the wallet, perfect for those cooking at home!
Stuffed Italian Meatloaf Ingredients
For the Meatloaf
• Ground Beef – The star protein for this stuffed Italian meatloaf, giving it rich flavor; consider a beef-pork blend for extra depth.
• Breadcrumbs – Helps bind the meatloaf while keeping it moist; gluten-free breadcrumbs are great for a gluten-free option!
• Parmesan Cheese – Infuses a nutty flavor and richness; Pecorino Romano can be used as a tasty substitute.
• Fresh Parsley – Adds a burst of freshness; if you have dried parsley, use a smaller amount for convenience.
• Fresh Basil – Enhances those classic Italian flavors; dried basil works too, but use just one-third of the amount.
• Onion – Sweetens when sautéed, contributing to the overall flavor; try using shallots for a milder taste.
• Garlic – Brings depth and aroma to your dish; adjust the amount based on your garlic love!
• Eggs – Act as a binder, holding all those delicious ingredients together; for a vegan alternative, flaxseed meal or a chia egg will work wonders.
• Marinara Sauce – Adds moisture and flavor; both homemade and store-bought versions are fantastic!
• Italian Seasoning – The secret to that authentic Italian taste; if you're out, mixing fresh oregano and thyme is a perfect substitute.
• Salt and Pepper – Essential for flavor enhancement; adjust to taste based on your dietary preferences.
For the Cheesy Center
• Mozzarella Cheese – Oozes into the center when baked, creating a delightful gooeyness; swap it out for provolone if you're feeling adventurous.
• Optional Slices of Pepperoni or Prosciutto – Adds an extra layer of richness and flavor; feel free to omit them for a lighter touch.
Dive into this hearty stuffed Italian meatloaf, and prepare to fall in love with the melty cheese and savory goodness!
Step‑by‑Step Instructions for Stuffed Italian Meatloaf
Step 1: Preheat the Oven
Begin by preheating your oven to 350°F (175°C). While it heats, line a baking sheet with parchment paper or lightly spray it with cooking spray to prevent sticking. This crucial step ensures that your stuffed Italian meatloaf bakes evenly, giving it that perfect crispy exterior.
Step 2: Sauté Aromatics
In a skillet over medium heat, add a splash of olive oil, then toss in chopped onions and minced garlic. Sauté for about 5 minutes until the onions turn translucent and aromatic. This step enhances the flavor base for your meatloaf, making it irresistible when baked.
Step 3: Mix Ingredients
In a large mixing bowl, combine ground beef, breadcrumbs, freshly grated Parmesan cheese, and the sautéed onion and garlic. Add chopped parsley, basil, eggs, marinara sauce, Italian seasoning, salt, and pepper. Mix gently until just combined, being careful not to overmix; you want a tender stuffed Italian meatloaf.
Step 4: Shape the Meatloaf
On a sheet of parchment paper, form the meat mixture into a rectangle about 1 inch thick. Make sure it's evenly shaped, which will help ensure even cooking and allow for an easy rolling process. This step is key to creating the beautiful layered effect of your meatloaf.
Step 5: Add Filling
Spread shredded mozzarella cheese and optional slices of pepperoni or prosciutto across the center of the meat rectangle. This cheesy goodness will melt as the stuffed Italian meatloaf cooks, creating a delicious surprise inside. Ensure the filling is well-distributed for maximum flavor in every bite.
Step 6: Roll the Meatloaf
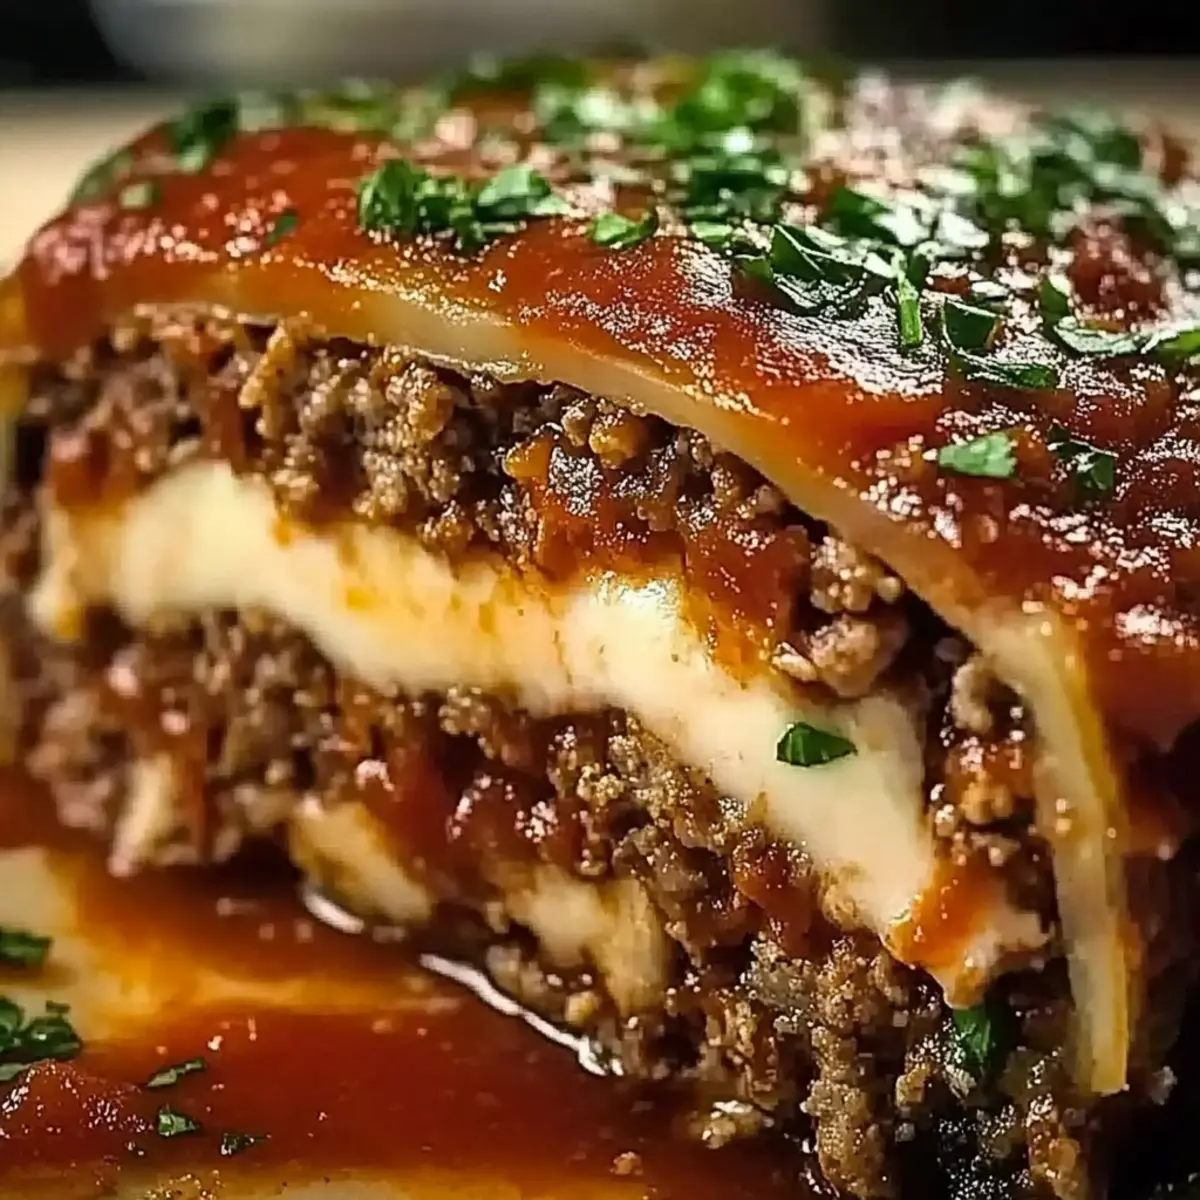
Using the parchment paper as a guide, carefully roll the meat mixture tightly, enclosing the fillings as you go. Make sure to keep it snug without squishing the filling out. This rolling technique creates the beautiful spiraled interior of your stuffed Italian meatloaf, so take your time here.
Step 7: Transfer
Once rolled, place the meatloaf seam-side down on the prepared baking sheet. This helps keep the shape and ensures that the delicious contents stay inside as it bakes. Position it so there's a little space around it for even heat distribution.
Step 8: Top and Bake
Pour a generous layer of marinara sauce over the top of the meatloaf, evenly covering it. Bake in the preheated oven for about 60 minutes or until the internal temperature reaches 160°F (70°C). You'll know it's done when the edges are browned and the sauce is bubbling.
Step 9: Resting Time
After removing the stuffed Italian meatloaf from the oven, let it rest for 15-20 minutes. This resting period allows the juices to redistribute within the meatloaf. If you slice too soon, those flavorful juices could run out, leaving you with a drier dish.
Stuffed Italian Meatloaf Variations
Customize your stuffed Italian meatloaf with these delightful twists that will tantalize your taste buds and elevate your dinner experience!
-
Lean Alternative: Swap ground turkey or chicken for a lighter and healthier option while still packing that comforting flavor.
-
Cheese Variety: Experiment with different cheese melds, like sharp cheddar or creamy gouda, to change the flavor profile and add a new dimension to the filling.
-
Veggie Boost: Incorporate finely chopped bell peppers or spinach into the meat mixture for added nutrition and vibrant color that everyone will love.
-
Herb Swap: Try substituting fresh herbs such as sage or thyme for parsley and basil, which will wonderfully alter the aroma and taste of your meatloaf.
-
Spicy Kick: Add some crushed red pepper flakes or diced jalapeños for an exciting heat that jazzes up every slice. If you're craving an even bigger flavor, consider mixing in spicy Italian sausage!
-
Sauce Switch: Top your meatloaf with barbecue sauce or a zesty marinara for a brand-new twist that provides a unique layering of taste. Both options bring their own charm to the dish!
-
Stuffed Variation: For a delightful surprise, tuck in slices of provolone and sun-dried tomatoes right within the meat mixture, creating a savory pocket of gooey joy.
-
Bread Swap: For those who prefer a crustier exterior, use crushed croutons or even seasoned panko breadcrumbs in place of traditional breadcrumbs for extra texture.
Explore these variations as you perfect your homemade masterpiece; each adjustment will make your stuffed Italian meatloaf uniquely yours! For more inspiration, check out the delightful flavors in Herby Ricotta Stuffed peppers that effortlessly combine freshness and comfort!
What to Serve with Stuffed Italian Meatloaf
There’s nothing quite like completing a cozy dinner with the perfect sides that enhance your savory meatloaf experience.
-
Garlic Bread: The crispy, buttery slices are perfect for mopping up the marinara sauce, adding a crunchy texture that complements the meatloaf beautifully.
-
Classic Caesar Salad: Crisp romaine lettuce with creamy dressing and crunchy croutons adds a refreshing bite and balances the richness of the meatloaf.
-
Roasted Vegetables: A medley of carrots, zucchini, and bell peppers, seasoned and caramelized, brings vibrant colors and earthy flavors to your dinner plate.
-
Creamy Mashed Potatoes: The smooth, buttery potatoes create a comforting side that provides a delightful contrast to the meatloaf's crispy exterior.
-
Italian Green Beans: Sautéed green beans with garlic and olive oil add a pop of flavor and freshness that elevate the meal to new heights.
-
Balsamic Glazed Brussels Sprouts: The sweet and tangy glaze enhances these roasted sprouts, making them a satisfying complement that appeals to veggie lovers.
-
Red Wine: A glass of medium-bodied red wine, like Chianti, perfectly pairs with the rich flavors of the meatloaf, enhancing your cozy dining experience.
Imagine gathering your loved ones around the table, each slice of stuffed Italian meatloaf paired with your favorite side, creating a symphony of flavors that brings warmth to your family meals.
How to Store and Freeze Stuffed Italian Meatloaf
Fridge: Store leftover stuffed Italian meatloaf in an airtight container for up to 3 days. This keeps it fresh and ready to enjoy at a moment's notice.
Freezer: If you want to keep it longer, wrap the meatloaf tightly in plastic wrap or aluminum foil, then place it in a freezer-safe bag. It can be frozen for up to 3 months.
Reheating: For the best flavor, reheat slices in the oven at 350°F (175°C) for about 15-20 minutes until warmed through. This will help retain the moisture and texture.
Thawing: To enjoy your frozen stuffed Italian meatloaf, thaw it overnight in the refrigerator before reheating. This ensures even warming and helps it maintain its delicious flavor!
Make Ahead Options
These stuffed Italian meatloaf creations are perfect for meal prep enthusiasts looking to save time during busy weeknights! You can prepare the meatloaf mixture (up to 24 hours) in advance by combining all the ingredients, then form and roll the meatloaf, storing it tightly wrapped in plastic wrap in the refrigerator. This not only simplifies your cooking process but also allows the flavors to meld beautifully. When you're ready to bake, simply transfer it to the baking sheet, top with marinara sauce, and pop it into the oven—your dinner will emerge just as delicious as if you’d made it fresh! Enjoy the extra time you’ll have, knowing that a hearty meal awaits you!
Expert Tips for Stuffed Italian Meatloaf
Avoid Overmixing: Mixing too vigorously can make your stuffed Italian meatloaf dense. Gently combine the ingredients for a tender texture.
Let It Rest: Allow the meatloaf to rest after baking. This step helps retain moisture and enhances the flavor profile.
Use a Meat Thermometer: For perfect results, check the internal temperature. Cooking to 160°F (70°C) ensures a juicy, safe-to-eat meatloaf.
Layer Cheese Evenly: Distributing the mozzarella cheese throughout the filling not only ensures gooey goodness but also enhances every bite.
Experiment with Aromatics: Don't hesitate to play with different herbs or spices to customize the flavor of your stuffed Italian meatloaf, making it truly unique!
Stuffed Italian Meatloaf Recipe FAQs
How do I choose the right ground beef for stuffed Italian meatloaf?
Absolutely! For the best flavor, opt for ground beef that is 80/20 (80% lean and 20% fat) as this will keep your meatloaf juicy and tender. If you prefer a little more depth, you can also use a beef-pork blend which adds a lovely richness to the dish.
What’s the best way to store leftover stuffed Italian meatloaf?
Very simple! After cooling, store the leftovers in an airtight container and keep them in the refrigerator for up to 3 days. This method preserves the flavors and moisture of your delicious meatloaf.
Can I freeze stuffed Italian meatloaf? If so, how?
Absolutely! To freeze your stuffed Italian meatloaf, first, allow it to cool completely. Then, wrap it tightly in plastic wrap or aluminum foil, and place it in a freezer-safe bag. It can stay fresh for up to 3 months. When you're ready to enjoy it, thaw it overnight in the refrigerator before reheating.
What if my meatloaf turns out too dry?
Oh no! If your stuffed Italian meatloaf ends up dry, it could be due to overbaking or overmixing. For next time, be sure to bake it just until the internal temperature reaches 160°F (70°C) and mix gently to keep it tender. You might also consider adding a bit more marinara sauce into the mixture for extra moisture!
Is stuffed Italian meatloaf suitable for kids?
Very much so! Stuffed Italian meatloaf is generally kid-approved due to its cheesy center and familiar flavors. However, you may want to adjust the seasoning or spices if you're cooking for younger palates, and feel free to leave out any optional ingredients like pepperoni or prosciutto if desired.
What dietary considerations should I keep in mind when making this recipe?
Absolutely! For a gluten-free version, just swap regular breadcrumbs for gluten-free ones. If you’re looking for a vegan alternative, you can use a mixture of vegetables, beans, or lentils in place of ground beef, and a flaxseed meal or chia egg as a binder. Adjust cheese choices or omit them entirely for a lighter version!
Savory Stuffed Italian Meatloaf Packed with Cheesy Goodness
Ingredients
Equipment
Method
- Preheat the oven to 350°F (175°C) and line a baking sheet with parchment paper.
- In a skillet over medium heat, add olive oil and sauté chopped onions and minced garlic for about 5 minutes until translucent.
- In a large mixing bowl, combine ground beef, breadcrumbs, Parmesan cheese, and sautéed onion and garlic. Add parsley, basil, eggs, marinara sauce, Italian seasoning, salt, and pepper. Mix gently.
- Shape the mixture into a rectangle about 1 inch thick on parchment paper.
- Spread mozzarella cheese and optional slices of pepperoni or prosciutto across the center.
- Roll the meat mixture tightly using the parchment paper, encasing the fillings.
- Place the rolled meatloaf seam-side down on the prepared baking sheet.
- Pour marinara sauce over the top and bake for about 60 minutes or until the internal temperature reaches 160°F (70°C).
- Let the meatloaf rest for 15-20 minutes before slicing.