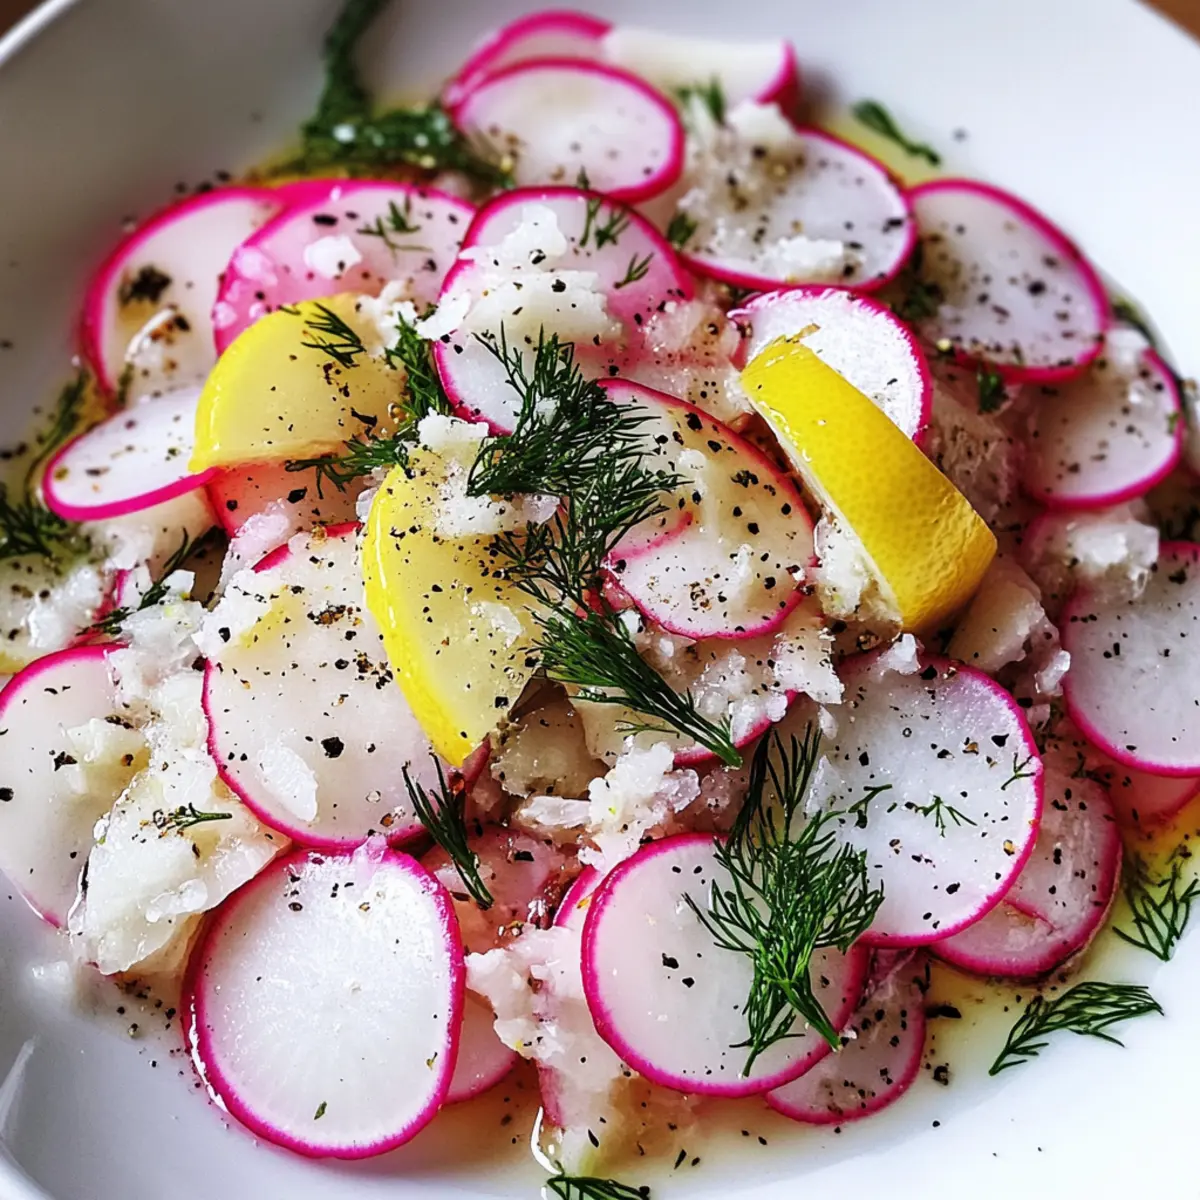
As I sliced into the fresh radishes, their crispness brought back memories of sun-soaked summer picnics and vibrant farmer's markets. This Gordon Ramsay Radish Salad with Lemon & Dill is a celebration of simplicity, turning everyday ingredients into a delightful dish. With just a few swift motions, we transform these peppery roots into a tantalizingly fresh salad that’s both light and invigorating, perfect for countering heavier meals or simply enjoying on its own. Not only does it come together in mere minutes, but it’s also packed with health benefits, providing a burst of vitamin C and low calories in every bite. Are you ready to elevate your salad game and impress your guests with this refreshing dish?

Why is this salad a must-try?
Freshness at its finest: Enjoy the vibrant crunch of radishes, perfectly paired with zesty lemon and aromatic dill that elevates each bite.
Simplicity shines through: This salad requires minimal effort, making it ideal for busy weeknights or quick lunch prep.
Versatile enjoyment: Serve as a side dish with grilled meats or lay it atop a bed of greens for a wholesome meal. Enhance it with your favorite additions like cucumbers or nuts for extra flair!
Health benefits abound: Low in calories and high in vitamin C, this salad not only tastes great but is a smart choice for health-conscious eaters.
Crowd-pleaser appeal: Whether for a casual family dinner or an elegant gathering, the Gordon Ramsay Radish Salad will impress everyone at the table!
Ingredients
Gordon Ramsay Radish Salad Ingredients
For the Salad
- Radishes – Crisp and peppery, radishes lend a delightful crunch; try using French breakfast for a softer bite.
- Lemon – The tangy acidity of lemon softens radishes and enhances their flavor; lime can be a refreshing alternative.
- Olive Oil – Rich and smooth, olive oil adds depth; for a change, avocado oil is a great substitute!
- Parmesan – Freshly grated for a savory touch, Parmesan adds complexity; skip for a dairy-free version or swap with crushed anchovies.
- Fresh Dill – This bright herb elevates the dish; if unavailable, parsley or chives can fill in nicely.
- Salt & Black Pepper – Essential for flavor enhancement; use sea salt for an extra crunchy bite.
For Extra Garnish
- Lemon Zest – A finishing touch that brightens up the salad; it’s essential for that fresh burst of flavor!
- Additional Parmesan – A light sprinkle brings an extra savory punch to the presentation.
- Cracked Black Pepper – Adding spice and depth to your dish, this is a must for that final flair.
Unleash the refreshing vibrancy of the Gordon Ramsay Radish Salad at your next meal!
Step‑by‑Step Instructions for Gordon Ramsay Radish Salad
Step 1: Prep the Radishes
Begin by rinsing the radishes under cold water to remove any dirt. Slice them evenly into about 1/8" thick rounds; this uniformity ensures even texture throughout the salad. As you cut, notice the vibrant colors and crispness of the radishes, which will be the stars of your Gordon Ramsay Radish Salad.
Step 2: Massage with Lemon and Salt
In a mixing bowl, combine the sliced radishes with the juice of half a lemon and a generous pinch of sea salt. Using your hands, gently massage the radishes for 1-2 minutes. This technique softens their sharpness and infuses them with flavor. Watch for the radishes to become slightly translucent, which indicates they’ve absorbed the lemon juice.
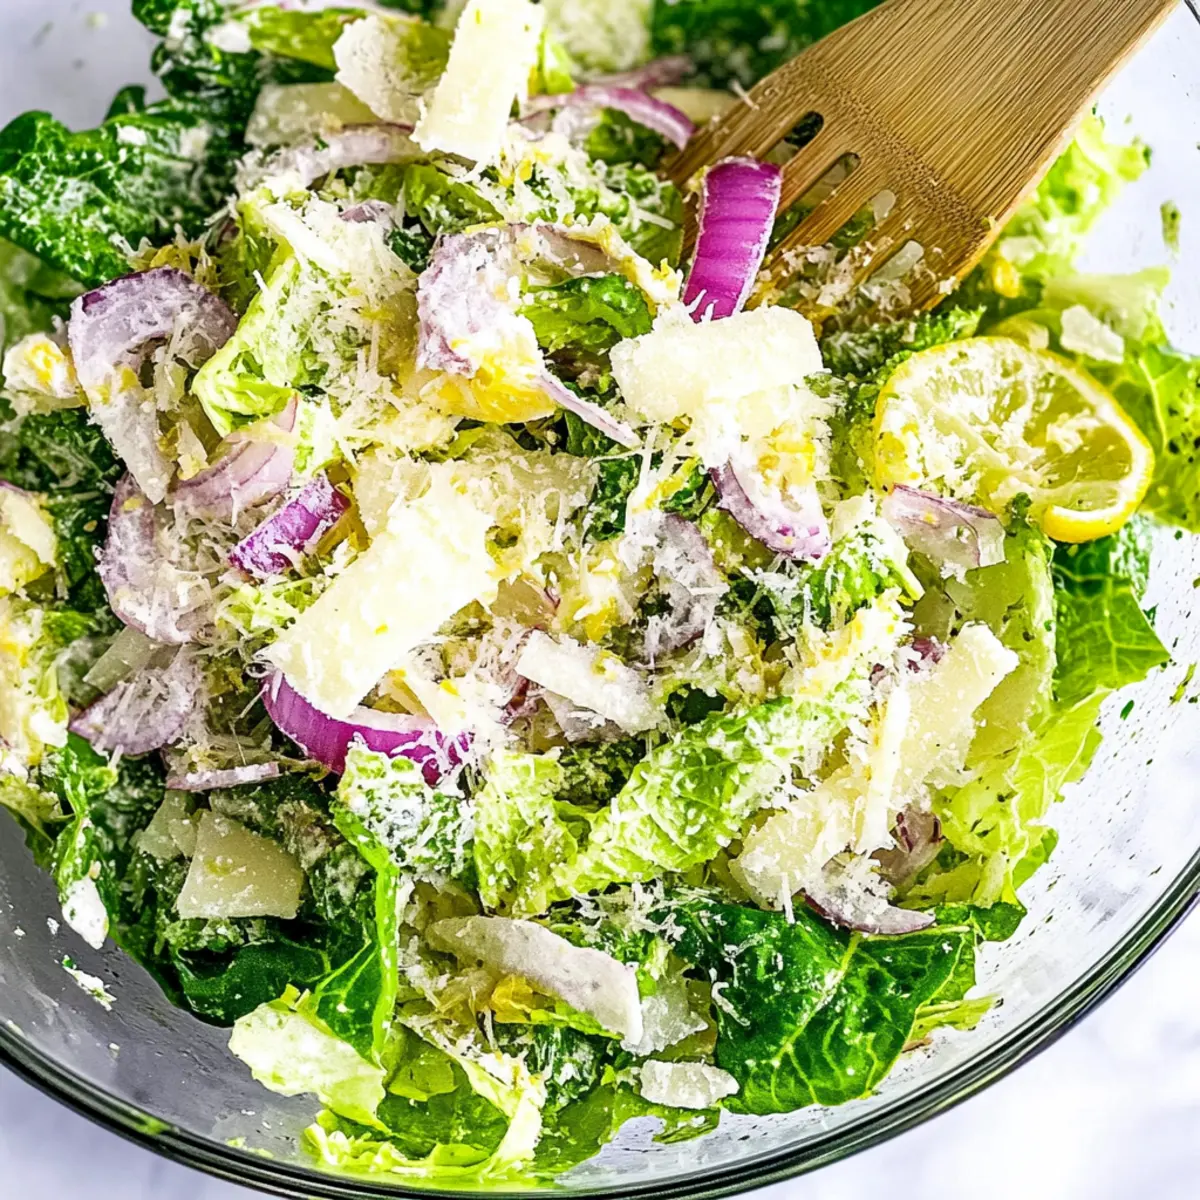
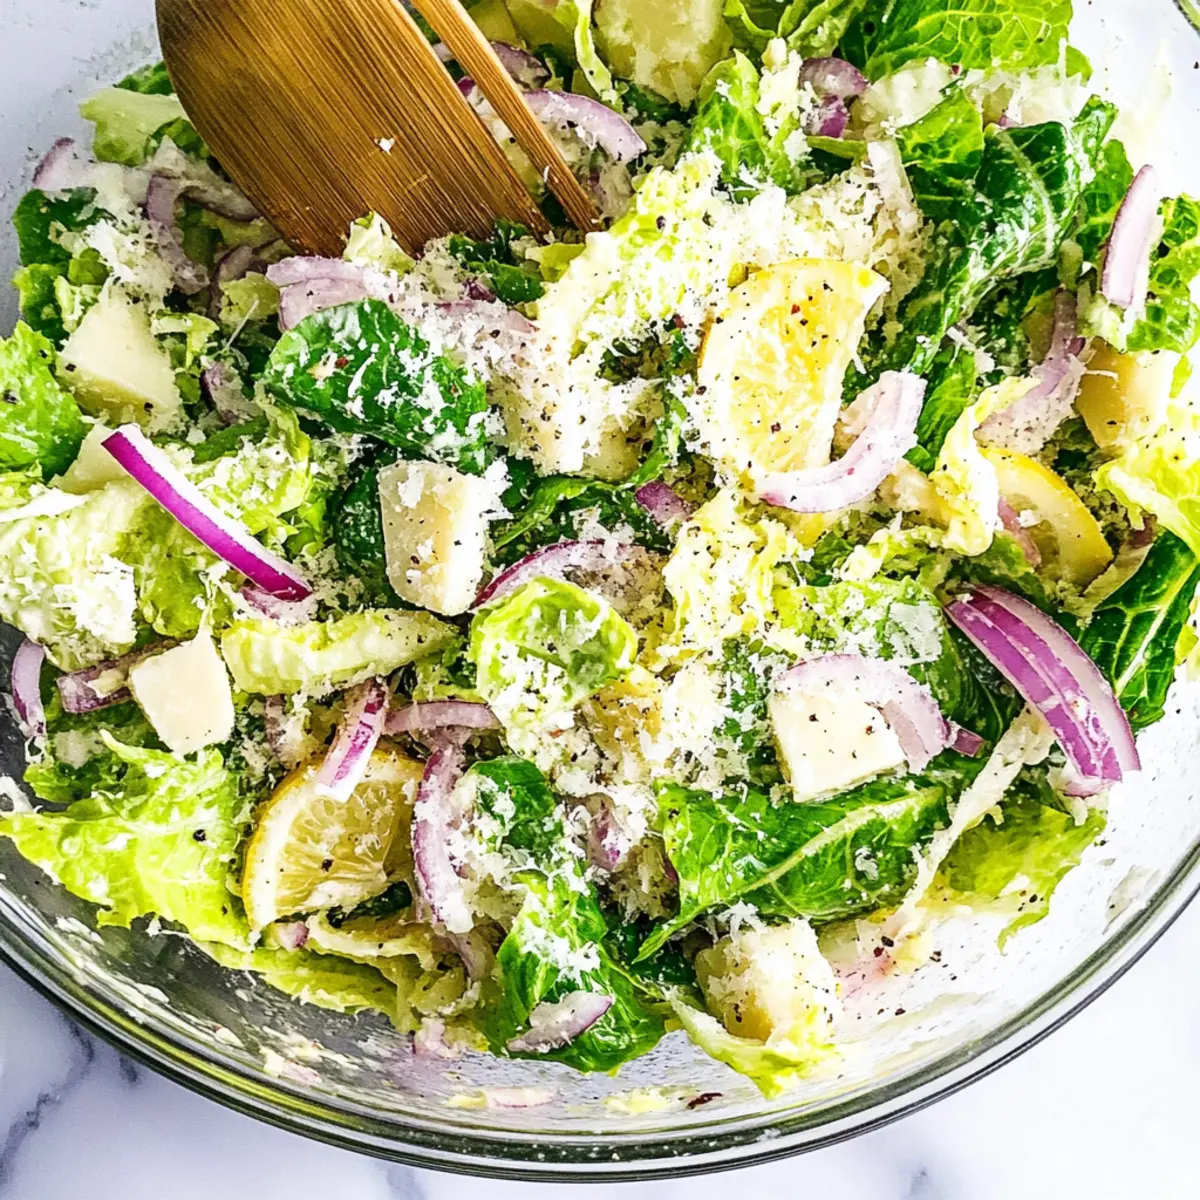
Step 3: Add Olive Oil and Parm
Once the radishes are softened, drizzle in two tablespoons of olive oil, then fold in a handful of freshly grated Parmesan cheese and a generous handful of torn dill. Using a spatula, carefully combine the ingredients without smashing the salad. You want to keep the radishes intact while allowing the creamy Parmesan and aromatic dill to mingle throughout the salad.
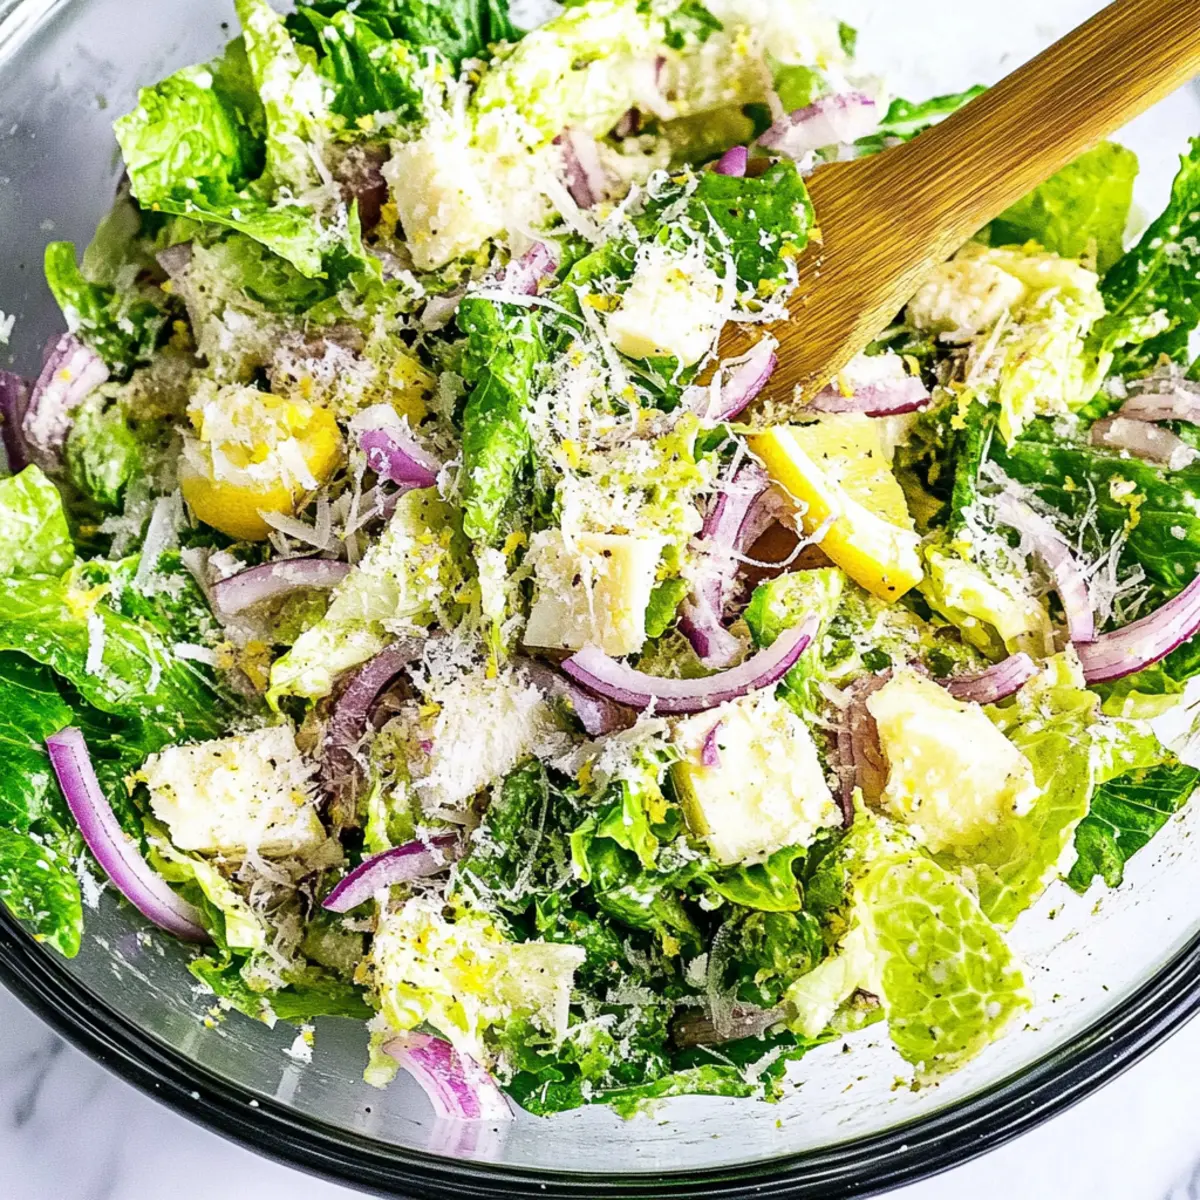
Step 4: Plate the Salad
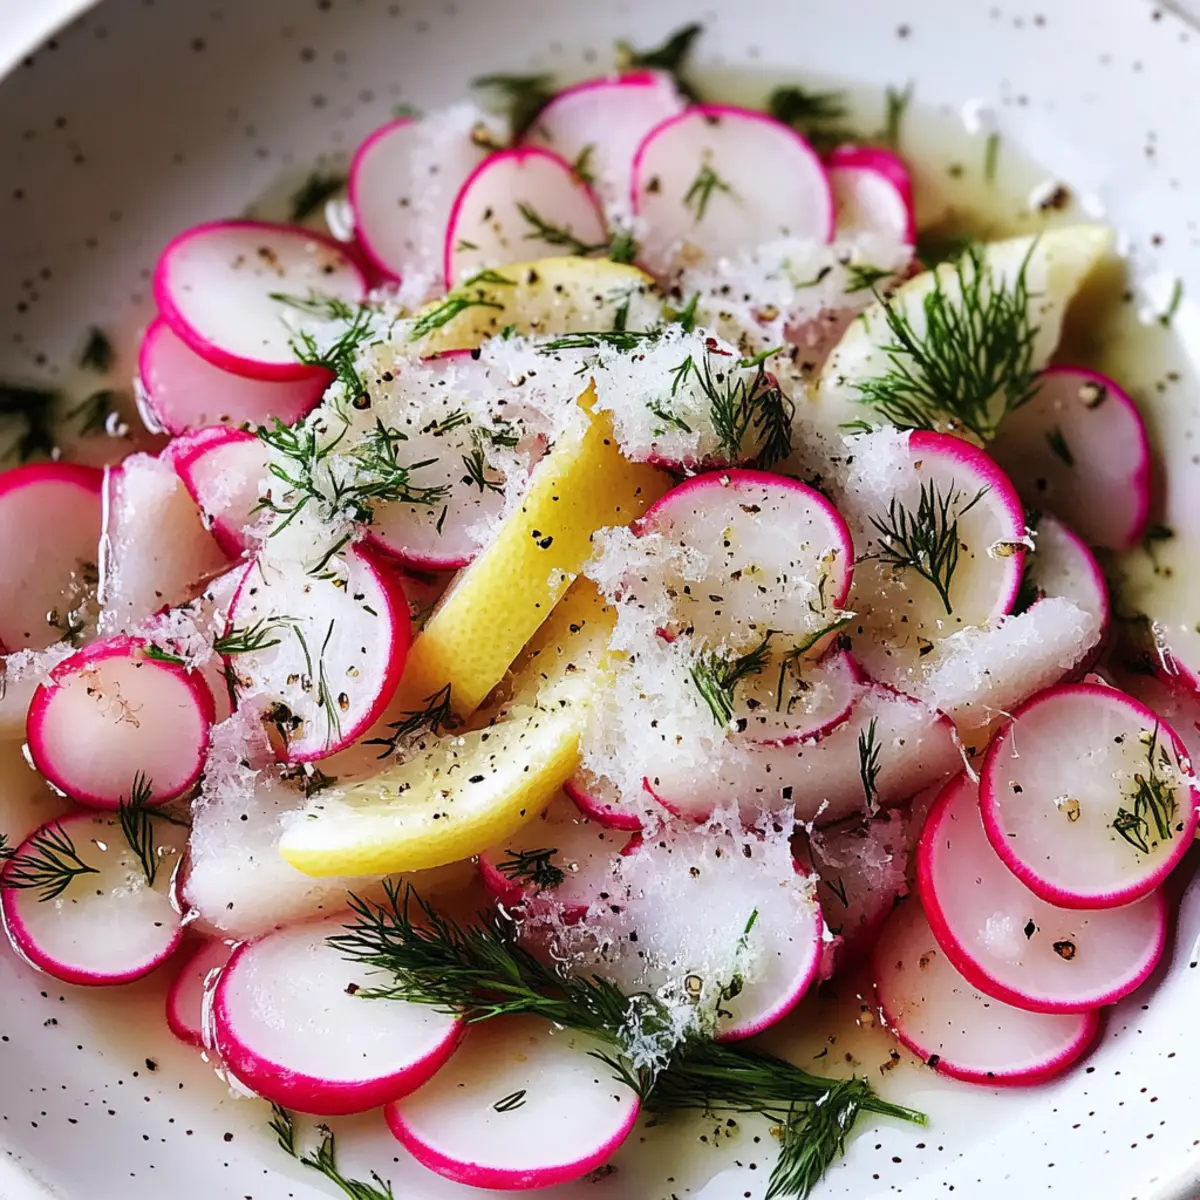
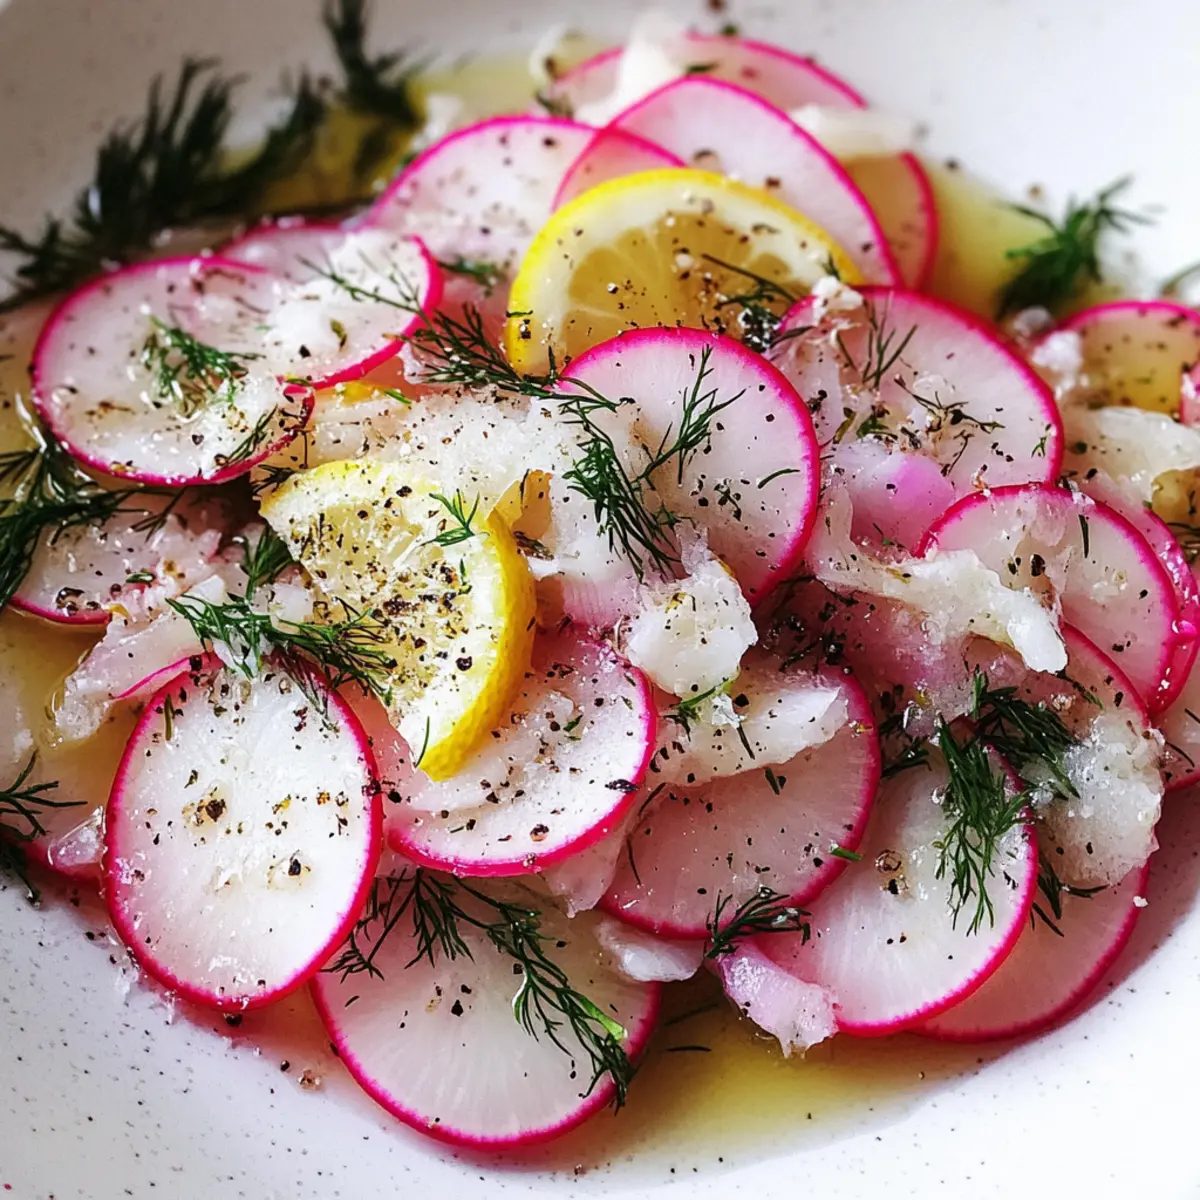
Now it’s time to present your creation! On a large plate, artfully arrange the radish slices for a visually appealing display. Finish by sprinkling lemon zest over the top along with a bit more grated Parmesan and cracked black pepper. This final touch will elevate the flavors, adding a zesty kick and an inviting aroma to your Gordon Ramsay Radish Salad.
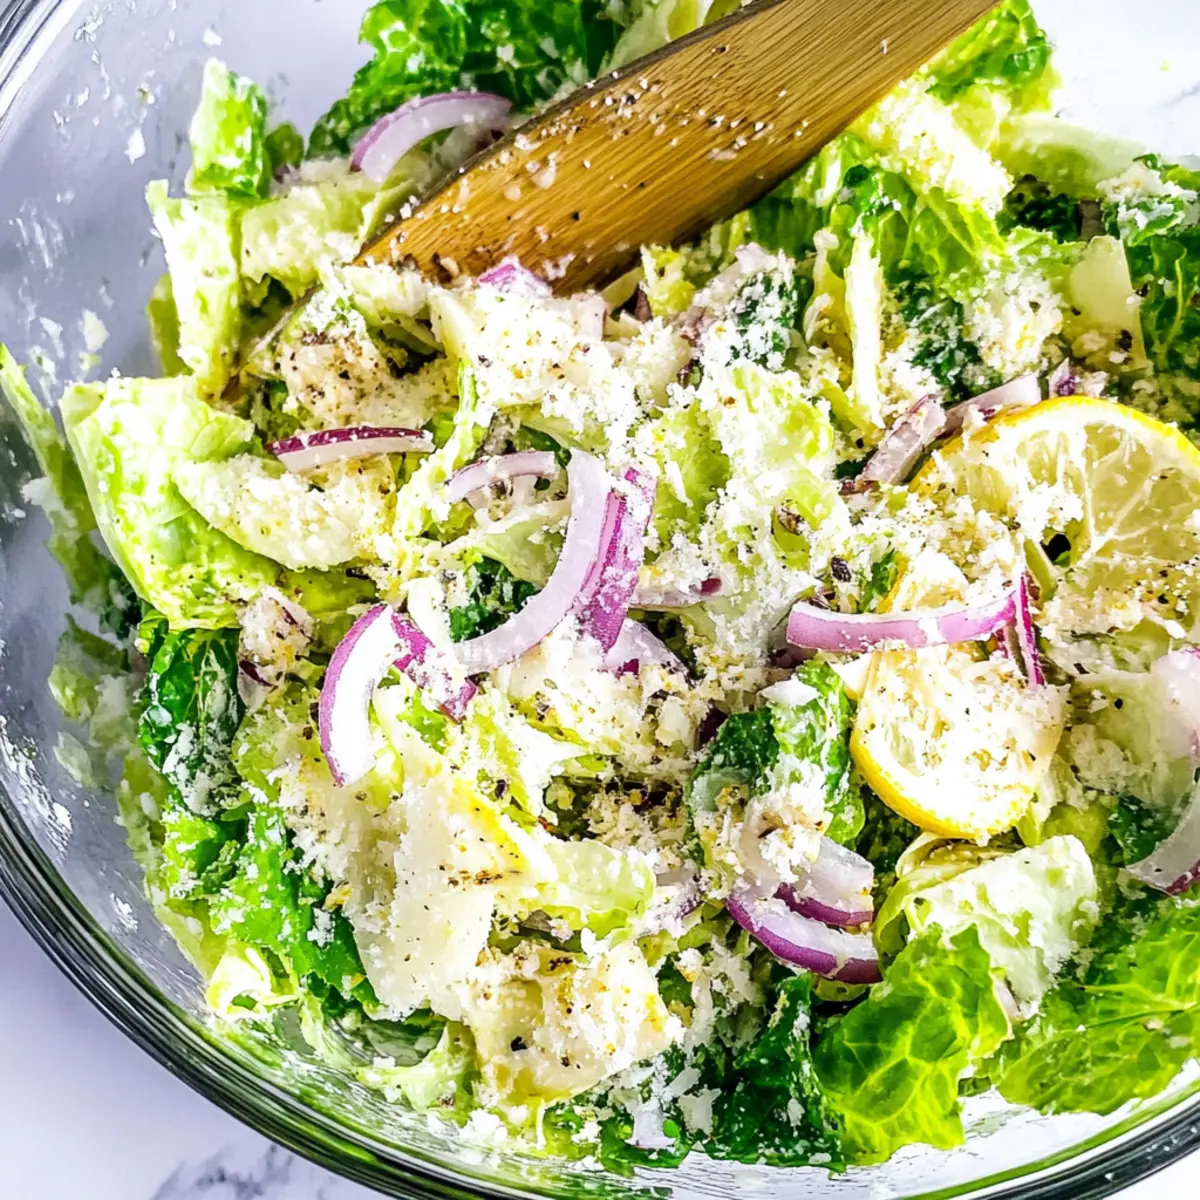
Step 5: Serve Immediately
For the best flavor and texture, serve your salad right away. The freshness of the ingredients will be at its peak, making it a delightful accompaniment to any meal. The radishes should remain crisp, and the lemony brightness will complement the savory depth from the Parmesan. Embrace this refreshing dish at your dinner table for a light but satisfying treat!
Expert Tips for Gordon Ramsay Radish Salad
- **Massage Radishes: ** Don’t skip this step! Massaging radishes with lemon and salt mellows their sharpness, creating a well-balanced salad.
- Use Fresh Ingredients: Always select fresh radishes and herbs. This ensures the vibrant flavors truly shine in your Gordon Ramsay Radish Salad.
- Thick Slices Matter: Keep your radish slices consistent at about 1/8". This helps maintain a similar crunch and texture throughout the dish.
- Skip Overpowering Cheeses: Avoid creamy cheeses like feta or goat cheese, as they can overwhelm the light flavors of the salad.
- Prepare Ahead Carefully: If making in advance, massage the radishes but hold off on adding the olive oil and parmesan until you’re ready to serve for maximum freshness.
Gordon Ramsay Radish Salad Variations
Feel free to mix things up and make this salad your own with these exciting twists!
- Daikon Delight: Substitute traditional radishes with milder daikon, cutting them into thin slices for a unique texture.
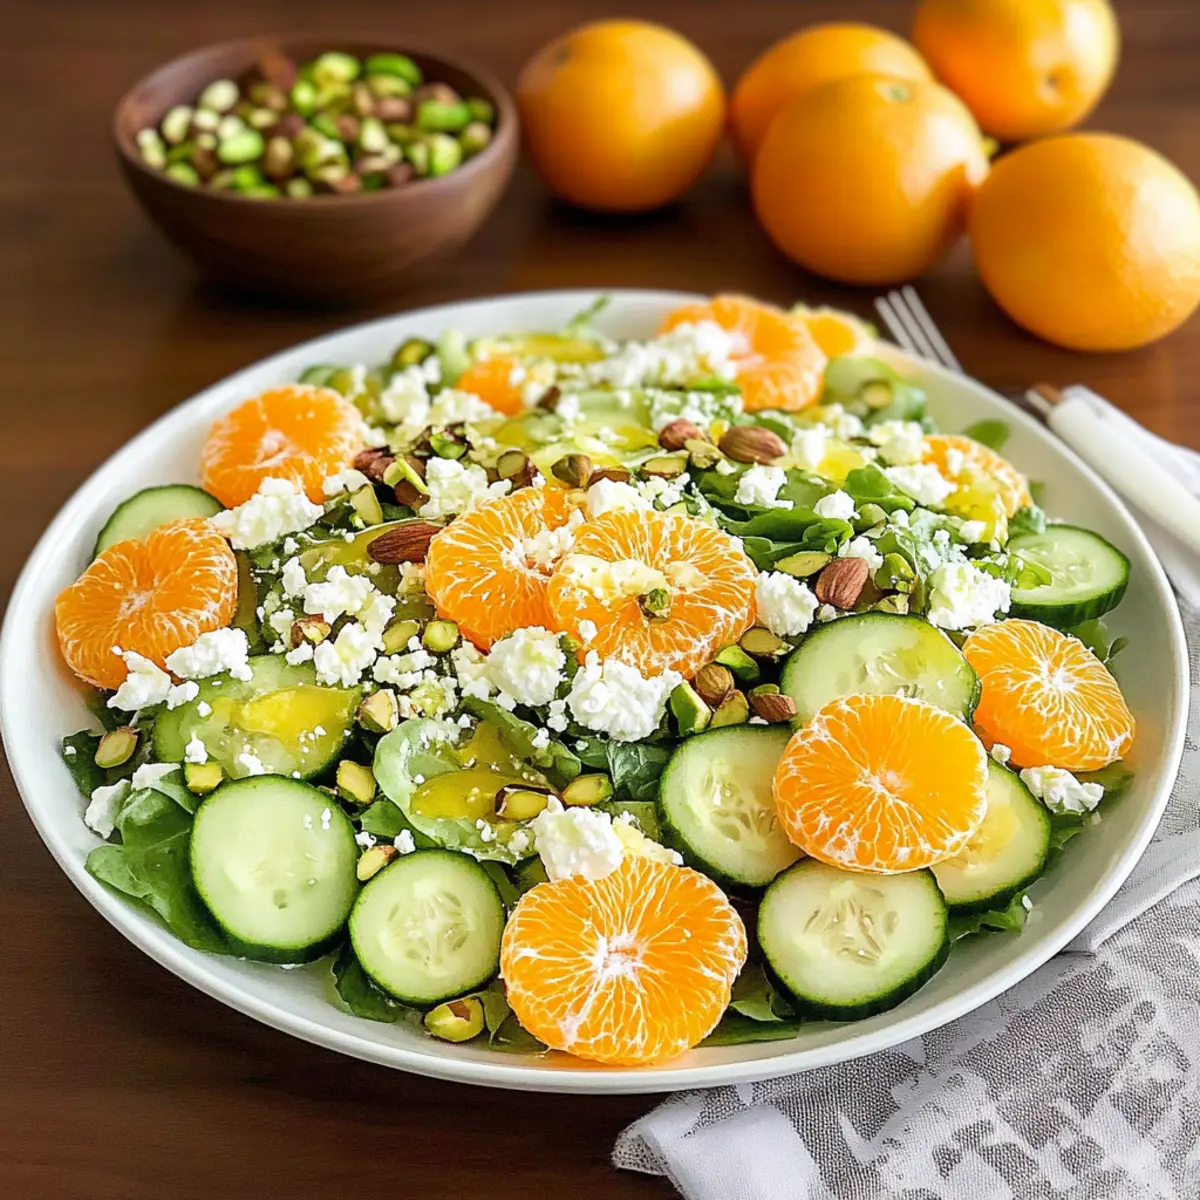
- Cucumber Crunch: Add diced cucumbers for a juicy pop of freshness, enhancing the salad with extra moisture and color.
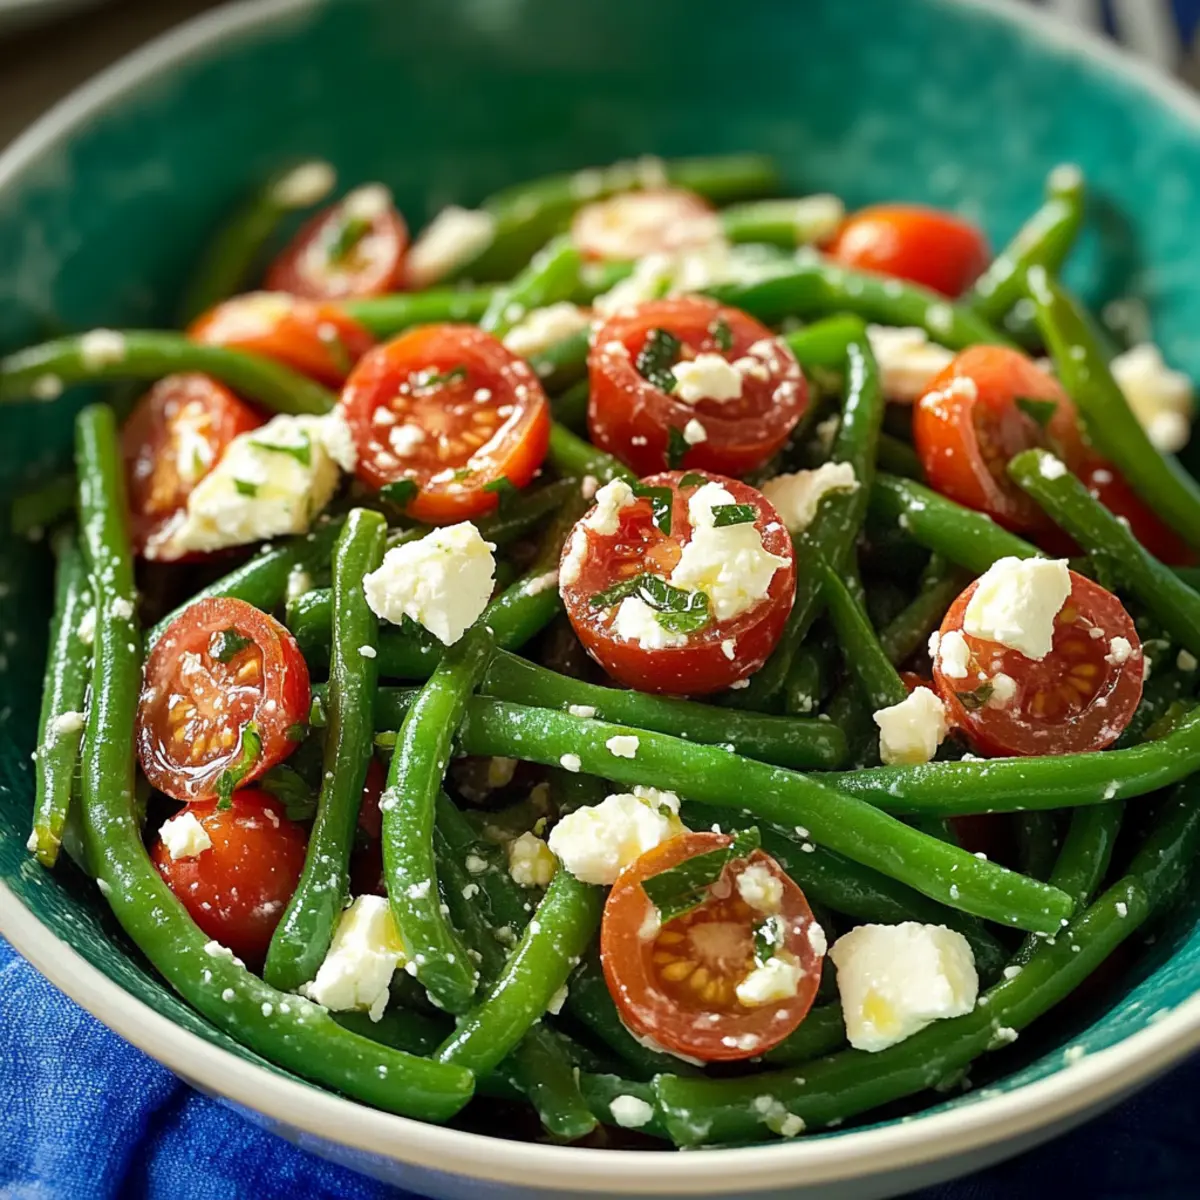
- Cherry Tomato Boost: Toss in halved cherry tomatoes for a burst of sweetness that pairs beautifully with the radishes.
- Nuttier Option: Sprinkle a handful of chopped almonds or walnuts for added crunch and a nutty twist that elevates the flavors further.
- Herb Variety: Swap out dill for parsley, cilantro, or chives to change the herbaceous note, bringing a new layer of flavor to the dish.
- Spicy Kick: Incorporate sliced jalapeños or a sprinkle of red pepper flakes for a hint of heat that will tantalize your taste buds.
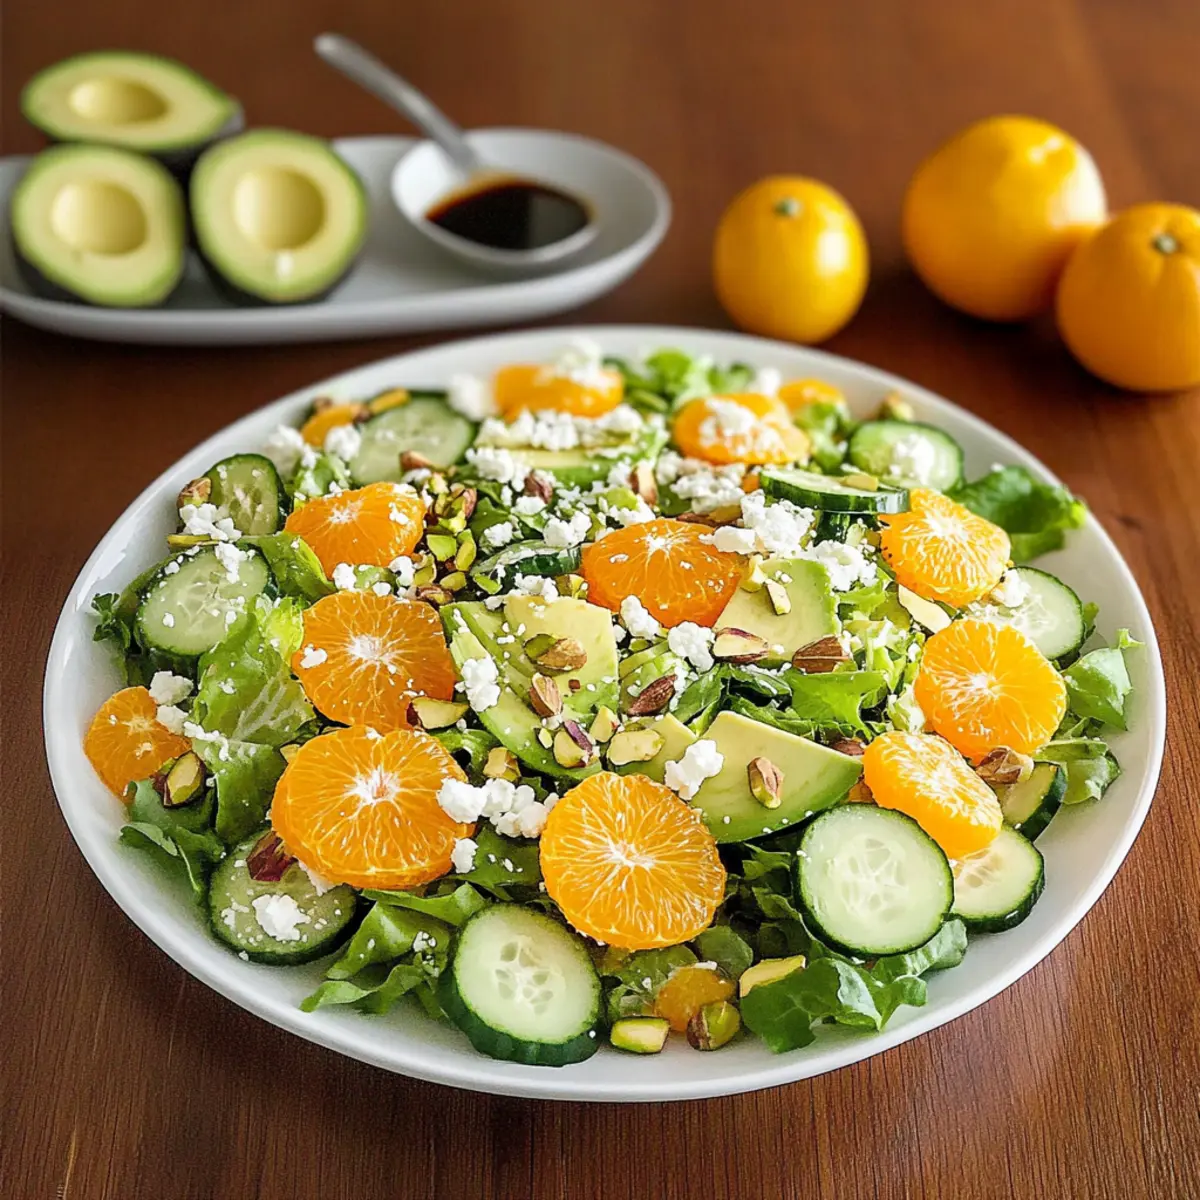
- Avocado Creaminess: Introduce creamy avocado cubes for a rich, velvety texture that complements the crunchiness of the radishes beautifully.
- Pineapple Zing: For a tropical twist, add diced pineapple for a sweet-and-sour punch that brightens the entire salad.
Don’t forget to pair your salad with a side of Grilled Balsamic Steak Salad for a delightful dinner experience! Each variation can create a unique and thrilling spin on Gordon Ramsay's Radish Salad. Enjoy your culinary adventure!
Storage Tips for Gordon Ramsay Radish Salad
Fridge: Store the salad in an airtight container for up to 3 days. To maintain freshness, hold off on adding olive oil and cheese until just before serving.
Make-Ahead: Pre-slice and massage the radishes with lemon and salt a few hours in advance, but only add additional ingredients right before serving for optimal crunch.
Freezer: This salad is best enjoyed fresh and should not be frozen. Freezing will alter the texture of the radishes, making them mushy.
Reheating: If you prefer a warm dish, consider briefly microwaving the radishes for 10-15 seconds, but it’s recommended to serve the Gordon Ramsay Radish Salad cold for the best flavor experience.
Make Ahead Options
These Gordon Ramsay Radish Salad preparations are ideal for busy cooks looking to save time during the week! You can prep the radishes by slicing and massaging them with lemon and salt up to 24 hours in advance, as this helps mellow their flavor while enhancing their crispness. Simply store them in an airtight container in the refrigerator to maintain their texture. However, it's best to add the olive oil, Parmesan, and dill right before serving to ensure they stay fresh and vibrant. When you're ready to enjoy, just toss everything together and plate it up for a delicious, refreshing side with minimal effort!
What to Serve with Gordon Ramsay Radish Salad
Crafting a meal around this refreshing salad invites vibrant flavors that will delight your senses and nourish your spirit.
-
Grilled Chicken Breasts: Savory chicken complements the salad’s zestiness, while a touch of char adds a mouthwatering depth.
-
Quinoa Pilaf: A fluffy, nutty quinoa pilaf serves as a wholesome base, providing a delicious contrast to the sharp crunch of radishes.
-
Roasted Salmon: The rich, flaky texture of roasted salmon pairs exquisitely with the salad, balancing its refreshing bite with creamy, savory flavors.
-
Crusty Bread: A slice of warm, crusty bread is perfect for scooping up the salad, enhancing the experience with its crispy exterior and soft center.
-
Herbed Couscous: Light and fluffy couscous infused with herbs makes a flavorful side, enhancing the fresh tastes of dill and lemon from the salad.
-
Sparkling Lemonade: A glass of sparkling lemonade matches the salad’s brightness and adds effervescence, lifting the entire meal to a refreshing level.
-
Chocolate Mousse: For dessert, a silky chocolate mousse provides a divine contrast to the salad’s brightness, ensuring a delightful end to the meal.
-
Caprese Skewers: Fresh mozzarella, tomatoes, and basil drizzled with balsamic glaze create a delightful appetizer that flows harmoniously with the salad’s flavors.
With these delightful pairings, you can create a memorable meal that will impress family and friends alike!
Gordon Ramsay Radish Salad Recipe FAQs
What type of radishes should I use for this salad?
Absolutely! Fresh, crisp radishes like the common red variety, French breakfast, or even watermelon radish work beautifully. For a milder flavor, consider using daikon radish. Just remember, the fresher, the better!
How do I store leftover radish salad?
Very! To keep your Gordon Ramsay Radish Salad fresh, store it in an airtight container in the fridge for up to 3 days. To maintain its vibrant flavor and texture, avoid adding olive oil and cheese until just before serving.
Can I make this salad ahead of time?
Yes, you can! I often prepare the radishes by slicing and massaging them with lemon juice and salt a few hours before serving. This technique allows the radishes to soften and absorb the flavors. However, hold off on adding olive oil, Parmesan, and any garnishes until you’re ready to serve for that delightful crunch.
Is it okay to freeze radish salad?
No, it’s not recommended to freeze this salad. Freezing will alter the crisp texture of the radishes, making them mushy. Instead, enjoy it fresh to experience the refreshing bite that makes this salad so special!
Can I substitute ingredients based on dietary restrictions?
Certainly! If you have dairy allergies, simply omit the Parmesan or replace it with crushed anchovies for a savory kick. For a vegan version, skip the cheese entirely and use avocado or nut-based alternatives. This salad is flexible, so feel free to embrace your preferences!
Are there any specific allergies I should be aware of?
Yes, individuals who are allergic to radishes or have a nightshade sensitivity should avoid this salad. It’s always wise to check for allergies when serving to guests. Enjoy this vibrant dish with confidence, letting everyone know how delightful it can be!
Gordon Ramsay Radish Salad: A Zesty, Refreshing Delight
Ingredients
Equipment
Method
- Begin by rinsing the radishes under cold water to remove any dirt. Slice them evenly into about 1/8" thick rounds.
- In a mixing bowl, combine the sliced radishes with the juice of half a lemon and a generous pinch of sea salt. Gently massage the radishes for 1-2 minutes.
- Drizzle in two tablespoons of olive oil, fold in Parmesan cheese and torn dill, and combine without smashing the salad.
- Artfully arrange the radish slices on a large plate. Finish by sprinkling lemon zest, additional Parmesan, and cracked black pepper.
- Serve immediately for the best flavor and texture.