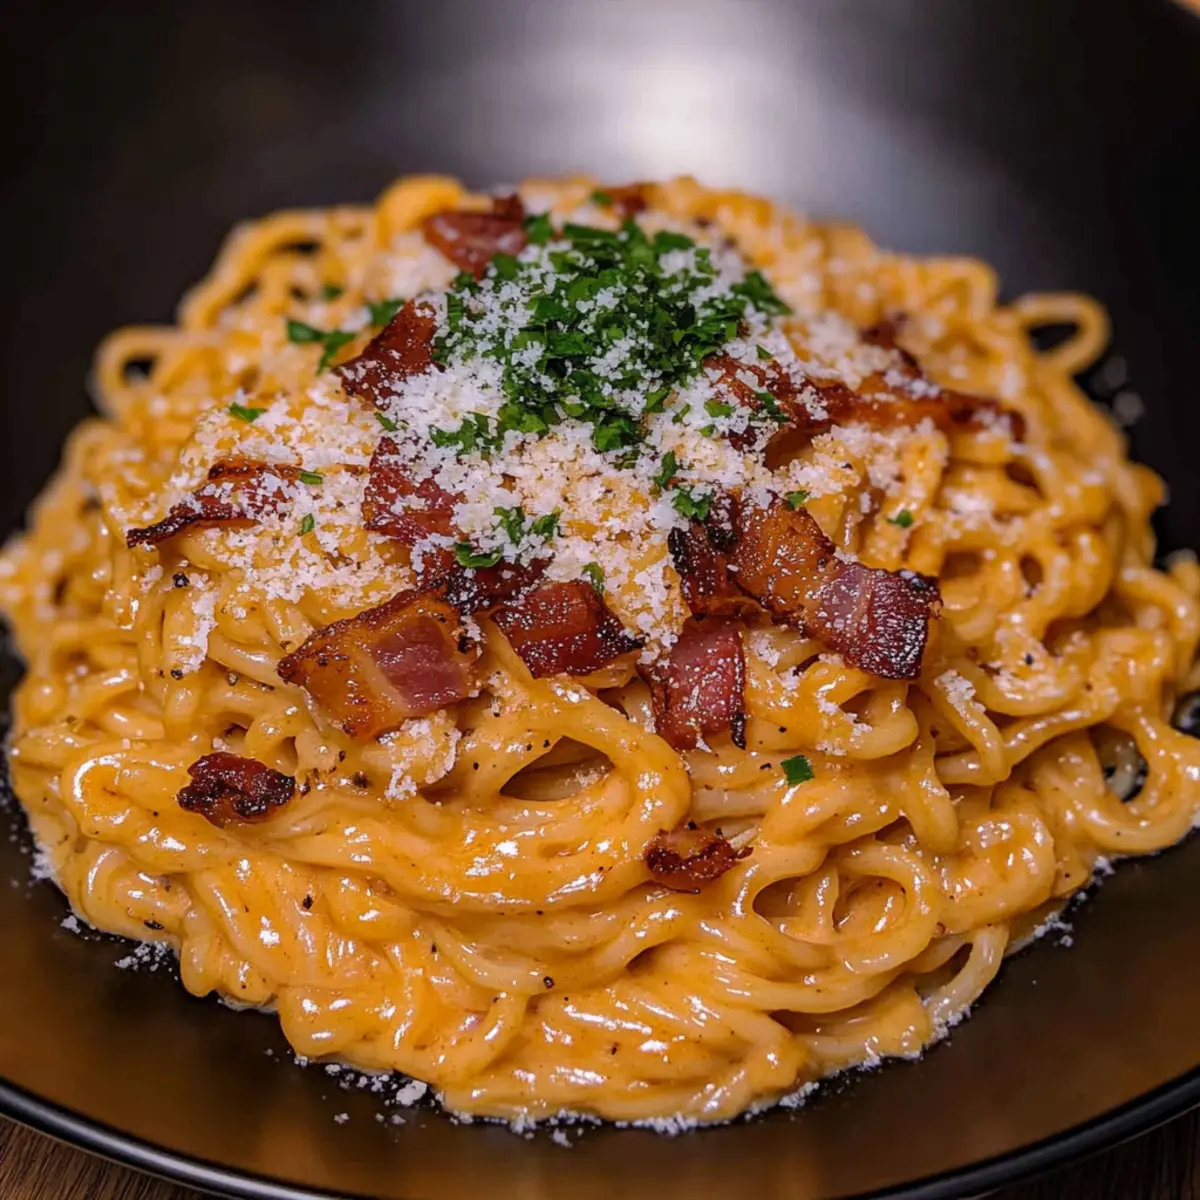
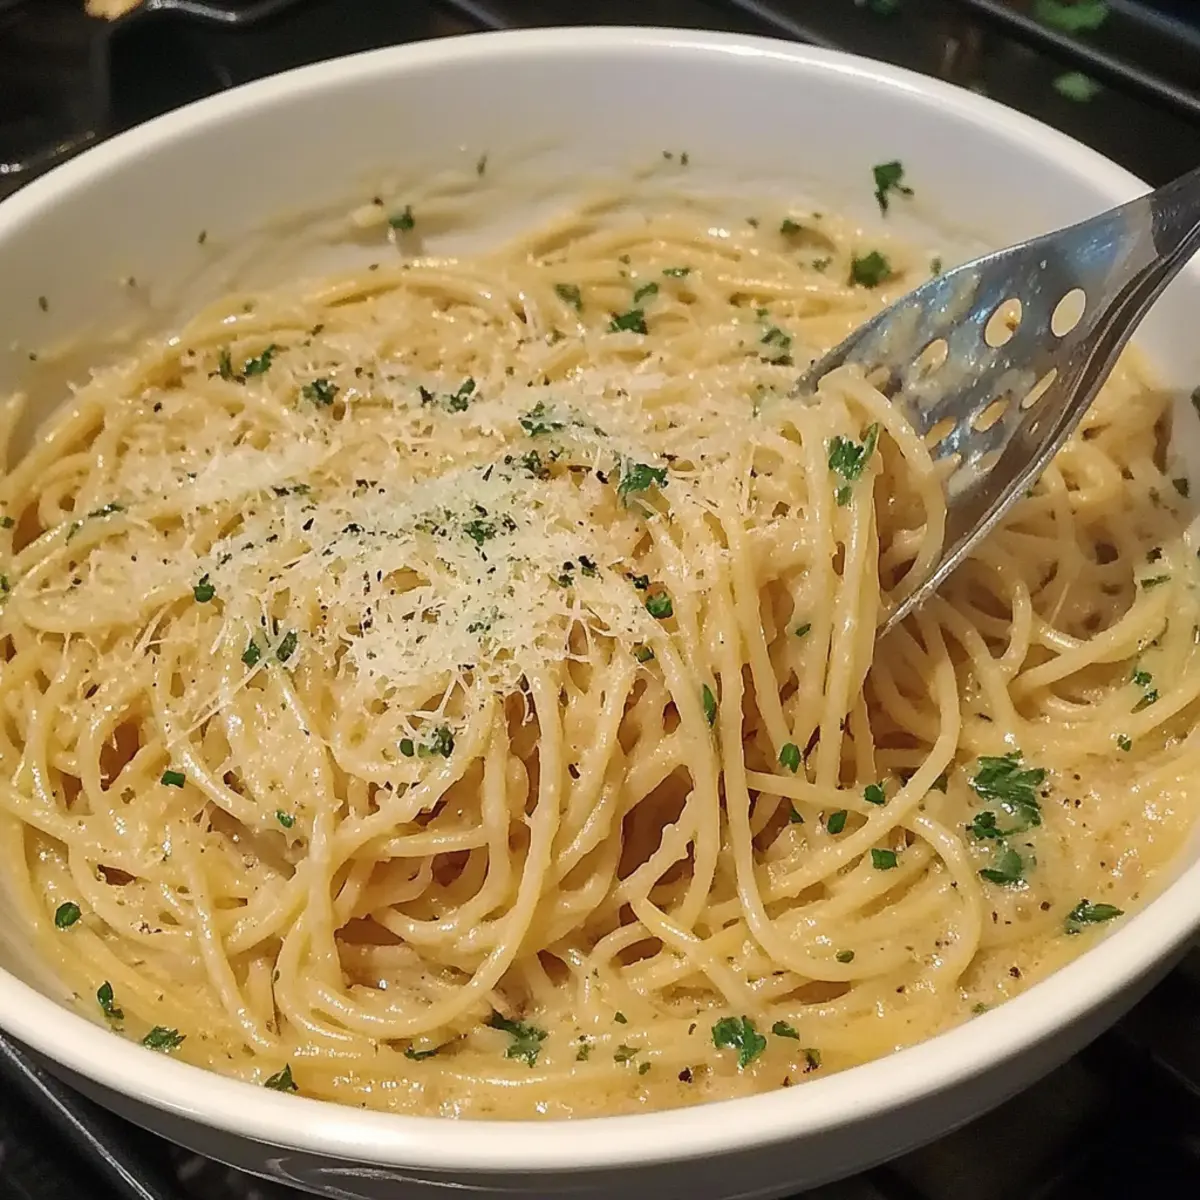
As I stood at the stove, a dance of scents captivated me: the pungent aroma of minced garlic sizzling in butter, weaving through my kitchen like a warm hug. If you’re looking for a comforting dish that doesn’t skimp on flavor, this Easy 20-Minute Garlic Butter Pasta is just the ticket. It’s perfect for anyone craving a quick, vegetarian meal that effortlessly elevates your dinner table. In just 20 minutes, you’ll relish pasta enveloped in creamy garlic bliss, topped with nutty Parmesan and a sprinkle of fresh herbs. Not only is it a triumph in simplicity, but it also invites variations—so feel free to add your favorite seasonal vegetables or swap in proteins to make it your own! Are you ready to take a bite of this delectable dish? Let’s dive into the recipe!
Why is Garlic Butter Pasta a Must-Try?
Simplicity at its finest: With just a handful of ingredients, you’ll whip up this delightful dish in no time. Creamy and Comforting: The rich garlic butter sauce will wrap around your pasta, delivering a luxurious experience. Versatile for all tastes: Feel free to customize with whatever veggies or proteins you have on hand—try adding spinach for a fresh twist or grilled shrimp for heartiness! Perfectly Quick: Ideal for busy weeknights, this recipe takes only 20 minutes from start to finish. Crowd-Pleaser: Whether you're cooking for family or friends, this dish is sure to impress, just like our Seafood Pasta Savory option. Get ready to enjoy a wonderfully satisfying plate of Garlic Butter Pasta that everyone will love!
Garlic Butter Pasta Ingredients
• Elevate your cooking with these essential ingredients.
For the Sauce
- Unsalted Butter – Adds richness to the sauce; substitute with olive oil for a lighter option.
- Onion – Provides a natural sweetness; shallots can be used for a more subtle flavor.
- Garlic – Introduces bold and aromatic flavor; use roasted garlic for a roasted sweetness.
- Salt – Enhances overall taste; adjust based on dietary needs and preference.
- Black Pepper – Adds warmth and mild spice; substitute with white pepper for a gentler flavor.
- Chili Flakes – Introduces a kick of heat; omit if you prefer a milder dish.
- Oregano – Adds earthy herb notes; fresh oregano can replace dried for an even fresher taste.
- Basil – Contributes a sweet, fresh flavor; opt for fresh basil to enhance the dish's profile.
For Serving
- Freshly Grated Parmesan – Adds creaminess and a savory depth; omit for a dairy-free option or use nutritional yeast instead for flavor.
- Pasta – Spaghetti, linguine, or fettuccine are all great choices; gluten-free pasta can also be used as a substitute.
Feel free to explore these amazing ingredients and take your Garlic Butter Pasta to the next level!
Step‑by‑Step Instructions for Garlic Butter Pasta
Step 1: Boil the Pasta
Begin by bringing a large pot of salted water to a rolling boil over high heat. Add your choice of spaghetti, linguine, or fettuccine, cooking according to the package instructions until al dente, about 8–10 minutes. Once cooked, reserve ¼ cup of the starchy pasta water before draining the pasta in a colander, ensuring you keep that flavorful liquid.
Step 2: Sauté the Aromatics
While the pasta cooks, heat a large skillet over medium heat and add unsalted butter. As the butter melts and begins to foam, add minced onion, stirring frequently until it becomes translucent and soft, about 3–4 minutes. Next, stir in minced garlic, cooking for an additional 1–2 minutes until fragrant, creating a rich aroma that will enhance your Garlic Butter Pasta.
Step 3: Add the Cheese
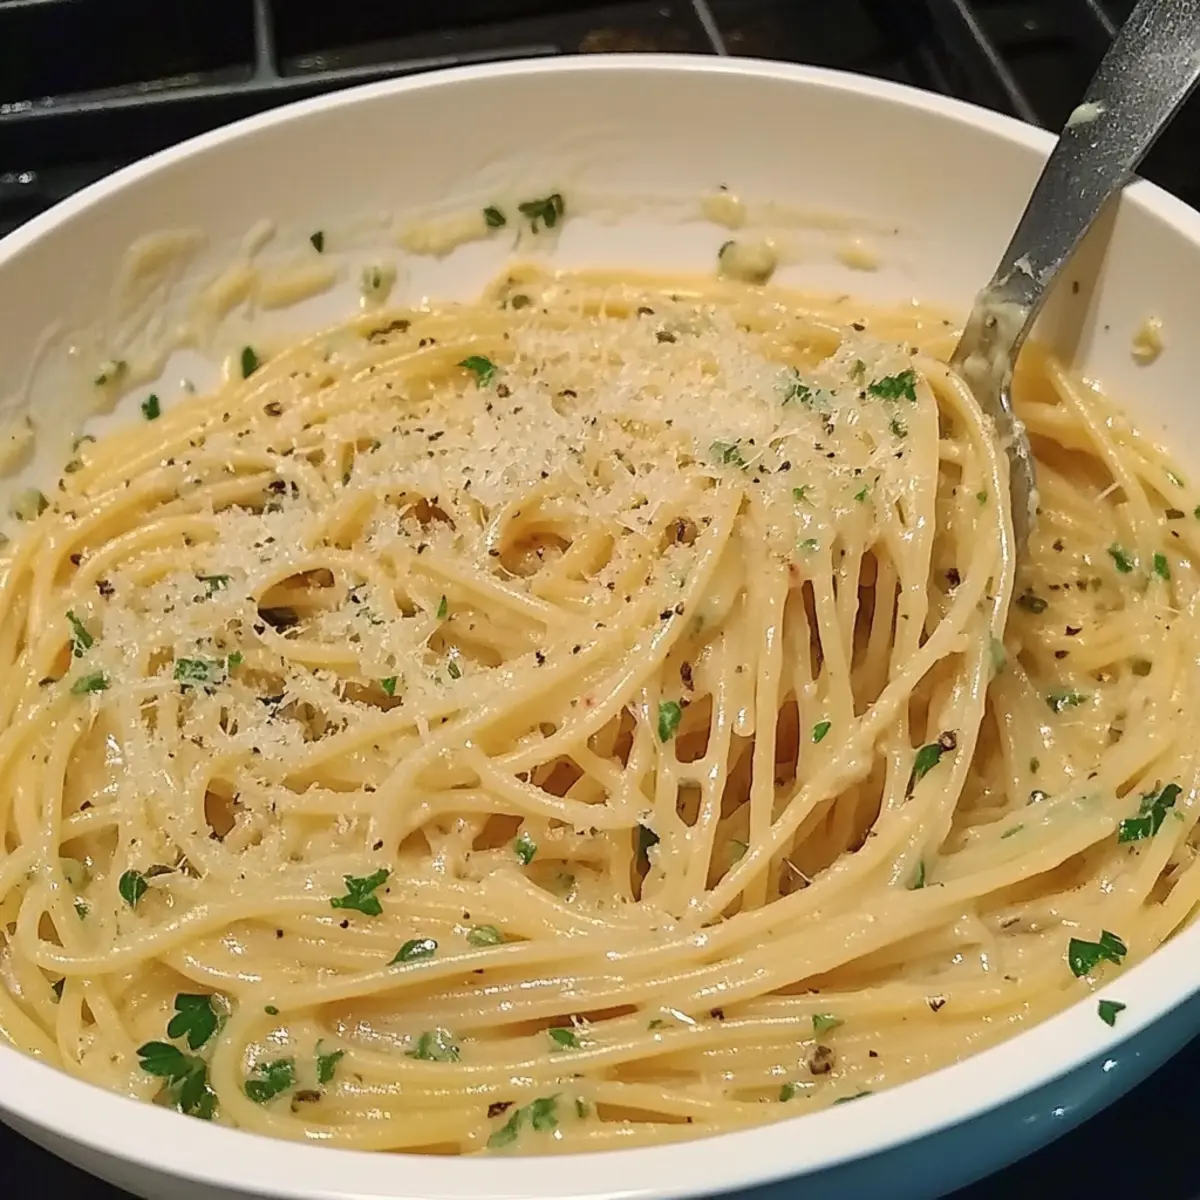
Once the garlic is sizzling and fragrant, sprinkle in freshly grated Parmesan cheese, stirring to allow the cheese to melt and meld into the butter sauce. This will create a creamy, rich base for your Garlic Butter Pasta. Keep stirring until the cheese has fully melted and incorporated, creating an inviting, glossy sauce.
Step 4: Toss in the Pasta
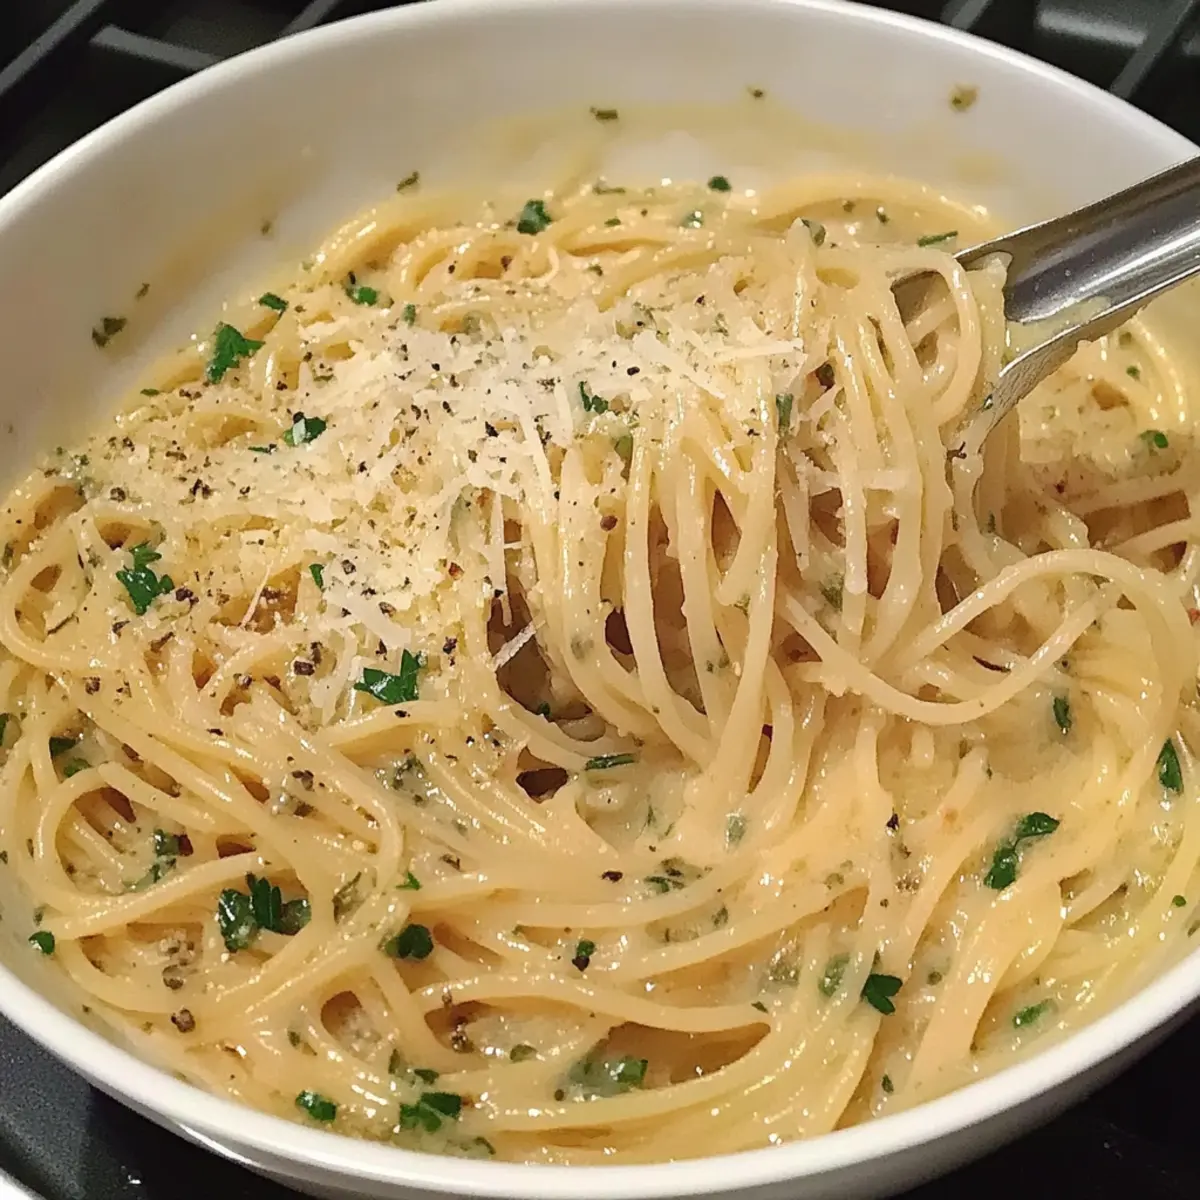
Add the drained pasta to the skillet along with the reserved pasta water. Use tongs or a pasta fork to gently toss everything together, ensuring each strand of pasta is coated in the luxurious garlic butter sauce. Continue to cook for about 2–3 minutes, allowing the flavors to meld and the sauce to thicken slightly.
Step 5: Final Touch and Serve
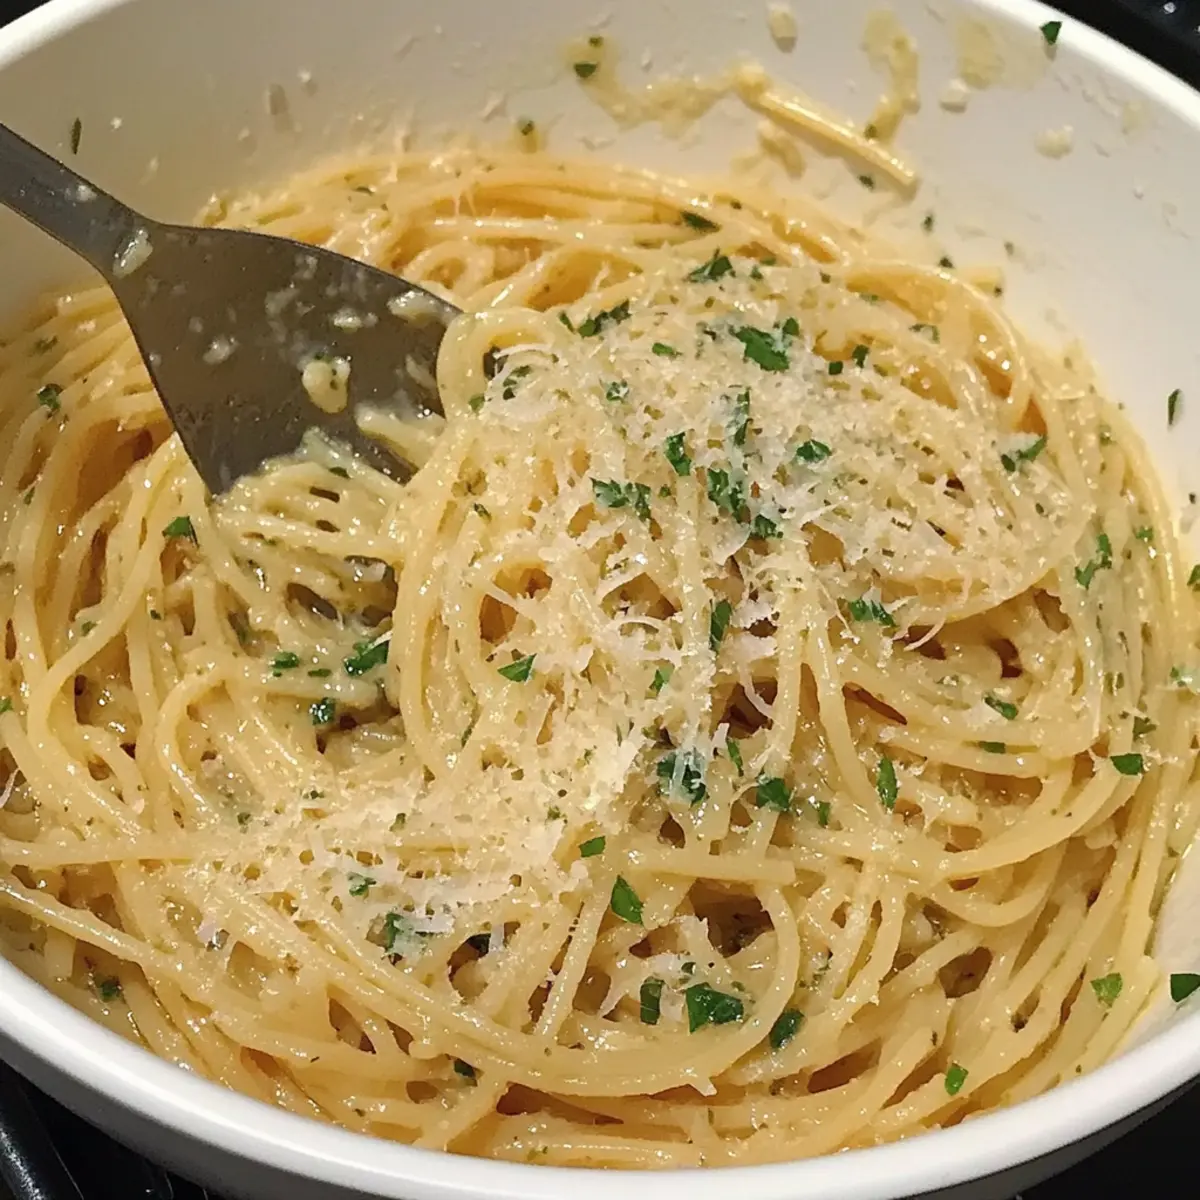
Adjust the seasoning of your Garlic Butter Pasta with salt, freshly cracked black pepper, and a pinch of chili flakes if desired. Once seasoned to your liking, remove from heat and garnish generously with more Parmesan and freshly chopped herbs like basil or parsley. Serve immediately for a warm, comforting meal that's sure to please.
What to Serve with Easy 20-Minute Garlic Butter Pasta
Elevate your meal experience with delightful accompaniments that enhance the rich, comforting flavors of this pasta dish.
- Garlic Bread: Crispy on the outside and soft inside, it’s the perfect vessel for soaking up that delicious garlic butter sauce.
- Caesar Salad: Crisp romaine with creamy dressing adds a refreshing contrast, balancing the rich pasta beautifully.
- Roasted Asparagus: Tender asparagus with a pinch of salt and pepper brings a nutty crunch, complementing the creamy texture of the dish.
- Cherry Tomato Salad: Bright, juicy tomatoes drizzled with olive oil provide a burst of freshness, enhancing the overall flavor of your meal.
- Grilled Chicken: Tender, marinated chicken breast adds protein and balances the dish while bringing a smoky element to the plate.
- Lemonade or Iced Tea: A cool, refreshing drink to cleanse your palate and beat the mild garlic flavor, enhancing the overall dining experience.
- Tiramisu: End with a light and creamy dessert that mirrors the indulgence of your pasta while providing a sweet conclusion to your meal.
These pairings not only complement the textures and flavors of the Garlic Butter Pasta but also bring variety to your dinner table, making each bite an unforgettable celebration of comfort food!
Make Ahead Options
Garlic Butter Pasta is an excellent choice for meal prep, saving you precious time on busy weeknights! You can prepare the garlic butter sauce and cook the pasta up to 24 hours in advance. To do this, simply sauté the onion and garlic, then stir in the Parmesan, allowing it to cool completely before storing it in an airtight container in the refrigerator. When you're ready to serve, reheat the sauce gently and toss it with freshly cooked pasta. To maintain quality, avoid overcooking the pasta when preparing it ahead of time; it should be just al dente, so it retains its texture when reheated. Enjoy restaurant-quality Garlic Butter Pasta with the convenience of make-ahead prep!
How to Store and Freeze Garlic Butter Pasta
Fridge: Store any leftovers in an airtight container for up to 3 days, keeping it fresh and flavorful.
Freezer: For longer storage, freeze the Garlic Butter Pasta in a freezer-safe container for up to 2 months. When ready to eat, defrost overnight in the fridge.
Reheating: Gently reheat on the stovetop with a splash of reserved pasta water to restore creaminess, avoiding dryness.
Airtight Handling: Ensure the dish is cooled before sealing to prevent condensation and maintain its delightful taste.
Garlic Butter Pasta Variations & Substitutions
Tailor this recipe to your taste with these delicious twists, making your meal uniquely yours!
- Dairy-Free: Use a vegan margarine instead of butter for a creamy, dairy-free option. Nutritional yeast can replicate the cheesy flavor as well.
- Extra Protein: Incorporate sautéed chicken or shrimp for a heartier dish that adds protein and flavor, making it satisfying any time of the day.
- Veggie Boost: Toss in seasonal favorites like asparagus or peas for a pop of color and nutrition. Fresh greens will brighten every bite!
- Gluten-Free: Swap traditional pasta for spiraled zucchini or gluten-free alternatives, catering to dietary needs while keeping it delicious.
- Roasted Garlic: For a sweeter twist, use roasted garlic instead of minced. Its mellow flavor adds depth to the sauce, making it incredibly aromatic.
- Herb Infusion: Experiment with a mix of herbs, such as thyme or rosemary, for an herby profile. Fresh options will make your dish feel vibrant and refreshing.
- Heat Factor: Amp up the spice with freshly chopped jalapeños or red pepper flakes for those who crave a kick. Adjust to your desired heat level!
- Creamy Spin: Add a splash of heavy cream or coconut cream for an irresistible velvety finish. It’s perfect for a special occasion or a cozy night in!
These variations not only keep the dish exciting but also allow you to make the most of what you have on hand. For another delightful twist on pasta, check out our Cauliflower Pasta Ready recipe. Happy cooking!
Expert Tips for Garlic Butter Pasta
- Cook Pasta Al Dente: Always follow package instructions to avoid mushy pasta. Al dente ensures a firm texture that holds the sauce beautifully.
- Use Fresh Ingredients: Opt for fresh garlic and herbs for maximum flavor. Dried herbs can be convenient, but fresh truly shines in Garlic Butter Pasta.
- Reserve Pasta Water: Don’t forget to save that starchy pasta water! It helps to thicken the sauce and makes it cling to the noodles perfectly.
- Quality Cheese Matters: Choose high-quality Parmesan for the best melting results. Aged cheese provides a richer flavor, elevating your Garlic Butter Pasta.
- Customize with Veggies: Feel free to incorporate vegetables like spinach or cherry tomatoes. This not only adds nutrition but also enhances the overall flavor and texture.
- Adjust Seasoning Last: Taste your pasta before adding more salt or spices. The cheese and butter add flavor, so adjusting the seasoning at the end ensures a perfect balance.
Garlic Butter Pasta Recipe FAQs
How do I know if my garlic is fresh?
Absolutely! Fresh garlic should be firm and plump, with no dark spots or sprouting. If the cloves feel soft or rubbery, it’s best to toss them out for your Garlic Butter Pasta.
What’s the best way to store leftover Garlic Butter Pasta?
Store your leftovers in an airtight container in the fridge for up to 3 days. I often clear out space in my fridge to keep things tidy and fresh! Reheating gently on the stovetop with a splash of reserved pasta water can help restore its creamy texture.
Can I freeze Garlic Butter Pasta?
Yes, you can freeze it! Make sure to cool the pasta completely before transferring it to a freezer-safe container. It can be frozen for up to 2 months. When you’re ready to eat, defrost it in the fridge overnight, then reheat gently, adding a splash of water to prevent dryness.
What should I do if my Garlic Butter Pasta sauce is too thick?
If the sauce thickens too much as it sits, simply add a bit of the reserved pasta water or a splash of olive oil while gently reheating. This will help loosen the sauce and keep every strand perfectly coated!
Are there any allergy considerations with Garlic Butter Pasta?
Very! This dish includes dairy from Parmesan cheese, so for a dairy-free version, you can swap it for nutritional yeast. If you're cooking for someone with a gluten allergy, just use gluten-free pasta. Always check ingredient labels to avoid hidden allergens.
Can I make this dish vegan?
Yes, absolutely! Substitute the unsalted butter with a vegan margarine or olive oil, and omit the Parmesan cheese or use a plant-based alternative. Feel free to experiment with different herbs and spices!
Creamy Garlic Butter Pasta in Just 20 Minutes for Dinner Bliss
Ingredients
Equipment
Method
- Bring a large pot of salted water to a boil, add pasta, and cook until al dente (8–10 minutes). Reserve ¼ cup pasta water before draining.
- In a skillet, heat unsalted butter over medium heat until foaming, then add minced onion, cooking until translucent (3–4 minutes). Stir in minced garlic for 1–2 minutes until fragrant.
- Add freshly grated Parmesan, stirring to melt into the butter sauce, creating a creamy base.
- Combine the drained pasta with the reserved pasta water in the skillet, tossing to coat in the sauce for 2–3 minutes.
- Season with salt, black pepper, and chili flakes as preferred, then garnish with more Parmesan and fresh herbs. Serve immediately.