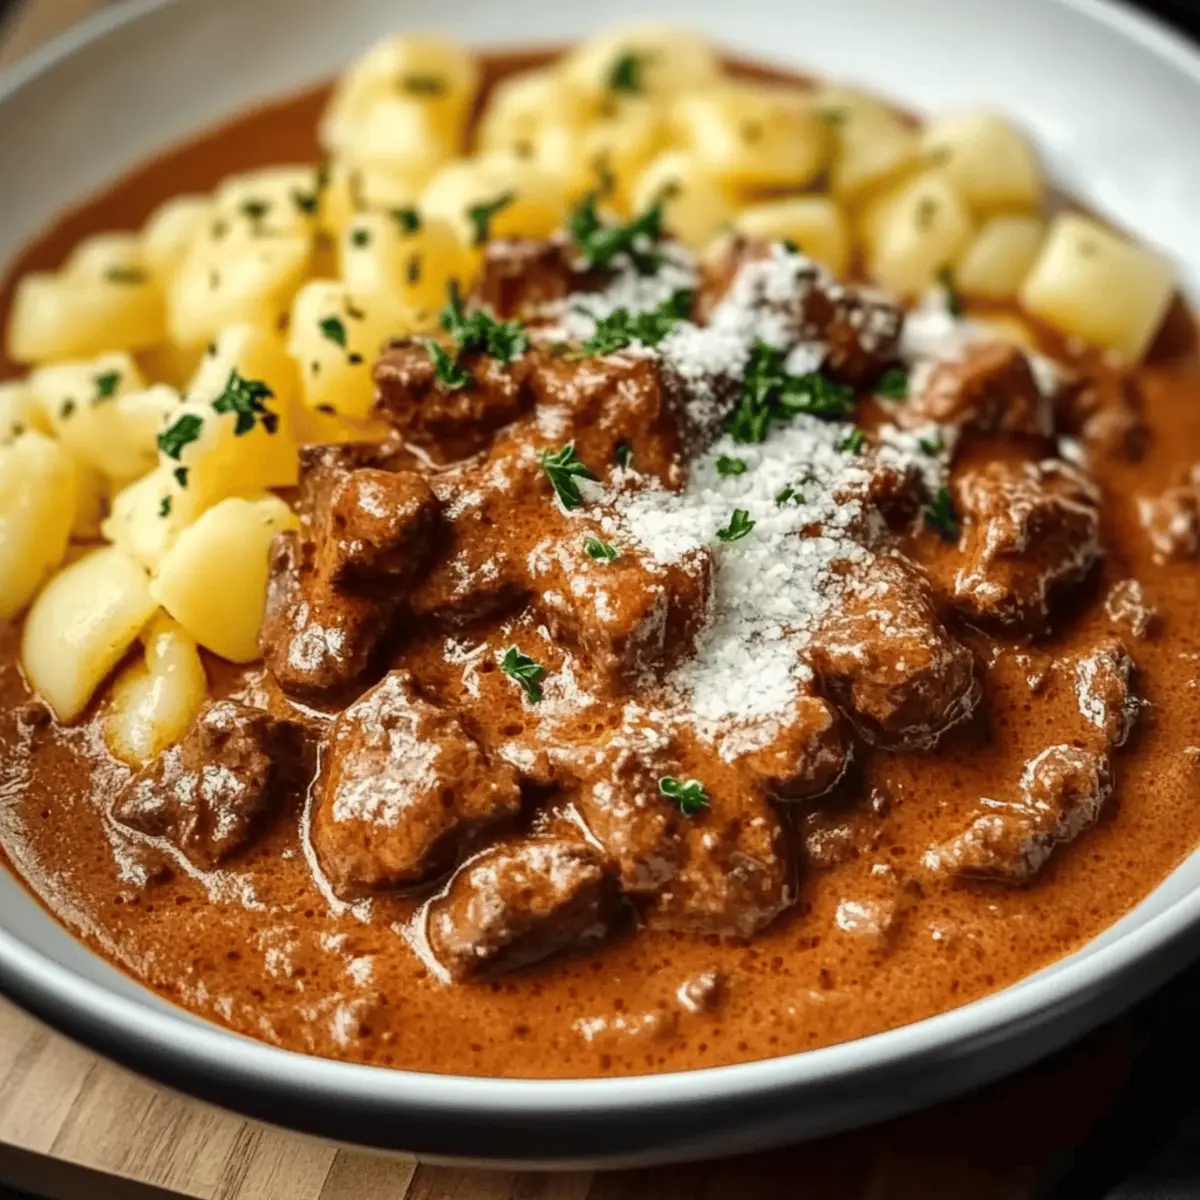
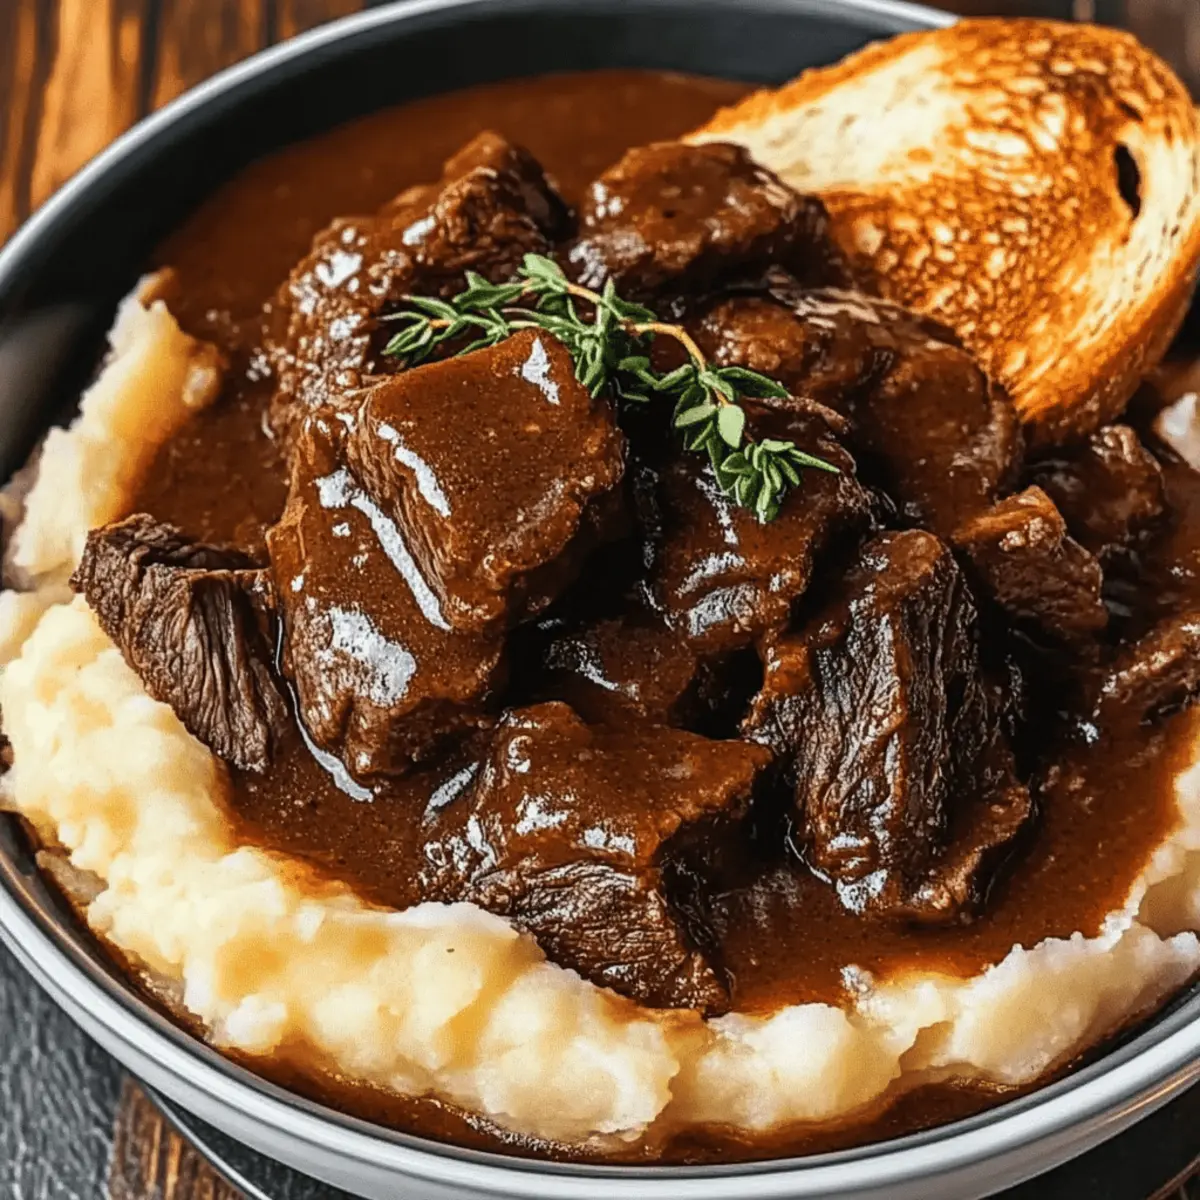
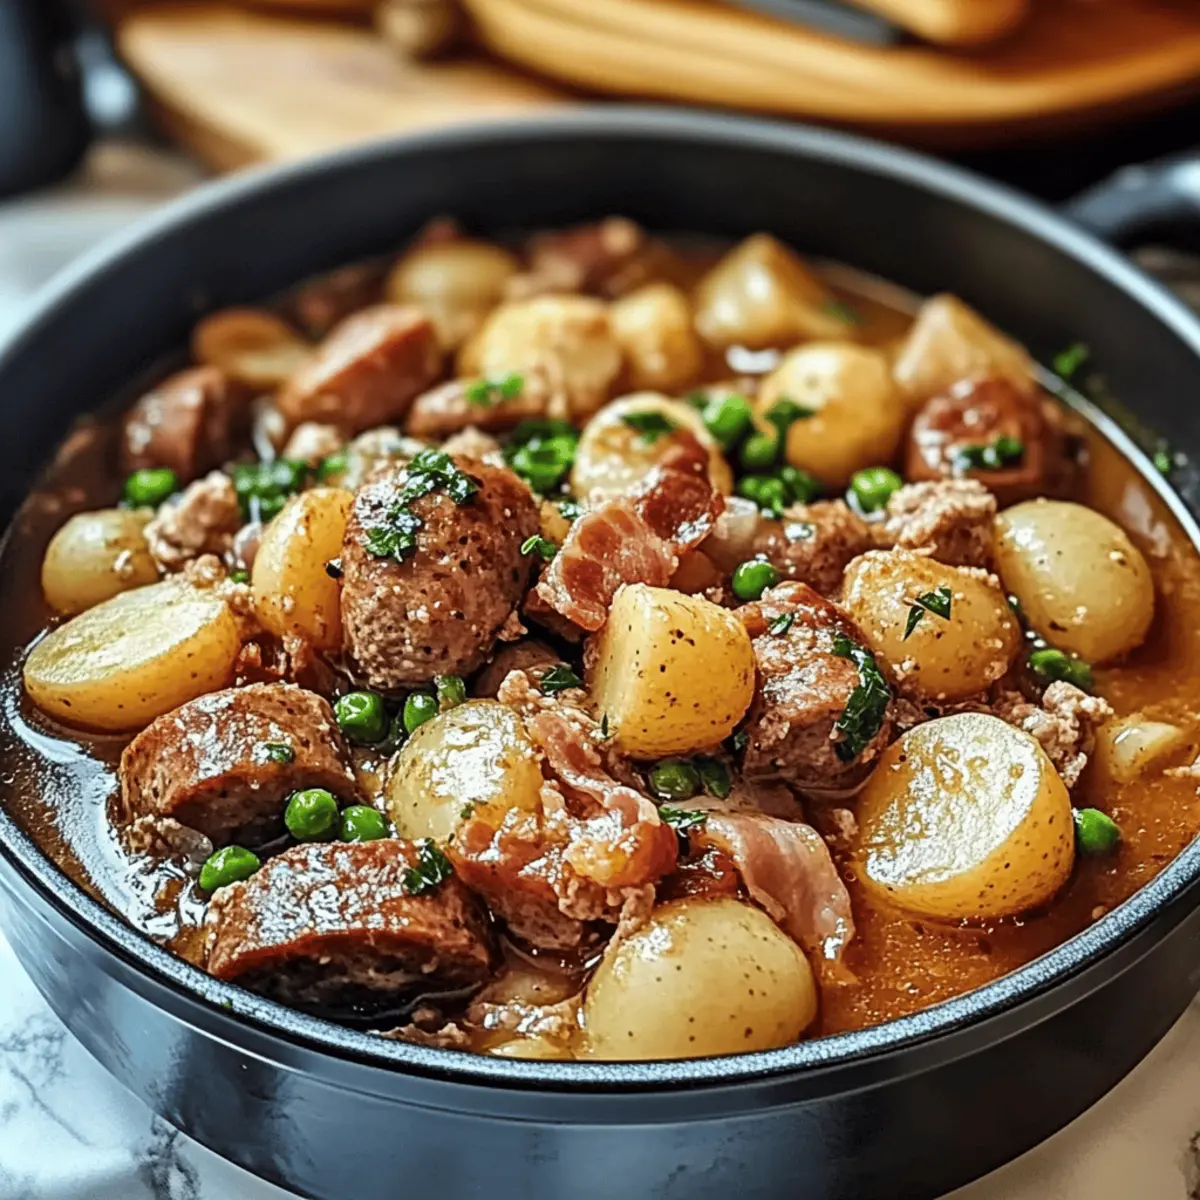
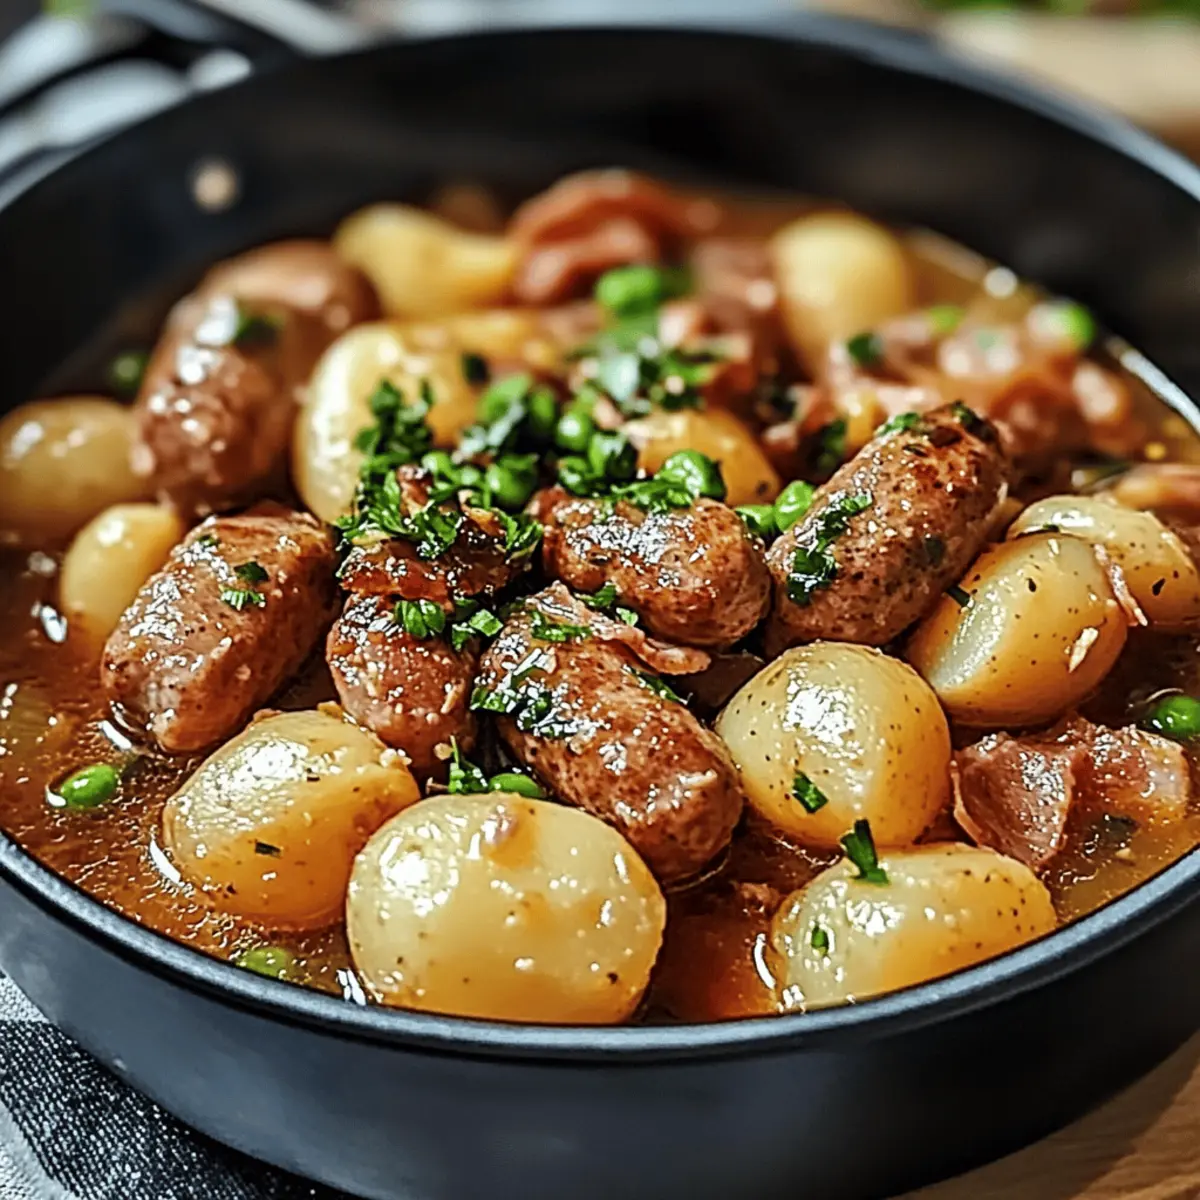
If there’s one dish that feels like a warm hug on a chilly evening, it’s Dublin Coddle. This traditional Irish dish is a delightful one-pot meal, rich with the smoky essence of sausages and bacon, complemented by tender potatoes and sweet onions. As winter settles in or festive gatherings arise, nothing beats the comfort of a hearty Dublin Coddle to bring friends and family together. Not only is it easy to prepare, but its filling nature makes it a go-to for cozy nights in. Plus, the recipe offers plenty of room for creativity; from swapping in different sausages to adding your favorite vegetables like leeks or parsnips, you can truly make it your own. Curious to dive into the flavors of Ireland? Let’s get cooking!
Why is Dublin Coddle So Irresistible?
Simplicity: With just a few ingredients, this one-pot meal is as easy to make as it is enjoyable. Perfect for both novice cooks and seasoned chefs!
Heartwarming Flavor: The combination of smoky bacon and savory sausages creates a rich taste that warms you up from the inside out, making it an ideal recipe for chilly evenings.
Versatile: Swap out ingredients to customize your dish—try different types of sausages or add seasonal vegetables like parsnips for a personal touch that keeps mealtime exciting.
Nostalgic Comfort: Dublin Coddle is steeped in Irish history and brings a touch of tradition to your table, offering a hearty dish cherished by many families for generations.
Make-Ahead Marvel: This dish keeps beautifully in the fridge, and its flavors only deepen with time, making it a perfect dish for meal prep. Just reheat and enjoy!
Dublin Coddle Ingredients
For the Stew
• Irish Sausages – Primary protein that adds richness and flavor to the broth; substitute with beef or chicken sausages for variation.
• Smoked Bacon – Provides essential smokiness and depth; use unsmoked bacon if a milder taste is desired.
• Onions – Adds sweetness and aromatics to the dish; yellow onions are recommended, while shallots offer a sweeter profile.
• Potatoes – The main carbohydrate that absorbs flavors from the broth; opt for waxy potatoes for creaminess, avoiding starchy varieties.
• Carrots (optional) – Adds sweetness and texture; can be replaced with parsnips for an earthy flavor.
For the Broth
• Beer or White Wine (optional) – Enhances the broth's depth for even more richness; non-alcoholic beer can be used for a similar effect.
• Salt and Pepper – Essential for seasoning; adjust based on the saltiness of bacon and sausages.
Step‑by‑Step Instructions for Dublin Coddle
Step 1: Prepare the Ingredients
Begin by slicing the Irish sausages and smoked bacon into bite-sized pieces, roughly 1-inch thick. Chop the onions and peel the potatoes before cutting them into evenly sized chunks. If using, slice the carrots as well. Gather all your ingredients together, ensuring everything is prepped for a smooth cooking process.
Step 2: Layer the Pot
In a large pot or Dutch oven, layer the sliced sausages, bacon, onions, and potatoes. If you’re adding carrots or any other vegetables, include them now for extra flavor and texture. Arrange everything in the pot so that the ingredients are well-distributed and ready to soak up the savory broth as they cook.
Step 3: Add the Broth
Pour enough water or broth into the pot to cover the layered ingredients by at least an inch. For a richer flavor profile, you can optionally add beer or white wine at this stage. Gently stir the mixture to combine everything, but be careful not to break the potatoes as you want them to maintain their integrity while cooking.
Step 4: Season the Dish
Sprinkle a generous amount of salt and pepper over the contents of the pot, adjusting according to your taste preference. Remember that the bacon and sausages provide saltiness, so keep that in mind as you season. Stir lightly to incorporate the seasoning, ensuring every layer has the opportunity to absorb the flavors.
Step 5: Bring to a Simmer
Set the pot over medium heat and bring the mixture to a gentle simmer. Once bubbles begin to rise, reduce the heat to low and cover the pot with a lid. Allow the Dublin Coddle to simmer gently for about one hour, occasionally checking to ensure it doesn’t boil, as you want a steady, soothing simmer for optimal flavor melding.
Step 6: Check for Doneness
After an hour, carefully lift the lid and check the potatoes with a fork; they should be tender but firm enough to hold their shape. If everything is cooked through, give it a gentle stir, ensuring no ingredients have stuck to the bottom. Taste the broth and adjust the seasoning if necessary for a perfect blend of flavors.
Step 7: Serve the Coddle
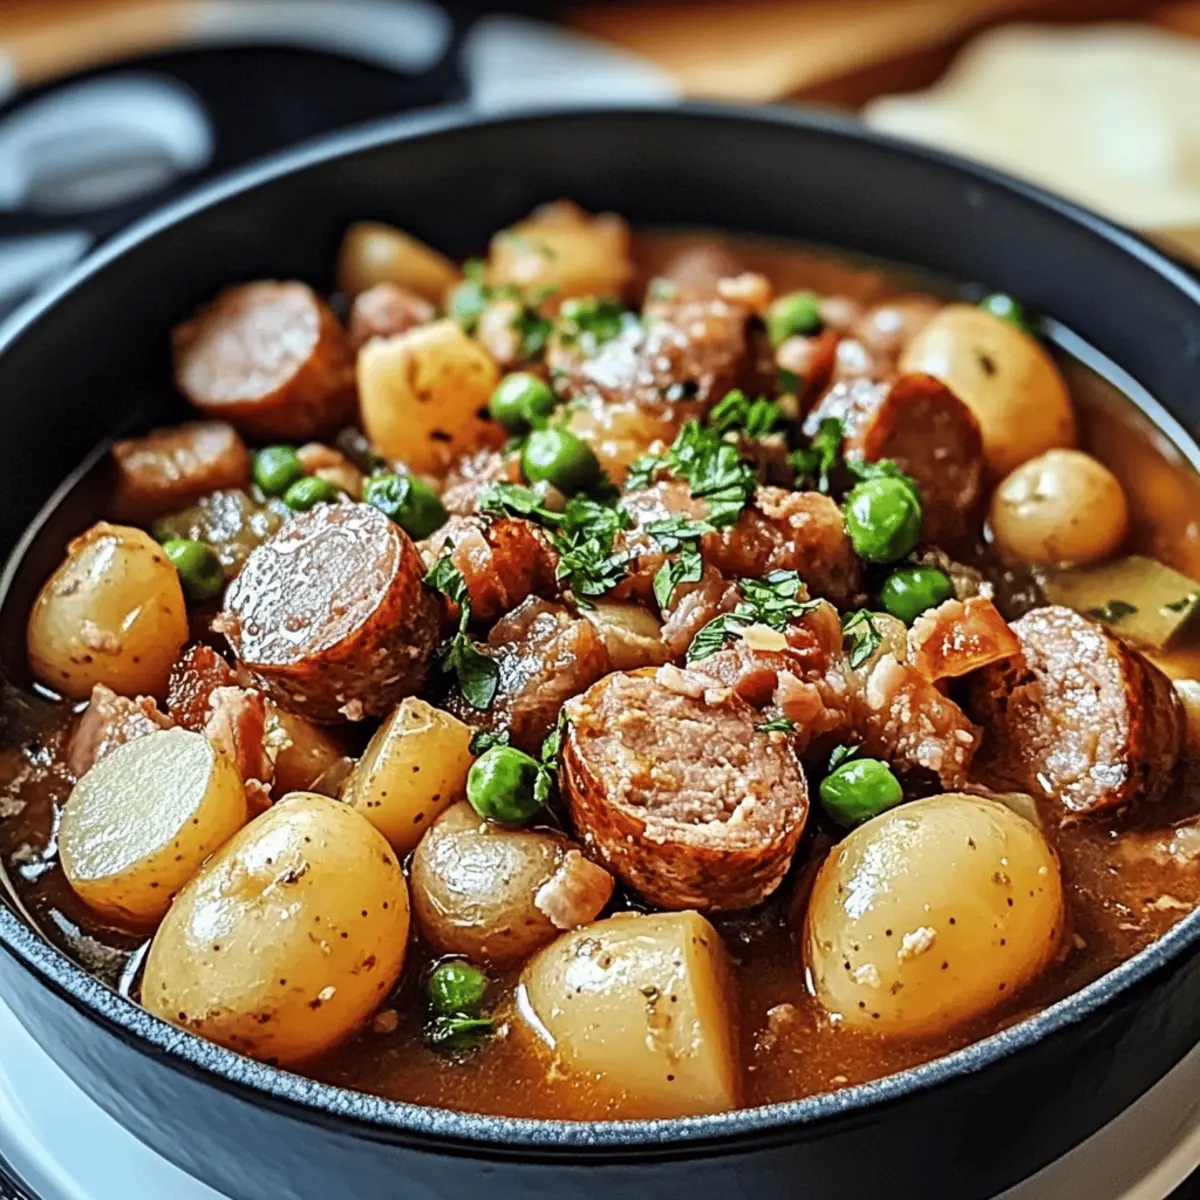
Once done, ladle the hearty Dublin Coddle into bowls, ensuring each serving has a mix of sausage, bacon, and potatoes. Pair this comforting dish with thick slices of Irish soda bread or crusty brown bread for a perfect complement that soaks up the flavorful broth. Enjoy this traditional Irish meal warm and cozy!
Make Ahead Options
Dublin Coddle is a fantastic choice for meal prep enthusiasts, allowing you to savor its rich flavors without a last-minute rush! You can slice the sausages, bacon, onions, and potatoes up to 24 hours in advance; simply store them in an airtight container in the refrigerator to maintain their freshness. If you'd like, you can also layer the ingredients in your pot and refrigerate them overnight, ensuring they’re ready to simmer when you need them. When it's time to cook, just add the broth and seasonings, then bring to a simmer. This way, you’ll have a comforting, delicious Dublin Coddle ready with minimal effort on busy weeknights!
Dublin Coddle Variations & Substitutions
Embrace your creativity with these delightful twists on the classic Dublin Coddle, perfect for personalizing your dish!
-
Sausage Swap: Try chicken or turkey sausage for a lighter flavor that still delivers on heartiness. Or, for a vegetarian option, use plant-based sausages to enjoy this comfort dish without meat.
-
Veggie Boost: Adding leeks or celery introduces fresh flavors. They bring a subtle crunch and enhance the dish's aromatic profile, creating an even deeper connection to the earthiness of a traditional Irish meal.
-
Root Veggies: Replace carrots with parsnips or sweet potatoes for a touch of sweetness and extra texture. These veggies complement the smoky flavors beautifully while offering a delightful twist.
-
Heat It Up: Add a pinch of red pepper flakes or diced jalapeños for a spicy kick. This brings an exciting depth of flavor that warms you from the inside out, perfect for those who love a zesty surprise.
-
Beer Boost: While the traditional recipe may include beer, consider using a dark stout for richer flavor. It enhances the broth's complexity, providing a luxurious mouthfeel that echoes Irish heritage.
-
Fresh Herbs: Stir in freshly chopped parsley or thyme at the end to brighten up the dish. This not only adds color but also creates a fragrant aroma that elevates each serving to new heights.
-
Mushroom Medley: Incorporate sliced mushrooms for an umami boost. They bring an earthy richness and pair wonderfully with the sausages, making every bite more satisfying.
-
Savory Spice: Sprinkle in some mustard powder or smoked paprika for added depth. These spices infuse the dish with warmth and personality without overpowering the classic flavors.
So go ahead, let your imagination run wild while crafting your perfect bowl of Dublin Coddle! The traditional Irish charm awaits, and with each variation, you’re sure to bring a cozy piece of Ireland into your home. If you're thinking about adding more delightful sides or drink pairings, check out our suggestions like Irish Soda Bread or classic Irish stouts.
Expert Tips for Dublin Coddle
-
Simmer Long Enough: Let your Dublin Coddle simmer for a full hour; this allows the flavors to meld beautifully, creating that deep, hearty taste.
-
Gentle Stirring: Stir gently to avoid breaking the potatoes. You want them tender yet intact to absorb the rich broth.
-
Season to Taste: Taste your broth before serving; adjust salt and pepper based on the saltiness of your sausages and bacon for the best flavor.
-
Veggie Variations: Feel free to add leeks or parsnips for a twist on this comforting dish. Just remember to cut them uniform for even cooking.
-
Make Ahead: This dish tastes even better the next day! Prepare it in advance and let the flavors develop overnight for a truly satisfying meal.
What to Serve with Dublin Coddle
Nothing pairs better with the cozy warmth of this traditional Irish dish than simple, hearty sides that elevate the meal.
-
Irish Soda Bread: Thick slices of this soda bread are perfect for soaking up the savory broth, adding a delightful texture to every bite.
-
Steamed Greens: Lightly steamed greens like cabbage or kale bring a fresh, vibrant contrast to the rich flavors, balancing the heaviness of the stew with a burst of color.
-
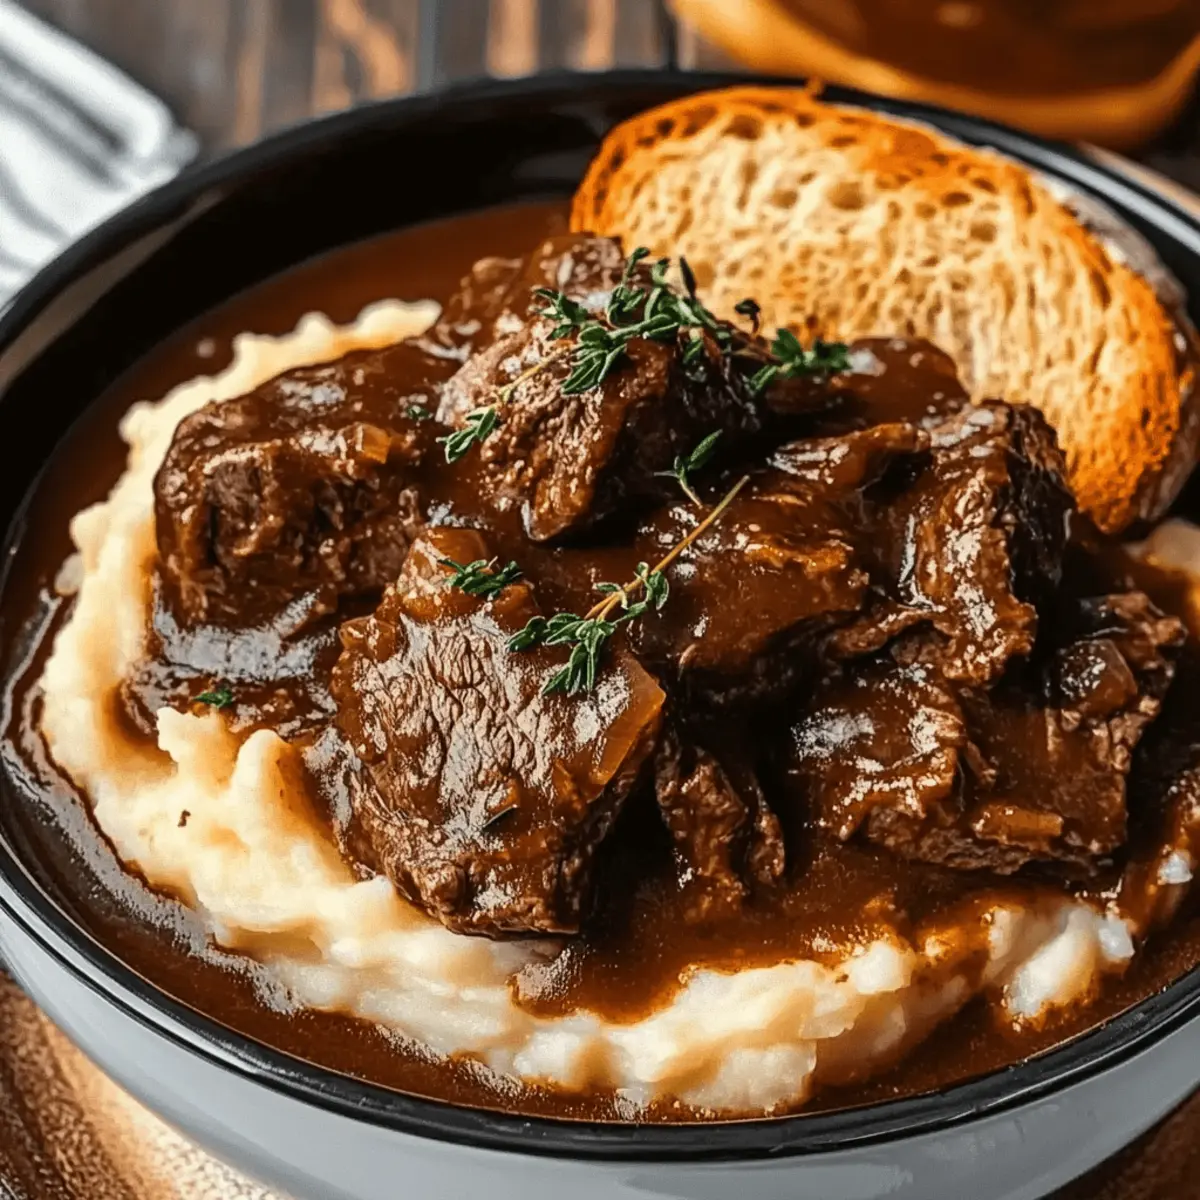
Mashed Potatoes: Creamy, buttery mashed potatoes create a comforting duo with Dublin Coddle, ensuring every spoonful is a cozy experience.
-
Apple Cider: A glass of crisp, slightly sweet apple cider enhances the flavors of the dish, providing a refreshing, fruity note that complements the savory elements beautifully.
-
Colcannon: This traditional Irish dish of mashed potatoes with cabbage brings a hint of familiarity and complements the coddle's hearty essence perfectly.
-
Parsnip Chips: Crispy, roasted parsnip chips offer a light crunch and a mildly sweet flavor that contrast nicely with the soft textures of the coddle.
-
Chocolate Guinness Cake: To finish, a slice of rich chocolate Guinness cake offers a decadent, luxurious end to the meal that celebrates Irish flavors.
-
Irish Coffee: A warm glass of Irish coffee rounds out the experience, blending robust flavors with the perfect touch of sweetness and creaminess.
How to Store and Freeze Dublin Coddle
Fridge: Store leftover Dublin Coddle in an airtight container for up to 3 days. Allow it to cool completely before sealing to retain flavor and texture.
Freezer: For longer storage, freeze the coddle in freezer-safe containers or bags for up to 3 months. Remember to portion it for easy reheating later!
Reheating: Thaw overnight in the fridge if frozen, then reheat gently on the stove over low heat until warmed through. Add a splash of broth if needed to keep it moist.
Reviving Flavor: Re-season with a touch of salt and pepper after reheating, as flavors may mellow during storage. Enjoy this comforting dish just as delicious as the first serving!
Dublin Coddle Recipe FAQs
How do I choose the best sausages for Dublin Coddle?
When selecting sausages for your Dublin Coddle, go for traditional Irish sausages for the most authentic flavor. Look for plump, fresh sausages without dark spots. If you prefer alternatives, beef or chicken sausages also work well, but keep in mind that they will change the dish's classic taste.
What is the best way to store leftover Dublin Coddle?
To store leftover Dublin Coddle, transfer it to an airtight container and refrigerate it. It should remain fresh for up to 3 days. Make sure to let it cool completely before sealing to maintain its flavors and texture. Reheating it on the stovetop is best to retain its hearty consistency.
Can I freeze Dublin Coddle? If so, how?
Absolutely! You can freeze Dublin Coddle for up to 3 months. To freeze, let the dish cool entirely, then portion it into freezer-safe containers or bags. Make sure to leave some space at the top of the bags for expansion. To reheat, thaw overnight in the fridge and warm gently in a pot, adding a splash of broth if needed.
What can I do if my potatoes disintegrate during cooking?
To avoid potatoes breaking down during cooking, choose waxy varieties, as they hold their shape better. If you've already experienced disintegration, don’t worry! You can salvage it by gently stirring the mixture and allowing it to cook for a shorter time, ensuring a more cohesive dish.
Is Dublin Coddle suitable for people with dietary restrictions?
Dublin Coddle can be easily adapted for various diets. For gluten-free options, use gluten-free sausages and check the broth ingredients. For those avoiding pork, turkey or chicken sausages work well. If cooking for pets, it’s best to avoid shared plates due to seasonings like salt and pepper that can be harmful to animals.
How can I enhance the flavors in my Dublin Coddle?
You can enhance the flavors by adding a splash of beer or white wine to the broth; this enhances richness beautifully. Also, tossing in extra seasoning or spices like mustard or fresh herbs can give your Coddle a delightful twist. After cooking, taste and adjust the seasoning, as flavors can mellow out overnight!
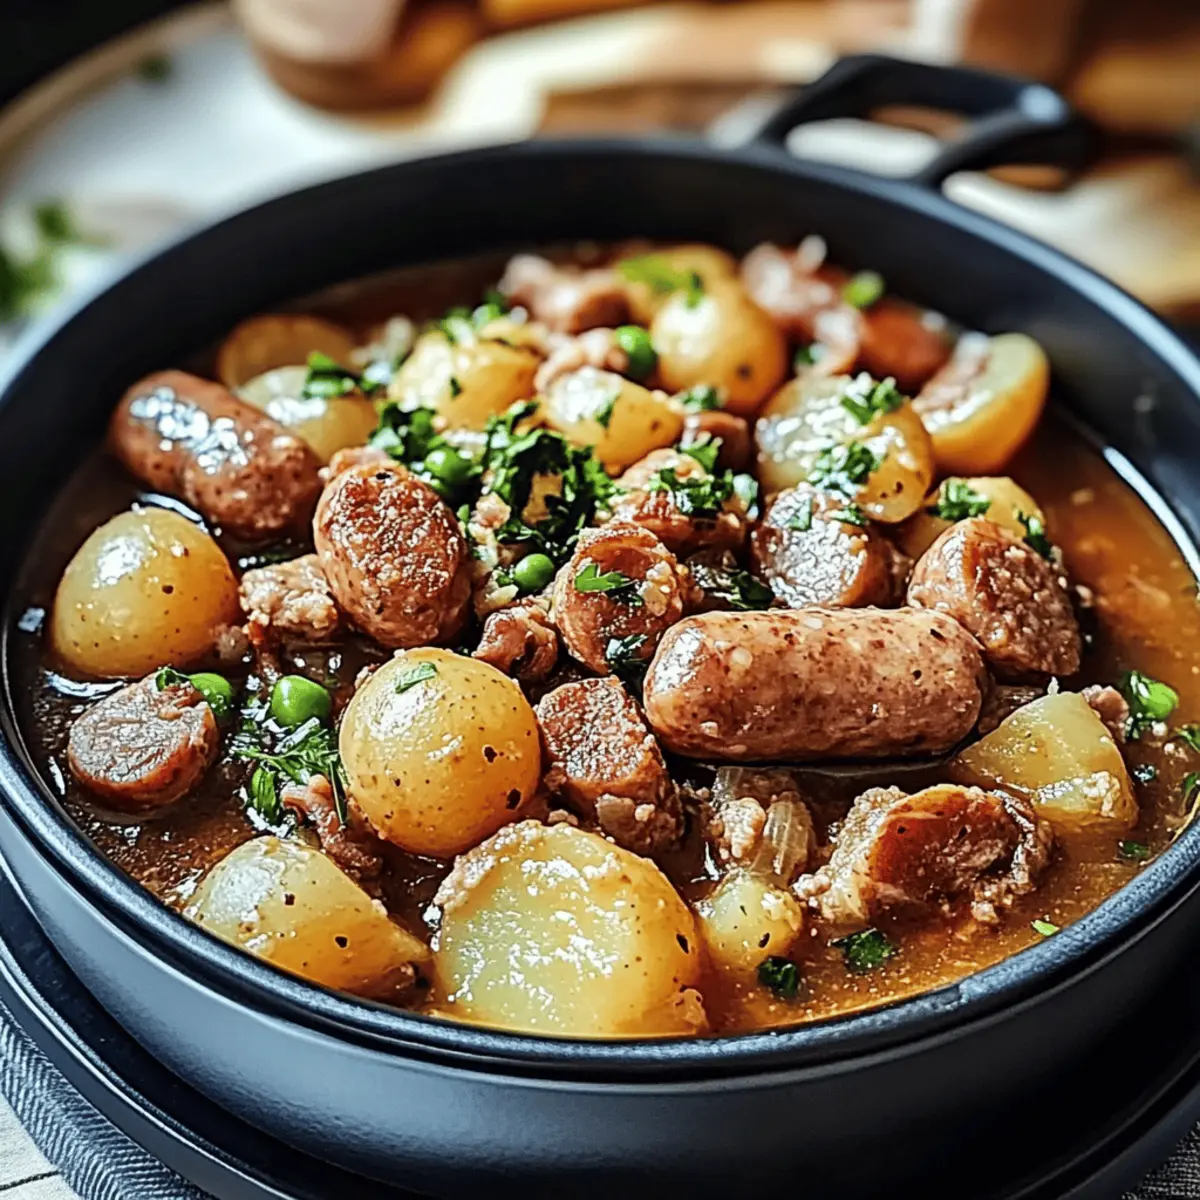
Hearty Dublin Coddle: A Warm Hug in a Bowl
Ingredients
Equipment
Method
- Slice the Irish sausages and smoked bacon into bite-sized pieces, roughly 1-inch thick.
- Chop the onions and peel the potatoes before cutting them into evenly sized chunks.
- If using, slice the carrots as well and gather all your ingredients.
- In a large pot, layer the sausages, bacon, onions, and potatoes.
- If adding carrots or other vegetables, include them now.
- Pour enough water or broth to cover the ingredients by at least an inch.
- Optionally add beer or white wine for richer flavor.
- Stir gently, being careful not to break the potatoes.
- Sprinkle salt and pepper over the pot, adjusting to taste.
- Bring to a gentle simmer over medium heat.
- Once simmering, reduce heat to low, cover, and simmer for about one hour.
- Check for tenderness of potatoes with a fork; they should hold their shape.
- Ladle into bowls and serve with soda or crusty brown bread.