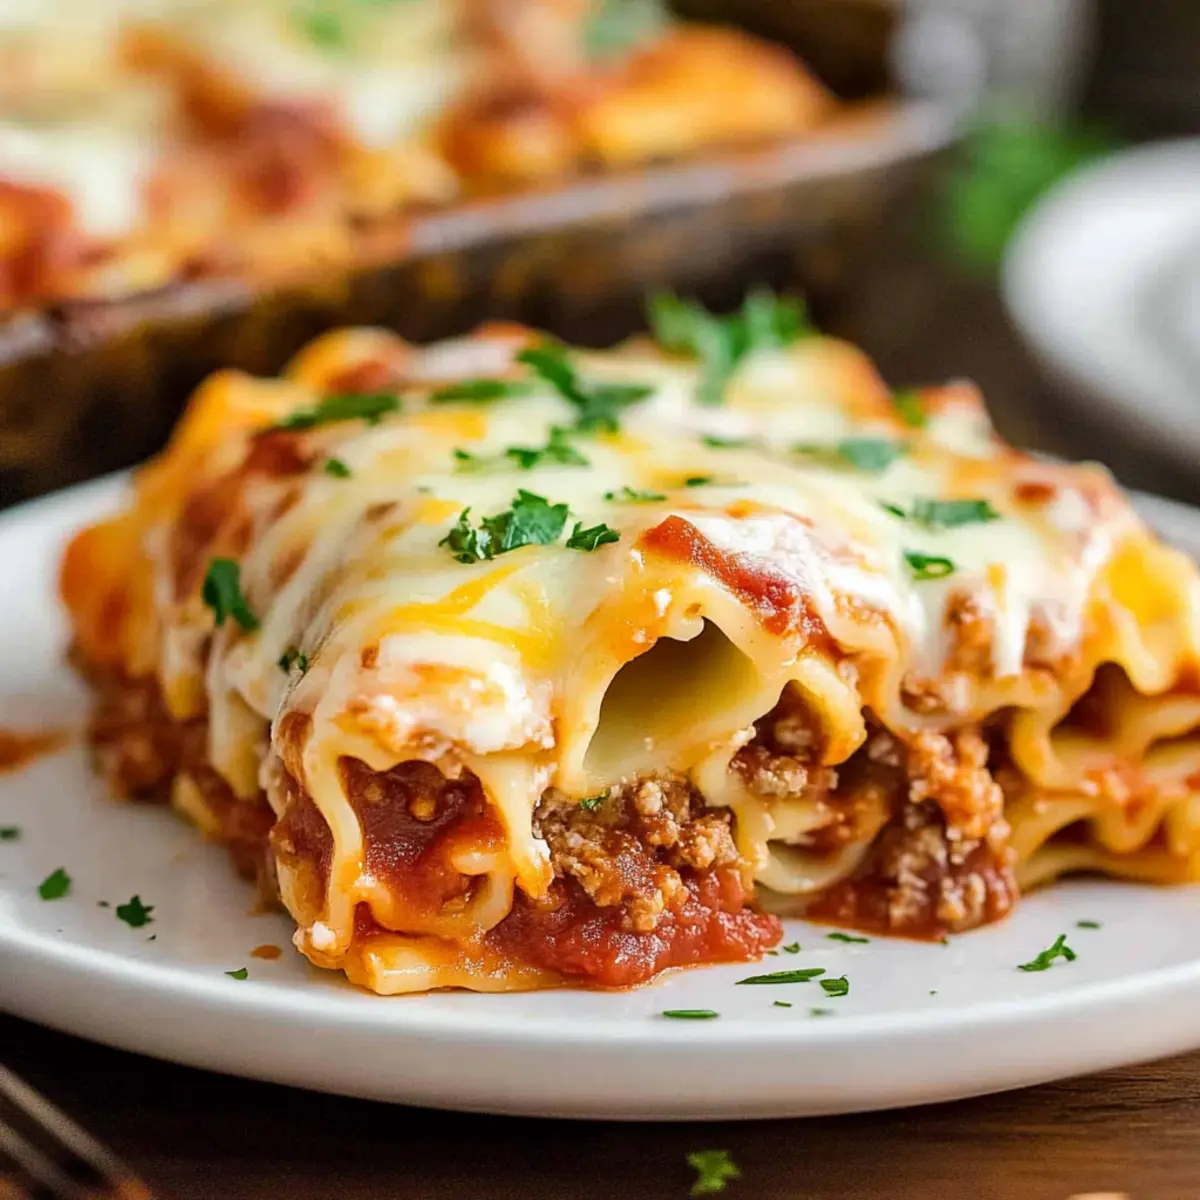
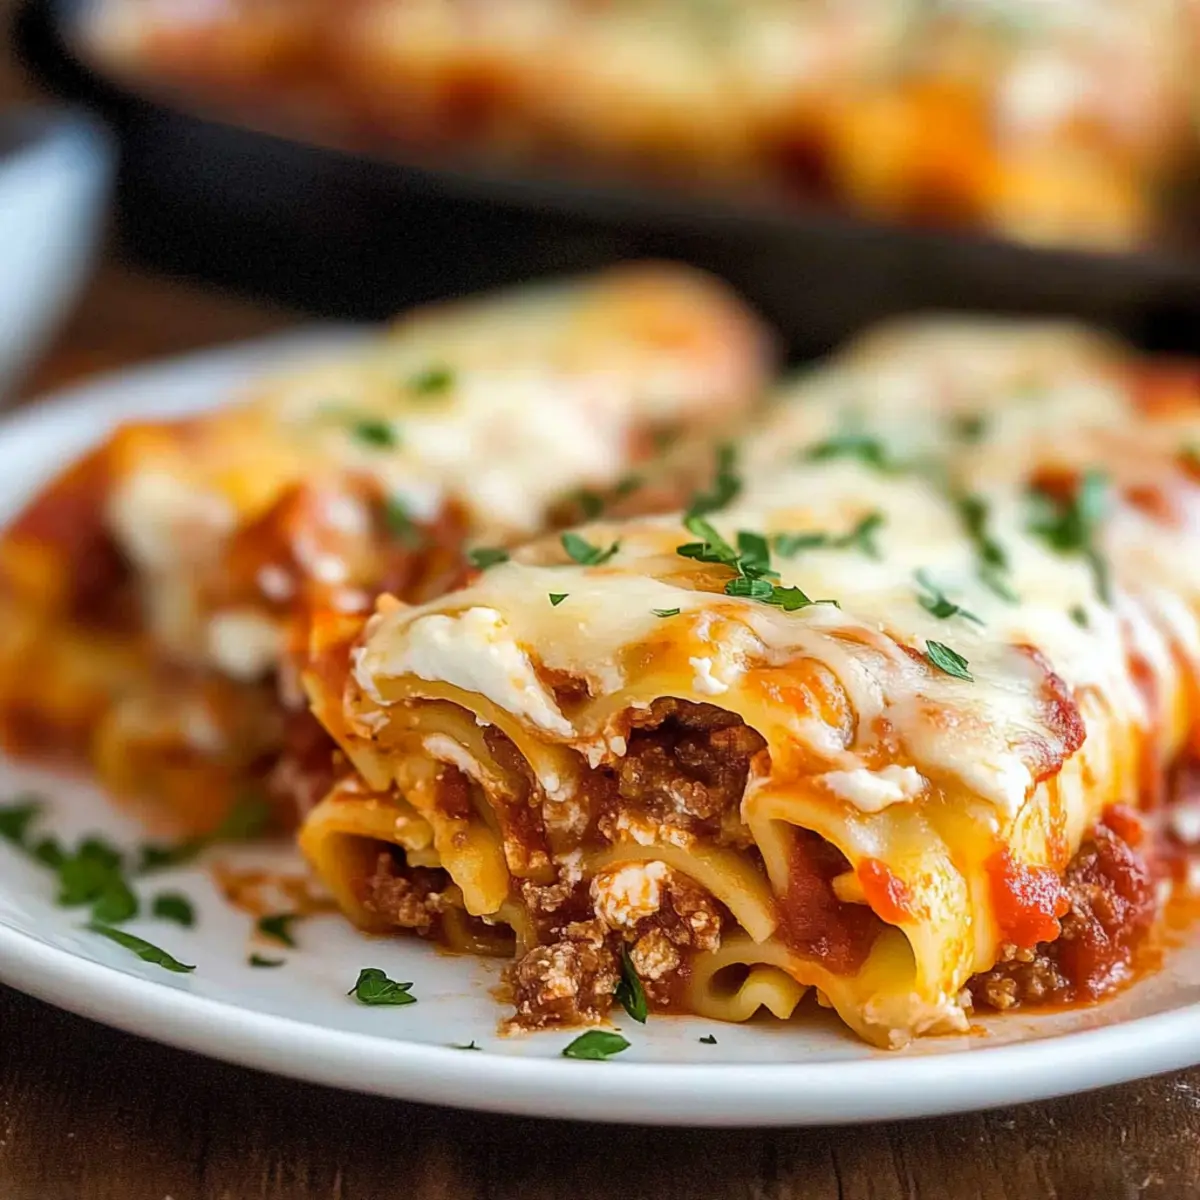
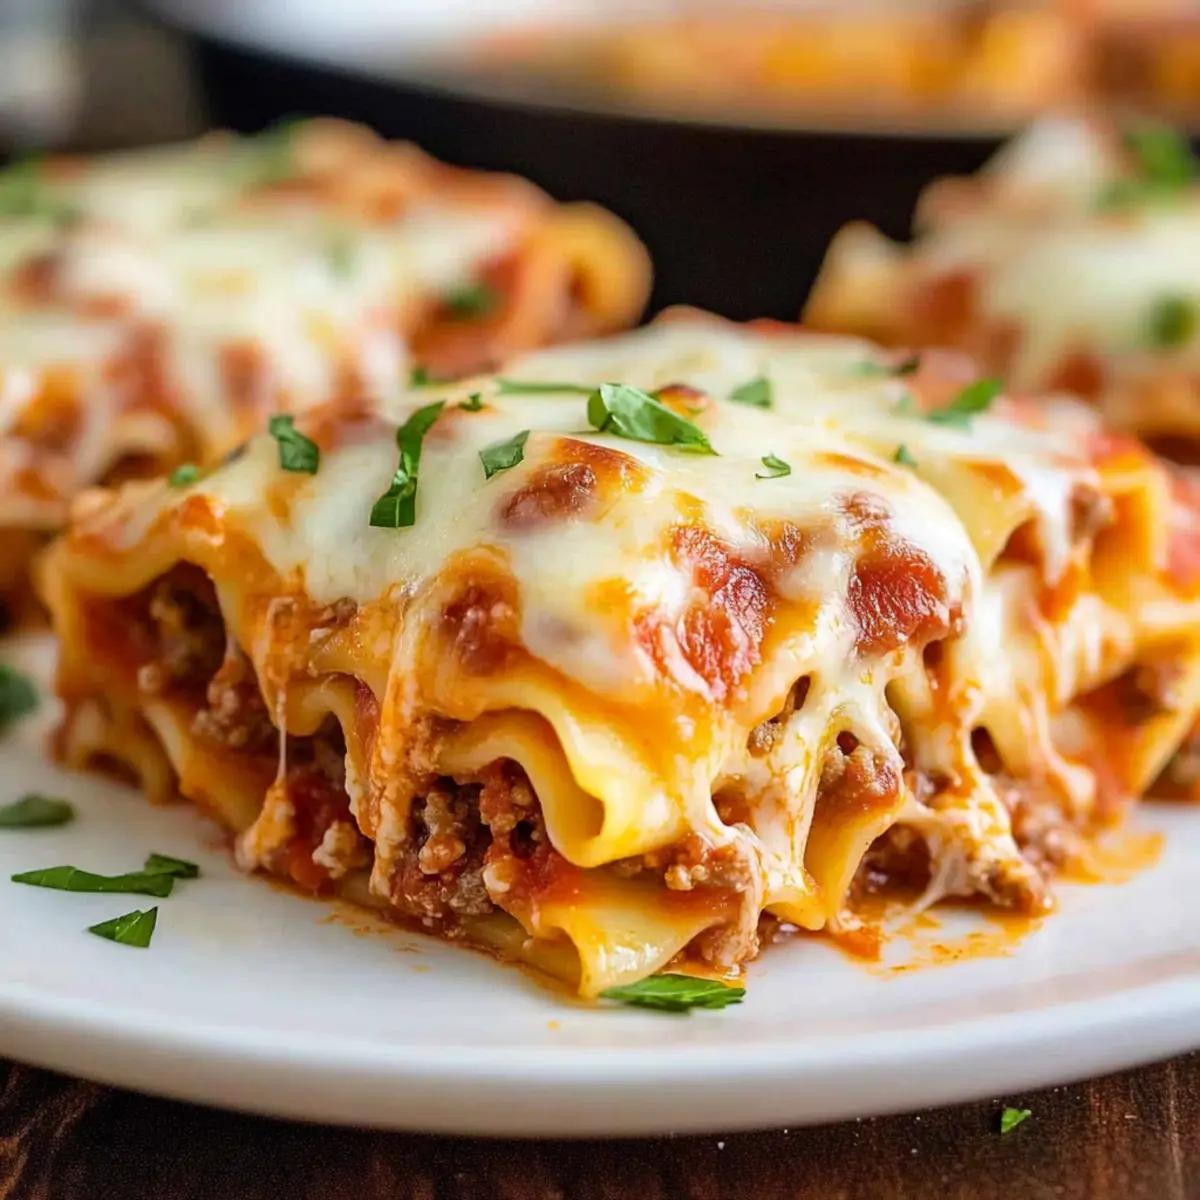
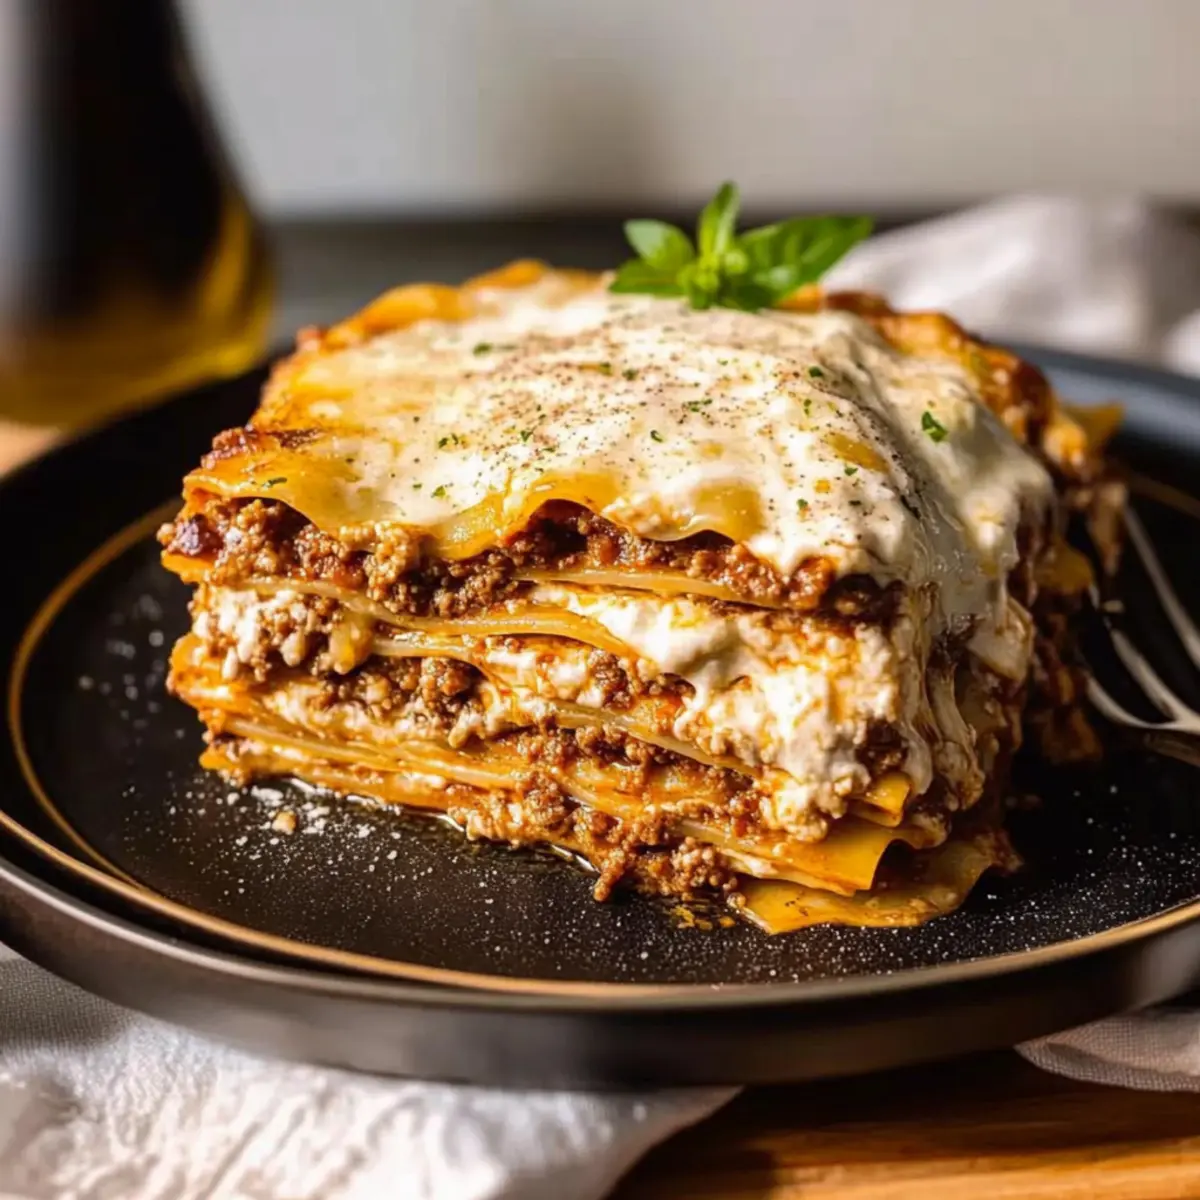
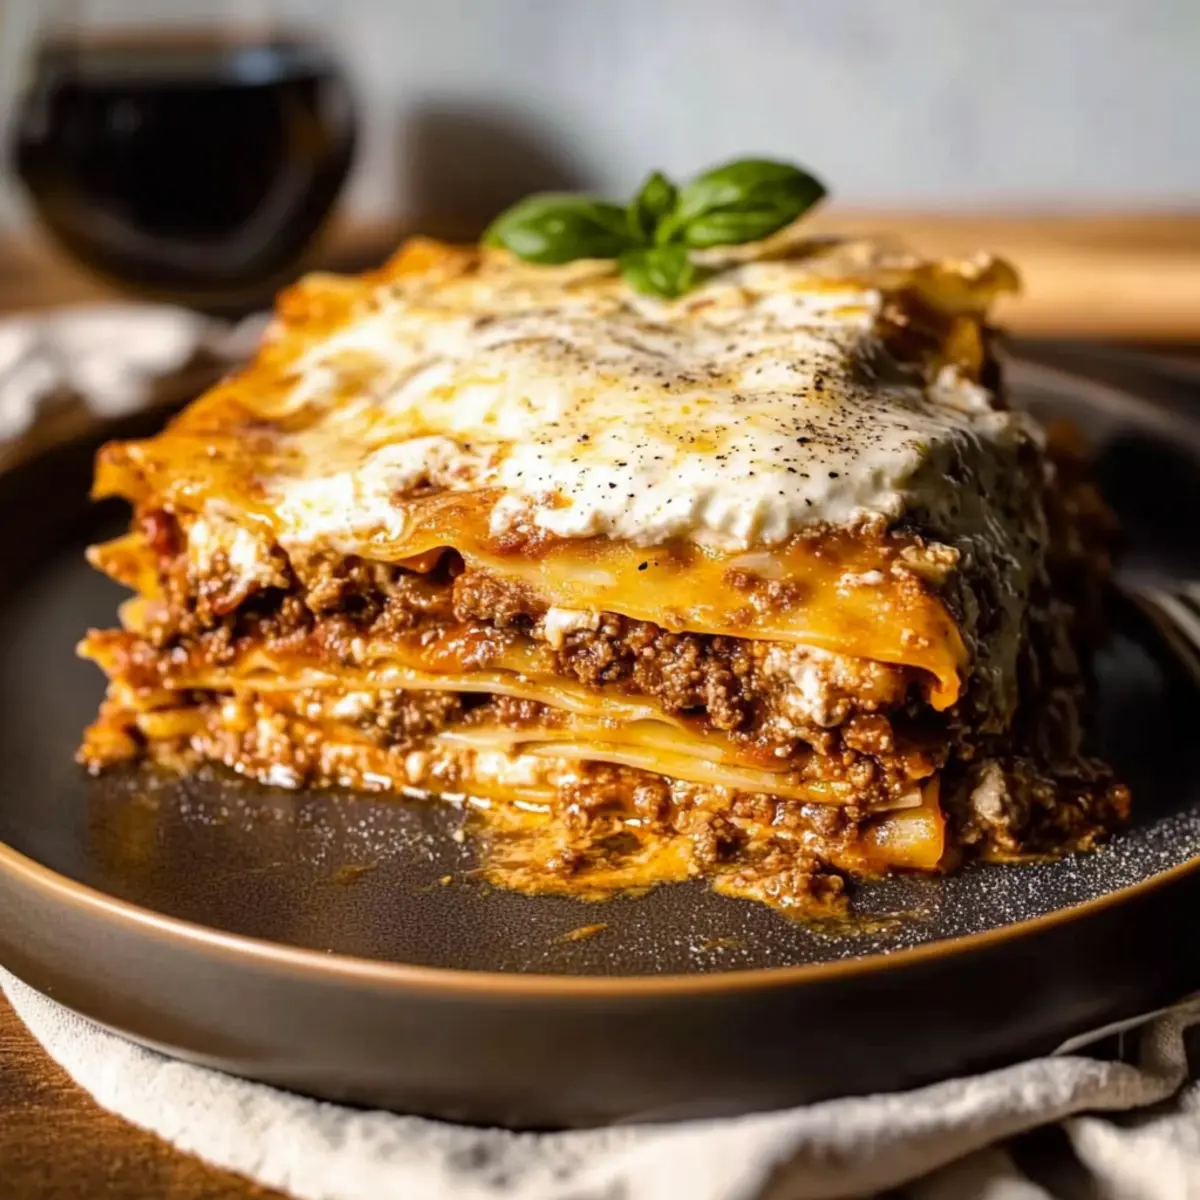
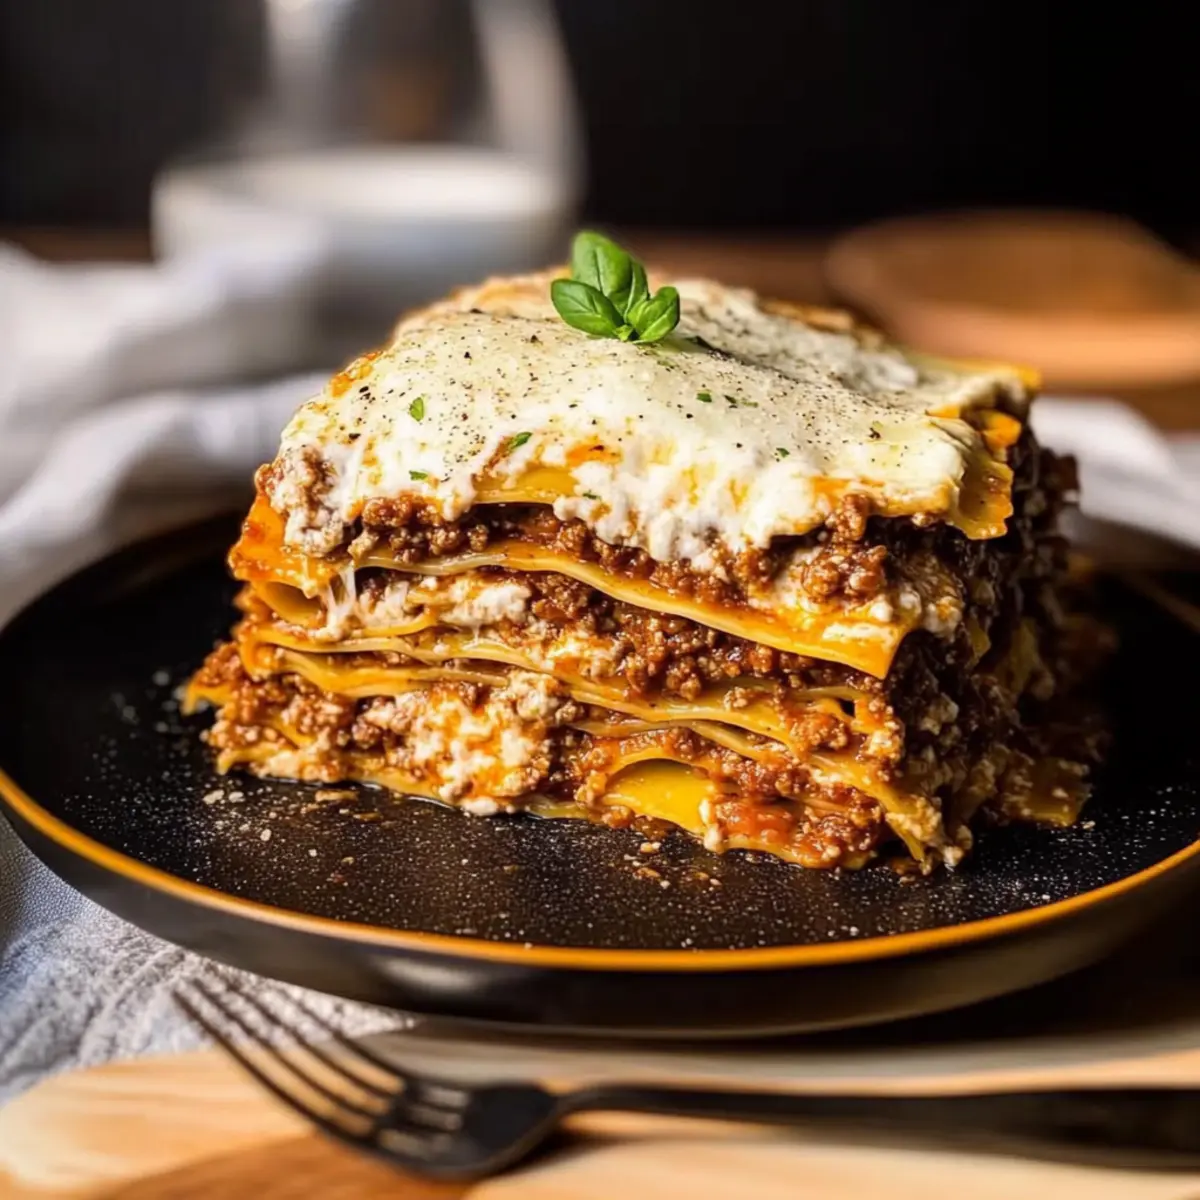
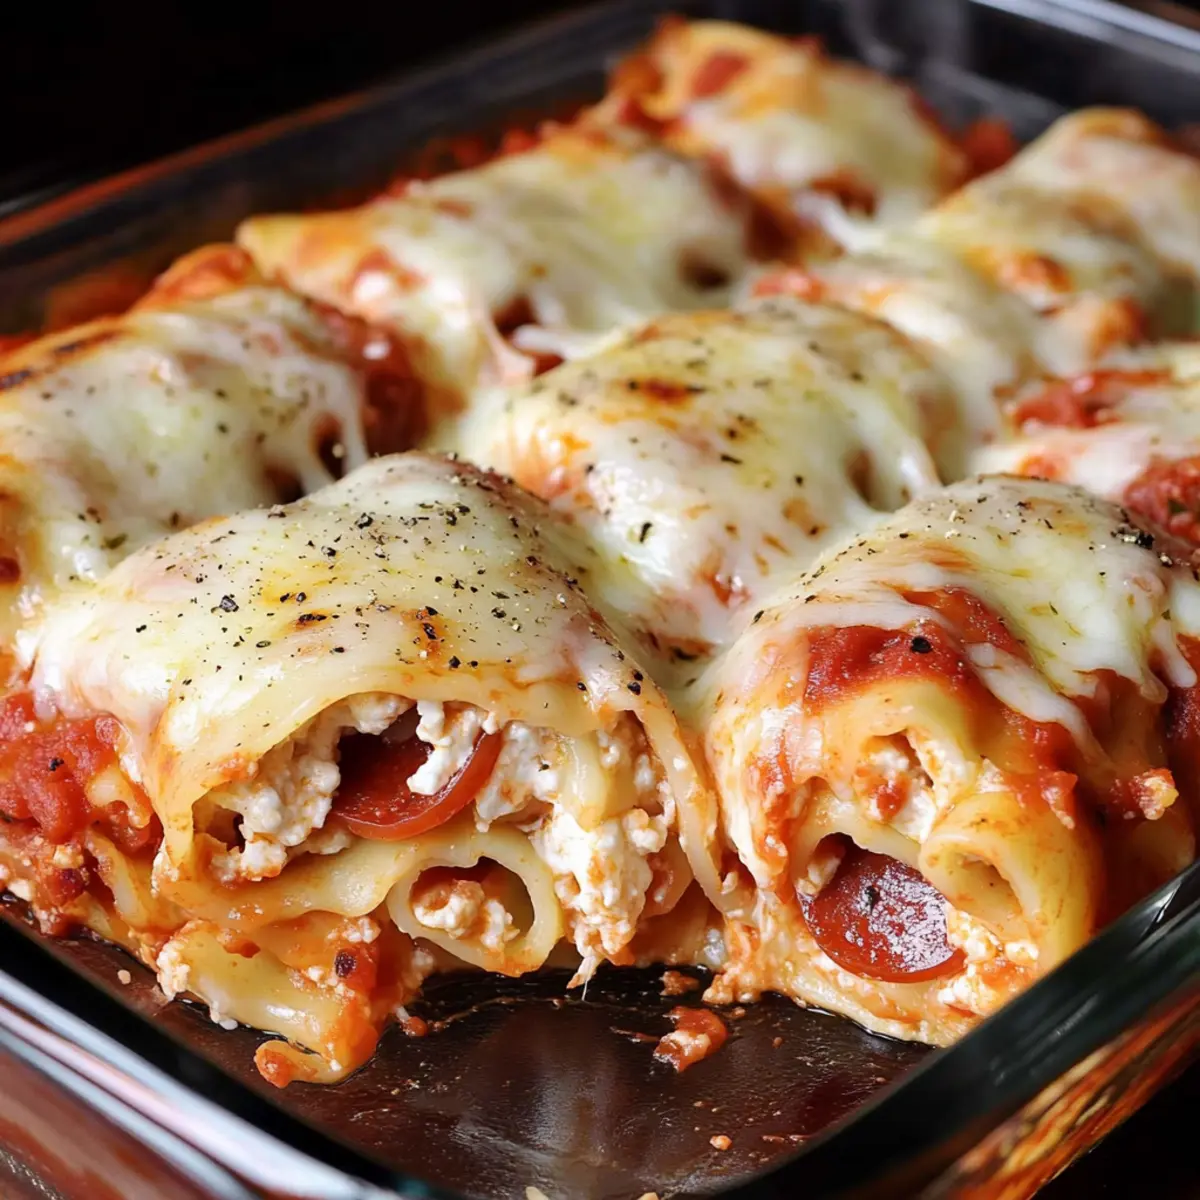
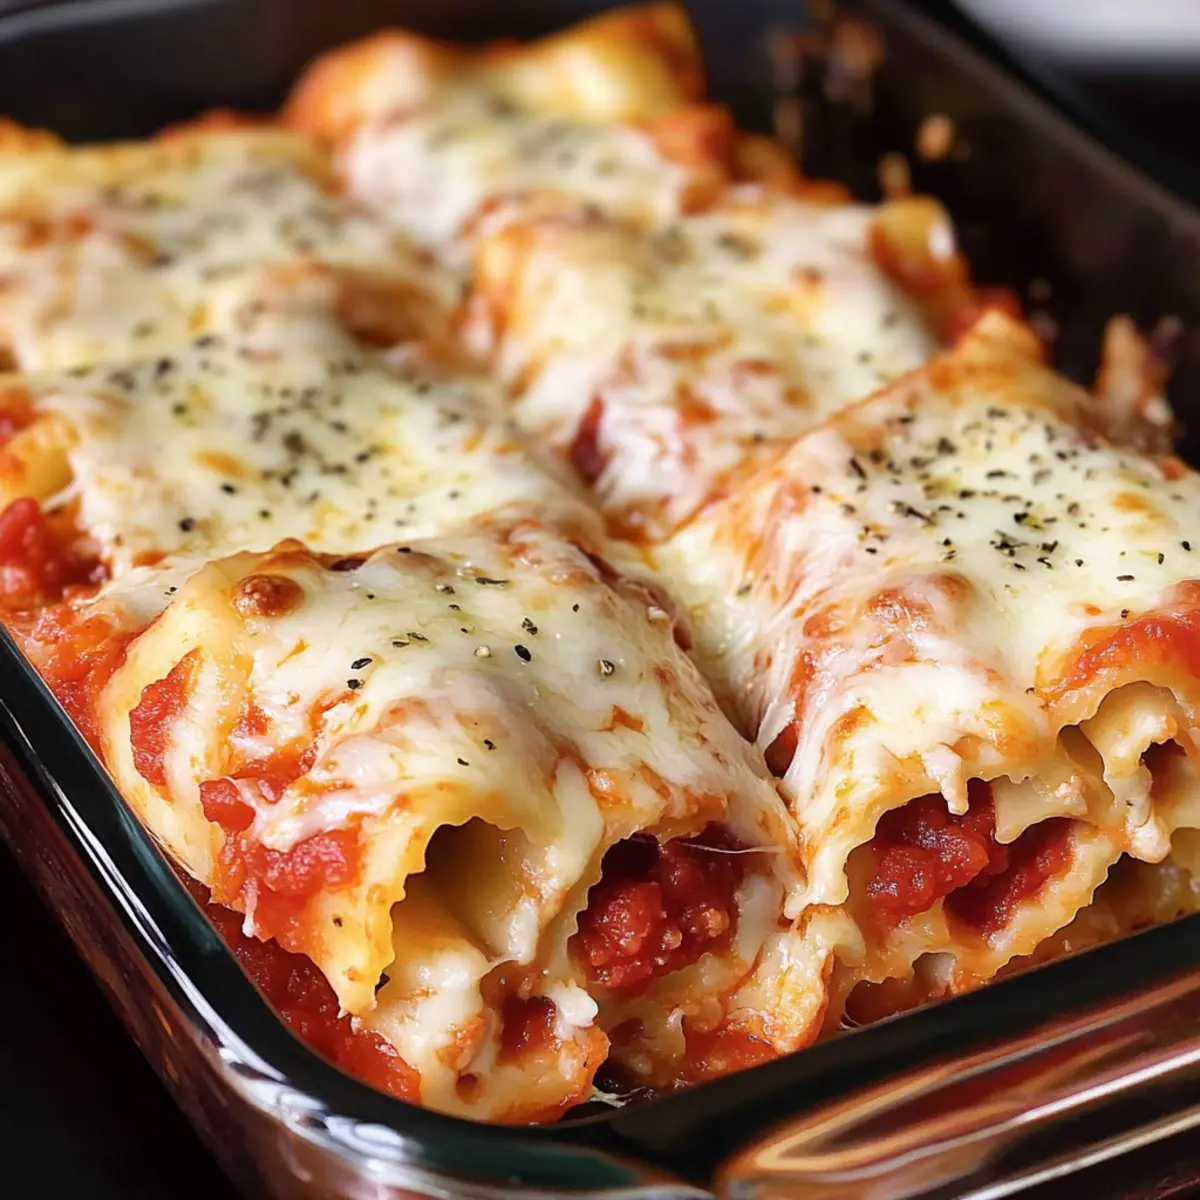
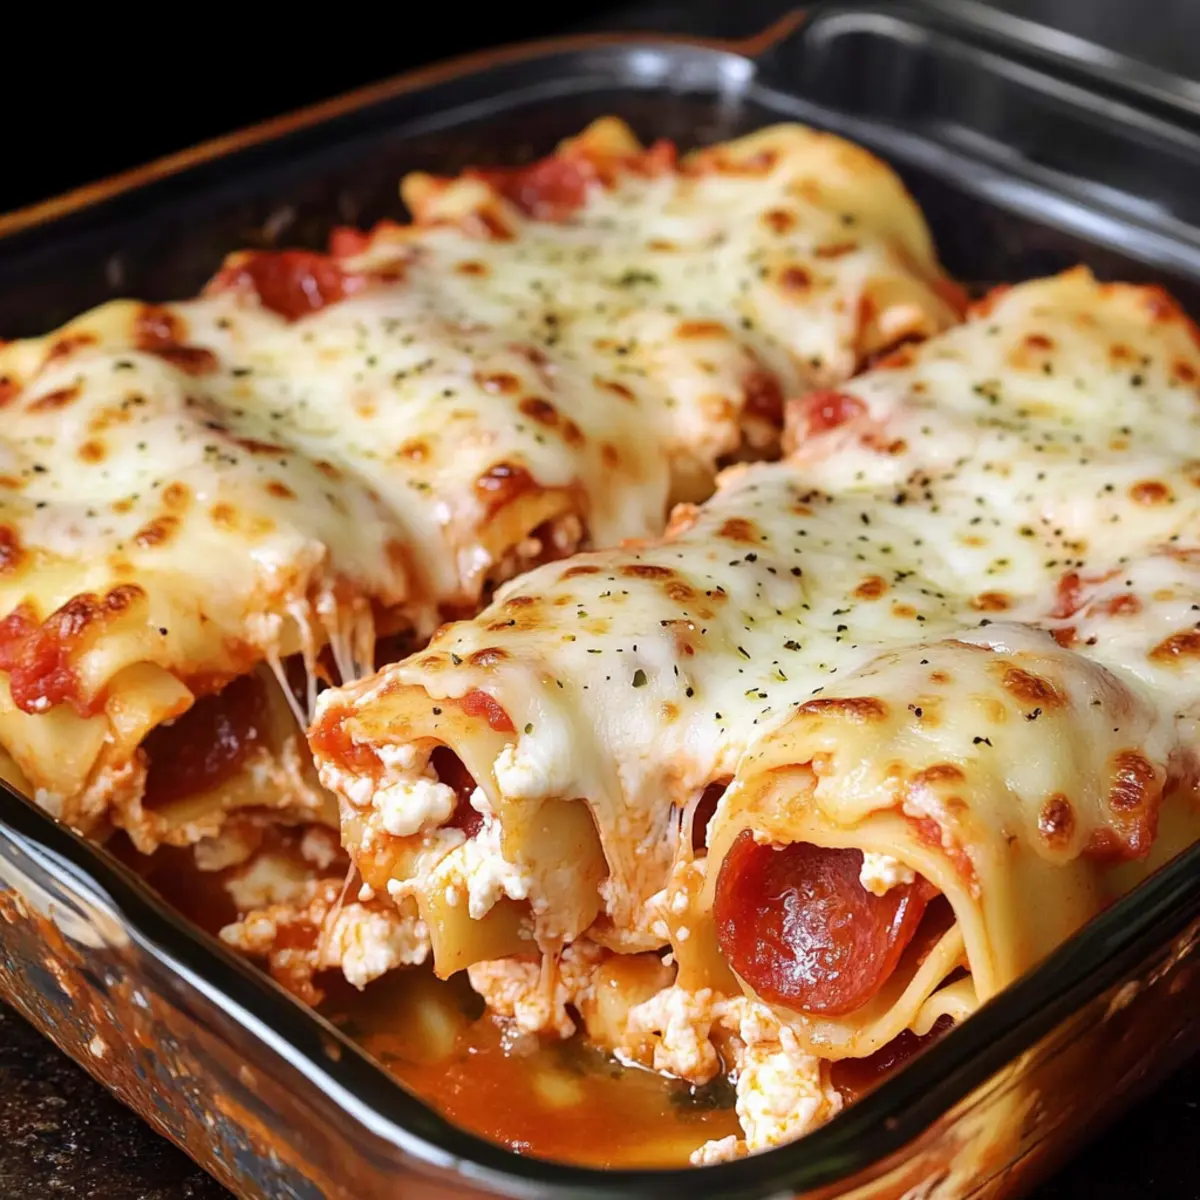
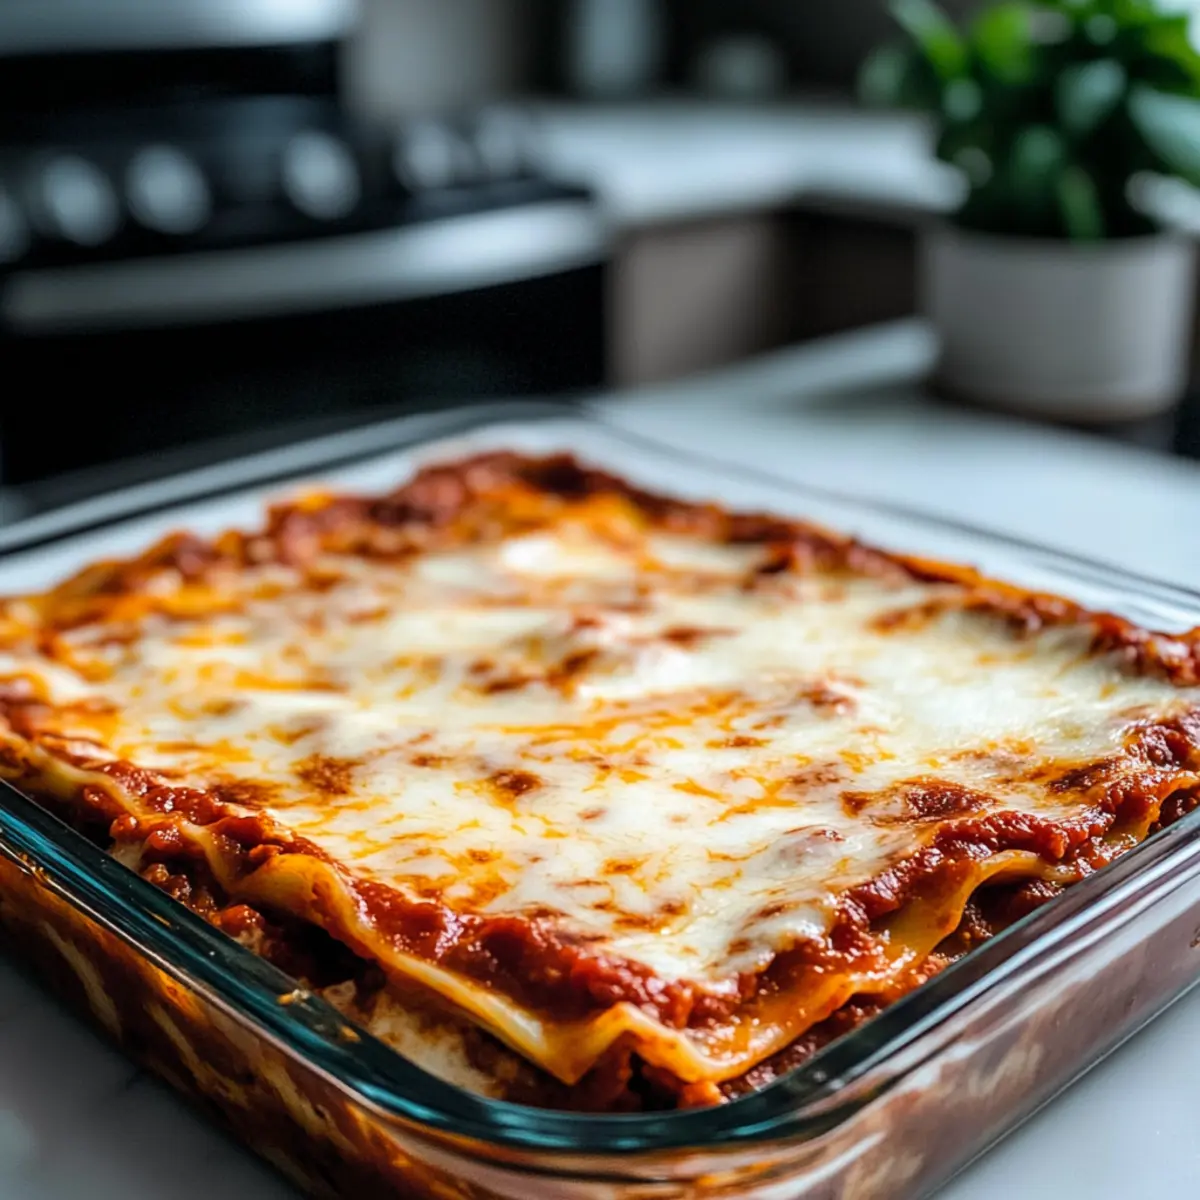
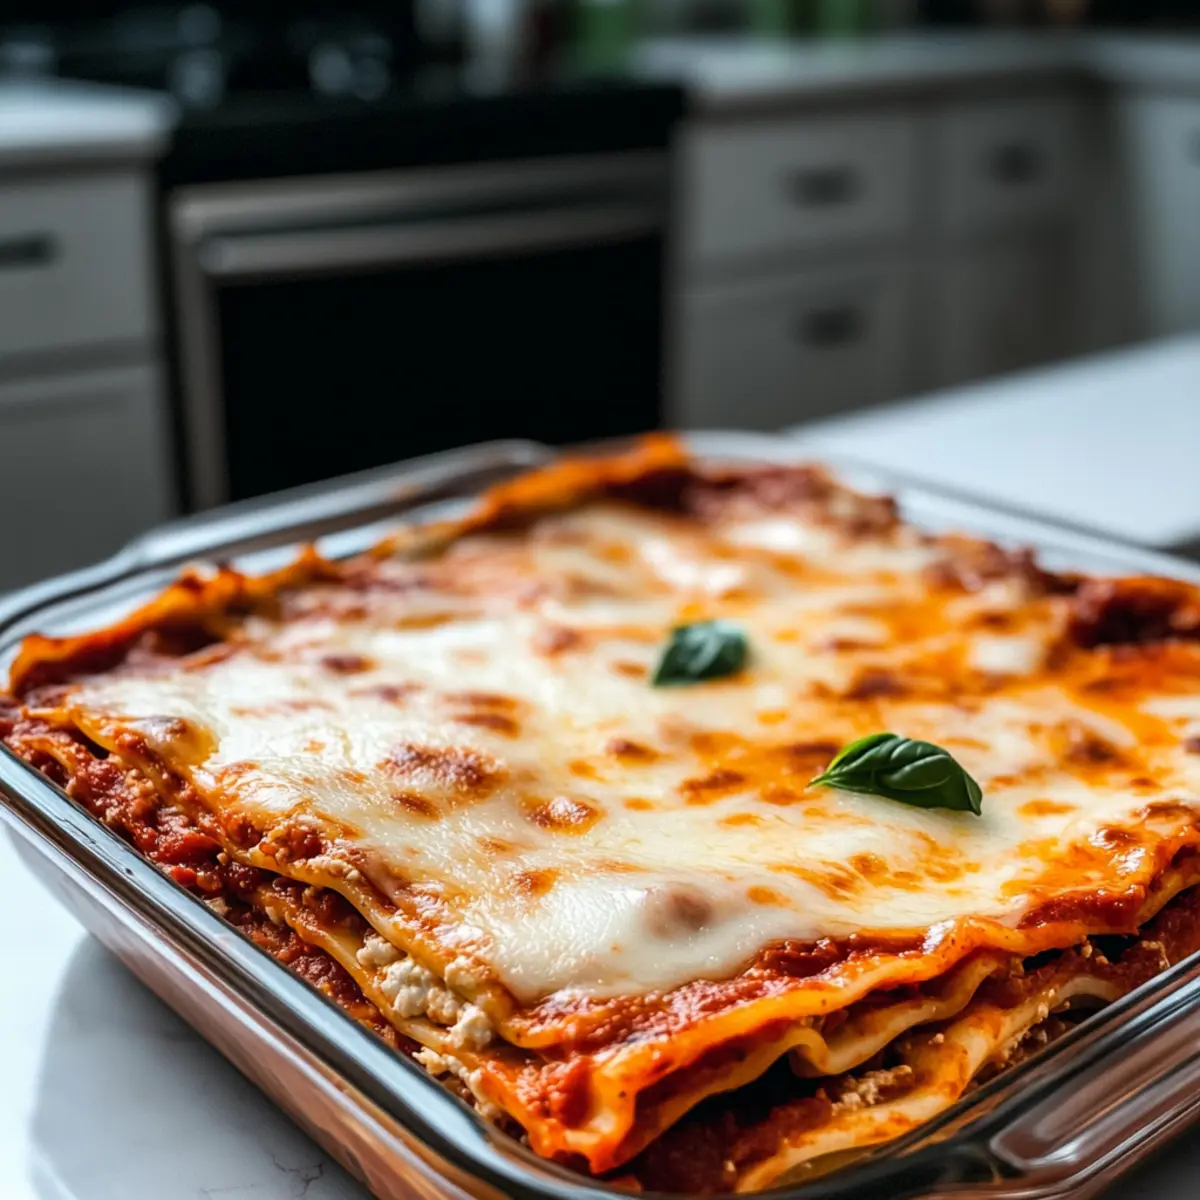
As the aroma of bubbling cheese and rich marinara wafts through my kitchen, I’m reminded of my childhood family gatherings centered around a big pan of Classic Lasagna with Creamy Ricotta Cheese. This dish is the epitome of comfort food, layering tender noodles with creamy ricotta, savory ground beef, and gooey mozzarella. Not only is it a feasting crowd-pleaser that brings everyone together, but it's also shockingly easy to prepare, even on a busy weeknight. Ditch the fast food run and embrace this homemade treasure; it promises heartwarming flavors that satisfy the soul. Who's ready to discover the secret to crafting a beautiful lasagna that fills the table with love?
Why is this lasagna a must-try?
Comforting, Family Favorite: This Classic Lasagna with Ricotta Cheese is sure to become a staple at your family dinners. Easy to Prepare: With simple steps and accessible ingredients, even beginner cooks can create this dish with confidence. Flavorful Layers: Each bite combines the rich taste of marinara, creamy ricotta, and melted mozzarella, enveloping you in warmth. Versatile Options: Feel free to swap in vegetables or different proteins for a unique twist. If you enjoy other comfort foods, check out my delicious Herby Ricotta Stuffed Peppers for further inspiration. Crowd-Pleasing Delight: Perfect for gatherings, this lasagna draws everyone to the table, making it a memorable centerpiece for special occasions!
Classic Lasagna Recipe Ingredients
• For a comforting homemade dish.
For the Pasta
- Lasagna Noodles – Structure for the dish; use no-boil noodles for quicker assembly.
For the Meat Sauce
- Ground Beef – Main protein source; substitute with ground turkey or a plant-based alternative for a lighter option.
- Marinara Sauce – Base flavor; store-bought is fine, but homemade offers a fresher taste.
- Diced Tomatoes – Adds texture and moisture; canned or fresh works depending on availability.
- Italian Seasoning – Enhances flavor; fresh herbs like basil and oregano bring a vibrant touch.
For the Cheese Mixture
- Ricotta Cheese – Provides creaminess and a smooth texture; cottage cheese can be used for a lighter choice.
- Shredded Mozzarella Cheese – Melts beautifully, adding gooeyness; fresh mozzarella offers enhanced flavor.
- Grated Parmesan Cheese – Adds umami and a salty kick; any hard cheese can substitute if needed.
- Egg – Binds the ricotta mixture; omit for a dairy-free version.
For Assembly
- Olive Oil – Used for cooking the meat; can substitute with another cooking oil.
- Salt and Pepper – Essential seasonings for flavor enhancement; adjust according to personal taste.
- Fresh Basil or Parsley for Garnish – Adds color and freshness; optional but recommended for presentation.
Step‑by‑Step Instructions for Classic Lasagna Recipe with Ricotta Cheese
Step 1: Cook Noodles
Begin by bringing a large pot of salted water to a rolling boil. Immerse the lasagna noodles in the boiling water and cook according to the package instructions, usually around 8-10 minutes, until they are al dente. Stir occasionally to prevent sticking. Once done, drain the noodles in a colander and let them rest gently to cool while you prepare the meat sauce.
Step 2: Prepare Meat Sauce
In a large skillet over medium heat, add a drizzle of olive oil, about 2 tablespoons. Once hot, add the ground beef, breaking it apart as it cooks for about 7-10 minutes until it’s nicely browned. Drain any excess fat, then stir in the marinara sauce, diced tomatoes, and Italian seasoning. Simmer the sauce for 10 minutes, letting the flavors meld together, and season with salt and pepper to taste.
Step 3: Make Ricotta Mixture
In a mixing bowl, combine one container of ricotta cheese, one egg, and 1/4 cup of grated Parmesan. Using a fork, blend these ingredients until they create a smooth mixture, perfect for layering. This creamy ricotta blend will provide a comforting contrast to the hearty meat sauce in your Classic Lasagna with Ricotta Cheese.
Step 4: Assemble Lasagna
Preheat your oven to 375°F (190°C). In a large baking dish, start layering: begin with a thin layer of meat sauce on the bottom, followed by a single layer of noodles. Next, dollop half of the ricotta mixture over the noodles and sprinkle with mozzarella cheese. Repeat this process, ending with a final layer of noodles topped with meat sauce, mozzarella, and the remaining Parmesan.
Step 5: Bake
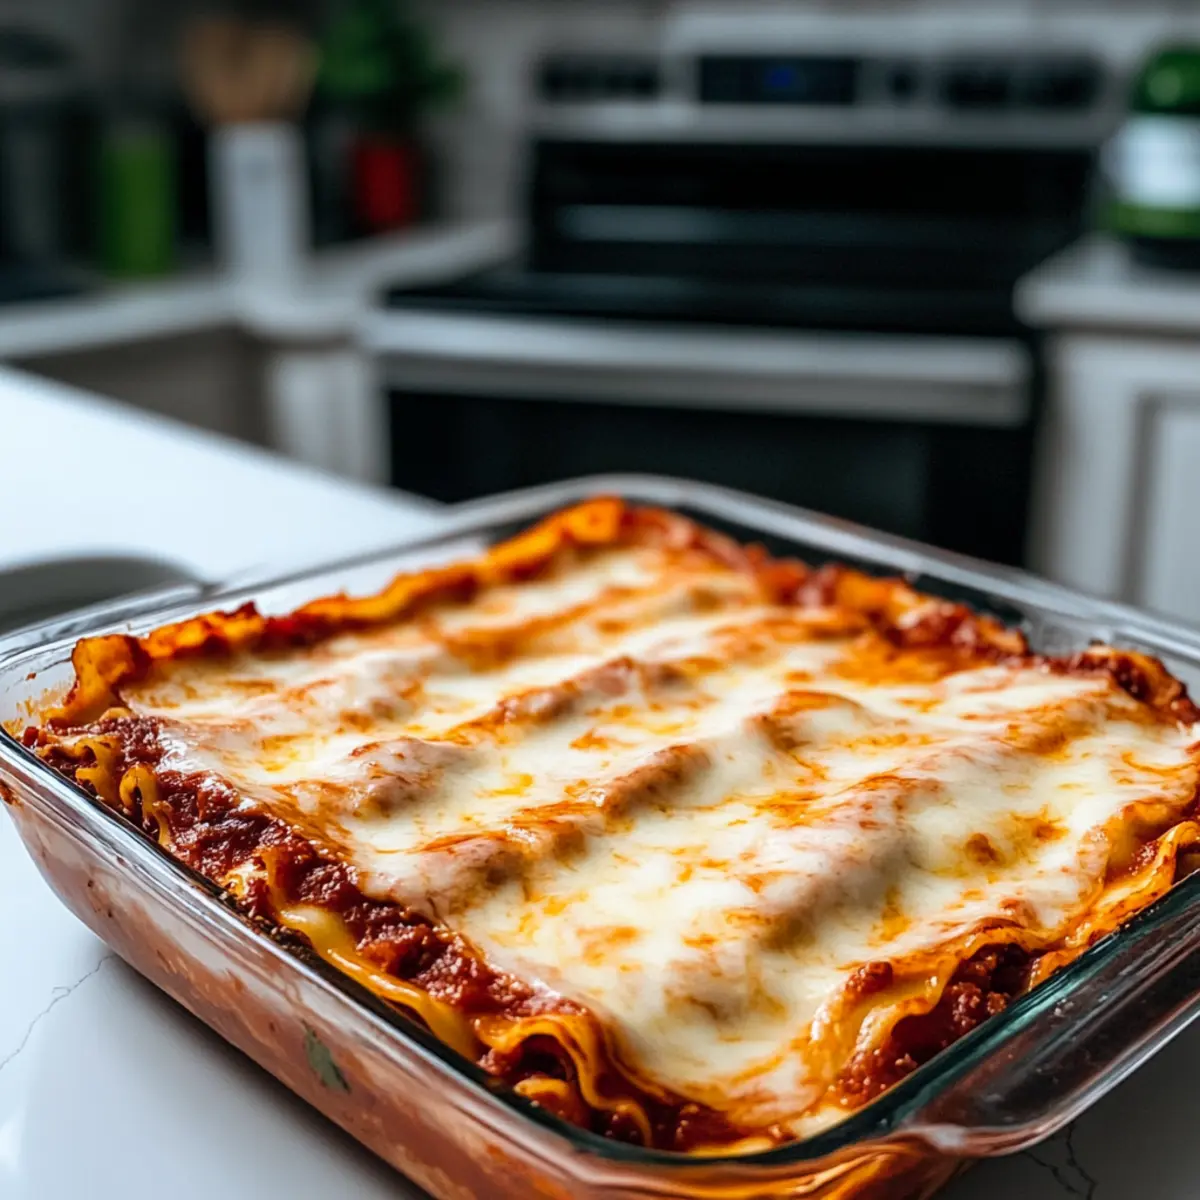
Cover the assembled lasagna with aluminum foil, making sure it doesn’t touch the cheese. Place it in the preheated oven and bake for 25 minutes to allow everything to meld together. After that, remove the foil and bake for an additional 20 minutes or until the cheese is bubbly and golden on top. The aroma will be inviting!
Step 6: Rest and Serve
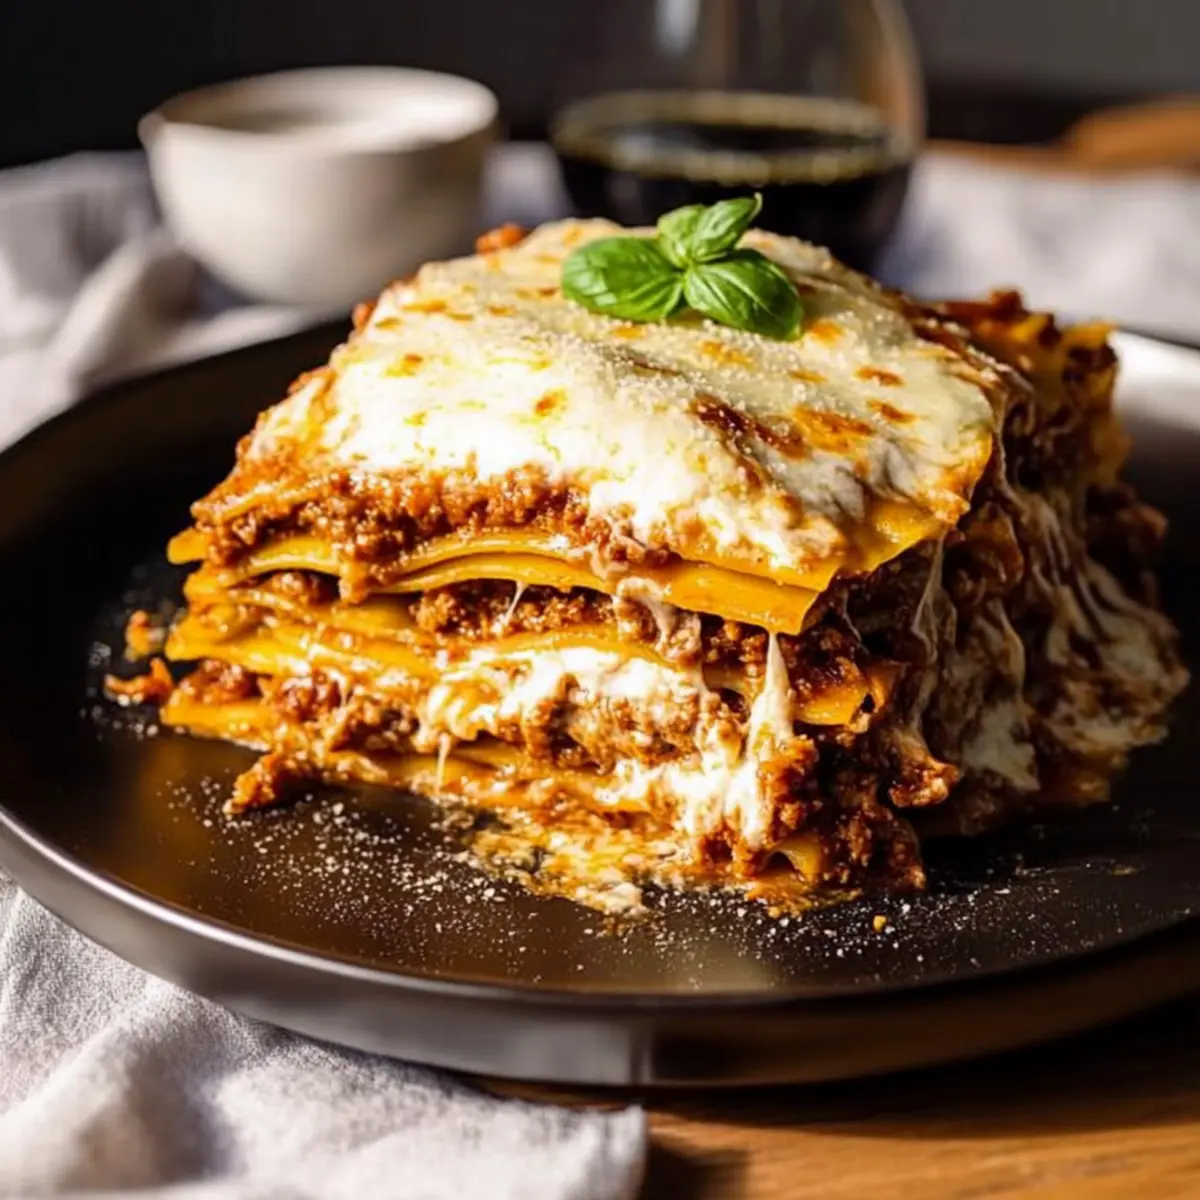
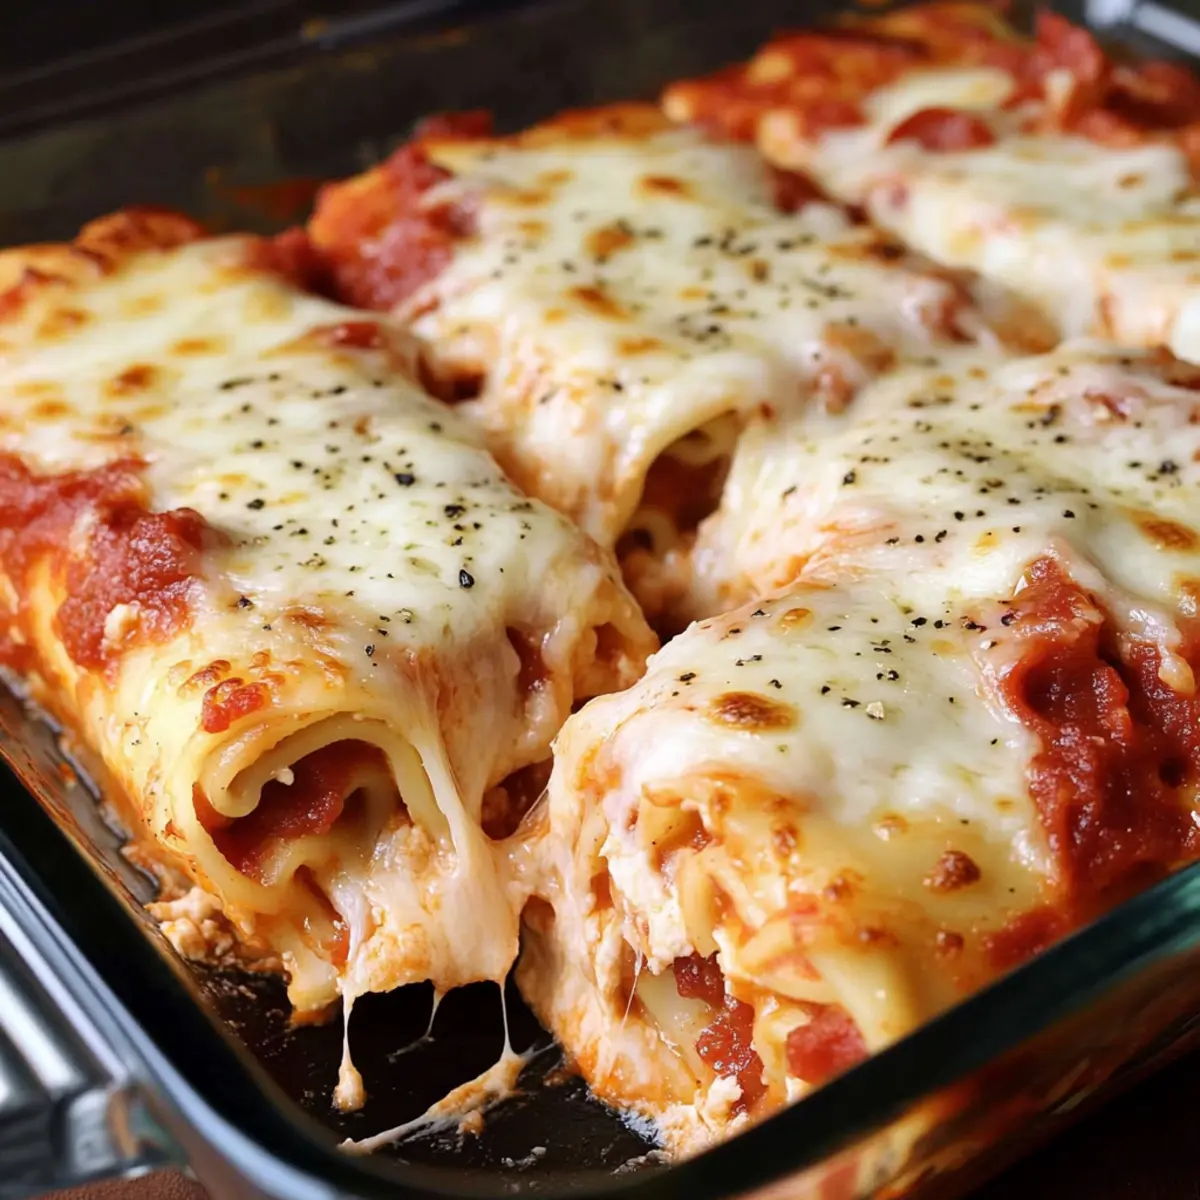
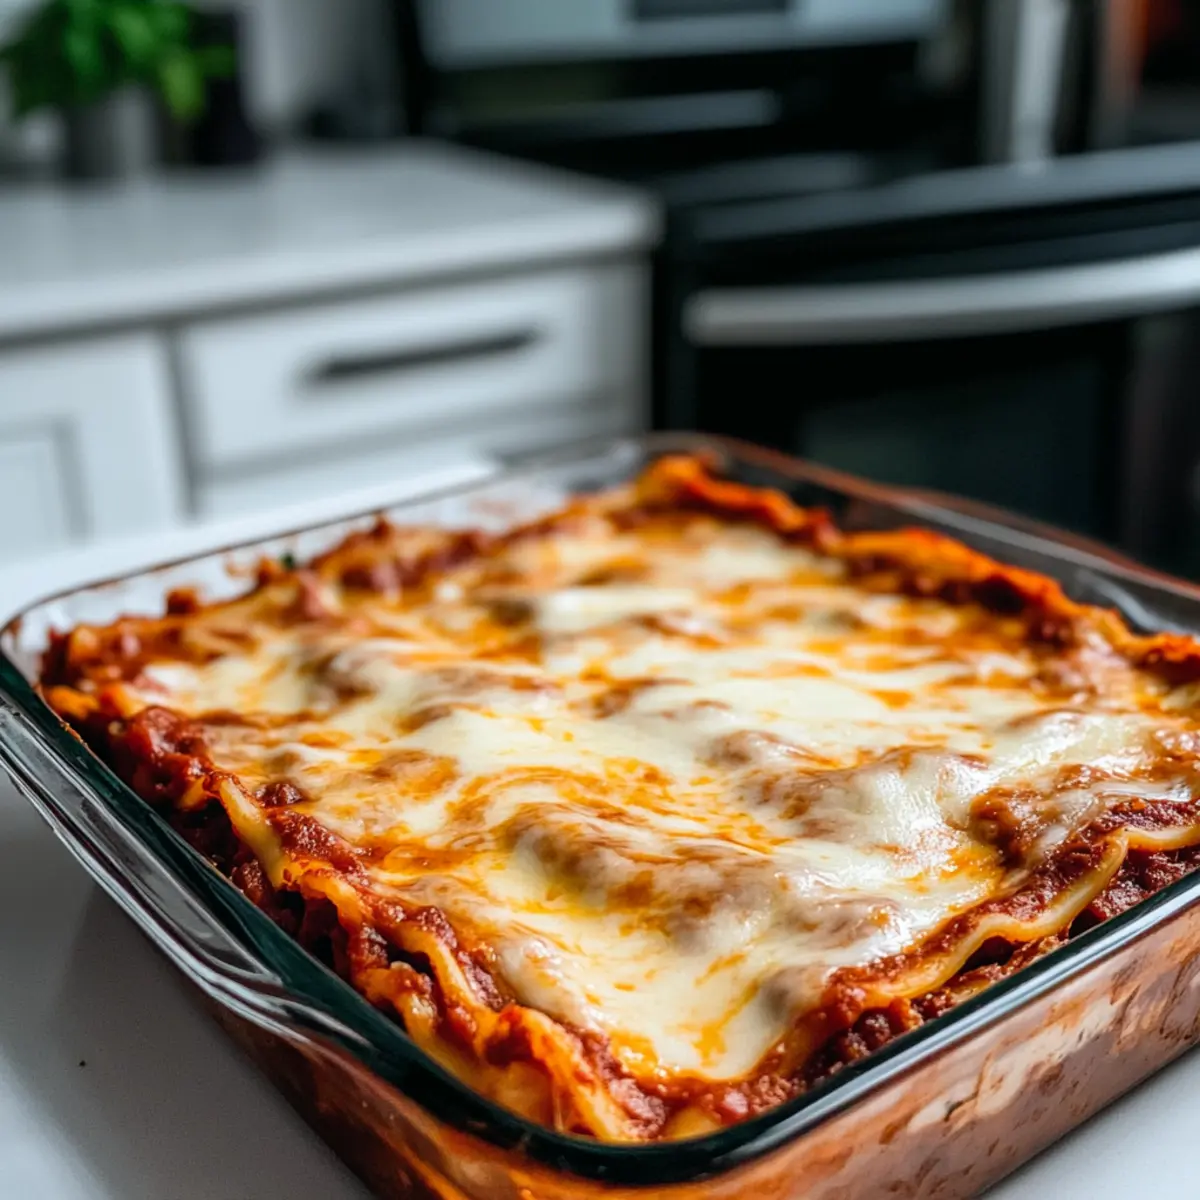
Once baked, remove the lasagna from the oven and let it cool for about 10 minutes. This rest period allows for cleaner slices when you cut into it. If desired, garnish each serving with fresh basil or parsley for a pop of color. Serve your Classic Lasagna with Ricotta Cheese to smiling faces, and enjoy the warm, delicious flavors!
How to Store and Freeze Classic Lasagna
Fridge: Cool completely before transferring to an airtight container. Store in the refrigerator for up to 3-5 days, ensuring the layers stay intact.
Freezer: Wrap tightly in plastic wrap and then in aluminum foil to prevent freezer burn. Classic lasagna can be frozen for up to 3 months; just remember to thaw it in the fridge overnight before reheating.
Reheating: To reheat, cover with foil and bake at 350°F (175°C) for about 30 minutes until warmed through, or microwave individual portions for a quick option.
Serving Tips: For the best flavor and texture, let it rest for 10 minutes after reheating before serving, allowing the lasagna to set for neat slices.
Expert Tips for Classic Lasagna
-
Resting Time: Allow the lasagna to rest for at least 10 minutes after baking to ensure neat slices and maintain its layers.
-
Simmer for Depth: For a richer flavor, let your meat sauce simmer a little longer. A deeper flavor profile enhances your classic lasagna recipe with ricotta cheese.
-
Noodle Choice: If using traditional lasagna noodles, avoid overcooking them to prevent sogginess. No-boil noodles are a fantastic alternative for ease and speed.
-
Layer Wisely: Ensure your layers are even and complete; this helps create a balanced flavor throughout the dish.
-
Fresh Ingredients: Opt for fresh herbs like basil and oregano to elevate the flavor of your classic lasagna, making it even more enjoyable!
What to Serve with Classic Lasagna with Creamy Ricotta Cheese
Enhance your heartwarming lasagna experience with these delightful pairings that bring vibrant flavors and comforting textures to the table.
-
Garlic Bread: Serve warm, crispy garlic bread on the side to provide a fantastic crunch and soak up the delicious marinara sauce.
-
Mixed Green Salad: A fresh salad with a light vinaigrette balances the meal, adding a crisp, refreshing contrast to the rich layers of the lasagna.
-
Roasted Vegetables: Roasted zucchini and bell peppers add depth and natural sweetness, making your plate visually appealing and nutritious.
-
Italian Antipasto Platter: Include cured meats, olives, and cheeses for a combo of textures and flavors that complement the savory richness of the lasagna.
-
Wine Pairing: A glass of Chianti enhances the meal with its bold red fruit flavors and moderate acidity, perfectly cutting through the richness of the cheese.
-
Tiramisu: Finish the meal on a sweet note with creamy, coffee-flavored tiramisu, offering a delightful contrast to your hearty main dish.
These selections will turn your classic lasagna into a memorable family feast, wrapping everyone in warmth and flavor!
Classic Lasagna Recipe with Ricotta Variations
Feel free to personalize this classic dish to suit your taste and dietary needs; these variations can elevate your lasagna experience!
- Dairy-Free: Swap ricotta with blended silken tofu and nutritional yeast for a creamy, dairy-free alternative.
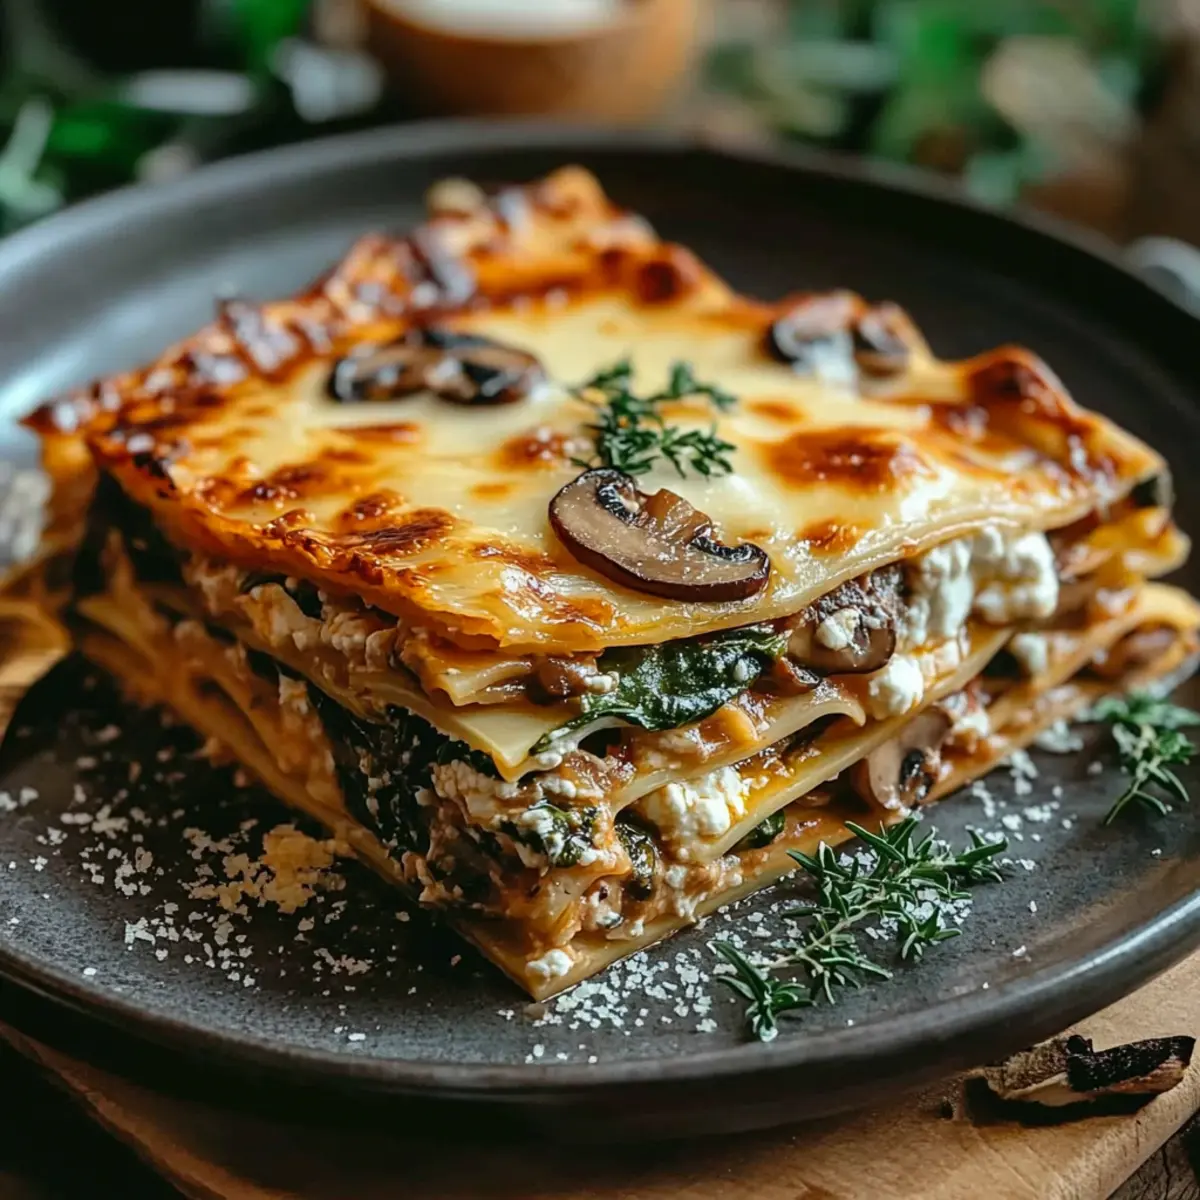
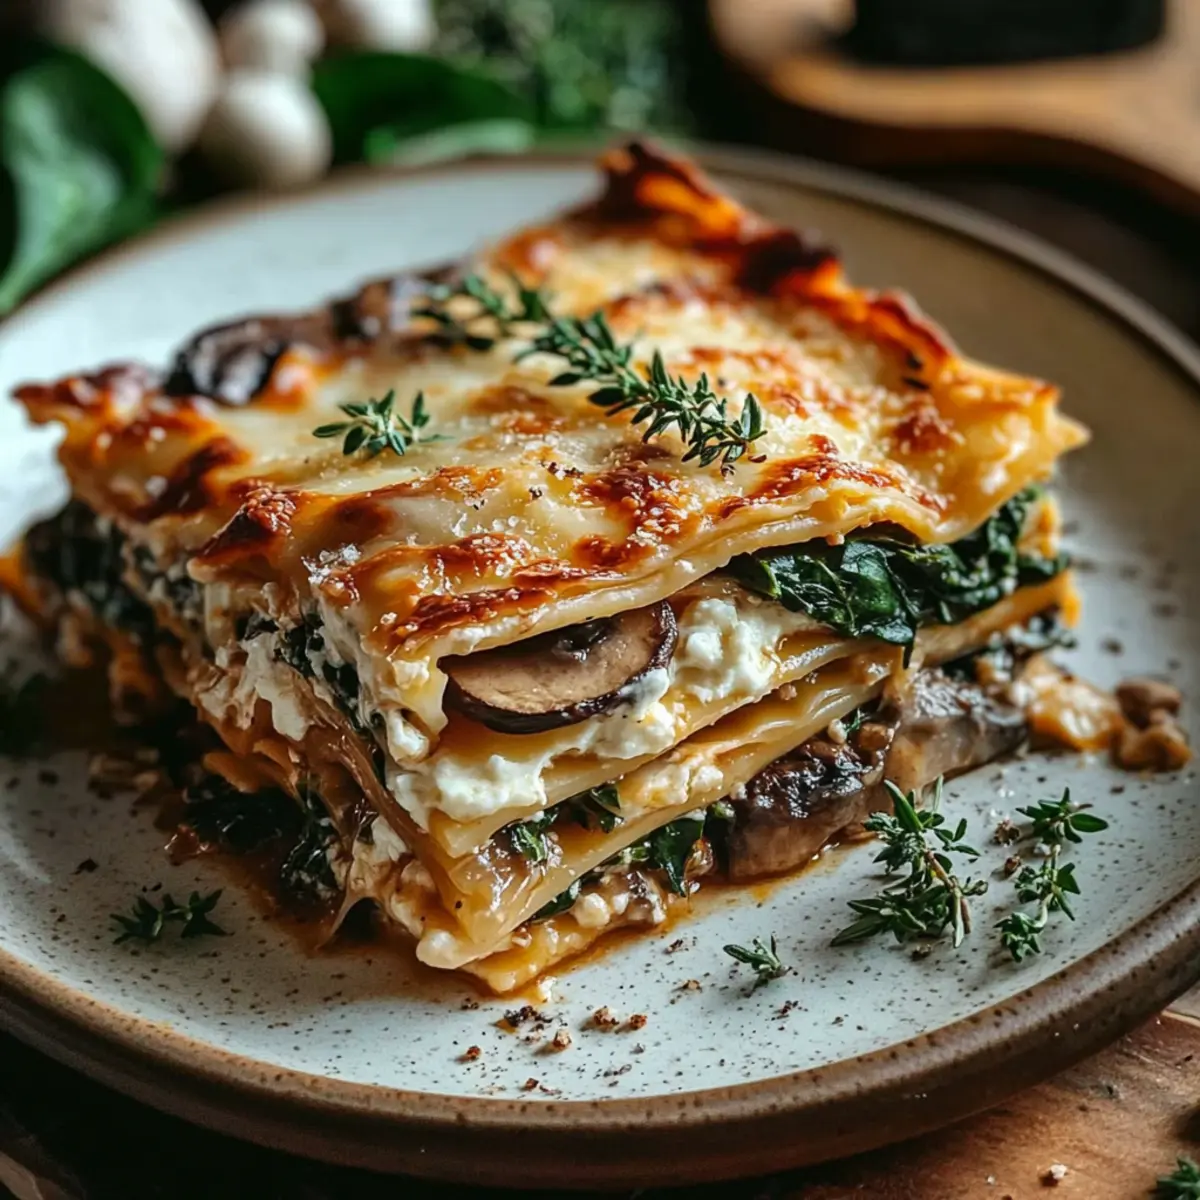
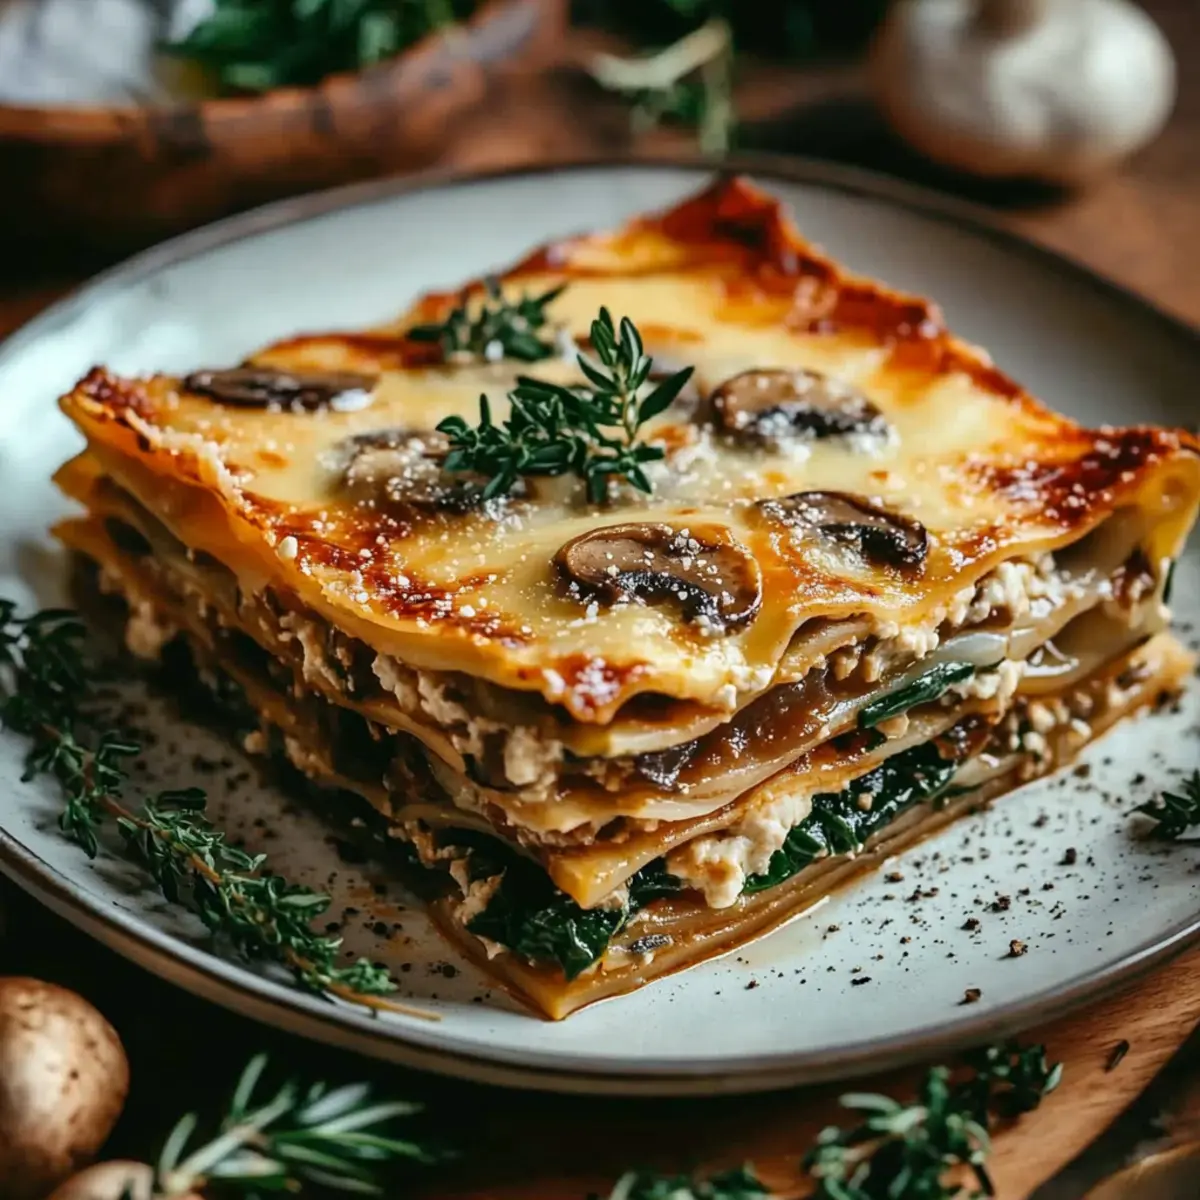
- Vegetable-Packed: Add sautéed mushrooms, spinach, or zucchini between layers for a nutritious twist and vibrant color.
- Spicy Kick: Introduce red pepper flakes or spicy Italian sausage to your meat sauce for a delightful heat.
- Herb-Infused: Mix fresh herbs like basil and parsley into the ricotta for an aromatic flavor explosion. It brings a beautiful freshness to the dish.
- Different Cheeses: Experiment by using goat cheese or a mix of cheeses; each brings its unique flavor profile to your lasagna.
- Whole Grain Noodles: Try whole grain or even gluten-free lasagna noodles for a healthier, fiber-rich option that satisfies without sacrificing taste.
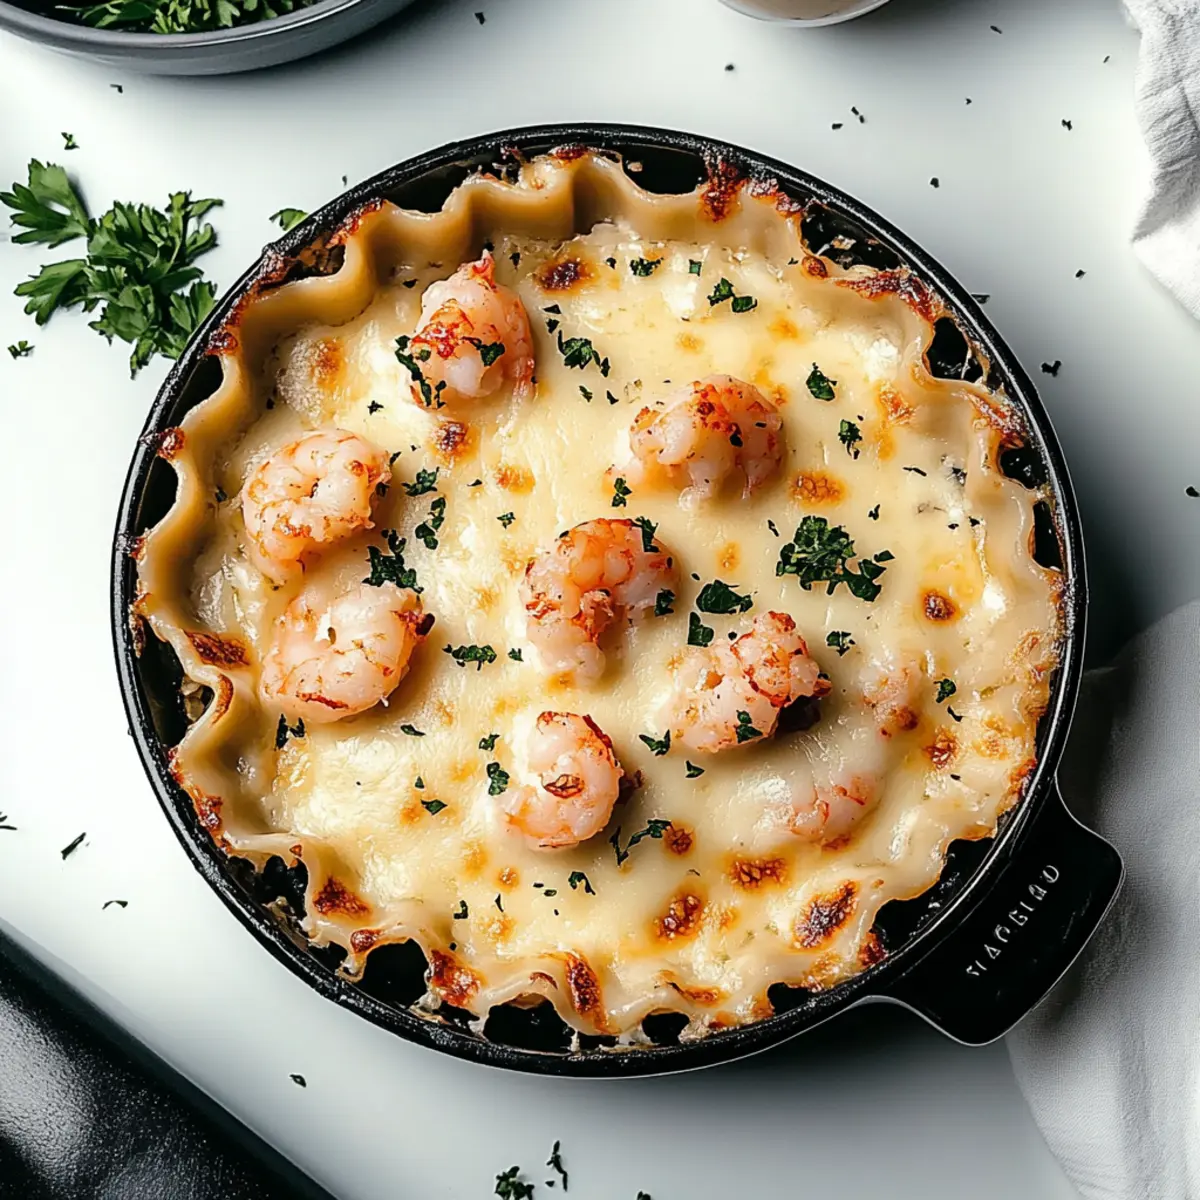
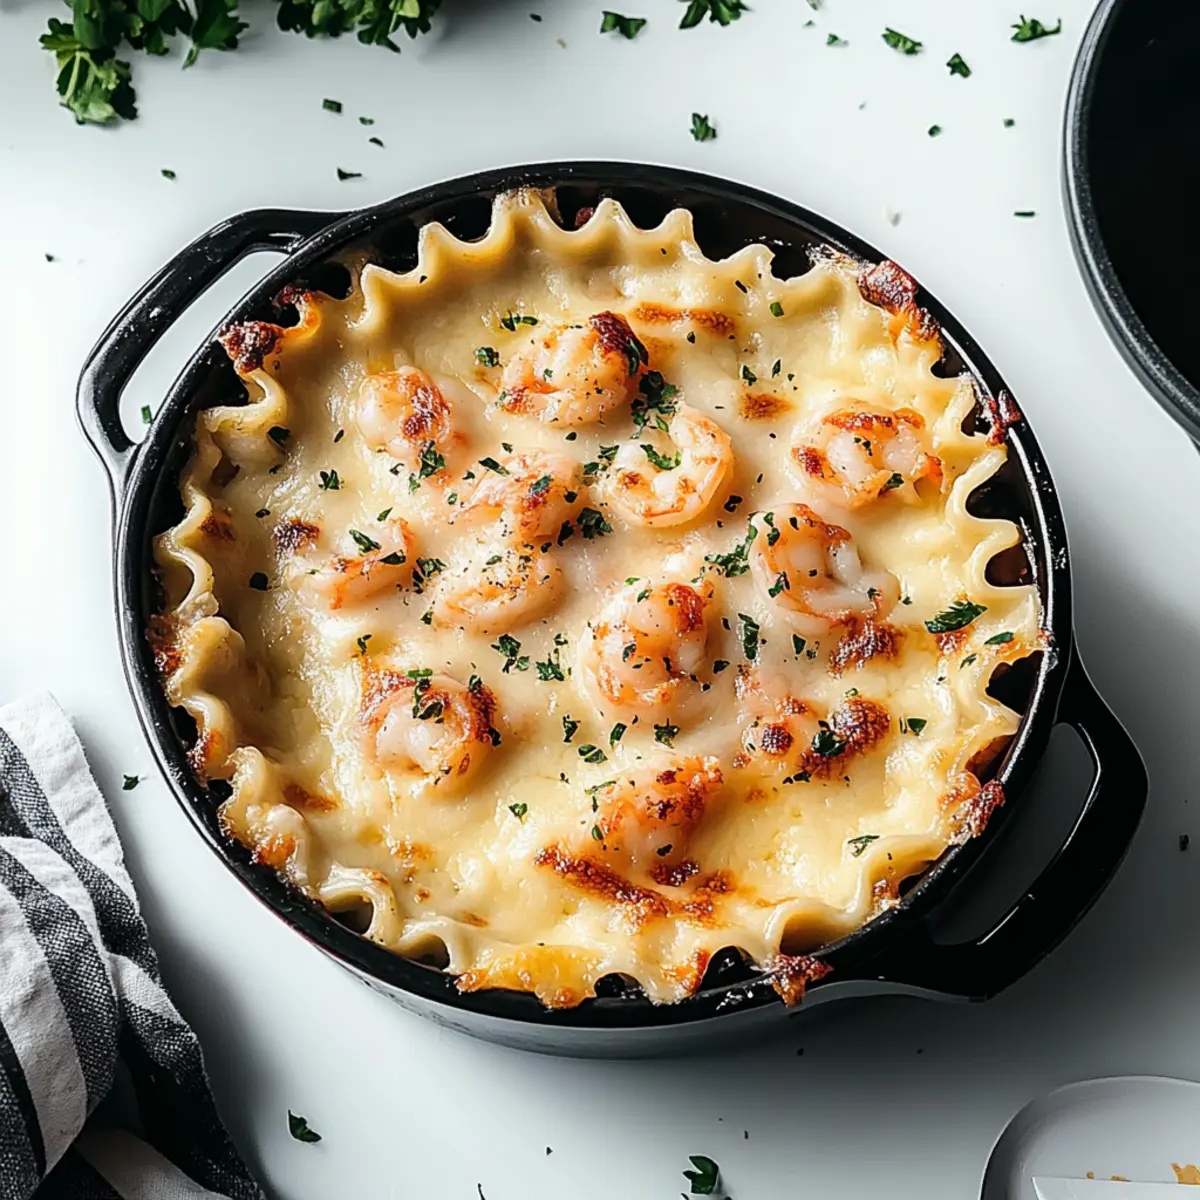
- Sauce Swap: Consider a creamy alfredo or béchamel sauce instead of marinara for an indulgent, decadent spin on this classic.
- Layer It Up: For a lasagna pie, pile layers high, or even use polenta instead of noodles for a unique texture and flavor, as seen in my Tagliatelle with Asparagus and Peas recipe for inspiration.
Enjoy tailoring your lasagna to reflect your family's preferences and dietary choices, and watch it become a beloved staple for everyone at the table!
Make Ahead Options
These Classic Lasagna with Ricotta Cheese are a fantastic meal prep solution for busy weeknights! You can prepare the entire lasagna up to 24 hours in advance; simply assemble it according to the recipe, cover tightly with aluminum foil, and refrigerate. This not only saves you time but also allows the flavors to meld beautifully overnight for an even richer taste. If you're looking to prep components, you can cook the meat sauce and boil the noodles ahead of time, storing each in airtight containers in the fridge for up to 3 days. When you're ready to serve, just pop it in the oven and bake as directed, enjoying a comforting, homemade meal with minimal effort!
Classic Lasagna with Creamy Ricotta Cheese Recipe FAQs
What type of lasagna noodles should I use?
Absolutely! You can use traditional lasagna noodles or opt for no-boil noodles for quicker assembly. If you choose regular noodles, ensure they are al dente after cooking to prevent them from becoming soggy in the lasagna.
How long can I store leftover lasagna in the fridge?
You can store your Classic Lasagna with Ricotta Cheese in the refrigerator for up to 3-5 days. Make sure to cool it completely before placing it in an airtight container to help maintain freshness.
Can I freeze lasagna, and if so, how?
Very much so! To freeze your lasagna, allow it to cool completely first. Wrap it tightly in plastic wrap, followed by aluminum foil to prevent freezer burn. It can be frozen for up to 3 months. When you’re ready to enjoy it again, thaw it in the fridge overnight before reheating.
What should I do if the lasagna is too watery after baking?
If you find your lasagna has excess moisture, it could be due to overcooked noodles or watery vegetables. To prevent this, ensure you drain canned tomatoes thoroughly and consider allowing the assembled lasagna to rest a bit longer after baking. Placing it back in the oven covered can help evaporate some of the liquid.
Is this lasagna safe for people with dairy allergies?
If you or someone you’re serving has dairy allergies, I recommend omitting the egg in the ricotta mixture and using a dairy-free ricotta alternative made from nuts or tofu. You can also substitute the cheeses with dairy-free versions available at most grocery stores.
How can I enhance the flavor of the meat sauce?
You can elevate the flavor of the meat sauce by letting it simmer longer, around 20-30 minutes. This allows the spices to meld. Additionally, a splash of red wine can add depth, or you can incorporate sautéed onions and garlic for a richer taste. Try tossing in some fresh herbs right before serving for that added burst of flavor!
Classic Lasagna Recipe with Ricotta Cheese for Cozy Family Nights
Ingredients
Equipment
Method
- Cook Noodles: Bring a large pot of salted water to a rolling boil. Immerse the lasagna noodles and cook according to the package instructions, usually around 8-10 minutes, until al dente. Drain and let cool.
- Prepare Meat Sauce: In a skillet, heat olive oil and cook ground beef until browned. Drain fat, stir in marinara sauce, diced tomatoes, and Italian seasoning. Simmer for 10 minutes and season with salt and pepper.
- Make Ricotta Mixture: In a bowl, combine ricotta cheese, egg, and Parmesan. Blend until smooth for layering.
- Assemble Lasagna: Preheat oven to 375°F. In a baking dish, layer meat sauce, noodles, ricotta mixture, and mozzarella. Repeat, ending with noodles topped with sauce and mozzarella.
- Bake: Cover with foil and bake for 25 minutes. Remove foil and bake for an additional 20 minutes until cheese is bubbly and golden.
- Rest and Serve: Let the lasagna sit for 10 minutes, garnish with basil or parsley, and serve.