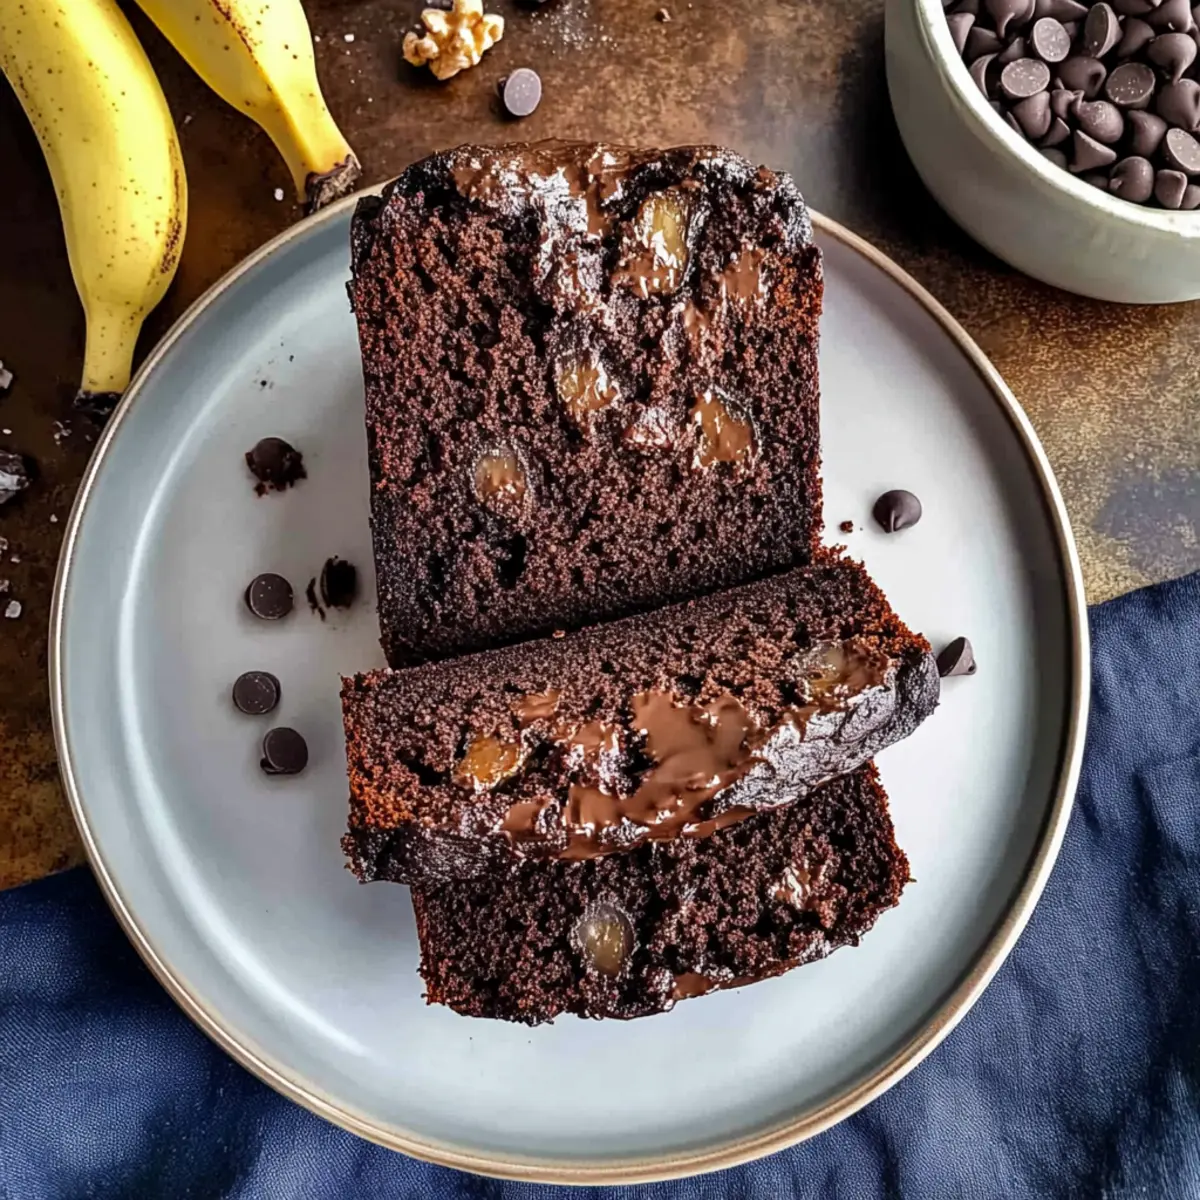
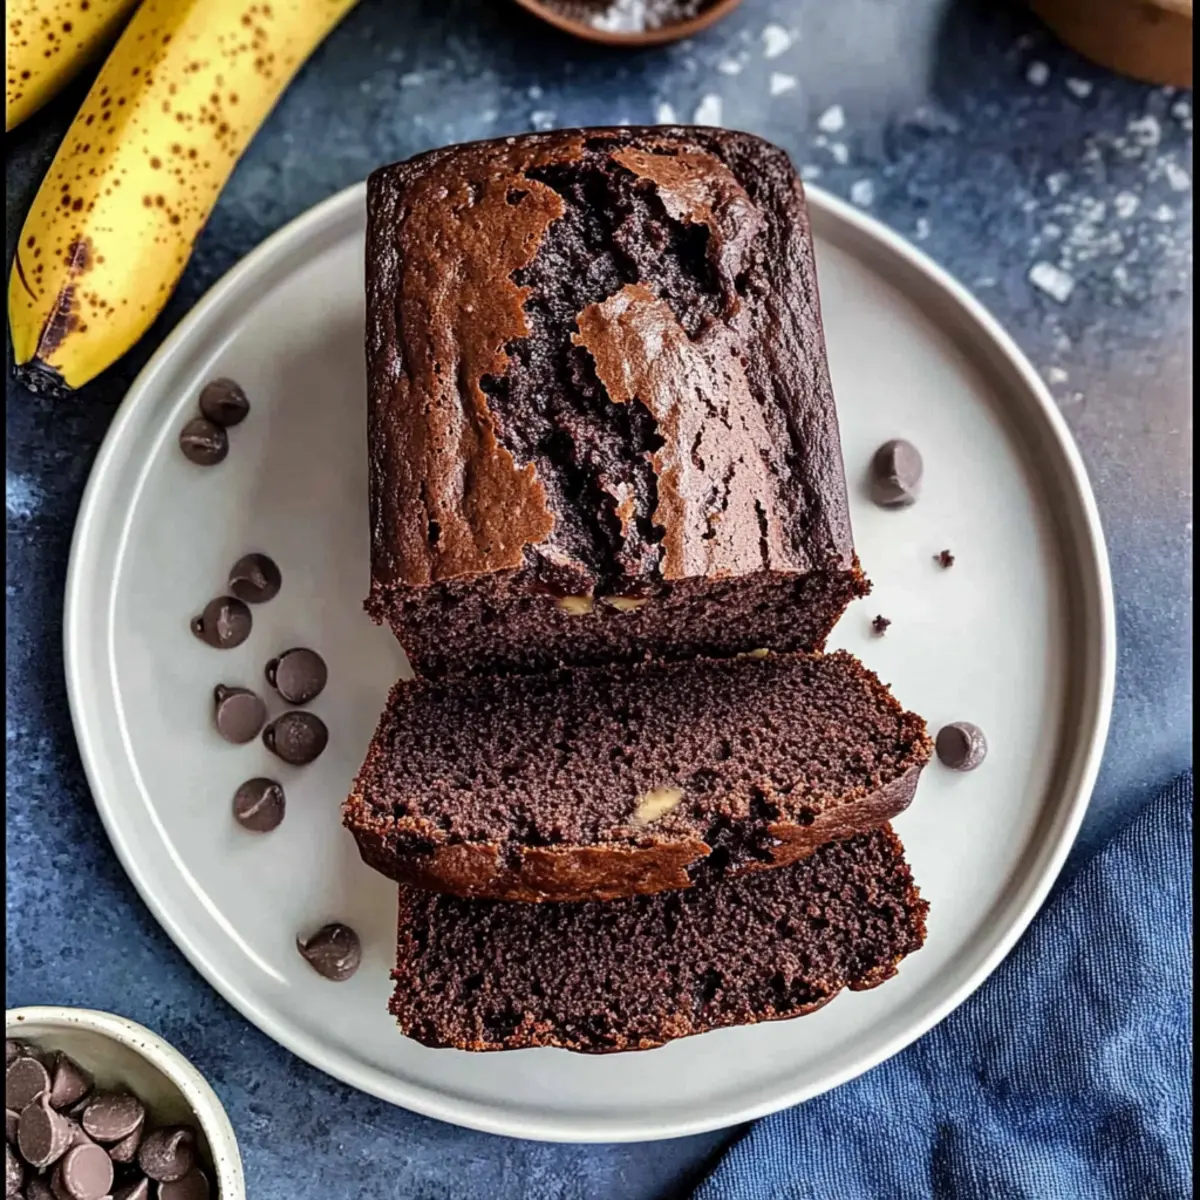
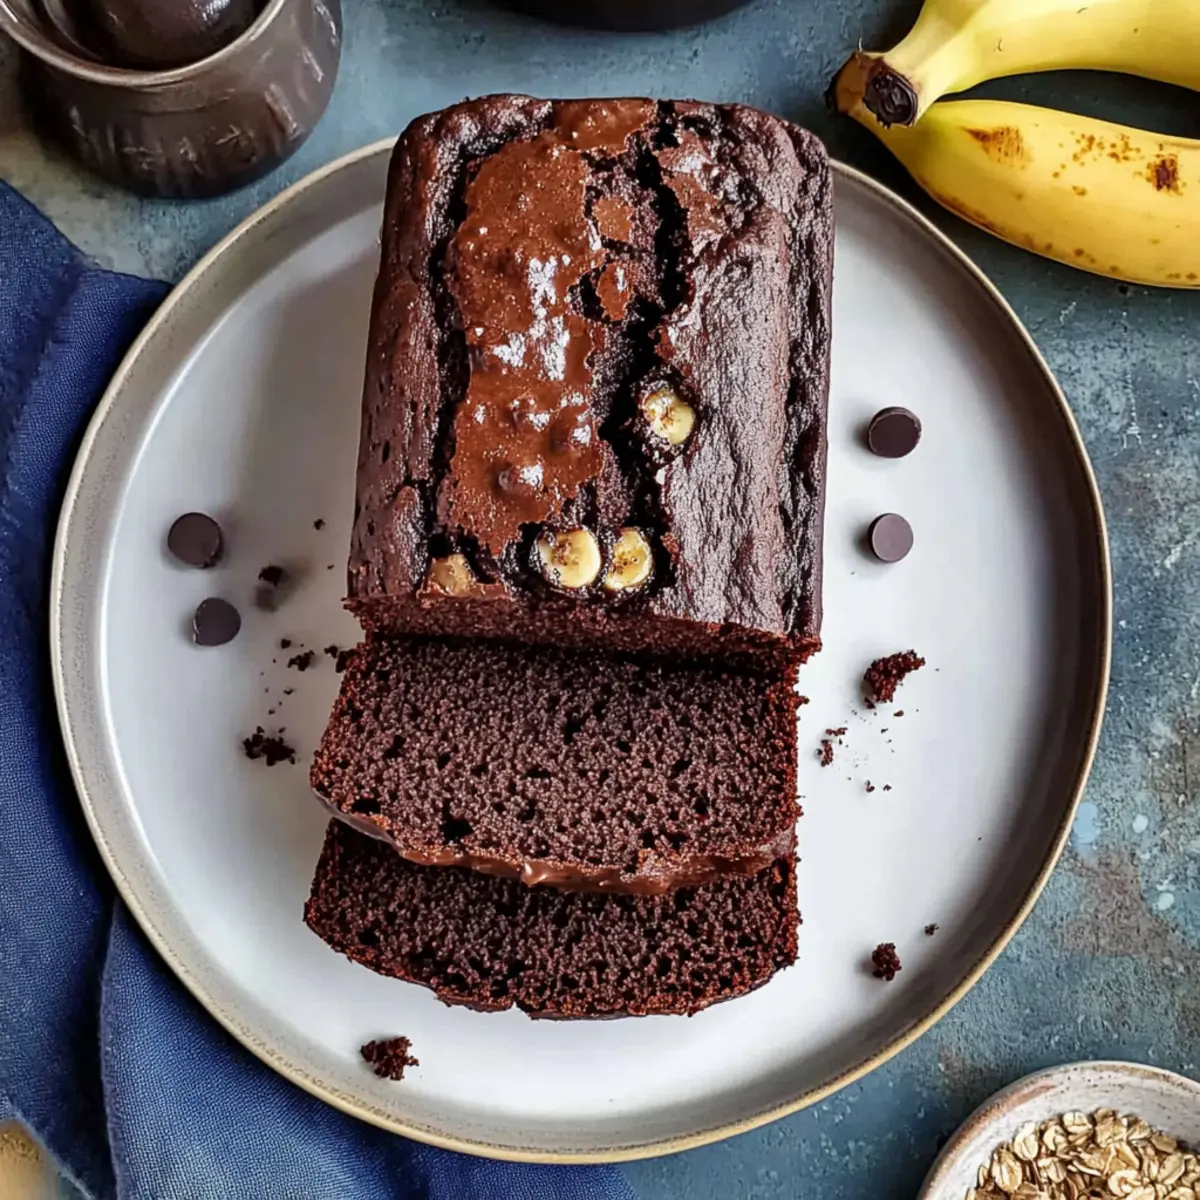
As I bit into a freshly baked slice of Chocolate Espresso Banana Bread, time seemed to freeze around me, transporting me to cozy afternoons of yesteryears spent in my grandmother's kitchen. This delightful creation is the perfect blend of rich chocolate, sweet bananas, and just the right hint of espresso to elevate the flavors. The result is a moist, tender loaf that’s not just incredibly delicious but also a quick and easy solution for using up ripe bananas smiling at you from the countertop. Whether you’re treating yourself to a slice for dessert or serving it up as a savory snack, this recipe is sure to become your new go-to comfort food. Curious about making your kitchen smell like a café while you whip up this scrumptious treat? Let’s dive in!
Why is this Banana Bread So Special?
Moist and Tender: Each slice of this Chocolate Espresso Banana Bread bursts with a rich, soft texture that melts in your mouth. Unique Flavor Combination: The pairing of espresso and chocolate enhances the natural sweetness of bananas, making it truly indulgent. Quick and Easy: Perfect for busy bakers, this recipe can be whipped up in no time—a fantastic use for those overripe bananas! Versatile Options: Customize it by adding nuts or a swirl of peanut butter for extra flavor. Crowd-Pleasing Delight: Serve it warm with butter or whipped cream for an irresistible treat that impresses anyone at your table. If you're looking for more banana inspiration, check out the Breakfast Banana Split to elevate your morning routine!
Chocolate Espresso Banana Bread Ingredients
For the Batter
- All-Purpose Flour – Provides structure; use a bit less if substituting cocoa powder.
- Cocoa Powder – Adds rich chocolate flavor; ensure to sift for better mixing results.
- Baking Soda – Essential leavening agent for proper rise in your banana bread.
- Kosher Salt – Enhances overall flavor; don’t skip, as it balances the sweetness nicely.
- Espresso Powder – Intensifies the chocolate flavor; can substitute with instant coffee if desired.
- Olive Oil – Keeps the bread moist; melted butter can be used but may affect texture.
- Brown Sugar – Contributes sweetness with a hint of molasses; light brown is preferred.
- Granulated Sugar – Additional sweetness; adjust to your taste preference.
- Eggs – Acts as a binding agent; use room temperature eggs for an even mix.
- Vanilla Extract – Adds depth of flavor; pure vanilla extract yields the best results.
- Sour Cream – Increases moisture and richness; Greek yogurt can be used as a substitute.
- Ripe Bananas – Provide natural sweetness and moisture; mash well for even distribution.
- Dark Chocolate Chips – Adds richness; toss in a little flour to prevent sinking in the batter.
- Semi-Sweet Chocolate Chips – Provides additional chocolate flavor; a mix gives more depth.
Optional Topping
- Granulated Sugar (for topping) – Optional; sprinkles can caramelize on banana garnish for added sweetness.
- Banana Slices (for garnish) – Optional; gives visual appeal to your finished loaf, but not necessary.
Dive into baking this Chocolate Espresso Banana Bread, and turn your kitchen into a delightful haven of rich, chocolatey aromas!
Step‑by‑Step Instructions for Chocolate Espresso Banana Bread
Step 1: Preheat and Prepare
Begin by preheating your oven to 350°F (175°C). While it warms, generously grease a 9x5-inch loaf pan with olive oil or non-stick spray to ensure your Chocolate Espresso Banana Bread releases seamlessly once baked. A well-prepared pan is vital for a beautiful loaf shape, so take your time with this step.
Step 2: Mix the Dry Ingredients
In a large mixing bowl, whisk together 2 cups of all-purpose flour, ⅓ cup of cocoa powder, 1 teaspoon of baking soda, ½ teaspoon of kosher salt, and 2 teaspoons of espresso powder. Sifting the cocoa powder before adding helps eliminate lumps and ensures even mixing. This dry mix sets the foundation for your bread, enhancing that delicious chocolate flavor.
Step 3: Combine the Wet Ingredients
Using a stand mixer, combine ½ cup of olive oil, ½ cup of brown sugar, and ½ cup of granulated sugar. Mix on medium speed for about 2-3 minutes until smooth and creamy. Make sure to scrape down the sides of the bowl occasionally for even mixing. The amalgamation of sugars and oil creates a luscious base that keeps your Chocolate Espresso Banana Bread moist.
Step 4: Add the Eggs
Add 2 room temperature eggs, one at a time, to the mixture, beating well after each addition. This process helps bind the ingredients together and enhances the bread's fluffiness. Continue mixing for 1-2 minutes until you see a homogeneous batter forming, glowing with the richness of your wet ingredients.
Step 5: Incorporate Flavorings
Pour in 1 teaspoon of pure vanilla extract and ½ cup of sour cream into the mixture. Follow this with 2-3 ripe bananas, mashed well to achieve a smooth consistency. Mix on low until combined, creating a rich, creamy base infused with the delightful essences of banana and vanilla—key components of your Chocolate Espresso Banana Bread.
Step 6: Combine Wet and Dry Ingredients
Gradually add the dry ingredient mixture to the wet ingredients, mixing gently until just combined. This step is crucial—overmixing can lead to a tough texture, so stop mixing as soon as you see no dry flour. The batter should be slightly lumpy and thick, indicating the perfect blend for your decadent bread.
Step 7: Add Chocolate Chips
Toss ½ cup of dark chocolate chips and ½ cup of semi-sweet chocolate chips with a tablespoon of flour before folding them into the batter. Coating the chocolate chips helps prevent them from sinking during baking. Gently fold the chips into your batter, distributing them evenly for delightful bursts of chocolate in each slice of your finished bread.
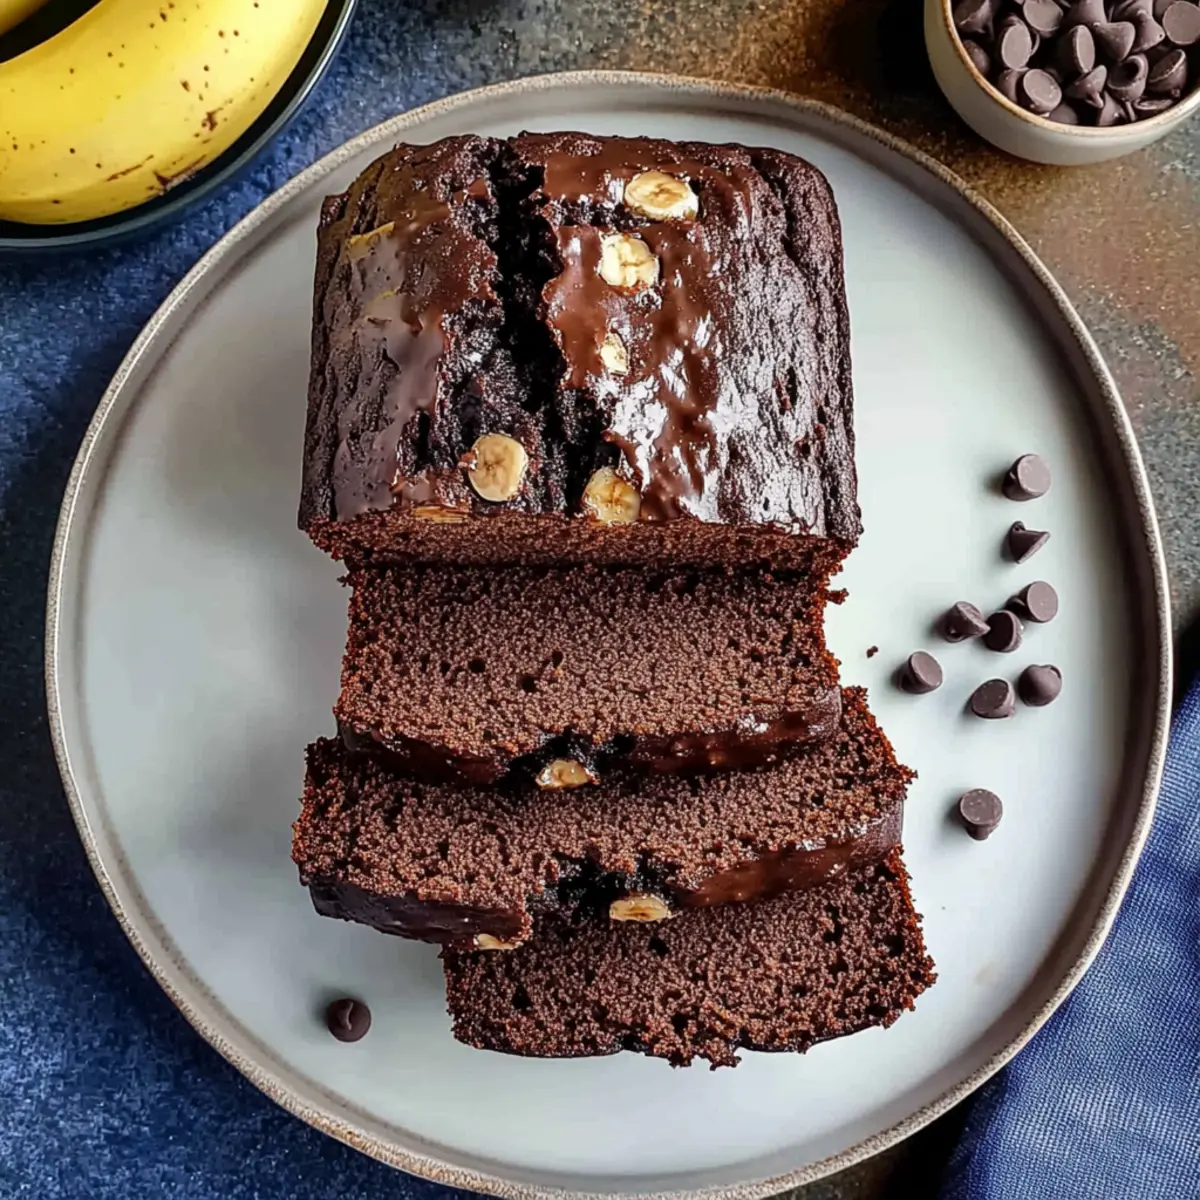
Step 8: Pour and Prepare for Baking
Pour the batter into your prepared loaf pan, smoothing the top with a spatula for an even bake. If desired, sprinkle reserved chocolate chips on top for a chocolatey crust, and add banana slices for a decorative touch. This will not only add sweetness but also an appealing presentation to your Chocolate Espresso Banana Bread.
Step 9: Bake to Perfection
Place the loaf pan in the preheated oven and bake for 55-65 minutes. Keep an eye on it—when ready, a toothpick inserted into the center should emerge clean or with a few moist crumbs. This visual cue ensures your Chocolate Espresso Banana Bread is baked to moist perfection, bursting with rich flavors.
Step 10: Cool and Enjoy
Once baked, remove the pan from the oven and allow the bread to cool in the pan for about 20 minutes. Carefully transfer it to a wire rack to cool completely before slicing. This cooling step helps the flavors to deepen and will make each slice a warm, tender indulgence, perfect for enjoying with your favorite drink or spread.
Chocolate Espresso Banana Bread Variations
Feel free to personalize this delicious recipe and let your creativity shine through!
- Nutty Delight: Replace chocolate chips with walnuts or pecans for a delightful crunch that contrasts beautifully with the soft bread.
- Peanut Butter Swirl: Add dollops of peanut butter into the batter before baking for a creamier texture and flavor explosion.
- Gluten-Free Option: Swap all-purpose flour with a gluten-free flour blend, ensuring everyone can enjoy this indulgent treat.
- Fruit Twist: Incorporate blueberries or raspberries for a fruity surprise in each bite, adding freshness alongside the rich chocolate.
- Caramel Drizzle: Top with a homemade caramel sauce after baking for an extra layer of sweetness and sophistication.
- Spicy Kick: Integrate a pinch of cayenne or cinnamon for a warm heat that elevates the chocolate and espresso flavors.
- Dairy-Free Version: Substitute sour cream with almond milk yogurt to create a vegan-friendly, moist loaf without compromising taste.
- Double Chocolate: Increase cocoa powder or add in extra dark chocolate chips for chocolate lovers who crave an even richer experience!
Dive into these variations and explore flavors that will make your homemade Chocolate Espresso Banana Bread even more delightful! If you’re looking for something refreshing, try pairing it with the delightful Breakfast Banana Split.
Expert Tips for Chocolate Espresso Banana Bread
-
Don’t Overmix: Stop mixing as soon as the dry ingredients are just combined. Overmixing can make your Chocolate Espresso Banana Bread dense and tough.
-
Choose Ripe Bananas: Ensure your bananas are fully ripe for maximum sweetness and moisture. Overripe bananas are the secret to a rich flavor.
-
Puddle Test for Moisture: If using frozen bananas, thaw and drain excess moisture before mashing. This prevents sogginess in your finished bread.
-
Use the Right Tools: An electric mixer helps achieve consistent blending and aeration. It can make mixing your batter smooth and effortless.
-
Check Ovens Often: Baking times may vary, so check for doneness starting around the 55-minute mark. A toothpick should come out clean or with a few moist crumbs.
-
Add Textures: For an extra crunch, consider adding chopped nuts or a swirl of peanut butter. This not only varies the flavor but also enhances the texture of your Chocolate Espresso Banana Bread.
How to Store and Freeze Chocolate Espresso Banana Bread
Counter: Wrap tightly in plastic wrap or aluminum foil; store at room temperature for up to 3 days. This is perfect for enjoying that fresh-baked flavor!
Fridge: For longer preservation, refrigerate wrapped banana bread for up to 5 days. Just allow it to come to room temperature before slicing for the best taste.
Freezer: To keep your Chocolate Espresso Banana Bread fresh for up to 3 months, wrap tightly in plastic wrap and then aluminum foil. Thaw in the fridge overnight before enjoying!
Reheating: To reheat, place slices in the microwave for about 10-15 seconds or warm in a toaster oven for a golden crust while keeping the inside moist. Enjoy your delicious treat!
What to Serve with Chocolate Espresso Banana Bread
Indulging in a slice of Chocolate Espresso Banana Bread is just the beginning of your delightful dessert experience; let’s explore perfect pairings to elevate your meal!
-
Whipped Cream: A dollop of fresh whipped cream adds a light, airy contrast to the rich bread, making each bite a heavenly treat.
-
Coffee or Espresso: A warm cup of coffee or espresso complements the coffee notes in the bread, enhancing the overall chocolate experience.
-
Vanilla Ice Cream: Creamy vanilla ice cream provides a luscious cool contrast to the warm, moist banana bread, creating an indulgent treat.
-
Fruit Salad: A refreshing fruit salad offers bright, fresh flavors that balance the sweetness of the bread, making for a vibrant dessert plate.
-
Nutty Granola: A sprinkle of crunchy granola brings texture and nuttiness, creating a delightful contrast with the soft, tender banana bread.
-
Chocolate Sauce Drizzle: For chocolate lovers, a drizzle of chocolate sauce elevates the dessert experience, making it a rich chocolate lover's dream.
-
Hazelnut Spread: Spread a layer of hazelnut chocolate spread on warm slices for a luxurious, nutty enhancement to the chocolate flavor.
-
Decadent Dark Chocolate: Pair with a piece of dark chocolate for a sophisticated finish, welcoming that intense chocolate profile to complement the bread.
-
Sparkling Water: A bubbly glass of sparkling water helps cleanse the palate, making your dessert an even more refreshing experience after the rich sweetness.
-
Chai Latte: The spiced warmth of a chai latte offers a wonderful aromatic companion to the chocolate espresso flavors, creating a cozy vibe.
Make Ahead Options
Preparing this Chocolate Espresso Banana Bread ahead of time is a savvy way to simplify your baking routine! You can mix the dry ingredients and store them in an airtight container for up to 3 days. Additionally, the wet ingredients, including the mashed bananas and wet mix, can be refrigerated up to 24 hours before baking—just make sure to bring them to room temperature before combining. To maintain the bread's moistness, avoid overmixing when combining dry and wet ingredients. When you’re ready to enjoy your delicious bread, simply follow the baking instructions, and you'll have a comforting treat with minimal effort!
Chocolate Espresso Banana Bread Recipe FAQs
How do I choose the best ripe bananas for this recipe?
Absolutely! Look for bananas with a yellow peel that are speckled with brown spots. This indicates they are ripe and at their sweetest, which is essential for achieving the moist texture and rich flavor in your Chocolate Espresso Banana Bread.
What’s the best way to store leftovers?
You can wrap your Chocolate Espresso Banana Bread tightly in plastic wrap or aluminum foil and store it at room temperature for up to 3 days for optimal freshness. If you’d like to keep it longer, refrigerate it for up to 5 days. Just make sure to allow it to come to room temperature before slicing to enjoy the best texture!
Can I freeze the Chocolate Espresso Banana Bread?
Yes! To freeze your chocolatey delight, wrap the loaf tightly in plastic wrap followed by aluminum foil to prevent freezer burn. It will stay fresh for up to 3 months. When you're ready to indulge, simply thaw it in the fridge overnight, or enjoy it warm by microwaving slices for about 10-15 seconds.
What should I do if my banana bread is too dense?
Very! If your Chocolate Espresso Banana Bread turns out too dense, it might be due to overmixing the batter or using too much flour. Ensure you mix until just combined; stop as soon as you see no dry ingredients. Measure flour accurately, and consider scooping it gently with a spoon for the best results. Achieving a light, moist texture is all about the delicate balance!
Are there any allergy considerations for this recipe?
Yes! If you are serving this Chocolate Espresso Banana Bread to family or friends with allergies, be aware of the ingredients like gluten (from the flour) and dairy (from the sour cream). You could substitute gluten-free flour to accommodate those with gluten sensitivities and use almond milk or coconut yogurt if dairy is a concern. Always check labels for allergens in chocolate chips as well!
Moist Chocolate Espresso Banana Bread for Ultimate Indulgence
Ingredients
Equipment
Method
- Preheat your oven to 350°F (175°C) and grease a 9x5-inch loaf pan with olive oil or non-stick spray.
- In a mixing bowl, whisk together all-purpose flour, cocoa powder, baking soda, kosher salt, and espresso powder.
- In a stand mixer, combine olive oil, brown sugar, and granulated sugar. Mix until smooth and creamy.
- Beat in the eggs, one at a time, ensuring each is well mixed before adding the next.
- Add vanilla extract and sour cream, followed by mashed bananas, and mix until combined.
- Gradually add the dry ingredients to the wet mixture, mixing gently until just combined.
- Fold in the dark chocolate chips and semi-sweet chocolate chips that have been dusted with flour.
- Pour the batter into the prepared loaf pan and smooth the top. Optionally, sprinkle chocolate chips and banana slices on top.
- Bake in the oven for 55-65 minutes, or until a toothpick inserted into the center comes out clean.
- Allow the bread to cool in the pan for about 20 minutes before transferring it to a wire rack to cool completely.