The aroma of sun-soaked beaches and tropical fruits enveloped me as I took my first bite of the Decadent Hawaiian Guava Cake. There’s something undeniably magical about this dessert, with its luscious guava essence paired with hints of creamy coconut that transport you straight to paradise. What I love most is how effortlessly this cake comes together—ready in just an hour, it's perfect for spontaneous gatherings and impressive enough to wow your guests. Plus, with an easy gluten-free option, everyone can enjoy this slice of heaven! Are you ready to dive into this tropical delight? Let’s get baking!
Why is Hawaiian Guava Cake a Must-Try?
Tropical Escape: This cake brings the flavors of a beach vacation straight to your kitchen with its guava and coconut notes.
Effortless Preparation: In just an hour, you can whip up this delightful dessert, making it perfect for last-minute celebrations or cozy family dinners.
Gluten-Free Potential: With easy substitutions, everyone can indulge in this cake, catering to gluten-sensitive friends and family.
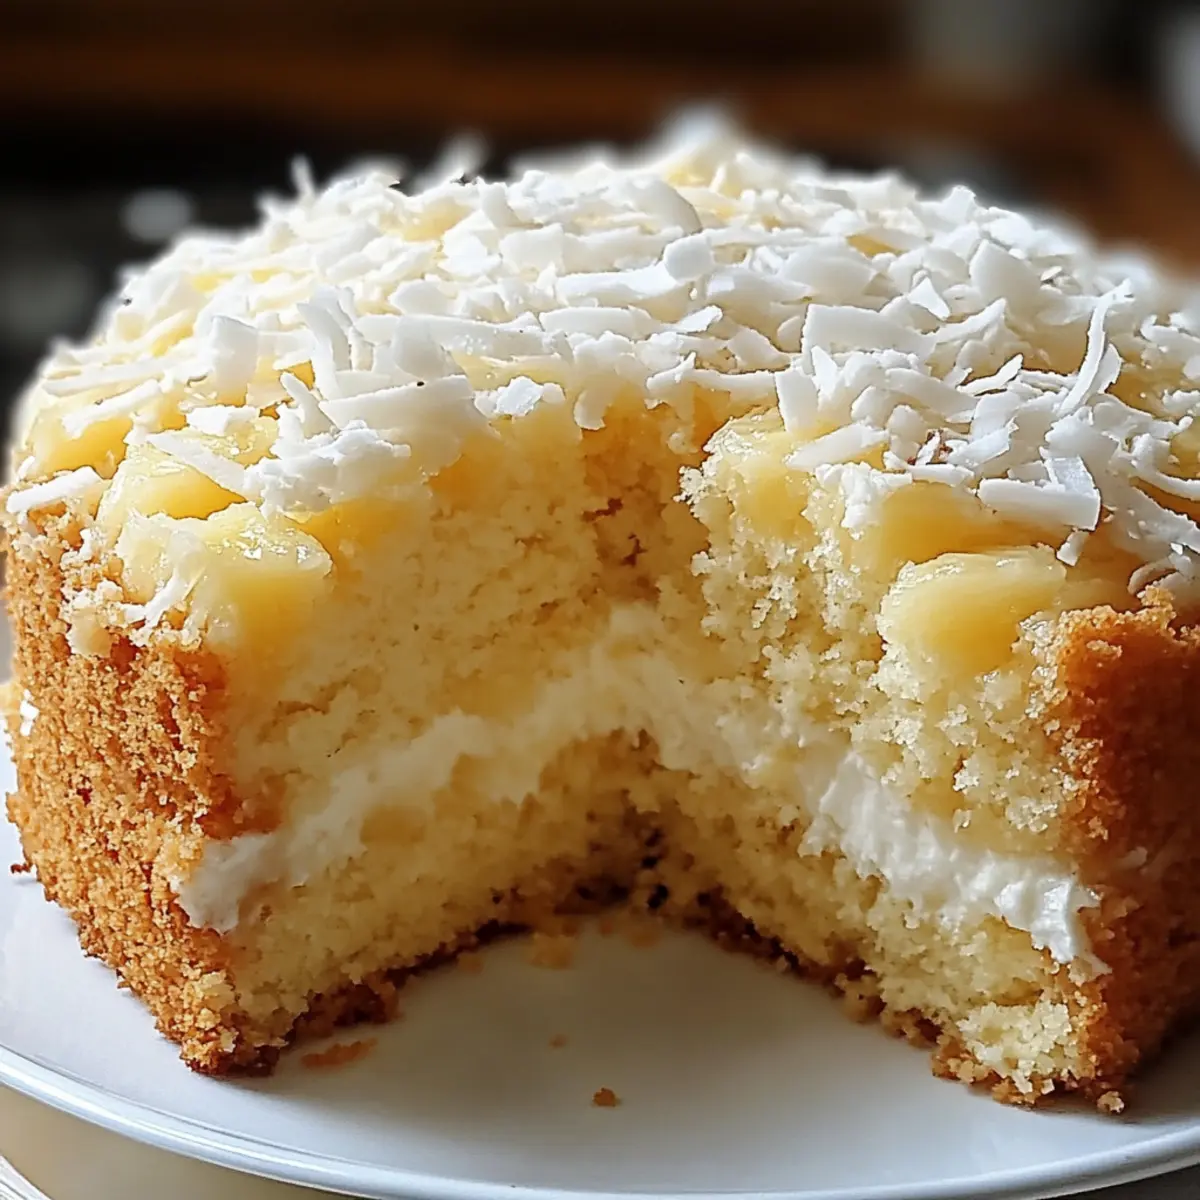
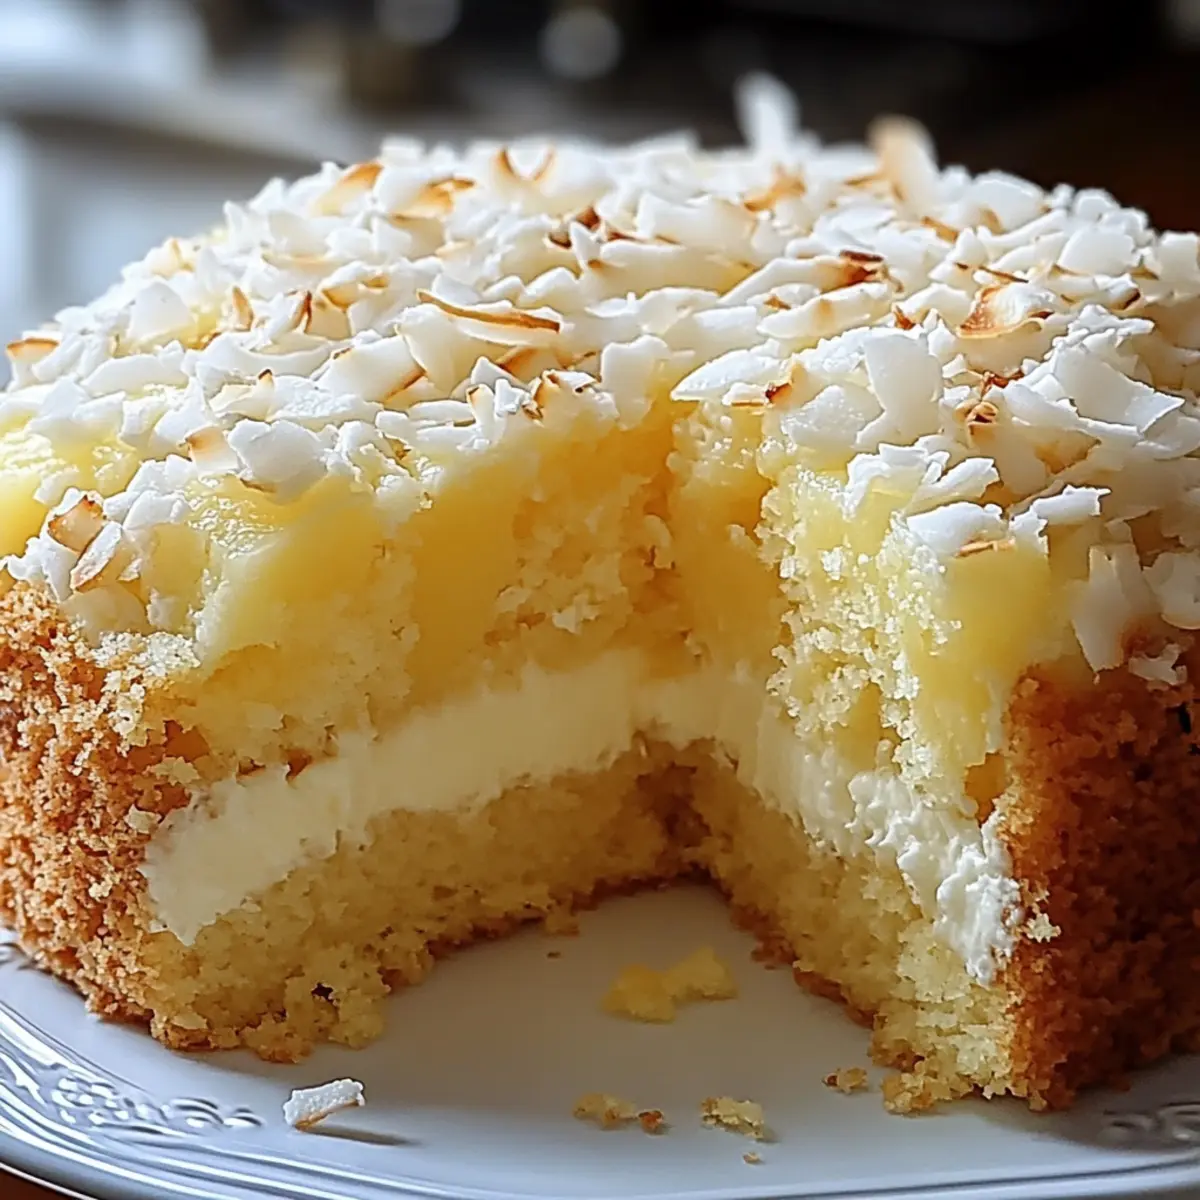
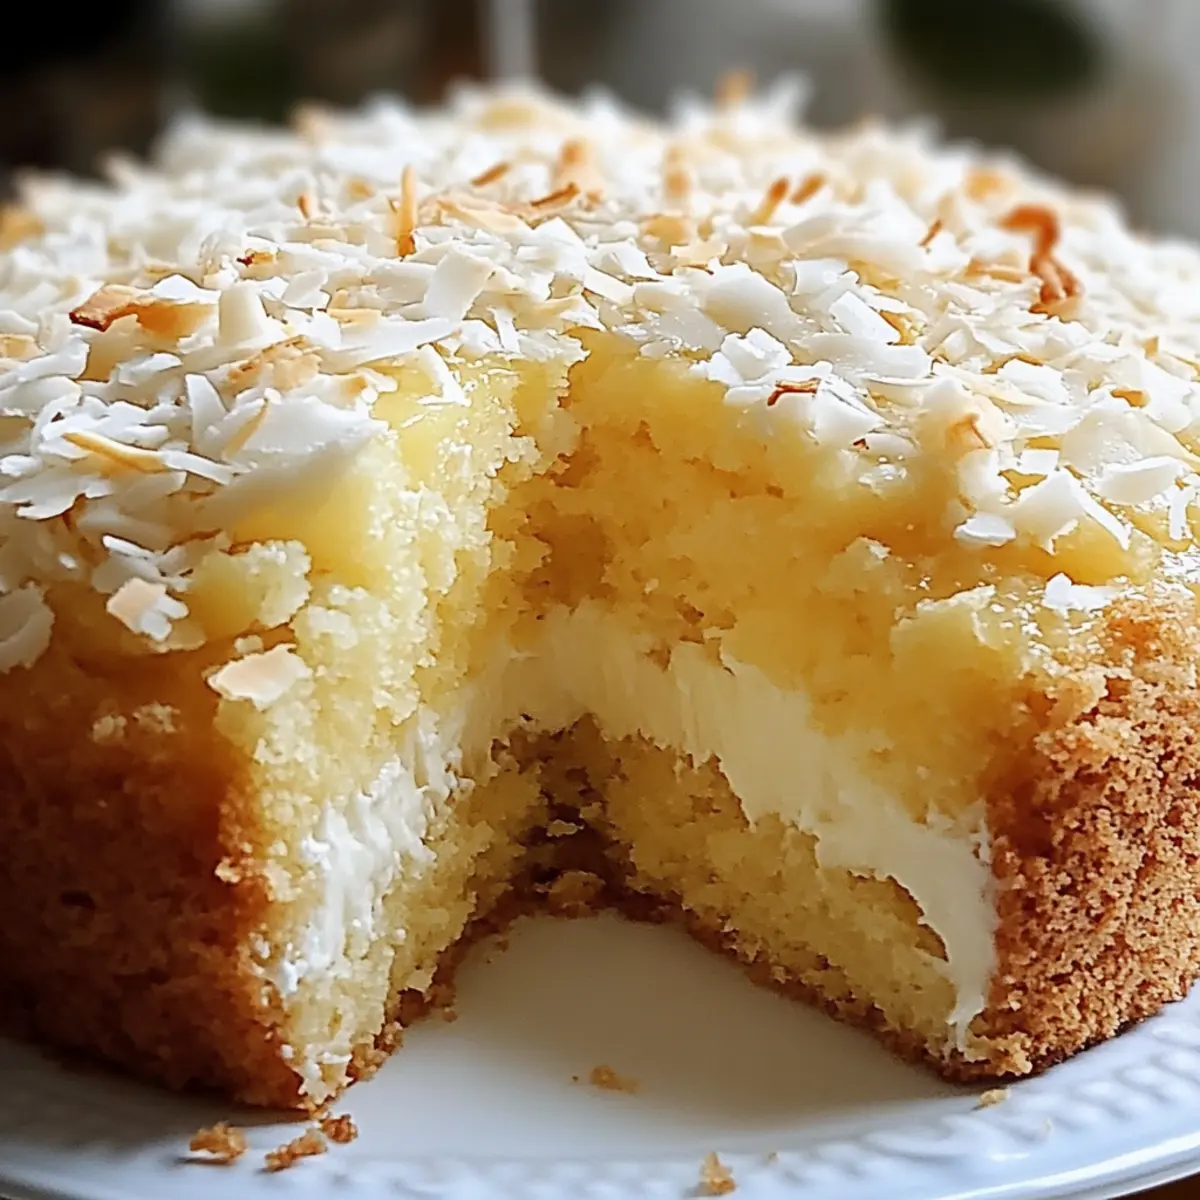
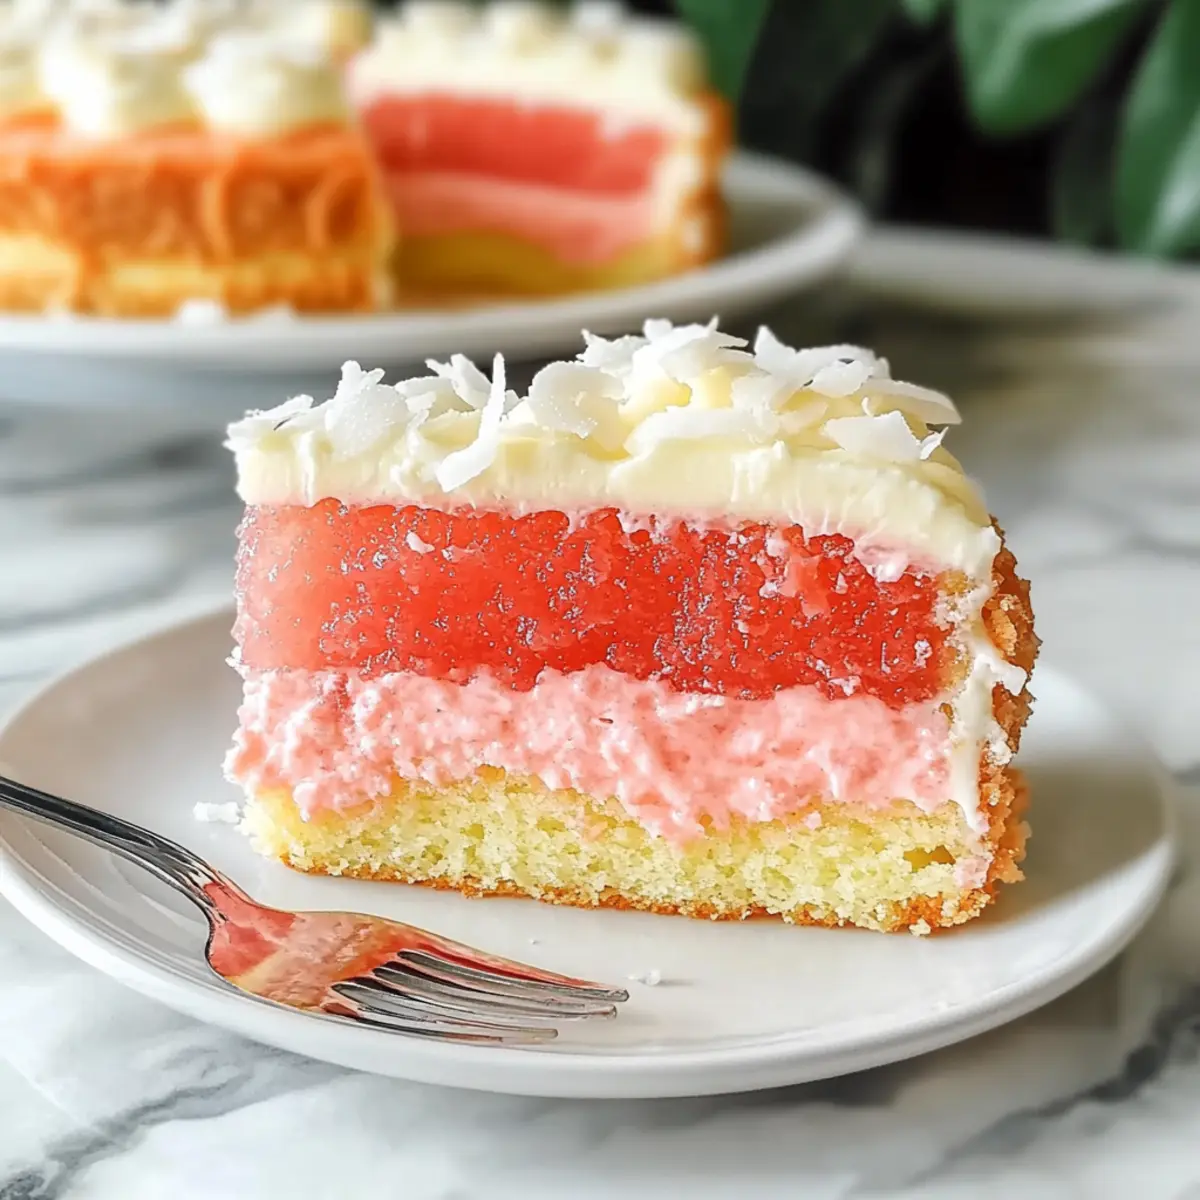
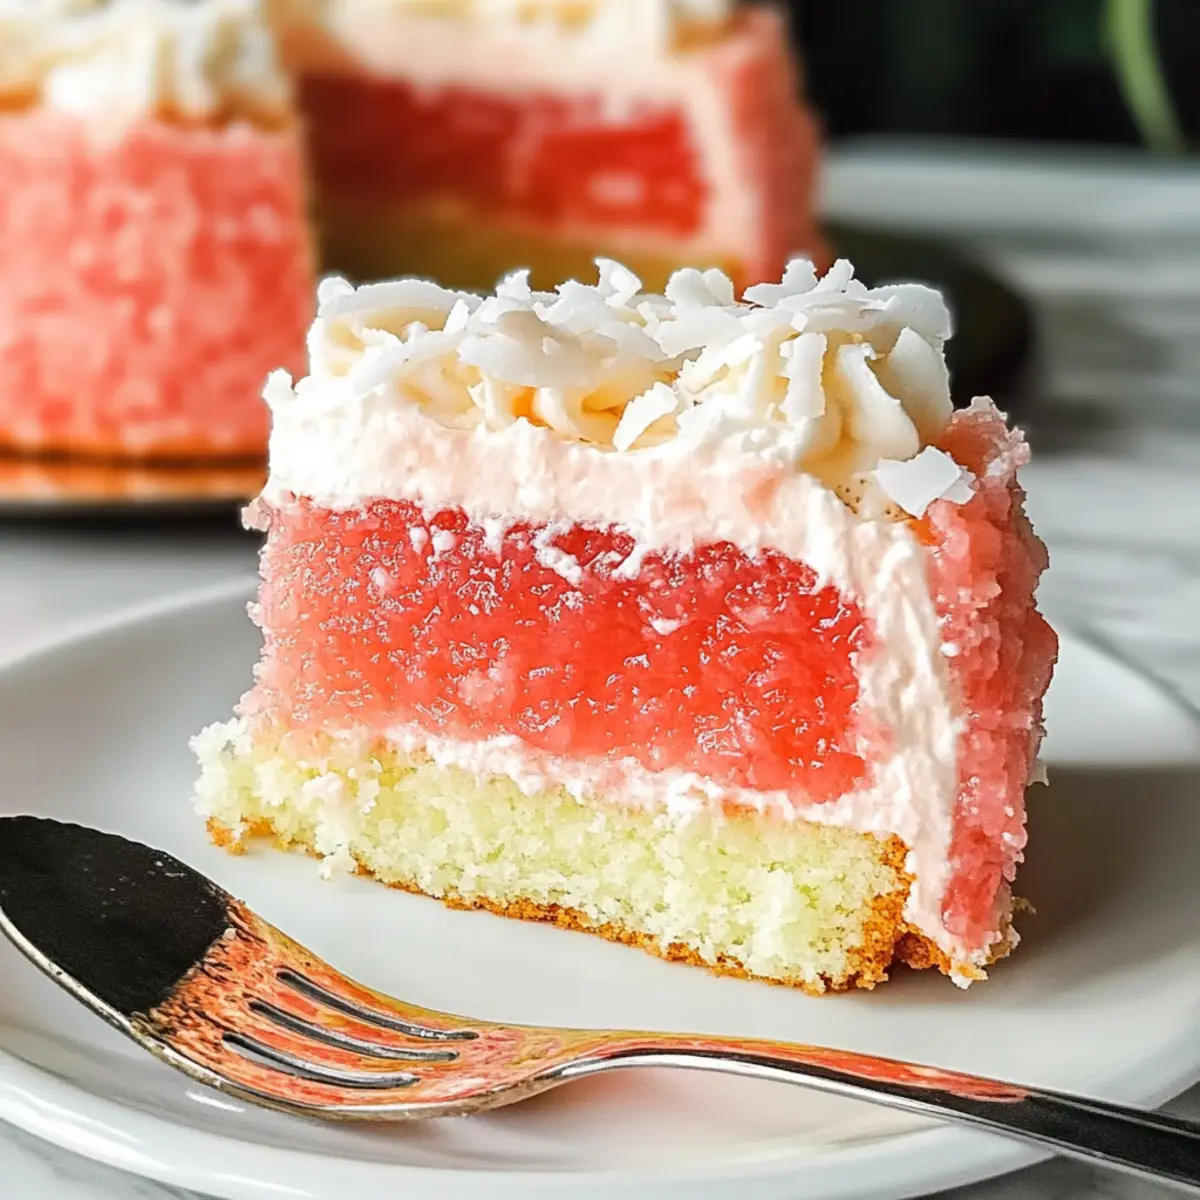
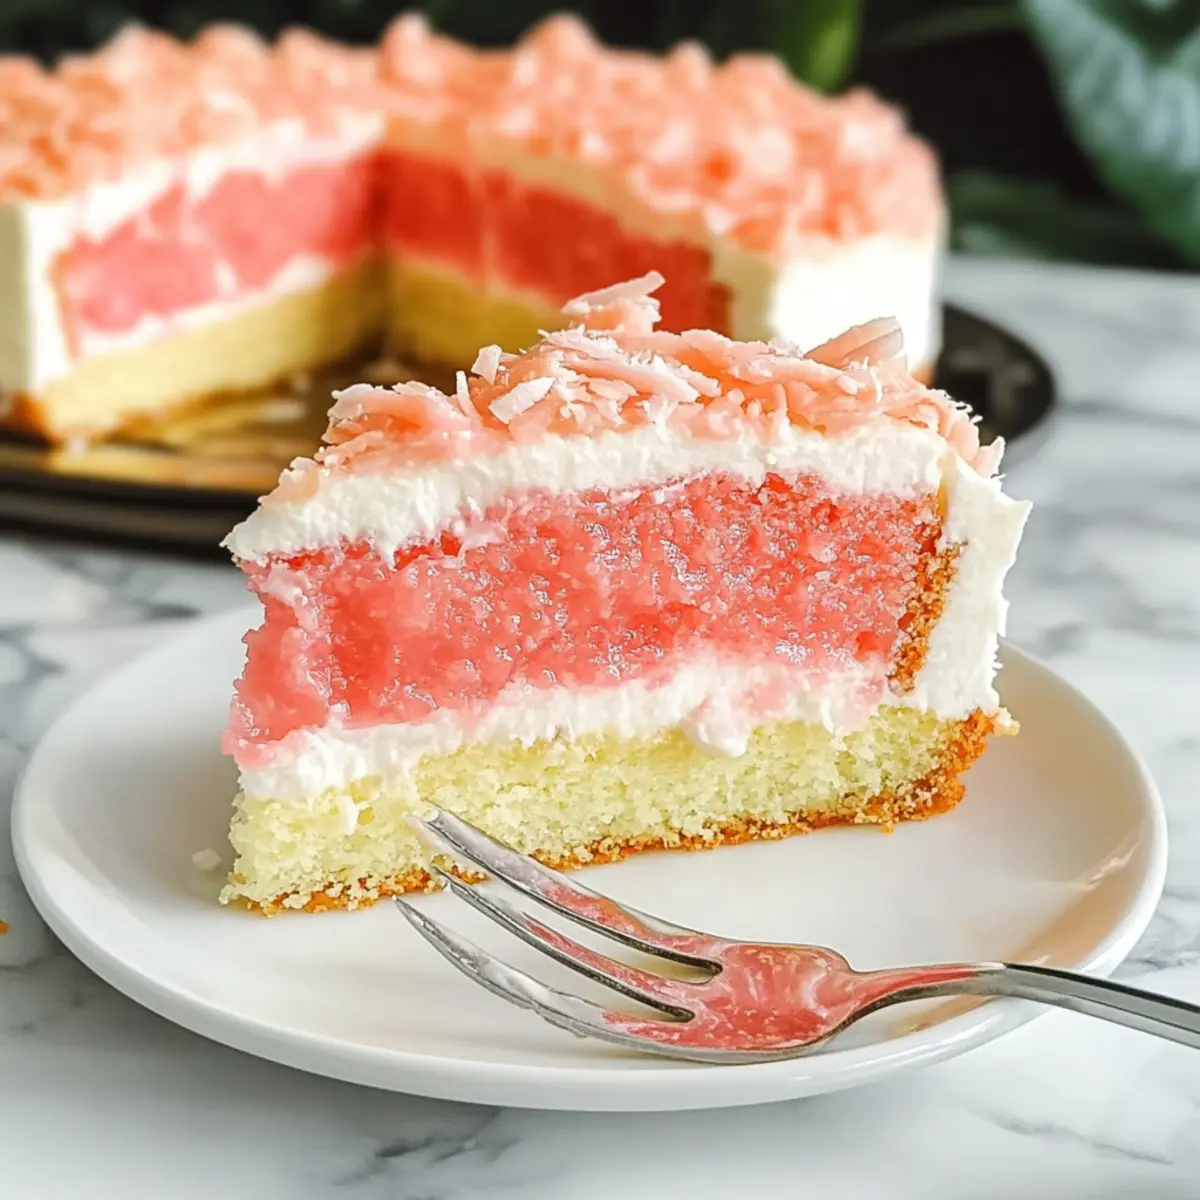
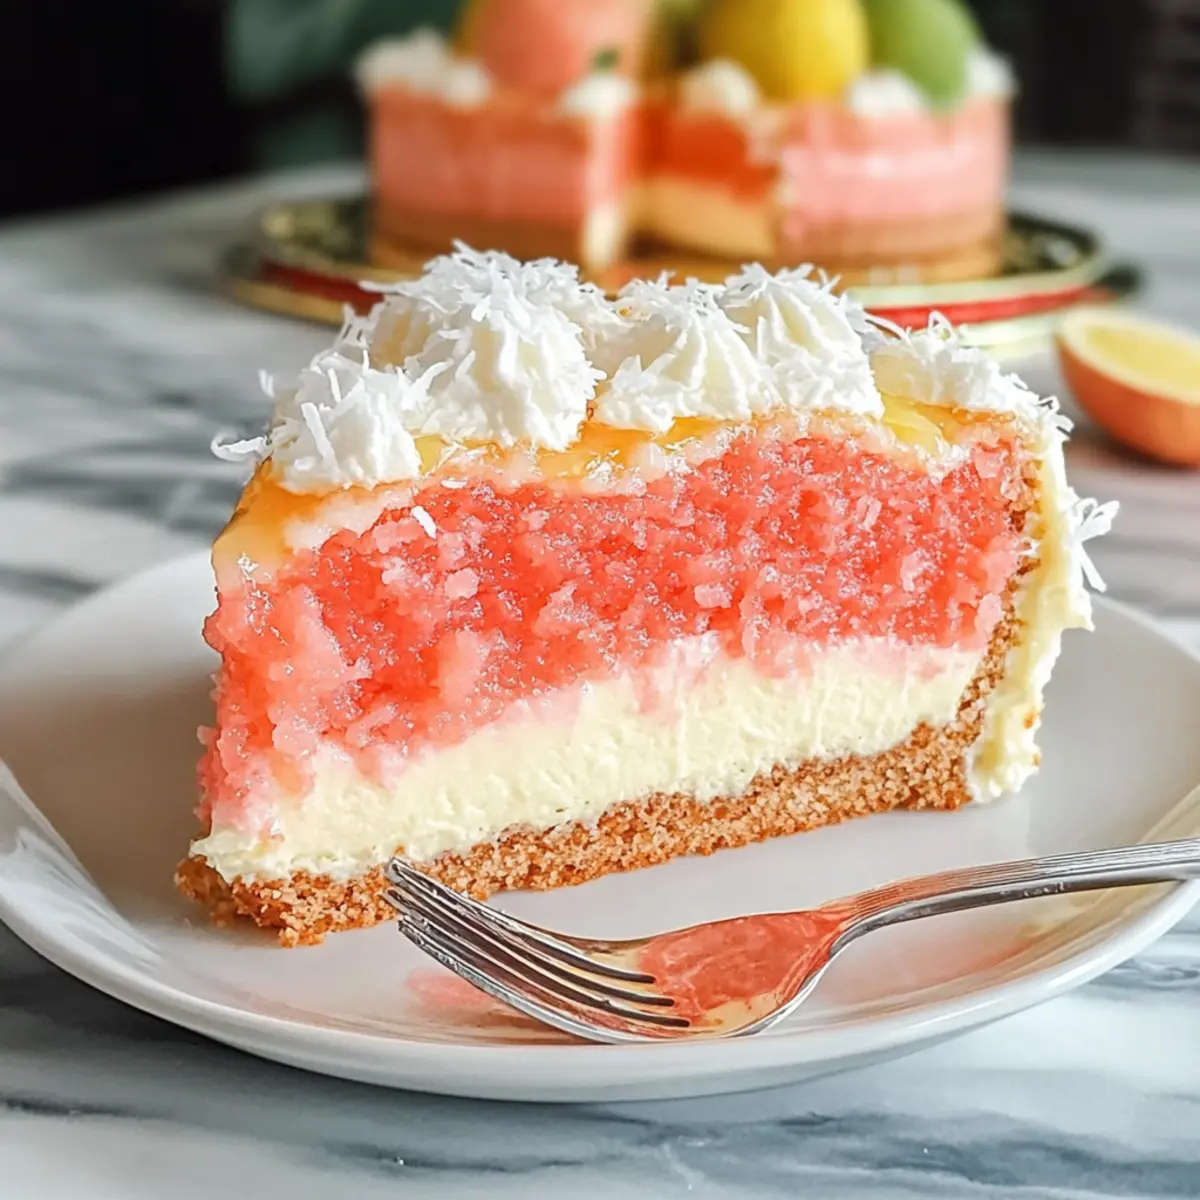
Impressive Presentation: The glossy guava glaze and fluffy cream cheese layer make it a showstopper at any gathering, leaving guests asking for seconds.
Versatile Pairing: Pair it with tropical fruit salad or a scoop of vanilla ice cream for a balanced meal that evokes summer vibes year-round.
Decadent Hawaiian Guava Cake Ingredients
For the Cake
• Strawberry Cake Mix – This serves as the delightful base for the cake, and you can easily substitute it with a gluten-free cake mix for a gluten-free option.
• Guava Nectar or Guava Juice – This provides the signature tropical flavor that makes this cake stand out; consider using fresh guava juice for an even more authentic taste.
• Large Eggs – These add necessary moisture and act as a binder; room temperature eggs help achieve a better cake texture.
• Coconut Oil – Enhances the cake’s moisture with a lovely coconut hint; feel free to replace it with vegetable oil if you prefer.
For the Cream Cheese Layer
• Cream Cheese – This creates the rich, smooth layer on the cake; make sure it's at room temperature for the best mixing. You can substitute it with dairy-free cream cheese if needed.
• Granulated Sugar – Sweetens the cream cheese layer perfectly; consider using brown sugar for a richer caramel flavor.
• Vanilla Extract – Adds aromatic sweetness; almond extract is a unique alternative to try.
• Cool Whip – This gives a fluffy texture to the cream cheese layer; opt for a dairy-free whipped topping as a substitute if desired.
For the Guava Gel
• Cornstarch – Thickens the guava gel for a glossy finish; while there's no direct substitute, arrowroot can work as an alternative.
• Water – Used for making the slurry to thicken the gel.
For Garnishing
• Sweetened Coconut Flakes – These add a delightful tropical touch to the finished cake; if you're looking for less sweetness, unsweetened coconut can be a great substitute.
Embrace the tropical flavors and effortless preparation of this Decadent Hawaiian Guava Cake, and bring a slice of sunny paradise to your table!
Step‑by‑Step Instructions for Decadent Hawaiian Guava Cake
Step 1: Preheat the Oven
Preheat your oven to 350°F (175°C) and prepare a 13x9-inch baking dish by coating it generously with vegetable spray. This will ensure your Decadent Hawaiian Guava Cake doesn’t stick and comes out smoothly after baking. Set the prepared dish aside as we mix the cake batter.
Step 2: Mix the Batter
In a large mixing bowl, combine the strawberry cake mix, guava juice, large eggs, and melted coconut oil. Using a mixer, blend on low speed for about 30 seconds to combine the ingredients without creating a mess, then increase the speed to medium-high and mix for 2 minutes until you achieve a smooth and slightly airy batter.
Step 3: Bake the Cake
Pour the batter into the prepared baking dish, spreading it evenly. Place the dish in the preheated oven and bake for 24 to 26 minutes. Keep an eye on the cake; it’s done when the top is light golden and a toothpick inserted into the center comes out clean or with just a few crumbs attached.
Step 4: Cool the Cake
Once baked, remove the cake from the oven and let it cool completely in the baking dish on a wire rack. This cooling step is crucial—it allows the flavors to settle and prepares the cake for the creamy topping we’ll add next, ensuring a delightful texture.
Step 5: Prepare the Cream Cheese Layer
While the cake cools, beat the cream cheese in a medium bowl until it's fluffy and smooth. Gradually mix in the granulated sugar and vanilla extract. Once combined, gently fold in the Cool Whip until everything is well incorporated and the mixture is light and airy. Set aside in the refrigerator to firm up slightly.
Step 6: Make the Guava Gel
In a small saucepan, heat the guava juice and a bit of sugar over medium heat until it reaches a gentle boil. Meanwhile, mix cornstarch with water in a small bowl to create a slurry. Once boiling, add the slurry into the pan, stirring continuously until the mixture thickens and becomes glossy—this takes about 2-3 minutes.
Step 7: Cool the Guava Gel
Remove the thickened guava gel from heat and transfer it to a bowl. Let it cool at room temperature before placing it in the refrigerator. Cooling will help it set further, allowing for a beautiful glaze on top of your Decadent Hawaiian Guava Cake.
Step 8: Assemble the Cake
Once the cake has cooled completely, spread the cream cheese mixture evenly over the top of the cake. Next, pour the cooled guava gel over the cream cheese layer, spreading it carefully to create a beautiful glossy finish.
Step 9: Chill Before Serving
Refrigerate the assembled cake for at least 1 hour to allow the flavors to meld together and the layers to set. This chilling step enhances the cake's overall taste and makes it easier to slice when you’re ready to serve.
Step 10: Garnish and Serve
Before serving, sprinkle sweetened coconut flakes on top of the cake for an added tropical touch. Slice the cake into squares and serve chilled, reveling in the flavors of your Decadent Hawaiian Guava Cake that’s sure to impress family and friends!
Decadent Hawaiian Guava Cake Variations
Feel free to customize this delightful cake to suit your tastes and dietary needs while enjoying its incredible tropical essence!
-
Gluten-Free: Substitute with a gluten-free cake mix and consider using gluten-free cream cheese for a completely gluten-free treat. This allows everyone to savor the magic of the cake without worry.
-
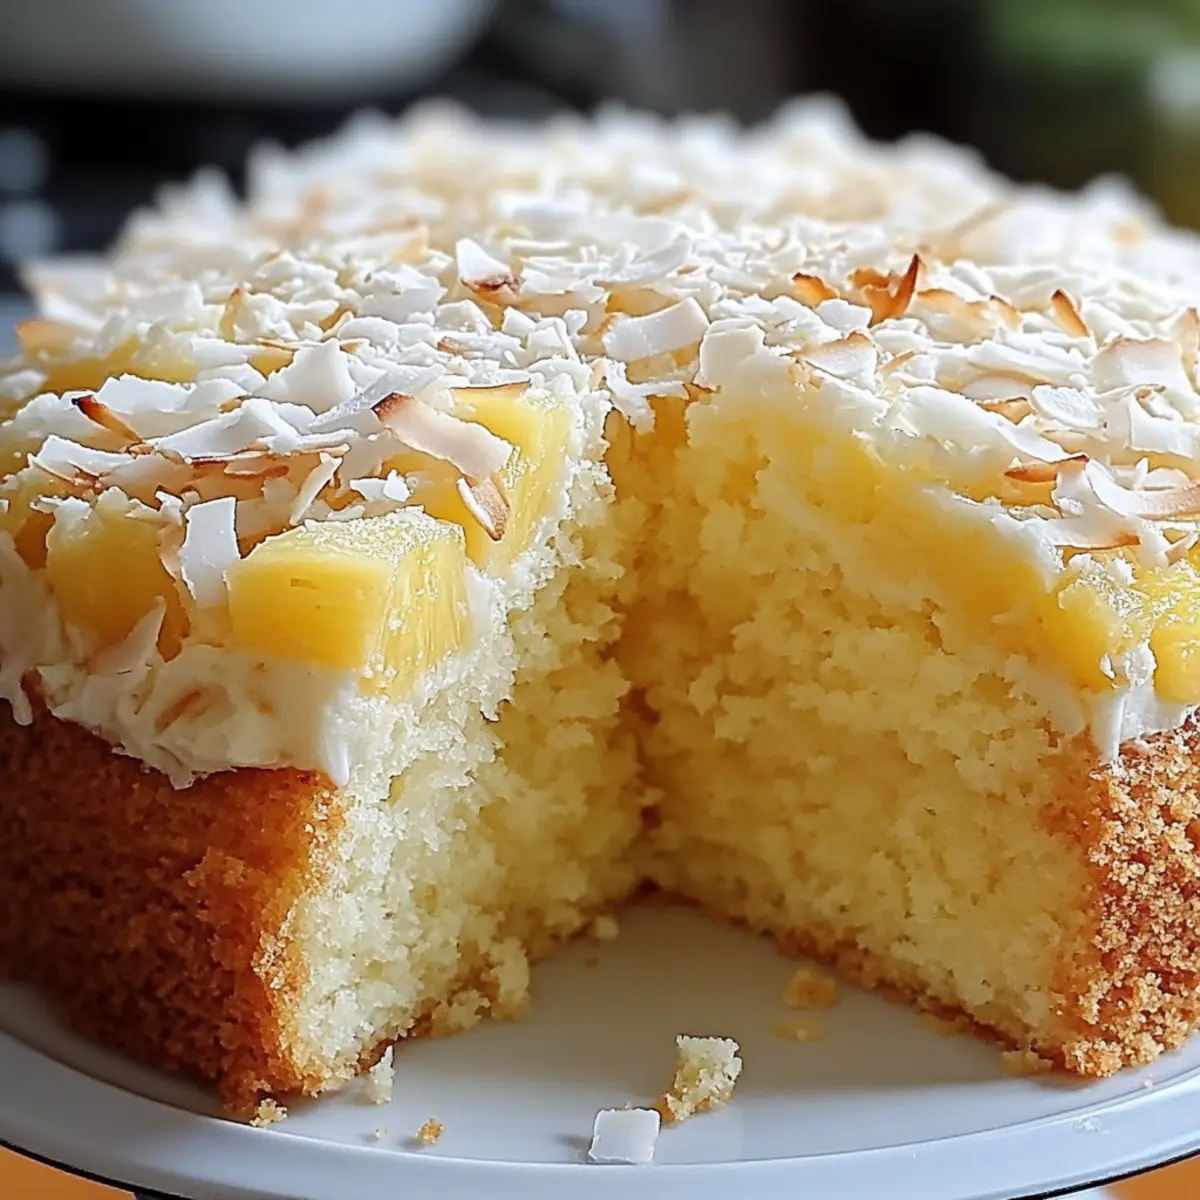
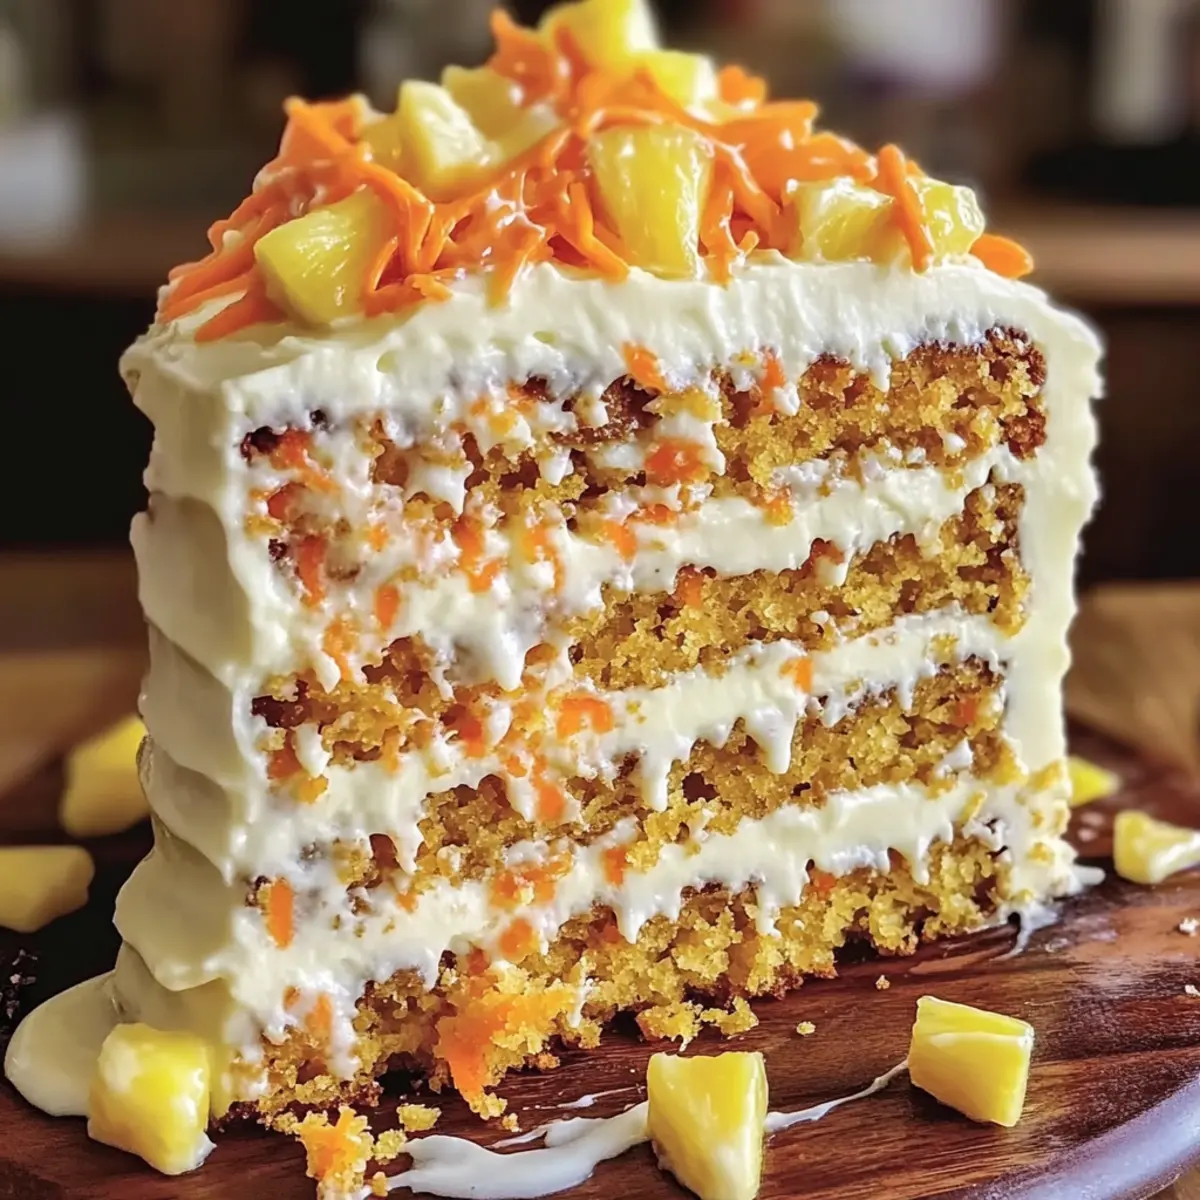
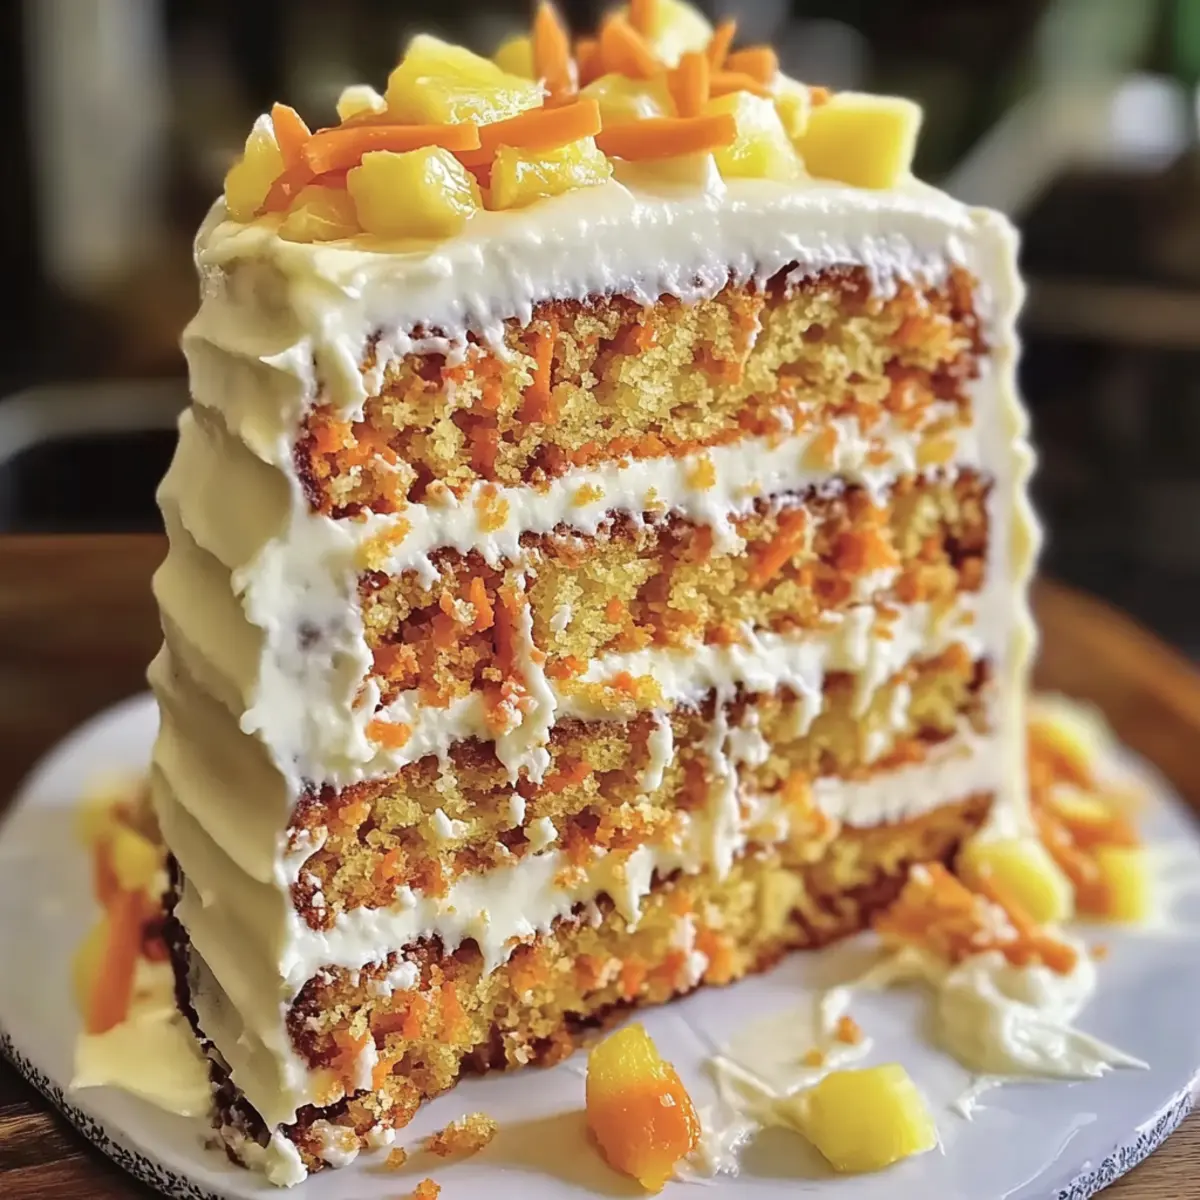
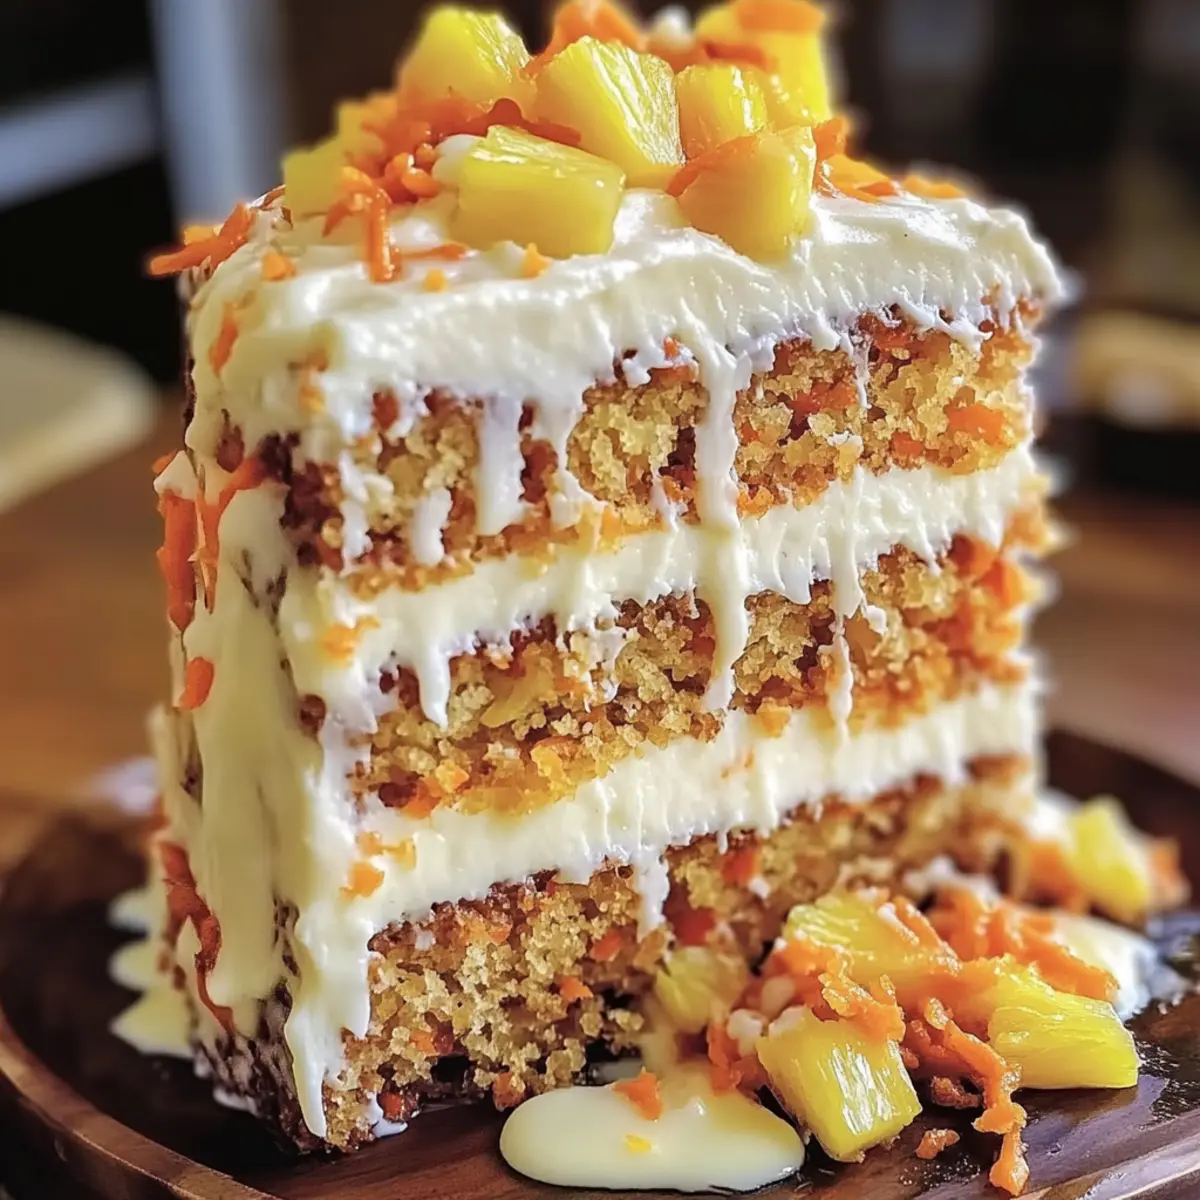
Add Fruits: Incorporate diced fresh pineapple or mango into the batter for a burst of tropical flavor. The juicy fruits infuse extra moisture and sweetness, making every bite even more delightful.
-
Dairy-Free: Opt for plant-based substitutes like dairy-free cream cheese and whipped topping. This way, you can enjoy the creamy texture and taste without the dairy!
-
Flavor Enhancements: Consider adding fresh lemon zest to the cream cheese layer for a refreshing citrus twist. Its bright notes harmonize beautifully with the guava.
-
Nutty Crunch: Fold in crushed macadamia nuts or walnuts into the batter for added texture and a delicious crunch that complements the cake's soft layers.
-
Tropical Twist: Switch up the guava juice with other tropical juices like passion fruit or pineapple juice to create a whole new flavor profile while keeping the essence of the islands alive.
-
Frosting Options: Instead of the guava gel, top the cake with a coconut whipped cream. It adds a lovely lightness that contrasts perfectly with the dense cake.
-
Spicy Heat: For a little kick, try adding a dash of cayenne or chili powder to the batter. The subtle heat will create an intriguing and exciting flavor profile that adventurous eaters will adore.
Consider pairing your Decadent Hawaiian Guava Cake with a refreshing tropical fruit salad or a scoop of creamy vanilla ice cream for an irresistibly balanced dessert experience! If you're in love with layered desserts, you might enjoy mixing it up with my Chocolate Pudding Cake as a delightful alternative!
Storage Tips for Decadent Hawaiian Guava Cake
Fridge: Store leftovers in an airtight container in the refrigerator for up to 3 days. This helps maintain the cake's moisture and keeps it fresh.
Freezer: For longer storage, freeze individual slices wrapped in plastic wrap and then aluminum foil for up to 2 months. Thaw in the fridge overnight before serving for the best taste and texture.
Reheating: If desired, you can gently warm slices in the microwave for about 10-15 seconds to enjoy a cozy treat that brings out the tropical flavors of the Decadent Hawaiian Guava Cake.
Serving Tip: When serving cold from storage, consider adding a sprinkle of fresh coconut flakes on top to revive that lovely tropical vibe!
What to Serve with Decadent Hawaiian Guava Cake
Dive into a delightful tropical feast that transports you straight to your happy place, where flavors mingle and laughter fills the air.
- Tropical Fruit Salad: Fresh fruits like pineapple, mango, and kiwi add a refreshing crunch that pairs harmoniously with the cake’s sweetness.
- Coconut Curry: The rich, savory flavors of coconut curry create a delightful contrast, enhancing the tropical vibe of your meal.
- Vanilla Ice Cream: Creamy vanilla ice cream provides a smooth, cool contrast to the cake's richness, making every bite irresistible.
- Lemon Sorbet: A zesty and light option that cleanses the palate, the sorbet's tartness beautifully balances the sweet guava.
- Pineapple Upside-Down Cake: For the adventurous, complement the guava flavors with another tropical cake, ensuring a delightful dessert spread.
- Sparkling Water with Lime: A refreshing drink enhances the tropical theme while offering a bubbly contrast to the cake’s texture.
- Coconut Macaroons: These chewy treats echo the coconut notes in the cake, creating a cohesive and delightful dessert experience.
Embrace the tropical theme of your gathering and watch everyone return for seconds!
Expert Tips for Decadent Hawaiian Guava Cake
-
Room Temperature Ingredients: Ensure your cream cheese and eggs are at room temperature for a smooth and creamy texture in both the cake and topping.
-
Avoid Overbaking: Watch your cake closely to prevent it from drying out. A toothpick should come out clean or with a few moist crumbs for perfect moisture.
-
Cooling is Key: Allow the cake to cool completely before adding the cream cheese layer and guava gel—this prevents melting and blends the flavors beautifully.
-
Chill for Easy Slicing: Refrigerate the cake before serving. This step not only enhances the flavor but also ensures cleaner slices, making for a more appealing presentation.
-
Experiment with Flavors: Feel free to add zest like lemon or include diced fruits such as pineapple into your batter for an extra tropical twist in your Decadent Hawaiian Guava Cake!
Make Ahead Options
These Decadent Hawaiian Guava Cakes are perfect for meal prep, allowing you to enjoy tropical flavors without the last-minute rush! You can prepare the cake layers up to 24 hours in advance; simply bake, cool, and wrap it tightly in plastic wrap before refrigerating. The cream cheese mixture can also be made ahead and stored in the fridge for up to 3 days—just be sure to give it a good mix before spreading it on the cake to restore its creamy texture. When you're ready to serve, add the guava gel on top and refrigerate for at least 1 hour to let the flavors meld beautifully. With these make-ahead options, you can enjoy a stunning dessert that is just as delicious and hassle-free, even on the busiest of days!
Decadent Hawaiian Guava Cake Recipe FAQs
What type of guava juice should I use for the cake?
Absolutely! For the best flavor, I recommend using fresh guava juice if you can find it. However, store-bought guava nectar or juice works wonderfully too and provides that signature tropical taste that makes this cake special.
How should I store leftovers?
You can store any leftovers in an airtight container in the refrigerator, where they will stay fresh for up to 3 days. Make sure to keep it well-sealed to maintain its moisture and flavor.
Can I freeze the Hawaiian Guava Cake?
Yes! For freezing, wrap individual slices tightly in plastic wrap, followed by aluminum foil to avoid freezer burn. They can be stored for up to 2 months. When you're ready to enjoy, simply thaw the slices in the refrigerator overnight before serving.
What if my guava gel isn't thickening properly?
If your guava gel isn’t thickening, check that you mixed the cornstarch with water thoroughly before adding it to the hot juice. It’s important to continuously stir the mixture while it cooks for about 2-3 minutes until it becomes glossy and thick. If needed, you can add a tiny bit more cornstarch mixed with water to help thicken it further.
Is this recipe suitable for gluten-free diets?
Very! To make this Decadent Hawaiian Guava Cake gluten-free, simply swap out the strawberry cake mix with a gluten-free cake mix. Additionally, you can use a gluten-free cream cheese alternative to cater to those who are avoiding gluten. Enjoy without worry!
Decadent Hawaiian Guava Cake: Your Tropical Escape Awaits
Ingredients
Equipment
Method
- Preheat your oven to 350°F (175°C) and prepare a 13x9-inch baking dish with vegetable spray.
- In a large mixing bowl, combine the strawberry cake mix, guava juice, eggs, and melted coconut oil. Mix on low for 30 seconds, then medium-high for 2 minutes.
- Pour the batter into the prepared baking dish and bake for 24 to 26 minutes, until golden and a toothpick comes out clean.
- Let the cake cool completely in the baking dish on a wire rack.
- While the cake cools, beat the cream cheese in a bowl until fluffy. Gradually mix in sugar and vanilla, then fold in Cool Whip.
- In a saucepan, heat guava juice and sugar until boiling. Mix the cornstarch with water, then add to the pan and stir until thickened.
- Remove the guava gel from heat and let it cool before refrigerating.
- Spread the cream cheese mixture evenly over the cooled cake, then pour the guava gel on top.
- Refrigerate for at least 1 hour before serving.
- Garnish with coconut flakes, slice, and serve chilled.