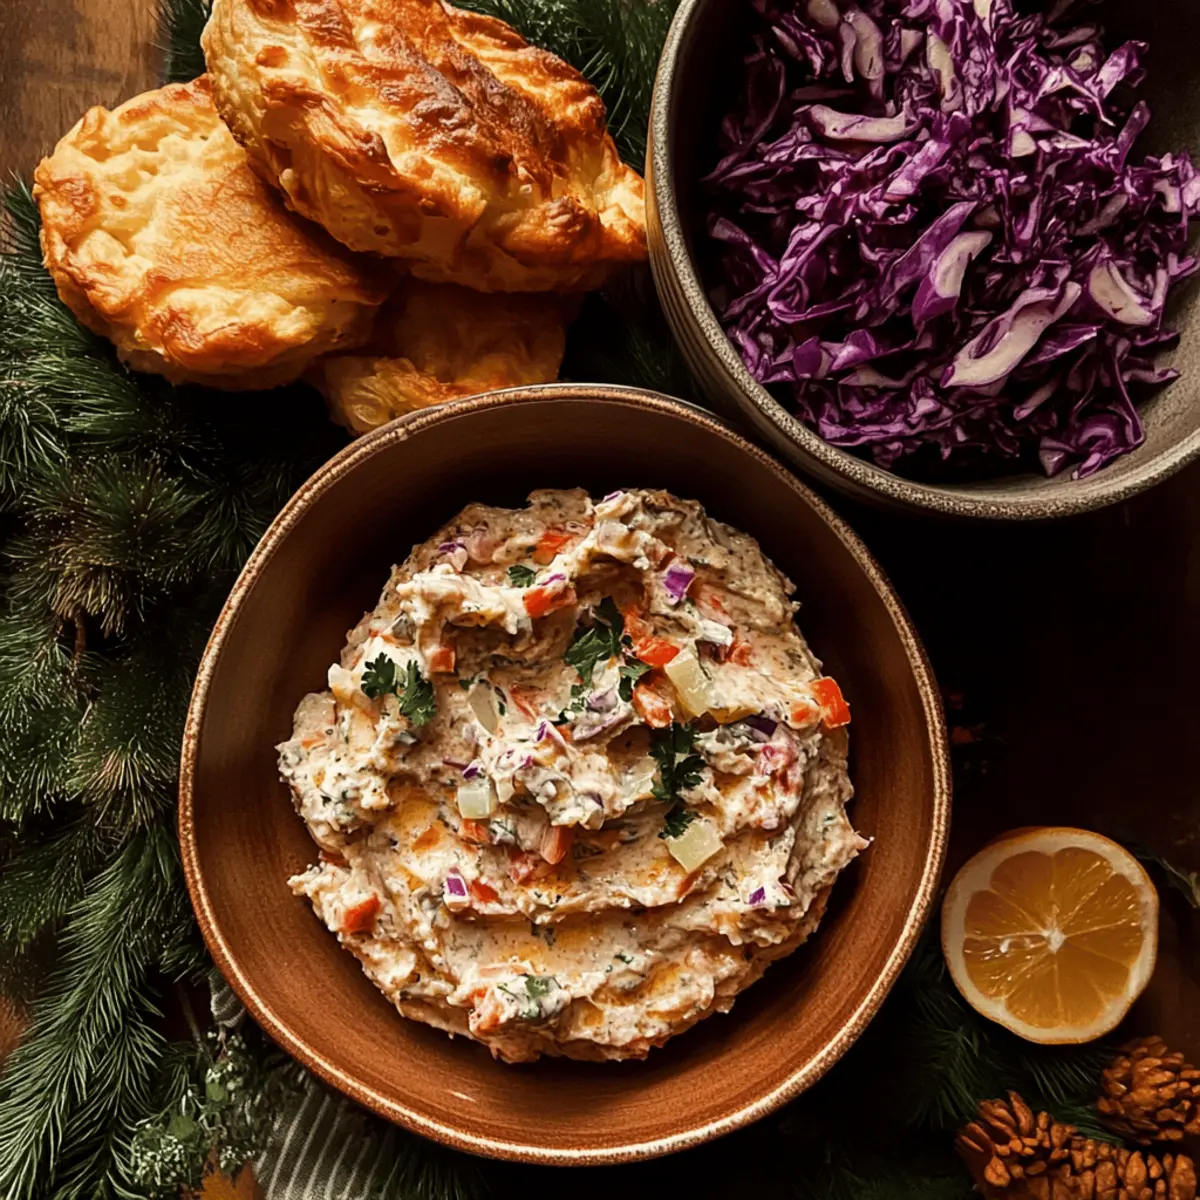
As the savory aroma of a giant Yorkshire pudding fills my kitchen, I can't help but feel a wave of nostalgia for family gatherings and festive meals. Today's star is a delightful Smoked Trout Pâté with Red Cabbage Slaw, nestled inside that fluffy golden embrace. This recipe is a celebration of flavors and textures, perfect for those who cherish homemade dishes over fast food. The creamy pâté pairs beautifully with the crunchy slaw, making it a quick yet impressive starter that will dazzle your guests. Plus, it’s wonderfully adaptable—switch ingredients to suit your taste or dietary needs. Curious about how to create this festive feast? Let’s dive into the recipe that promises a tasteful journey!
Why is this recipe a game changer?
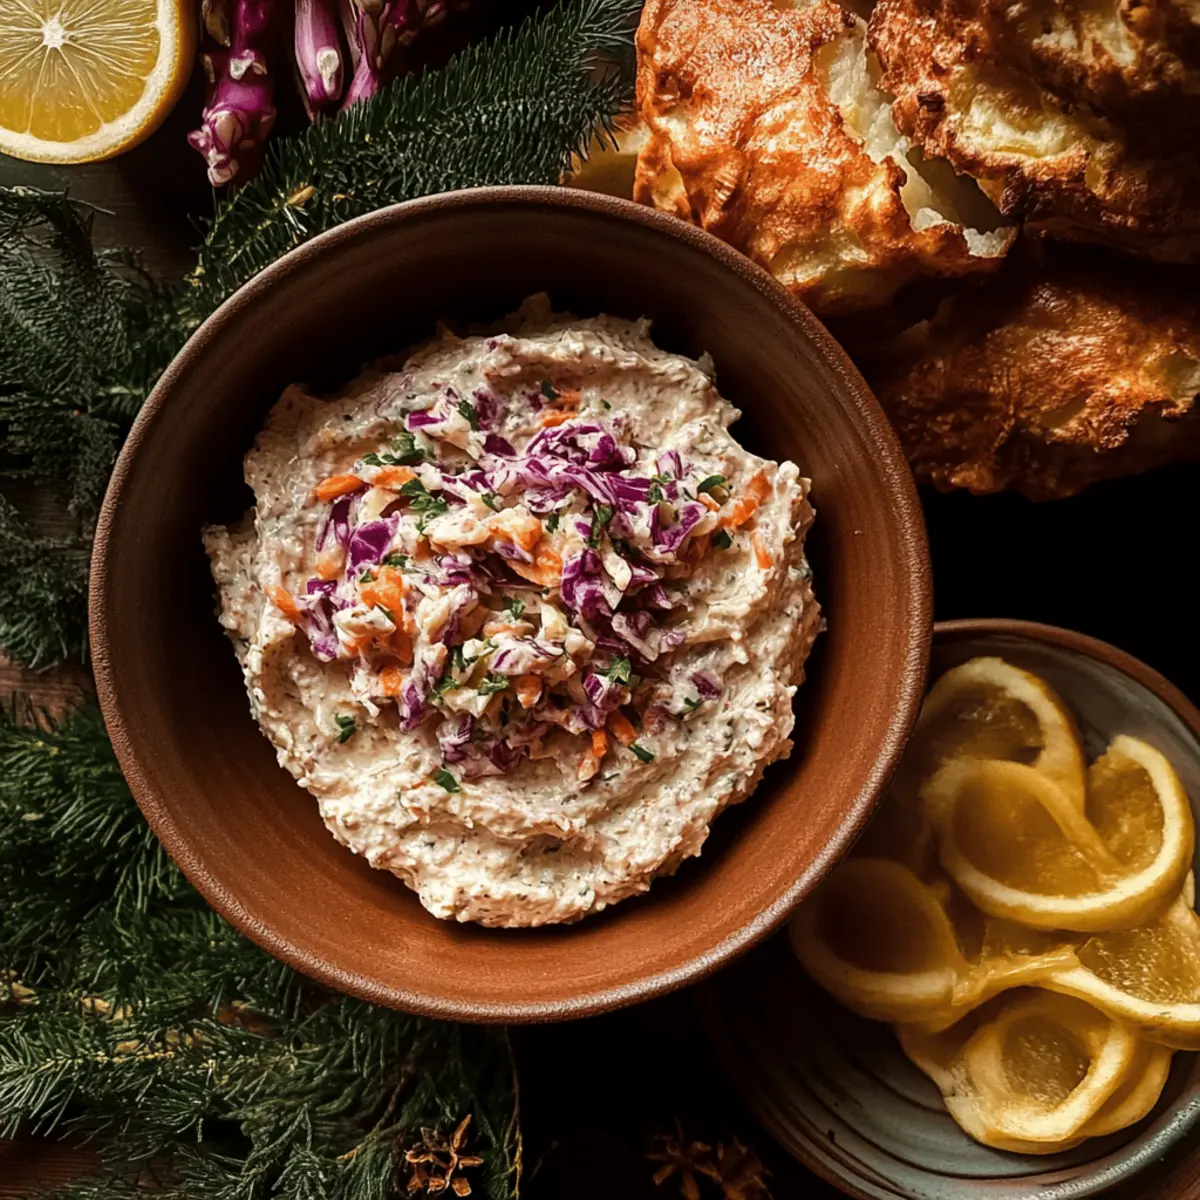
Uniqueness: This dish harmonizes smoked trout pâté and red cabbage slaw within a stunning Yorkshire pudding, creating a one-of-a-kind culinary experience.
Easy to Prepare: Whip up this gorgeous starter in no time, ideal for busy days or last-minute gatherings.
Flavor Explosion: Each bite balances creamy, crunchy, and tangy flavors that will leave your taste buds singing.
Flexibility: Customize the slaw or swap trout for salmon for an exciting twist! Check out our suggestions on making it vegetarian or even gluten-free with Fried Shrimp Cabbage.
Crowd Pleaser: Whether it's a festive feast or a casual gathering, this dish will impress family and friends with its vibrant presentation and delightful taste. Don’t miss out on making your next event unforgettable!
Smoked Trout Pâté Ingredients
-
For the Pâté
• Cream Cheese (300g) – Acts as the rich base for the pâté, making it delightfully creamy.
• Jarred Horseradish (3 heaped teaspoons) – Adds a sharp, tangy kick that complements the trout beautifully.
• Lemon (1, plus extra wedges for serving) – Provides necessary acidity to balance the richness of the pâté.
• Fresh Chives (½ bunch / 15g) – Offers a mild onion flavor, enhancing the overall taste.
• Hot-smoked Trout (300g) – The star of the dish, bringing a rich, smoky flavor that elevates the pâté. -
For the Slaw
• Red Cabbage (½ head / 500g) – Adds vibrant color and crunch to the slaw, making it visually appealing.
• Red Onion (½) – Brings sharpness to the slaw. Substitution: Green onions can provide a milder flavor.
• Flat-leaf Parsley (½ bunch / 15g) – Fresh herb that enhances flavor and adds freshness to the slaw.
• Apple (1) – Adds sweetness and texture; perfect for balancing out the tangy elements of the slaw.
• Walnut Halves (60g) – Provides a delightful nutty flavor and crunch; can swap with pecans if preferred.
• Red Wine Vinegar – Offers acidity and enhances the flavors in the slaw dressing. -
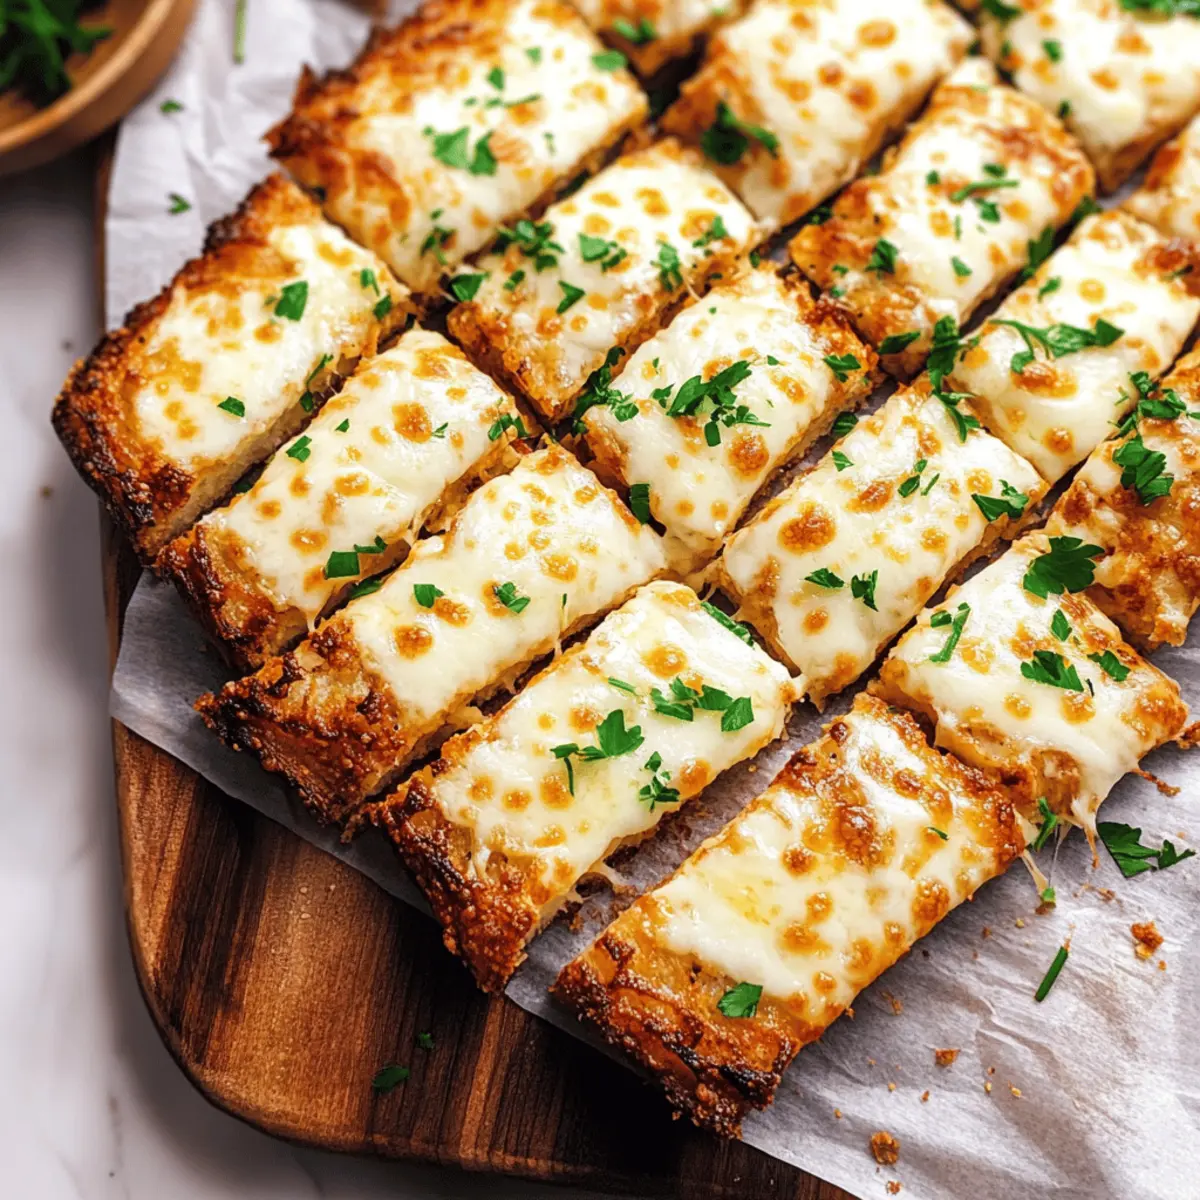
For the Yorkshire Pudding
• Plain Flour (300g) – The foundation of the Yorkshire pudding, creating its fluffy texture. Substitution: Use gluten-free flour for a gluten-free variant.
• Whole Milk (300ml) – Adds moisture and richness to the batter. Substitution: Dairy-free milk can be used for a lactose-free option.
• Large Free-range Eggs (8) – Essential for giving structure and lift to the Yorkshire pudding.
Each component of this smoked trout pâté & red cabbage slaw beautifully enhances the overall experience, creating a dish that’s both delicious and impressive!
Step‑by‑Step Instructions for Smoked Trout Pâté & Red Cabbage Slaw
Step 1: Prepare the Pâté
In a mixing bowl, combine 300g of cream cheese, 3 heaped teaspoons of jarred horseradish, the juice of one lemon, and 15g of chopped fresh chives. Flake in 300g of hot-smoked trout, mixing everything until creamy and well-blended. Cover the bowl with plastic wrap and chill it in the fridge for at least 30 minutes to allow the flavors to meld.
Step 2: Make the Slaw
While the pâté is chilling, thinly slice half a head of red cabbage and half a red onion. Dice one apple for sweetness and chop 15g of flat-leaf parsley. In a large bowl, combine the shredded cabbage, onion, apple, and parsley. Dress with a splash of red wine vinegar and a drizzle of olive oil, tossing everything together until the slaw is vibrant and evenly coated.
Step 3: Prepare the Yorkshire Pudding Batter
In a bowl, whisk together 300g of plain flour, 300ml of whole milk, 8 large eggs, and a pinch of salt until the batter is smooth and free of lumps. Let the mixture rest at room temperature for about 15 minutes, allowing the gluten to relax for that perfectly fluffy Yorkshire pudding.
Step 4: Cook the Yorkshire Pudding
Preheat your oven to 220°C (430°F) and place a baking dish with a few tablespoons of oil inside. Heat the dish in the oven until the oil is shimmering hot, about 5 minutes. Carefully pour the rested batter into the hot oil and return the dish to the oven, baking for 20–25 minutes until the pudding is puffed up and golden brown, making sure not to open the oven door during cooking.
Step 5: Serve the Dish
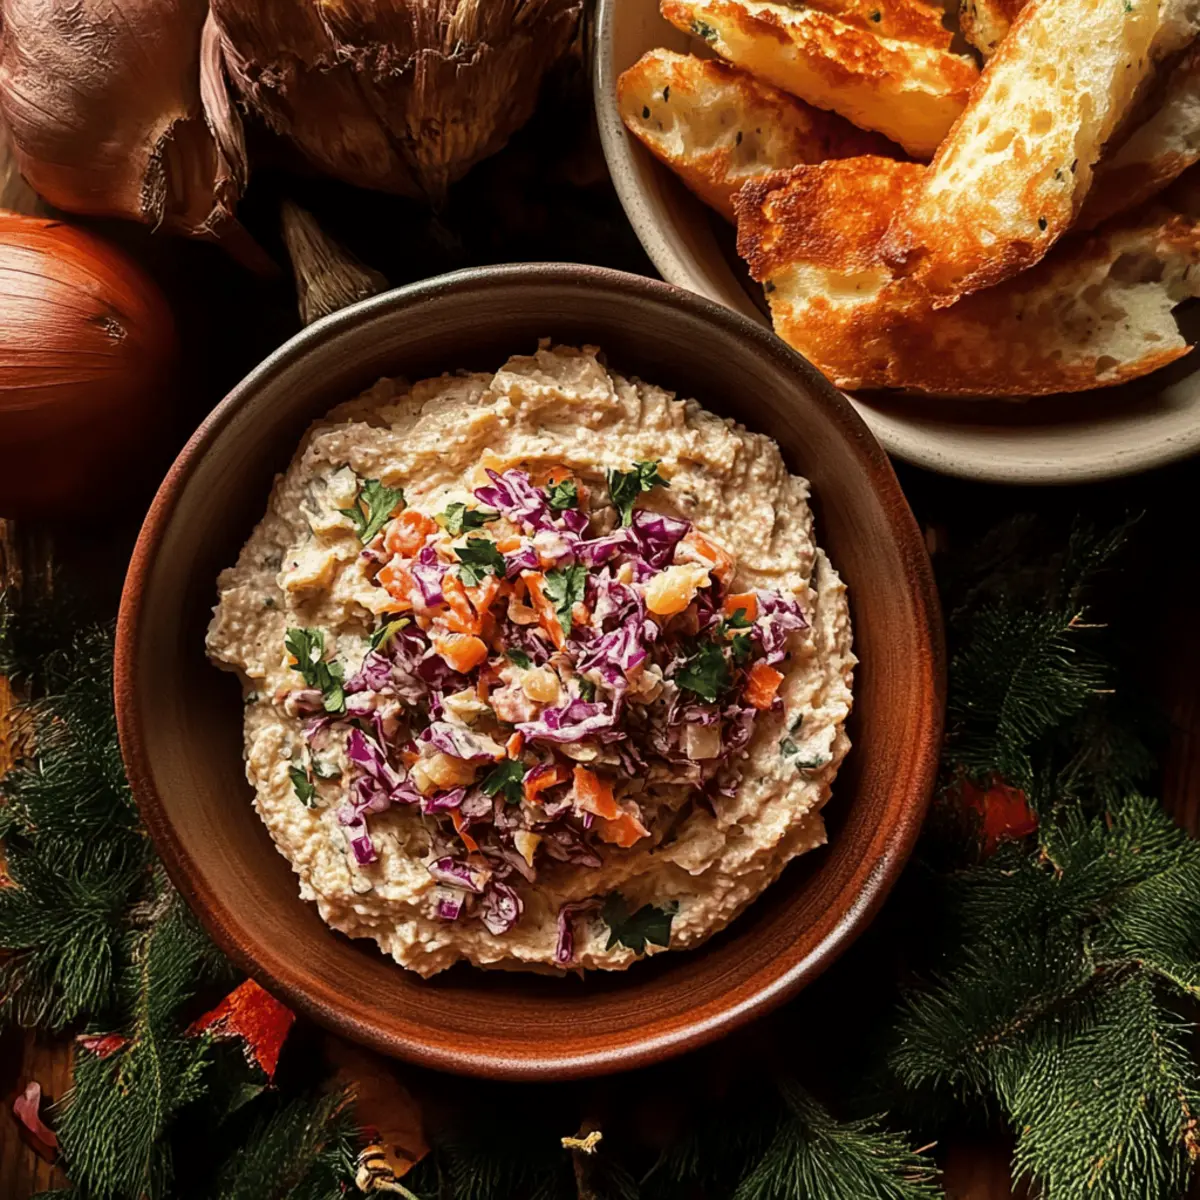
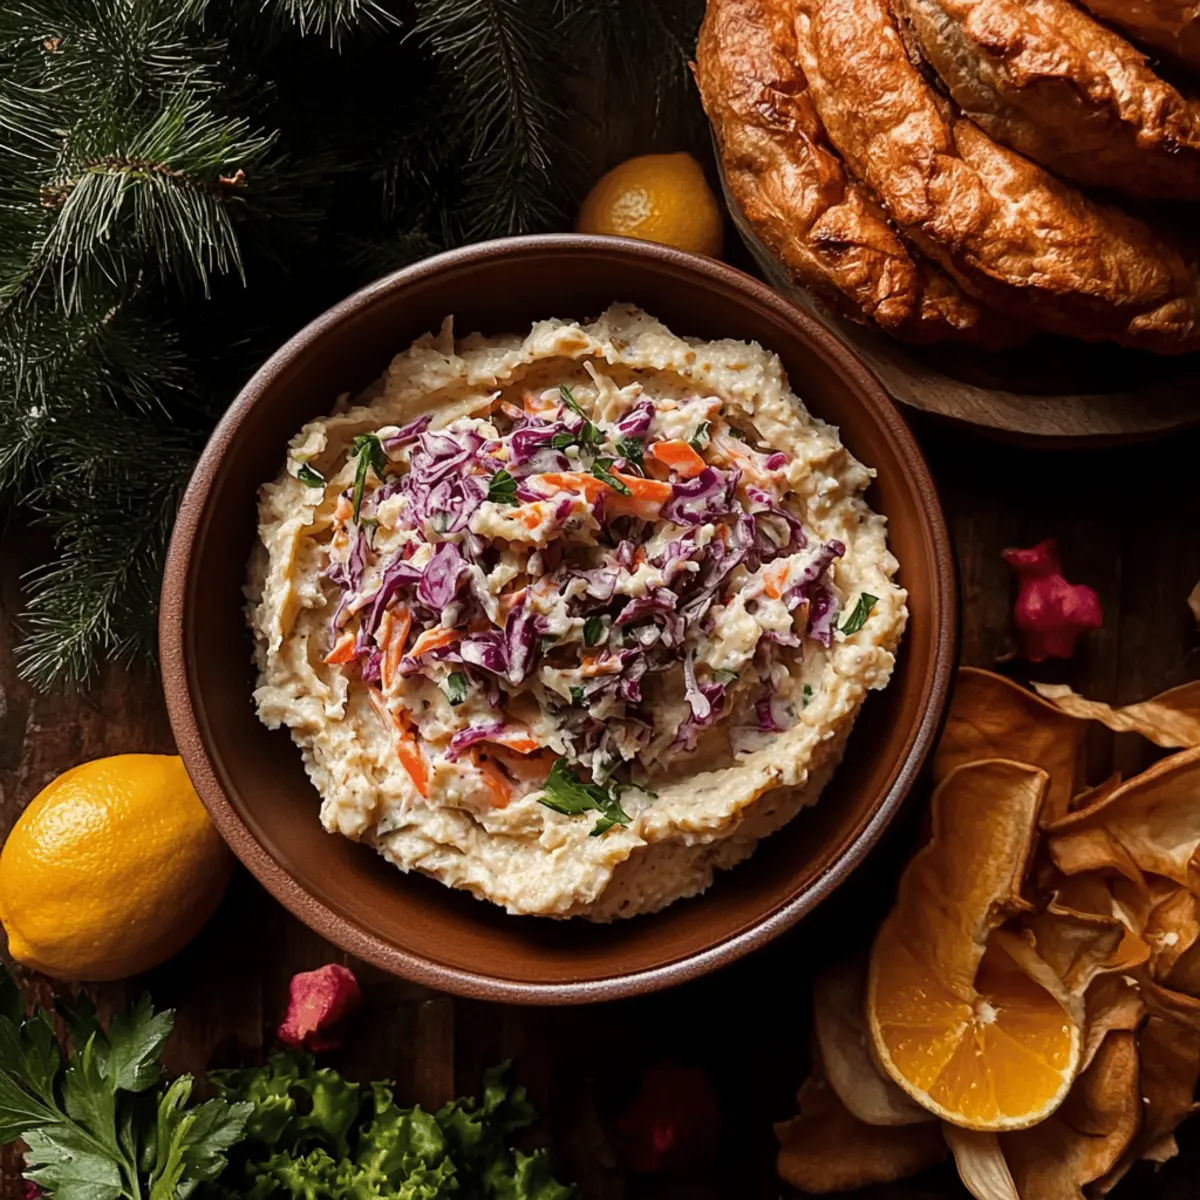
Once the Yorkshire pudding is out of the oven, use a spoon to create a well in the center for the filling. Spoon in the chilled smoked trout pâté generously. Top it off with the vibrant red cabbage slaw for a delightful contrast. Serve immediately with lemon wedges on the side for an extra zesty kick!
How to Store and Freeze Smoked Trout Pâté
Fridge: Store any leftover smoked trout pâté in an airtight container for up to 2 days. Ensure it's tightly sealed to maintain creaminess and prevent odors from other foods.
Freezer: If you’d like to keep the pâté longer, freeze it in small portions for up to 1 month. Thaw in the fridge overnight before serving.
Yorkshire Pudding: Best consumed fresh, but if you have leftovers, keep them in an airtight container at room temperature for up to 1 day. Reheat in a hot oven (180°C/350°F) for 5–10 minutes.
Red Cabbage Slaw: Store slaw in a sealed container in the fridge for up to 2 days. For best texture, add the dressing just before serving.
What to Serve with Smoked Trout Pâté & Red Cabbage Slaw
Elevate your gathering with these delightful additions that beautifully complement this creamy and vibrant dish.
-
Creamy Mashed Potatoes: Rich and smooth, they provide a comforting contrast to the flavorful pâté and crunchy slaw.
-
Garlic Butter Asparagus: Crisp-tender asparagus drizzled with garlic butter offers a fresh and savory crunch that balances the richness of the trout.
-
Crisp Green Salad: A mix of greens, cucumber, and cherry tomatoes with a light vinaigrette brings a refreshing element, enhancing overall flavor harmony.
-
Lemon-Dill Quinoa: Fluffy quinoa tossed with fresh lemon and dill adds a nutty texture and bright flavor, perfectly aligning with the dish’s essence.
-
Roasted Beetroot: The earthy sweetness of roasted beets enhances the dish while adding vibrant color, making your plate even more inviting.
-
Sparkling White Wine: A chilled bottle of sparkling wine will introduce lively bubbles and acidity, making every bite of the pâté more exciting.
-
Apple Crumble for Dessert: Finish your meal with a warm apple crumble topped with vanilla ice cream, providing a sweet, comforting contrast to the savory dishes.
These pairings not only amplify the flavors of your smoked trout pâté & red cabbage slaw but also create a delightful and well-rounded dining experience.
Smoked Trout Pâté Variations
Feel free to make this dish your own with these delicious variations that will elevate your culinary experience!
-
Dairy-Free: Substitute cream cheese with plain Greek yogurt for a lighter, lactose-free version. The tanginess will perfectly balance with the smoky trout.
-
Vegetarian-Friendly: Replace the smoked trout with roasted vegetables like bell peppers and zucchini. This twist will bring vibrant flavors and a delightful texture.
-
Spice It Up: Add a dash of cayenne pepper or smoked paprika to the pâté for a zesty kick! This extra heat complements the smokiness beautifully.
-
Fruit Upgrade: Swap the apple for a pear in the slaw for a sweeter, more subtle crunch. Pears add a lovely contrast and keep things refreshing.
-
Nuts of Choice: Try using sliced almonds instead of walnuts for a lighter crunch. This switch makes the dish a delightful option for nut lovers.
-
Add Some Heat: Toss in some sliced jalapeños into the slaw for a spicy crunch. This contrast will awaken your senses and elevate the entire dish.
-
Herbaceous Twist: Substitute chives with fresh dill for a fragrant touch that works wonderfully with the smoked trout flavor.
-
Cabbage Alternative: Use green cabbage or a mix of purple and green cabbage for the slaw for different crunch and color. It's an easy way to switch things up while keeping it vibrant!
Exploring these variations lets you customize your smoked trout pâté and red cabbage slaw, making it a delightful centerpiece for any gathering. To keep the festive vibes alive, you can also explore more flavorful dishes like Fried Shrimp Cabbage for a unique culinary adventure!
Make Ahead Options
Preparing the Smoked Trout Pâté with Red Cabbage Slaw ahead of time makes hosting so much easier! You can whip up the pâté and the slaw up to 2 days in advance for a stress-free experience. Simply mix the cream cheese, horseradish, lemon juice, chives, and flaked trout, then cover tightly and refrigerate overnight. The slaw can be assembled by slicing the cabbage, onion, and apple, then dressing it, allowing it to chill for freshness. To keep everything just as delicious, store the components separately until it's time to serve. When you’re ready, prepare the Yorkshire pudding fresh and fill it with your chilled pâté and slaw for an impressive presentation that delights your guests!
Expert Tips for Smoky Pâté Perfection
- Hot Oil Essential: Preheat the oil until it’s shimmering before adding the batter for the best Yorkshire pudding rise.
- Don’t Overmix: Mix the Yorkshire pudding batter just until smooth; overmixing can lead to a dense texture instead of a light one.
- Pâté Preparation: Chill the smoked trout pâté for at least 30 minutes before serving to enhance the flavors and texture.
- Slaw Balance: Taste your slaw dressing and adjust acidity with more red wine vinegar if it feels too mild; balance is key in this smoked trout pâté & red cabbage slaw.
- Advance Make-Ahead: Prepare both the pâté and slaw a day in advance to allow the flavors to develop and save time on serving day.
Smoked Trout Pâté with Red Cabbage Slaw Recipe FAQs
How do I choose the right smoked trout for the pâté?
Absolutely! When selecting smoked trout, look for fillets with bright, even coloring and a slight sheen. Avoid any with dark spots, as they may indicate spoilage. Ensure it’s sustainably sourced for both quality and environmental concerns.
How long can I store leftover smoked trout pâté and slaw?
The smoked trout pâté can be safely stored in an airtight container in the fridge for up to 2 days. The red cabbage slaw also stays fresh for about the same time, but I recommend adding the dressing just before serving for optimal crunch and flavor retention.
Can I freeze the smoked trout pâté?
Yes, you can freeze the smoked trout pâté! Portion it into small containers or freezer bags for easy use later. It will keep in the freezer for up to 1 month. To thaw, simply place it in the fridge overnight, allowing the flavors to return to their creamy glory.
What should I do if my Yorkshire pudding doesn’t rise?
Very good question! If your Yorkshire pudding fails to rise, it could be due to a few reasons: the batter wasn't properly mixed (overmixing can create a dense texture), or the oil wasn’t hot enough before adding the batter. Always make sure the oil is shimmeringly hot before pouring in the batter, and remember not to open the oven door while it bakes.
How do I customize the slaw for dietary needs?
You're in luck! To make the red cabbage slaw more inclusive, you can swap out walnuts for sunflower seeds if nut allergies are a concern. Additionally, opt for gluten-free soy sauce instead of red wine vinegar if you’re avoiding gluten. For a vegan version, substitute the cream cheese in the pâté with a plant-based alternative and use a vegan mayonnaise in the slaw.
Can I make this recipe ahead of time?
Absolutely! You can prepare the smoked trout pâté and slaw a day in advance and keep them refrigerated. As for the Yorkshire pudding, it’s best made fresh, but if you have any leftovers, reheat them in a preheated oven at 180°C (350°F) for about 5-10 minutes to restore their fluffiness.
Smoked Trout Pâté & Red Cabbage Slaw in Fluffy Yorkshire Pudding
Ingredients
Equipment
Method
- In a mixing bowl, combine cream cheese, jarred horseradish, lemon juice, and chopped chives. Flake in the smoked trout and mix until creamy. Cover and chill for at least 30 minutes.
- Thinly slice red cabbage and red onion. Dice the apple and chop parsley. Combine all in a large bowl, dress with red wine vinegar and olive oil, mixing until well-coated.
- Whisk together plain flour, milk, eggs, and salt until smooth. Let rest for 15 minutes.
- Preheat your oven to 220°C (430°F) with a baking dish and oil. Pour in the rested batter and bake for 20-25 minutes until puffed and golden.
- Create a well in the Yorkshire pudding, fill with chilled trout pâté, and top with slaw. Serve immediately with lemon wedges.