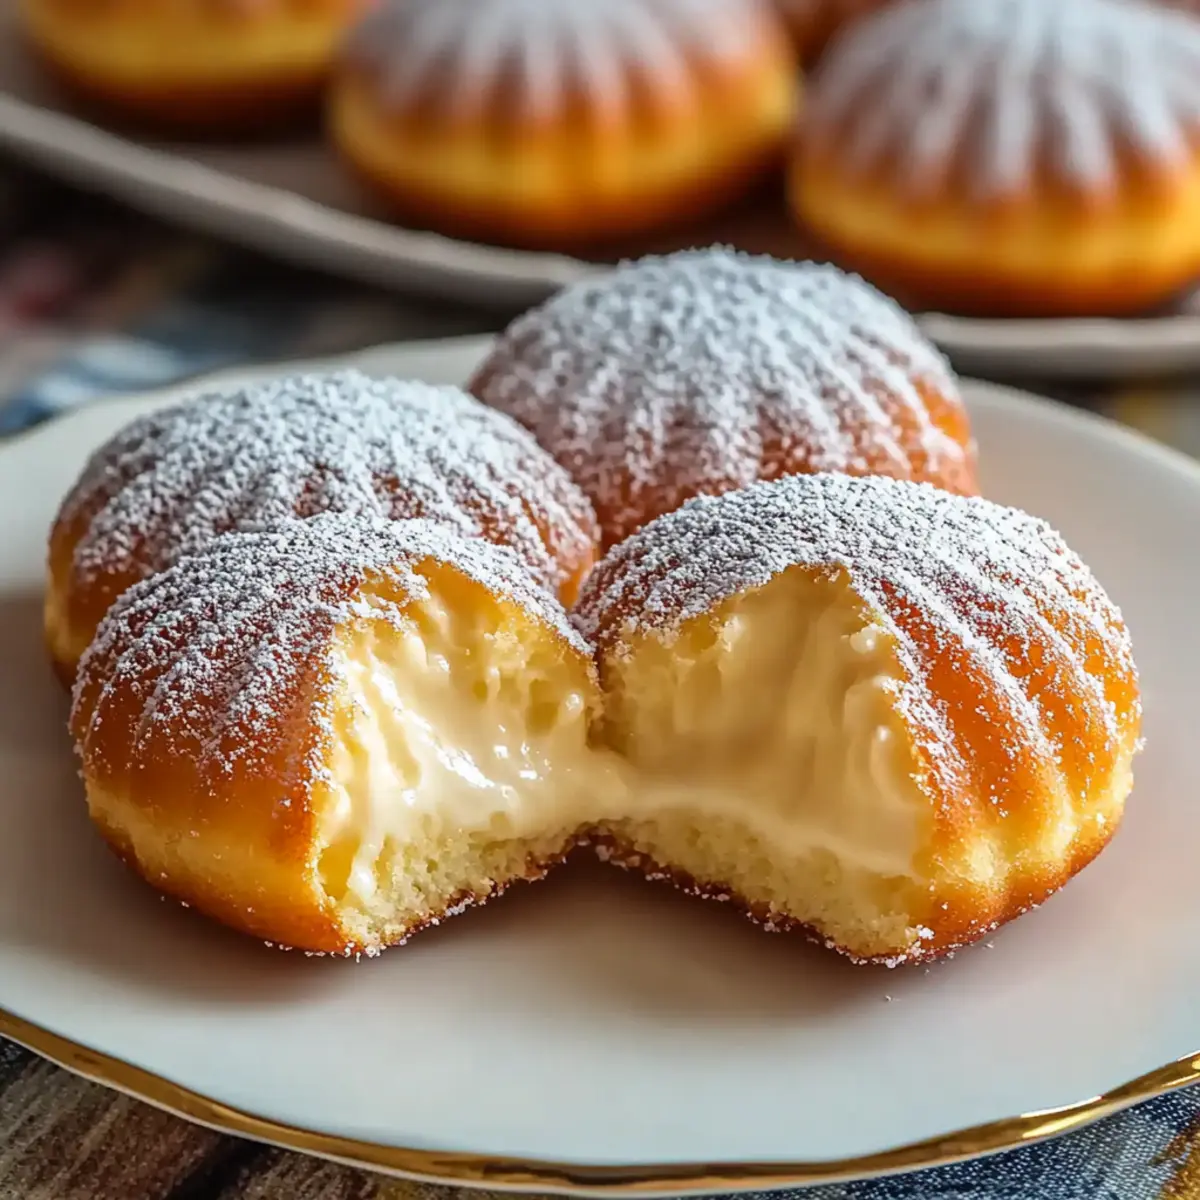
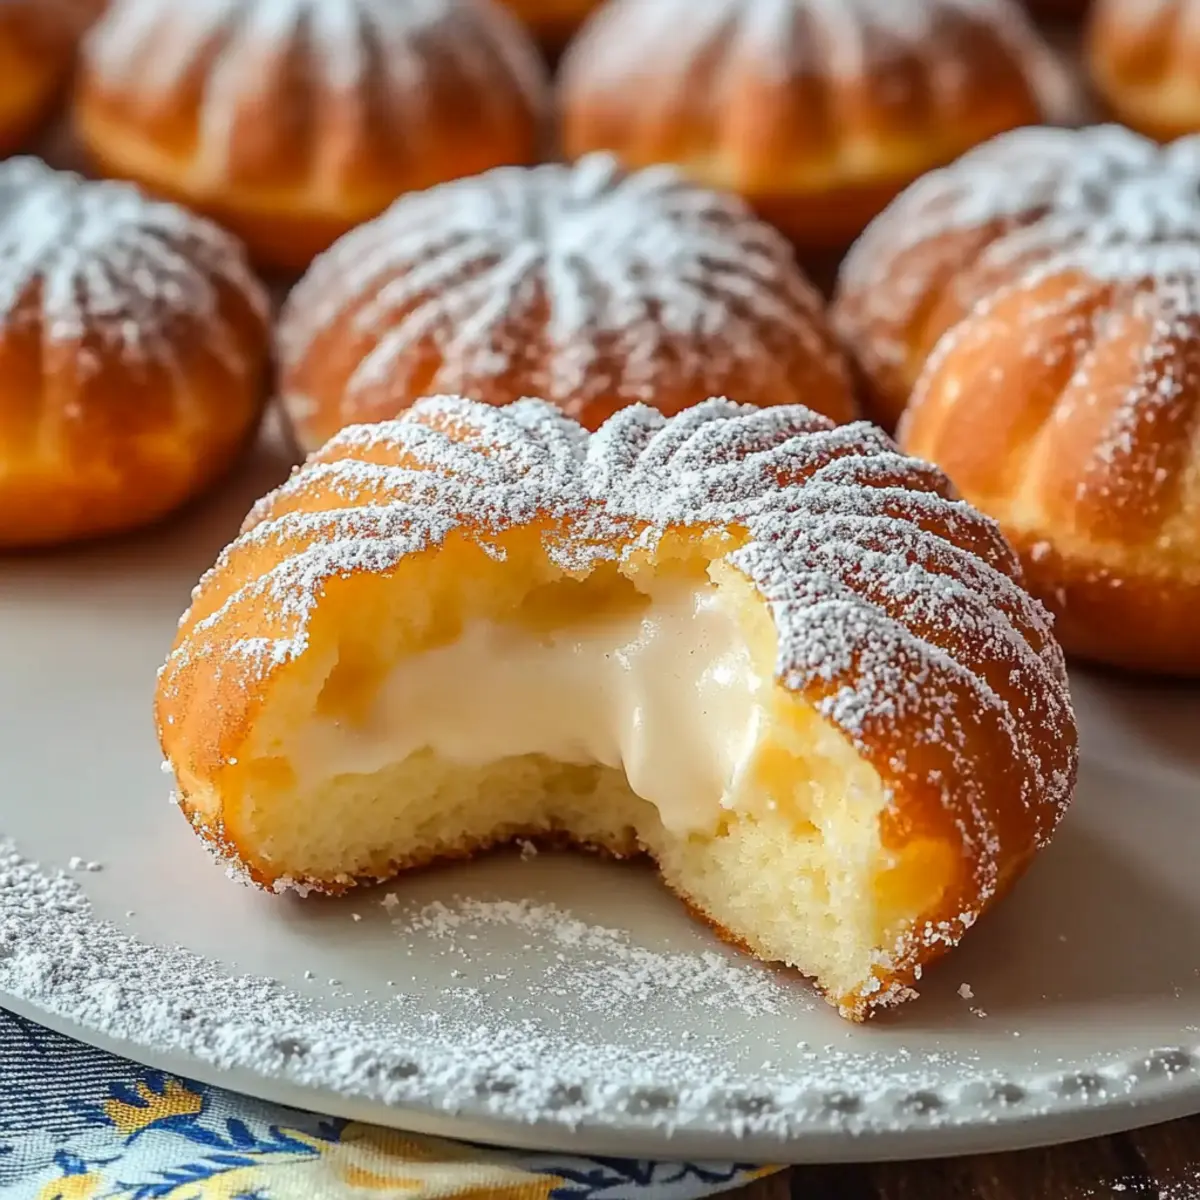
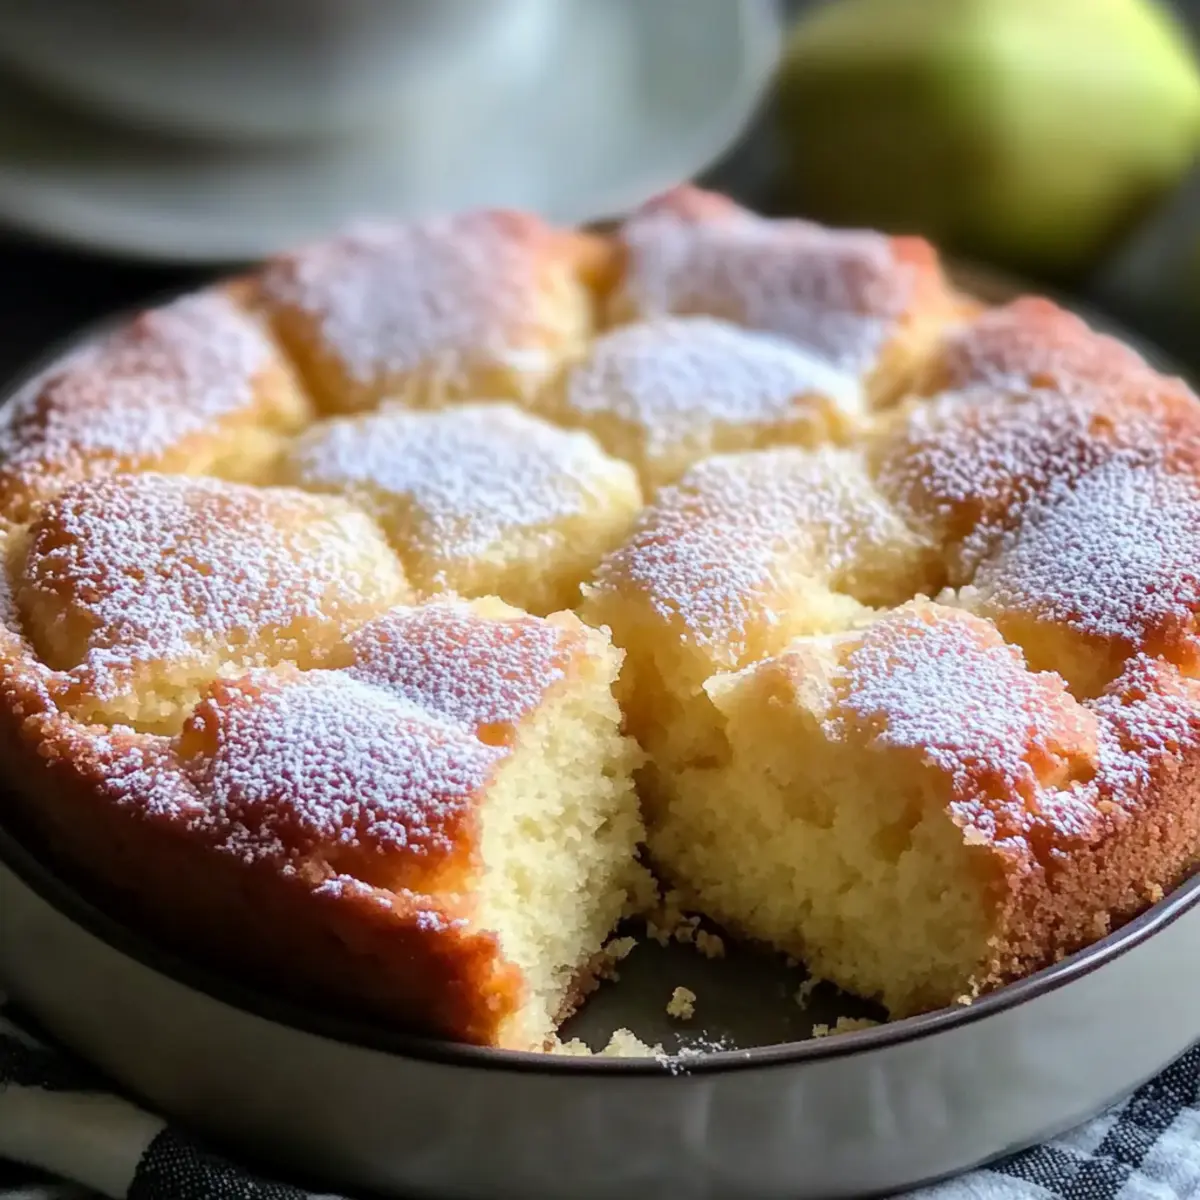
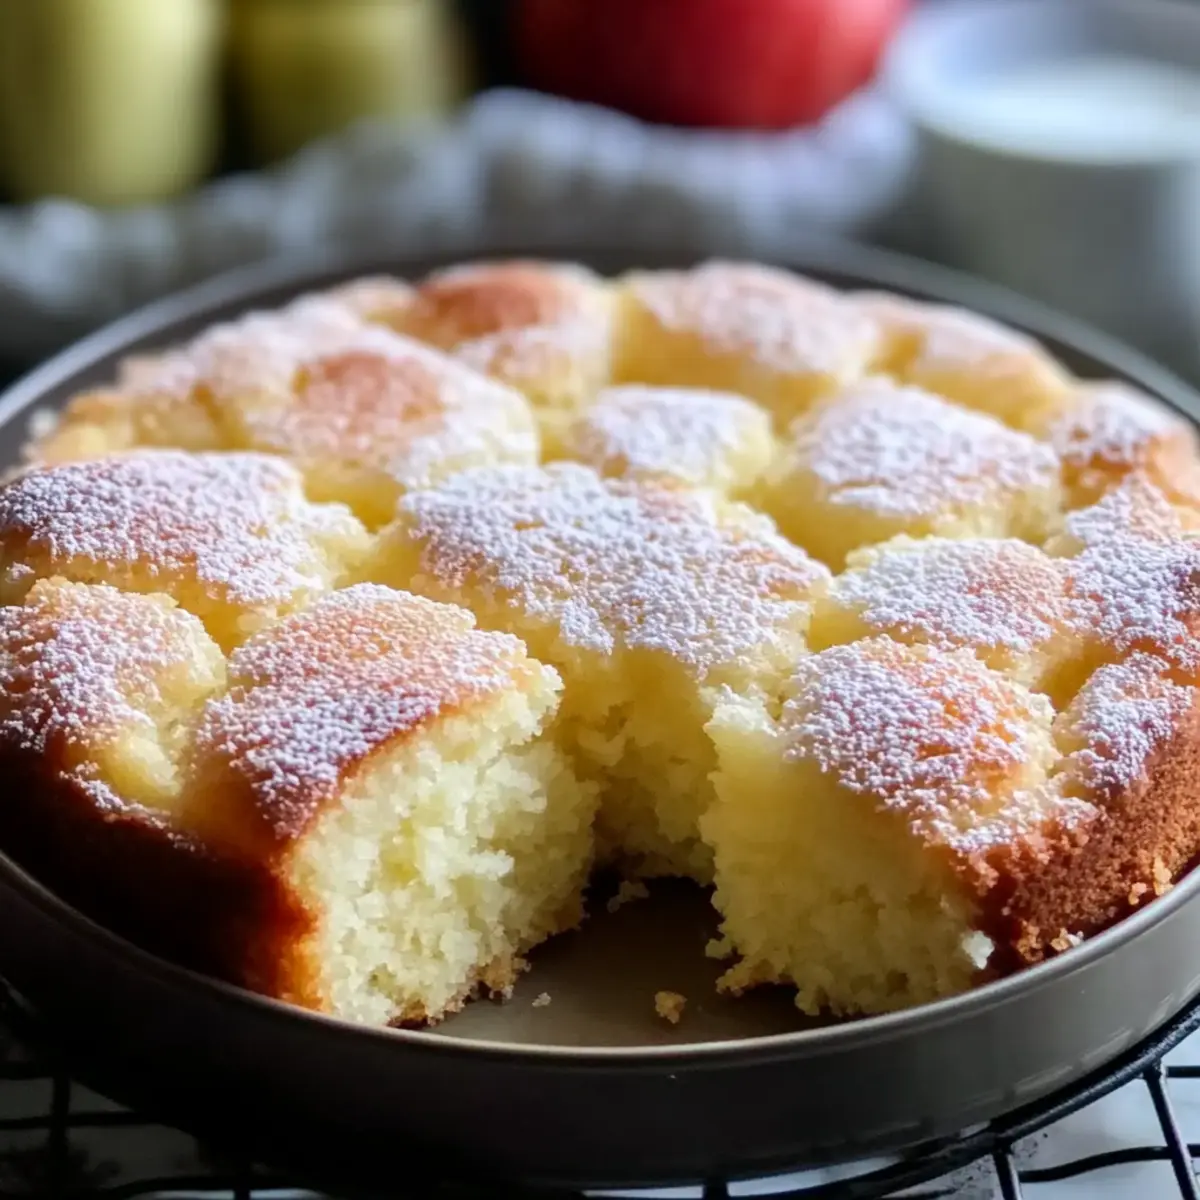
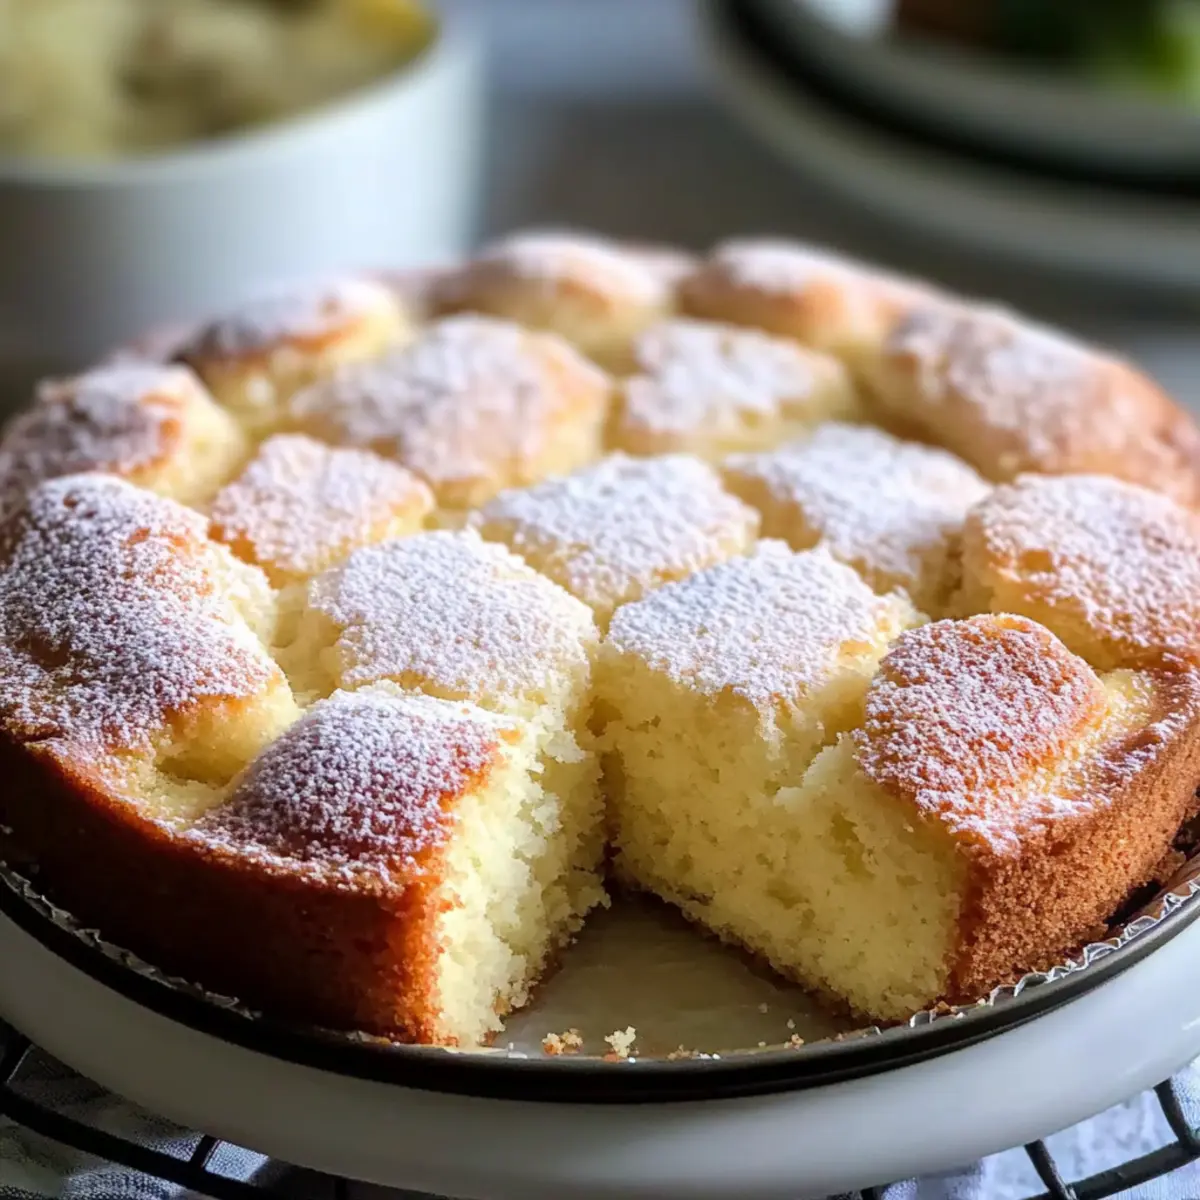
As the warm aroma of brown butter wafted through my kitchen, I couldn’t help but smile, recalling the joy this rich French Butter Cake brings to any gathering. With its golden, caramelized crust and tender, melt-in-your-mouth texture, this cake is my secret weapon for turning ordinary moments into unforgettable celebrations. Made with simple pantry staples, this indulgent dessert not only showcases the beautiful harmony of nutty butter and sweet vanilla but also promises quick prep and effortless elegance. Perfect for impressing guests or savoring a quiet evening at home, it’s a delightful way to elevate your baking game. Curious to uncover the magic behind this classic recipe?
What makes this cake truly special?
Irresistible Flavor: The rich, nutty undertones of brown butter combined with a hint of vanilla deliver a decadent taste that elevates any dessert table.
Easy Preparation: Who knew an indulgent dessert could be so simple? With just a few pantry staples and minimal effort, you can whip up this cake in no time.
Versatile Serving: Whether served warm with a scoop of vanilla ice cream or accompanied by fresh berries, this cake adapts beautifully to any occasion.
Crowd-Pleasing Delight: Impress family and friends with your baking prowess; this French Butter Cake will undoubtedly become a favorite at gatherings.
For more delightful creations, don’t miss my Chocolate Pudding Cake or explore the flavorful layers of Crockpot Butter Chicken.
French Butter Cake Ingredients
For the Cake
• Unsalted Butter – Essential for richness and flavor; browning it adds depth!
• Sugar – Granulated sugar brings sweetness; coconut sugar can be used for a deeper taste.
• Eggs – These are crucial for binding; be sure they’re room temperature for better mixing.
• Cake Flour – Offers a light, delicate crumb; all-purpose flour is a viable substitute, though the cake may be denser.
• Baking Powder – A leavening agent that provides a light lift; gluten-free alternatives can work too.
• Salt – While optional, a pinch enhances the flavor and balances sweetness.
• Sour Cream – Adds moisture and tang; swap for dairy-free sour cream if needed.
• Milk – Contributes moisture; any non-dairy milk serves as a suitable alternative.
This French Butter Cake recipe is crafted with simple ingredients that work harmoniously to create a dessert that promises to impress.
Step‑by‑Step Instructions for French Butter Cake Recipe
Step 1: Brown the Butter
In a medium saucepan over medium heat, melt 1 cup of unsalted butter, stirring occasionally. Continue cooking for about 5 minutes until the butter becomes foamy and turns a beautiful golden brown, releasing a nutty aroma. Remove the pan from the heat and let the brown butter cool for about 10 minutes to ensure it doesn’t cook the eggs when mixed.
Step 2: Mix Wet Ingredients
In a large mixing bowl, combine the cooled brown butter with 1 cup of granulated sugar. Whisk together until the mixture is smooth and creamy. Add three room temperature eggs one at a time, beating well after each addition to ensure they are well incorporated. Stir in 1 tablespoon of pure vanilla extract, combining all ingredients thoroughly.
Step 3: Combine Dry Ingredients
In a separate bowl, sift together 1 ½ cups of cake flour, 1 teaspoon of baking powder, and a pinch of salt. Gently fold the dry ingredients into the wet mixture, being careful not to overmix. Once just combined, add in ½ cup of sour cream and ¼ cup of milk, mixing until the batter is smooth and creamy, ensuring that no lumps remain.
Step 4: Prepare for Baking
Grease and flour a 9-inch round cake pan, ensuring an even coating that will help your cake release easily. Pour the batter into the prepared pan, smoothing the top with a spatula. For an extra treat, sprinkle a tablespoon of sugar over the top; this will create a delightful caramelized crust during baking.
Step 5: Bake the Cake
Preheat your oven to 350°F (175°C) and place the cake pan in the center of the oven. Bake for 35-40 minutes, rotating the pan halfway through. The cake is done when the top is golden brown and a toothpick inserted in the center comes out with just a few moist crumbs attached.
Step 6: Cool and Serve
Once baked, remove the French butter cake from the oven and let it cool in the pan for about 10 minutes. Then, carefully transfer it to a wire rack to cool completely. Serve your cake warm or at room temperature, paired with fresh berries and whipped cream for an indulgent treat.
What to Serve with French Butter Cake
Enhance the indulgent experience of this rich dessert with delightful accompaniments that bring out its warm, buttery notes.
-
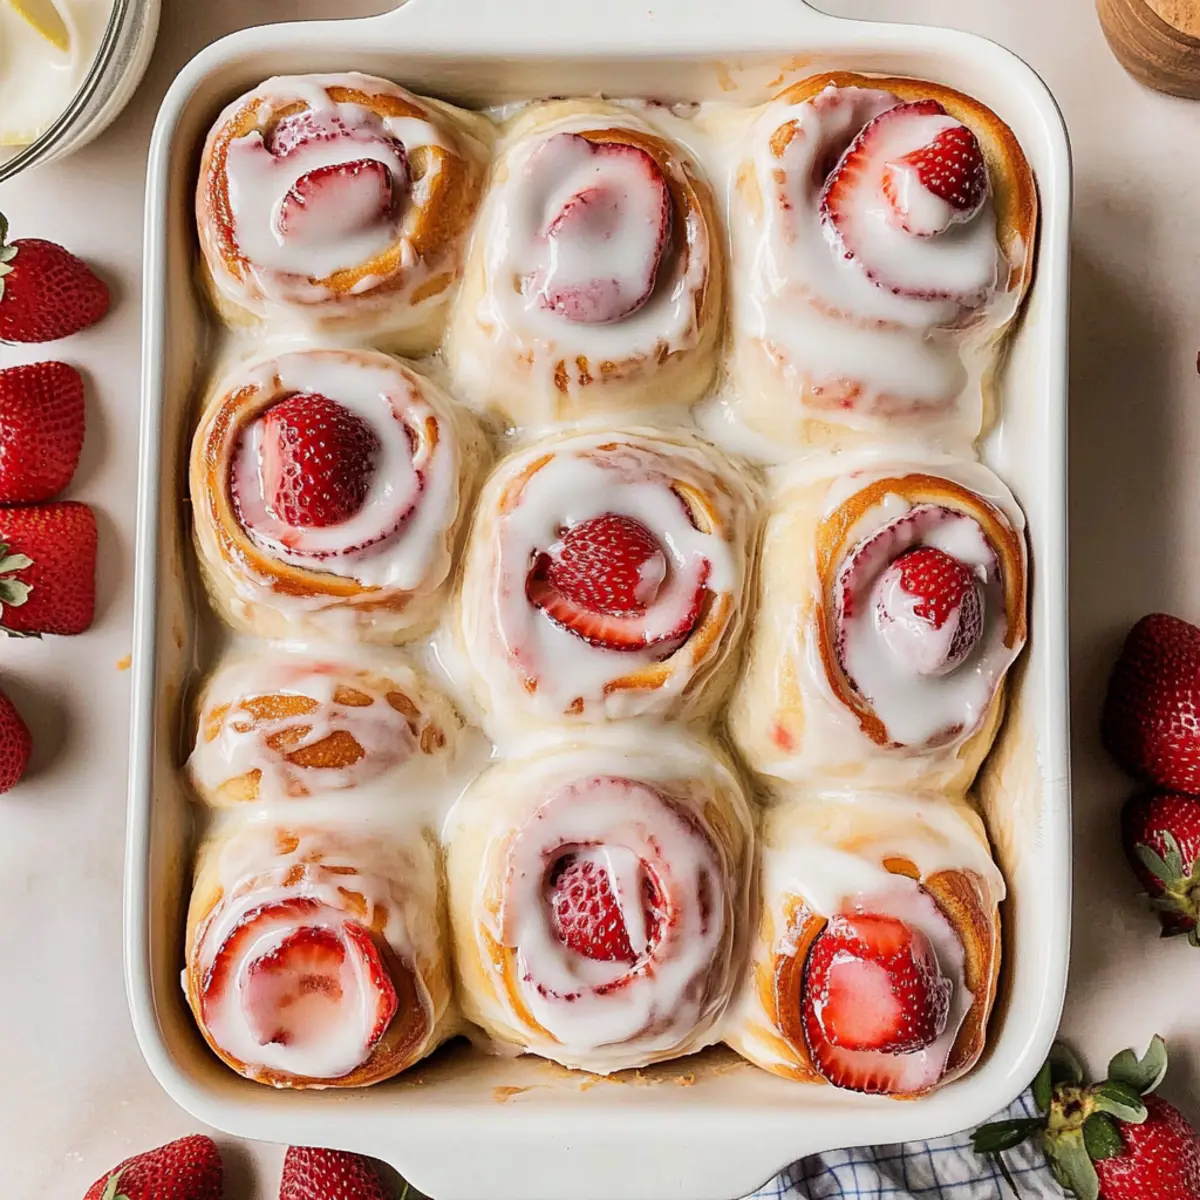
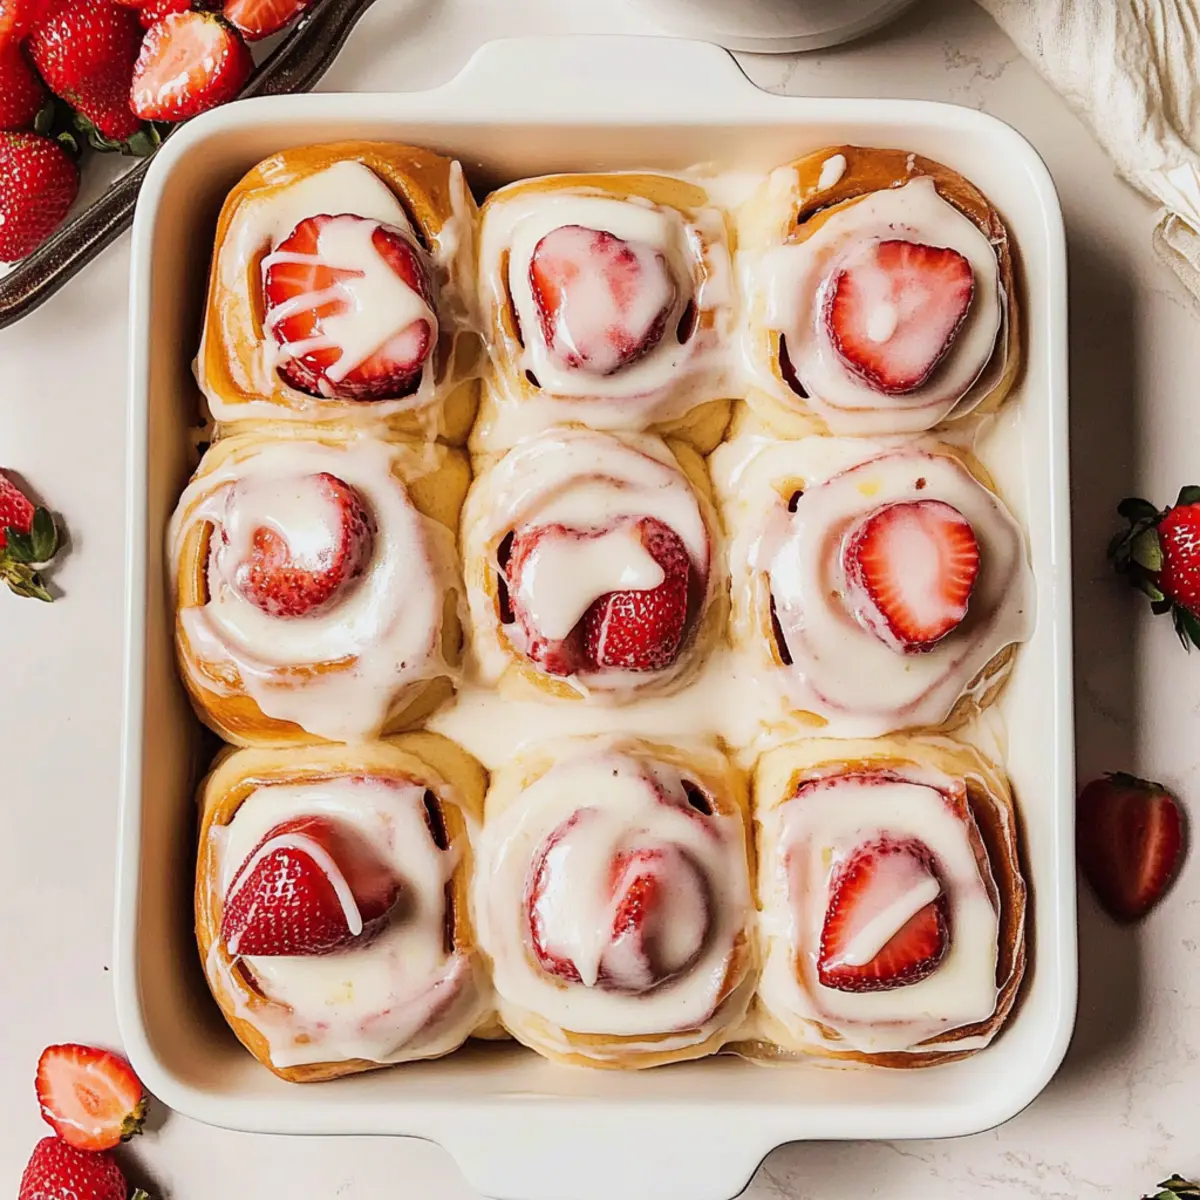
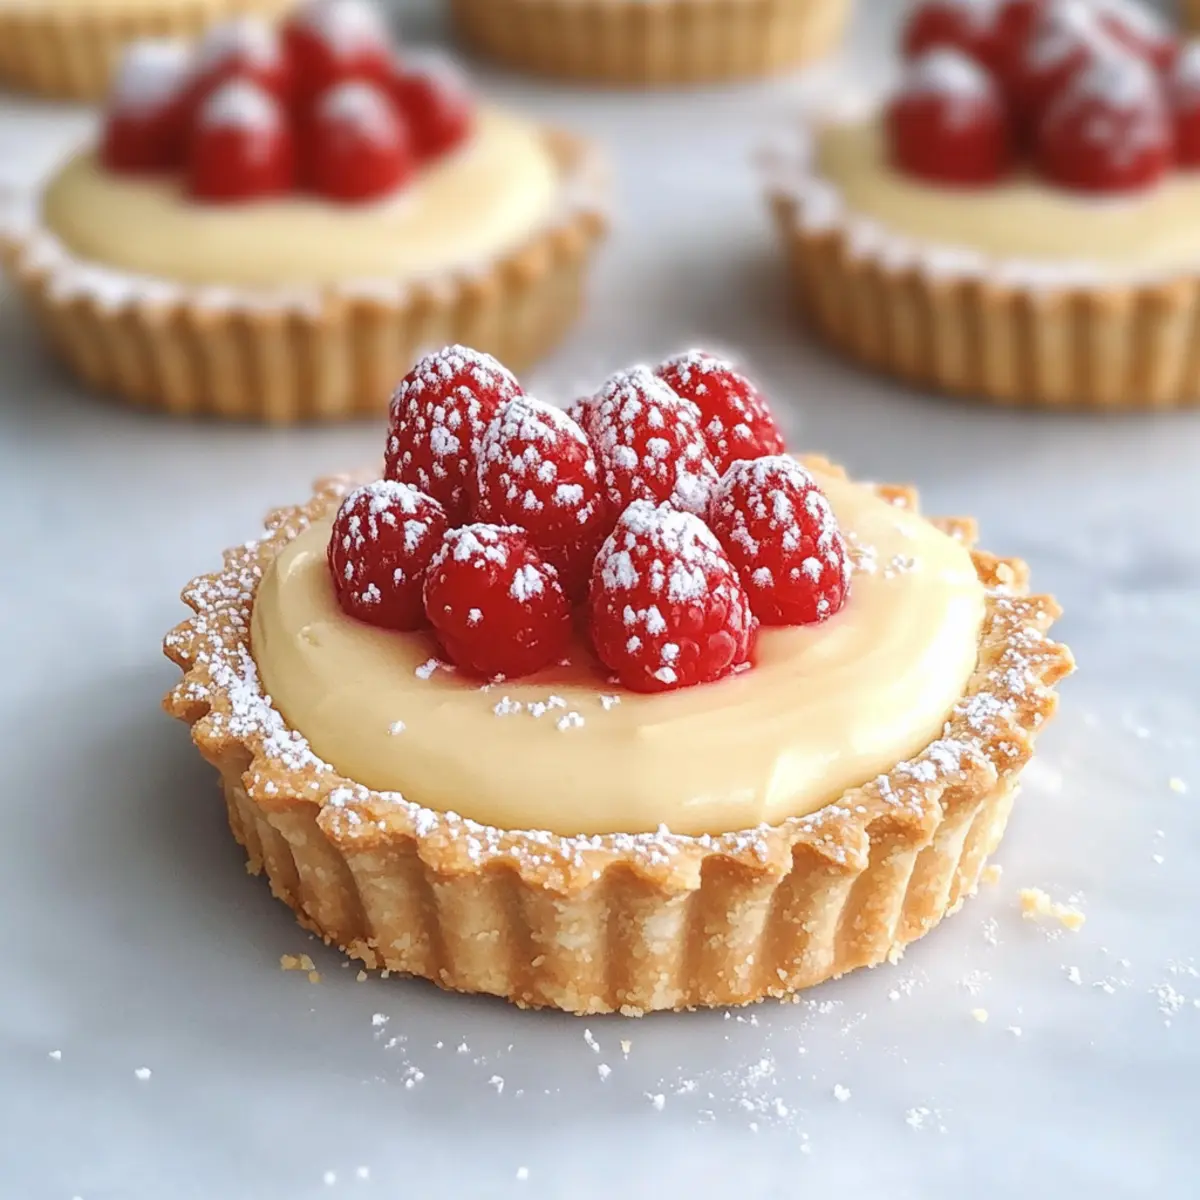
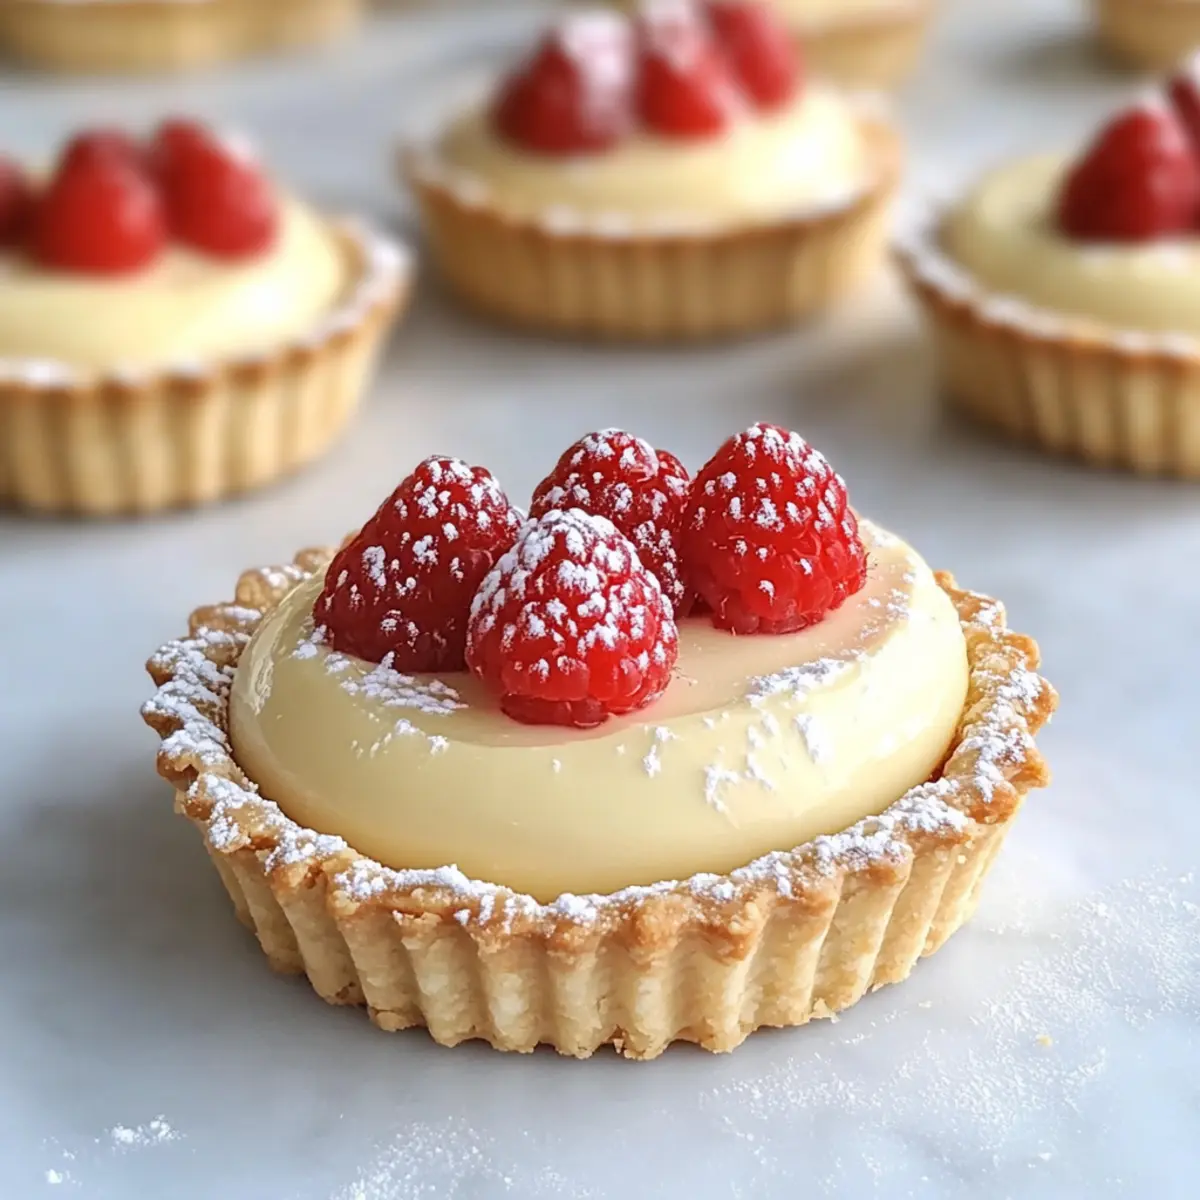
Fresh Berries: Juicy strawberries or raspberries provide a tart contrast, cutting through the cake’s richness and adding a refreshing touch.
-
Vanilla Ice Cream: Creamy, smooth ice cream melts perfectly alongside the warm cake, creating a delightful harmony of flavors and texture.
-
Whipped Cream: Light, airy whipped cream adds a cloud-like fluffiness, enhancing the cake's moistness while providing a delightful visual appeal.
-
Chocolate Sauce: Drizzling rich chocolate sauce over each slice introduces a sweet, luxurious touch, making every bite an indulgent treat.
-
Caramel Sauce: A rich, buttery caramel complements the cake's flavor, enhancing the sweet notes while adding a delightful sticky texture.
-
Coffee or Espresso: Pairing with hot, brewed coffee or a strong espresso brings out the cake's warm tones and adds a cozy café vibe.
-
Tea: A fragrant cup of Earl Grey or English Breakfast balances the cake's sweetness and is perfect for afternoon gatherings or tea parties.
Imagine savoring a slice with a glass of sweet dessert wine—an undeniably elegant experience that adds warmth to any gathering!
Make Ahead Options
These French Butter Cake preparations are perfect for busy home cooks seeking to save time without sacrificing flavor! You can prepare the batter up to 24 hours in advance by mixing all the wet and dry ingredients and storing it in an airtight container in the fridge. Just remember to let the mixture come to room temperature before baking to ensure even consistency. Alternatively, you can bake the cake ahead of time and store it covered at room temperature for up to 3 days. To maintain its deliciousness, simply reheat in the oven briefly before serving. This way, you'll have an indulgent French Butter Cake ready for any occasion with minimal effort!
French Butter Cake Recipe Variations
Feel free to explore these delightful twists on the classic French Butter Cake to make it your own!
-
Dairy-Free: Substitute unsalted butter with vegan butter and replace sour cream with dairy-free yogurt for a rich, creamy finish without dairy.
-
Gluten-Free: Use a 1:1 gluten-free flour blend in place of regular cake flour for a deliciously light texture suitable for everyone.
-
Citrus Zest: Incorporate a teaspoon of lemon or orange zest into the batter to brighten and enhance the flavor profile with a refreshing twist.
-
Nutty Delight: Add chopped walnuts or pecans into the batter for an unexpected crunch that perfectly complements the cake’s buttery richness.
-
Chocolate Lovers: Fold in chocolate chips or cacao nibs for a decadent chocolate surprise that blends beautifully with the sweetness.
-
Fortified Flavor: Drizzle a bit of rum or bourbon into the batter or sprinkle a few teaspoons over the cooled cake for an adult indulgence.
-
Jam Swirl: Before baking, pour half the batter into the pan, swirl in your favorite jam, and top with the remaining batter for a fruity surprise.
-
Spiced-Up: Add a teaspoon of cinnamon or a pinch of nutmeg to introduce warm spices that create a cozy aroma and depth to the flavor profile.
This cake is versatile, and these variations can transform your French Butter Cake recipe into something truly unique. Once you've mastered this cake, you might enjoy creating delightful pairings with a Chocolate Pudding Cake as a celebratory dessert, or savor the layered goodness of a Crockpot Butter Chicken for a hearty meal. Happy baking!
How to Store and Freeze French Butter Cake
Room Temperature: Keep the cake covered at room temperature for up to 3 days to maintain its moist texture; use a cake dome or wrap in plastic wrap.
Fridge: If you prefer a chilled option, store the cake in the fridge, but consume within 5 days for the best flavor and texture.
Freezer: For longer storage, wrap individual slices in plastic wrap then foil, keeping them in the freezer for up to 3 months; thaw at room temperature before enjoying.
Reheating: Warm slices in the microwave for 10-15 seconds or enjoy at room temperature for a delightful treat, still full of that rich French butter cake flavor.
Expert Tips for French Butter Cake
-
Cool the Butter: Let your brown butter cool before adding the eggs; this prevents any scrambling, ensuring a smooth batter.
-
Use Room Temperature Ingredients: For the best mixing, ensure your eggs and sour cream are at room temperature; this promotes a light, fluffy cake.
-
Don’t Rush Browning: Take your time with the butter; the nutty flavor developed during this step is the heart of this French Butter Cake recipe.
-
Check for Doneness: Insert a toothpick in the center; it should come out with a few moist crumbs, not wet batter, for the perfect texture.
-
Pan Prep Matters: Properly grease and flour your cake pan to avoid sticking, ensuring an easy release and beautiful presentation.
French Butter Cake Recipe FAQs
How do I choose the best butter for this cake?
Absolutely! For this French Butter Cake, using unsalted butter is crucial as it allows you to control the saltiness of the cake. I recommend selecting high-quality butter for the best flavor. Look for a product with a rich, creamy taste, and if you want to elevate the cake even further, try browning the butter for a nutty flavor that takes the cake to new heights.
How should I store leftover cake and how long will it last?
After baking, keep your French Butter Cake covered at room temperature for up to 3 days. It’s best to use a cake dome or wrap it in plastic wrap to maintain its moisture. If you choose to refrigerate it, be sure to enjoy it within 5 days, as refrigeration can alter the texture a bit.
Can I freeze leftover cake, and if so, how?
Definitely! Freezing is a fantastic way to extend the life of your French Butter Cake. First, slice the cake into individual portions. Wrap each slice tightly in plastic wrap and then in aluminum foil to protect from freezer burn. You can freeze these slices for up to 3 months. When you're ready to enjoy, simply thaw them at room temperature for a few hours, or pop them in the microwave for about 10-15 seconds for a warm treat!
What do I do if my cake doesn't rise properly?
If your French Butter Cake doesn’t rise adequately, there might be a few culprits. First, ensure your baking powder is fresh as it loses potency over time; you can test it by adding a bit to hot water—if it bubbles vigorously, it's still good! Also, be careful not to overmix the batter as this can lead to a dense cake. Finally, make sure your oven is preheated to 350°F and avoid opening the oven door during baking, as this can disrupt the rising process.
Are there dietary considerations I should keep in mind with this recipe?
Very! If you're baking for someone with allergies, feel free to substitute dairy ingredients. You can use vegan butter in place of unsalted butter, and dairy-free sour cream works perfectly without sacrificing texture. Additionally, if gluten is a concern, consider using a gluten-free flour blend as a substitute for cake flour, ensuring that all other ingredients you use are certified gluten-free as well.
Decadent French Butter Cake Recipe for Ultimate Indulgence
Ingredients
Equipment
Method
- Brown the Butter: In a medium saucepan over medium heat, melt unsalted butter, stirring occasionally. Cook until golden brown and nutty aroma is released, about 5 minutes. Cool for 10 minutes.
- Mix Wet Ingredients: In a large mixing bowl, combine cooled brown butter and granulated sugar. Whisk until smooth. Add eggs one at a time, beating well. Stir in vanilla extract.
- Combine Dry Ingredients: Sift cake flour, baking powder, and salt in a separate bowl. Fold into wet ingredients until just combined. Add sour cream and milk, mixing until smooth.
- Prepare for Baking: Grease and flour a 9-inch round cake pan. Pour batter into the pan, smoothing the top. Optionally, sprinkle sugar on top for a caramelized crust.
- Bake the Cake: Preheat oven to 350°F (175°C). Bake for 35-40 minutes until the top is golden brown and a toothpick comes out with a few moist crumbs.
- Cool and Serve: Let the cake cool in the pan for 10 minutes, then transfer to a wire rack. Serve warm or at room temperature with fresh berries and whipped cream.