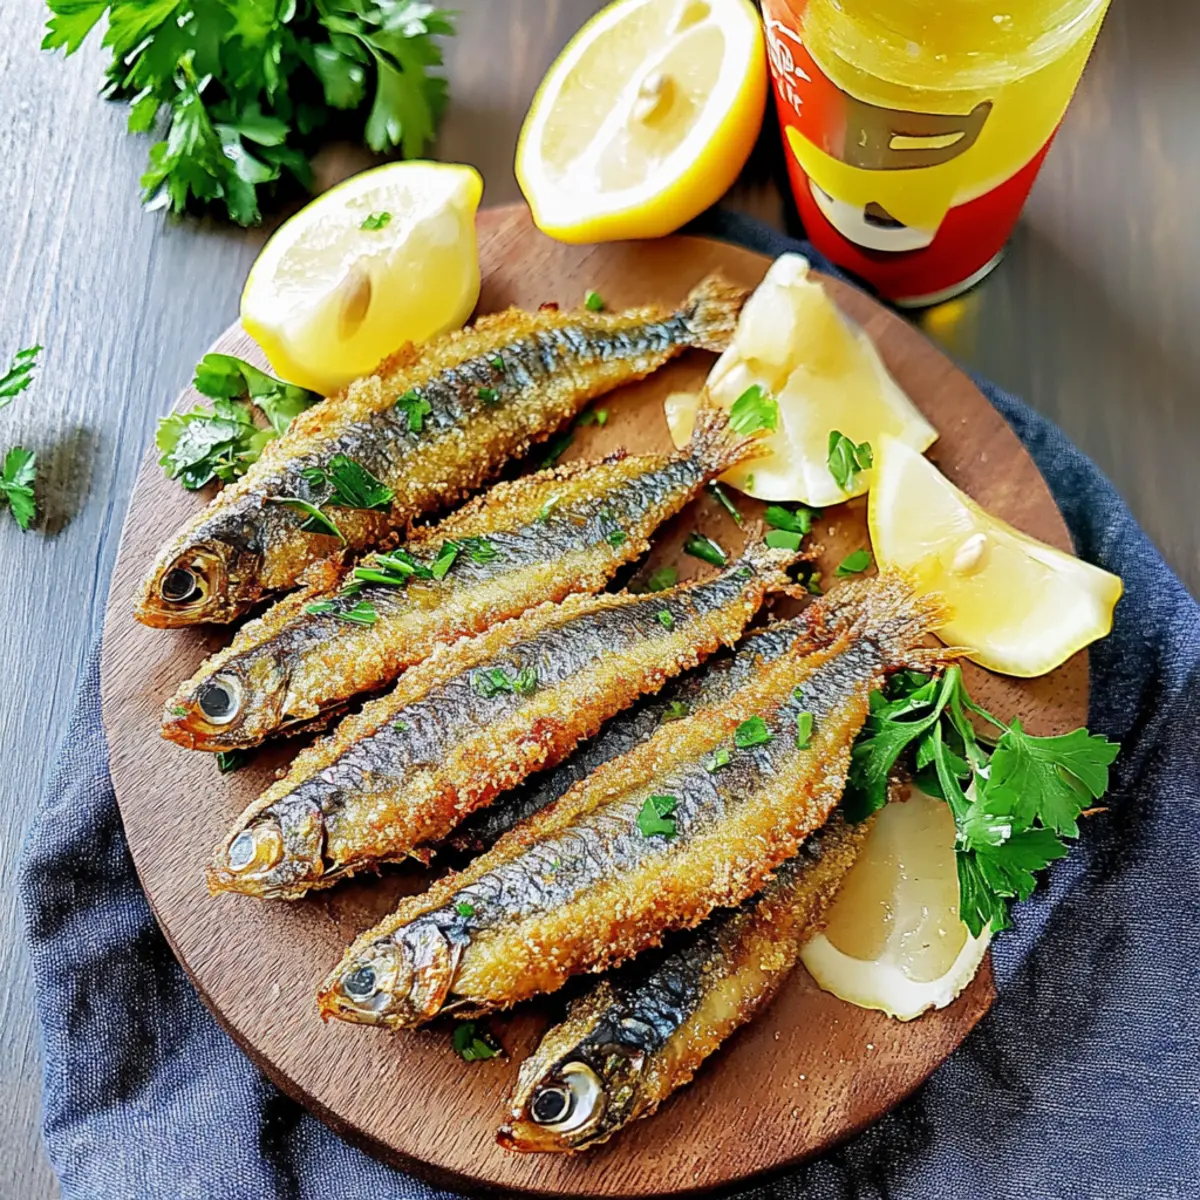
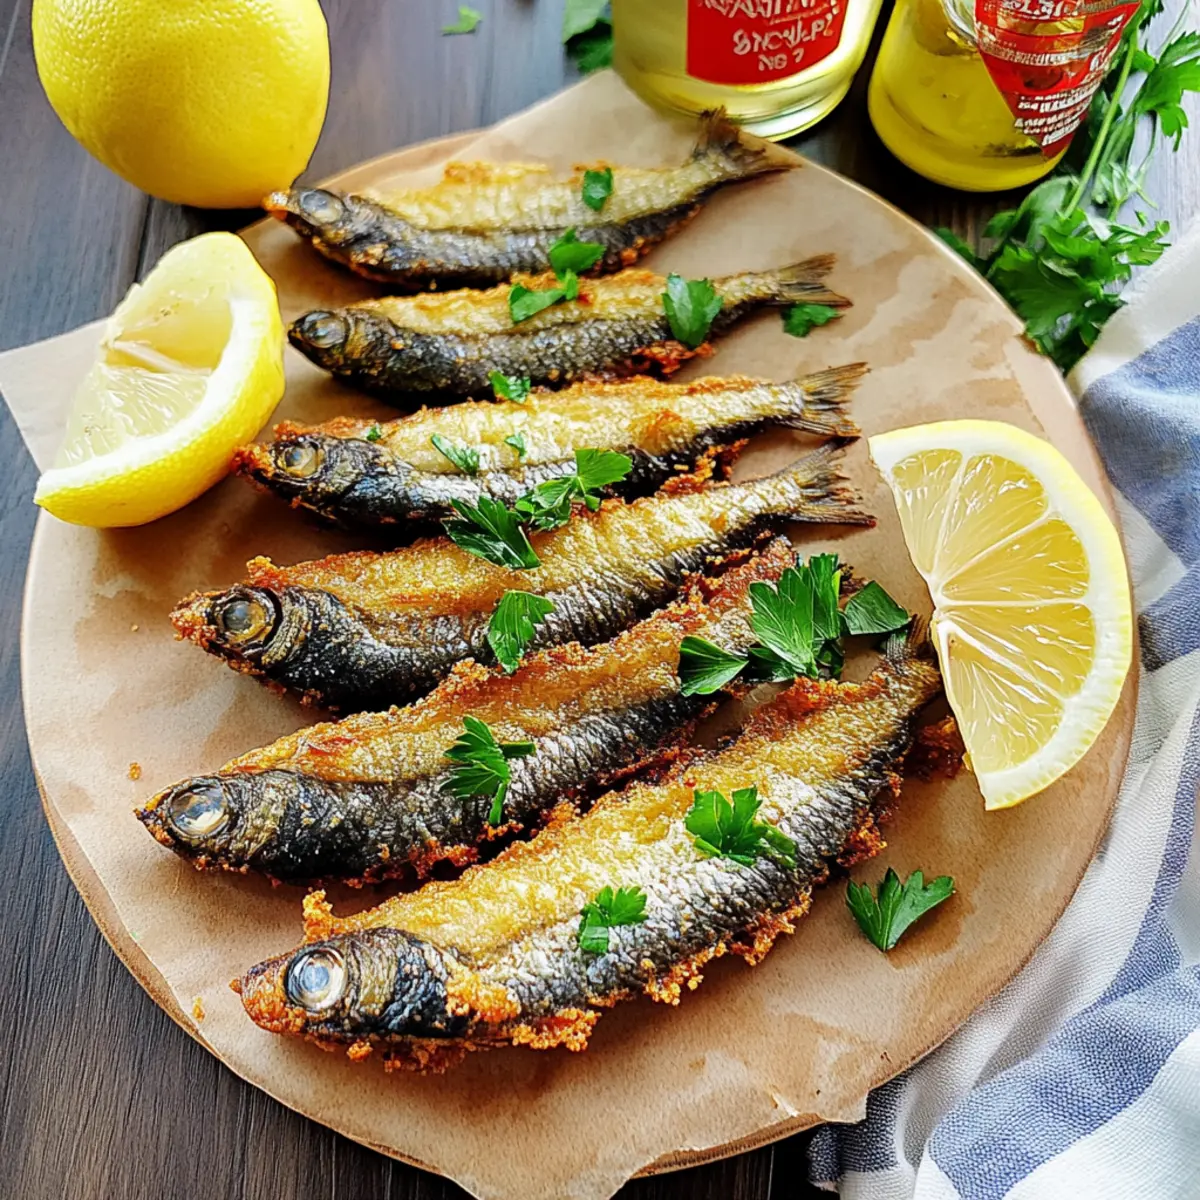
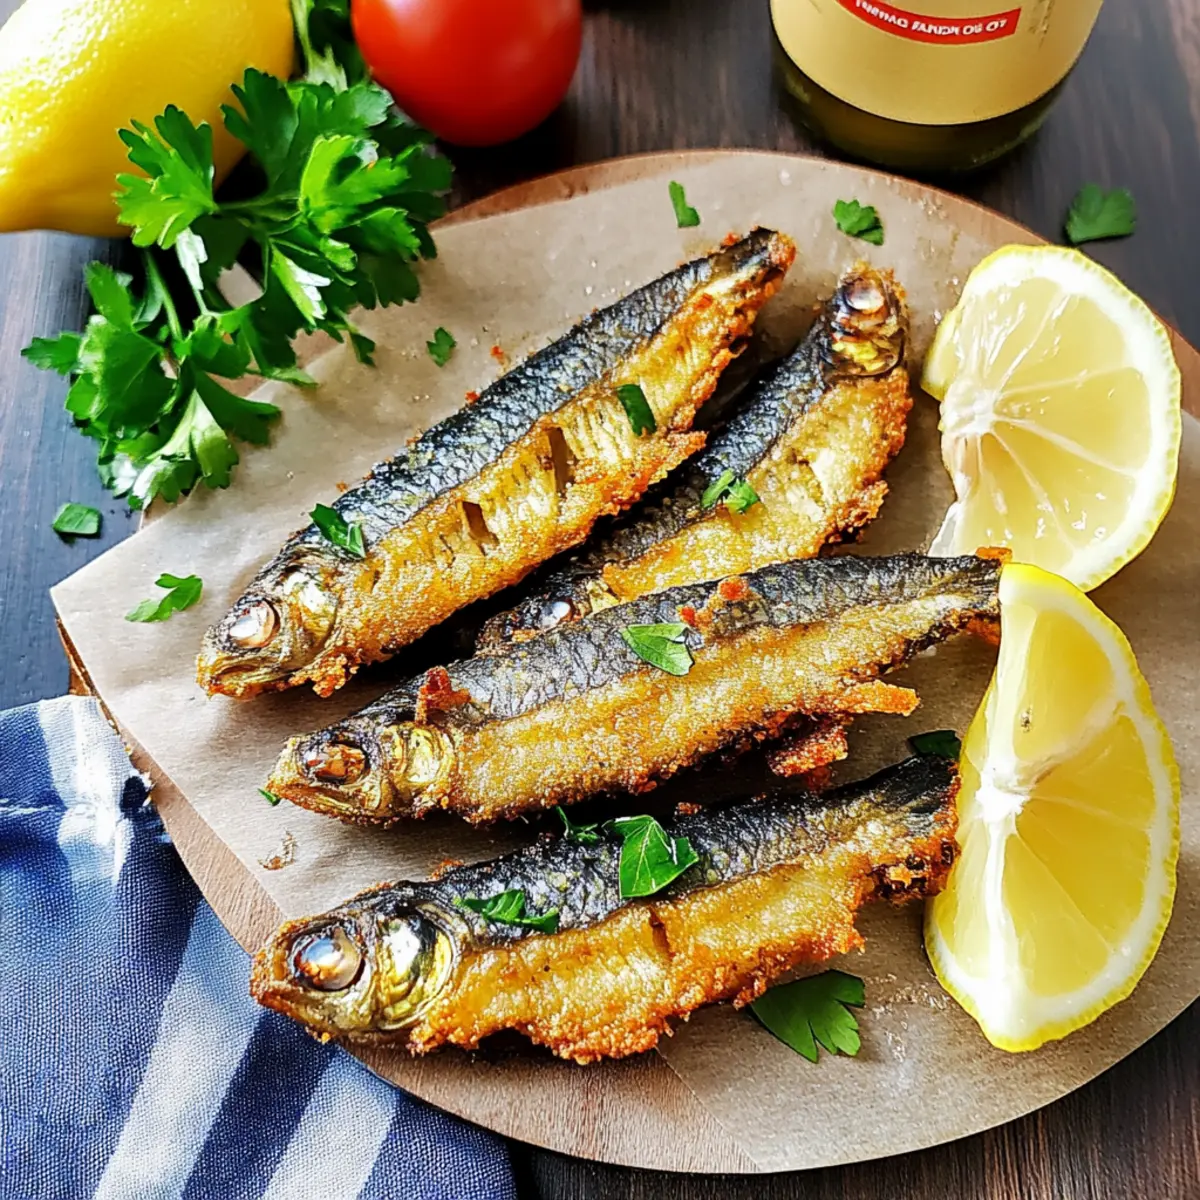
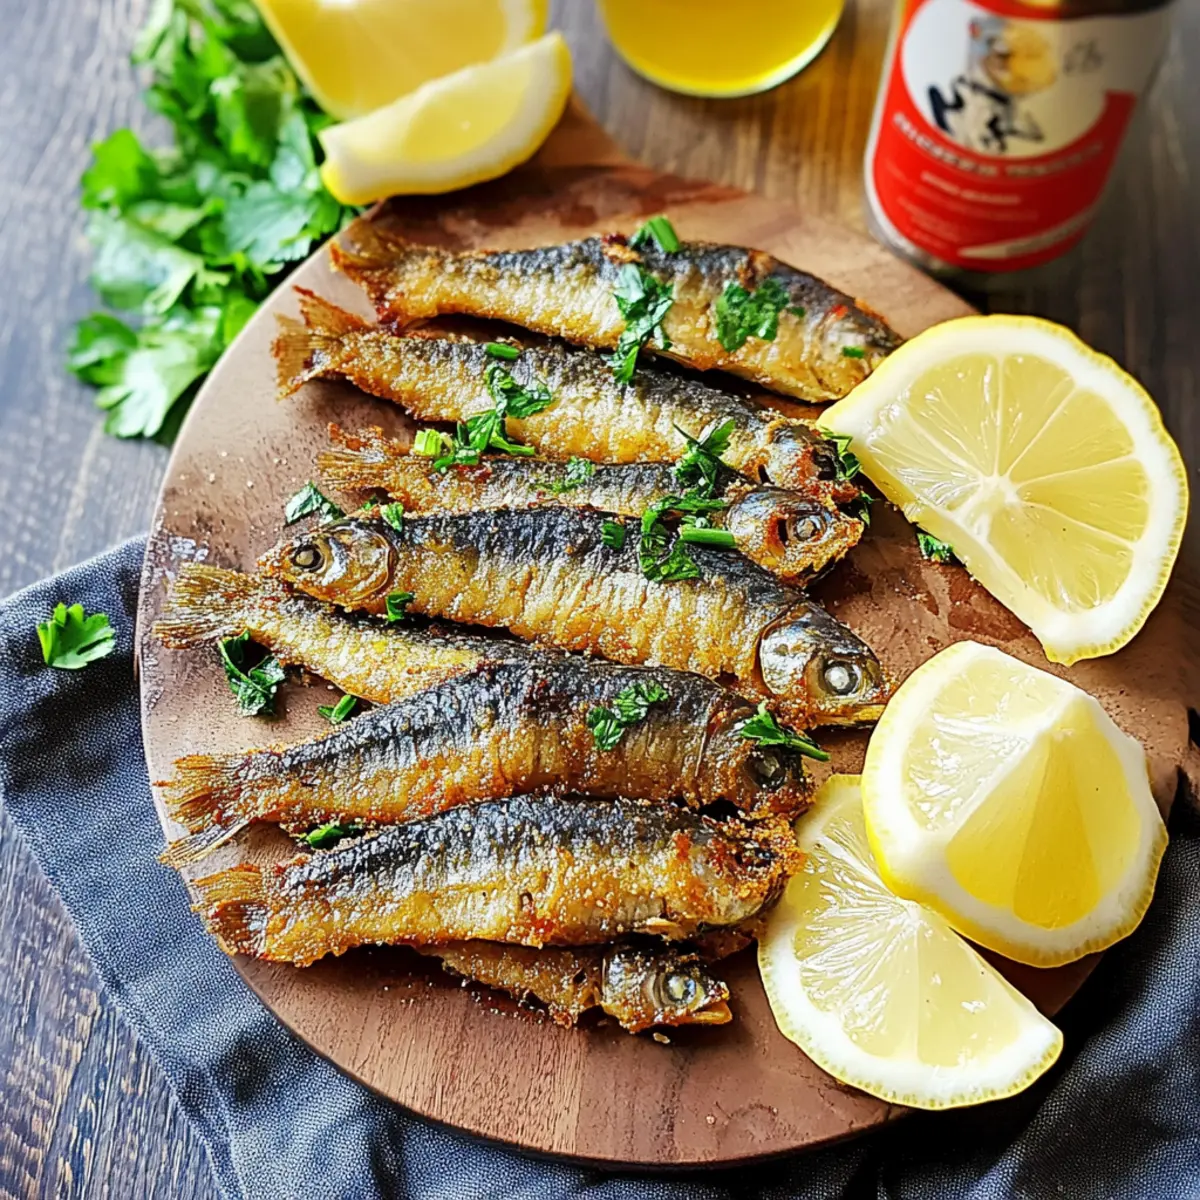
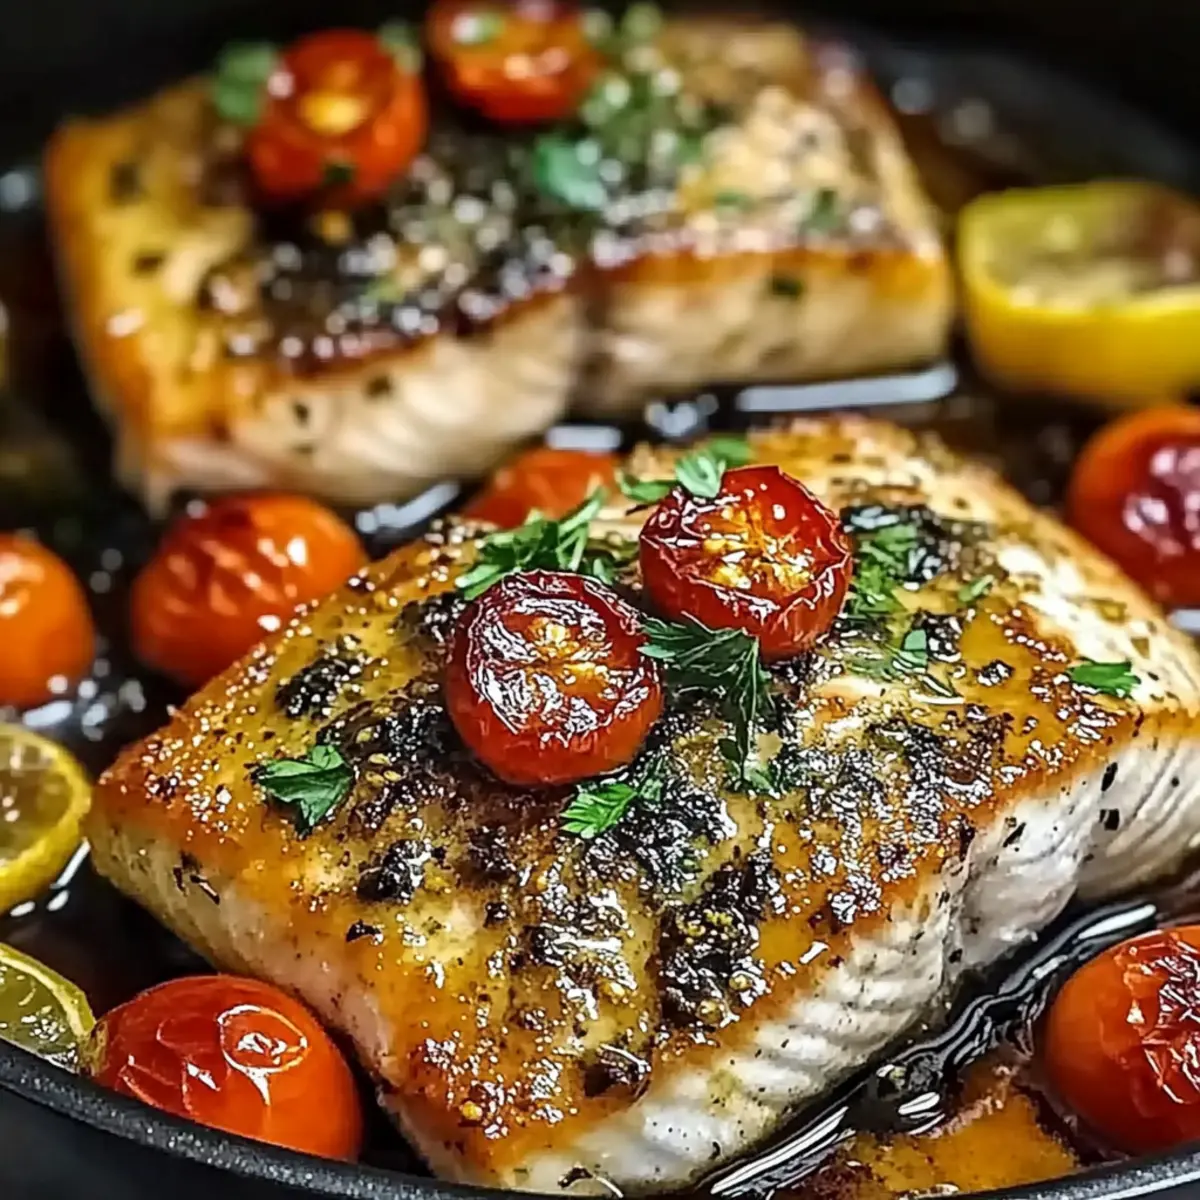
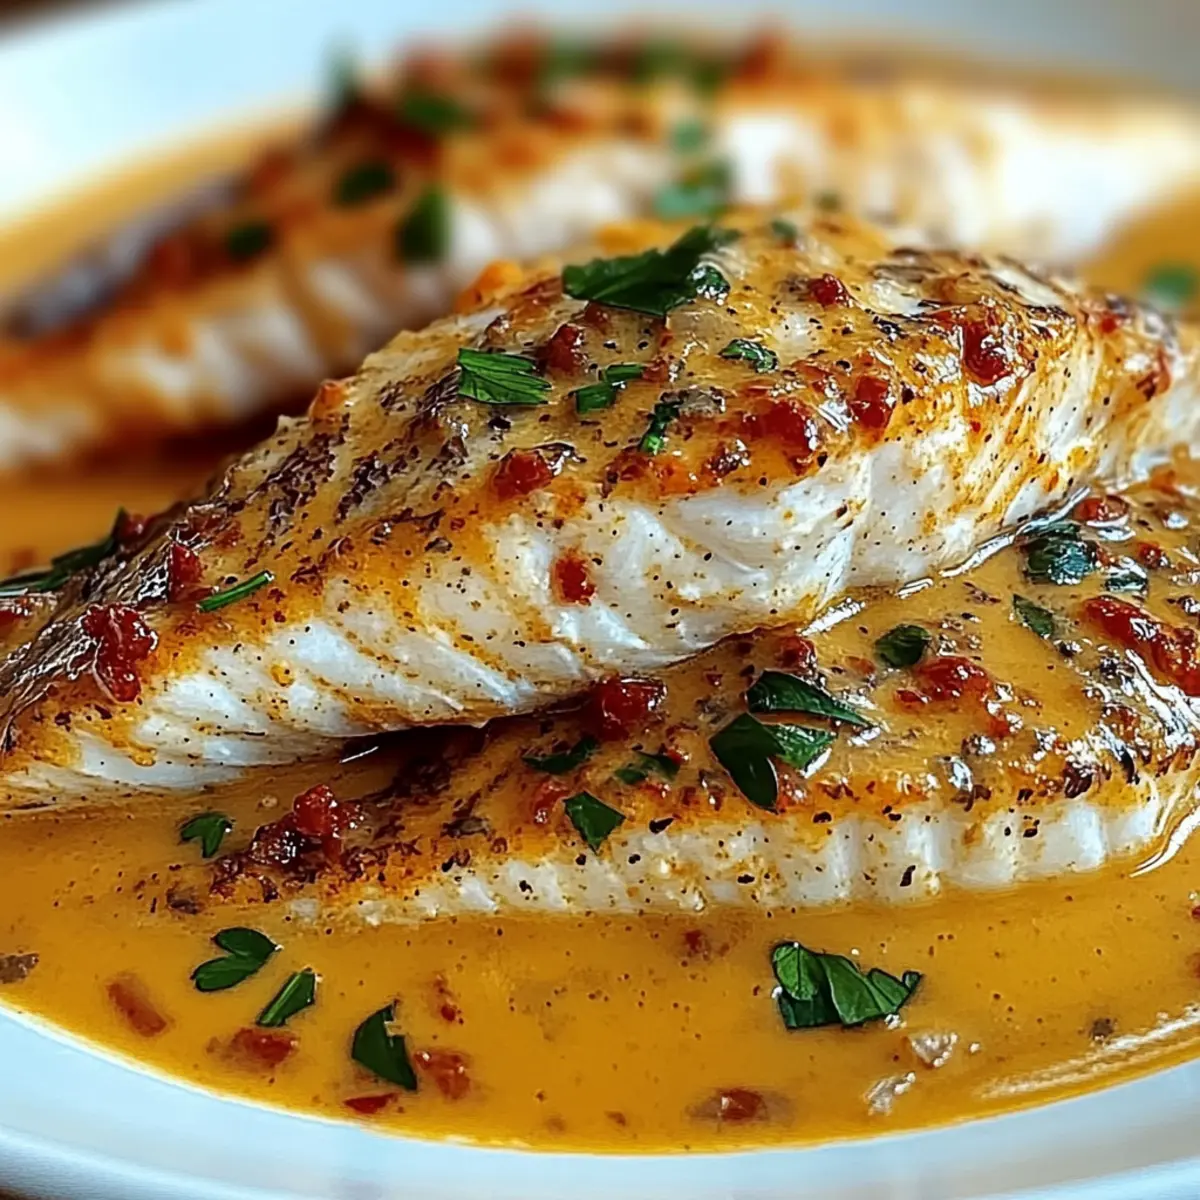
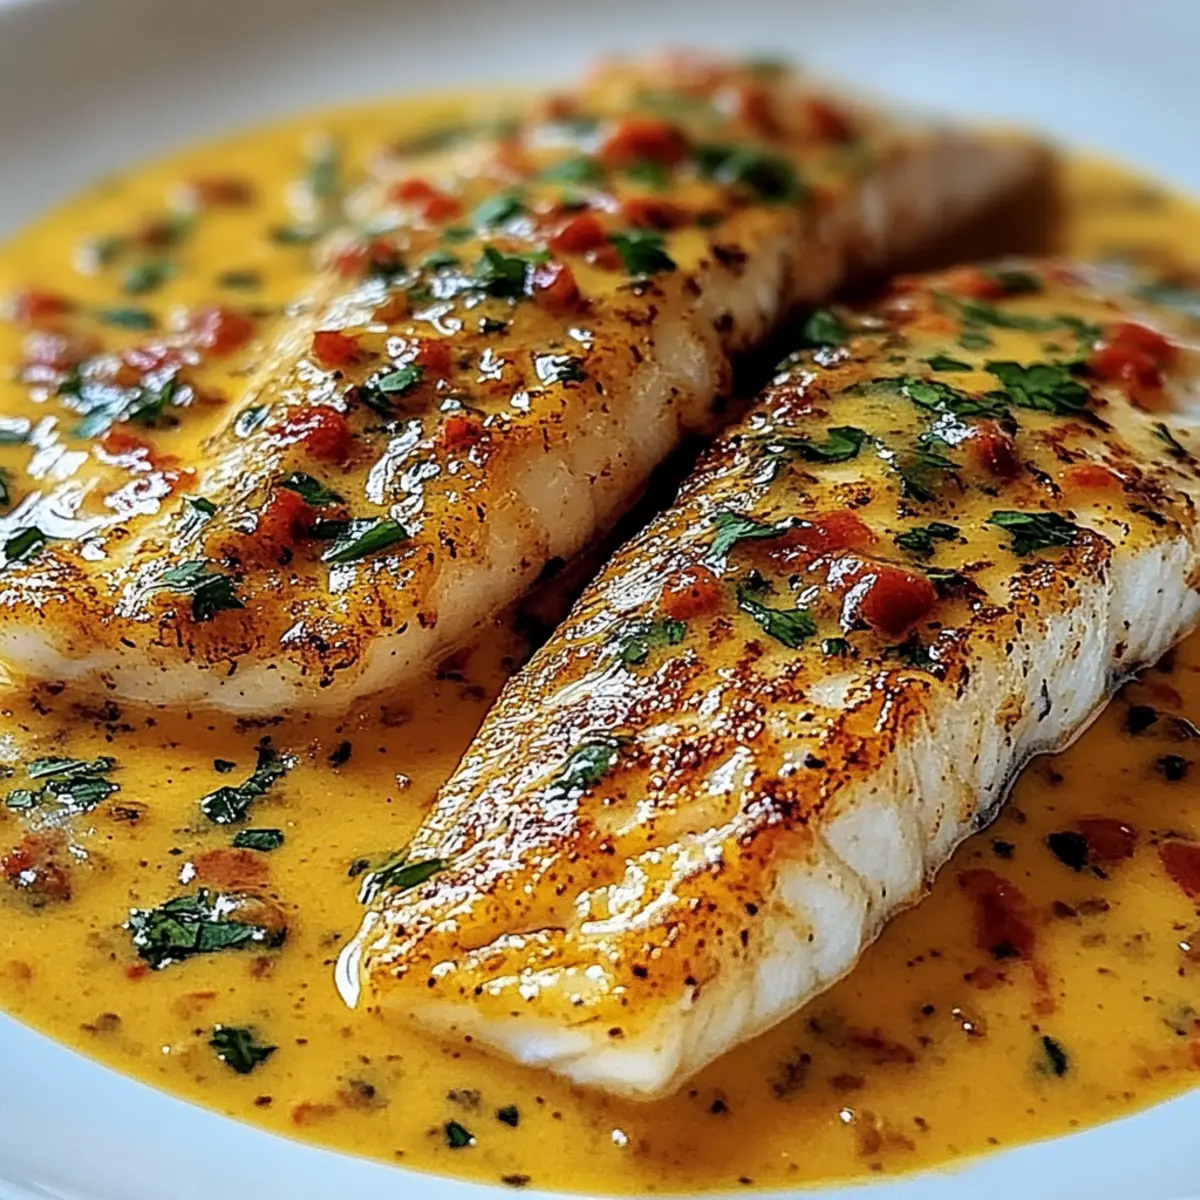
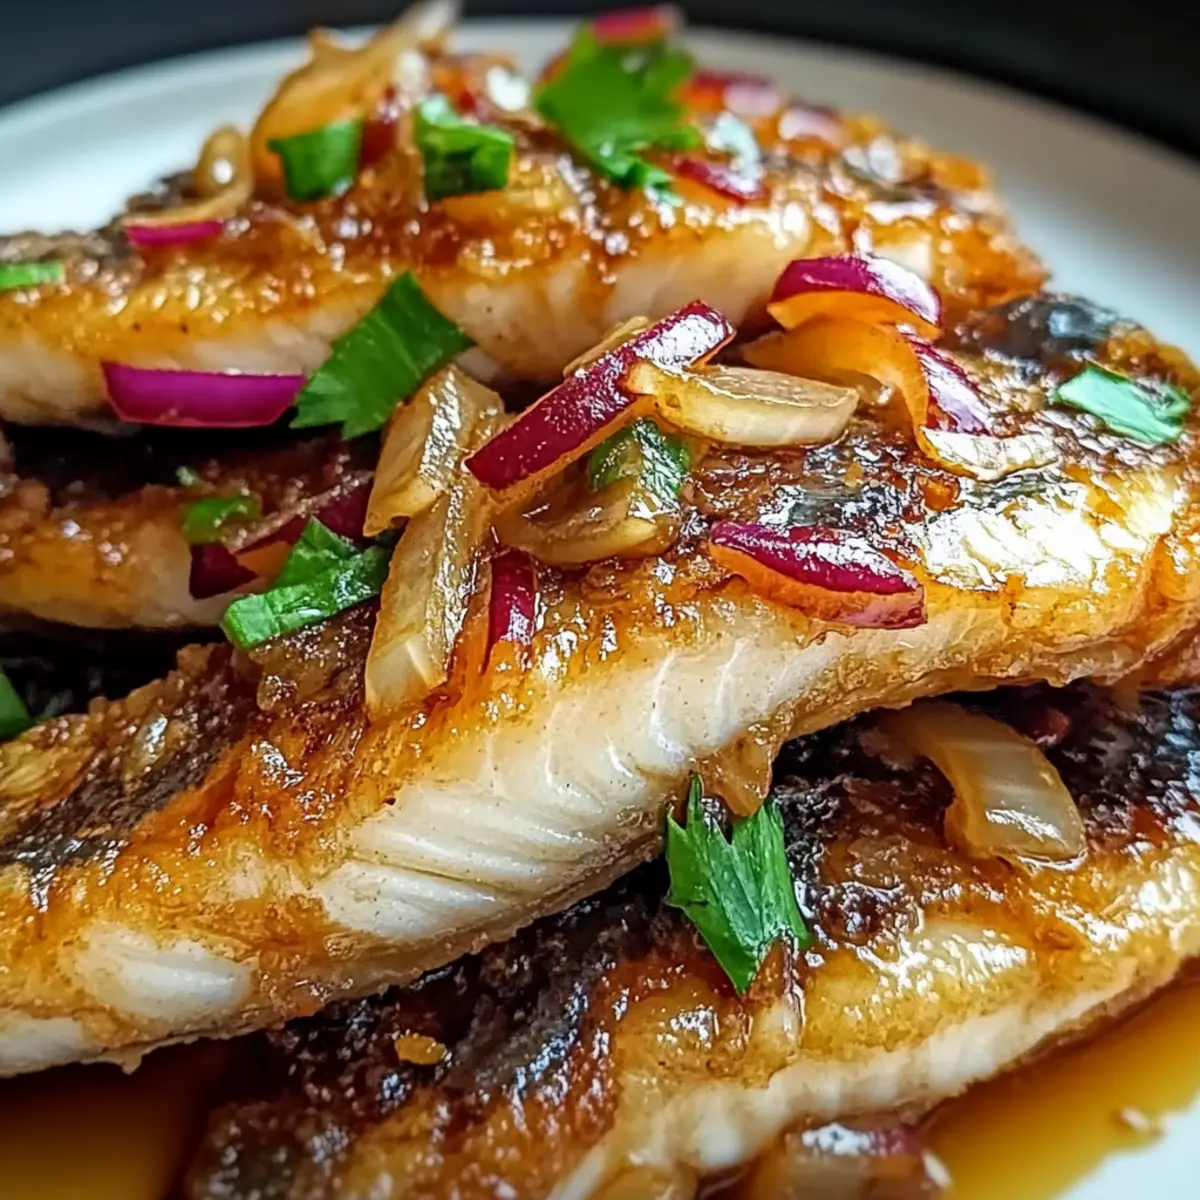
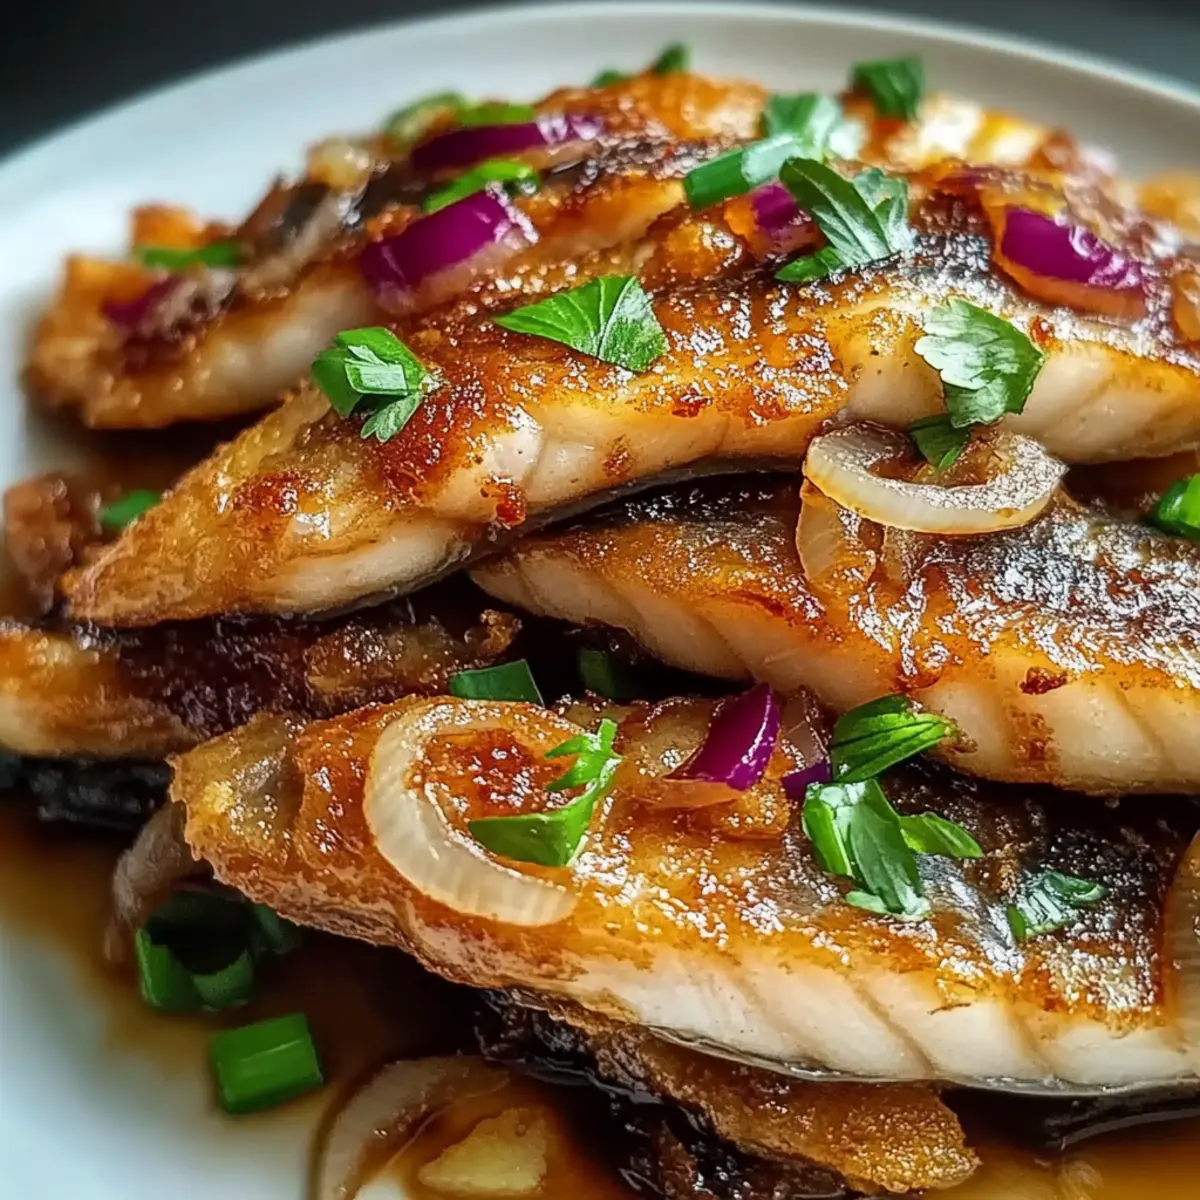
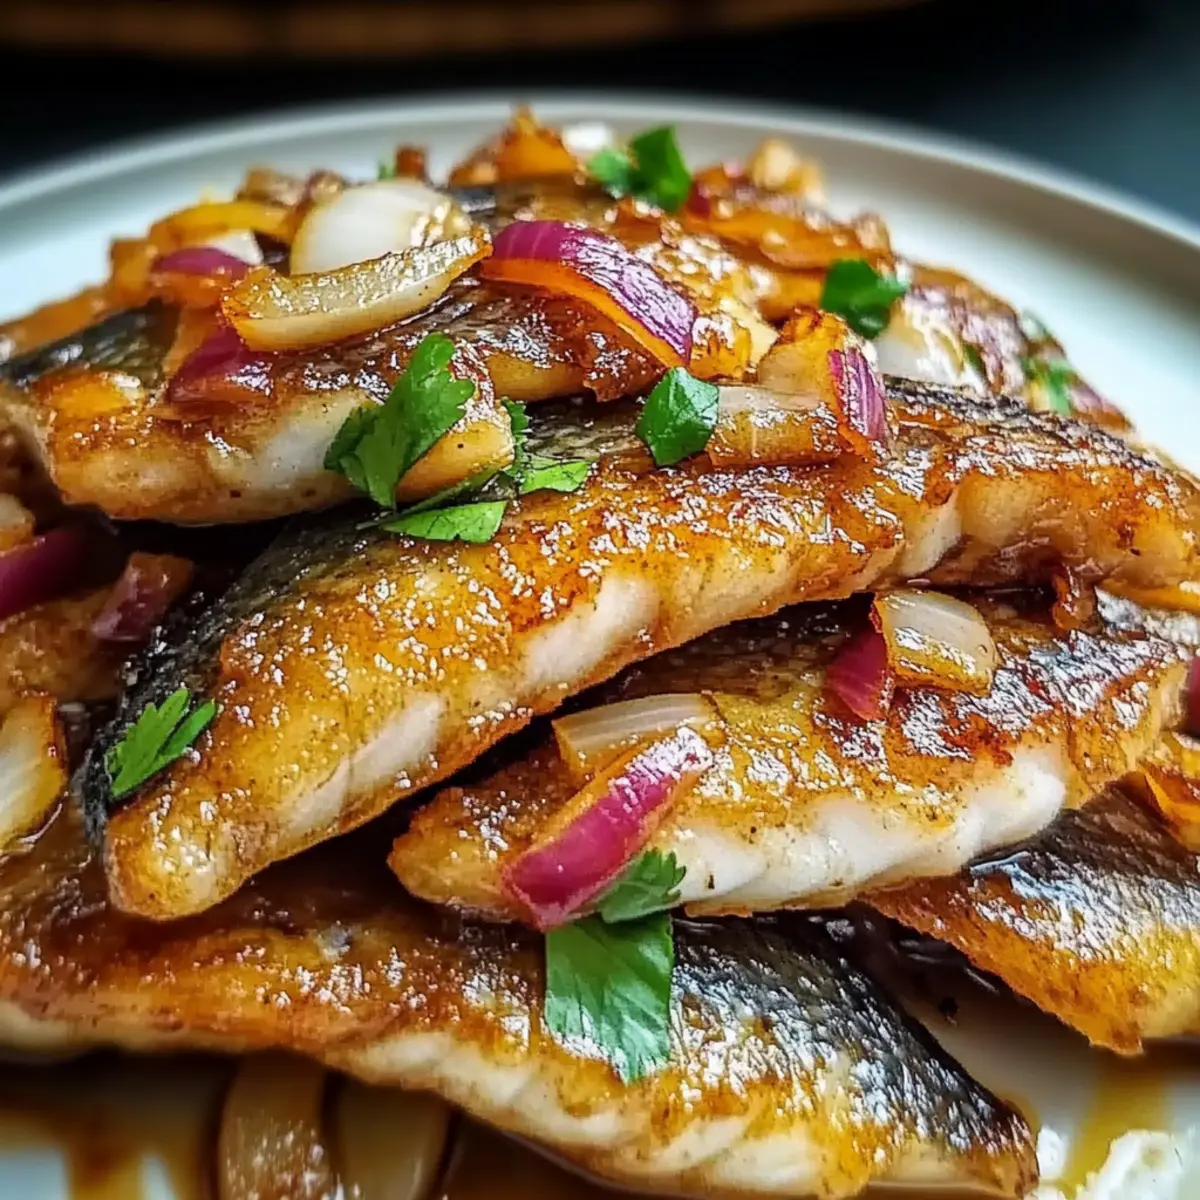
As the sizzle of the frying pan fills the kitchen, the enticing scent of Ginger Onion Fried Sea Bass wafts through the air, beckoning me closer. This dish is not just a quick dinner solution; it's a heartwarming way to bond with family over something delicious and homemade. With its beautifully flaky fish and fragrant ginger-onion sauce, it’s a perfect balance of simplicity and flavor that even the busiest home-chefs can whip up on a weeknight. Plus, this recipe is a true crowd-pleaser that offers flexibility—feel free to substitute sea bass with whatever firm fish you have on hand. Are you ready to bring the vibrant tastes of Asian cuisine to your dinner table tonight?
Why is Ginger Onion Fried Sea Bass a Must-Try?
Simplicity at Its Best: This quick and easy recipe requires minimal ingredients, making it perfect for busy weeknights.
Incredible Flavor: The combination of ginger and onion creates a fragrant, mouthwatering sauce that perfectly enhances the delicate flavor of the fish.
Versatile Options: While sea bass is a star, feel free to switch it out for cod or tilapia, accommodating whatever you have in your fridge.
Family-Friendly Delight: A generally well-received dish, kids and adults alike will savor every bite, making family dinner a joyous occasion.
Quick Cooking Time: In just 20 minutes, you can have a delicious meal ready to serve, allowing you to enjoy more time with your loved ones.
Get creative and try serving this dish alongside some stir-fried vegetables or pair it with steamed rice for a complete meal that’s as satisfying as it is tasty!
Ginger Onion Fried Sea Bass Ingredients
For the Fish
• Sea Bass – A tender and flaky white fish that pairs beautifully with the ginger and onion flavors.
• Cornstarch – Helps create a crispy exterior when frying; you can substitute it with arrowroot powder for a gluten-free option.
For the Sauce
• Ginger – Fresh ginger provides an aromatic and slightly spicy note that enhances the dish.
• Onion – Adds sweetness and depth; yellow onions are common, but other varieties work as well.
• Soy Sauce – An umami enhancer that gives the dish a savory depth; opt for low-sodium soy sauce for a healthier choice.
• Salt & Pepper – Essential for enhancing the overall flavor; adjust to your taste preference.
For Frying
• Vegetable Oil – This is the cooking fat used for frying, contributing to the dish's crispiness; you can substitute it with canola or peanut oil.
Step‑by‑Step Instructions for Ginger Onion Fried Sea Bass
Step 1: Prepare the Sauce
In a medium bowl, combine thinly sliced ginger and onions with soy sauce, salt, and pepper to taste. Mix gently until the ingredients are well coated. Let this mixture sit while you prepare the sea bass, allowing the flavors to meld beautifully, ensuring the Ginger Onion Fried Sea Bass will be bursting with flavor.
Step 2: Coat the Fish
Pat the sea bass fillets dry using paper towels to remove excess moisture. Lightly coat each side with cornstarch, ensuring an even layer for a crispy texture when frying. This step is crucial for achieving that perfect crunch, so take your time to cover the fish thoroughly before moving on to cooking.
Step 3: Heat the Oil
In a large skillet, pour in enough vegetable oil to cover the bottom of the pan and heat it over medium-high heat until shimmering, about 3–4 minutes. To test if the oil is ready, drop a tiny bit of cornstarch into it; if it sizzles, you’re good to go! Properly heated oil is key for the best Ginger Onion Fried Sea Bass.
Step 4: Fry the Fish
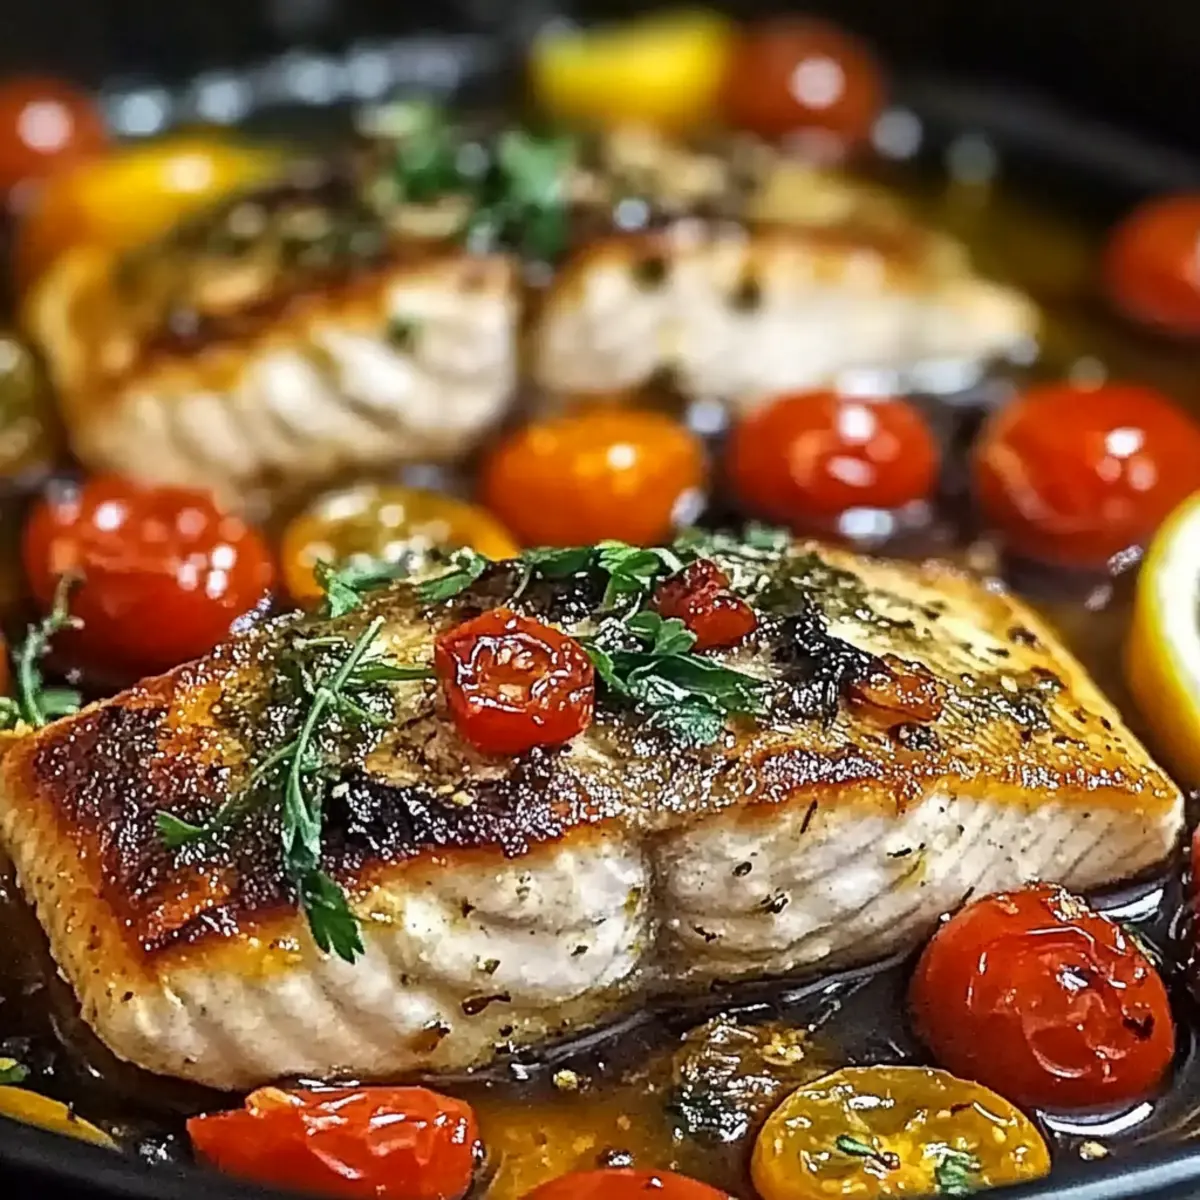
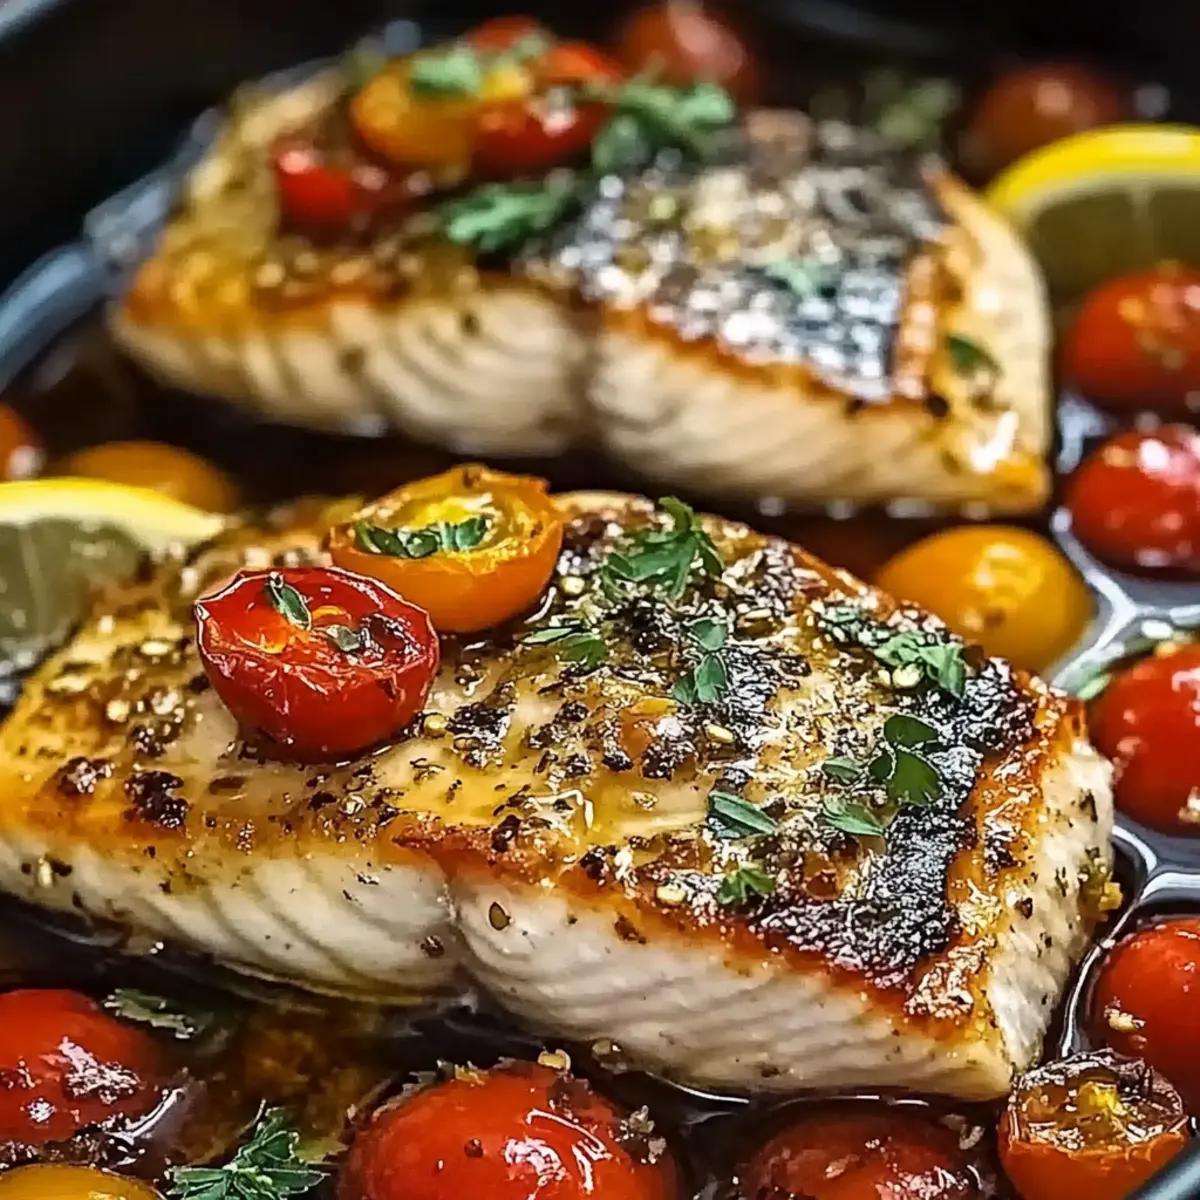
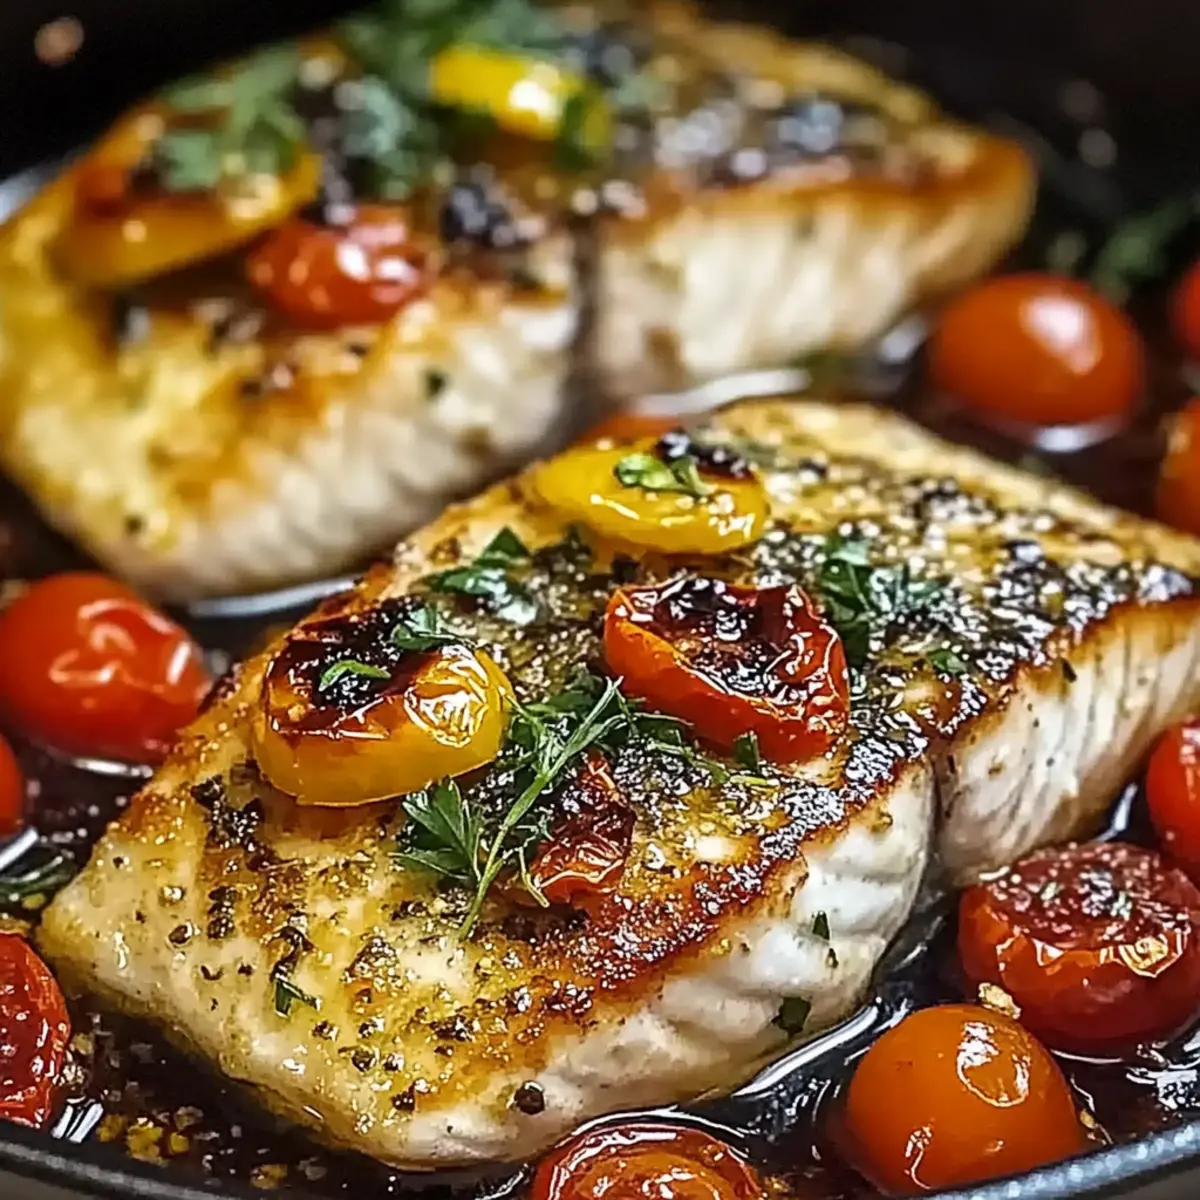
Carefully place the coated sea bass fillets in the hot oil, ensuring not to overcrowd the pan. Fry for about 3–4 minutes on each side or until golden brown and the fish flakes easily with a fork. Observe the color change as it cooks; a perfect fillet will have a crispy exterior and tender interior.
Step 5: Add the Sauce
Once the sea bass is beautifully fried, pour the prepared ginger onion sauce over the fish in the skillet. Reduce the heat to low and let it simmer for about 1–2 minutes. This allows the flavors to infuse the fish, creating a delicious and aromatic profile that makes the Ginger Onion Fried Sea Bass truly appealing.
Step 6: Serve the Dish
Carefully transfer the sea bass to a serving platter, ensuring to drizzle any remaining sauce from the pan over the top. Garnish with additional slices of ginger and onion if desired, adding a beautiful touch. Serve the Ginger Onion Fried Sea Bass immediately, paired with steamed rice or stir-fried vegetables for a complete meal.
What to Serve with Ginger Onion Fried Sea Bass
As you savor the delightful flavors of ginger and onion mingling with your perfectly fried fish, it's essential to complement your meal with tasty sides that elevate the experience.
-
Steamed Jasmine Rice: Its fluffy texture is the ideal canvas for soaking up the savory ginger-onion sauce, providing a comforting balance to the dish.
-
Stir-Fried Bok Choy: The vibrant greens add a fresh, crunchy contrast, while their slight bitterness beautifully complements the sweetness of the sauce.
-
Crispy Spring Rolls: These bite-sized delights offer a satisfying crunch, filled with fresh vegetables to enhance the meal's overall flavor profile.
-
Sesame Cucumber Salad: This refreshing salad adds a touch of coolness with its crisp cucumbers and zesty dressing, making each bite vibrant and refreshing.
-
Hot Green Tea: A warm cup not only cleanses the palate but also enhances the meal with its aromatic notes, bringing a soothing end to your dining experience.
-
Mango Sticky Rice: For dessert lovers, this sweet treat wraps up dinner beautifully, balancing the savory flavors with its sweetness and creamy coconut finish.
Create a truly memorable dining experience by mixing and matching these pairings, ensuring every bite is as delicious as the Ginger Onion Fried Sea Bass itself!
Make Ahead Options
These Ginger Onion Fried Sea Bass are perfect for meal prep enthusiasts looking to save time on busy weeknights! You can prepare the vibrant ginger onion sauce up to 3 days in advance; just refrigerate it in an airtight container to keep flavors fresh. Additionally, you can coat the sea bass fillets in cornstarch and store them in the fridge for up to 24 hours. When you're ready to serve, simply fry the fish until golden brown and then pour the prepared sauce over the top, allowing it to simmer for a couple of minutes. This way, you'll achieve just as delicious results with minimal effort, making mealtime a breeze!
How to Store and Freeze Ginger Onion Fried Sea Bass
-
Fridge: Store leftover Ginger Onion Fried Sea Bass in an airtight container in the fridge for up to 3 days. This preserves its freshness and flavor for future meals.
-
Freezer: Wrap the cooled fish tightly in plastic wrap and place it in a freezer-safe bag for up to 2 months. Ensure you remove as much air as possible to prevent freezer burn.
-
Reheating: For best results, reheat the fish in a skillet over medium heat until warmed through, about 5 minutes. This method helps to restore its crispiness while keeping it moist.
-
Storage Tips for Sauce: Prepare the ginger onion sauce ahead of time and store it in the fridge for up to 3 days. Reheat before serving to elevate the flavors of your dish.
Expert Tips for Ginger Onion Fried Sea Bass
-
Hot Oil is Key: Ensure your oil is hot enough before adding the fish; a sizzling sound means it’s ready for frying to achieve that perfect crispiness.
-
Don't Overcrowd: Avoid overcrowding the pan when frying; doing so can lower the oil temperature and lead to soggy fish. Fry in batches if needed.
-
Marinate for Flavor: For an added flavor boost, consider marinating the sea bass in soy sauce and ginger for about 30 minutes prior to cooking.
-
Coat Evenly: Make sure to coat the fish evenly with cornstarch for optimal crispiness; uneven coverage can cause parts to remain soggy.
-
Monitor Cooking Time: Keep an eye on the frying time—about 3-4 minutes per side should suffice, but adjust based on the thickness of your fillets.
-
Perfect Pairings: This Ginger Onion Fried Sea Bass pairs wonderfully with steamed rice or stir-fried vegetables, making your meal feel complete and satisfying.
Ginger Onion Fried Sea Bass Variations
Feel free to let your culinary creativity shine with these delightful twists on Ginger Onion Fried Sea Bass!
-
Fish Options: Substitute sea bass with firm white fish like cod, snapper, or tilapia for varied textures and flavors. Each fish brings its unique nuances to the dish, ensuring that every meal feels fresh and exciting!
-
Vegetarian Delight: For a vegetarian version, swap in tofu or tempeh seasoned similarly to the fish. The crispy edges of the tofu paired with the savory sauce will be a satisfying replacement.
-
Heat Level Up: Add diced fresh chilies or a pinch of chili flakes to the sauce to give the dish an extra kick. Adjust the heat based on your family’s preference, making it a fun addition for those who love a spicy comfort.
-
Herb Infusion: Enhance the flavor by adding fresh herbs such as cilantro or green onions as a garnish just before serving. This adds a bright color and fresh taste that complements the warmer tones of ginger and onion beautifully!
-
Veggie Boost: Stir in bell peppers, bok choy, or snow peas with the sauce for added color and nutrition. These veggies not only add crunch but also boost the meal’s overall health factor, making your dish fulfilling and vibrant!
-
Crispy Almonds: Top the finished dish with slivered, toasted almonds for an amazing crunch and nutty flavor profile. The contrast of textures will elevate your dining experience, making every bite an adventure.
-
Zesty Citrus: Drizzle the Ginger Onion Fried Sea Bass with a squeeze of lime or lemon juice before serving. This aromatic citrus touch brightens the dish, bringing the flavors to life and balancing the rich ginger-onion sauce.
-
Asian Twist: Incorporate a dash of sesame oil into the sauce for a deeper, nuttier flavor. This subtle adjustment adds an authentic Asian flair that complements the essence of the dish beautifully.
As you explore these variations, remember that making cooking personal can turn any meal into a cherished experience. For something extra special, consider pairing your plate with dishes like Pan Fried Shrimp or Roasted Corn Fried rice to create a fabulous feast!

Ginger Onion Fried Sea Bass Recipe FAQs
What type of sea bass is best for this recipe?
Absolutely! For this Ginger Onion Fried Sea Bass, I recommend using fresh sea bass, as it has a delicious flaky texture that cooks beautifully. If you can’t find sea bass, feel free to substitute with other firm, white fish like snapper, cod, or tilapia. Just keep an eye on cooking times, as thinner fillets may require less time.
How should I store leftovers of Ginger Onion Fried Sea Bass?
You can store leftover Ginger Onion Fried Sea Bass in an airtight container in the fridge for up to 3 days. To maintain its quality, I suggest reheating it in a skillet over medium heat for about 5 minutes. This method helps restore the fish’s crispiness while keeping it moist, ensuring a delightful meal even after it's been saved!
Can I freeze Ginger Onion Fried Sea Bass?
Yes! To freeze the Ginger Onion Fried Sea Bass, let the fish cool completely after cooking. Then, wrap it tightly in plastic wrap and place it in a freezer-safe bag, removing as much air as possible to prevent freezer burn. It can be stored for up to 2 months. When you're ready to eat, thaw in the fridge overnight and reheat in a skillet for a crispy finish!
Is it safe to serve Ginger Onion Fried Sea Bass to children with allergies?
Very! While the dish is a family-friendly delight, it's crucial to take allergy concerns into account. Ensure that none of the ingredients, particularly soy sauce (which contains wheat), cause issues for your children. You can also use gluten-free soy sauce if needed. Always double-check with family members to keep everyone safe while enjoying a homemade feast!
What should I do if my fish isn't getting crispy while frying?
If your Ginger Onion Fried Sea Bass isn't getting that desirable crispiness, check a couple of things. Make sure your oil is hot enough—it's crucial for achieving that perfect crunch. If the oil isn't hot, the coating will soak in too much oil, leading to soggy fish. Also, be careful not to overcrowd the pan; frying in batches can help maintain the oil temperature and achieve that perfect golden-brown finish.
Can I make the ginger onion sauce ahead of time?
You absolutely can! Preparing the ginger onion sauce ahead of time is a great idea. You can store it in an airtight container in the fridge for up to 3 days. Just give it a quick reheat before adding it to the fried fish, as this will intensify the flavors and ensure it’s warm and ready to complement the dish!
Ginger Onion Fried Sea Bass: Quick, Flavorful Family Delight
Ingredients
Equipment
Method
- Combine ginger, onion, soy sauce, salt, and pepper in a medium bowl. Let sit while preparing the fish.
- Pat the sea bass dry and coat each side with cornstarch.
- Heat vegetable oil in a skillet over medium-high heat until shimmering.
- Fry sea bass for 3–4 minutes on each side until golden brown.
- Pour sauce over the fried fish and let simmer on low for 1–2 minutes.
- Transfer to a platter and drizzle with remaining sauce; serve immediately.