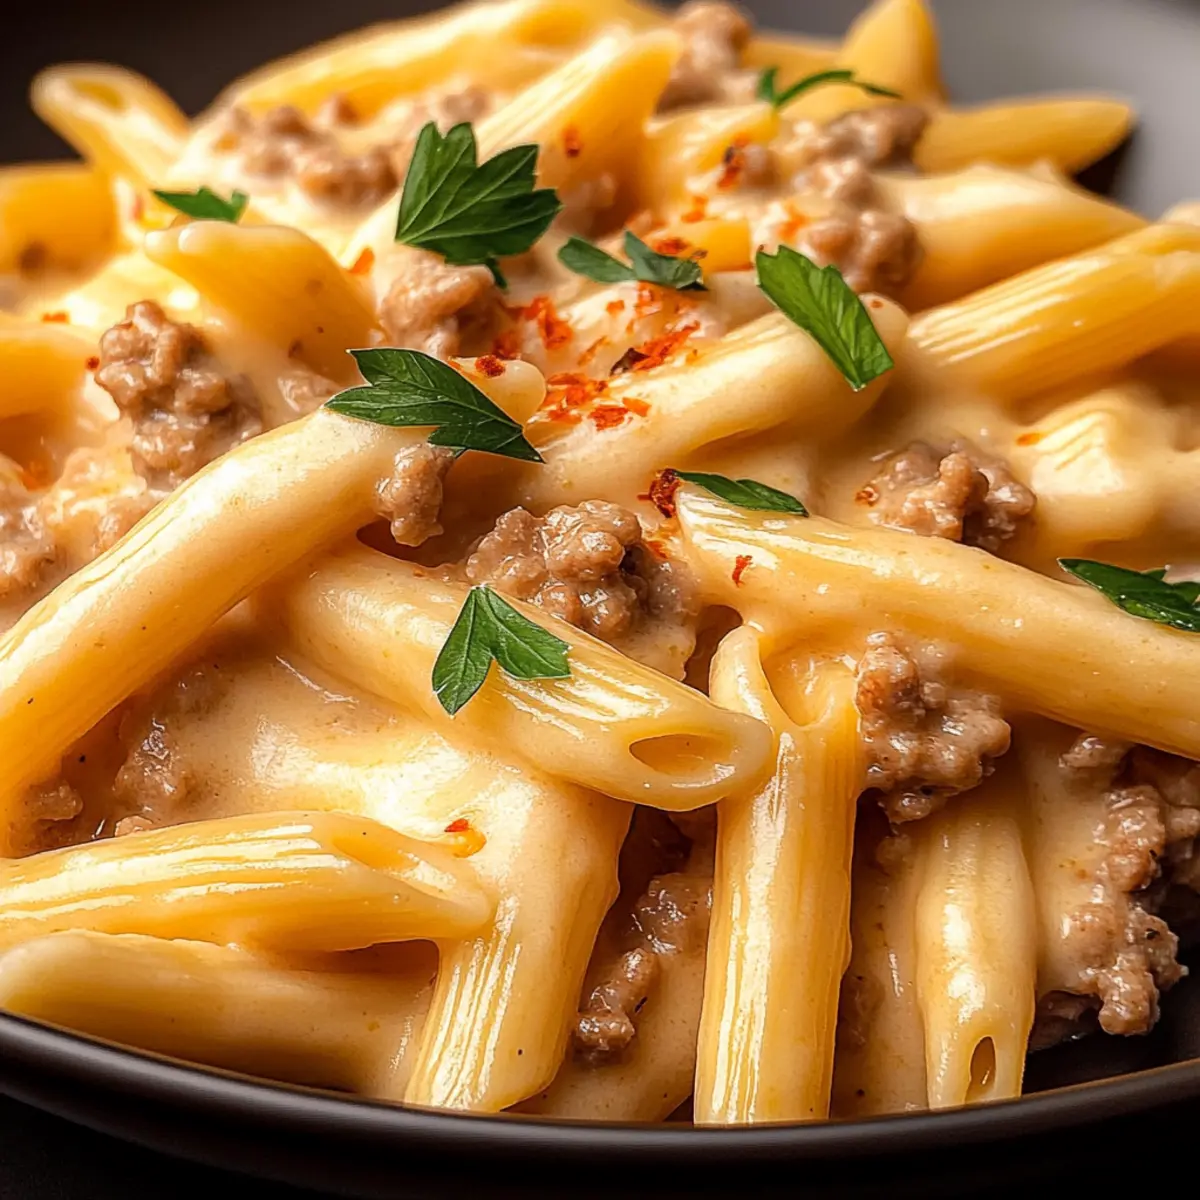
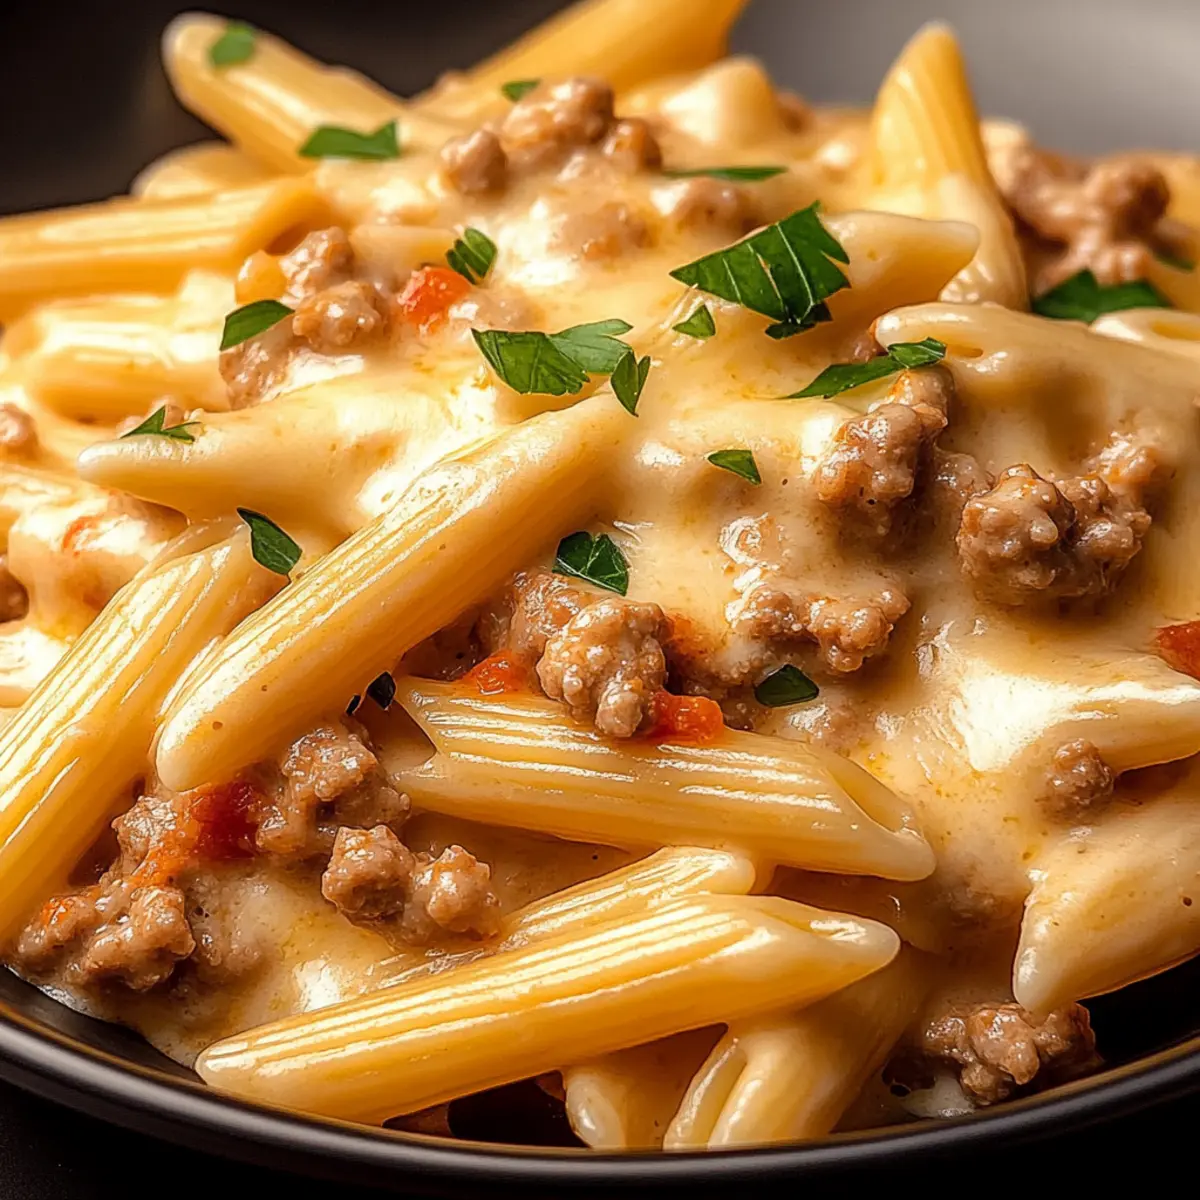
The sizzle of ground turkey hitting a hot pan instantly fills the kitchen with warmth and promise. In just a few easy steps, you can elevate a simple weeknight dinner into a cozy yet sophisticated plate of Gordon Ramsay's Creamy Ground Turkey Pasta. This recipe not only combines the deliciousness of creamy sauces with lean protein, but it also offers endless versatility—perfect for adapting to whatever you have on hand. Whether you're looking to whip up a quick and nutritious dinner or add extra veggies for a healthier twist, you’ll find this dish to be a satisfying solution for both family and friends. Ready to spark your culinary creativity? Let’s dive into this delightful recipe!
Why is this recipe a must-try?
Simplicity at Its Best: With just a handful of ingredients and straightforward steps, preparing this creamy pasta dish is a breeze, making it perfect for busy weeknights.
Nutritious Comfort: Packed with lean ground turkey and ooey-gooey cheese, it strikes a balance between indulgence and health—ideal for anyone looking to enjoy a meal without the guilt.
Customizable Delight: Feel free to swap the penne for your favorite pasta shape or toss in fresh vegetables for a nutritious boost—endless variations mean there's something for everyone!
Crowd-Pleasing Flavor: The rich, savory sauce combined with tender pasta creates a dining experience your family will request time and again—which is why it's an excellent addition to your weeknight dinner rotation.
Quick & Easy Cleanup: One-skillet cooking means less mess and more time enjoying your meal, making it an excellent choice for both home cooks and busy professionals alike.
Gordon Ramsay Ground Turkey Pasta Ingredients
For the Pasta
• Penne Pasta – Provides a sturdy base; feel free to swap for shapes like fusilli or farfalle.
• Olive Oil – Essential for sautéing the aromatics; can be replaced with avocado or sunflower oil if preferred.
For the Sauce
• Yellow Onion – Adds sweet depth; red onion can offer a sharper contrast in flavor.
• Ground Turkey – A lean protein that keeps this dish healthy; ground chicken is a suitable alternative.
• Salt – Enhances overall flavor; adjust based on your salt sensitivity.
• Black Pepper – Freshly cracked delivers maximum aroma; consider white pepper for a milder taste.
• Italian Seasoning – Provides fragrant herbal notes; dried oregano or basil can also work well.
• Garlic – Brings boldness; fresh minced garlic is ideal, but garlic powder is fine in a pinch.
• All-Purpose Flour – Thickens the sauce; substitute with gluten-free flour for a gluten-free option.
• Chicken Broth – Imparts richness to the sauce; easily swap with vegetable broth for a vegetarian version.
• Tomato Sauce – Adds acidity and depth; crushed tomatoes can give a chunkier texture.
• Half-and-Half – Creates a rich creaminess; use heavy cream for a decadent touch or non-dairy milk for a lighter option.
• Mozzarella Cheese – Melts beautifully, tying everything together; feel free to use Gruyère or dairy-free options if desired.
• Cheddar Cheese – Offers a delightful sharpness; any melty cheese works, like Monterey Jack.
For Garnishing
• Fresh Parsley – Adds color and freshness; basil or arugula can be lovely alternatives.
• Red Chili Flakes – Provides a hint of spice; adjust to your heat preference or omit for milder flavor.
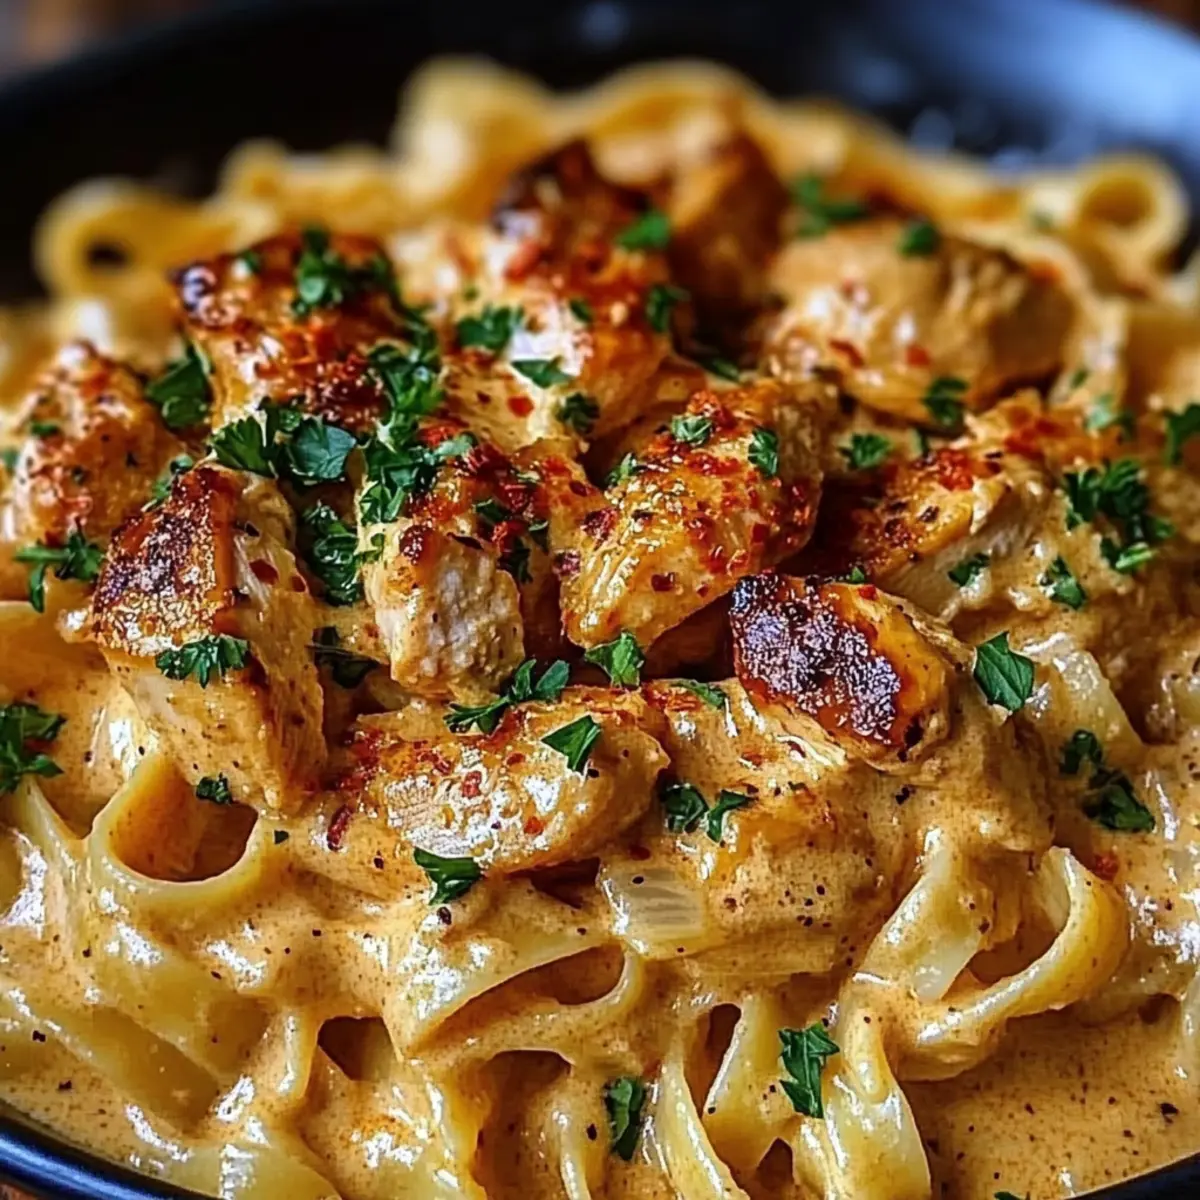
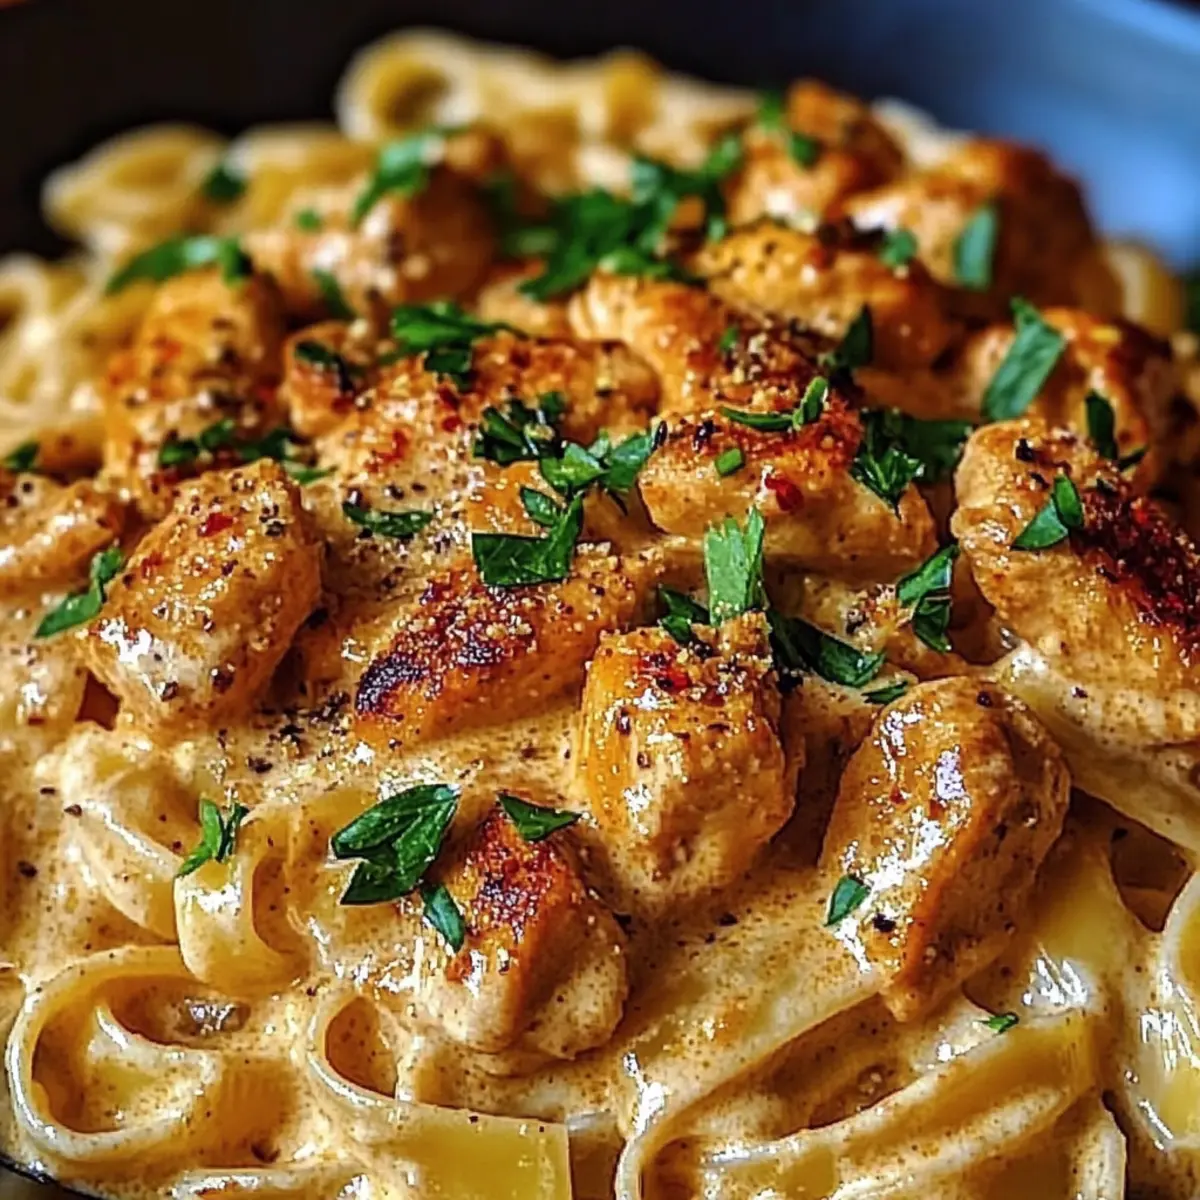
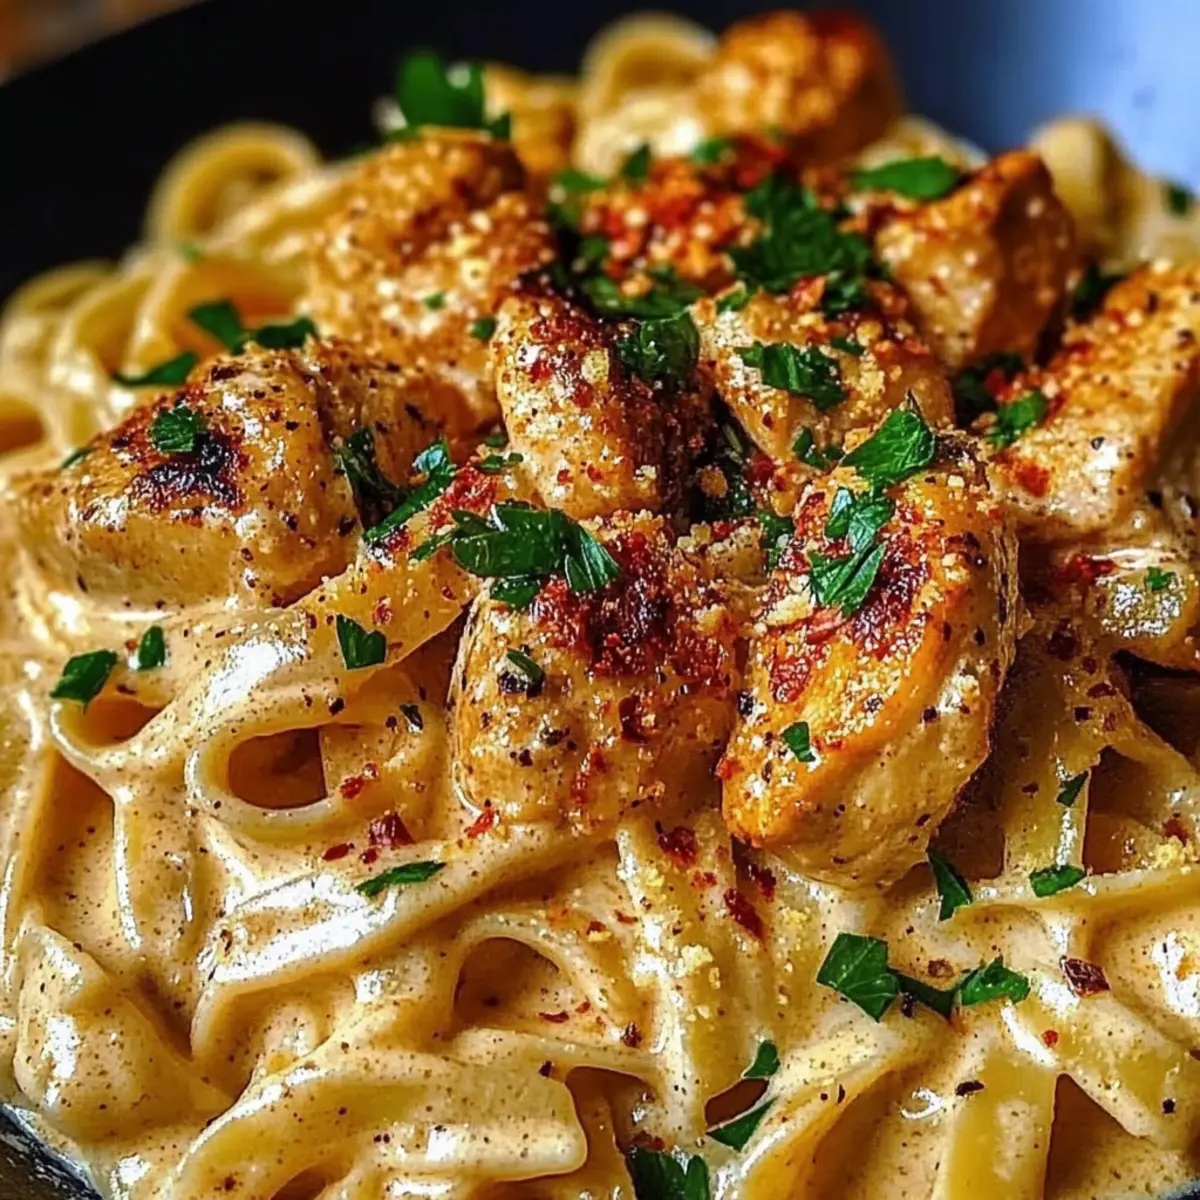
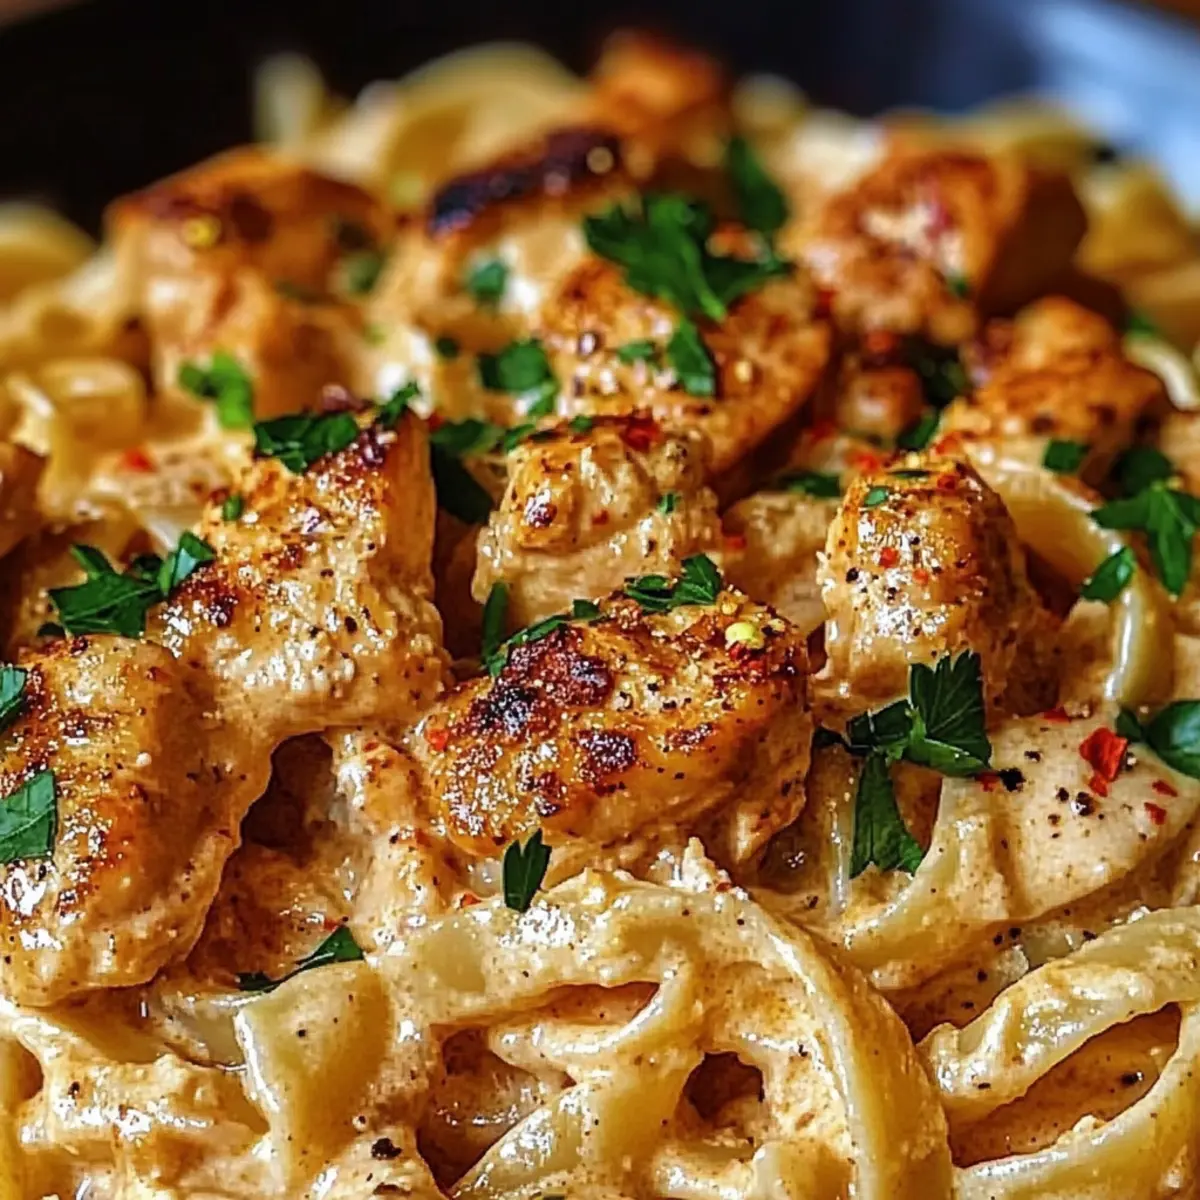
Elevate your culinary journey with Gordon Ramsay Ground Turkey Pasta—a creamy masterpiece awaiting your table!
Step‑by‑Step Instructions for Gordon Ramsay Ground Turkey Pasta
Step 1: Cook Pasta
Begin by bringing a large pot of salted water to a rolling boil over high heat. Add the penne pasta and cook it until just shy of al dente, about 8 to 10 minutes. Reserve 1 cup of the starchy pasta water before draining the pasta in a colander. Set the cooked pasta aside for later, allowing it to cool slightly as you prepare the sauce.
Step 2: Sauté Aromatics
In a large skillet, heat 2 tablespoons of olive oil over medium heat until shimmering. Add the diced yellow onion and sauté it for about 5 minutes, stirring frequently until the onion becomes soft and translucent. The fragrant aroma will fill your kitchen, indicating it’s time to move on to the next step in preparing your Gordon Ramsay Ground Turkey Pasta.
Step 3: Brown Turkey
Add the ground turkey to the skillet, breaking it apart with a wooden spoon as it cooks. Allow it to brown for 6 to 8 minutes, stirring occasionally. Season generously with salt, black pepper, and Italian seasoning for flavor. After the turkey is no longer pink, mix in minced garlic and continue to cook for another minute until fragrant.
Step 4: Build Sauce
Sprinkle the all-purpose flour over the browned turkey and stir well to combine, cooking for about 1 minute to remove the raw flour taste. Gradually pour in the chicken broth and tomato sauce, stirring constantly until the mixture thickens, which should take about 3 to 5 minutes. This rich sauce forms the heart of your creamy ground turkey pasta.
Step 5: Combine Pasta and Sauce
Gently fold the drained penne pasta into the skillet with the sauce, ensuring each piece is well-coated. Pour in the half-and-half along with a splash of the reserved pasta water, stirring to achieve your desired creaminess. Let everything simmer together for a couple of minutes, allowing flavors to meld.
Step 6: Add Cheese
Reduce the heat to low and fold in half of the mozzarella and cheddar cheese. Stir until the cheese melts smoothly into the sauce, about 2 to 3 minutes. For an extra cheesy finish, sprinkle the remaining cheese over the top, covering the skillet and letting it melt into a bubbly, delicious layer.
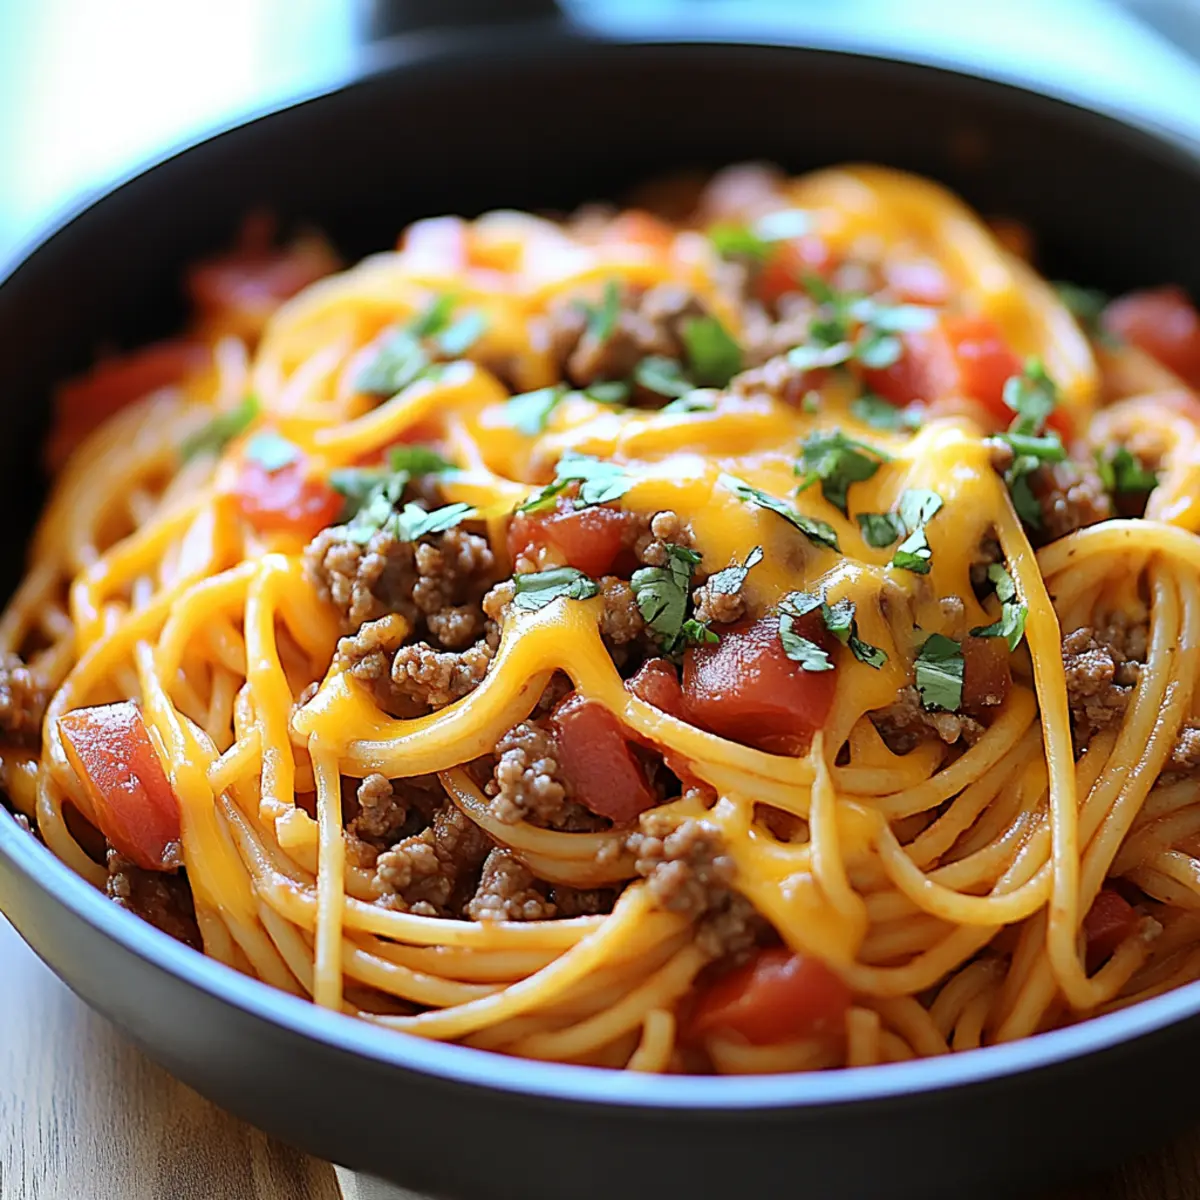
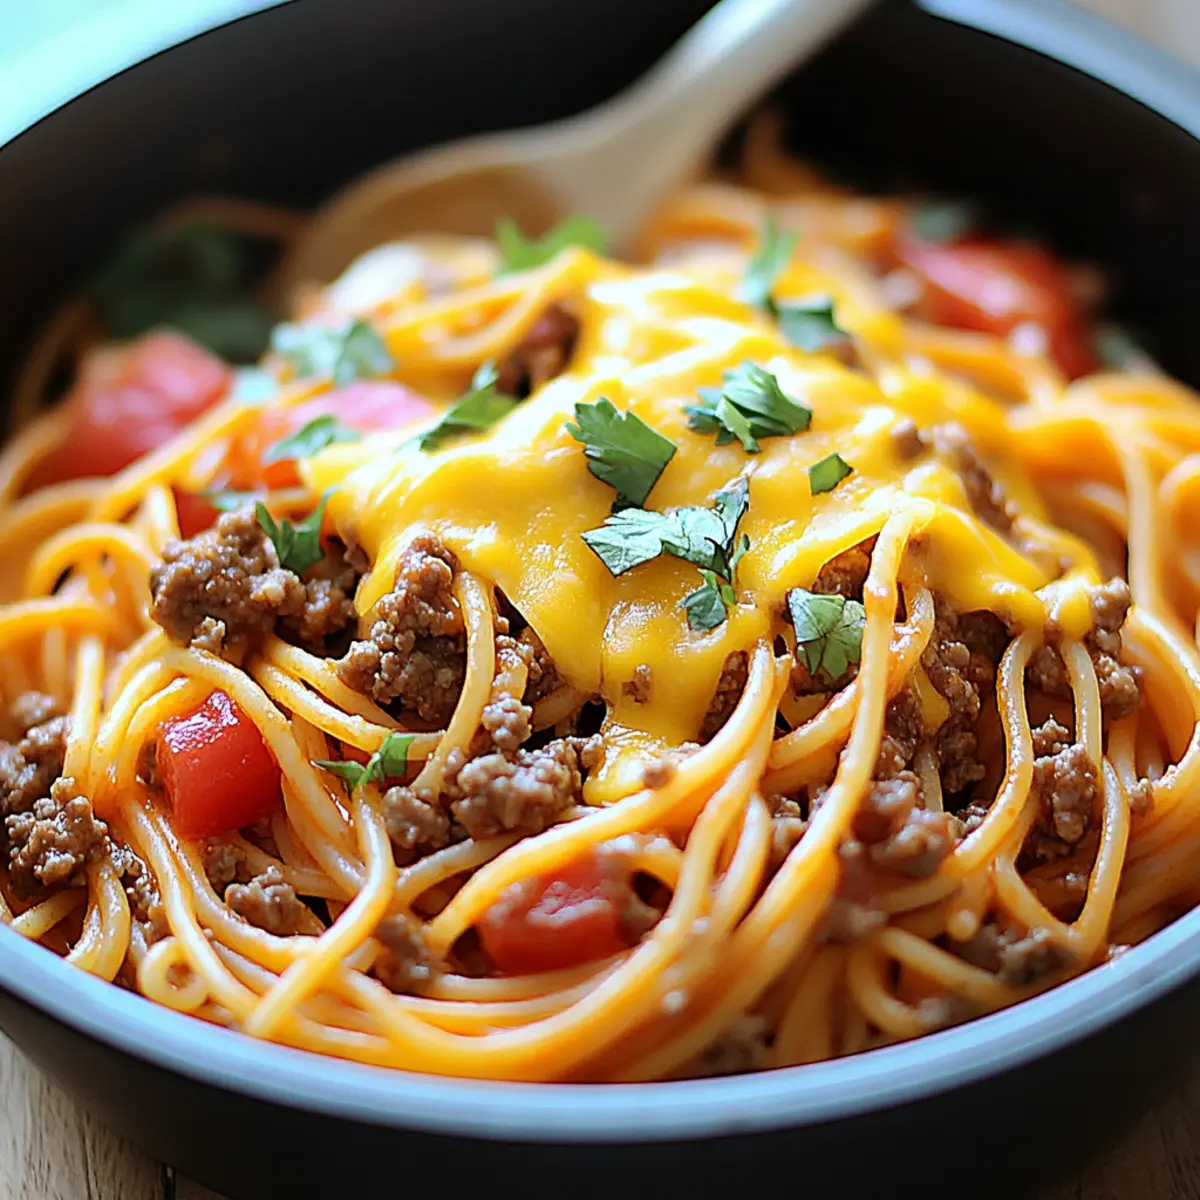
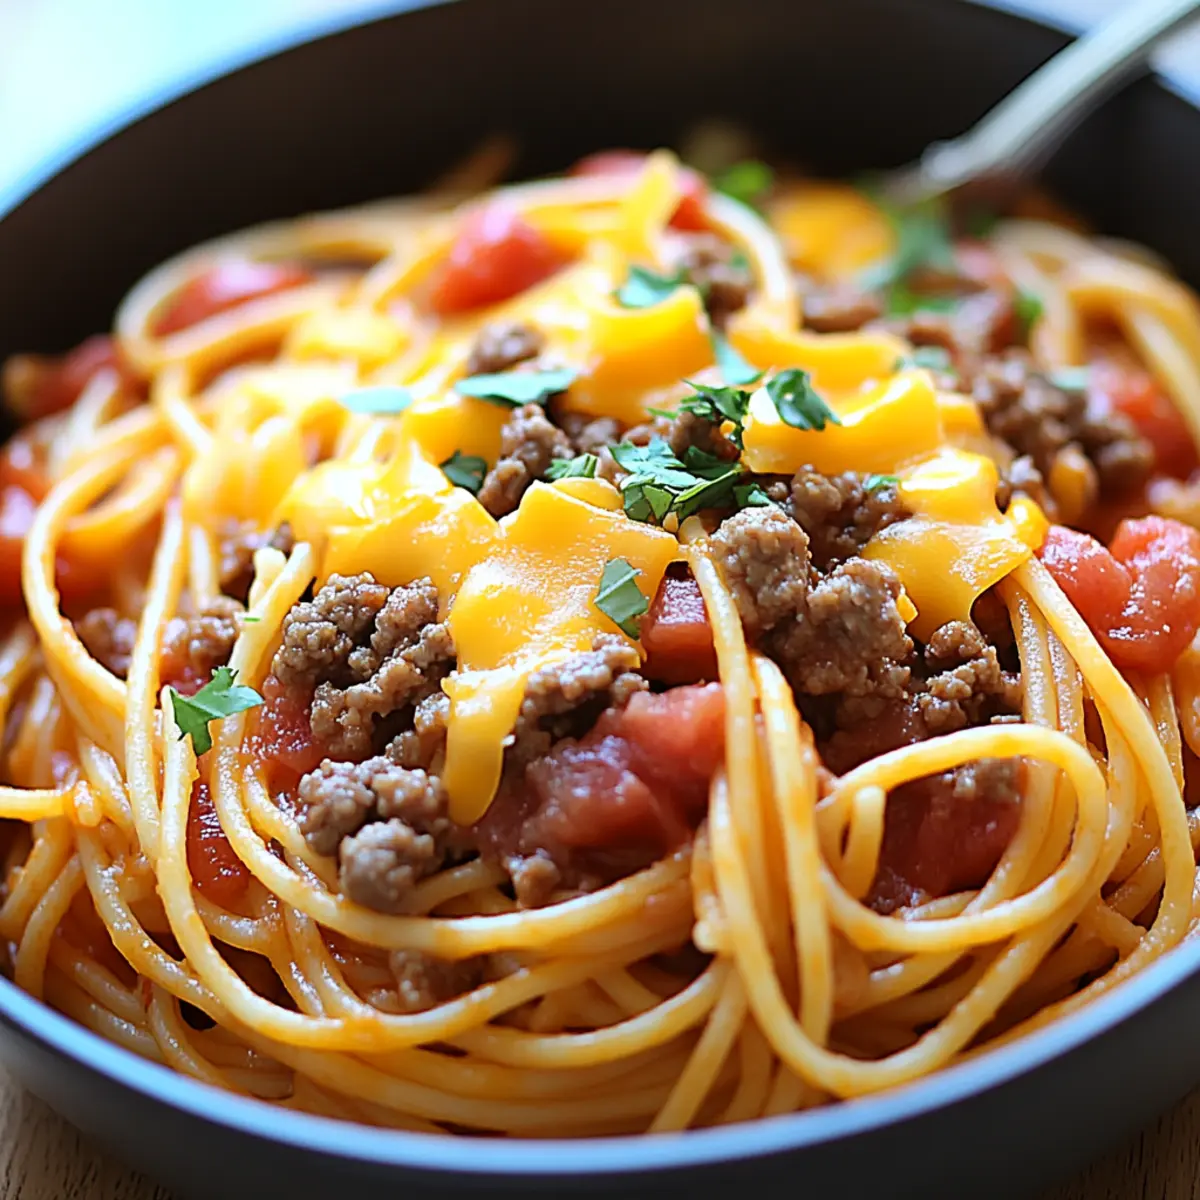
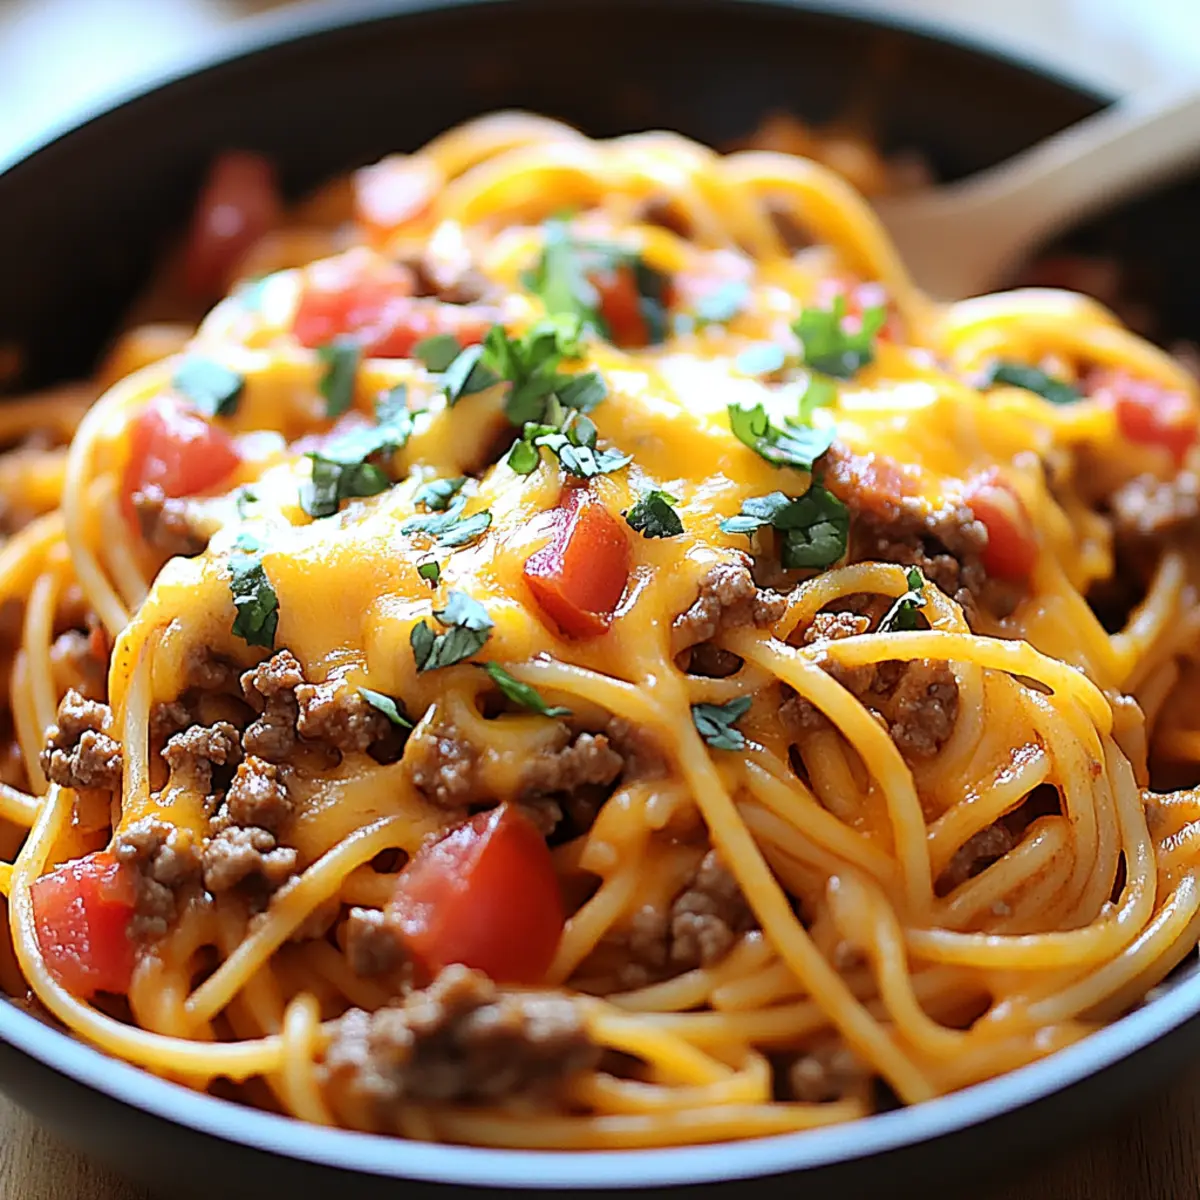
Step 7: Serve
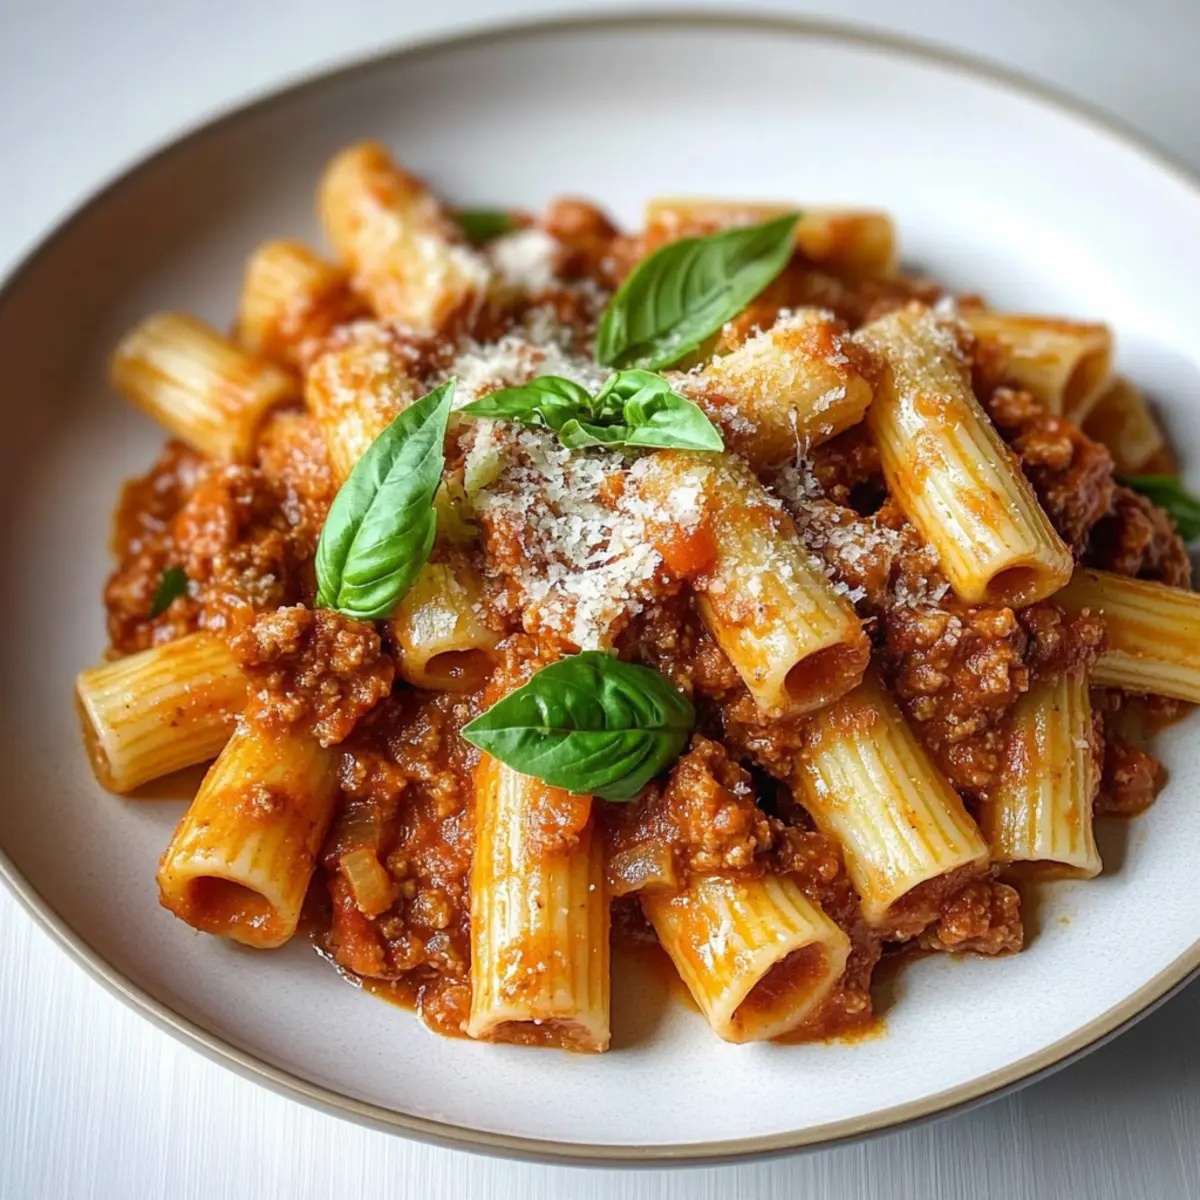
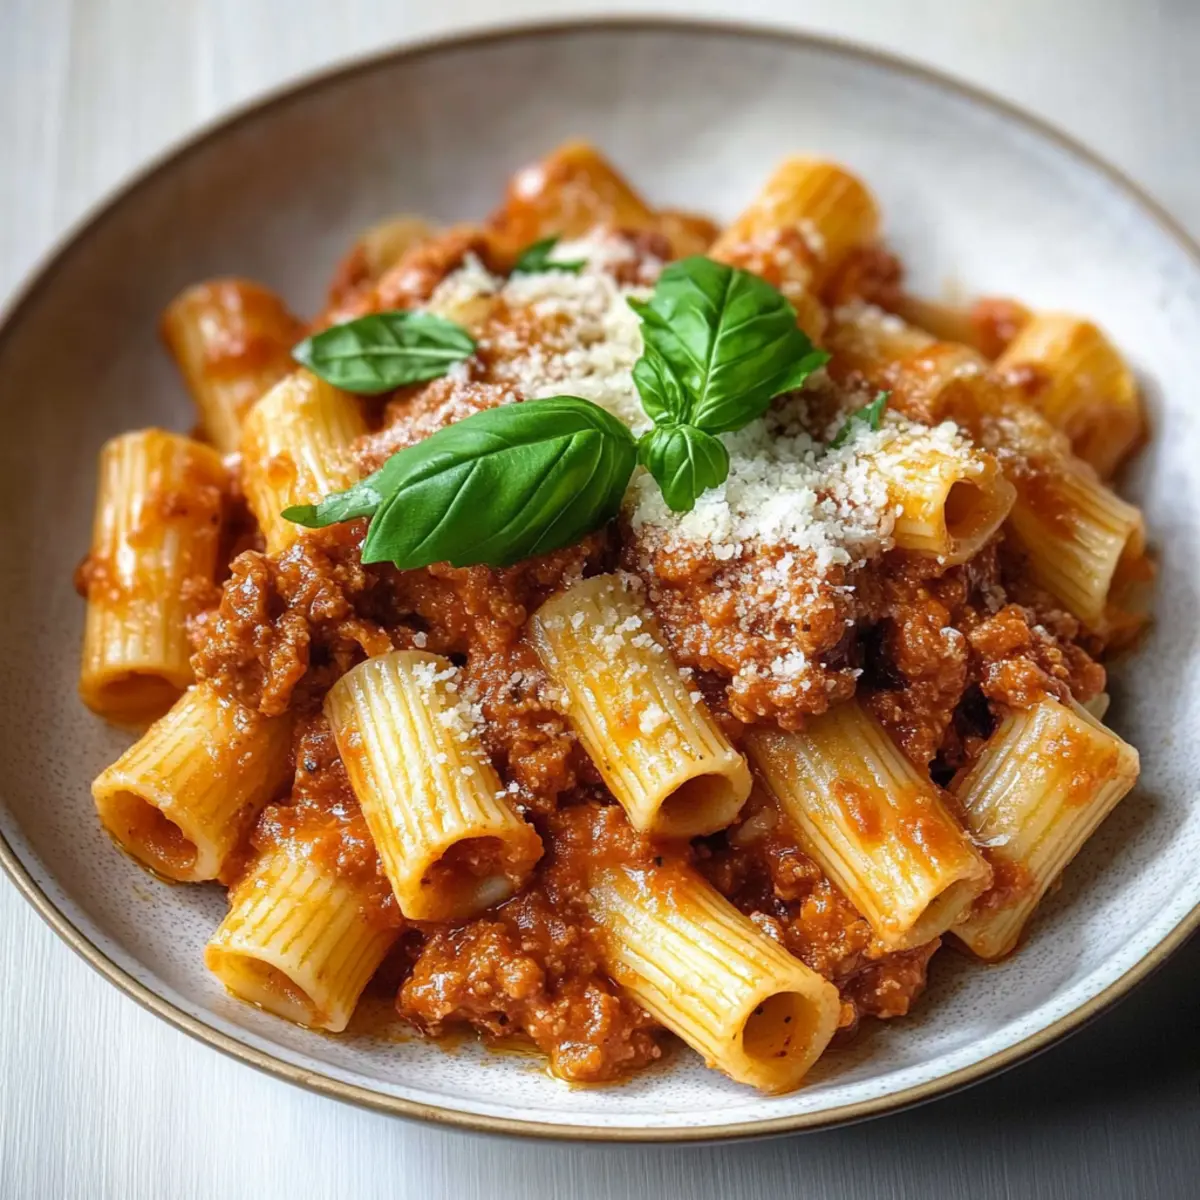
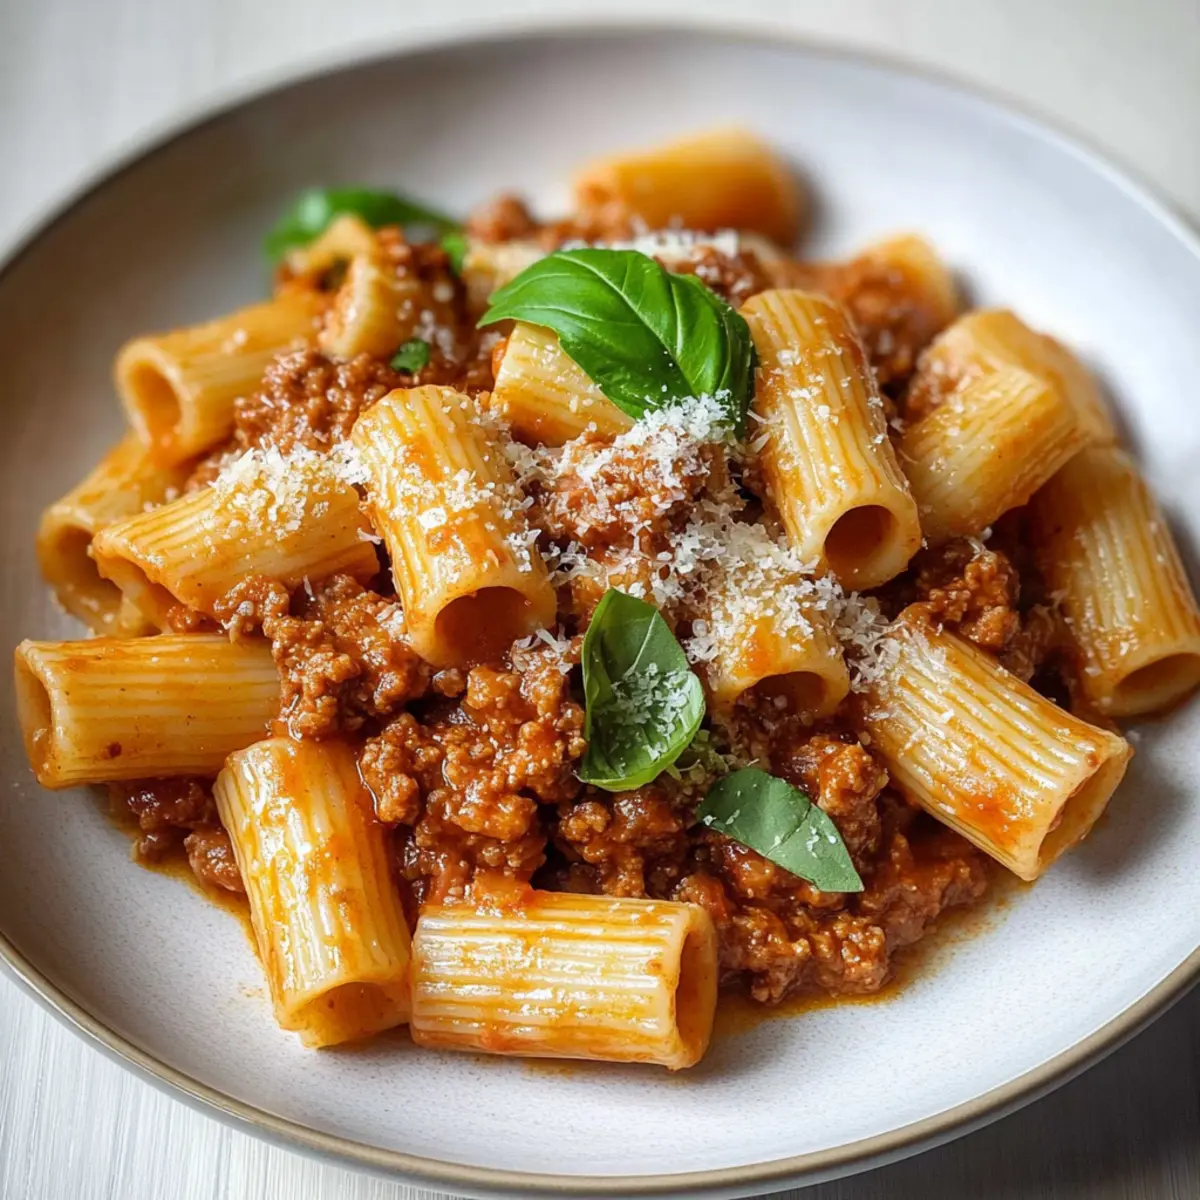
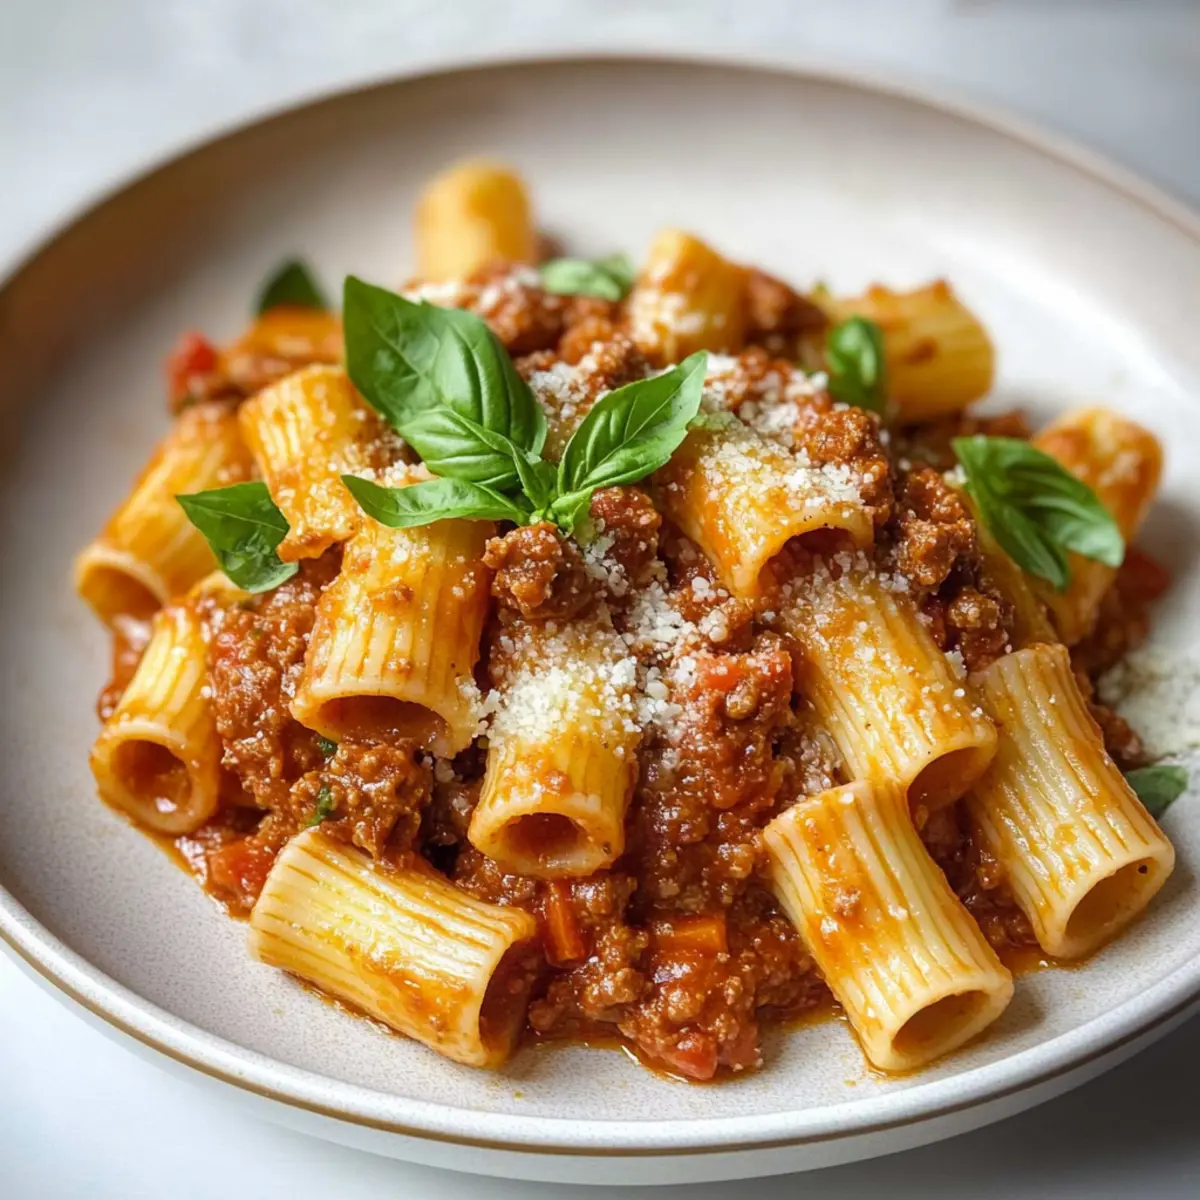
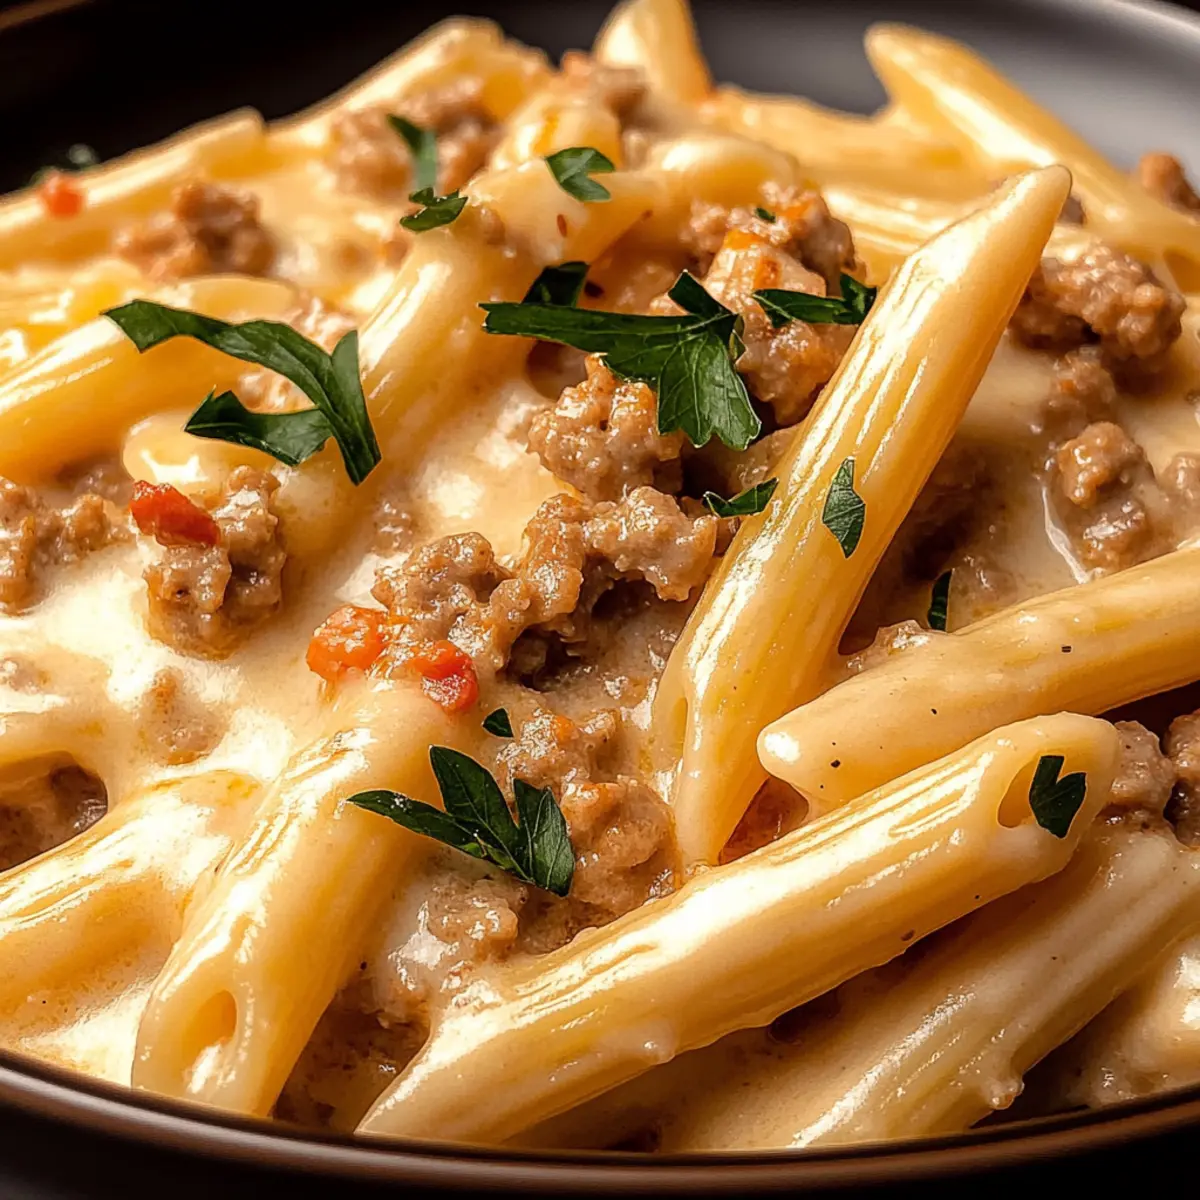
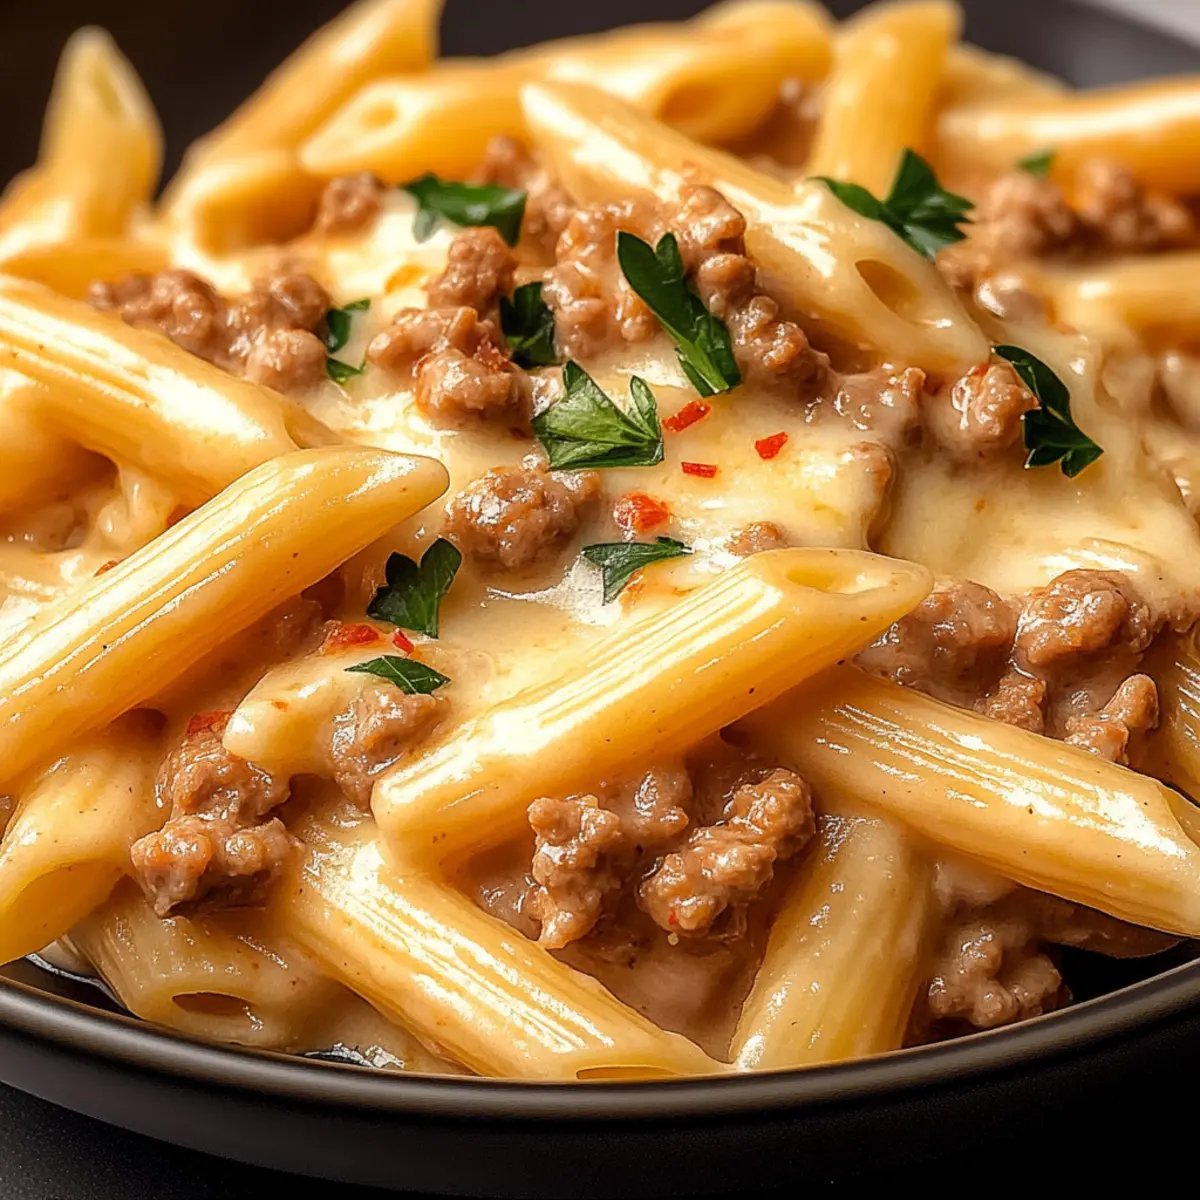
Once the cheese is melted and bubbly, remove the skillet from the heat. Garnish your Gordon Ramsay Ground Turkey Pasta with freshly chopped parsley and a sprinkle of red chili flakes if you like some heat. Serve warm and enjoy the comforts of this creamy, satisfying dish that’s sure to please family and friends alike.
What to Serve with Gordon Ramsay Ground Turkey Pasta
Elevate your weeknight dinner experience by pairing this creamy delight with sides that are equally comforting and delicious.
-
Garlic Bread: A crunchy, buttery complement to soak up the creamy sauce, offering that perfect garlicky aroma that draws everyone to the table.
-
Fresh Green Salad: Crisp lettuce, juicy tomatoes, and a light vinaigrette provide a refreshing balance to the rich, creamy pasta, enhancing your meal's color and texture experience.
-
Roasted Vegetables: Seasonal vegetables caramelized to perfection add a roasted depth of flavor, rounding out the meal with earthy and sweet notes.
-
Steamed Broccoli: The vibrant green adds not only color but also a nutritious crunch, making it a delightful and healthful addition to your plate.
-
Homemade Coleslaw: A crunchy, tangy slaw offers a fresh contrast to the creamy pasta, brightening each bite and adding a fun texture.
-
Pinot Grigio: This light, refreshing white wine pairs beautifully, cutting through the richness while enhancing the overall dining experience.
-
Chocolate Mousse for Dessert: End your meal on a sweet note with a velvety chocolate mousse that will delight everyone with its rich flavor and light texture, perfect after a hearty pasta dish.
Expert Tips for Gordon Ramsay Ground Turkey Pasta
-
Flavor Boosting: Season the ground turkey well with salt and pepper for a depth of flavor. Don't skip this step; it makes a significant difference.
-
Perfect Onion Texture: Cook onions until they're softened and translucent to enhance their sweetness, preventing them from being crunchy in the final dish.
-
Flour Mixing: Gradually add flour to the ground turkey before introducing liquids. This method avoids clumps in your sauce, ensuring a smooth consistency for your pasta.
-
Cheese Melting: Keep the heat low when adding cheese to maintain a creamy texture. Higher temperatures can cause the cheese to separate and become greasy.
-
Pasta Precision: Remember to cook the pasta just shy of al dente, as it will continue cooking in the sauce, ensuring a perfect bite without mushiness.
-
Vegetable Incorporation: Feel free to add in vegetables like spinach or bell peppers for extra nutrition and color; this simple enhancement can elevate your Gordon Ramsay Ground Turkey Pasta to another level!
Variations & Substitutions for Gordon Ramsay Ground Turkey Pasta
Customize your dish and unleash your culinary creativity with these exciting variations that will tantalize your taste buds!
-
Gluten-Free: Swap out the penne pasta for gluten-free pasta alternatives like brown rice or quinoa pasta to enjoy this comforting dish without the gluten.
-
Vegetable Boost: Toss in fresh vegetables such as spinach, bell peppers, or zucchini for added nutrition and a splash of color. This not only enhances flavor but also makes it a nutritionally complete meal!
-
Extra Creamy: For those nights when you want an ultra-rich sauce, use heavy cream instead of half-and-half. This will create an indulgent treat that’s utterly irresistible.
-
Cheese Lovers: If you can never get enough cheese, mix in creamy ricotta or tangy cream cheese for a delightful twist that adds a new layer of flavor.
-
Spicy Kick: Craving some heat? Stir in red chili flakes or fresh jalapeños to give your creamy pasta an exciting fiery flair.
-
Baked Pasta: Transform your dish into a comforting baked pasta by layering it with breadcrumbs and cheese before broiling until crispy and golden on top. It’s a comforting surprise!
-
Swap Meats: Explore flavor variations by replacing ground turkey with ground chicken, beef, or even sausage for a unique take on this classic dish.
-
Seafood Twist: Feeling adventurous? Incorporate shrimp or scallops instead of ground turkey for a seafood-inspired variation that’s just as satisfying, making it reminiscent of a creamy seafood pasta.
For more inspiration, check out my recipes for Skillet Pasta Sun or dive into a delightful Seafood Pasta Savory. The possibilities are endless, and every bite can be a new adventure!
Make Ahead Options
Gordon Ramsay's Creamy Ground Turkey Pasta is an ideal dish for meal prep, alleviating weeknight stress! You can cook the pasta and prepare the sauce up to 24 hours in advance, storing each component separately in airtight containers in the refrigerator. The cooked pasta should be tossed with a bit of olive oil to prevent sticking, while the sauce can be refrigerated securely. When it’s time to serve, simply reheat the sauce in a skillet over low heat while adding the reserved starchy pasta water to achieve the right consistency. Combine the heated pasta with the sauce and fold in freshly grated cheese until melted for a meal that tastes just as delicious as if made fresh!
How to Store and Freeze Gordon Ramsay Ground Turkey Pasta
Fridge: Store your creamy ground turkey pasta in an airtight container for up to 3 days, allowing the flavors to meld even more beautifully.
Freezer: For longer storage, freeze portions in airtight containers or freezer bags for up to 3 months. It’s a great make-ahead option for busy days!
Reheating: Reheat in a skillet over low heat, adding a splash of chicken broth or reserved pasta water to restore creaminess, stirring until heated through.
Leftovers Tip: Always check for quality before reheating; if the pasta looks dried out or unappetizing, it’s time to let it go to avoid any waste.
Gordon Ramsay Ground Turkey Pasta Recipe FAQs
How do I choose the right pasta for this recipe?
Absolutely! I recommend using penne for its wonderful ability to hold sauce, but you can swap it for other pasta shapes like fusilli or fettuccine. Just keep in mind that cooking times may vary, so follow the package instructions accordingly.
How should I store leftover Gordon Ramsay Ground Turkey Pasta?
To keep your pasta fresh, store it in an airtight container in the fridge for up to 3 days. Allow it to cool before sealing to prevent condensation, which can affect the texture.
Can I freeze Gordon Ramsay Ground Turkey Pasta?
Very! You can freeze this dish in airtight containers or freezer bags for up to 3 months. To do this, let it cool completely, portion it out, remove excess air from bags, and label them with the date. When you're ready to enjoy it, thaw in the fridge overnight and reheat on low heat, adding a splash of chicken broth to bring back the creaminess.
What should I do if the sauce turns out too thick?
No worries! If your sauce seems too thick, simply add a little more chicken broth or the reserved pasta water—start with a tablespoon at a time—until you reach your desired consistency. Stir gently over low heat until well combined.
Are there any dietary considerations for garlic or cheese in this recipe?
Absolutely! For garlic, use inert substitutes like garlic powder if you're allergic or sensitive. As for cheese, consider dairy-free options or nutritional yeast to achieve that cheesy flavor without dairy. Additionally, always double-check packaging for allergens if serving kids or others with dietary restrictions.
Gordon Ramsay Ground Turkey Pasta: Creamy Comfort in Minutes
Ingredients
Equipment
Method
- Begin by bringing a large pot of salted water to a rolling boil over high heat. Add the penne pasta and cook it until just shy of al dente, about 8 to 10 minutes. Reserve 1 cup of the starchy pasta water before draining the pasta in a colander. Set the cooked pasta aside for later, allowing it to cool slightly as you prepare the sauce.
- In a large skillet, heat the olive oil over medium heat until shimmering. Add the diced yellow onion and sauté for about 5 minutes, stirring frequently until the onion becomes soft and translucent.
- Add the ground turkey to the skillet, breaking it apart with a wooden spoon as it cooks. Allow it to brown for 6 to 8 minutes, stirring occasionally. Season generously with salt, black pepper, and Italian seasoning for flavor. After the turkey is no longer pink, mix in minced garlic and continue to cook for another minute until fragrant.
- Sprinkle the all-purpose flour over the browned turkey and stir well to combine, cooking for about 1 minute to remove the raw flour taste. Gradually pour in the chicken broth and tomato sauce, stirring constantly until the mixture thickens, which should take about 3 to 5 minutes.
- Gently fold the drained penne pasta into the skillet with the sauce, ensuring each piece is well-coated. Pour in the half-and-half along with a splash of the reserved pasta water, stirring to achieve your desired creaminess. Let everything simmer together for a couple of minutes.
- Reduce the heat to low and fold in half of the mozzarella and cheddar cheese. Stir until the cheese melts smoothly into the sauce, about 2 to 3 minutes. Sprinkle the remaining cheese over the top, covering the skillet and letting it melt into a bubbly, delicious layer.
- Once the cheese is melted and bubbly, remove the skillet from the heat. Garnish with freshly chopped parsley and a sprinkle of red chili flakes if you like some heat. Serve warm and enjoy.