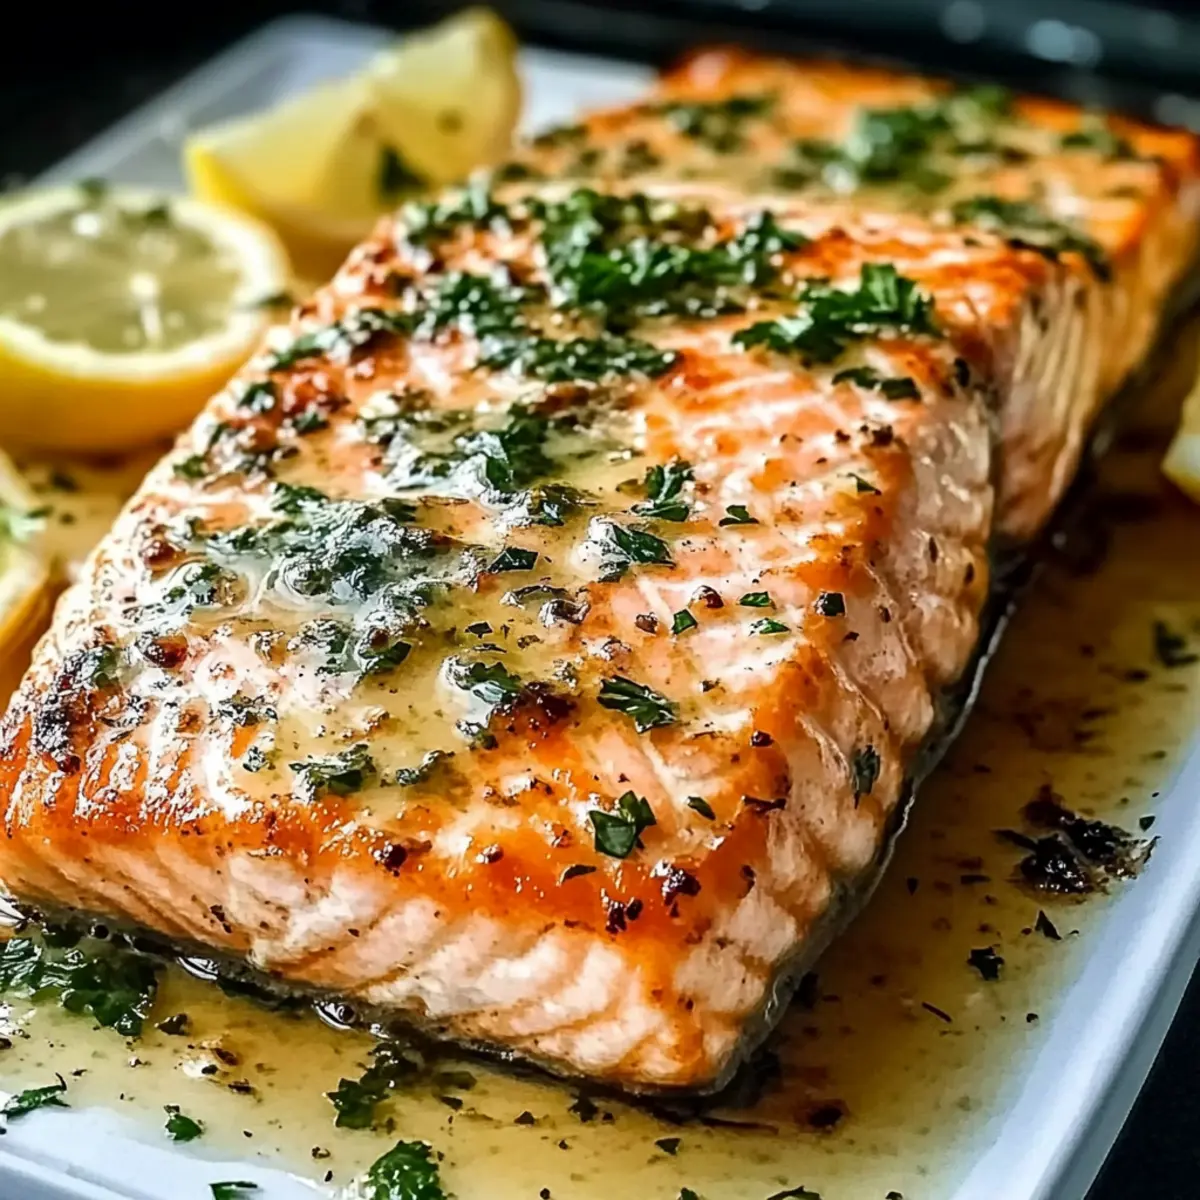
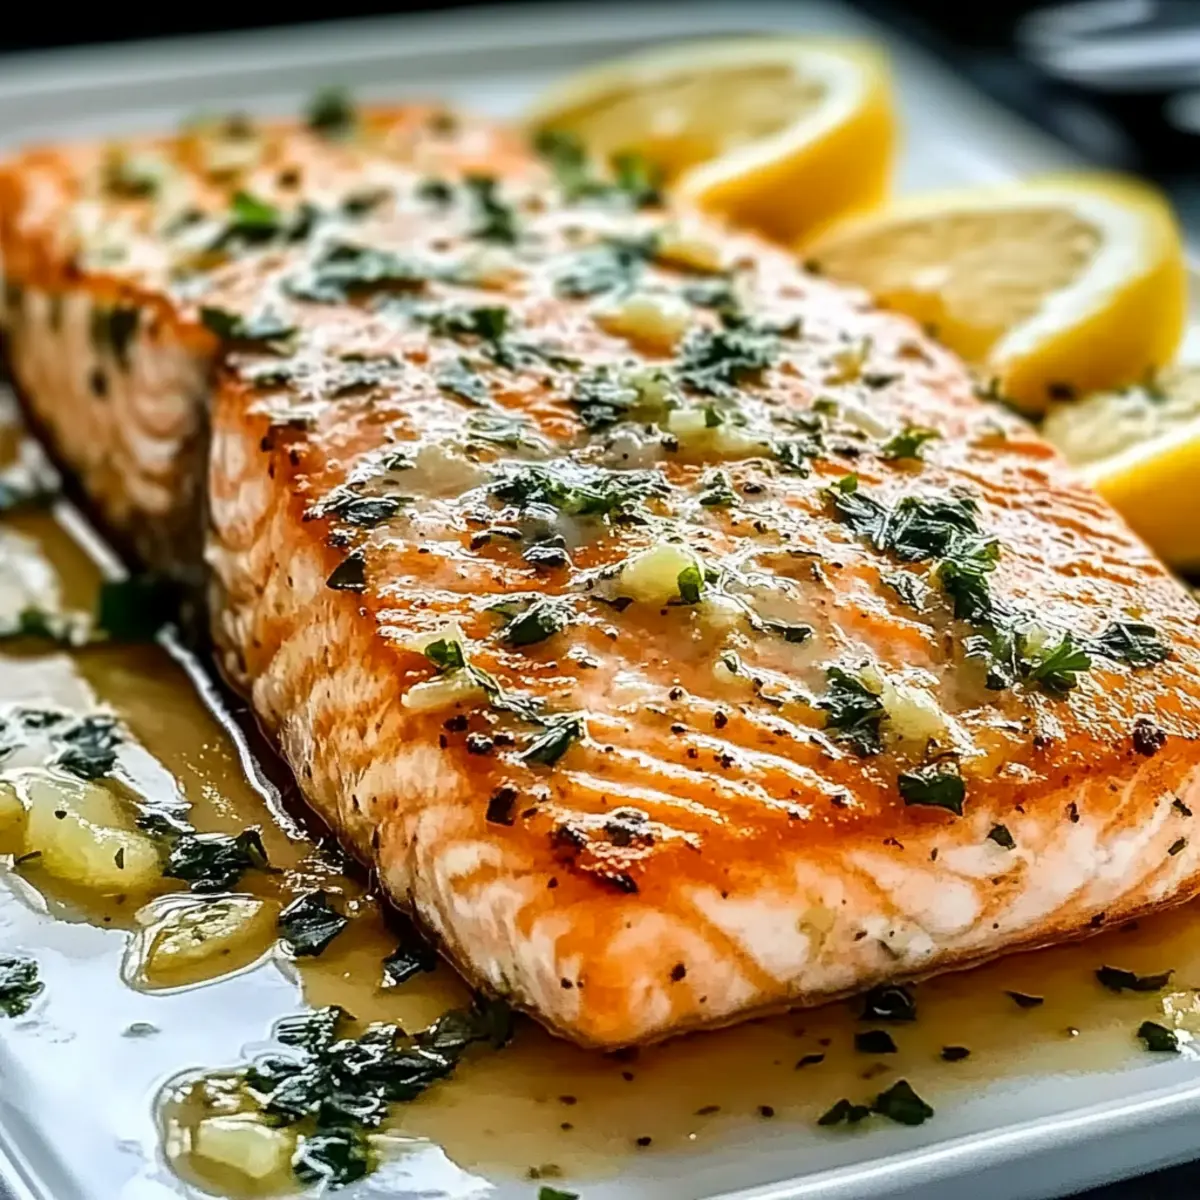
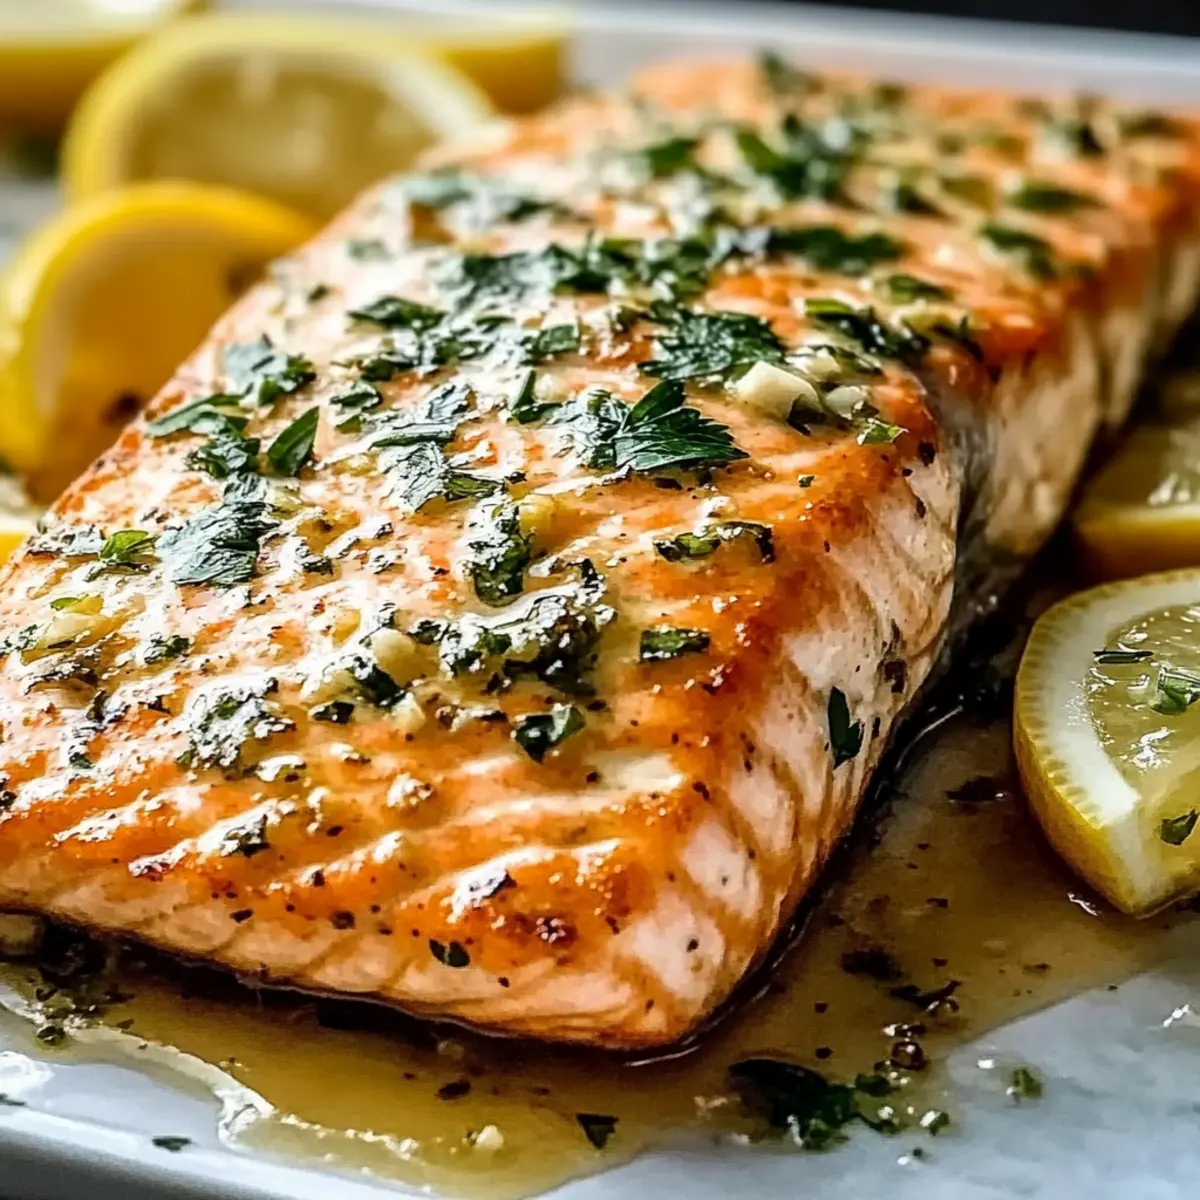
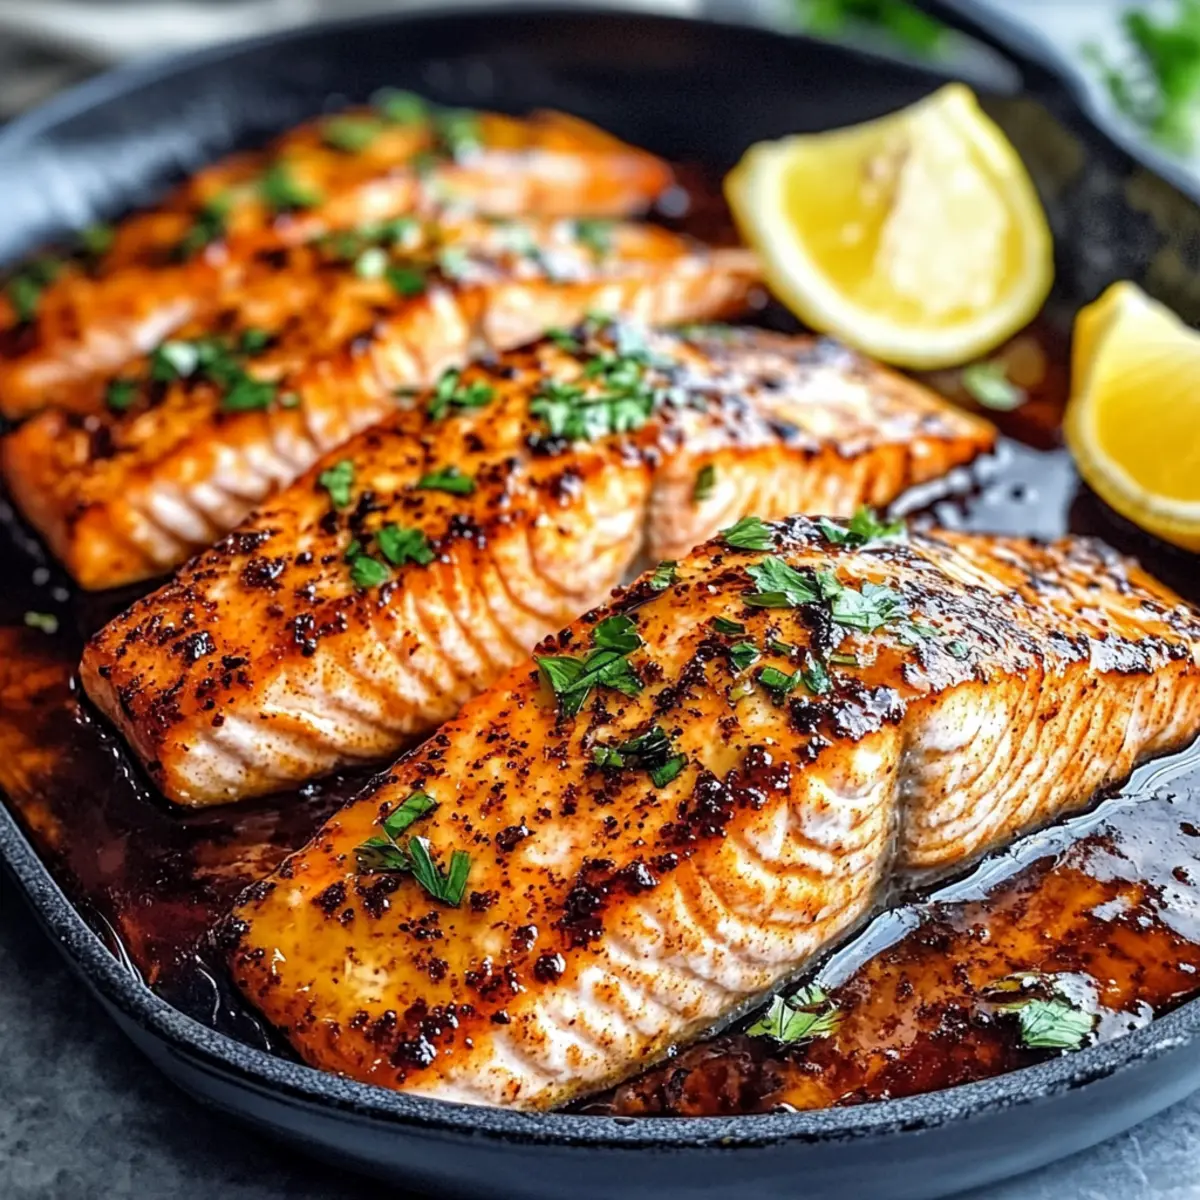
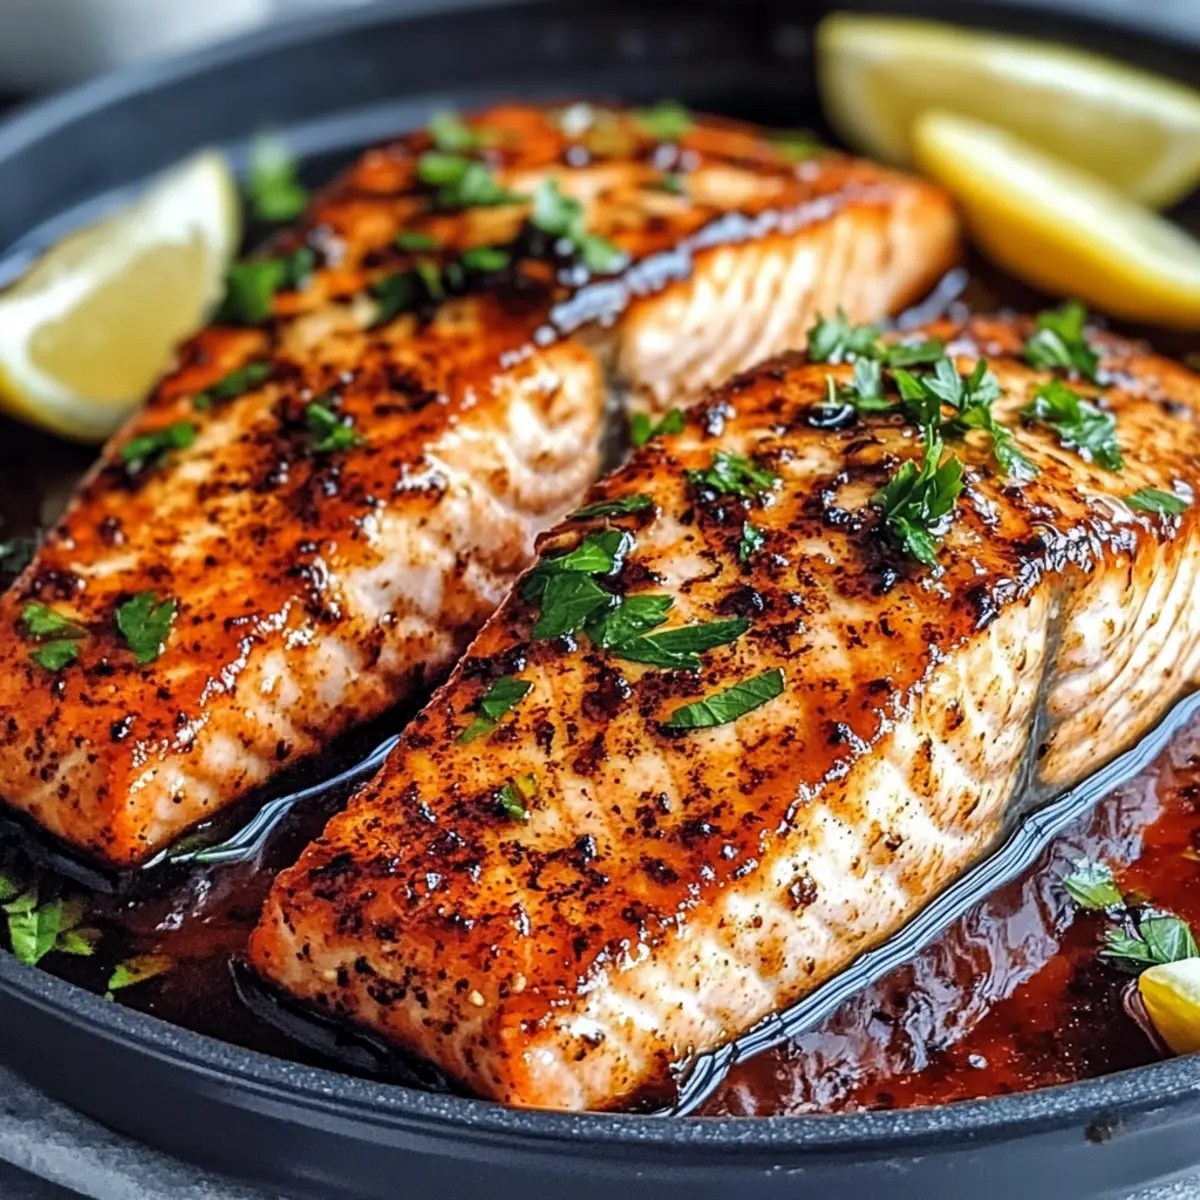
As I stood in my kitchen, the scent of sizzling salmon filled the air, transporting me to a sun-soaked Southern bayou. This isn’t just any dish; it's my take on Cajun Honey Butter Salmon—a delightful fusion of spicy Cajun seasoning and a sweet, buttery sauce. What I love most about this recipe is how quickly it comes together, making it perfect for those hectic weeknights when I crave something scrumptious yet effortless. In just 25 minutes, I can plate a restaurant-quality meal that impresses family and friends alike. Plus, it’s gluten-free and loaded with flavor, ensuring everyone at the table will be reaching for seconds. Curious how to whip up this delightful dish and bring a little Southern charm to your dinner table? Let’s dive in!
Why is Cajun Honey Butter Salmon a must-try?
Quick Preparation: This dish comes together in just 25 minutes, making it a fantastic option for those busy weeknights.
Flavor Explosion: The spicy Cajun seasoning mingles with the creamy honey-butter sauce, creating a taste sensation that’s both bold and sweet.
Versatile Ingredients: With easy substitutions, such as opting for tilapia instead of salmon, you can customize this recipe to fit your pantry and preferences.
Crowd-Pleasing Appeal: Whether for a family dinner or entertaining friends, this meal guarantees smiling faces and satisfied appetites. Pair it with Honey Garlic Chicken Thighs for an unforgettable feast!
Comfort Food Joy: This dish captures the essence of comfort food, inviting you to savor each bite while bringing warmth to your dining experience.
Cajun Honey Butter Salmon Ingredients
For the Salmon
• Salmon Fillets – The star of the dish that offers a flaky, rich texture; can substitute with thawed frozen salmon.
• Olive Oil – Ideal for searing, adding richness and preventing sticking; can swap with canola or vegetable oil if needed.
• Cajun Seasoning – Provides a spicy kick and depth of flavor; try a homemade blend for a personal touch.
• Salt – Enhances the salmon's natural flavors; adjust according to your taste preference.
For the Sauce
• Butter – Creates a luscious, rich sauce and moisture; margarine can be used but may alter the flavor.
• Honey – Balances the spice with sweetness; maple syrup or agave nectar make great alternatives.
• Soy Sauce – Adds a deep umami flavor; use tamari for a gluten-free option.
• Garlic – Adds aromatic depth to the sauce; garlic powder can substitute if fresh isn’t available.
• Lemon Juice – Brightens the dish with a fresh acidity; lime juice can also work well.
For Garnish
• Fresh Parsley – Adds a pop of color and freshness to your dish; cilantro offers a different flavor option.
• Lemon Wedges – Enhance presentation and flavor, making each bite brighter.
• Black Sesame Seeds – Optional garnish that adds an enticing texture and visual appeal.
Step‑by‑Step Instructions for Cajun Honey Butter Salmon
Step 1: Prepare the Salmon
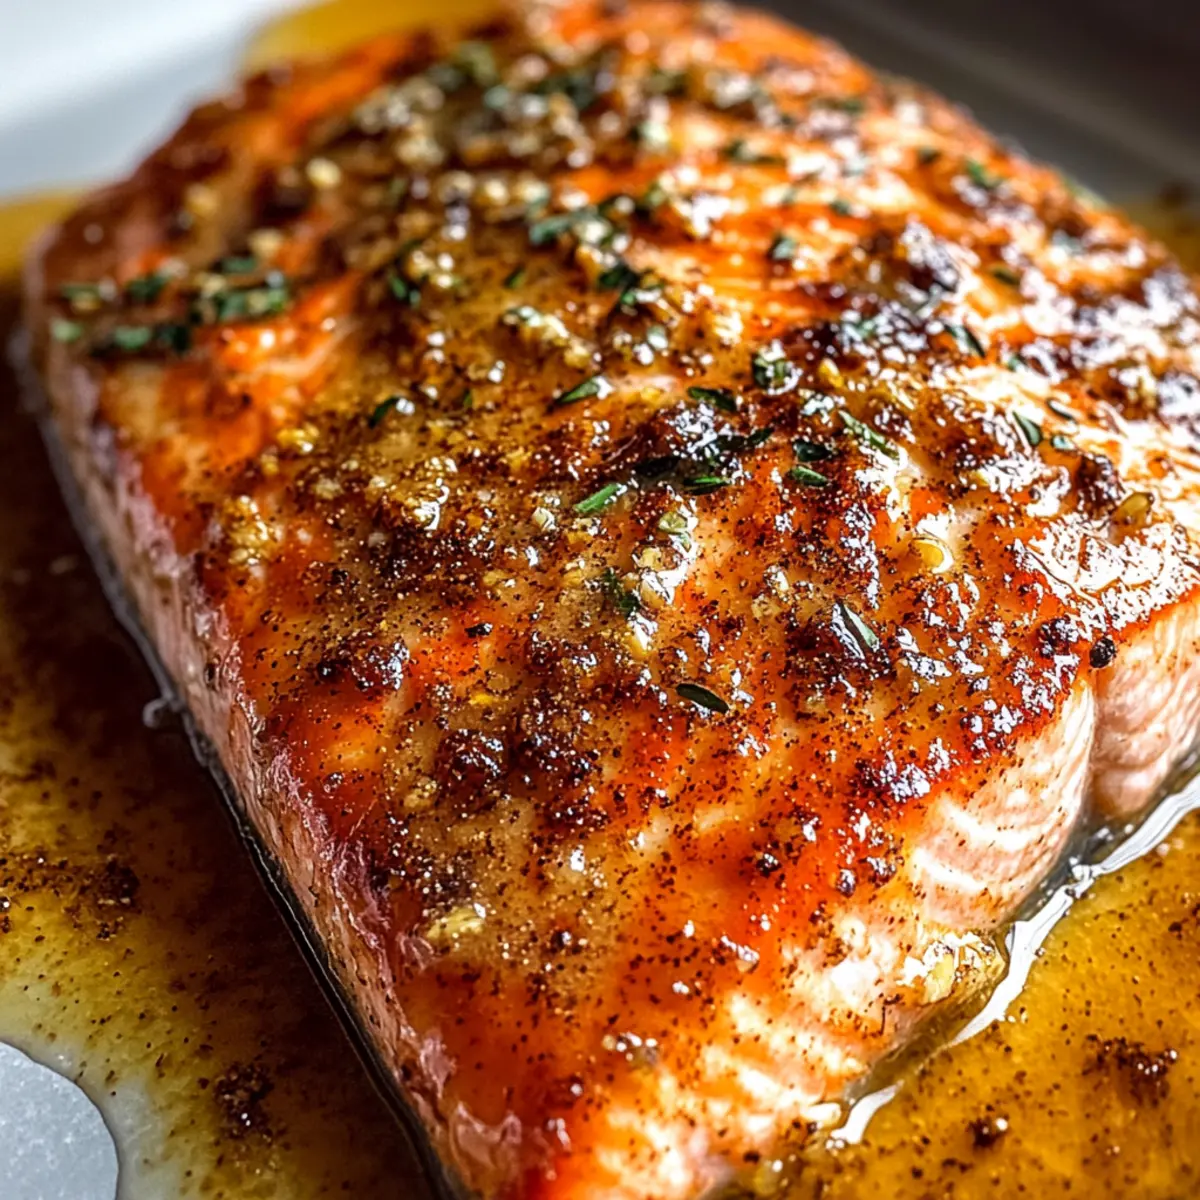
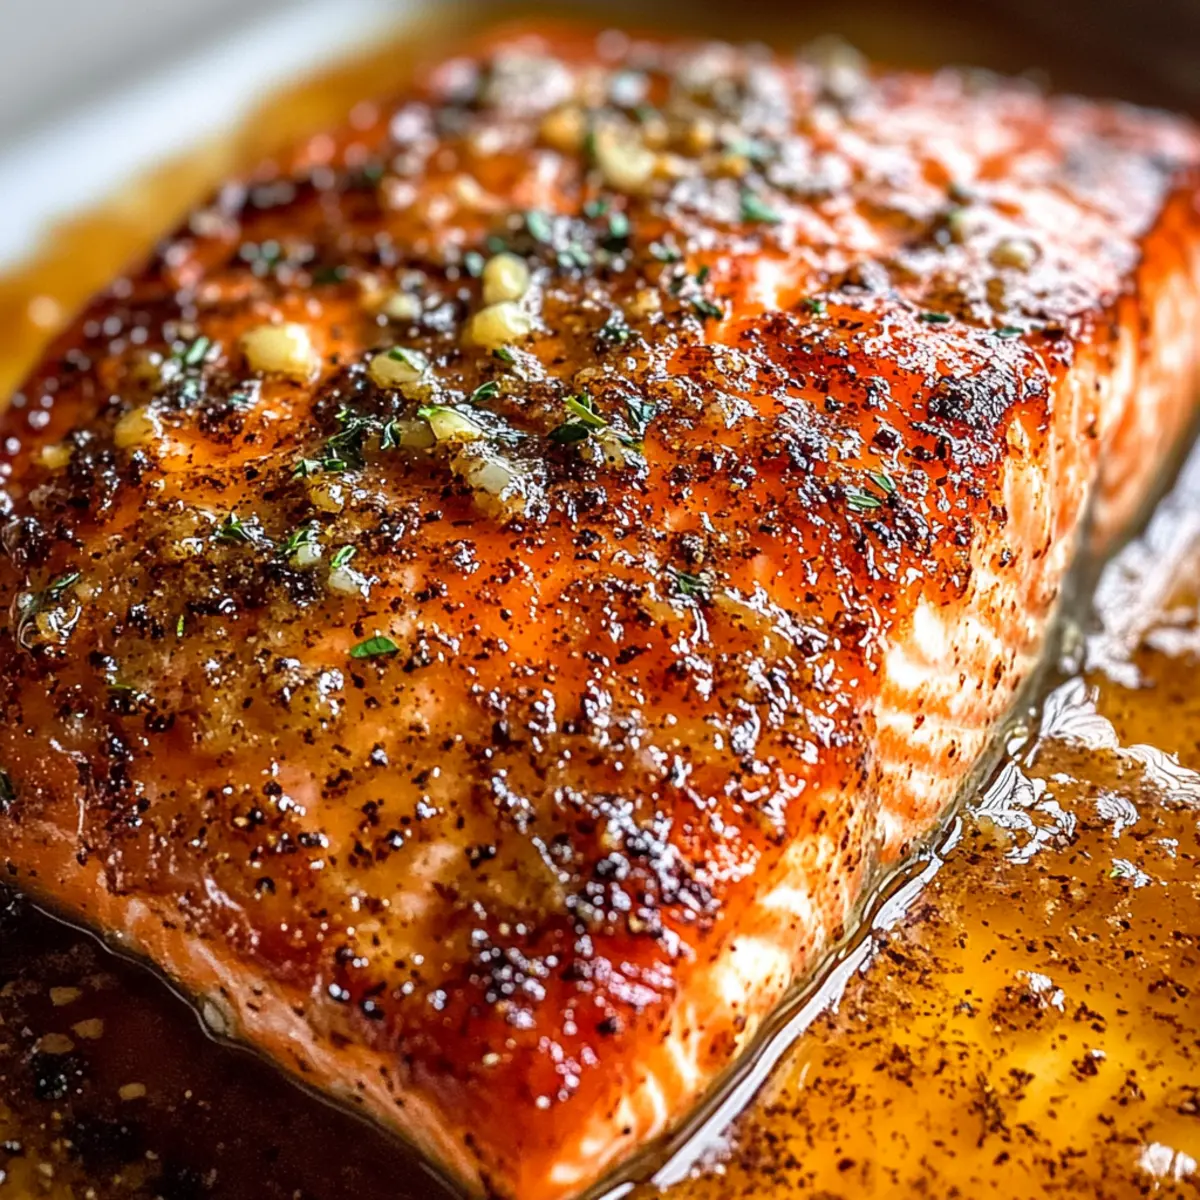
Begin by patting the salmon fillets dry with a paper towel to enhance crispiness. In a small bowl, drizzle the salmon with olive oil, ensuring it's well-coated. Generously rub the Cajun seasoning and salt over the fillets, creating a flavorful layer that will infuse during cooking.
Step 2: Sear the Salmon
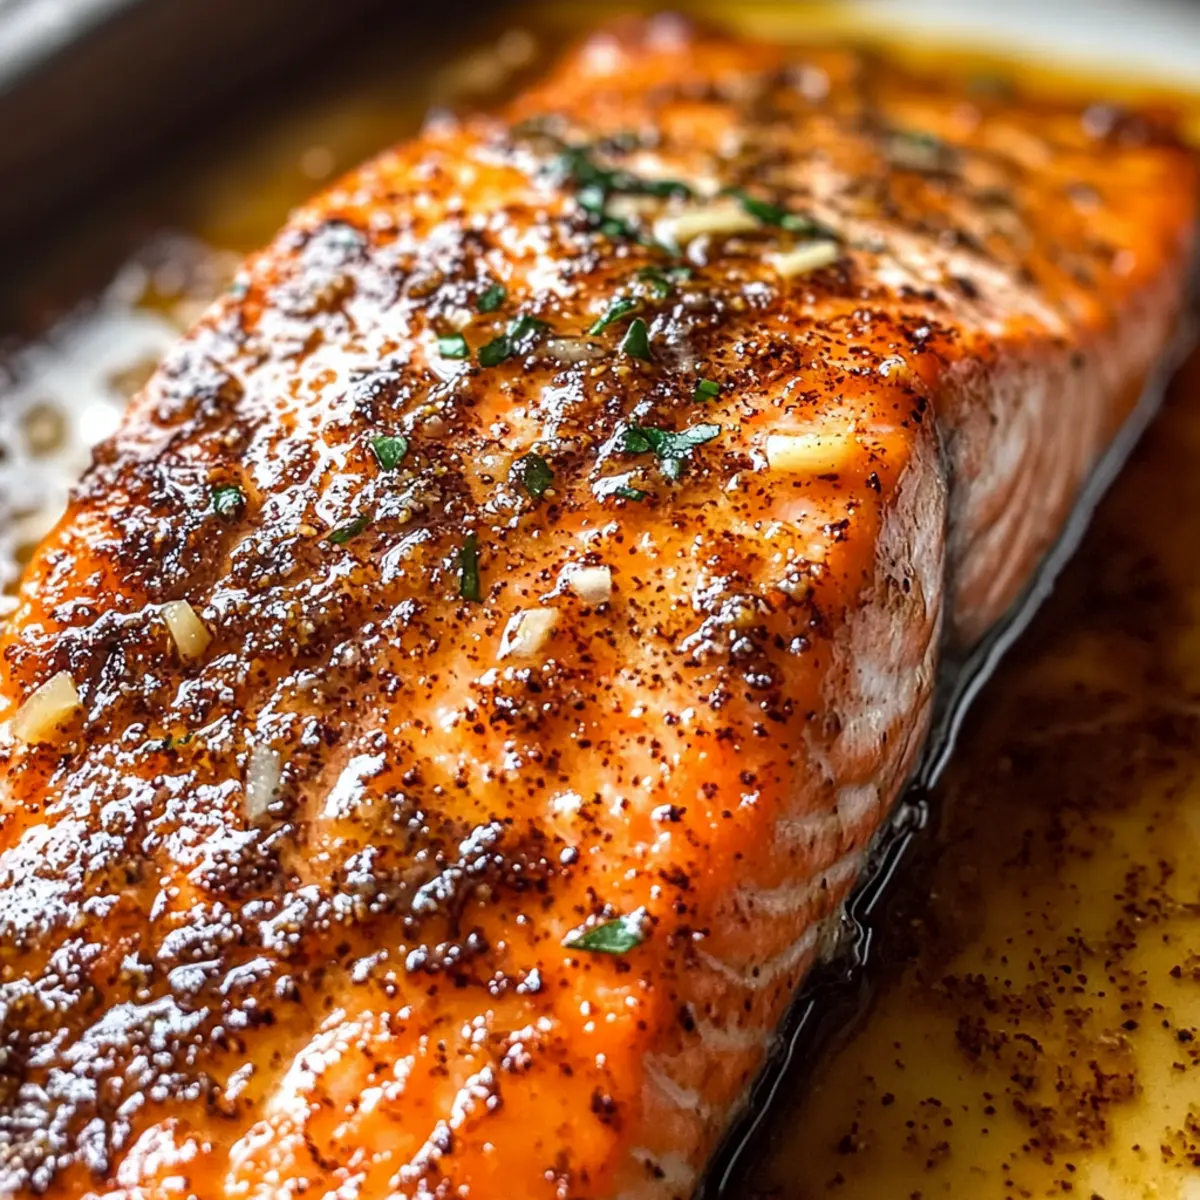
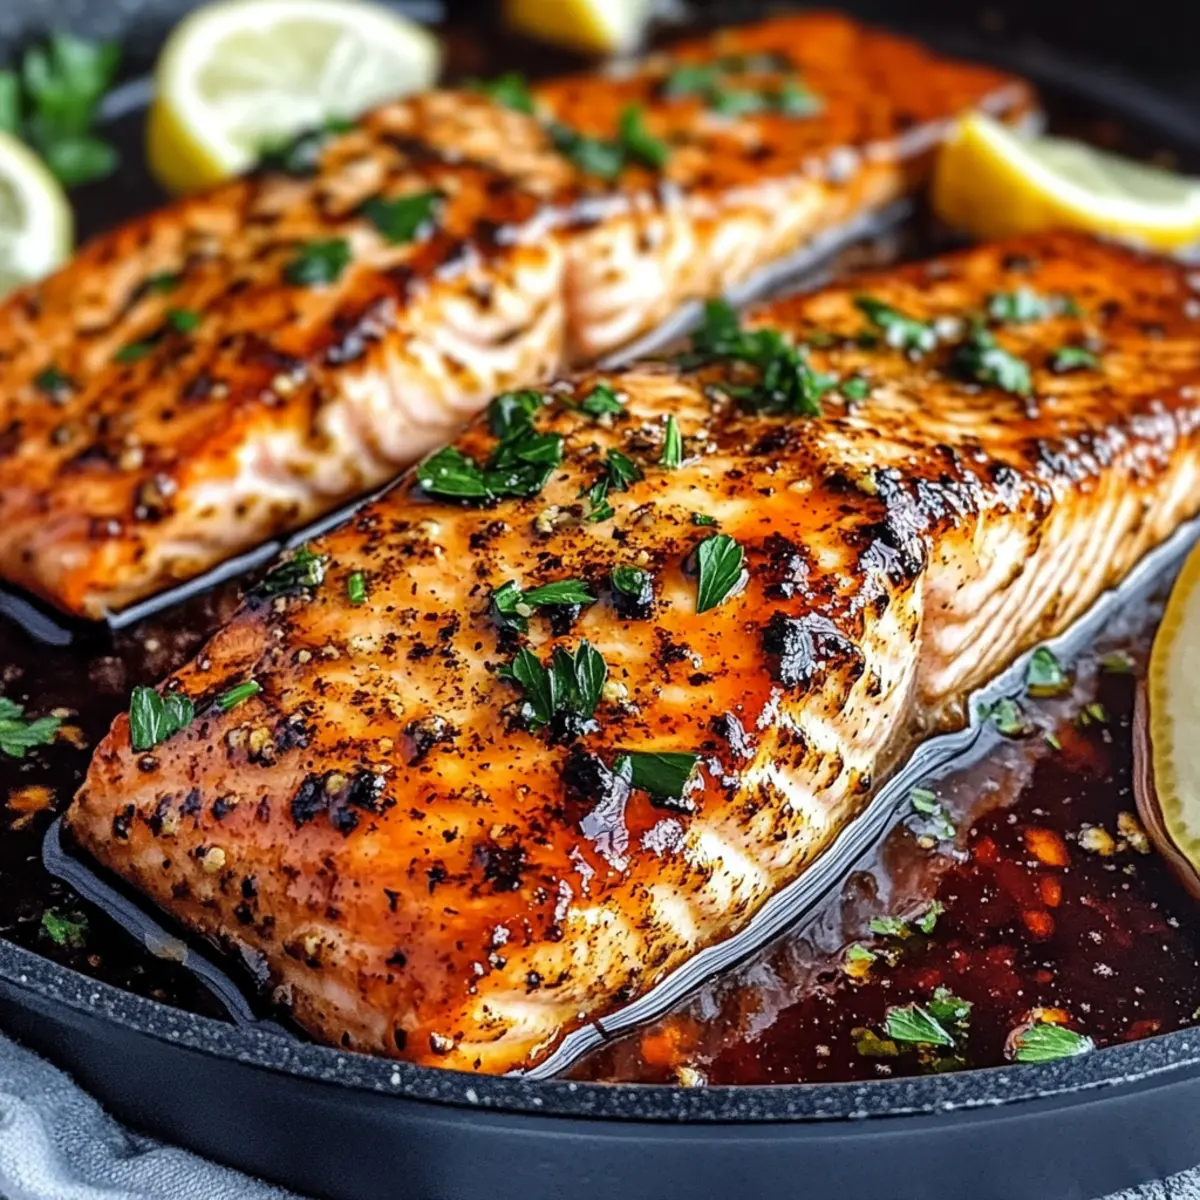
Heat a non-stick skillet over medium-high heat for about 2 minutes until the surface is hot but not smoking. Place the seasoned salmon skin-side up in the skillet and sear for approximately 3 minutes until a golden crust forms. Carefully flip the fillets and continue cooking for an additional 2 minutes, ensuring they are cooked through but still tender.
Step 3: Make the Sauce
While the salmon cooks, prepare the honey butter sauce. In a separate saucepan over medium heat, melt the butter until bubbly, then stir in honey, soy sauce, and minced garlic. Allow this mixture to simmer for 2 minutes, letting the aromas meld together, before removing it from heat and adding fresh lemon juice for a bright finish.
Step 4: Combine and Cook
Once the salmon is seared, pour the honey butter sauce over the fillets in the skillet. Let it cook for another 3-5 minutes, frequently spooning the sauce over the salmon to soak in those delicious flavors. The salmon should be cooked thoroughly, with a flaky texture once done—aim for an internal temperature of 145°F (63°C).
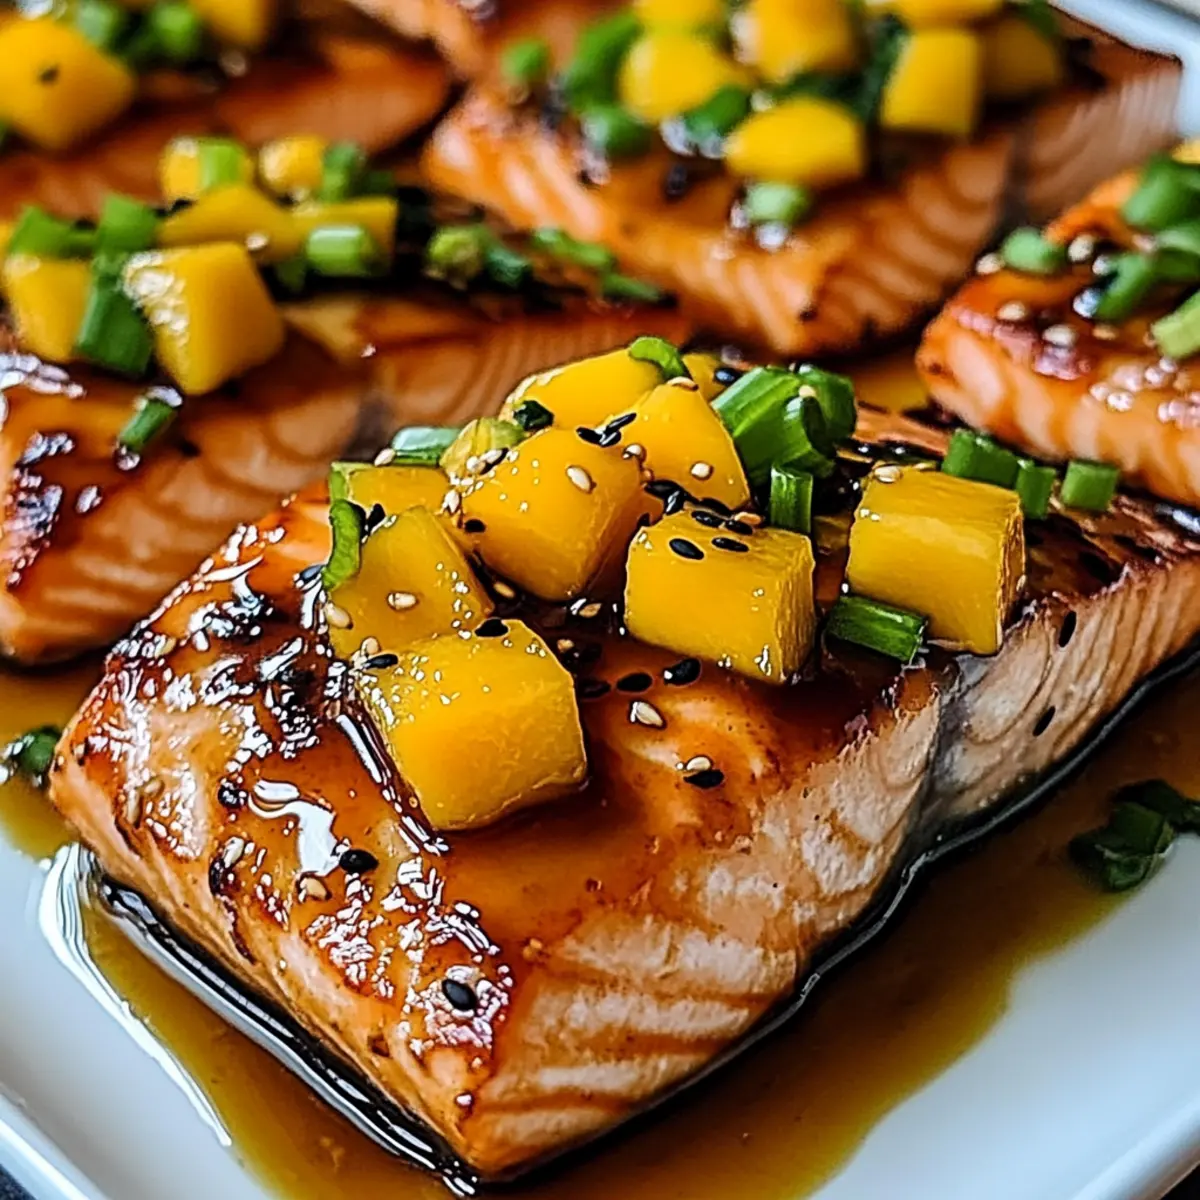
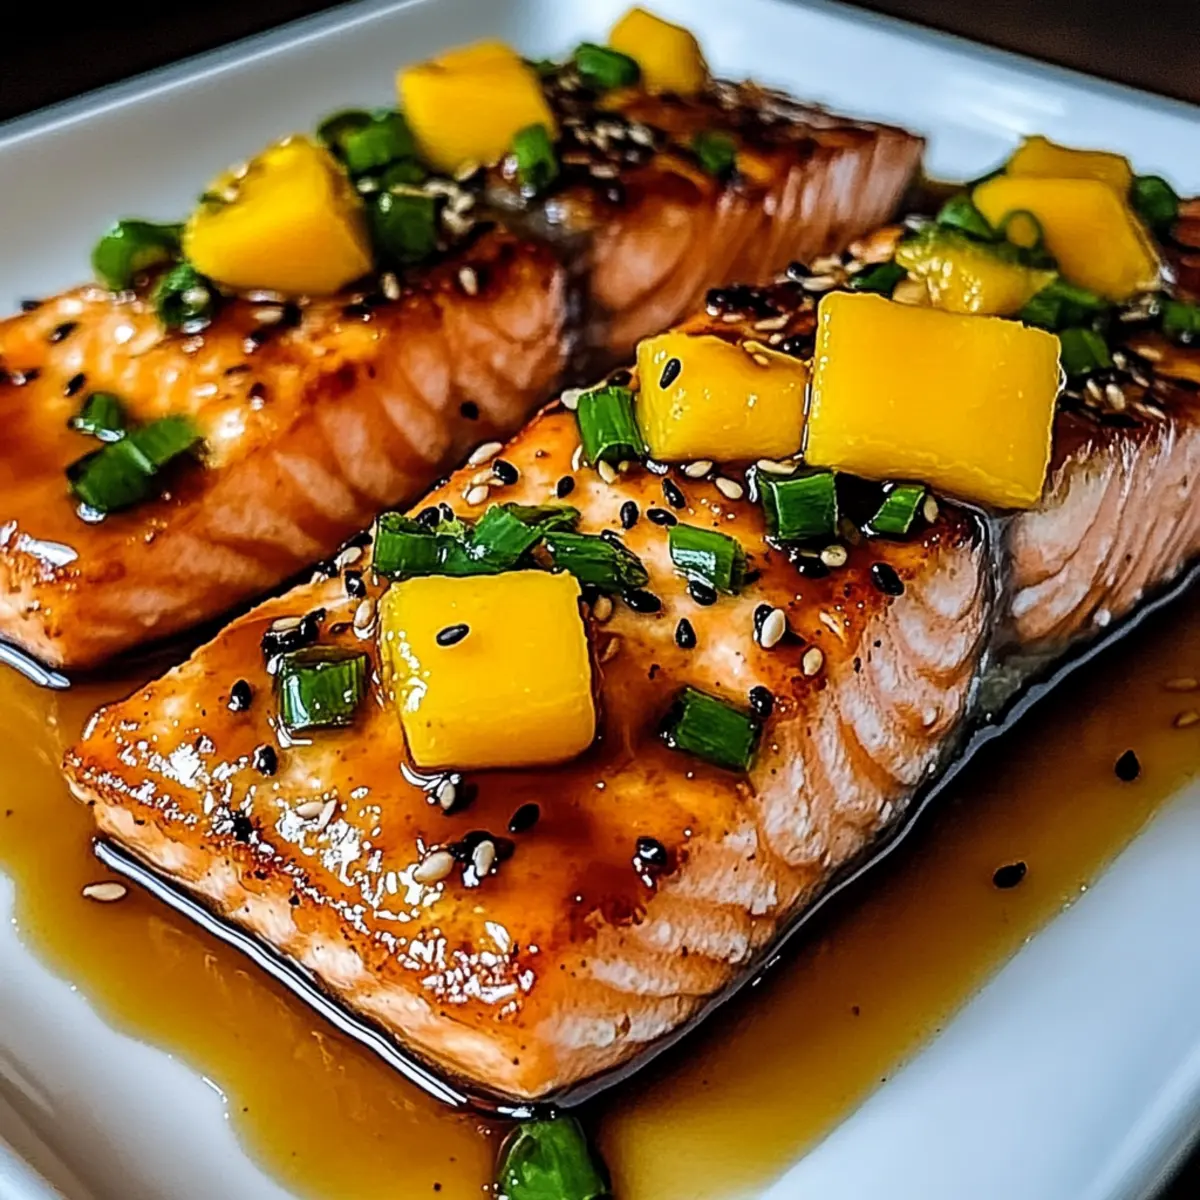
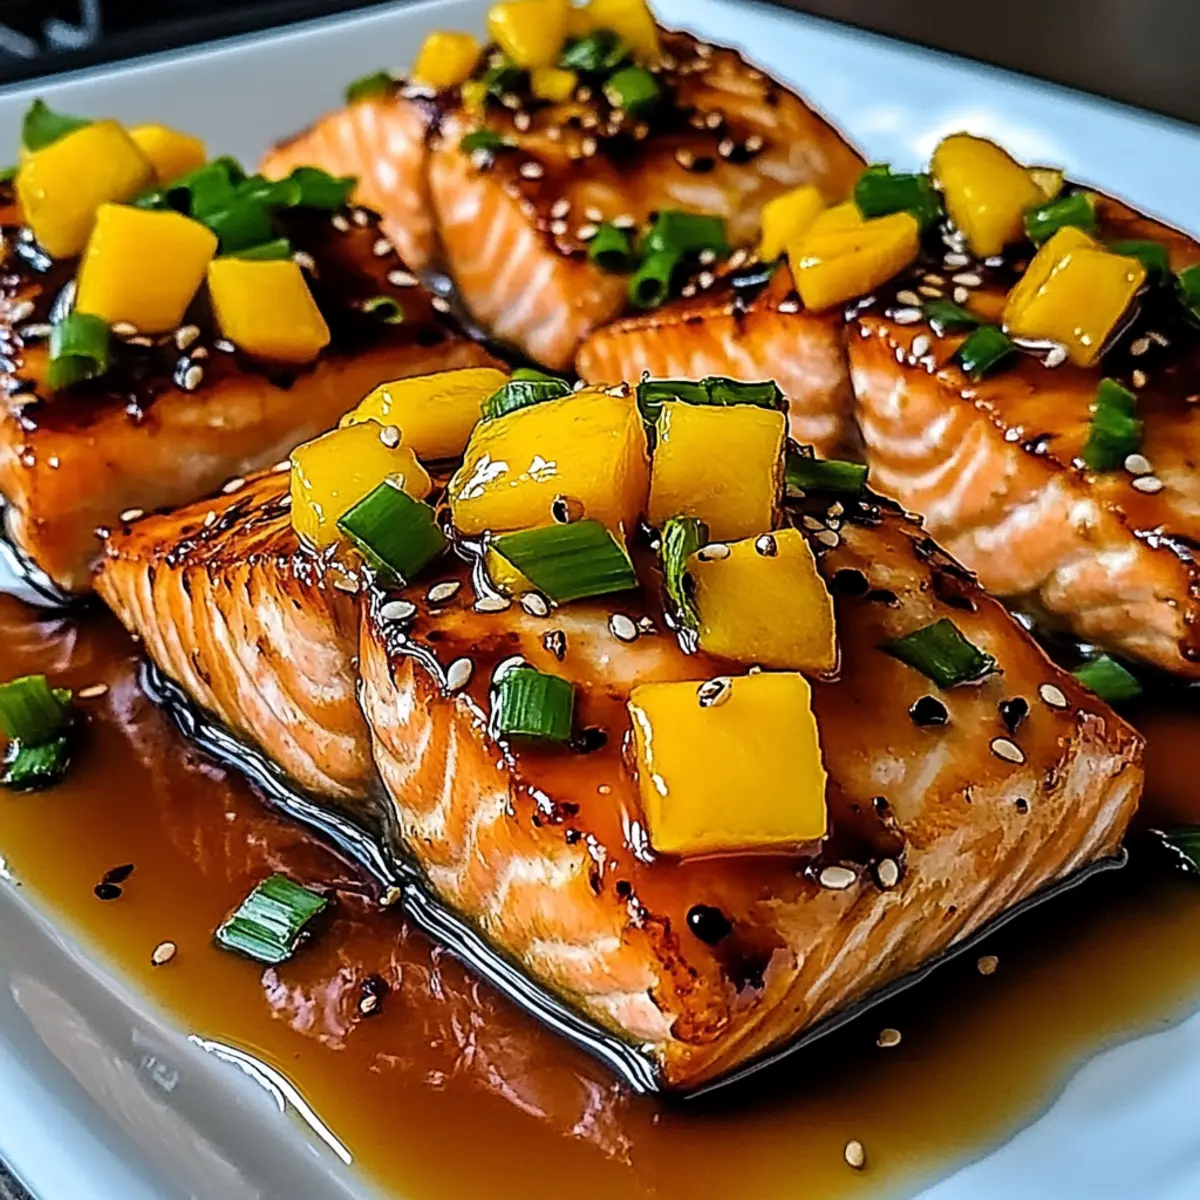
Step 5: Garnish and Serve
After the salmon has reached perfection, remove it from the heat and transfer the fillets to a serving plate. Garnish generously with freshly chopped parsley, tuck in lemon wedges for zest, and sprinkle black sesame seeds for added crunch and visual appeal. Enjoy your restaurant-quality Cajun Honey Butter Salmon!
Storage Tips for Cajun Honey Butter Salmon
Fridge: Store leftovers in an airtight container for up to 3 days. Make sure the salmon is cooled before sealing to maintain texture.
Freezer: If you want to save your Cajun Honey Butter Salmon for later, freeze it in a well-sealed container for up to 2 months. Thaw overnight in the fridge before reheating.
Reheating: For best results, reheat salmon in a skillet over low heat to preserve moisture. Alternatively, use the microwave on a low setting, covered with a damp paper towel for even warmth.
Avoid Refreezing: Once thawed, do not refreeze the salmon to maintain taste and quality.
Tips for the Best Cajun Honey Butter Salmon
- Perfect Temperature: Always ensure salmon reaches an internal temperature of 145°F (63°C) for safe and tender results.
- Skillet Space: Don't overcrowd the skillet while searing; allowing space ensures a nice golden crust.
- Season Generously: Be generous with the Cajun seasoning! A good rub will provide that burst of flavor in every bite.
- Taste the Sauce: Before serving, always taste your honey butter sauce to balance sweetness and acidity to your liking.
- Garnish for Appeal: Don’t skip the parsley and lemon wedges; they enhance both presentation and flavor, making your dish irresistible!
Variations & Substitutions for Cajun Honey Butter Salmon
Feel free to make this delectable dish your own with these fun twists and meaningful swaps that will tickle your taste buds!
- Different Fish: Swap salmon for tilapia or trout for a lighter option. Each fish has its unique flavor but retains the deliciousness of the sauce.
- Herb Twists: Use dill or chives instead of parsley for different herbal notes. This adds freshness and a delightful aroma that elevates the dish beautifully.
- Spicy Kick: Add cayenne pepper for a bolder heat. Adjust according to your spice tolerance; for some, a tiny pinch will do, while others might crave a fiery explosion.
- Sweet Alternatives: Use agave nectar in place of honey for a unique flavor. It offers a slightly different sweetness but blends wonderfully with the Cajun spices.
- Vegetarian Version: Replace the salmon with grilled portobello mushrooms for a hearty, plant-based alternative. Marinate the mushrooms in the same sauce for an earthy twist.
- Creamy Addition: Add a splash of heavy cream to the sauce for a rich, creamy version. This enhances the texture and adds a luxurious touch to your meal.
- Garlic Lovers: Amp up the garlic flavor by adding roasted garlic or extra minced cloves. The sweet, caramelized tones will make the sauce absolutely irresistible!
- Citrus Variations: Instead of lemon, try using lime or even orange juice to brighten the dish. Each citrus brings its character, creating a vibrant taste profile.
For even more mouthwatering inspiration, why not explore pairing this salmon with Honey BBQ Chicken for a delightful summer feast? Or, serve alongside a classic One Pot Salmon dish for a cozy family dinner. The possibilities are endless!
Make Ahead Options
These Cajun Honey Butter Salmon fillets are perfect for meal prep, allowing you to savor incredible flavors on those hectic nights! You can season and marinate the salmon up to 24 hours in advance, wrapping it tightly in cling film to keep it fresh. Additionally, the honey butter sauce can be prepared and stored in the refrigerator for up to 3 days in an airtight container; just remember to give it a good stir before using. When you're ready to serve, simply sear the marinated salmon, pour the reheated sauce over it, and enjoy a dish that is just as delightful as when freshly made—all with minimal effort!
What to Serve with Cajun Honey Butter Salmon
A vibrant meal experience awaits you when you pair this beautifully spiced salmon with complementary sides and sips.
-
Garlic Mashed Potatoes: Creamy and buttery, these potatoes provide a comforting base that soaks up the luscious honey-butter sauce perfectly. They're a classic pairing that never disappoints.
-
Sautéed Green Beans: Fresh and slightly crispy, these green beans add a pop of color and crunch. Their subtle earthiness balances the richness of the salmon.
-
Quinoa Salad: This light and nutritious salad, with fresh veggies and a citrus dressing, brings a refreshing contrast to the dish. It's a great way to add some extra fiber and nutrients.
-
Roasted Sweet Potatoes: Their natural sweetness complements the spicy notes of the Cajun seasoning. The tender texture also contrasts beautifully with the flaky salmon.
-
Coleslaw: A zesty, tangy coleslaw garnished with apple or carrot provides a crunchy, refreshing side that offsets the richness of the salmon. It makes for a perfect summer pairing!
-
Chilled Rosé Wine: This fruity and refreshing wine matches beautifully with the flavorful salmon, enhancing its taste while providing a lovely cool sip.
-
Lemon Sorbet: For dessert, this light and citrusy sorbet cleanses the palate nicely. Its refreshing sweetness echoes the lemon in the salmon dish, providing a harmonious ending.
Each pairing will ensure your dinner is not just a meal, but a delightful culinary adventure!
Cajun Honey Butter Salmon Recipe FAQs
How do I know if my salmon is fresh?
Absolutely! Look for vibrant, shiny skin and a moist, translucent appearance. The flesh should be firm to the touch, and it should not have any dark spots or an overly fishy smell. Fresh salmon typically has a light, clean aroma of the ocean, not a strong fishy scent.
How should I store leftovers of Cajun Honey Butter Salmon?
Very! Leftovers can be kept in an airtight container in the refrigerator for up to 3 days. Make sure the salmon cools to room temperature before sealing to maintain its texture and flavor. For longer storage, wrap it tightly and freeze for up to 2 months; just thaw in the fridge before reheating.
Can I freeze Cajun Honey Butter Salmon?
Absolutely! To freeze, place the salmon in a well-sealed container or freezer bag; make sure to remove as much air as possible. When ready to enjoy it again, thaw the salmon overnight in the refrigerator. For best quality, do not refreeze after thawing to preserve its taste and freshness.
What if my salmon is overcooked and dry?
Very common! If your salmon ends up dry, consider making a quick sauce or broth to rejuvenate it. Combine equal parts broth (chicken or vegetable) and water, then gently heat it with some additional honey and spices. Slice the salmon and let it simmer briefly in the mixture to moisten and infuse it with flavor before serving.
Are there any dietary considerations for Cajun Honey Butter Salmon?
Indeed! This recipe is naturally gluten-free when using tamari instead of regular soy sauce. Additionally, if you're cooking for pets or individuals with allergies, be mindful of substituting ingredients accordingly. For example, opt for a honey alternative like agave if someone is vegan or watch out for any seafood allergies.
Can I use frozen salmon in this recipe?
Absolutely! If using frozen salmon, it's best to thaw it first for even cooking. Place the salmon in the refrigerator overnight prior to cooking or run it under cold water for about 30 minutes. Make sure to pat it dry before seasoning and cooking to ensure a nice sear.