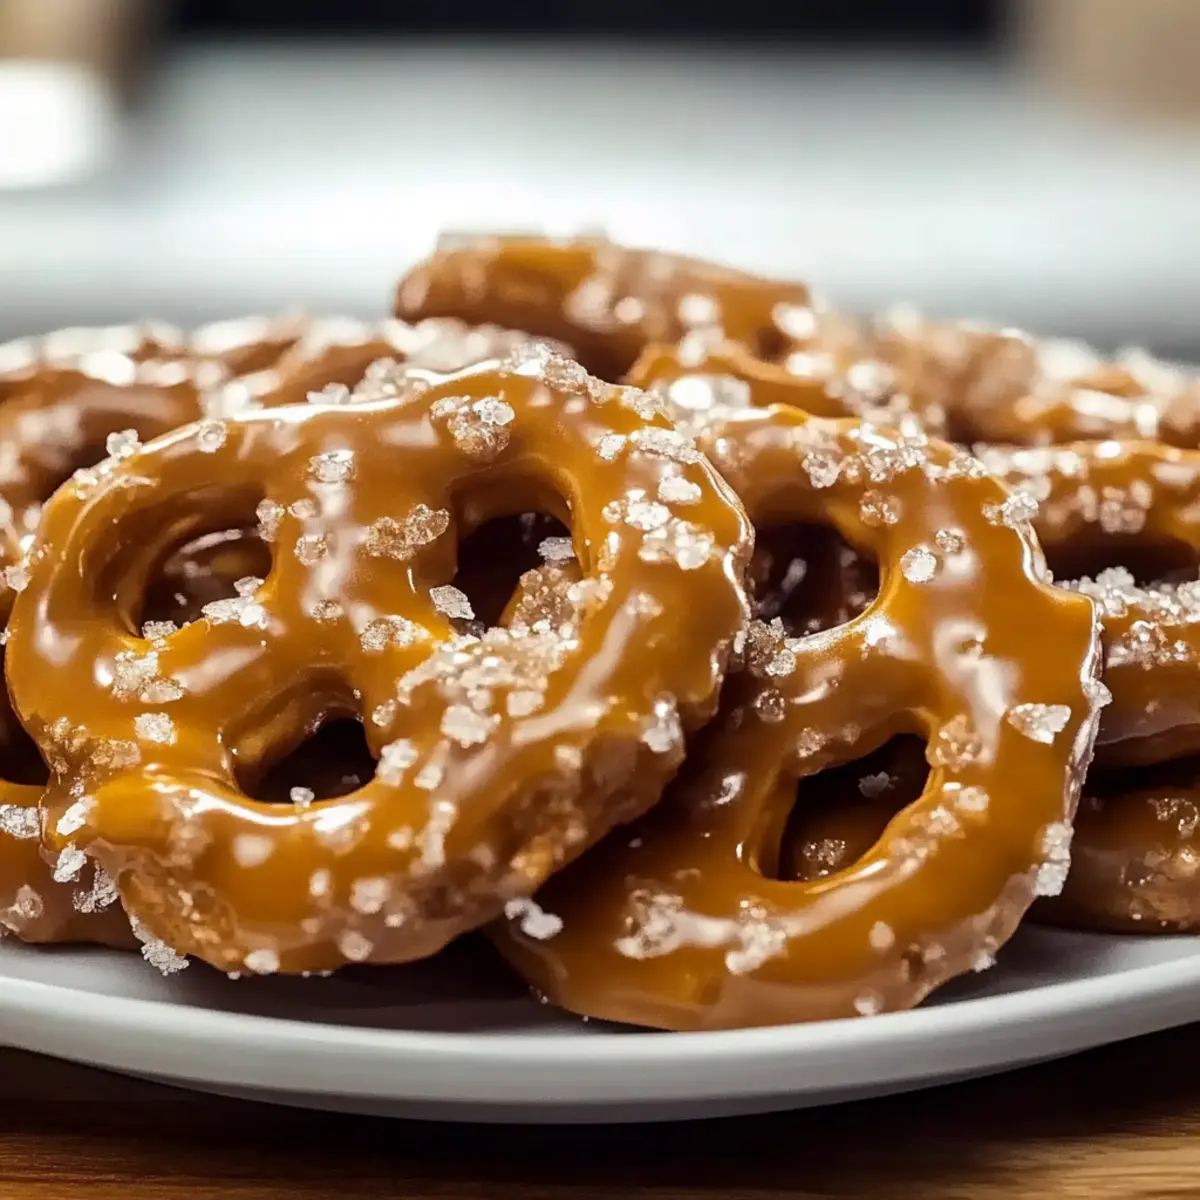
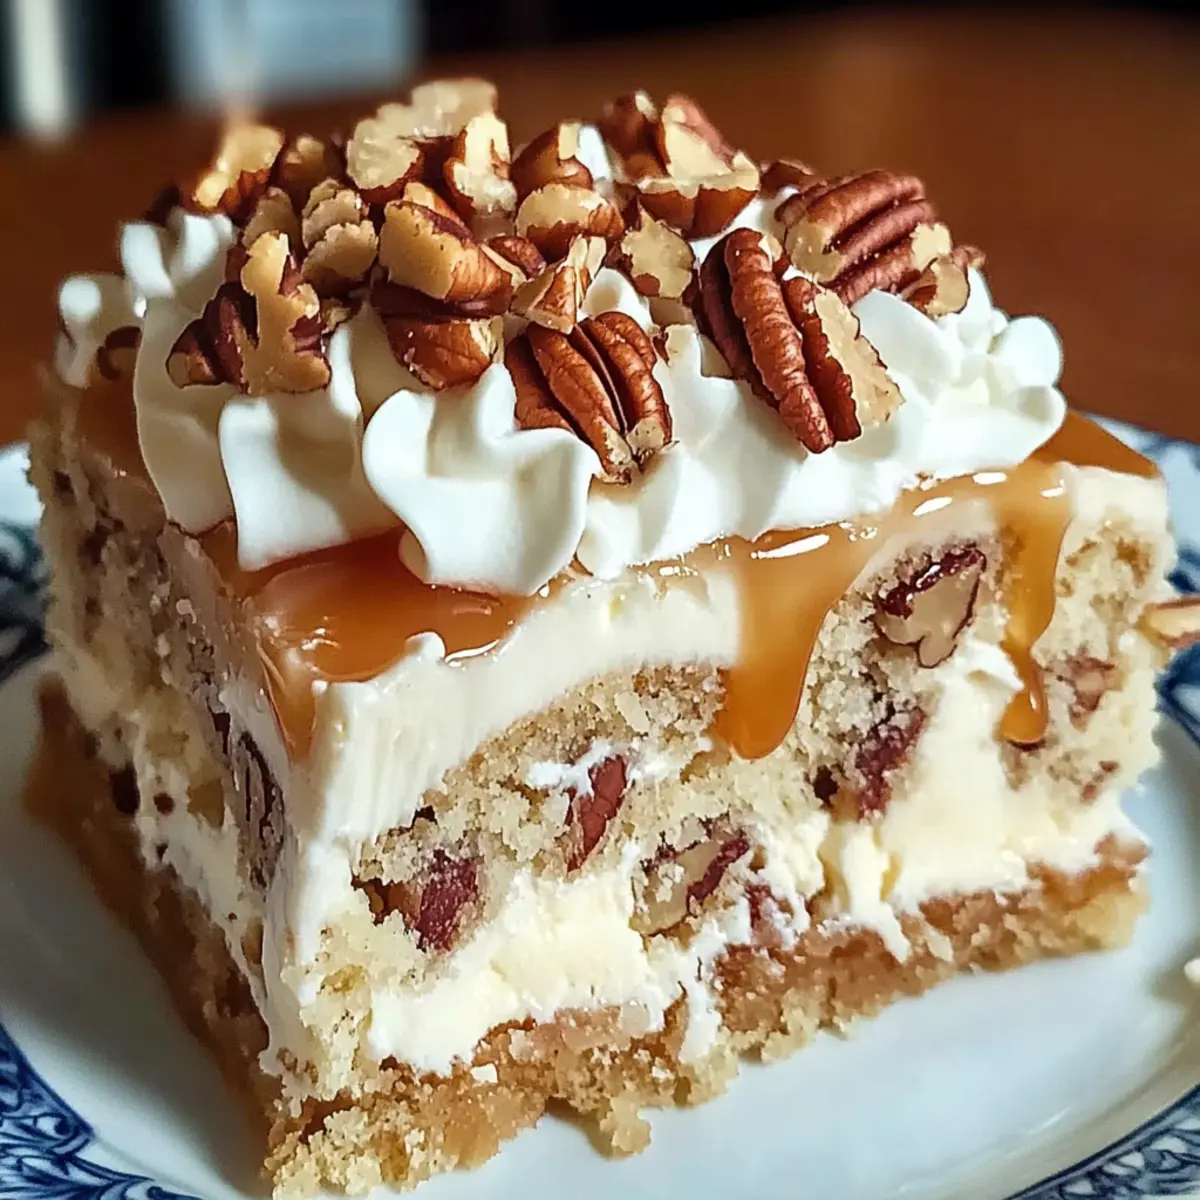
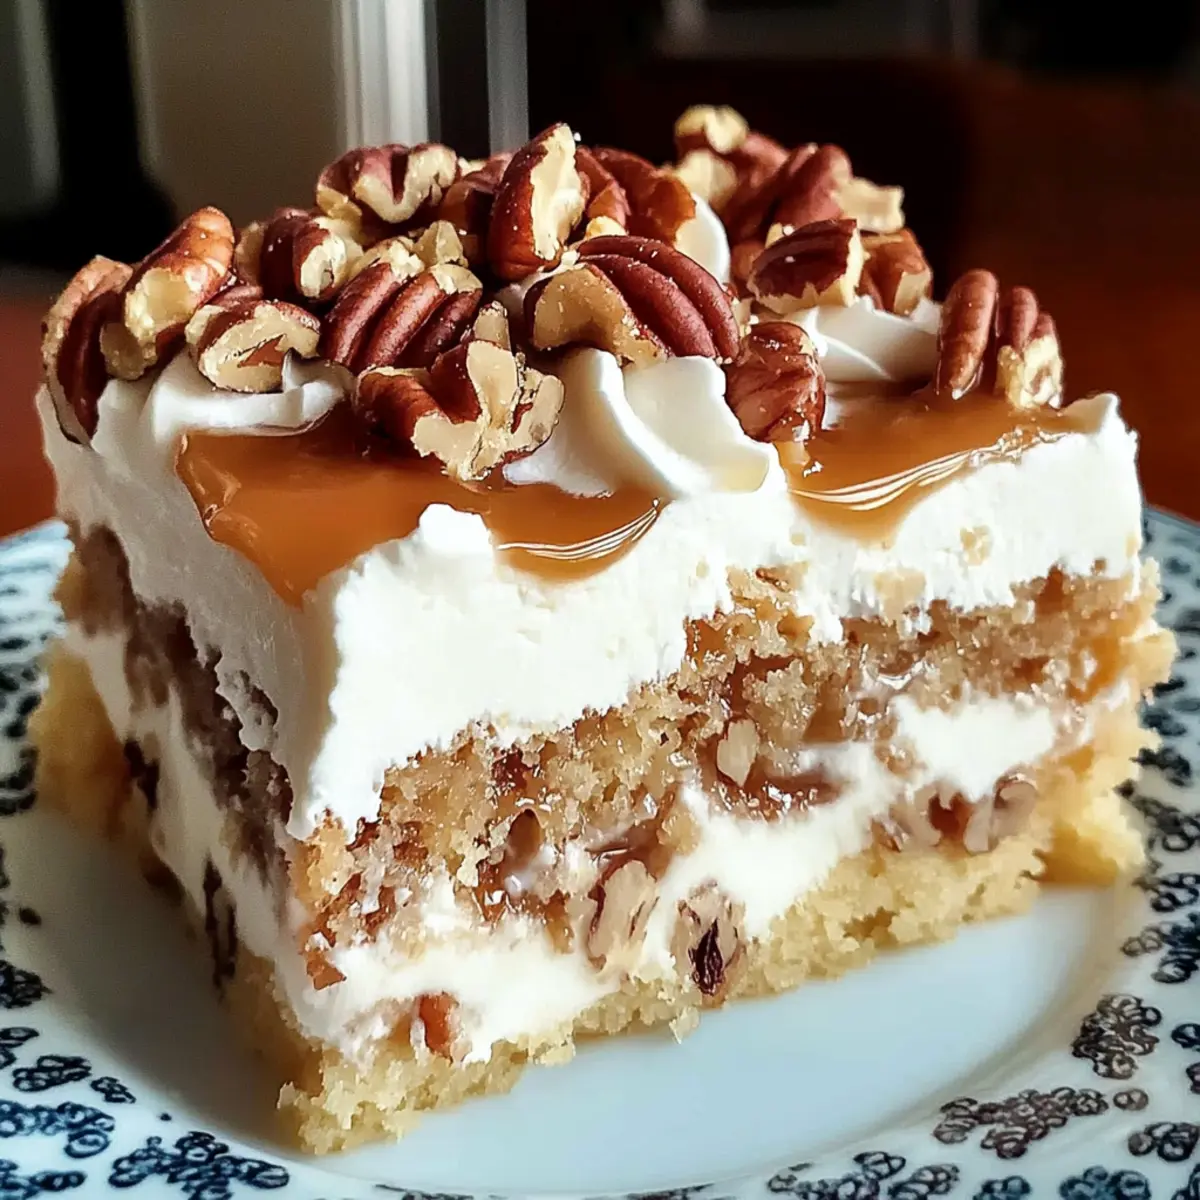
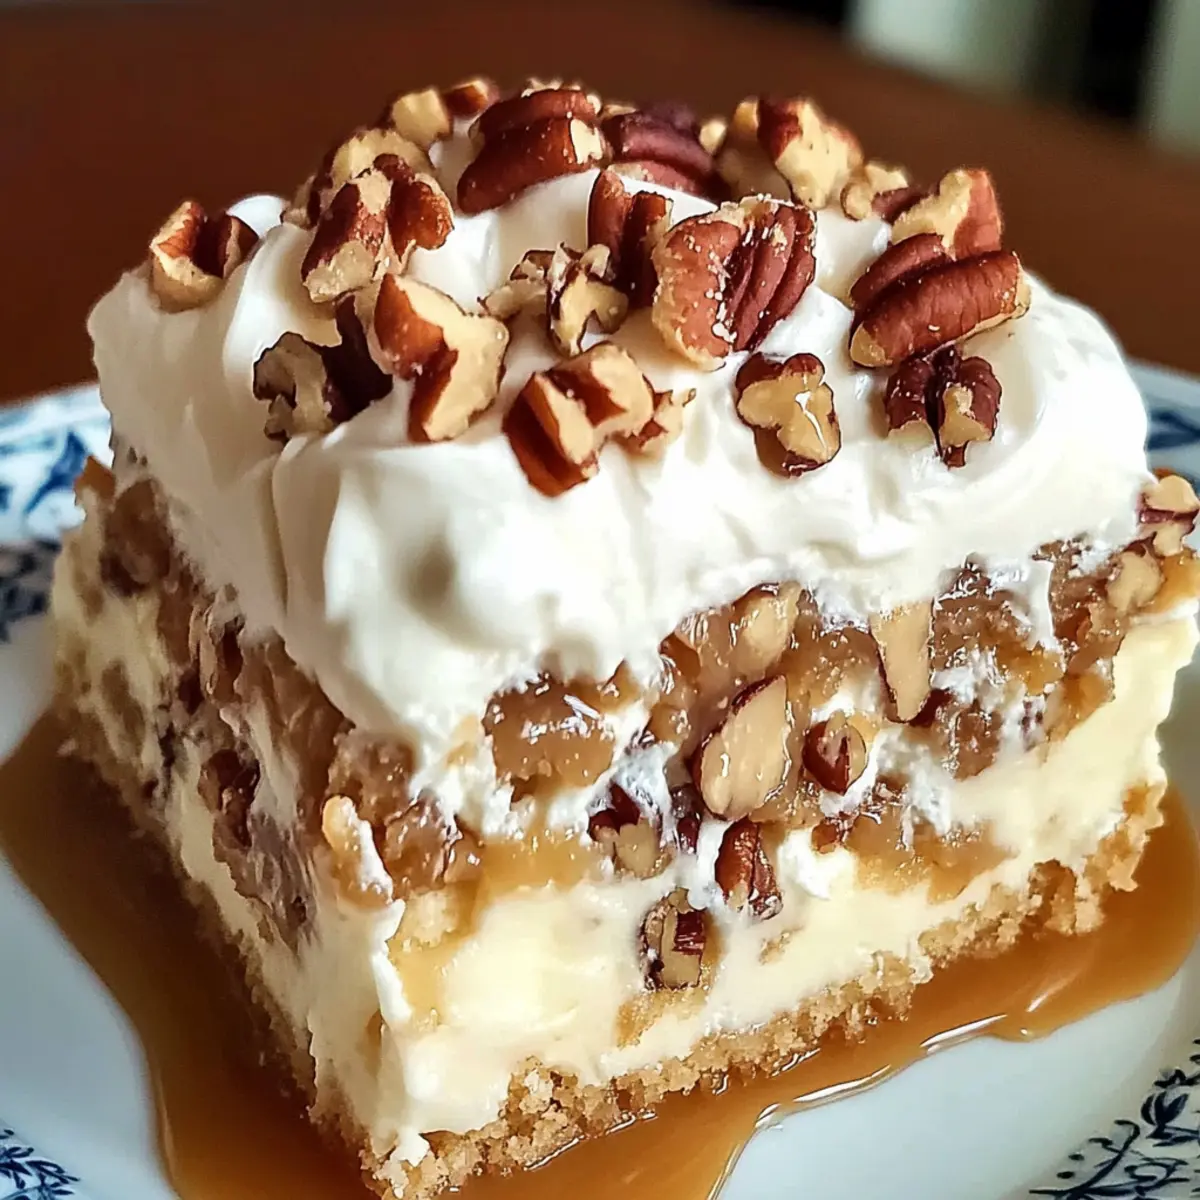
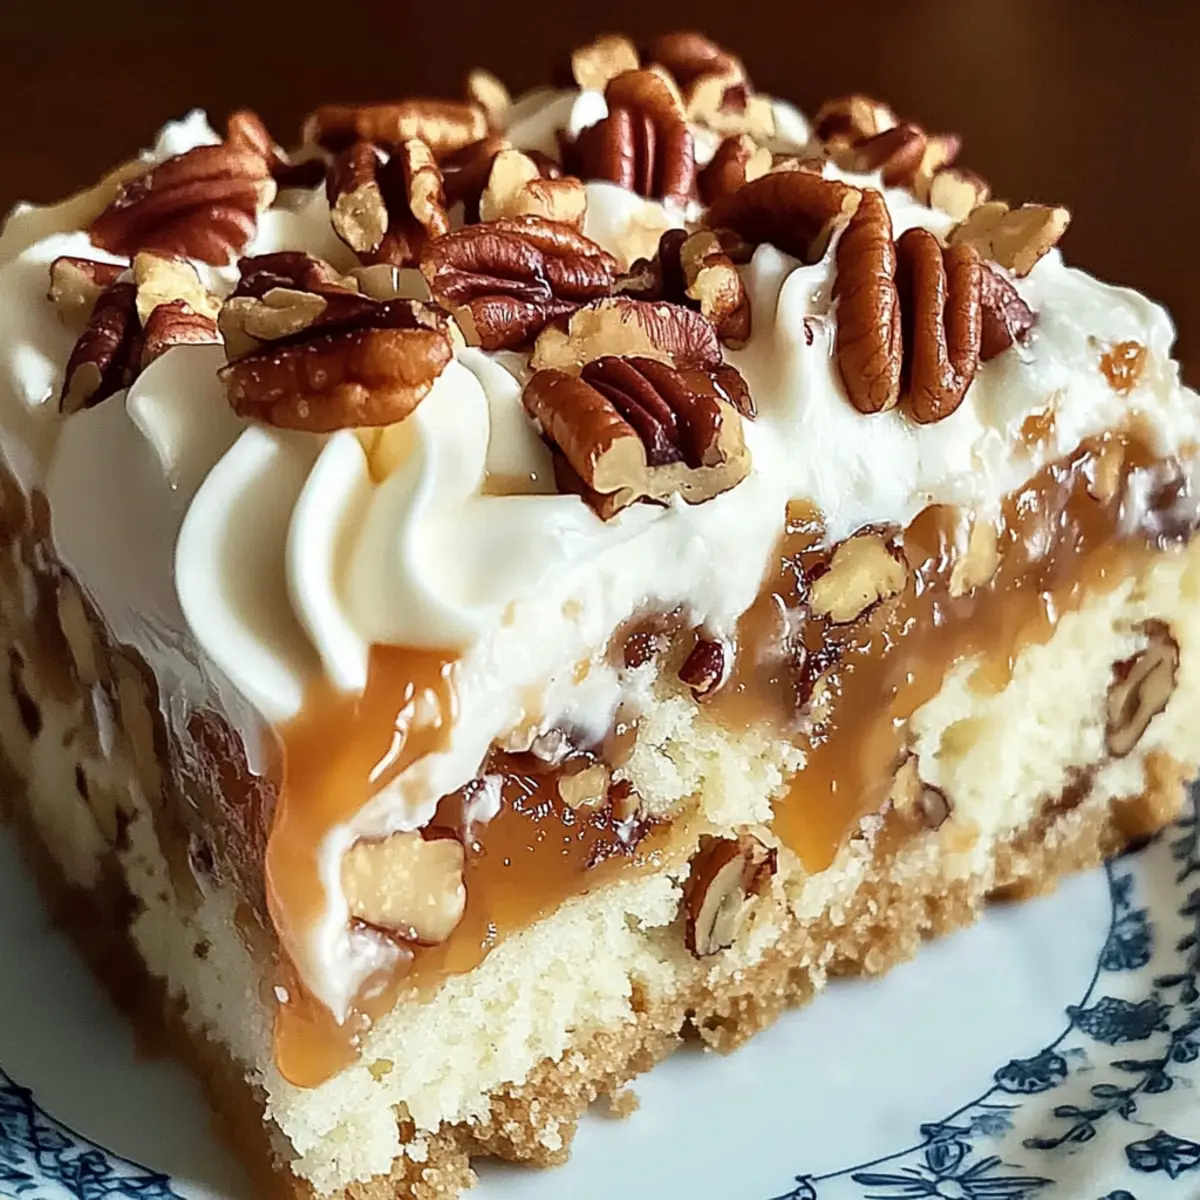
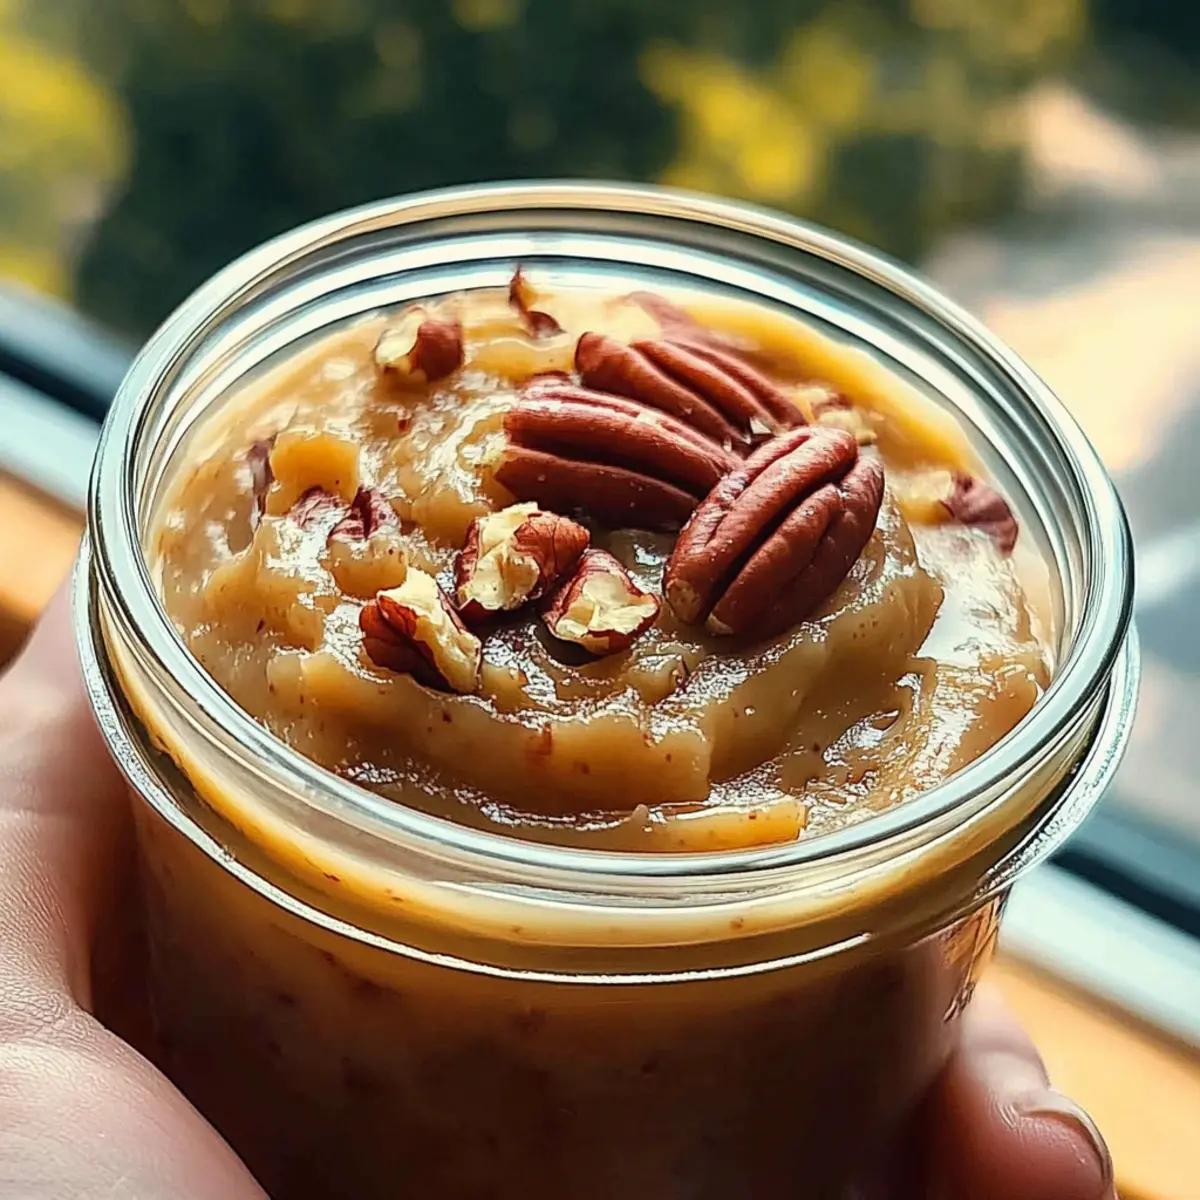
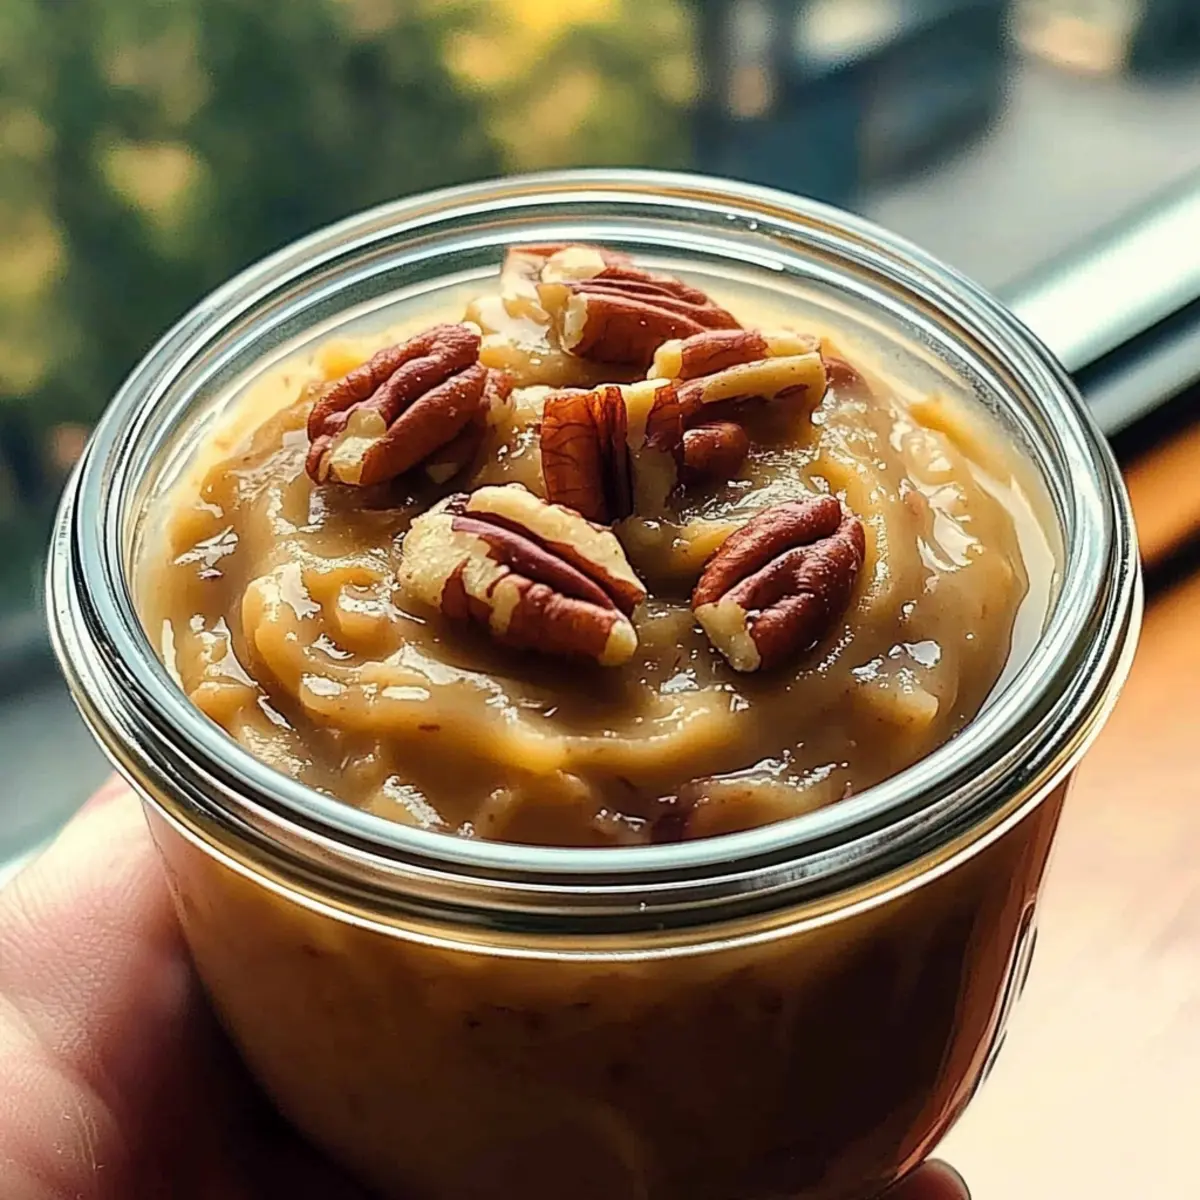
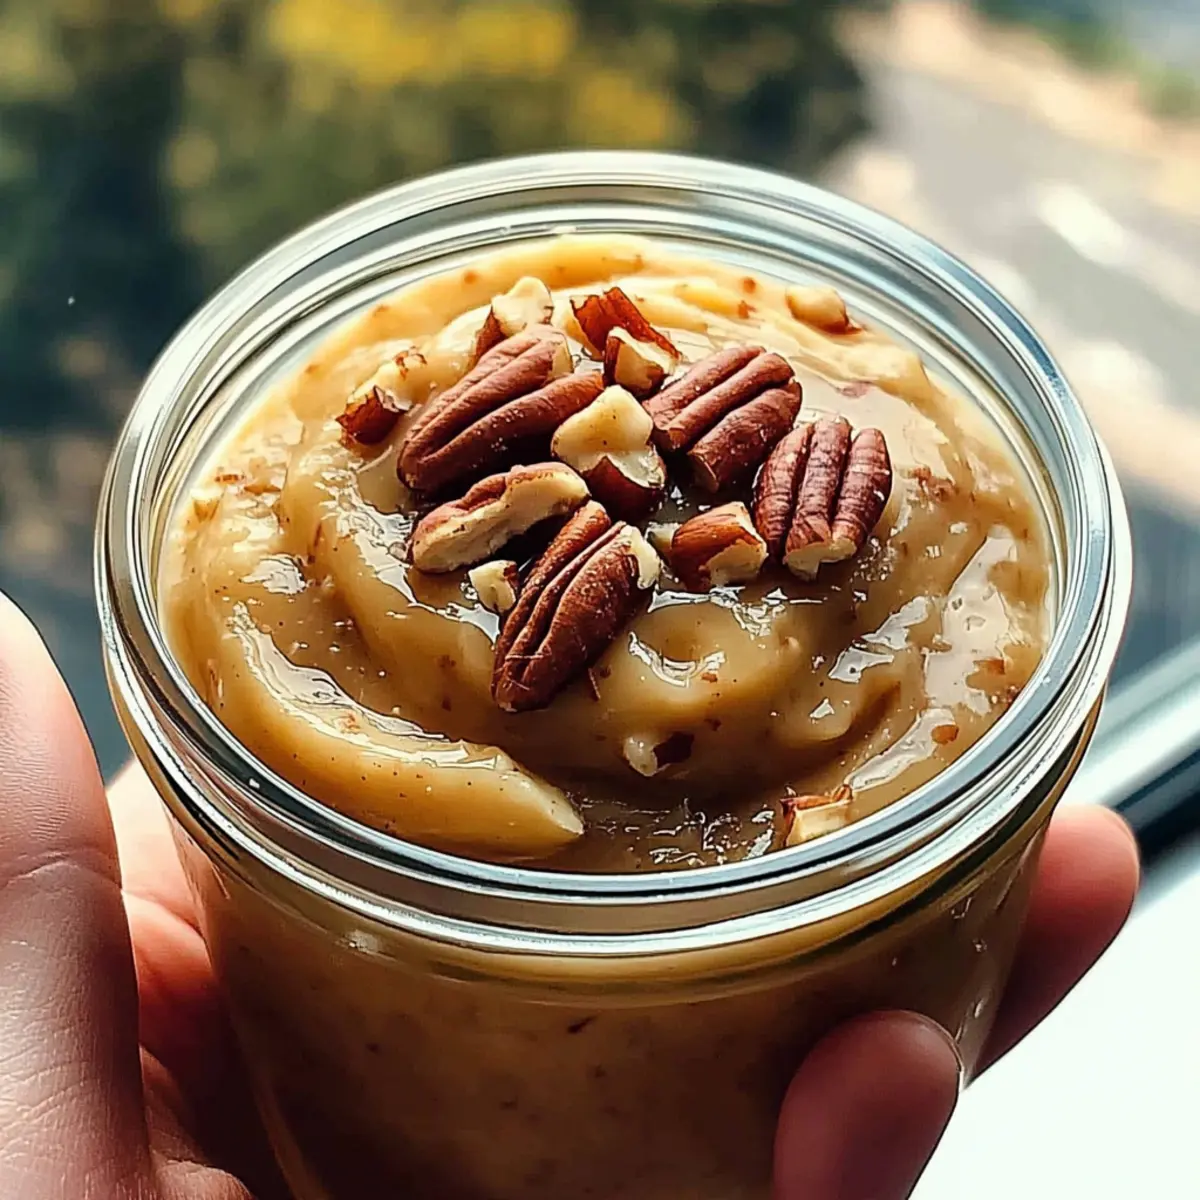
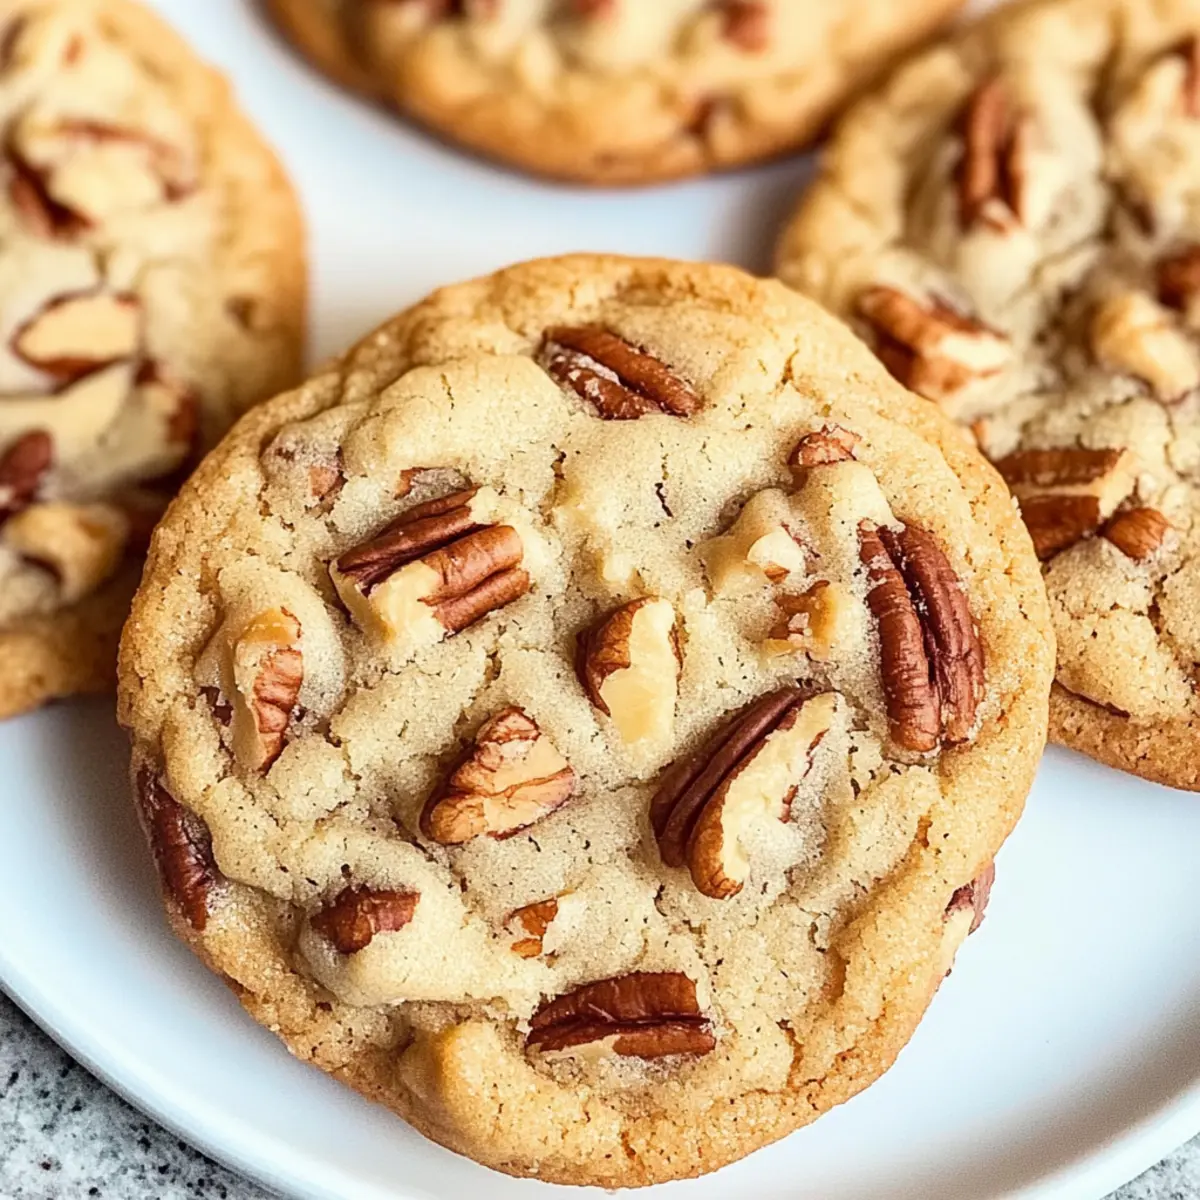
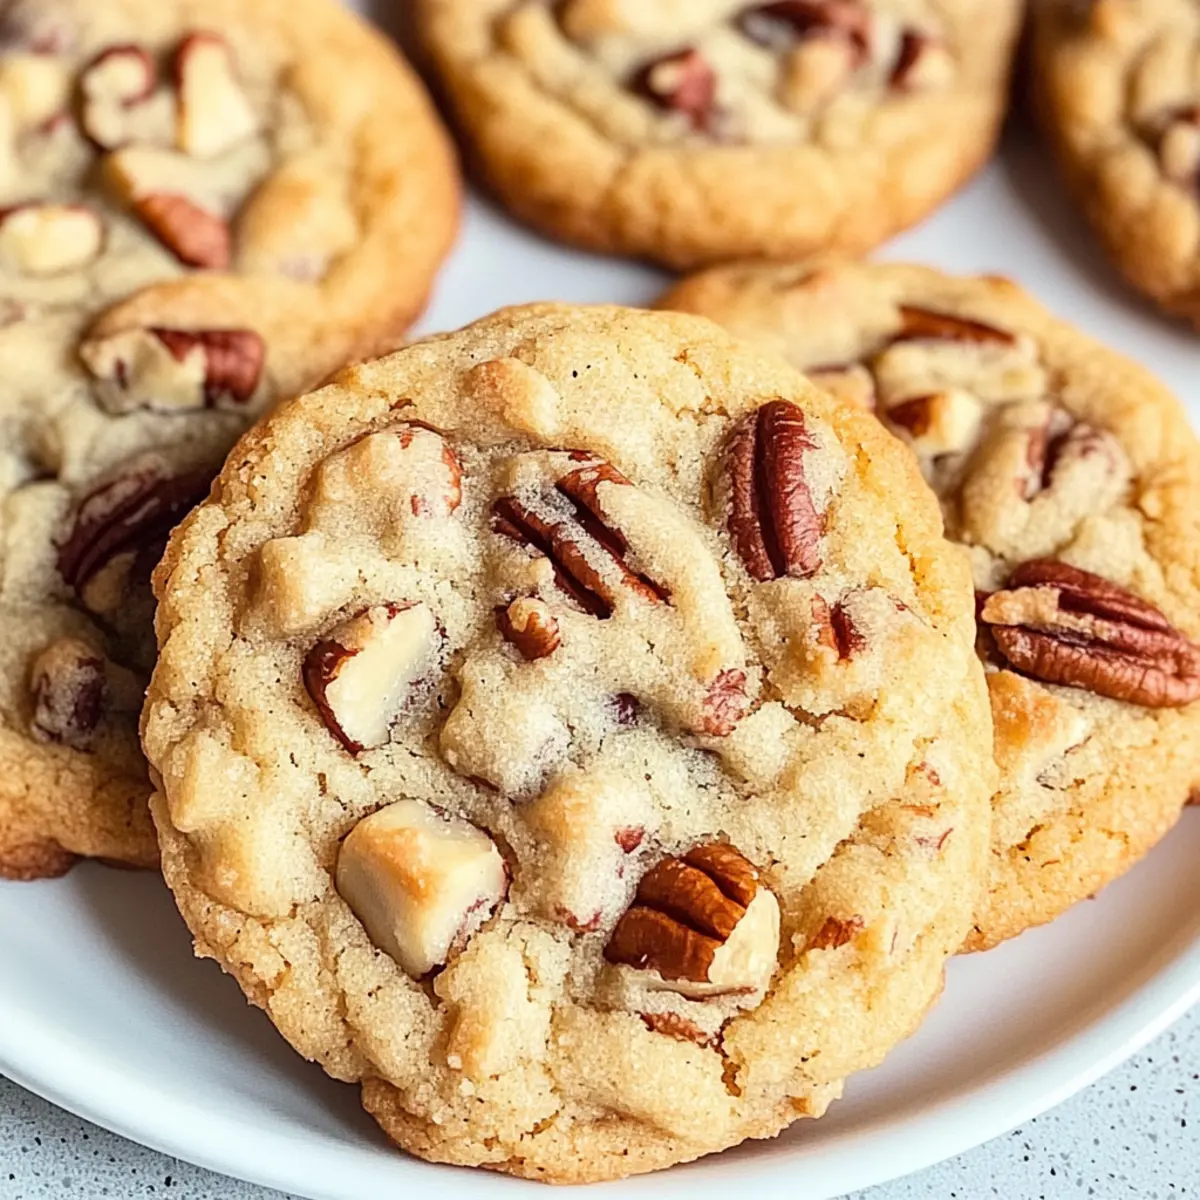
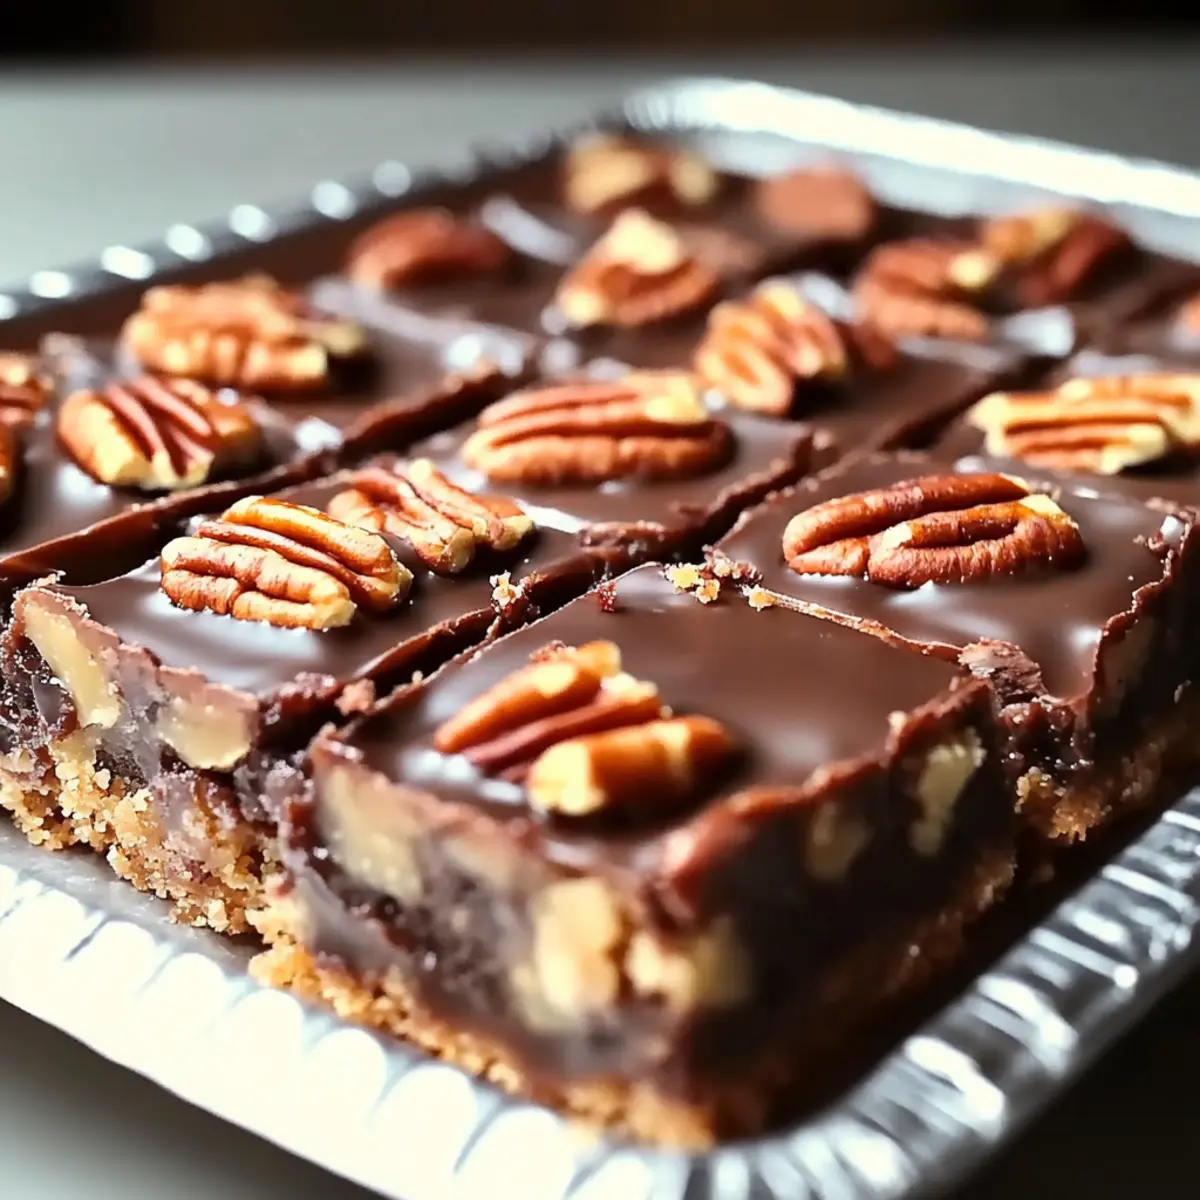
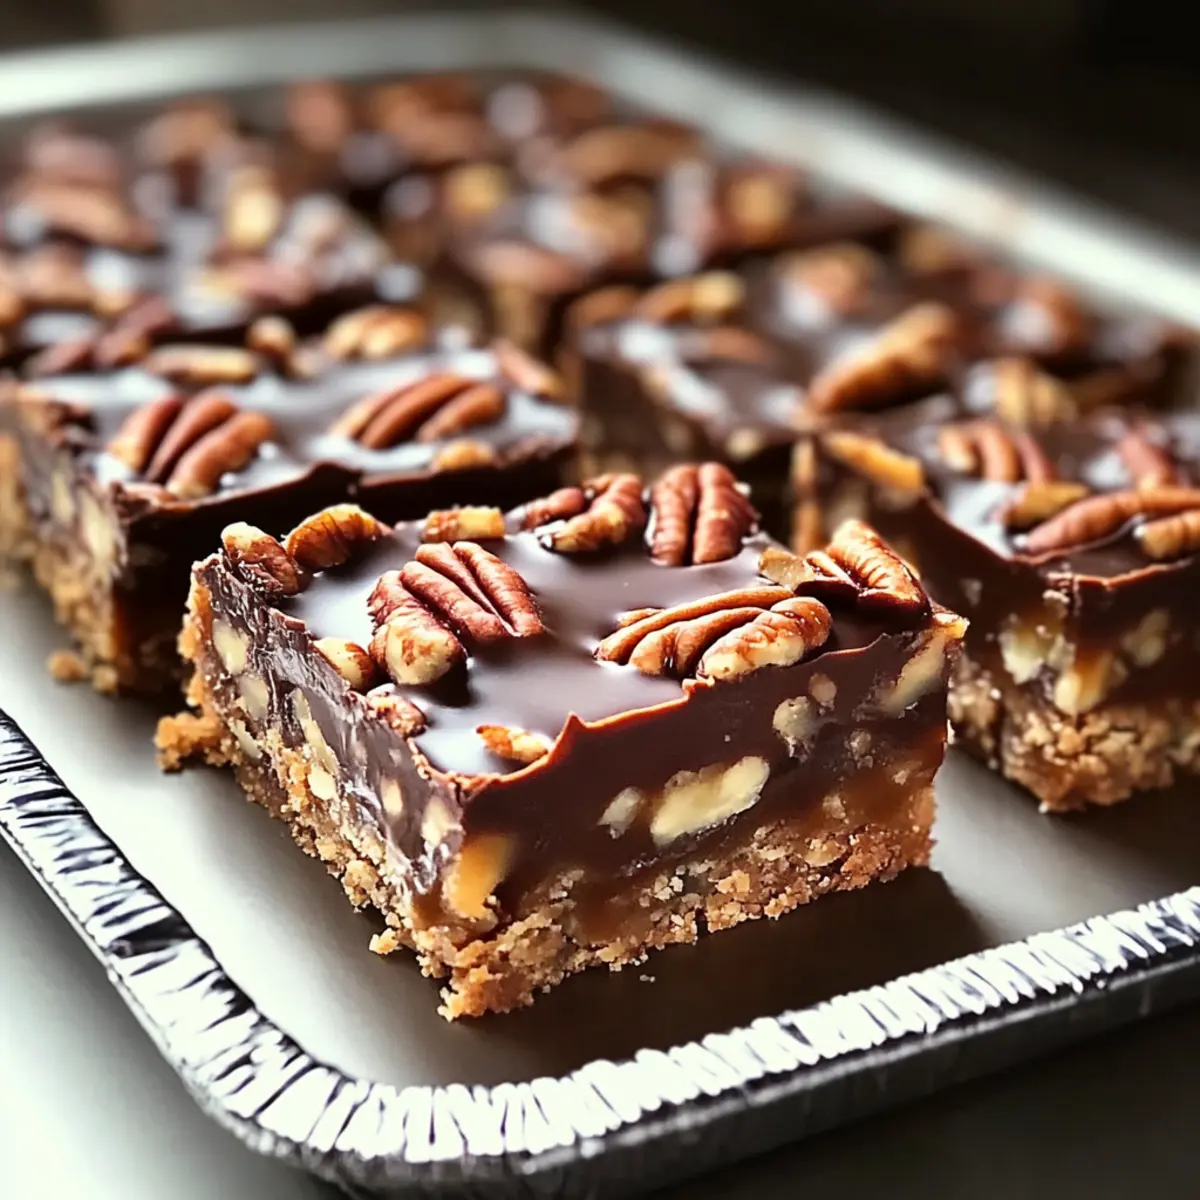
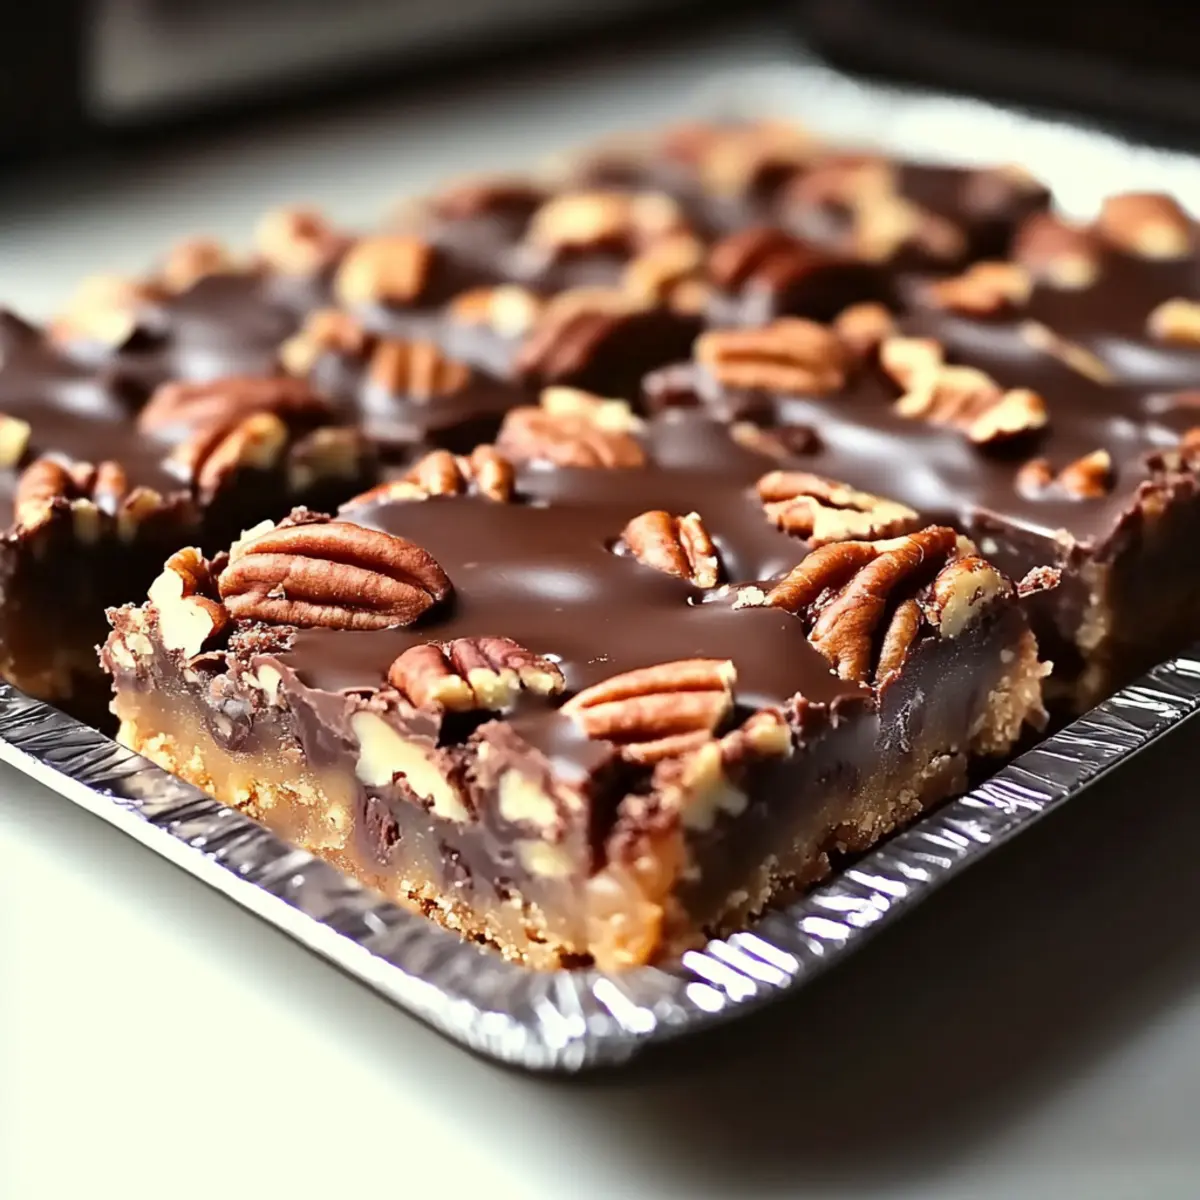
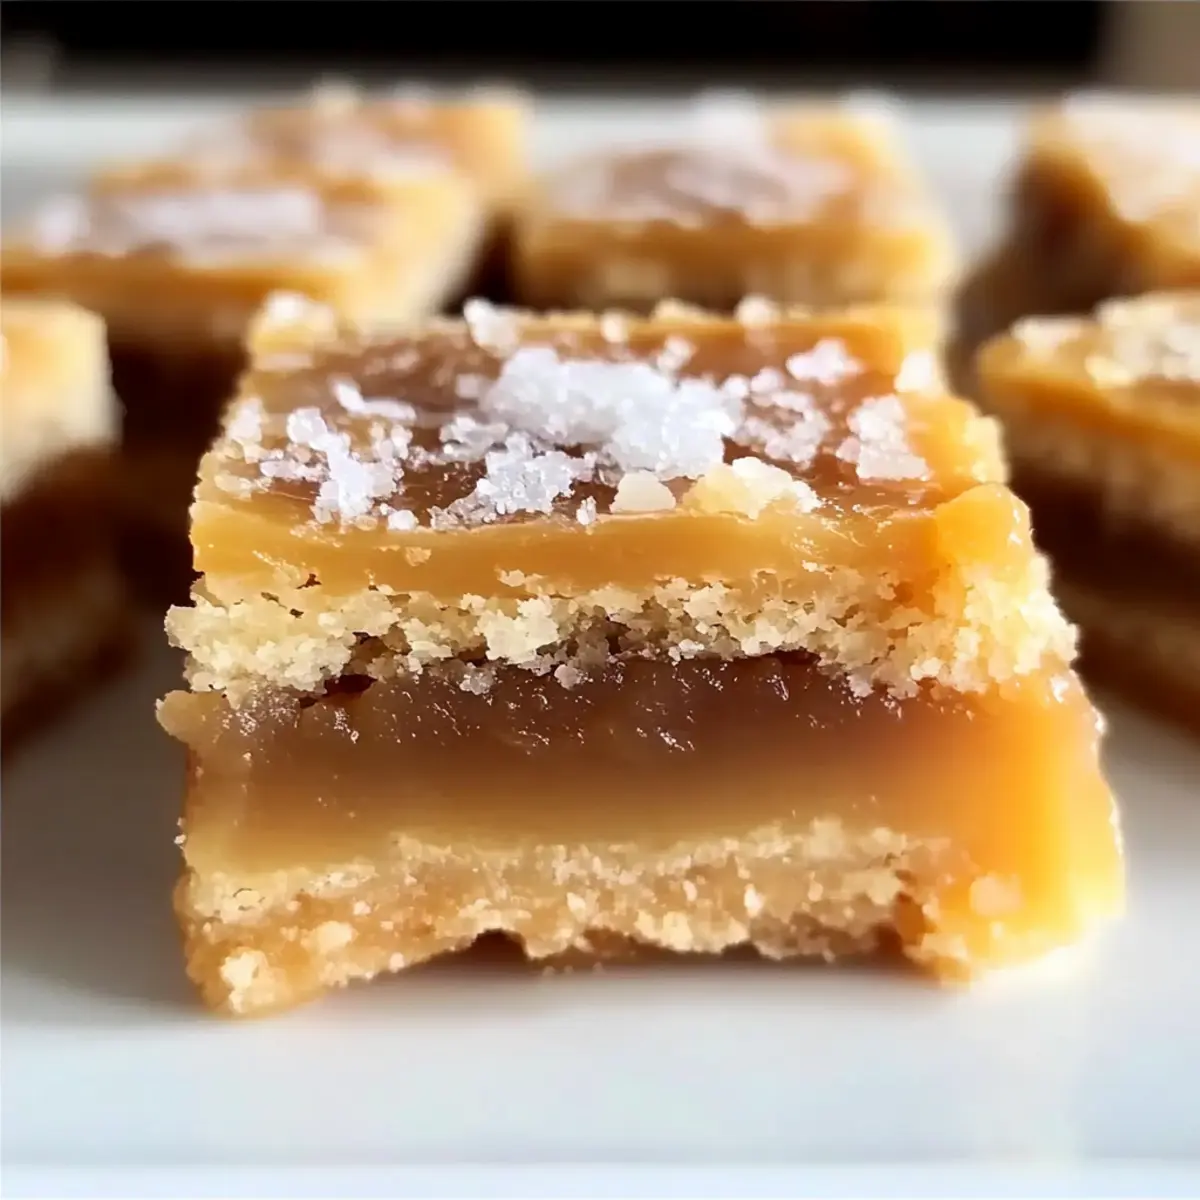
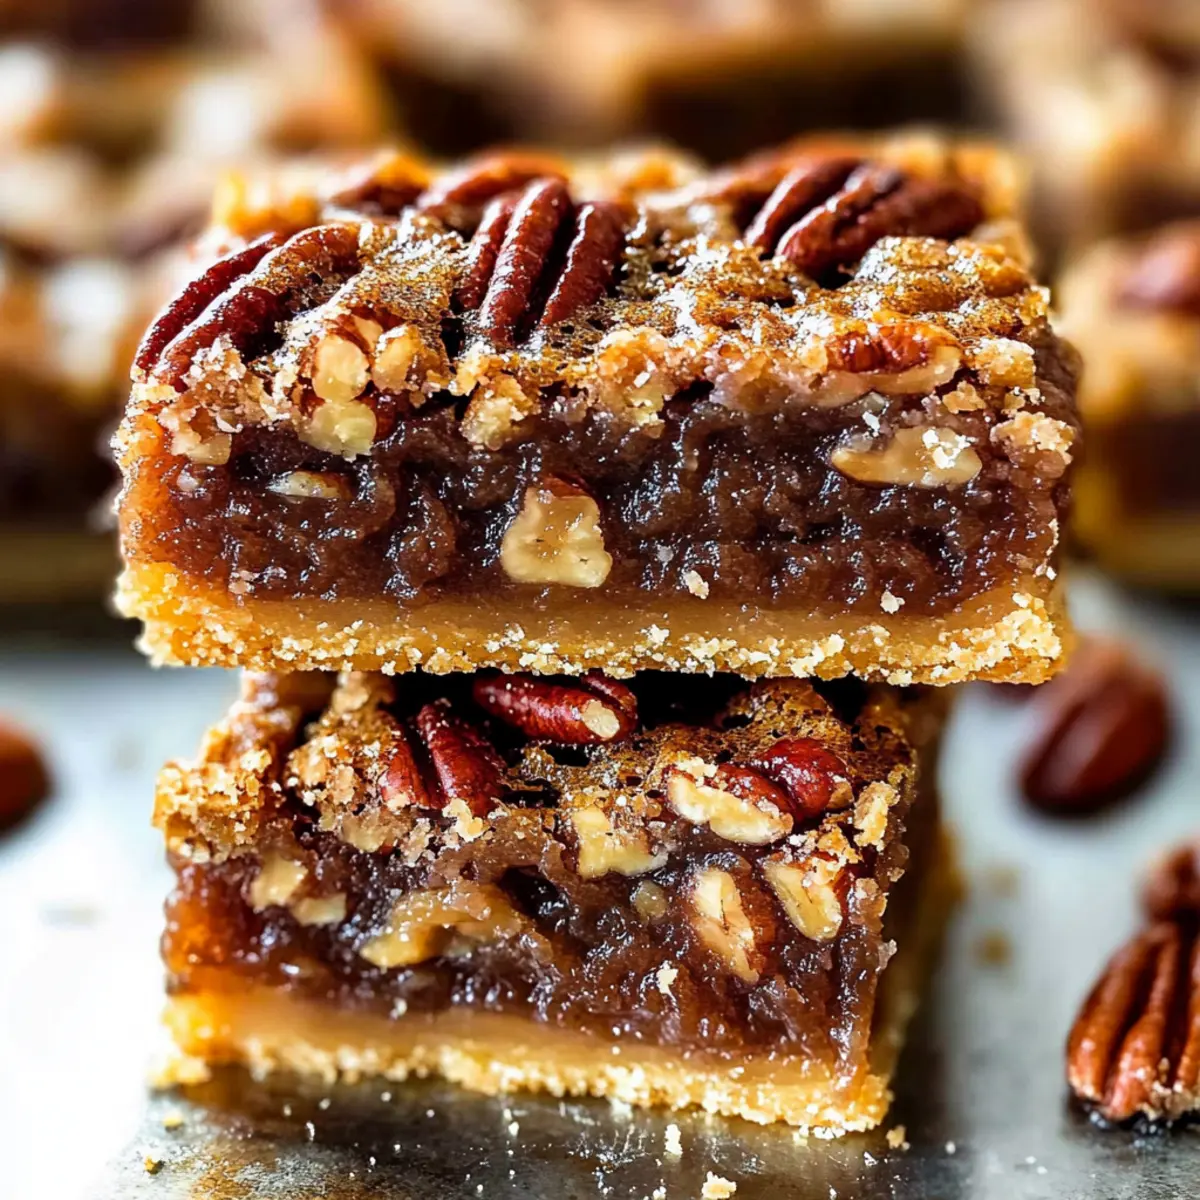
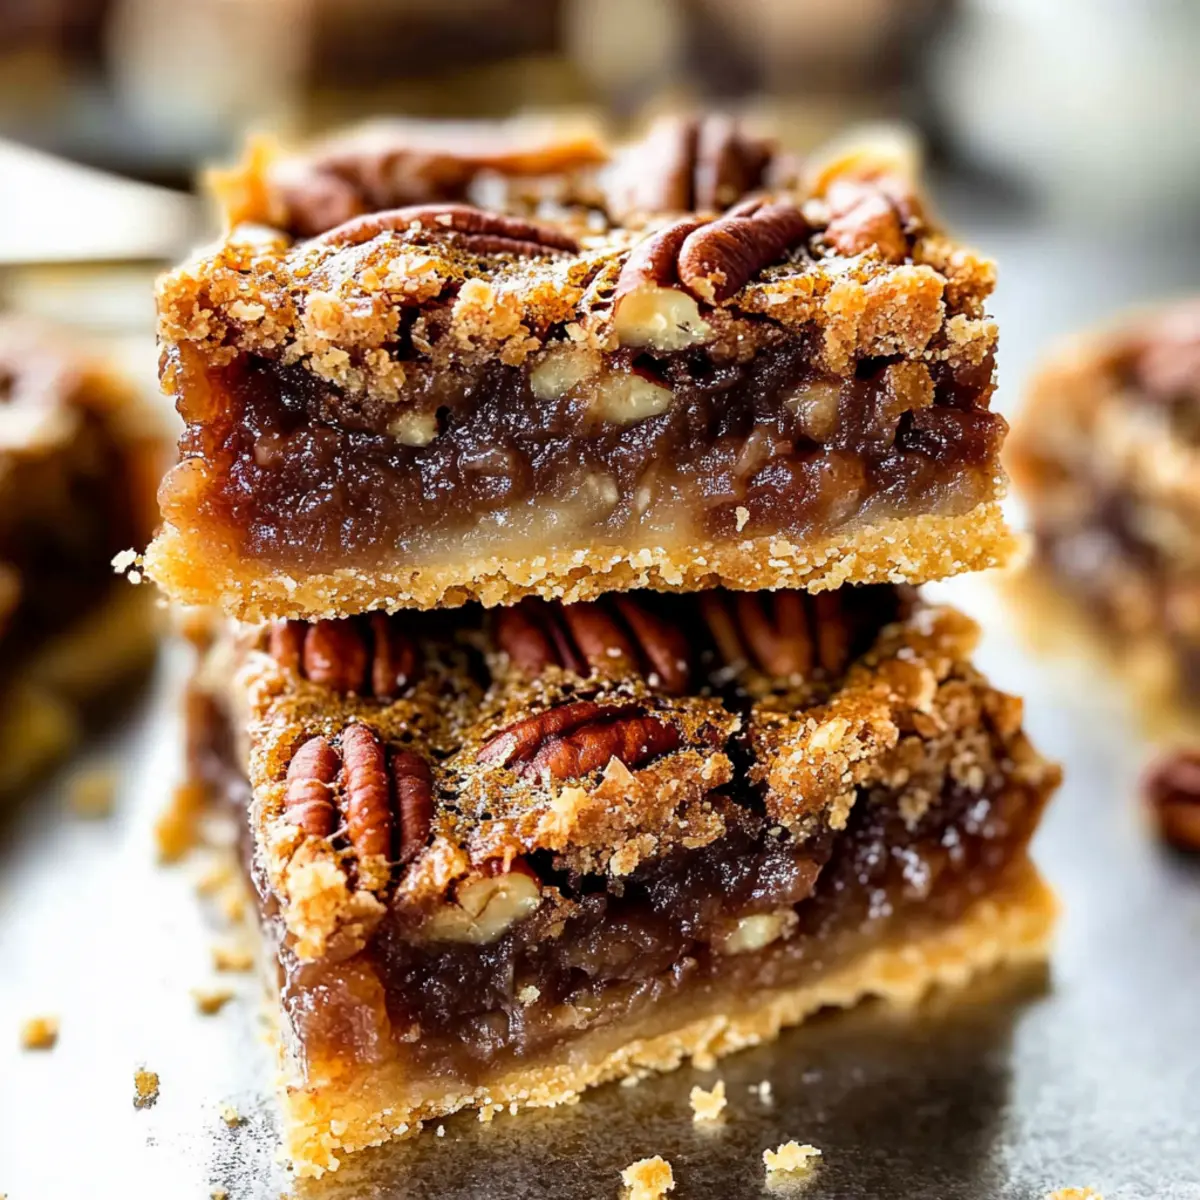
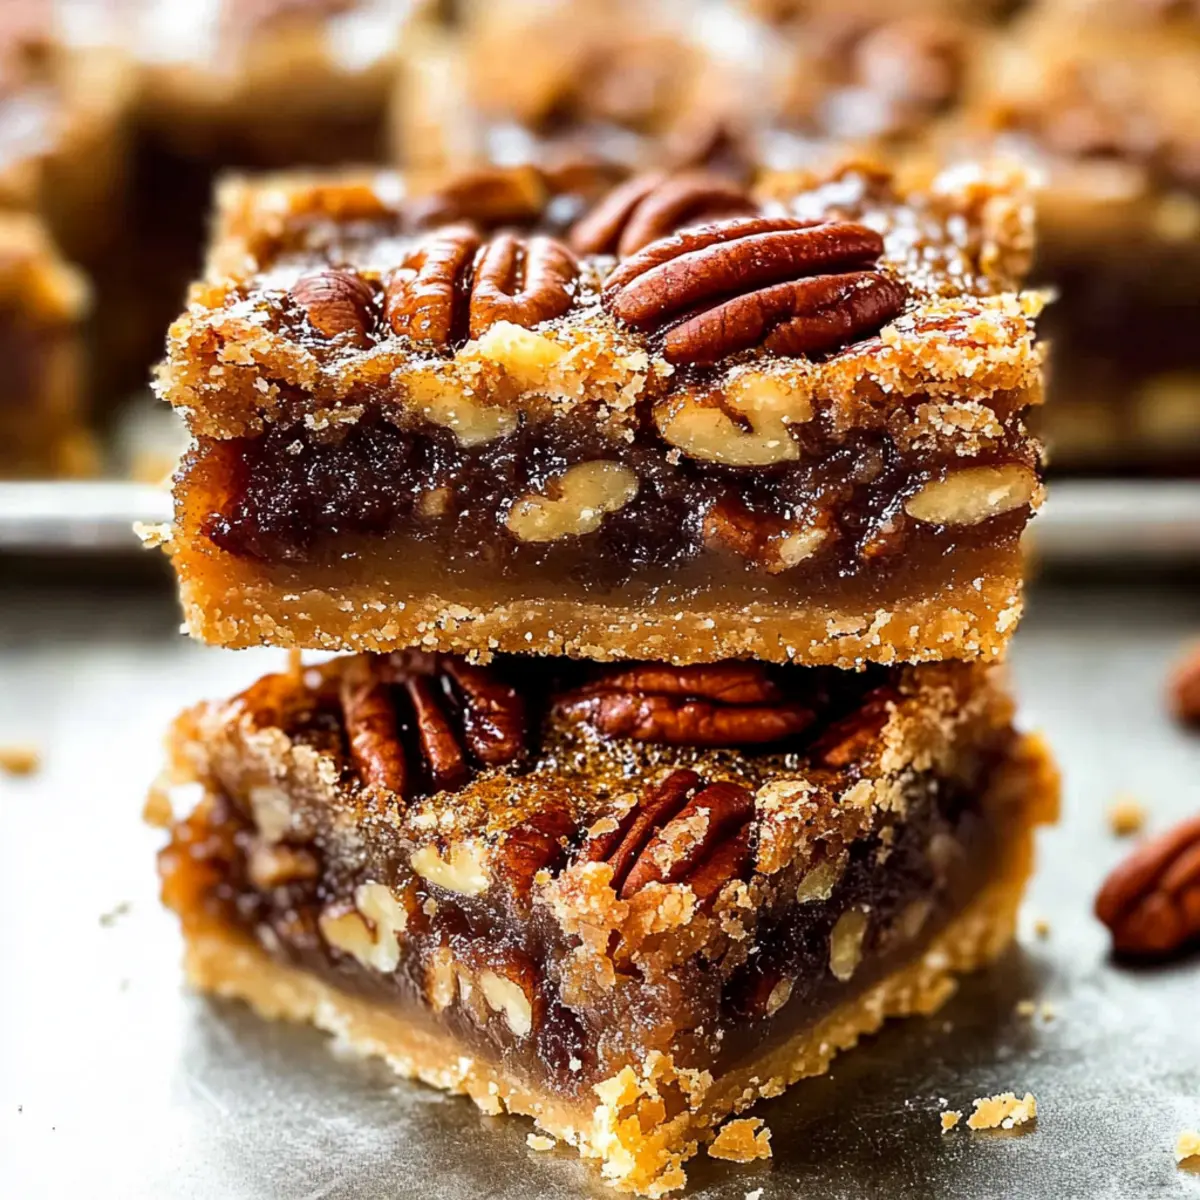
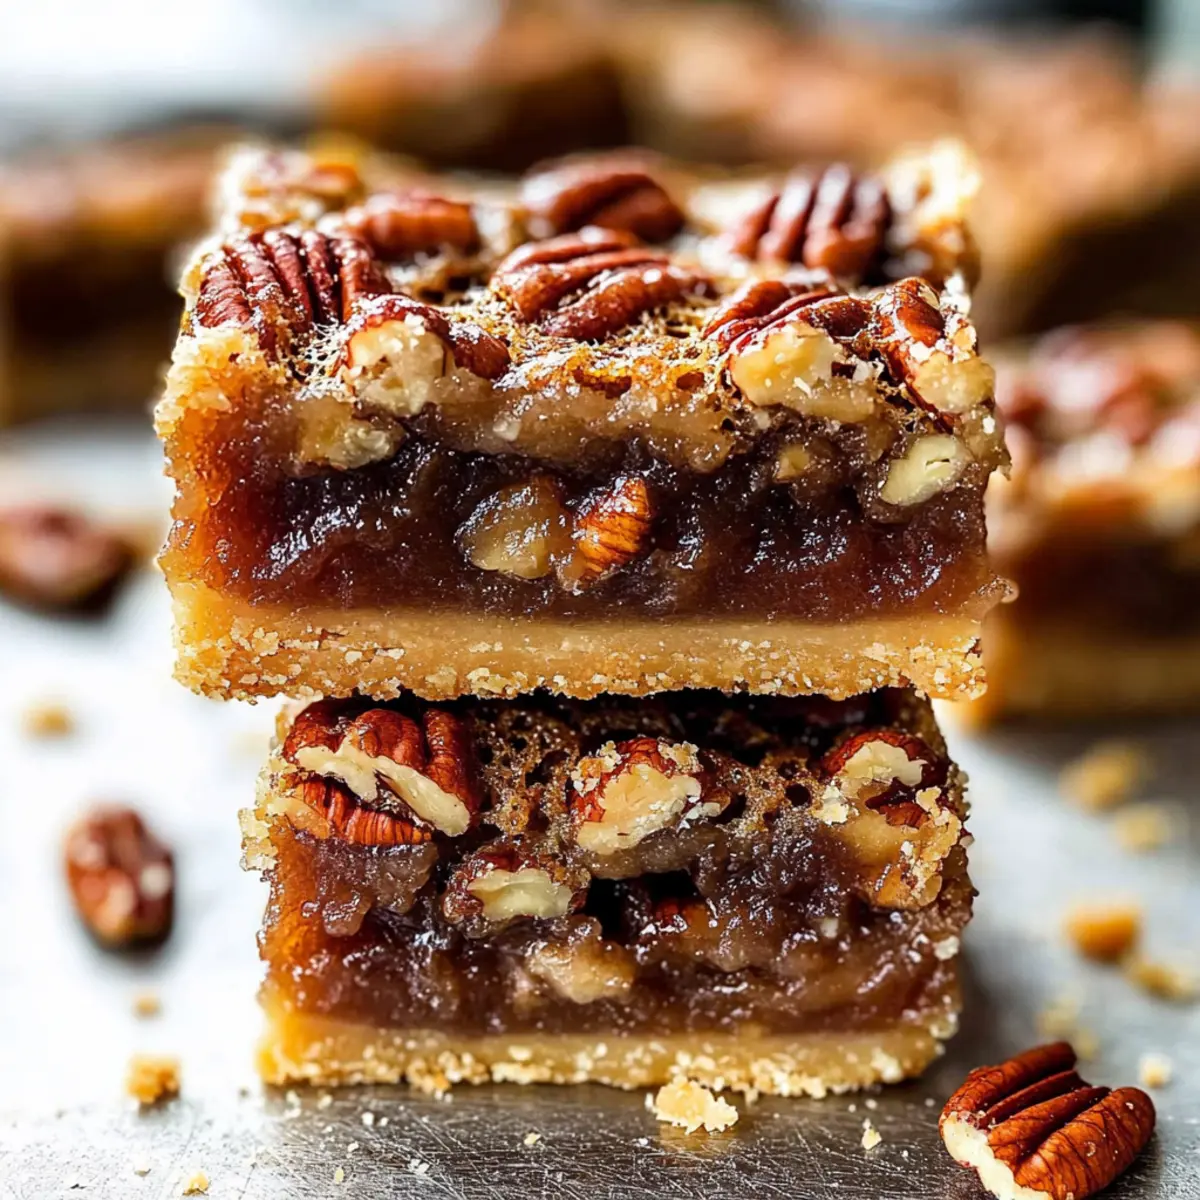
“Have you ever found yourself in a baking dilemma, craving something sweet but short on time?” These Brown Butter Pecan Pie Bars are my ultimate solution for those moments; effortlessly satisfying, they blend gooey sweetness with crunchy, toasted pecans in a thrilling take on the classic pecan pie. With just 45 minutes from start to finish, this easy dessert is a fantastic way to impress friends and family without spending your whole day in the kitchen. As the warm, nutty aroma fills your home, expect to be hailed as the star of the gathering! Whether you’re hosting a festive celebration or simply treating yourself on a cozy evening, these handheld delights will elevate any occasion. Curious about how to create this irresistible treat that packs all the classic flavors into a convenient bar form? Let's dive into the recipe!
Why Are Brown Butter Pecan Pie Bars Amazing?
Irresistible Flavor: The rich nutty taste from browned butter adds a gourmet twist that sets these bars apart from regular pecan pie.
Quick Preparation: In just 45 minutes, you can whip up this delightful dessert without any fuss, perfect for busy days or spontaneous gatherings.
Crowd-Pleasing: These bars are the ideal sweet treat for potlucks, ensuring everyone leaves with a smile.
Versatile Indulgence: Feel free to experiment with different nuts or add chocolate chips for a new flavor adventure. Pair them with your favorite coffee for an irresistible afternoon pick-me-up, or enjoy them at festive gatherings alongside other desserts like Pumpkin Brownies Decadent.
Easily Storable: Made in bulk, these bars can be stored or frozen, making them a go-to option for future sweet cravings. Enjoy the nostalgia of classic pecan pie in a modern, fuss-free form!
Brown Butter Pecan Pie Bars Ingredients
For the Crust
• Unsalted Butter – Provides richness and moisture; you can use salted butter but reduce added salt by 1/4 teaspoon if substituting.
• Granulated Sugar – Adds sweetness and structure to the crust.
• All-Purpose Flour – Ensures a sturdy base for the bars.
For the Topping
• Brown Sugar – Deepens the flavor with notes of caramel; this can be substituted with more granulated sugar for a milder taste.
• Maple Syrup – Contributes distinct sweetness and flavor; consider corn syrup or honey as replacements, though they will alter the taste.
• Heavy Cream – Adds richness to the topping.
• Pecans – The key flavor and texture component; you might substitute with walnuts or almonds for a different nutty profile.
• Salt – Balances sweetness and enhances overall flavor.
• Vanilla Extract – Enhances the flavors throughout the dessert; using pure extract can elevate your dish.
For the Final Touch
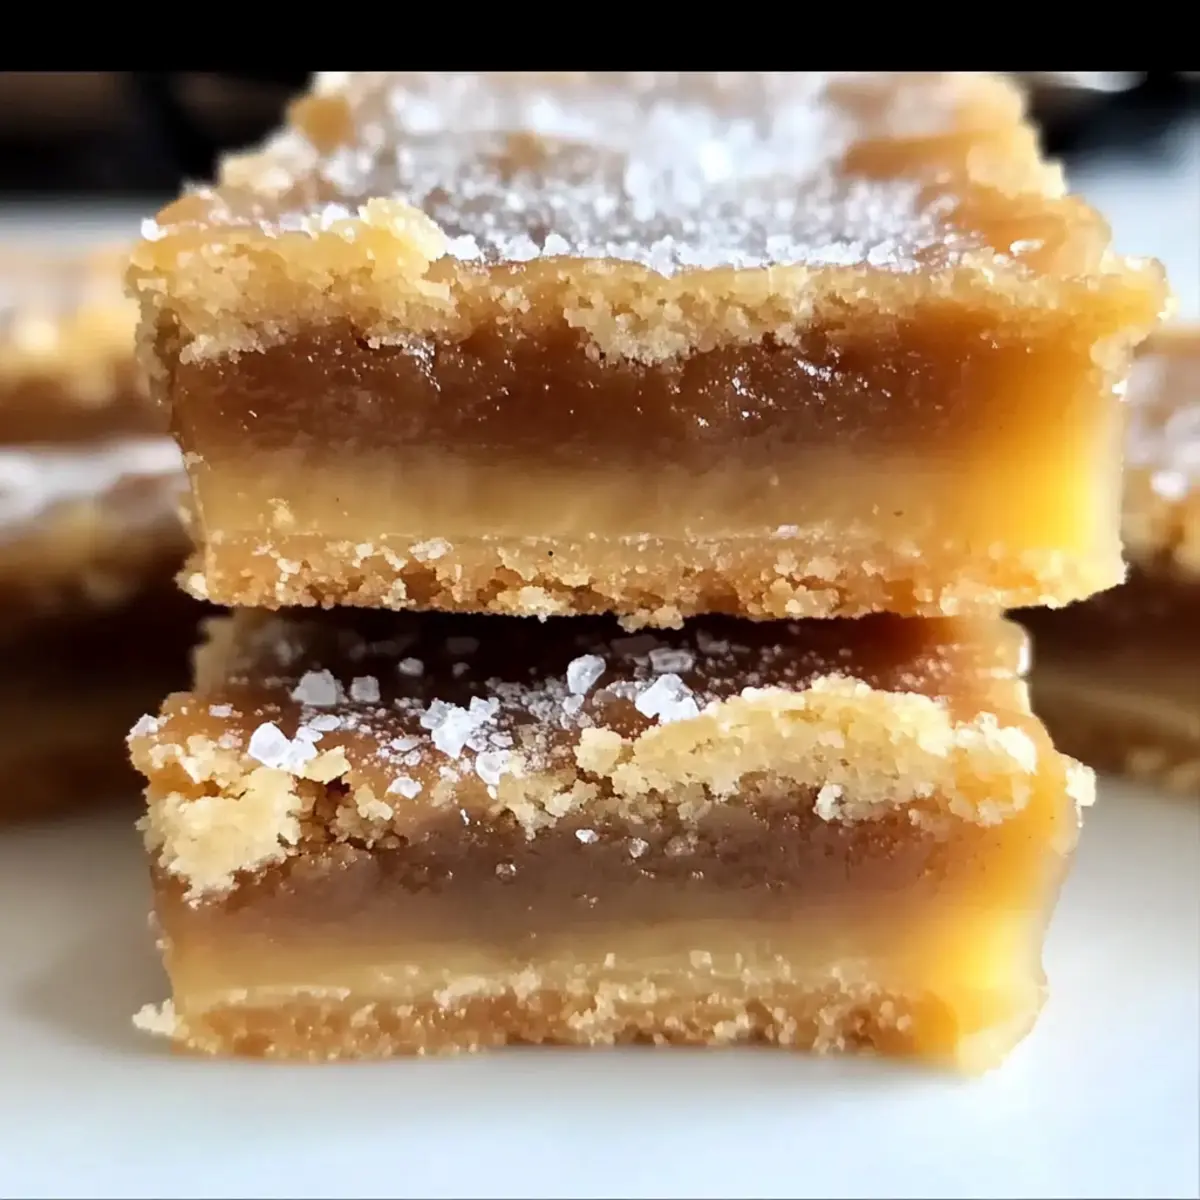
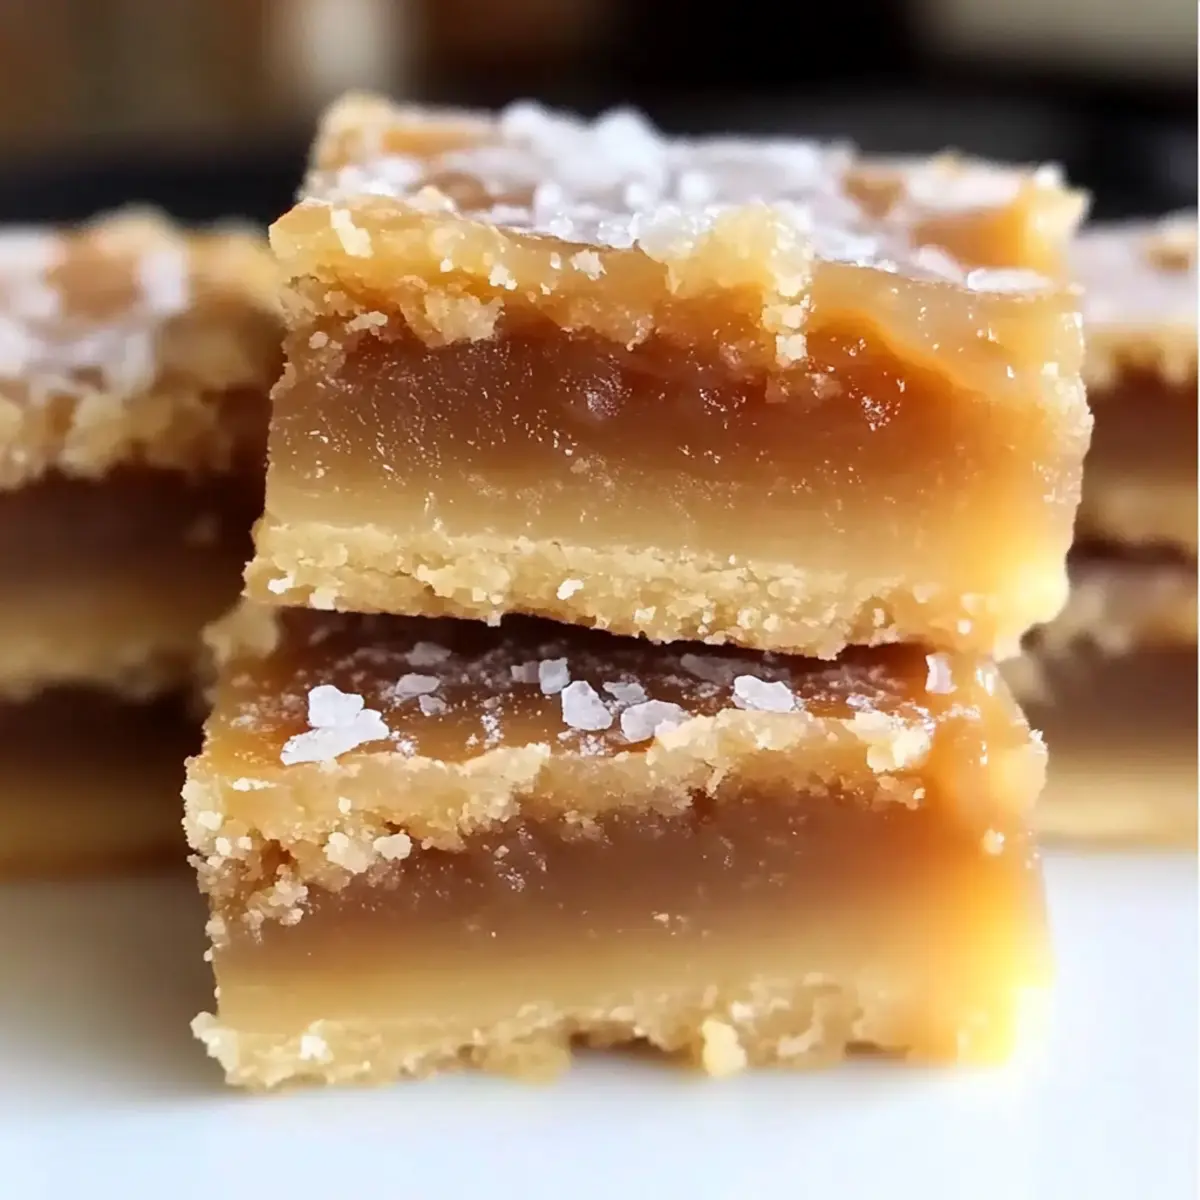
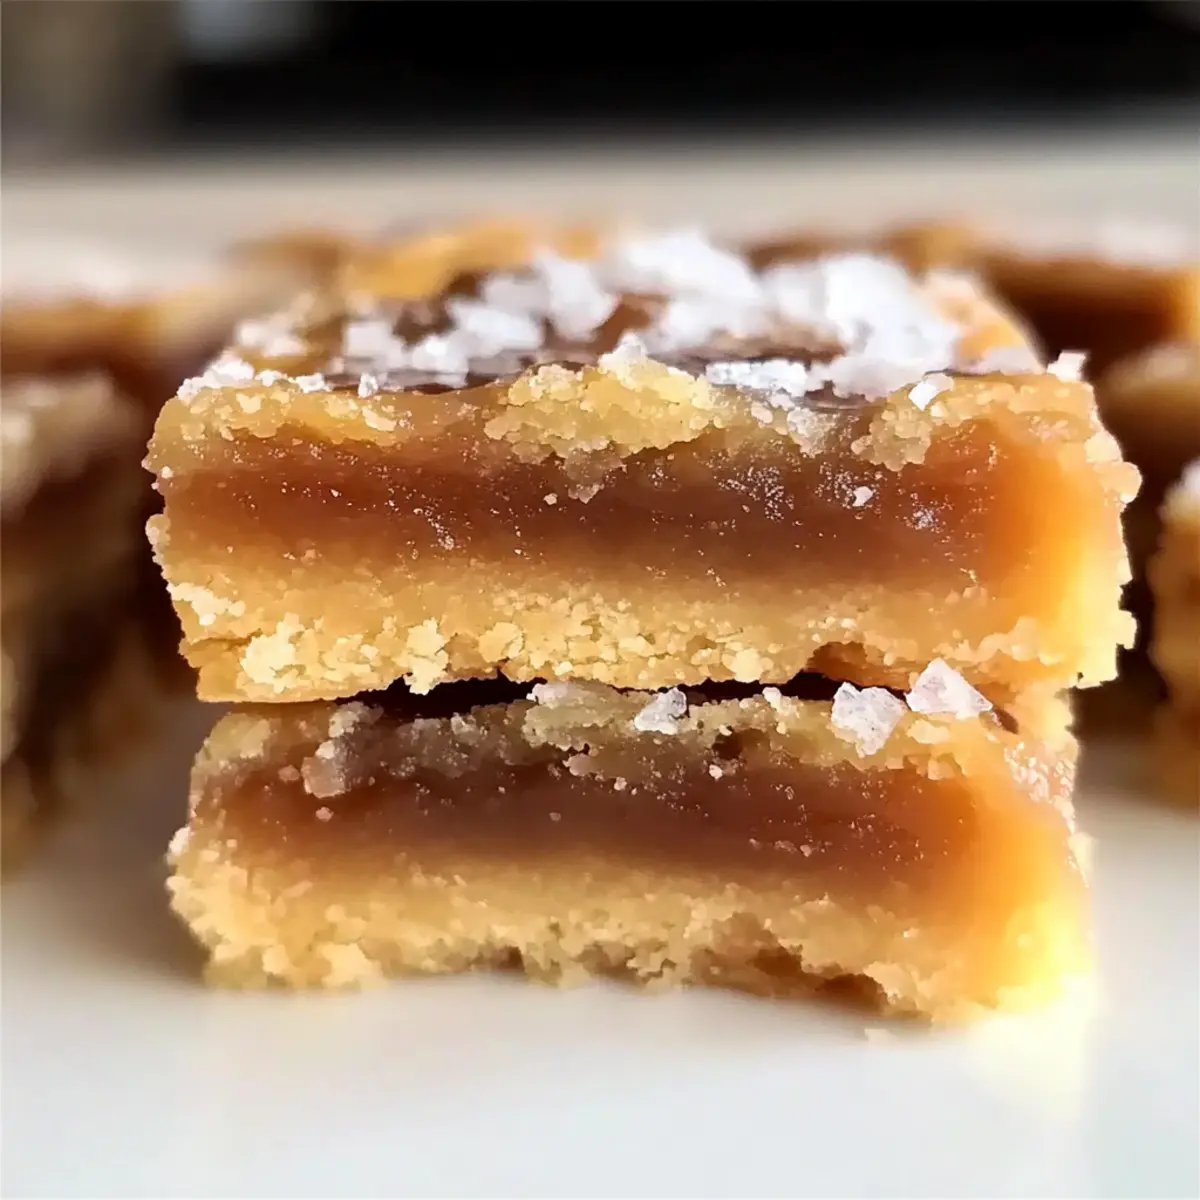
• Flaky Sea Salt – A sprinkle on top can accentuate the sweetness of the bars and add a delightful contrast.
Step‑by‑Step Instructions for Brown Butter Pecan Pie Bars
Step 1: Preheat the Oven
Begin by preheating your oven to 350°F (177°C). This is crucial for ensuring that your Brown Butter Pecan Pie Bars bake evenly. While your oven heats up, you can prepare the baking pan, which will make your workflow smooth and efficient.
Step 2: Prepare the Baking Pan
Grease a 9x13-inch baking pan or line it with parchment paper for easy removal. This will help create a perfect texture and ensure your bars don’t stick. Once set up, you’re ready to move on to the next step of creating the rich crust.
Step 3: Brown the Butter
In a light-colored skillet, melt 1 cup of unsalted butter over medium heat, stirring frequently. Monitor closely as it turns golden brown, which should take about 5 to 8 minutes. The nutty aroma is your cue that it’s ready. Let the browned butter cool for 5 minutes to avoid cooking the eggs later on.
Step 4: Make the Crust
In a mixing bowl, combine the cooled browned butter with granulated sugar, vanilla extract, and salt. Stir until well mixed, then gradually add in the all-purpose flour. Mix just until combined; it should be crumbly. Press this mixture evenly into the bottom of your prepared baking pan. Bake for 15 minutes until lightly golden.
Step 5: Prepare the Topping
While the crust is baking, create the gooey topping. In a medium saucepan, combine 1/2 cup of unsalted butter, brown sugar, maple syrup, and heavy cream over medium heat. Whisk continuously until the mixture starts to bubble, about 3 minutes. Watch closely to prevent burning, and stir until everything is smoothly blended.
Step 6: Temper the Eggs
To prevent scrambling, whisk the eggs in a small bowl. Gradually add a few tablespoons of the hot butter mixture to the eggs while whisking vigorously. Then, pour the egg mixture back into the saucepan with the remaining hot mixture. This step ensures your topping is creamy and smooth.
Step 7: Add the Pecans
Stir in the chopped pecans into the warm filling mixture. The pecans will add a delightful crunch to your Brown Butter Pecan Pie Bars. Once combined, pour this glorious mixture over the pre-baked crust in the pan, ensuring an even distribution.
Step 8: Bake to Perfection
Bake the assembled pecan pie bars in the preheated oven for 30 to 35 minutes. Keep an eye on them; they are done when a toothpick inserted near the center comes out mostly clean. If the top browns too quickly, tent with foil to prevent burning.
Step 9: Cool and Slice
After baking, remove the bars from the oven and let them cool completely in the pan on a wire rack. This cooling time is crucial for easier slicing and allows the flavors to meld beautifully. Once cooled, cut them into squares.
What to Serve with Brown Butter Pecan Pie Bars?
These delightful bars are the perfect sweet ending to any meal, creating a cozy atmosphere that invites indulgence.
- Vanilla Ice Cream: A scoop of creamy vanilla ice cream provides a luscious contrast to the chewy bars, enhancing their rich flavor.
- Fresh Whipped Cream: Light and airy, whipped cream adds a delightful touch, balancing the sweetness with its airy texture.
- Coffee or Espresso: The boldness of coffee complements the nutty flavors, making for a warm and comforting duo.
- Chai Tea: The warming spices in chai tea harmonize beautifully with the sweetness of the bars, creating a well-rounded experience.
- Salted Caramel Sauce: Drizzling with salted caramel adds an exciting salty-sweet depth that enchants every bite.
- Chocolate Ganache: A drizzle of smooth chocolate ganache elevates the dessert, creating a luxurious chocolate-peanut harmony.
- Fresh Fruit Salad: A refreshing, zesty fruit salad brings a burst of brightness, cutting through the richness of the bars.
- Toasted Pecans: Serving warm bars with extra toasted pecans brings a satisfying crunch and deepens their nutty character.
Brown Butter Pecan Pie Bars Variations
Looking to add a personal touch to your delightful Brown Butter Pecan Pie Bars? Here are some exciting options to consider!
-
Nutty Alternatives: Swap pecans for walnuts or almonds for a different flavor profile. Each nut has its unique character, bringing a delightful twist to the bars.
-
Honeyed Goodness: Try using honey instead of maple syrup for an alternative sweetness. This swap adds a rich, floral note that complements the nuttiness beautifully.
-
Chocolate Indulgence: Add chocolate chips to the filling for a decadent twist. The richness of the chocolate pairs wonderfully with the buttery bars, creating a scrumptious flavor combination.
-
Gluten-Free: Replace all-purpose flour with a gluten-free blend to cater to dietary needs. This opens the recipe up to friends with gluten sensitivities while still being absolutely delicious.
-
Extra Flavor: Stir in a teaspoon of espresso powder for a subtle coffee note. This enhancement will wake up the flavors and give your bars a sophisticated touch.
-
Salted Caramel: Drizzle homemade or store-bought salted caramel over the top before serving. The sweet and salty contrast will elevate your bars to a new level of indulgence.
-
Spiced Icing: Top cooled bars with a light dusting of cinnamon sugar. This adds a warm ambiance to your dessert, perfect for cozy evenings or holiday gatherings.
-
Fruit Infusion: Mix in some dried cranberries or cherries to the pecan mixture for a fruity burst. This unexpected addition contrasts beautifully with the traditional flavors, offering a refreshing twist.
These variations will ensure your Brown Butter Pecan Pie Bars are as unique as your gatherings! Enjoy the creativity—these delightful treats are always a hit, whether served alongside other favorites like Crockpot Butter Chicken or a cozy Spinach Pie Deliciously.
Expert Tips for Brown Butter Pecan Pie Bars
-
Watch the Baking Time: Overbaking can lead to dry bars. Keep a close eye on them, especially during the last 5 minutes.
-
Cool Completely: Allow the bars to cool fully before slicing. This helps them set properly for cleaner cuts and enhanced flavor.
-
Quality Nuts Matter: Use fresh, high-quality pecans to get the best flavor in your Brown Butter Pecan Pie Bars. Stale nuts can ruin the taste.
-
Proper Crust Preparation: Ensure you fully par-bake the crust; underbaking can cause the topping to sink and affect the texture.
-
Experiment with Toppings: Feel free to sprinkle extra flaky sea salt on top or try adding chocolate chips for a fun twist on this classic dessert.
Make Ahead Options
These Brown Butter Pecan Pie Bars are a fantastic choice for meal prep! You can easily prepare the crust up to 24 hours in advance—just press it into the pan, cover it tightly, and refrigerate until you're ready to bake. The pecan topping can also be mixed and stored in the fridge for up to 3 days; simply stir it before pouring it over the crust. When you're ready to serve, bake the bars as directed, adding an extra few minutes to the baking time if the topping has been chilled. This let-ahead approach makes your baking process a breeze, ensuring delicious, gooey bars are just a few steps away!
Storage Tips for Brown Butter Pecan Pie Bars
Room Temperature: Store in an airtight container for up to 3 days; they maintain their gooey texture and flavor perfectly.
Fridge: For longer freshness, refrigerate these bars for up to a week; just make sure they’re in a sealed container to prevent drying out.
Freezer: Freeze for up to 2 months; wrap bars tightly in plastic wrap, then place them in an airtight container. Thaw at room temperature before enjoying your delicious Brown Butter Pecan Pie Bars!
Reheating: If you prefer warm bars, pop them in the microwave for a few seconds—just enough to get that gooey goodness back without overcooking.
Brown Butter Pecan Pie Bars Recipe FAQs
What should I look for when selecting pecans?
Absolutely! When selecting pecans for your Brown Butter Pecan Pie Bars, look for nuts that are fresh, plump, and slightly shiny. Avoid those with dark spots or a rancid smell. Fresh pecans will enhance the flavor of your bars significantly; I often pop a few in my mouth to check for that tasty crunch before baking!
How can I store my Brown Butter Pecan Pie Bars?
Very simple! You can store your Brown Butter Pecan Pie Bars in an airtight container at room temperature for up to 3 days. If you’d like them to last longer, refrigerate them for about a week. Just ensure the container is sealed tight to keep them from drying out.
Can I freeze these bars, and how?
Certainly! To freeze your Brown Butter Pecan Pie Bars, wrap them tightly in plastic wrap and then place them in an airtight container. They can be frozen for up to 2 months. When you’re ready to enjoy them, simply thaw them at room temperature for a few hours. If you fancy a warm treat, you can microwave individual squares for 10-15 seconds to restore that gooey texture.
What if my pecan topping is too runny?
If you find that your topping is too runny, it may be undercooked or not set properly. Make sure to keep an eye on the baking time—each oven can behave differently. If you think it needs more time, bake it a little longer but watch it closely to prevent over-browning. Allowing the bars to cool completely also helps them firm up, making cutting and serving easier.
Are these bars safe for people with nut allergies?
Unfortunately, Brown Butter Pecan Pie Bars contain pecans, which can be a problem for those with nut allergies. I recommend exploring nut-free alternatives, such as pumpkin seeds or sunflower seeds. However, be cautious as these ingredients will change the flavor, so it’s advisable to test small batches before serving to ensure everyone can enjoy them!
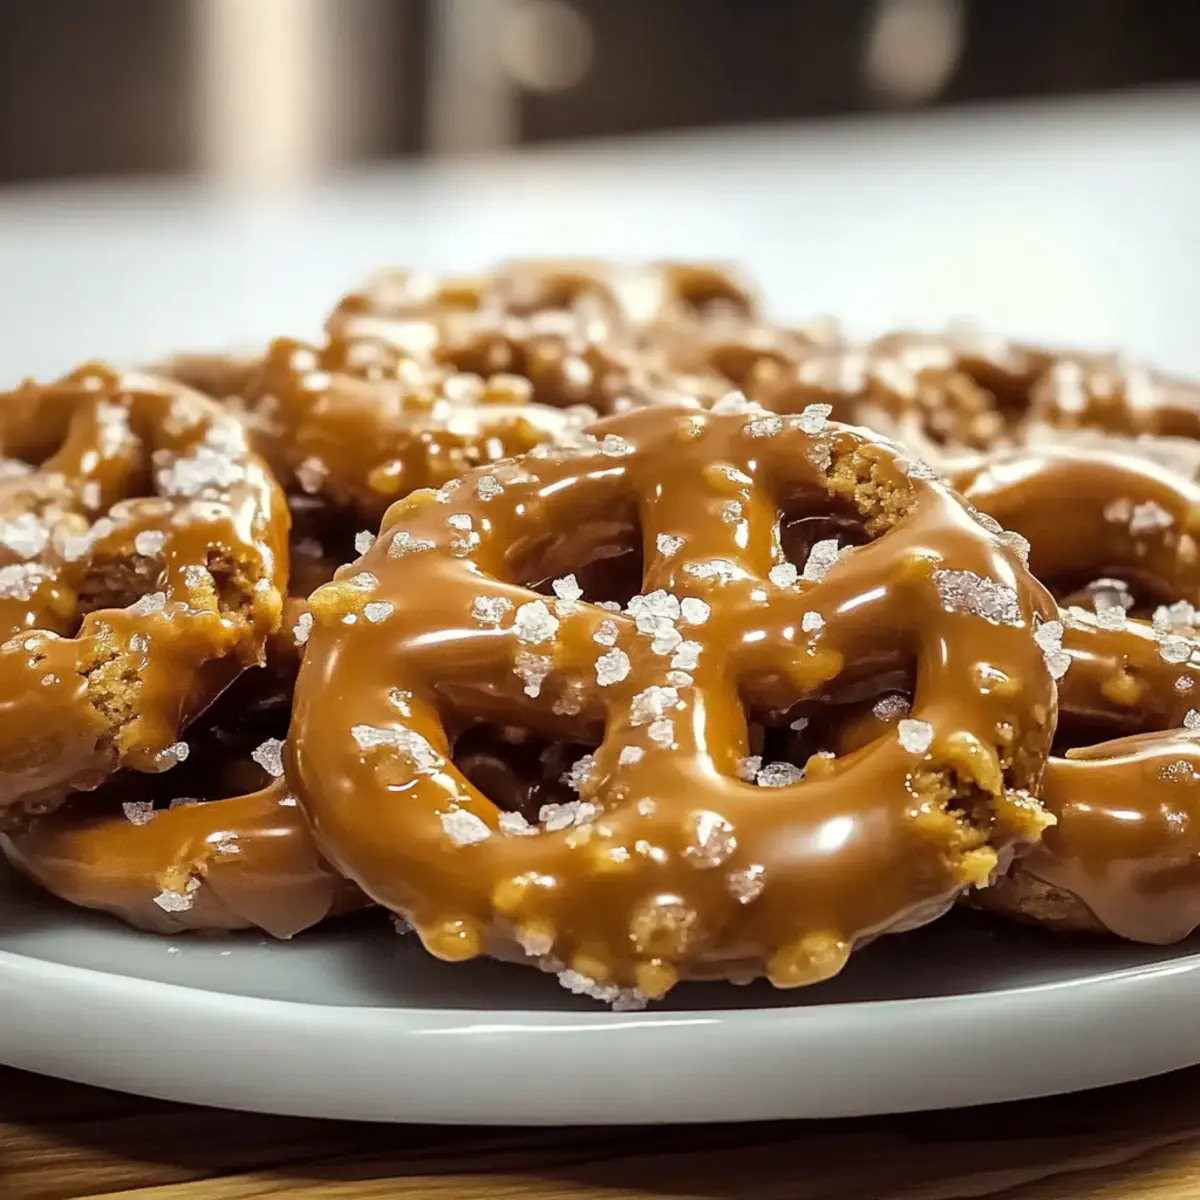
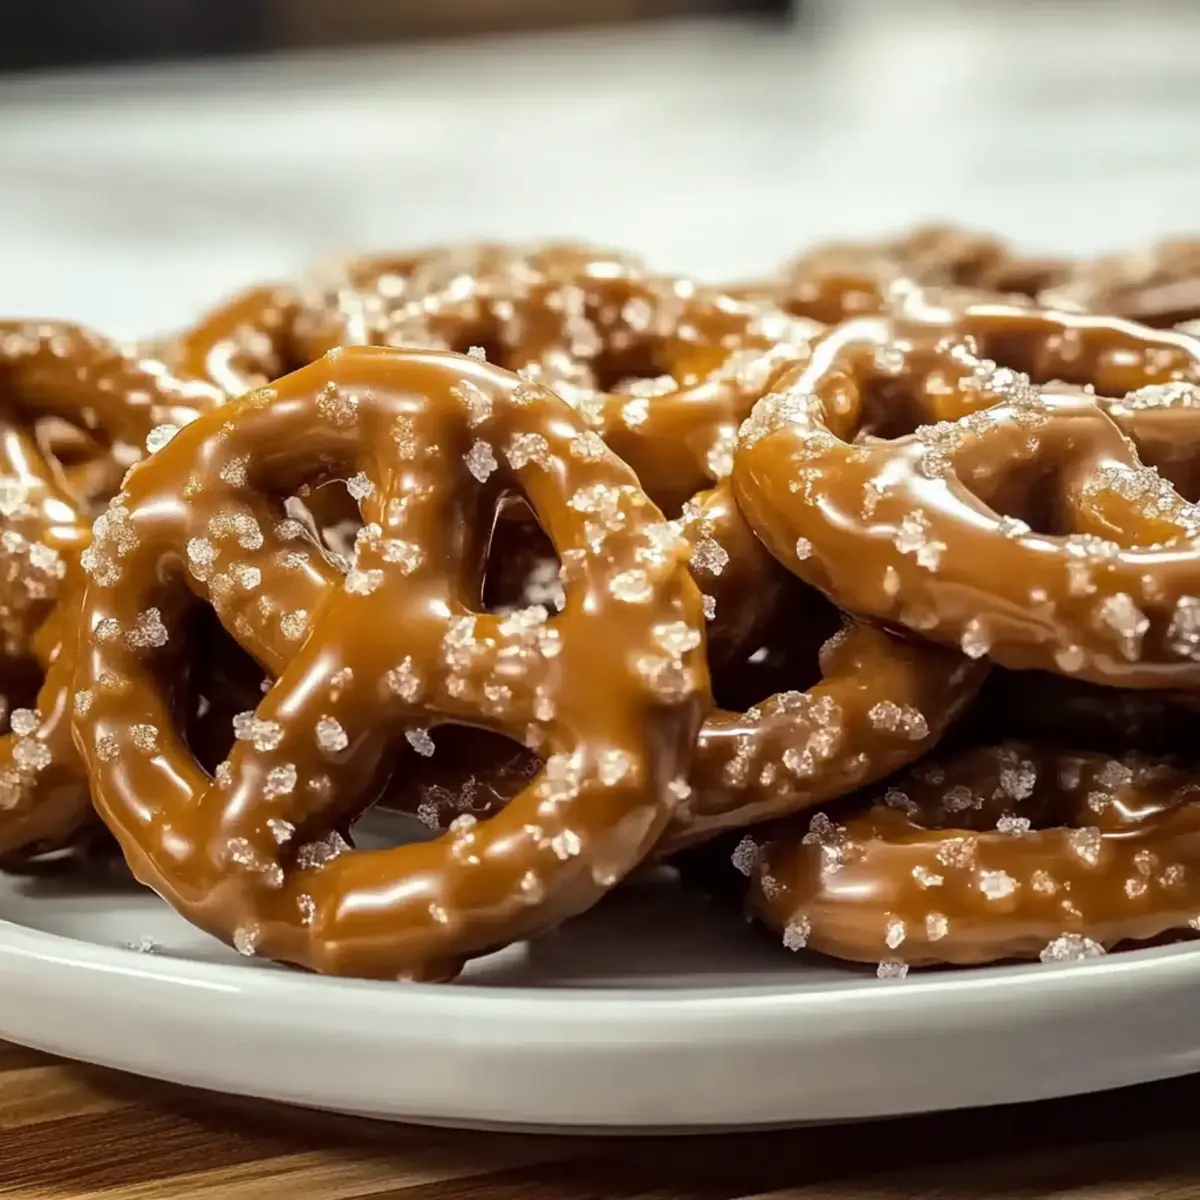
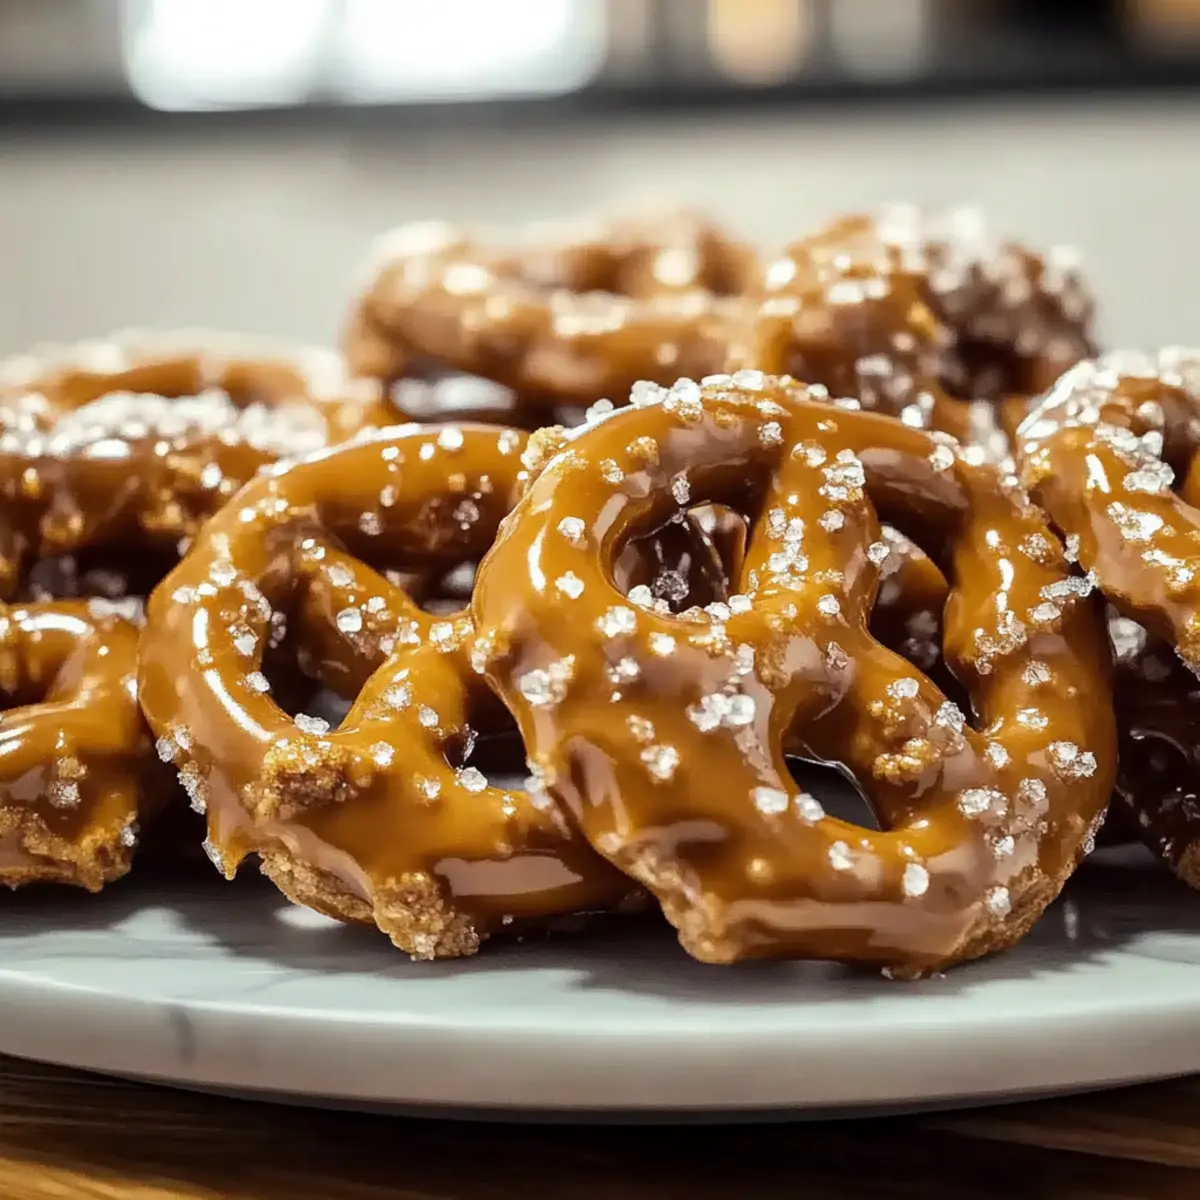
Brown Butter Pecan Pie Bars for Irresistible Indulgence
Ingredients
Equipment
Method
- Preheat the oven to 350°F (177°C). Prepare the baking pan.
- Grease a 9x13-inch baking pan or line it with parchment paper.
- Brown the butter by melting it in a skillet over medium heat, stirring frequently until golden brown, about 5-8 minutes. Let cool for 5 minutes.
- In a mixing bowl, combine the browned butter with granulated sugar, vanilla extract, and salt. Gradually add all-purpose flour until crumbly. Press into the bottom of the prepared pan. Bake for 15 minutes until lightly golden.
- While the crust bakes, make the topping by combining brown sugar, maple syrup, and heavy cream in a saucepan over medium heat. Whisk continuously for about 3 minutes until bubbly.
- Whisk the eggs in a small bowl, then temper them by gradually adding a few tablespoons of the hot mixture, then add back to the saucepan.
- Stir in chopped pecans and pour the mixture over the pre-baked crust.
- Bake for 30 to 35 minutes. Check doneness with a toothpick.
- Let cool completely in the pan on a wire rack before slicing into squares.