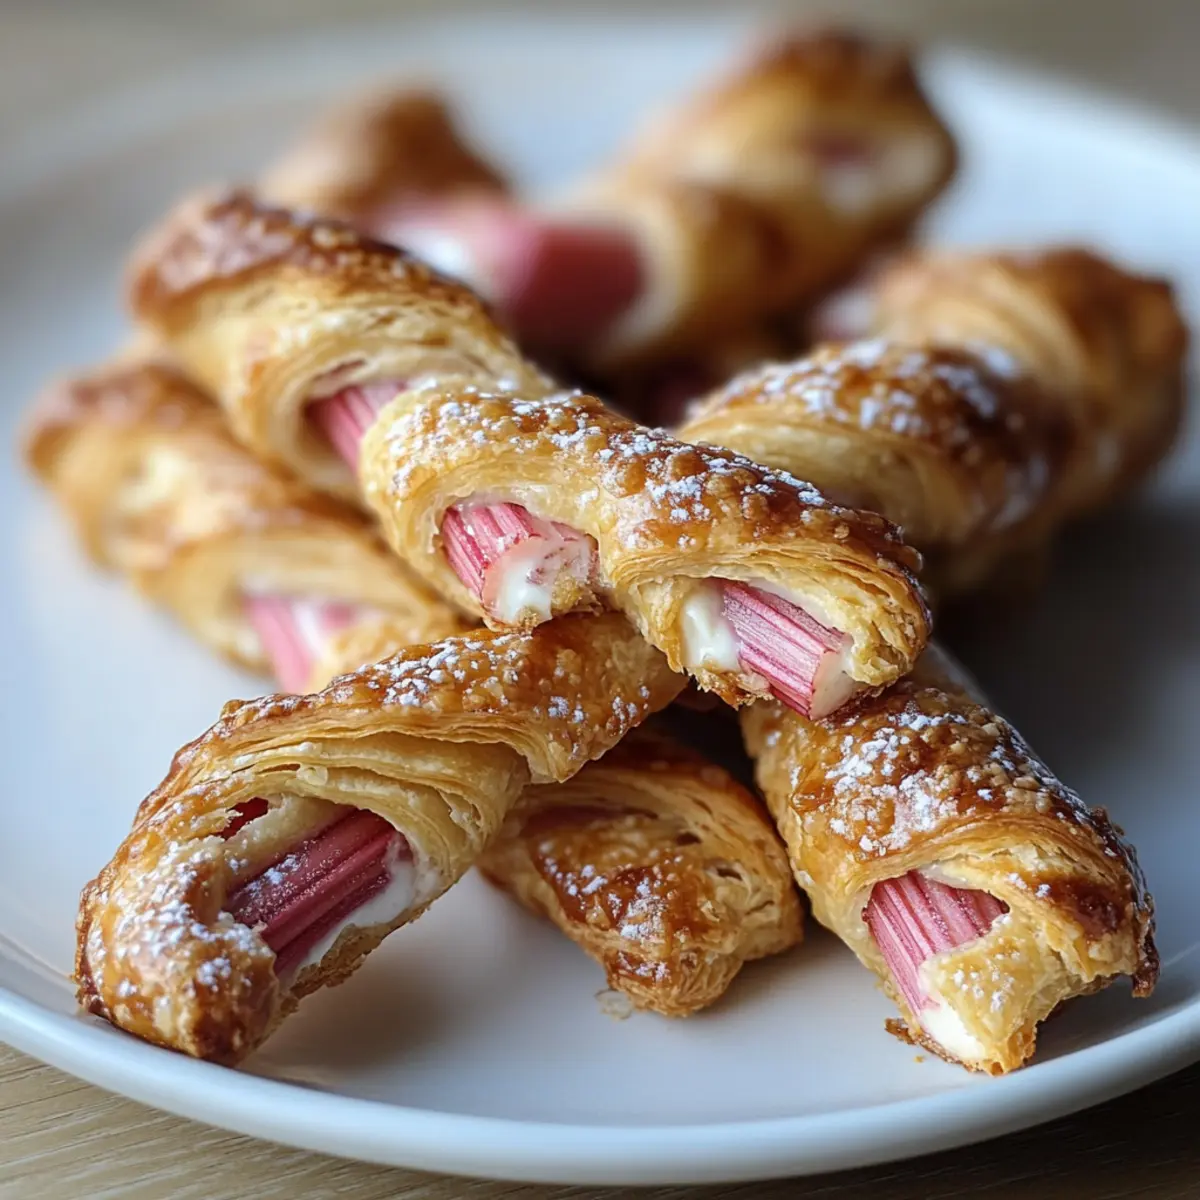
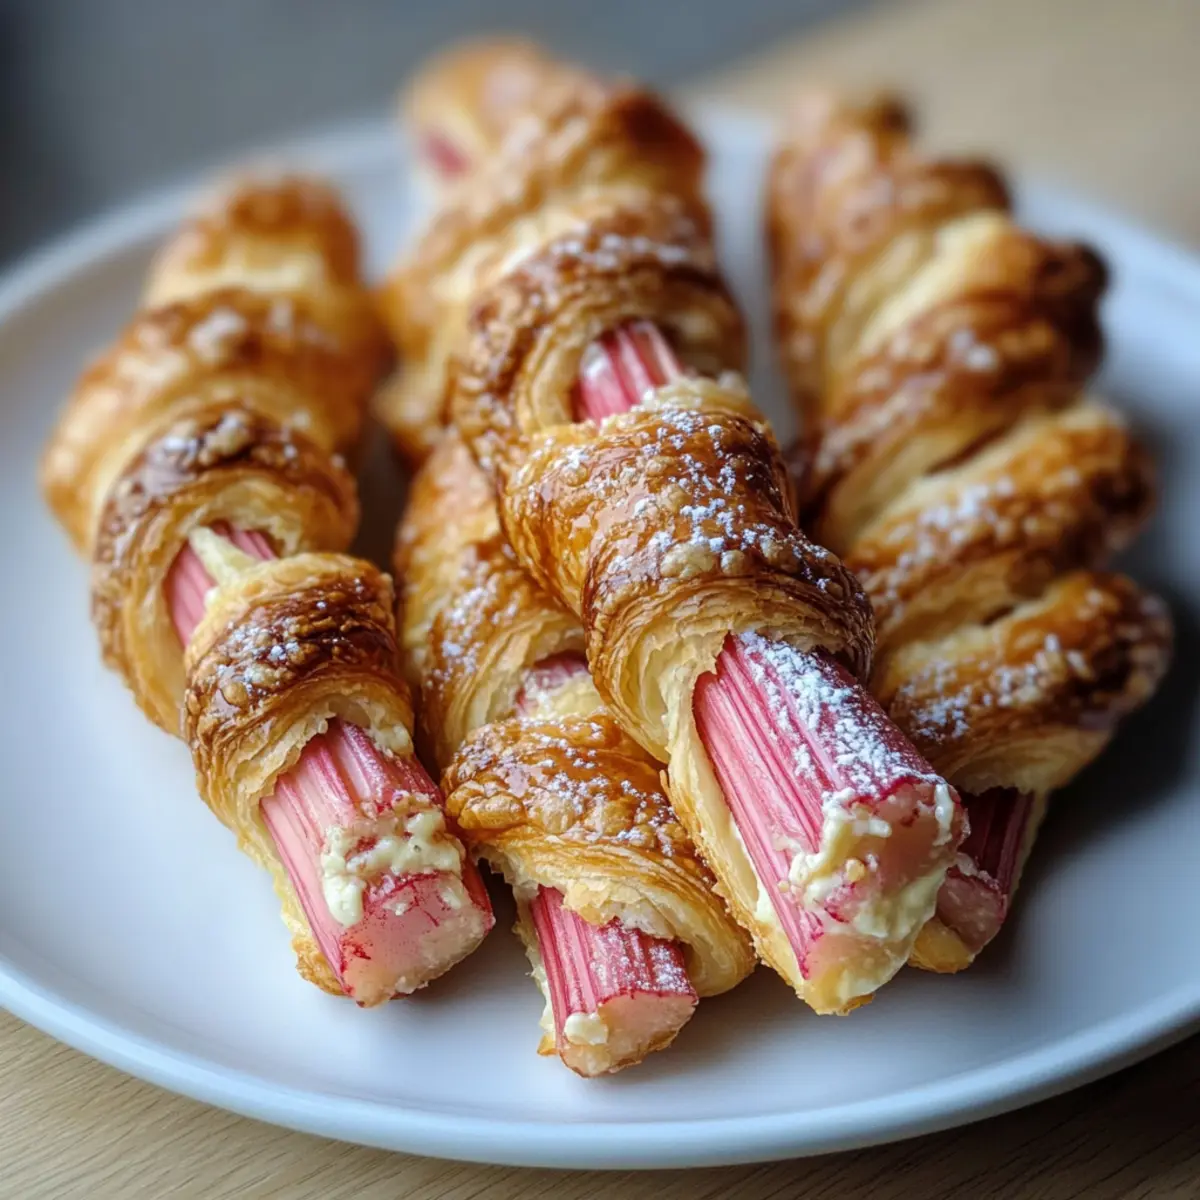
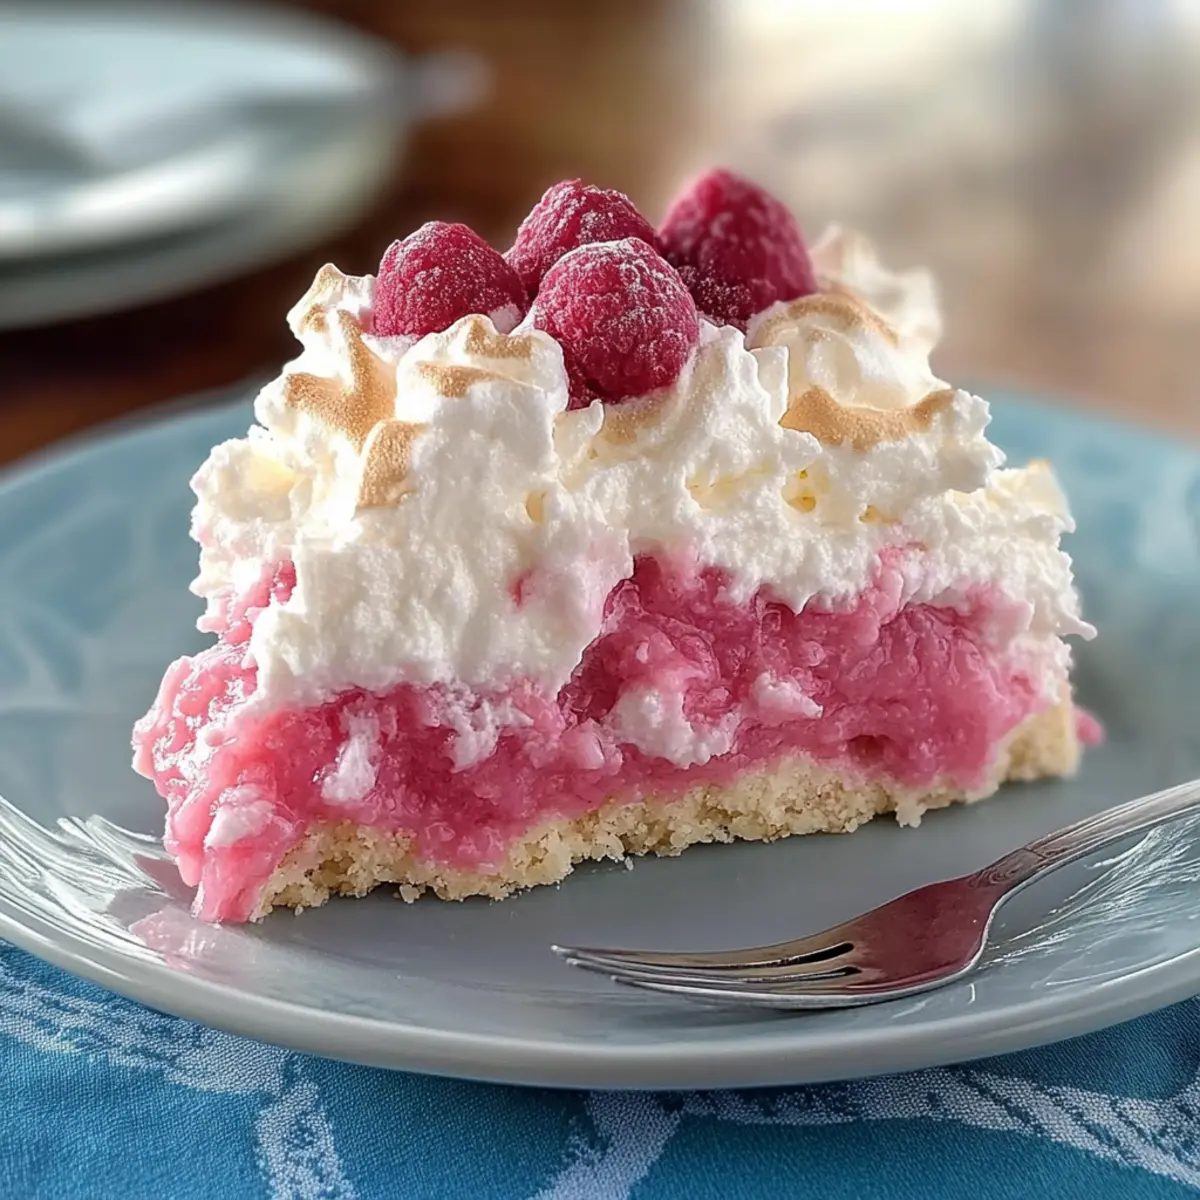
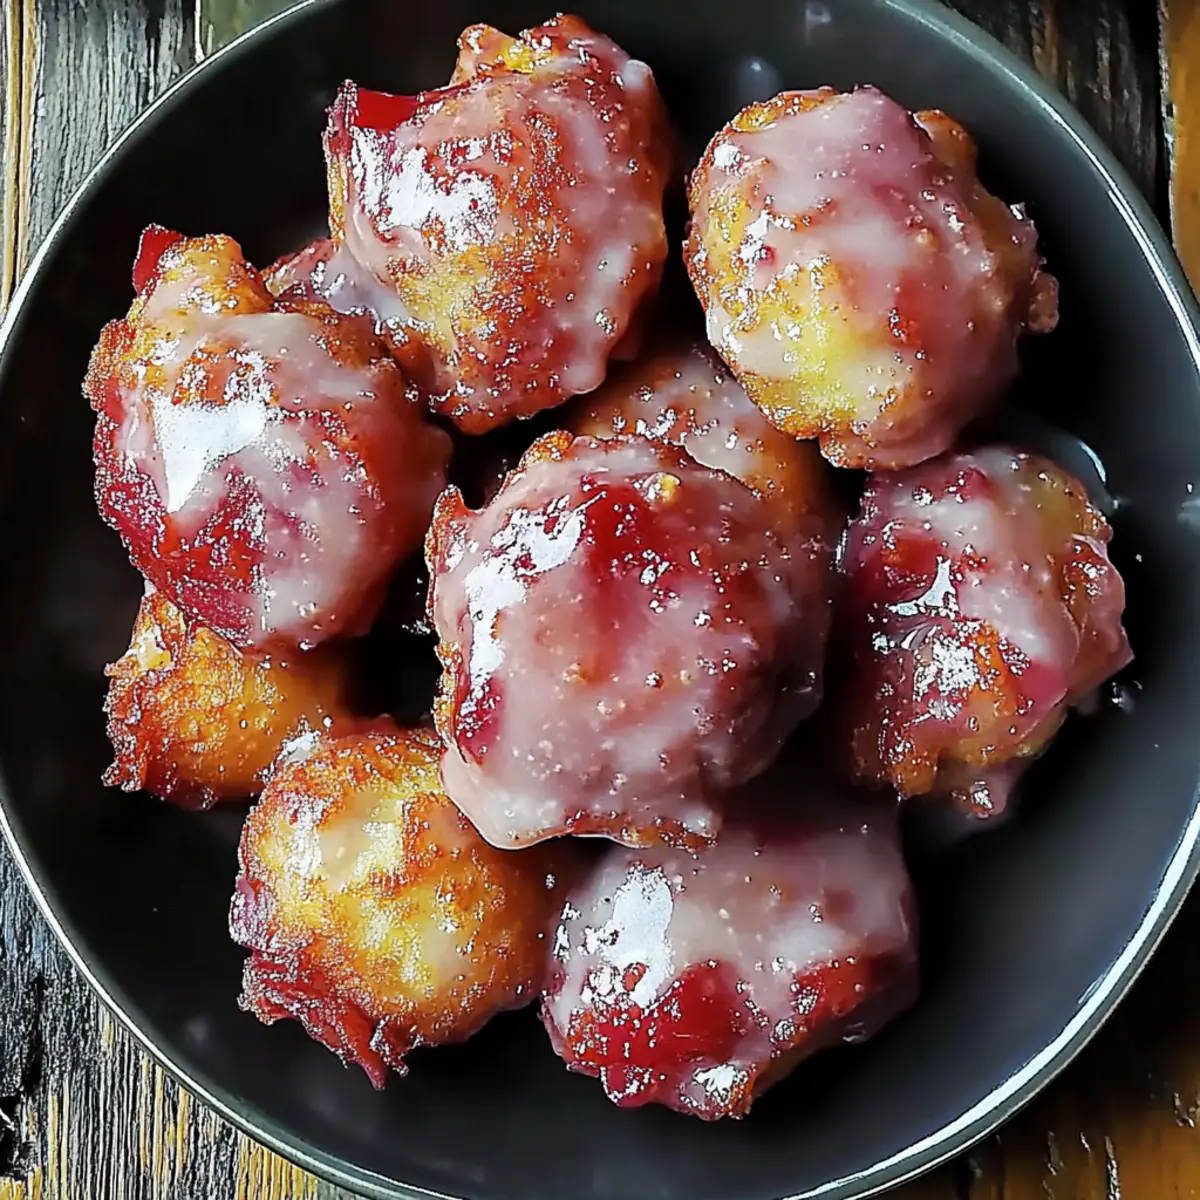
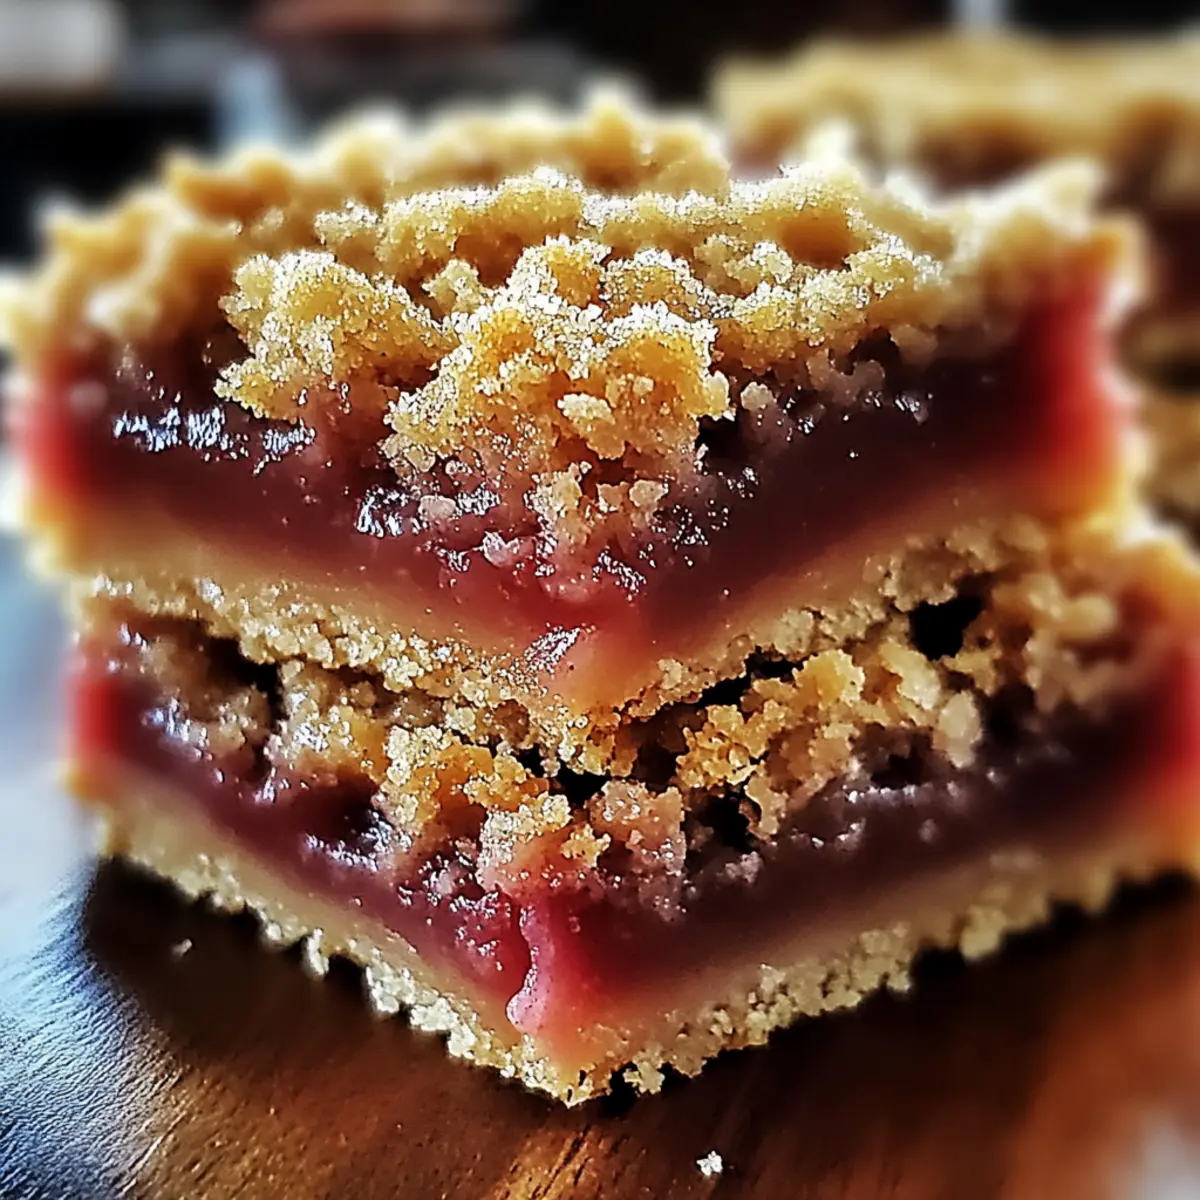
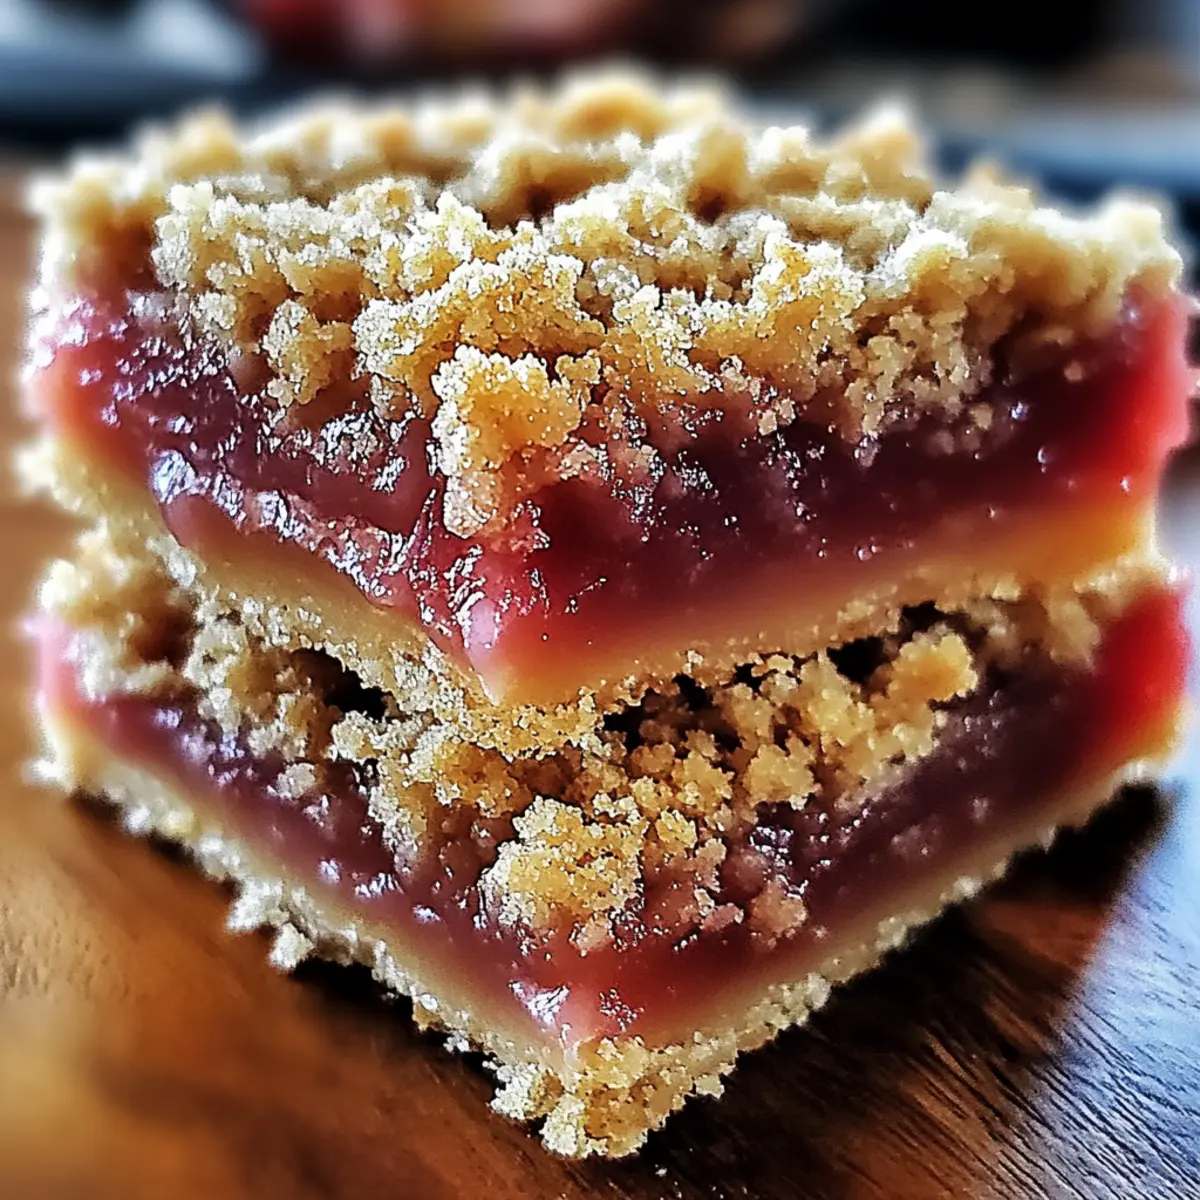
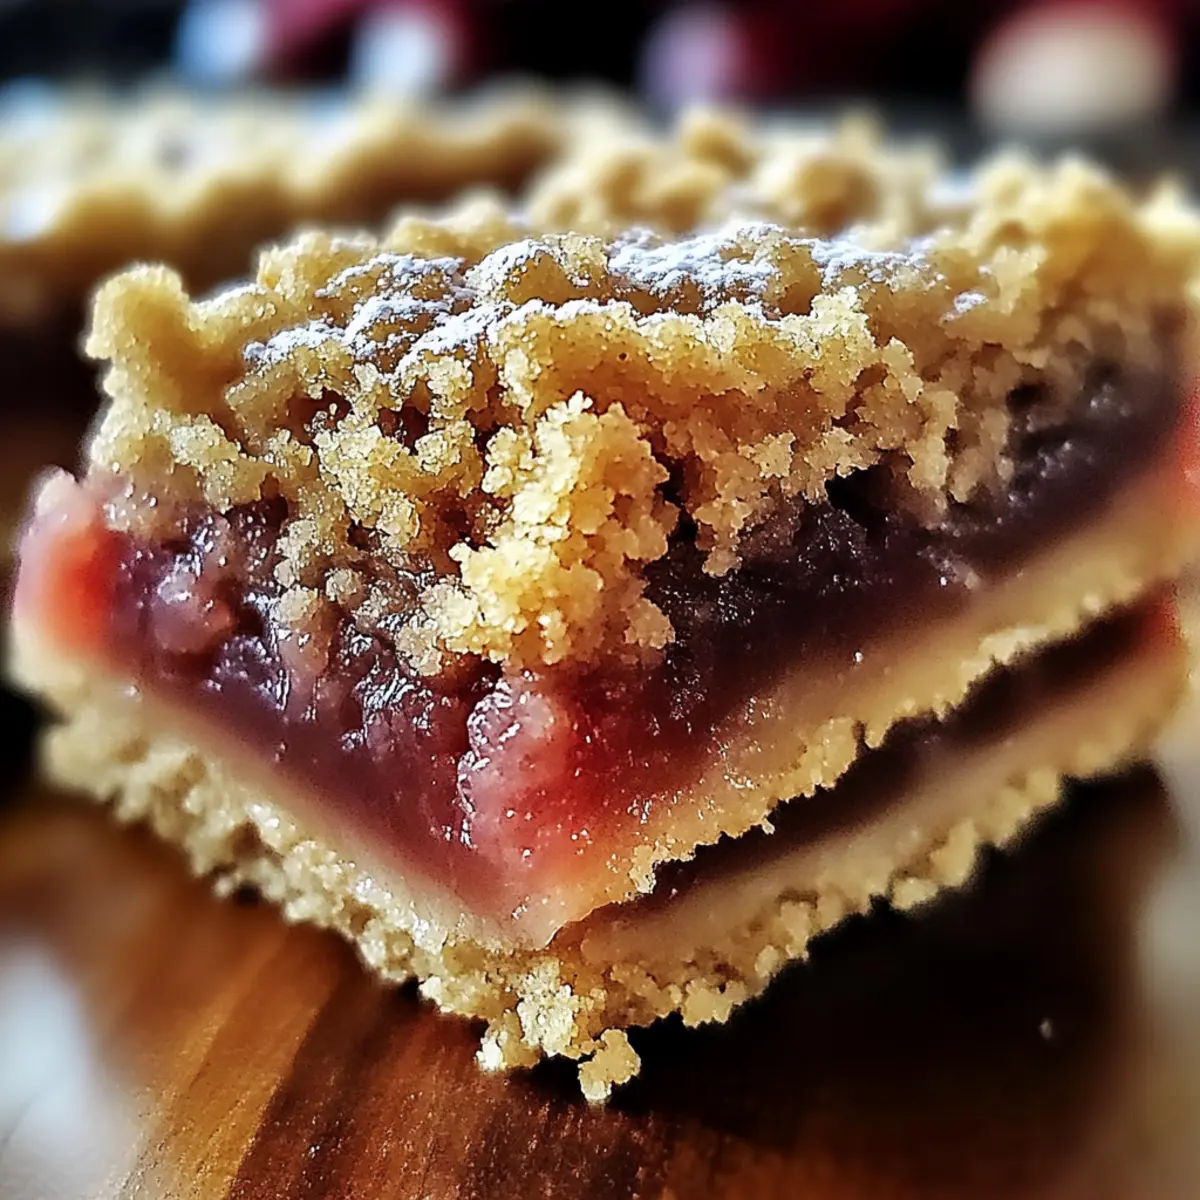
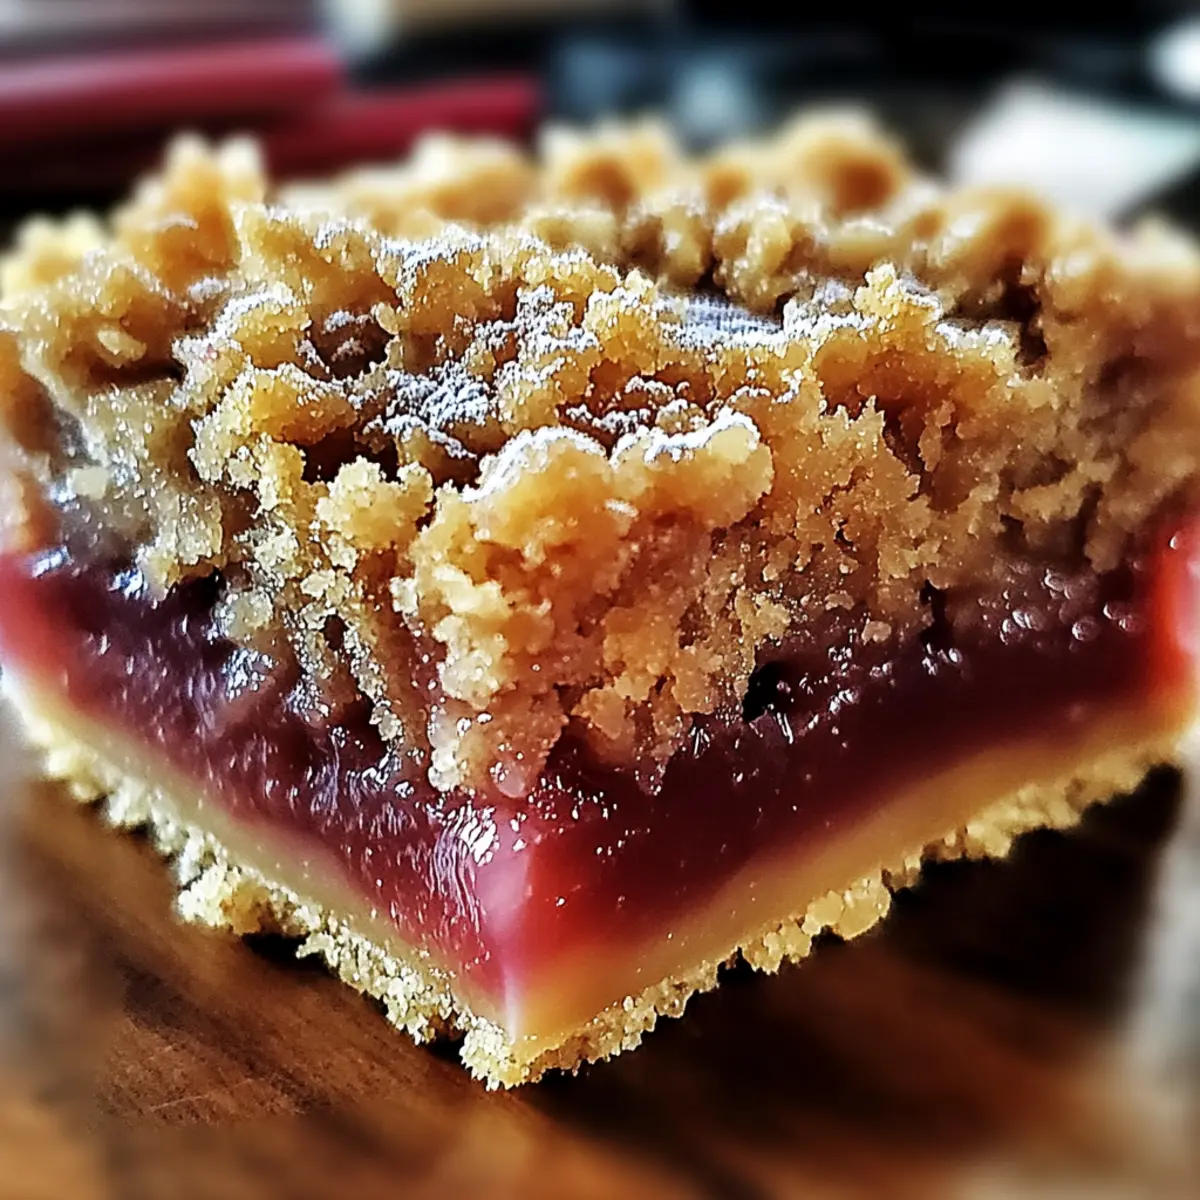
The first bite of these Tangy Rhubarb Bliss Bars takes me back to breezy summer picnics, where laughter mingles with the sweet aroma of homemade treats. These bars deliver a perfect harmony of tart rhubarb and a crumbly, comforting topping that feels like a warm hug. Not only are they a quick and easy dessert to whip up for unexpected guests, but they also cater to different dietary needs with gluten-free and vegan options. Whether you're looking to impress or simply satisfy a sweet craving, these bars are sure to become a staple in your kitchen. Ready to discover how to make this nostalgic delight? Let’s dive in!
Why Choose Tangy Rhubarb Bliss Bars?
Irresistible Flavor: These bars boast a delightful mix of tangy rhubarb and sweet crumble that will leave your taste buds dancing.
Quick & Easy Prep: Prepare this dessert in under an hour—ideal for those busy weeknights when you need something special.
Diet-Friendly Options: Catering to various dietary needs, you can easily make them gluten-free or vegan without sacrificing flavor.
Perfect for Gatherings: Impress friends and family with these gorgeous bars; they’re sure to steal the spotlight at any potluck or picnic!
Versatile Ingredients: Feel free to mix in berries or nuts for added depth, similar to how you can explore variations in an Acai Bowl Nutritious or even enjoy as a warm complement to a savory dish like German Potato Salad.
Tangy Rhubarb Bliss Bars Ingredients
• Easy-to-gather ingredients for a perfect treat!
For the Filling
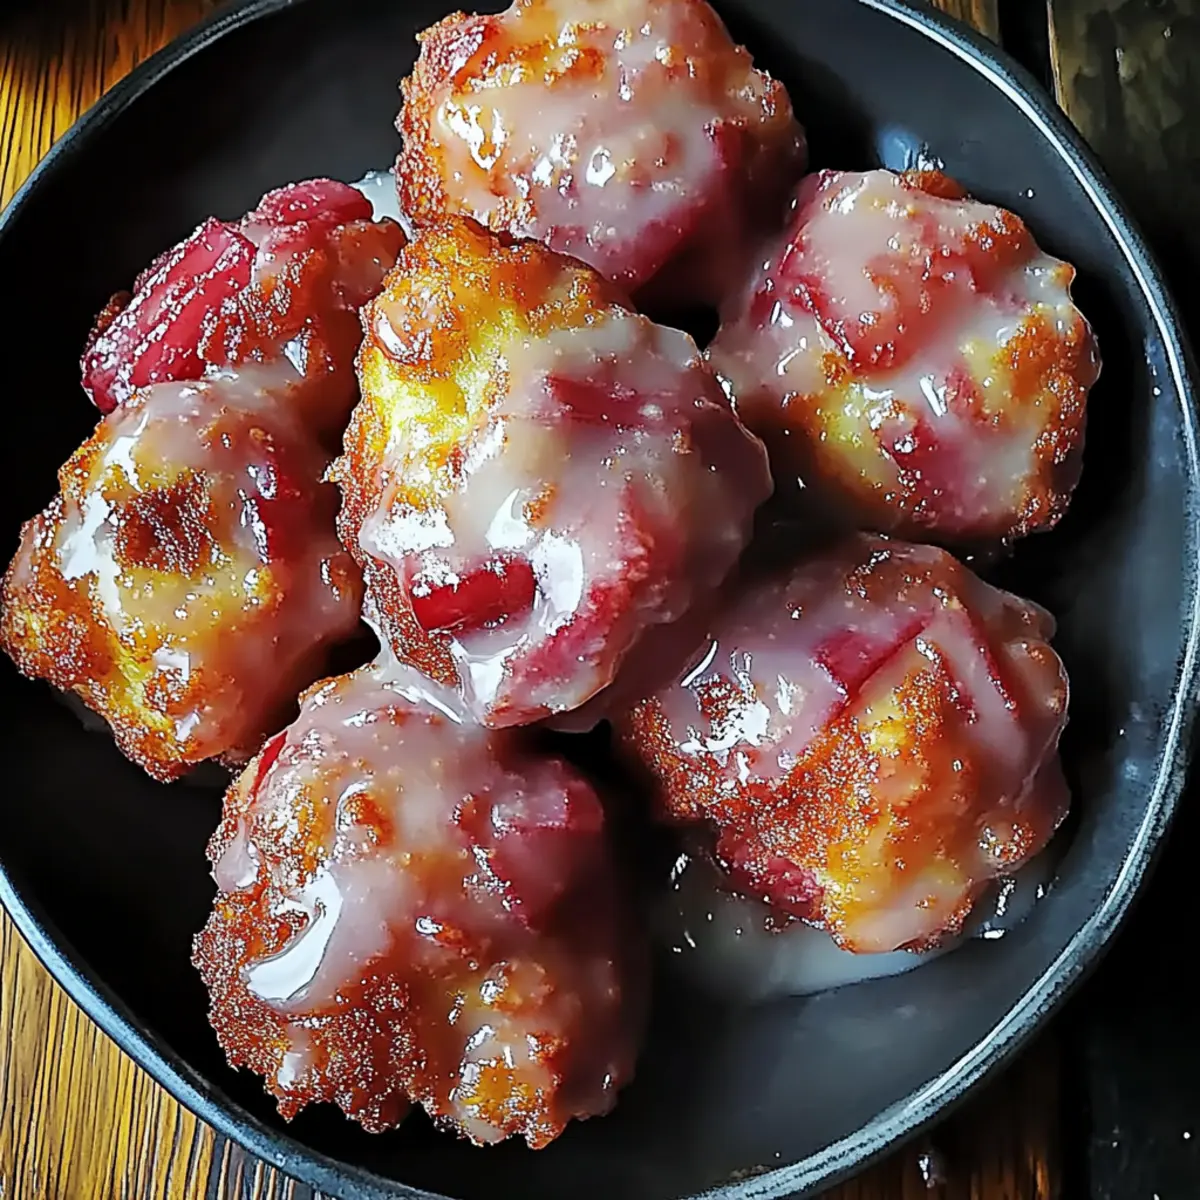
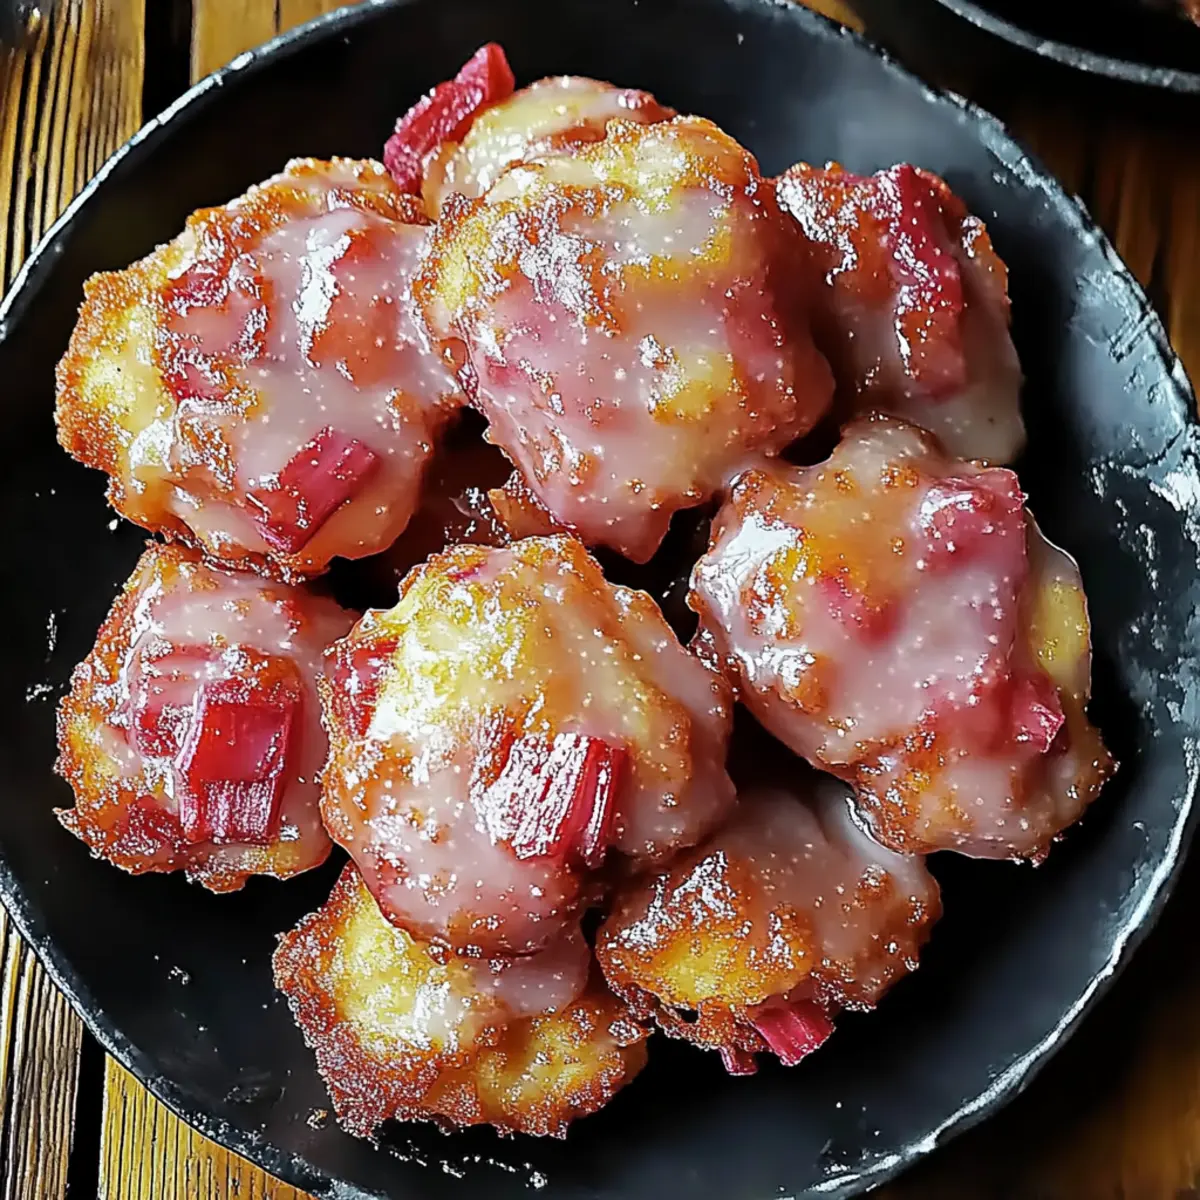
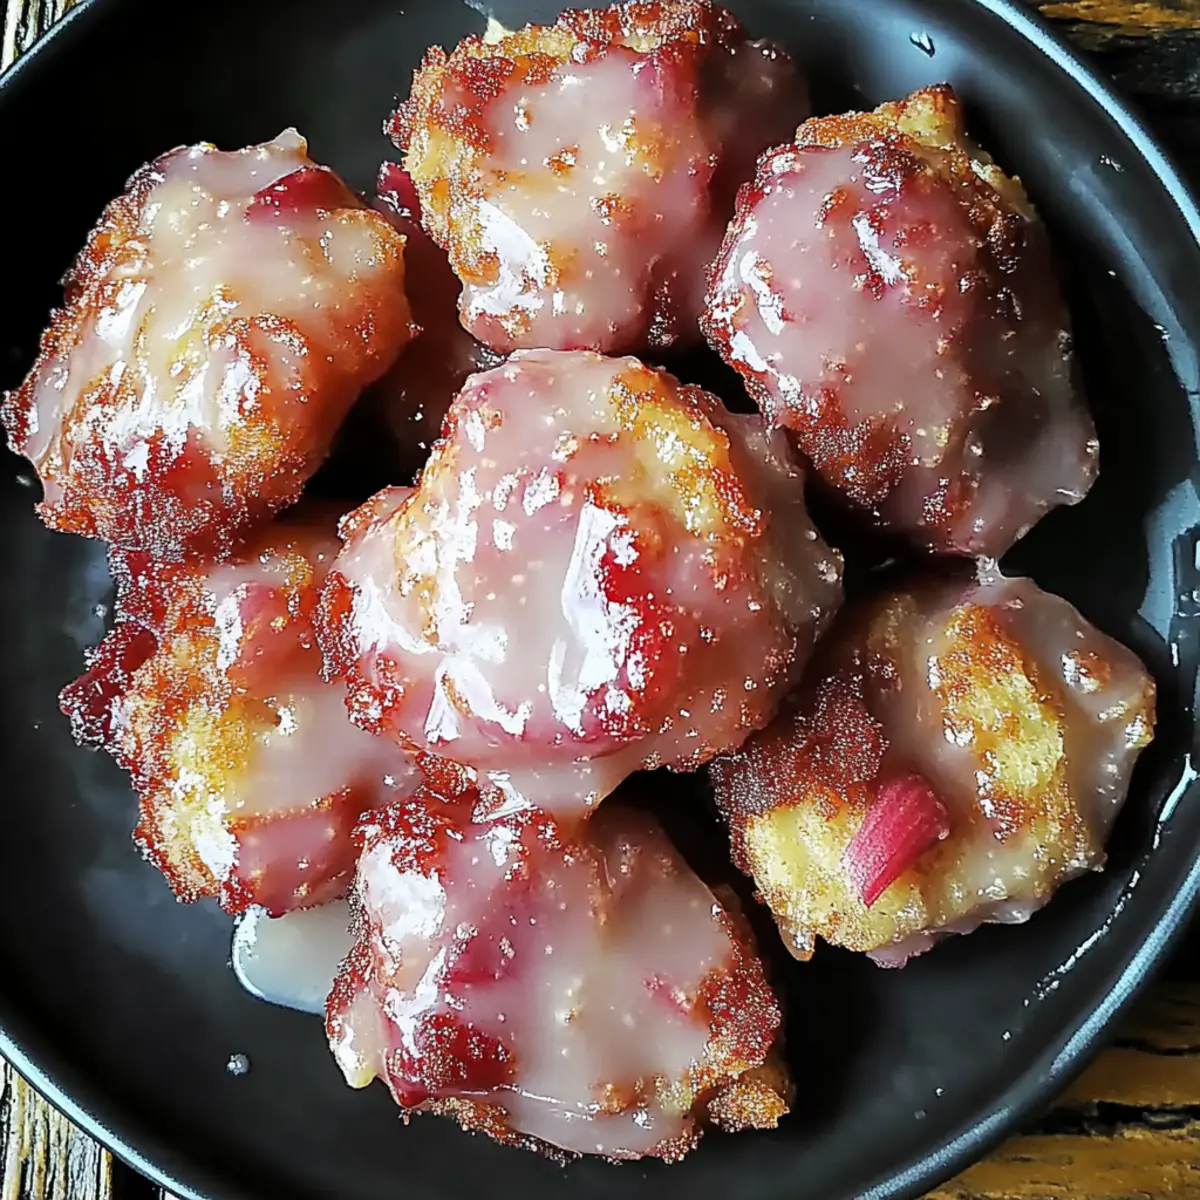
- Rhubarb – 2 cups, chopped; it provides the signature tang in these delicious Tangy Rhubarb Bliss Bars.
- Sugar – ½ cup; balances the tartness of the rhubarb for a harmonious flavor.
- Cornstarch – 1 tablespoon; thickens the filling, ensuring a cohesive texture.
For the Crust
- All-purpose flour – 1 cup; forms the base of the crust, keeping it sturdy.
- Rolled oats – ½ cup; adds a wonderful chewiness and texture.
- Brown sugar – ½ cup; contributes a rich caramel-like sweetness.
- Butter (melted) – ¼ cup; binds the mixture and adds a delicious richness.
- Baking powder – ½ teaspoon; ensures the crust is light and fluffy.
- Vanilla extract – ½ teaspoon; enhances the overall flavor profile of the bars.
- Salt – ¼ teaspoon; balances the sweetness and enhances all the flavors.
These Tangy Rhubarb Bliss Bars ingredients come together beautifully to create a dessert you’ll cherish, whether serving at a gathering or enjoying at home!
Step‑by‑Step Instructions for Tangy Rhubarb Bliss Bars
Step 1: Preheat and Prepare
Start by preheating your oven to 350°F (175°C). Grease a 9x9 inch baking dish with butter or non-stick spray to ensure your Tangy Rhubarb Bliss Bars won’t stick. This crucial step sets the stage for a perfectly baked dessert. While the oven heats, gather all your ingredients so you’re ready to create a harmonious blend of flavors.
Step 2: Prepare the Rhubarb Filling
In a medium mixing bowl, combine 2 cups of chopped rhubarb, ½ cup of sugar, and 1 tablespoon of cornstarch. Stir well to coat the rhubarb evenly. Allow this mixture to sit for about 10 minutes, letting the sugar draw out the moisture from the rhubarb. This step softens the tartness and prepares a luscious filling for your bars.
Step 3: Combine the Dry Ingredients
In another large bowl, whisk together 1 cup of all-purpose flour, ½ cup of rolled oats, ½ cup of brown sugar, ½ teaspoon of baking powder, and ¼ teaspoon of salt. Make sure all ingredients are well-combined to create a cohesive dry mix. This forms the foundation of your crust, lending it the perfect texture and flavor balance.
Step 4: Mix Wet Ingredients into Dry
Add ¼ cup of melted butter and ½ teaspoon of vanilla extract to the dry mixture. Use a spatula to gently fold everything together until fully combined. You should see a crumbly and moist mixture forming, which will create the delightful crust for your Tangy Rhubarb Bliss Bars, ensuring every bite is a perfect blend of taste and texture.
Step 5: Create the Crust Layer
Press half of the mixture firmly into the bottom of the greased baking dish to form a solid crust layer. Use your hands or the back of a measuring cup to achieve an even thickness. This step is essential as it provides a sturdy base for the rhubarb filling, so take the time to compact it well for the perfect baking results.
Step 6: Spread the Rhubarb Filling
Once the crust layer is in place, evenly spread the prepared rhubarb filling over it. Make sure to distribute it uniformly to ensure every square cuts nicely and delivers the delightful tanginess throughout. This balance of crust and filling is what makes these Tangy Rhubarb Bliss Bars truly special.
Step 7: Top with Remaining Crust Mixture
Sprinkle the remaining crumb mixture over the rhubarb filling. This layer serves as the golden topping that will bake into a delightful crunchy crust. Ensure an even coverage to maximize the delicious texture in each bite of your Tangy Rhubarb Bliss Bars, creating a beautiful contrast against the luscious filling.
Step 8: Bake to Perfection
Bake your bars in the preheated oven for 30-35 minutes. Keep an eye on them; they are done when the top is golden brown and the filling is bubbling gently. This visual cue signifies that the flavors have melded beautifully and the bars are ready to be transformed into a nostalgic treat.
Step 9: Cool and Slice
After baking, remove the dish from the oven and allow your Tangy Rhubarb Bliss Bars to cool for at least 10 minutes. This cooling time is crucial for clean cuts; as tempting as it may be, resist slicing them too soon! Once cooled, cut into squares and serve as a delightful dessert option for any occasion.
Expert Tips for Tangy Rhubarb Bliss Bars
-
Press Firmly: Ensure to press the crust mixture firmly into the baking dish for a sturdy base, which prevents crumbling when sliced.
-
Cooling Time: Allow the bars to cool completely before cutting to achieve clean, beautiful squares. Patience pays off!
-
Baking Watch: If using a different sized baking dish, adjust the baking time and always look for a golden top and bubbling filling for best results.
-
Flavor Balance: Don't skip the salt! It brightens the flavors of the Tangy Rhubarb Bliss Bars and enhances the sweetness, creating a perfectly balanced dessert.
-
Storage Tips: Store leftovers in an airtight container for up to 5 days; they taste great chilled or at room temperature!
Make Ahead Options
These Tangy Rhubarb Bliss Bars are perfect for meal prep enthusiasts! You can prepare the crust and rhubarb filling up to 24 hours in advance. Simply combine the rhubarb, sugar, and cornstarch, and let it refrigerate in an airtight container. For the crust, mix the dry ingredients and incorporate the melted butter, storing it separately in the fridge. When you’re ready to bake, press the crust into your baking dish, spread the filling over it, and top with the crumb mixture before popping it into the oven. This way, you'll save time and still enjoy delicious, fresh bars that are just as delightful!
What to Serve with Tangy Rhubarb Bliss Bars?
Indulging in these delightful dessert bars opens up a world of possibilities for pairing.
-
Vanilla Ice Cream: The creamy richness of vanilla ice cream complements the tangy rhubarb flavors beautifully, creating a delightful contrast.
-
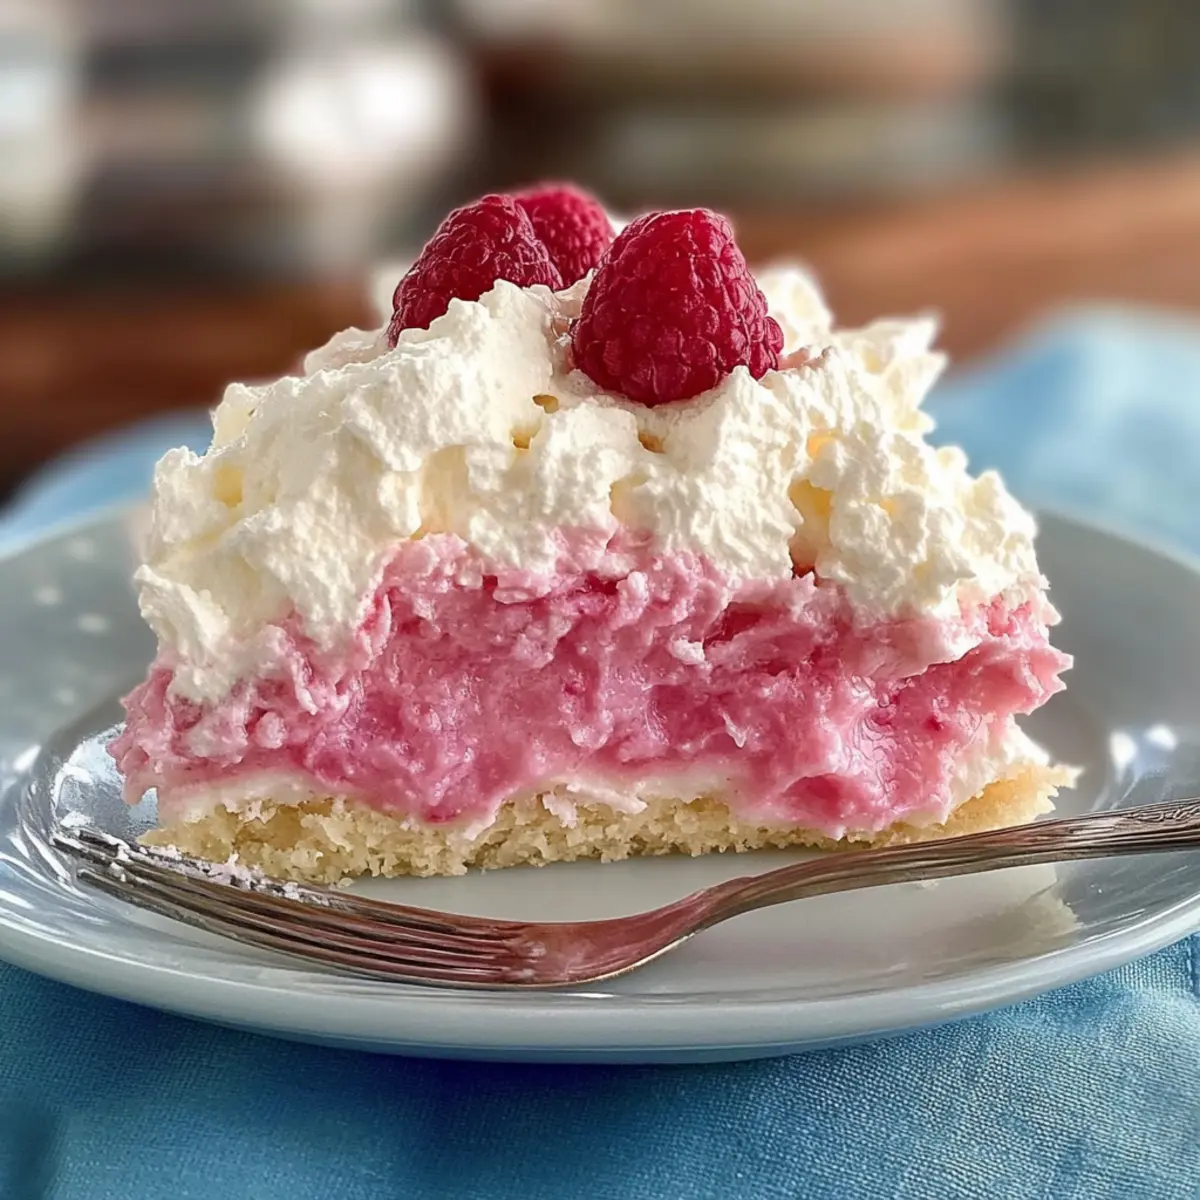
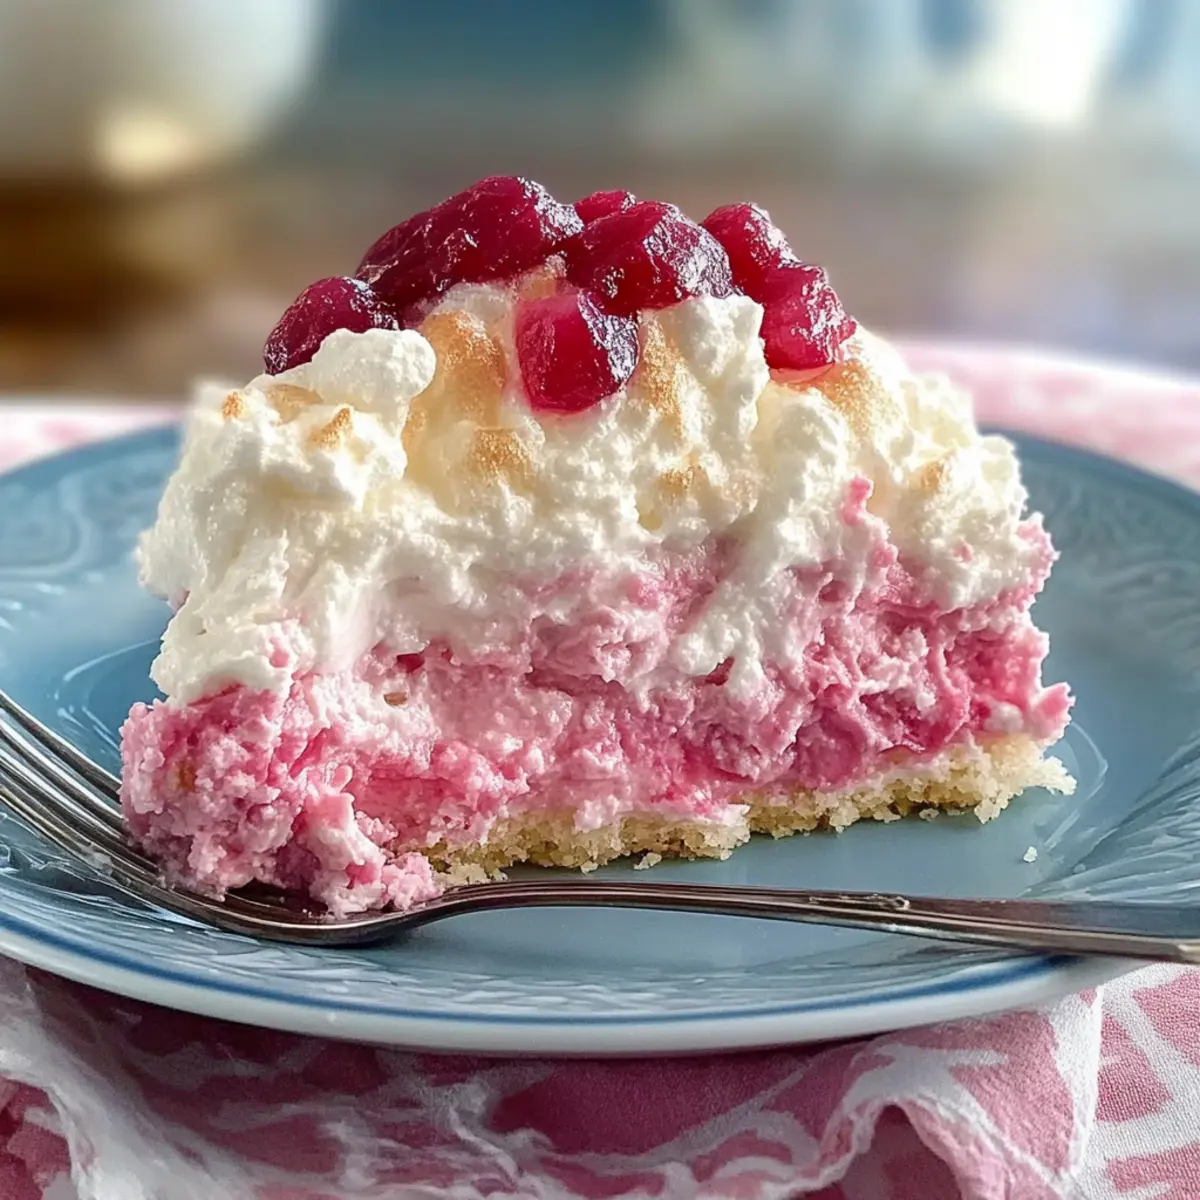
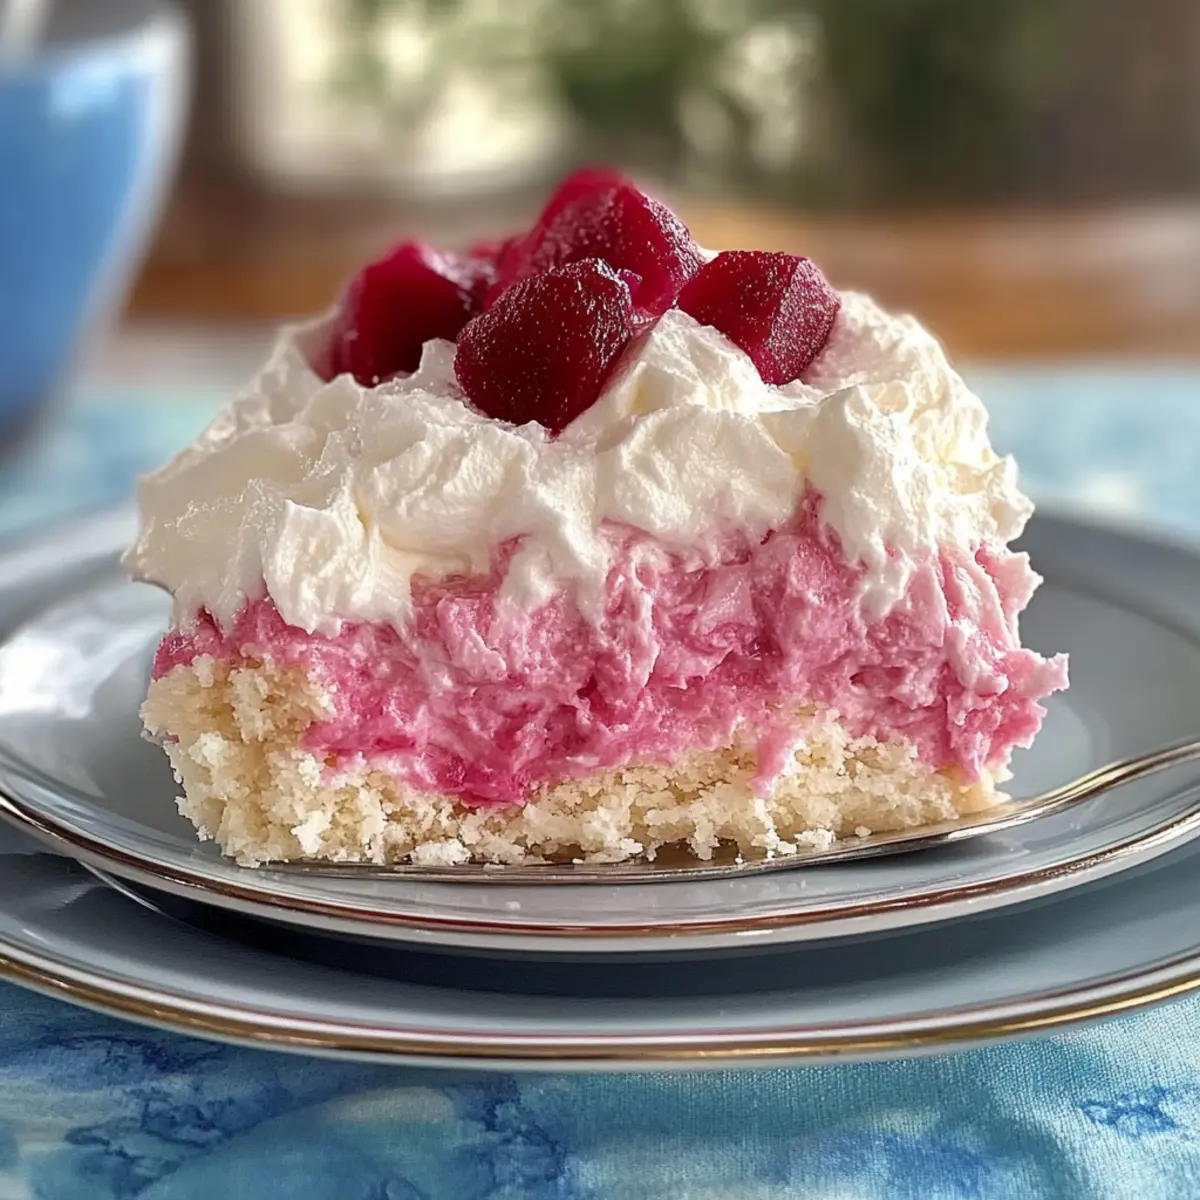
Fresh Berries: A mix of strawberries, blueberries, or raspberries adds a burst of freshness, enhancing the wholesome taste of these bars.
-
Whipped Cream: Light and airy whipped cream provides a luscious texture that perfectly balances the bars' tartness, making each bite heavenly.
-
Herbal Tea: A soothing cup of chamomile or mint tea harmonizes with the bars, bringing a delightful warmth and comfort perfectly suited for afternoon indulging.
-
Crumbly Oatmeal Cookies: Pairing the tangy bars with oatmeal cookies creates a delightful crunch and a wholesome flavor fusion that evokes nostalgia.
-
Lemonade: A refreshing glass of lemonade adds a zesty kick to your dessert experience, enhancing the overall sunny vibe of your gathering.
-
Chocolate Drizzle: Elevate the Tangy Rhubarb Bliss Bars by drizzling chocolate over them; the rich sweetness plays off the bars' tartness for a decadent treat.
These ideas will elevate your dessert experience and leave your guests raving about the balance of flavors and textures!
Tangy Rhubarb Bliss Bars Variations
Invite your creativity to shine as you customize these delightful Tangy Rhubarb Bliss Bars! With a few simple swaps, you can elevate the flavor and cater to various dietary needs.
- Nutty Delight: Add ½ cup of chopped walnuts or pecans to enhance texture and provide a satisfying crunch.
- Berry Burst: Mix in 1 cup of fresh strawberries or blueberries for a pop of sweetness and vibrant color.
- Spicy Note: Incorporate 1 teaspoon of ground cinnamon or nutmeg to add a warm, aromatic touch to the bars.
- Tropical Twist: Stir in ½ cup of shredded coconut for an exotic flavor that pairs beautifully with rhubarb.
- Chocolate Drizzle: For a rich finish, top the bars with a drizzle of melted dark chocolate after baking.
- Vegan Option: Swap the butter for coconut oil and use a flaxseed egg for a delightful dairy-free version.
- Sugar Swap: Use coconut sugar or maple syrup for a healthier sweetening option, reducing the glycemic index.
- Gluten-Free: Substitute all-purpose flour with a gluten-free flour blend to enjoy these bars without the gluten!
These variations not only add fun to the recipe but also offer ways to make it uniquely yours. And when you're in the mood for more delightful desserts, consider trying out an Acai Bowl Nutritious for a refreshing twist or complement these bars with a savory side like German Potato Salad. Happy baking!
How to Store and Freeze Tangy Rhubarb Bliss Bars
Room Temperature: Keep these delectable bars in an airtight container at room temperature for up to 2 days to maintain their texture and flavor.
Fridge: For longer storage, refrigerate the Tangy Rhubarb Bliss Bars in an airtight container. They will stay fresh for up to 5 days; enjoy chilled or at room temperature!
Freezer: You can freeze the bars for up to 2 months. Slice and wrap them individually in plastic wrap, then place them in a freezer-safe bag. Thaw overnight in the fridge before serving for the best taste.
Reheating: If you prefer them warm, pop them in the microwave for about 10-15 seconds. They’ll be just as delightful, bringing back that lovely nostalgia with each bite!
Tangy Rhubarb Bliss Bars Recipe FAQs
What’s the best way to select rhubarb for this recipe?
Absolutely! When choosing rhubarb, look for firm, crisp stalks with a vibrant, deep color—preferably a mixture of green and pink hues. Avoid any that have dark spots or are wilted. Fresh rhubarb should feel heavy for its size, and remember, the tender young stalks tend to be sweeter!
How should I store leftover Tangy Rhubarb Bliss Bars?
You can store your Tangy Rhubarb Bliss Bars in an airtight container at room temperature for up to 2 days, keeping them fresh and delightful. To extend their shelf life, refrigerate them in an airtight container for up to 5 days. Enjoy them chilled or at room temperature, whichever you prefer!
Can I freeze Tangy Rhubarb Bliss Bars? How do I do it?
Yes, you can certainly freeze these bars! I recommend slicing them first for easy serving. Wrap each slice individually in plastic wrap, then place them in a freezer-safe zip-top bag. They will stay fresh for up to 2 months. When you're ready to enjoy them, simply thaw in the fridge overnight and they’ll taste just as delightful as when freshly baked.
What can I do if my rhubarb filling is too watery?
If your rhubarb filling turns out too watery, it may be because of overripe rhubarb or too much moisture. A great way to fix this is to add a bit more cornstarch—start with an extra teaspoon and toss it with the filling. Allow it to sit for a few more minutes to thicken before you spread it onto the crust. This will help achieve the perfect consistency!
Are there any dietary considerations for this recipe?
Very! The Tangy Rhubarb Bliss Bars can easily be made gluten-free by swapping in a gluten-free flour blend. For a vegan option, simply replace the butter with coconut oil and use a flaxseed egg (1 tablespoon of ground flaxseed mixed with 2.5 tablespoons of water, let it sit for 5 minutes). This way, everyone can enjoy these delicious bars!
Tangy Rhubarb Bliss Bars for a Refreshing Sweet Treat
Ingredients
Equipment
Method
- Preheat your oven to 350°F (175°C) and grease a 9x9 inch baking dish.
- In a medium bowl, combine rhubarb, sugar, and cornstarch, then let sit for 10 minutes.
- In a large bowl, whisk together flour, oats, brown sugar, baking powder, and salt.
- Add melted butter and vanilla extract to the dry mixture and fold together until combined.
- Press half of the mixture into the bottom of the greased baking dish.
- Spread the prepared rhubarb filling evenly over the crust layer.
- Sprinkle the remaining crumb mixture over the rhubarb filling.
- Bake for 30-35 minutes until the top is golden brown and the filling is bubbling.
- Allow to cool for at least 10 minutes before cutting into squares.