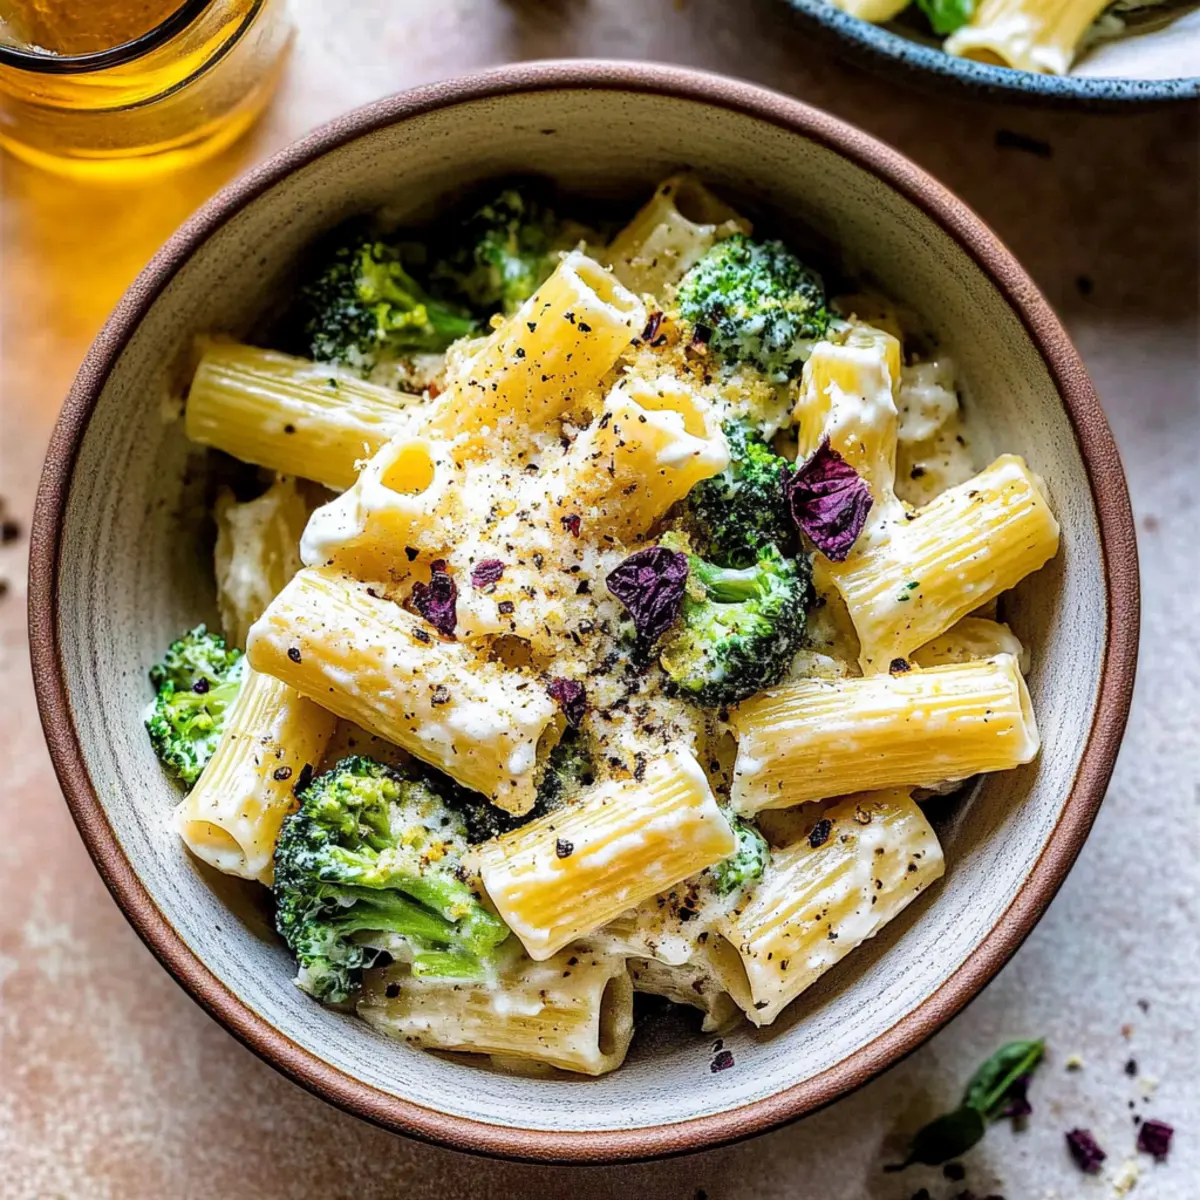
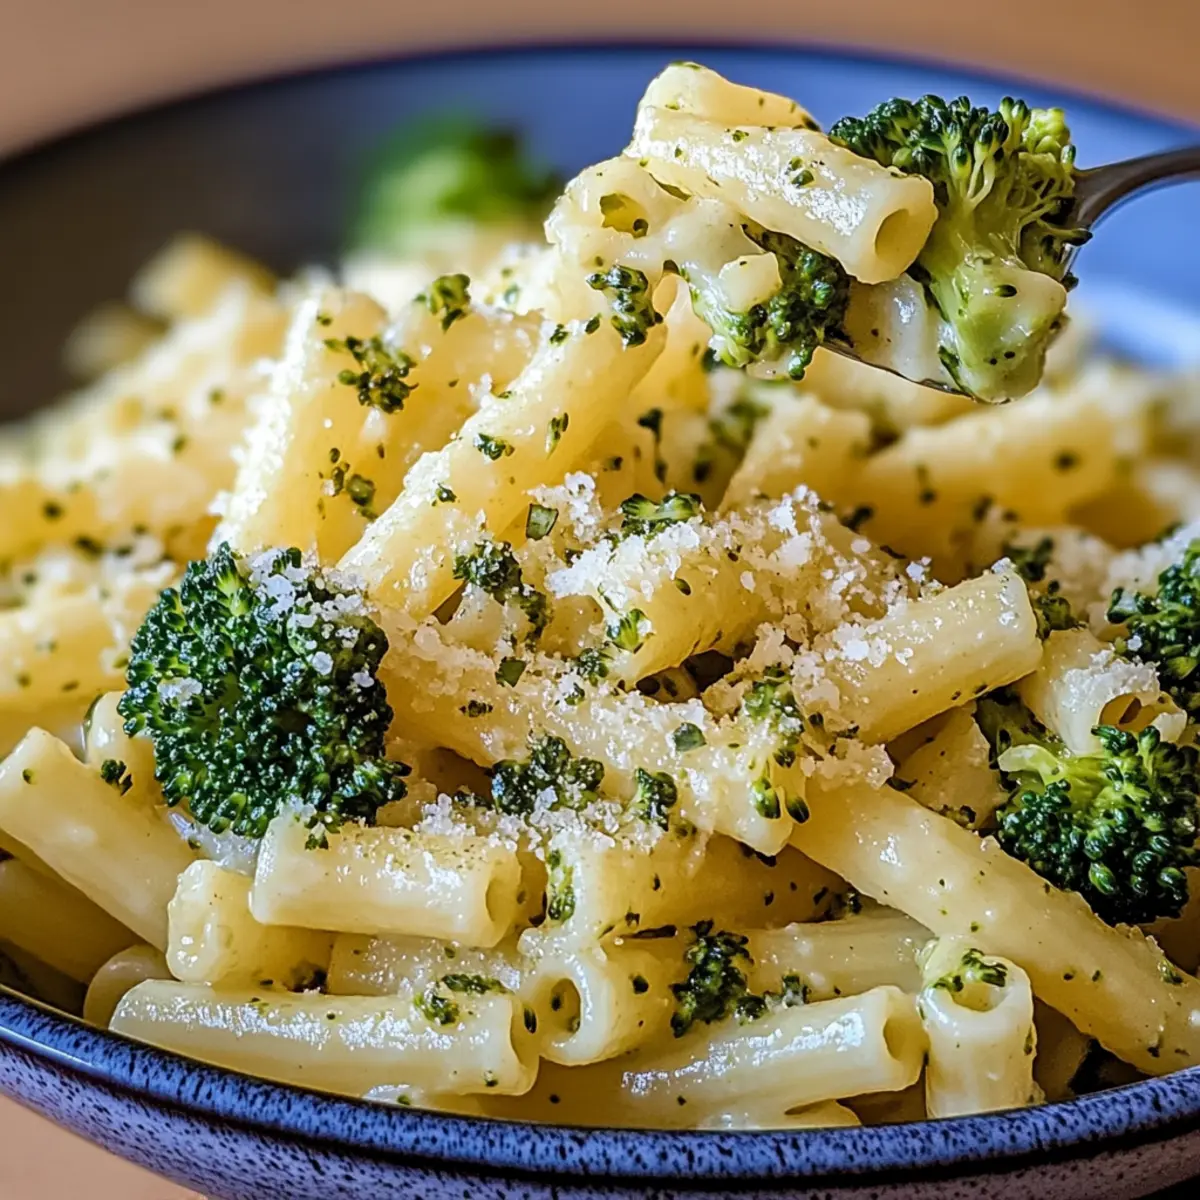
At a recent gathering, I overheard my friend raving about her “mayo-free broccoli salad” and instantly knew I had to try it. Enter my Broccoli Salad with Honey Dijon Dressing—a dish that transforms ordinary greens into a vibrant spectacle of flavor and crunch. This easy-to-make salad beautifully blends crisp broccoli, crunchy bacon, and a tangy dressing, making it the perfect crowd-pleaser for picnics, potlucks, or your everyday lunch. Not only is it mayo-free and gluten-free, but it’s also paleo and SCD-friendly, catering to a variety of dietary preferences without sacrificing taste. Trust me, the flavors get even better as time goes on! Are you ready to dive into a bowl of refreshing goodness that everyone can enjoy?

Why is Broccoli Salad a Must-Try?
Vibrant Flavors: The combination of crunchy broccoli and savory bacon creates a delightful contrast that will excite your taste buds.
Versatile Base: This salad accommodates various mix-ins, from sunflower seeds to feta cheese—customize it to your liking!
Simplicity: With minimal prep time, you can whip this up quickly, making it ideal for busy weeknights or last-minute gatherings.
Diet-Friendly: It’s mayo-free, paleo, SCD-friendly, and gluten-free, ensuring everyone at the table can indulge.
Make-Ahead Magic: Let it chill in your fridge for an hour or more—the flavors meld beautifully, enhancing the overall taste.
Crowd-Pleaser: Perfect for picnics or potlucks, it’s a dish that’s sure to disappear fast, just like this delicious Tofu Caesar Salad or this refreshing Jello Salad Cottage.
Broccoli Salad with Honey Dijon Dressing
• This salad is a delicious blend of flavors suited for various diets.
For the Salad Base
• Broccoli – Provides vibrant crunch and essential nutrients; fresh is best for maximum flavor.
• Bacon – Adds an irresistible savory crunch; skip it for a vegetarian or plant-based option.
• Red Onion – Offers a pungent kick that balances the sweet dressing; finely chopped for even distribution.
• Red Cabbage – Gives a lovely color and extra crunch; green cabbage can be a great substitute.
• Carrots – Adds natural sweetness and color; shredded for an easy toss.
For the Dressing
• Dijon Mustard – Gives a zesty base to your salad dressing; consider whole grain for a unique flavor.
• Olive Oil – Acts as a rich emulsifier for the dressing; avocado oil works wonderfully as a substitute.
• Honey – Adds natural sweetness; maple syrup serves as a vegan alternative if needed.
• Apple Cider Vinegar – Provides necessary acidity; white wine vinegar could also work well.
• Garlic – Imparts a robust flavor; minced to ensure an even taste throughout.
• Salt and Pepper – Essential for seasoning; adjust according to your personal preference.
Step‑by‑Step Instructions for Broccoli Salad with Honey Dijon Dressing
Step 1: Prepare Salad Base
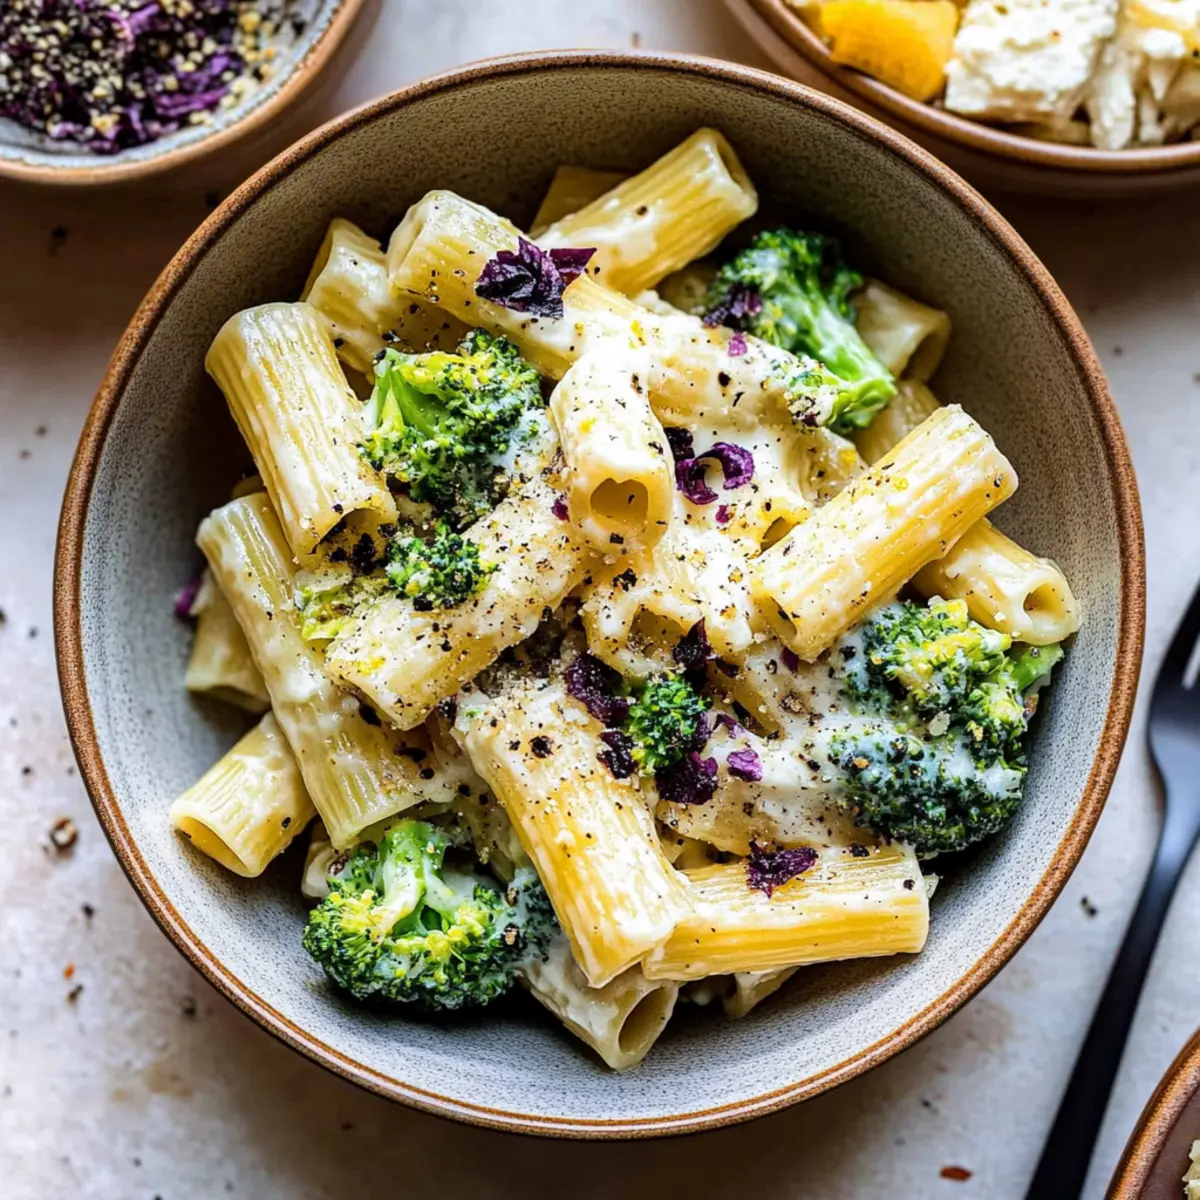
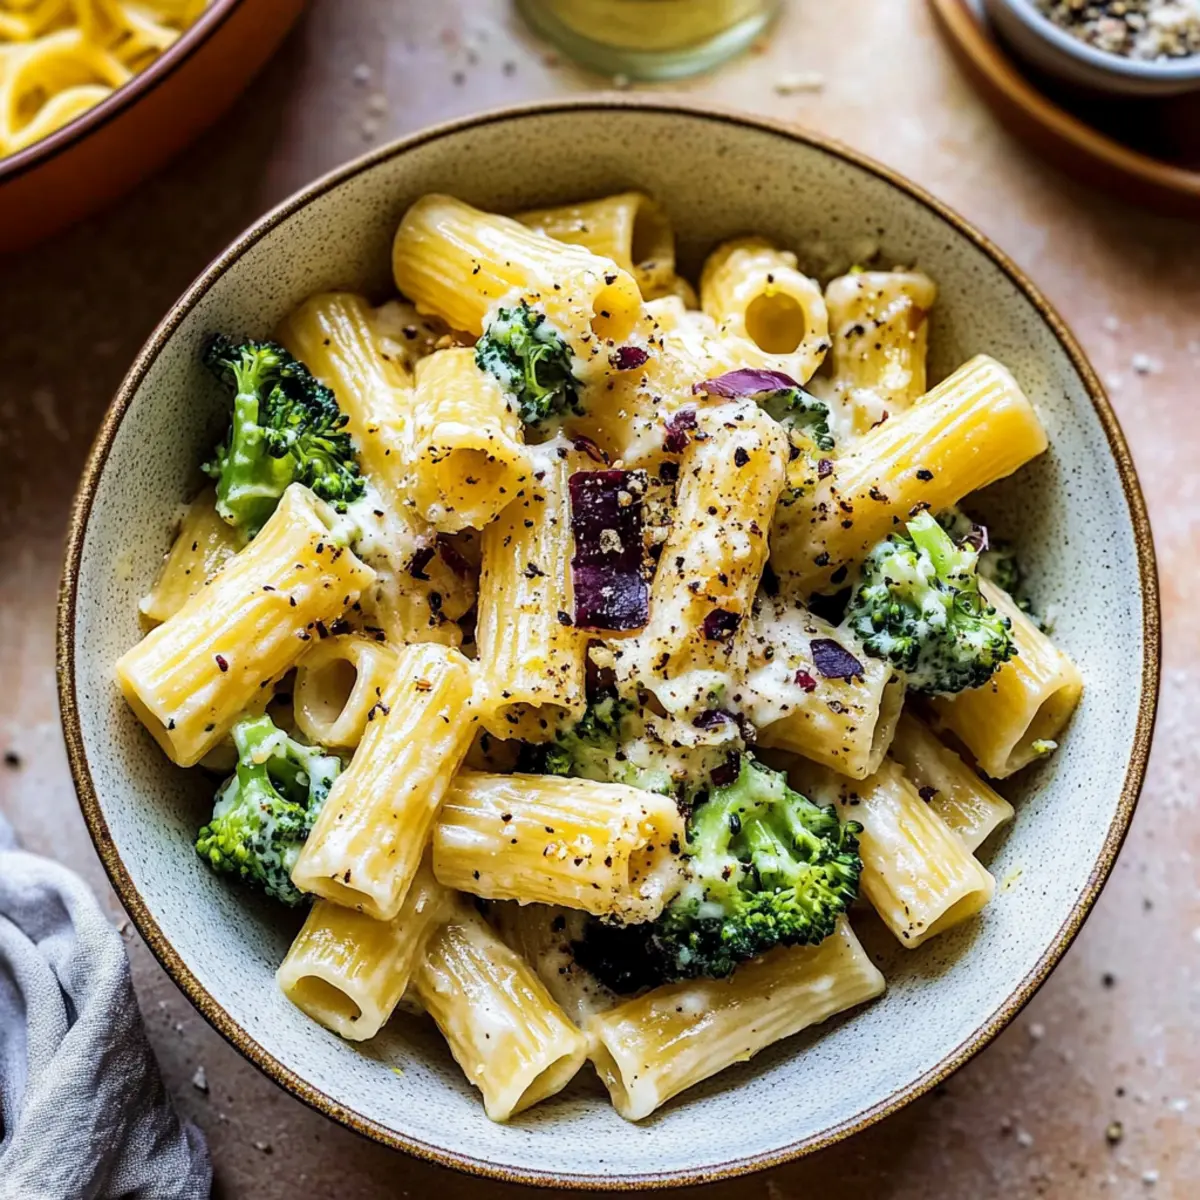
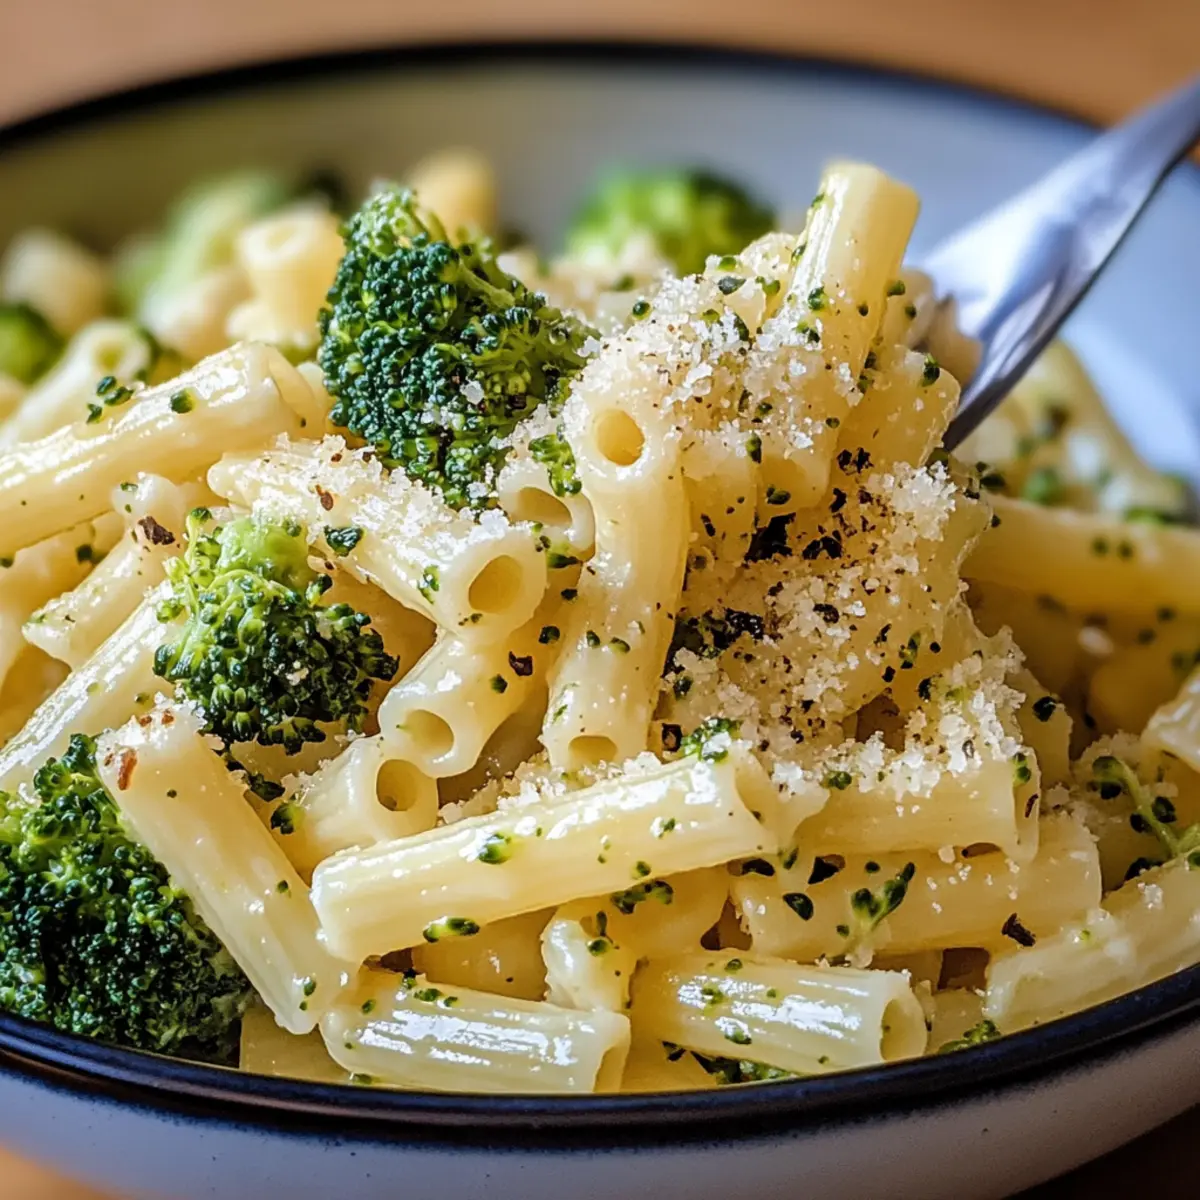
In a large mixing bowl, combine 4 cups of chopped fresh broccoli, 1 cup of crumbled bacon (if using), ½ cup of finely chopped red onion, 1 cup of thinly sliced red cabbage, and 1 cup of shredded carrots. Gently toss the ingredients together with a spatula until evenly mixed, creating a colorful base for your Broccoli Salad with Honey Dijon Dressing.
Step 2: Make Dressing
In a separate small bowl, whisk together 3 tablespoons of Dijon mustard, ⅓ cup of olive oil, 2 tablespoons of honey, 2 tablespoons of apple cider vinegar, and 1 clove of minced garlic. Season the dressing with salt and pepper to taste. Continue whisking until the mixture is smooth and well-combined, creating a tangy dressing that will elevate your salad.
Step 3: Combine
Pour the prepared honey Dijon dressing over the broccoli salad base in the large bowl. Using tongs or a large fork, toss the salad thoroughly to ensure each ingredient is well-coated with the dressing. As you combine, notice how the vibrant colors start to meld together, making your Broccoli Salad a feast for the eyes as well as the palate.
Step 4: Serve
After combining, either serve the salad immediately for a fresh crunch or let it chill in the refrigerator for at least 1 hour. This resting time allows the flavors of the dressing to meld beautifully with the salad ingredients. If chilling, keep it covered to maintain freshness, and enjoy the enhanced flavors that develop over time.

What to Serve with Broccoli Salad with Honey Dijon Dressing
Elevate your meal with delightful pairings that complement the vibrant flavors of your salad.
- Grilled Chicken: Juicy grilled chicken offers a savory balance, making for a satisfying protein addition that enhances the salad.
- Quinoa Pilaf: Fluffy and textured, quinoa pilaf adds a nutty flavor, working beautifully with the crisp veggies and dressing.
- Garlic Bread: The warm, buttery goodness of garlic bread provides a comforting crunch that perfectly contrasts the fresh salad.
- Fruit Skewers: Fresh, colorful fruit skewers bring sweetness and vibrancy to the table, balancing the tangy dressing beautifully.
- Lemonade: Refreshing lemonade cleanses the palate between bites, its citrusy zing echoing the lightness of the salad.
- Chocolate Mousse: For dessert, a rich chocolate mousse provides a decadent finish, sweetening the experience after the salad's tanginess.
- Roasted Sweet Potatoes: Their natural sweetness and soft texture create a lovely contrast, enhancing the crunchy salad without overpowering it.
- Stuffed Avocados: Creamy avocados stuffed with tuna or crab salad add richness and a touch of indulgence, complementing the lightness of the broccoli.
- Sparkling Water: Lightly flavored sparkling water keeps the meal refreshing and pairs elegantly with the salad without competing for attention.
- Cheese Platter: A variety of cheeses creates a playful contrast in textures and flavors, inviting guests to indulge alongside the bright salad.
Expert Tips for Broccoli Salad
Flavor Fusion: Let it chill: For the best flavor, allow your Broccoli Salad with Honey Dijon Dressing to sit in the fridge for at least an hour; it enhances the taste.
Batch Dressing: Make extra dressing: Prepare a larger batch of the honey Dijon dressing to mix and match with other salads throughout the week for variety.
Fresh Ingredients: Use fresh produce: High-quality, fresh broccoli and vegetables enhance the salad’s taste and texture, making every bite delightful.
Storage Know-How: Keep it fresh: Store your salad in an airtight container in the refrigerator and consume within three days for optimal freshness.
Customize Wisely: Mind your mix-ins: When adding extras like seeds or cheese, keep the balance in mind to maintain the crisp integrity of the Broccoli Salad.
How to Store and Freeze Broccoli Salad
Fridge: Keep your Broccoli Salad with Honey Dijon Dressing covered in an airtight container for up to 3 days to maintain freshness.
Freezer: This salad is best enjoyed fresh, but if needed, you can freeze the dressing separately for up to 3 months—though it’s not recommended to freeze the salad itself due to texture changes.
Reheating: If you prefer a warm salad, gently toss it in a skillet over low heat with a splash of olive oil for a few minutes, but enjoy it chilled for the best experience.
Ingredients Preservation: Store leftover salad without dressing if possible, and only mix dressing just before serving to retain textures and flavors.
Broccoli Salad with Honey Dijon Dressing Variations
Feel free to get creative and make this salad your own with these delightful customization options that will tantalize your taste buds!
- Dairy-Free: Substitute traditional cheese with crumbled almond feta or nutritional yeast for a cheesy flavor without dairy.
- Crunch Boost: Add a handful of sunflower seeds or sliced almonds for an added layer of crunch and nutrition. They weave in a nutty flavor that elevates every bite!
- Chickpea Power: Swap out bacon for chickpeas or cooked quinoa to cater to the plant-based crowd. This keeps the protein levels high while offering a satisfying texture.
- Sweet Twist: Mix in some dried cranberries or raisins to the salad for a burst of sweetness that pairs beautifully with the honey dressing. Trust me, it adds a lovely contrast!
- Zesty Greens: Experiment with leafy greens like arugula or spinach along with or instead of broccoli. The peppery notes of arugula add a fun twist to the traditional flavor.
- Spicy Kick: For those who love a little heat, toss in some diced jalapeños or a pinch of red pepper flakes to amp up the flavor profile. It’s sure to get your heart racing!
- Whole Grain Mustard: Consider using whole grain Dijon mustard in the dressing for a more complex tasting experience. The texture and flavor will surprise and delight your senses!
- Vinegar Swap: If you love a hint of sweetness, try replacing apple cider vinegar with balsamic vinegar for a deeper undertone that pairs wonderfully with the honey.
Don't forget, this Jello Salad Cottage or a side of Balsamic Steak Salad would round out your meal perfectly!
Make Ahead Options
These Broccoli Salad with Honey Dijon Dressing components are perfect for busy cooks looking to simplify meal prep! You can chop the broccoli, bacon, red onion, red cabbage, and carrots up to 24 hours in advance. Simply store them in airtight containers in the refrigerator to maintain their freshness and crispness. Additionally, prepare the honey Dijon dressing ahead of time and keep it refrigerated for up to 3 days. When you’re ready to enjoy the salad, just combine the prepped ingredients, toss them with the dressing, and allow it to chill for at least one hour for the flavors to meld beautifully. This way, you can enjoy a vibrant, delicious salad without the last-minute rush!

Broccoli Salad with Honey Dijon Dressing Recipe FAQs
How do I choose the best broccoli for this salad?
Absolutely! When selecting broccoli, look for vibrant green florets without any yellowing or dark spots. Fresh stalks should feel firm and smooth. This ensures you get the crunch and nutrition that will elevate your Broccoli Salad with Honey Dijon Dressing!
What’s the best way to store leftover broccoli salad?
Very! To keep your Broccoli Salad with Honey Dijon Dressing fresh, simply transfer it to an airtight container and store it in the refrigerator. It will last for up to 3 days. The flavors will meld nicely, but you may want to avoid mixing in the dressing until just before serving for best texture.
Can I freeze broccoli salad?
While it’s not recommended to freeze the entire salad due to texture changes, you can freeze the honey Dijon dressing separately. Place it in a sealed container or freezer bag, and it will keep for up to 3 months. When you're ready to use it, simply thaw overnight in the refrigerator and shake well before combining with fresh ingredients.
What if my dressing is too thick?
Don’t worry! If your dressing turns out too thick, simply whisk in a teaspoon of water or olive oil at a time until you reach your desired consistency. This allows you to control the thickness while retaining the delicious flavor of your Broccoli Salad with Honey Dijon Dressing.
Is this recipe suitable for guests with dietary restrictions?
Definitely! This salad is mayo-free, gluten-free, paleo, and SCD-friendly, making it a great option for various dietary preferences. However, always double-check that any additional ingredients you use, such as bacon or cheese alternatives, also meet your desired dietary requirements to ensure everyone can enjoy this beautiful dish!
How can I customize this salad for different tastes?
The more the merrier! Feel free to add ingredients based on personal taste or dietary restrictions. Consider sunflower seeds for crunch or feta cheese for a creamy twist. For extra protein, swap bacon with chickpeas or quinoa. Just remember to keep the balance so that your Broccoli Salad with Honey Dijon Dressing remains delightful and refreshing!

Broccoli Salad with Honey Dijon Dressing: A Crunchy Delight
Ingredients
Equipment
Method
- In a large mixing bowl, combine 4 cups of chopped fresh broccoli, 1 cup of crumbled bacon, ½ cup of finely chopped red onion, 1 cup of thinly sliced red cabbage, and 1 cup of shredded carrots. Gently toss the ingredients together with a spatula until evenly mixed.
- In a separate small bowl, whisk together 3 tablespoons of Dijon mustard, ⅓ cup of olive oil, 2 tablespoons of honey, 2 tablespoons of apple cider vinegar, and 1 clove of minced garlic. Season the dressing with salt and pepper to taste.
- Pour the prepared honey Dijon dressing over the broccoli salad base in the large bowl. Using tongs or a large fork, toss the salad thoroughly to ensure each ingredient is well-coated with the dressing.
- After combining, either serve the salad immediately or let it chill in the refrigerator for at least 1 hour.