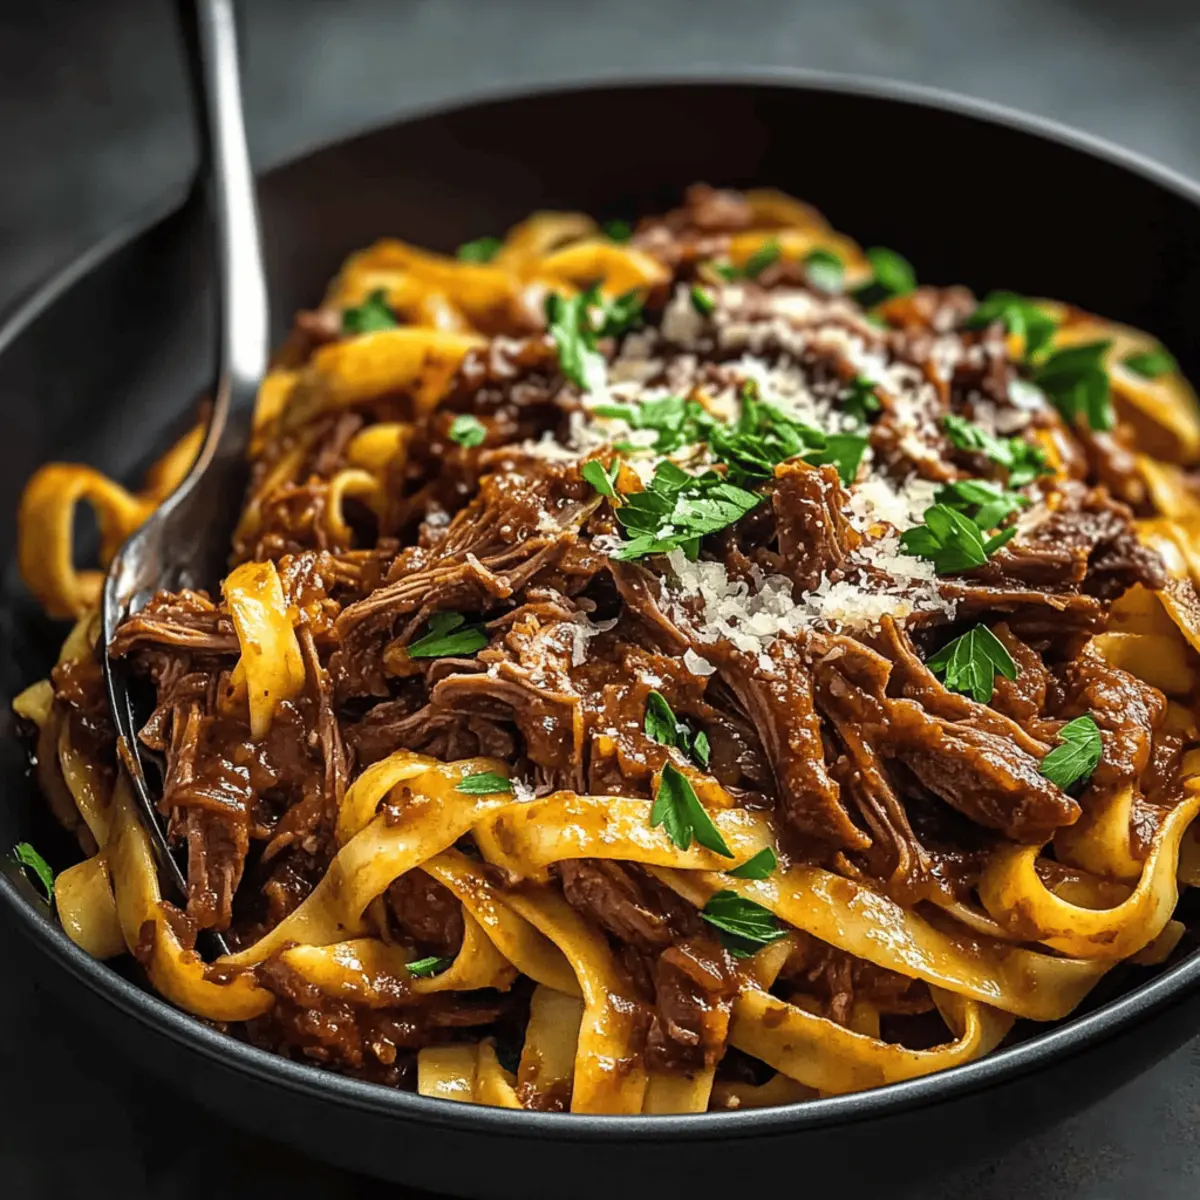
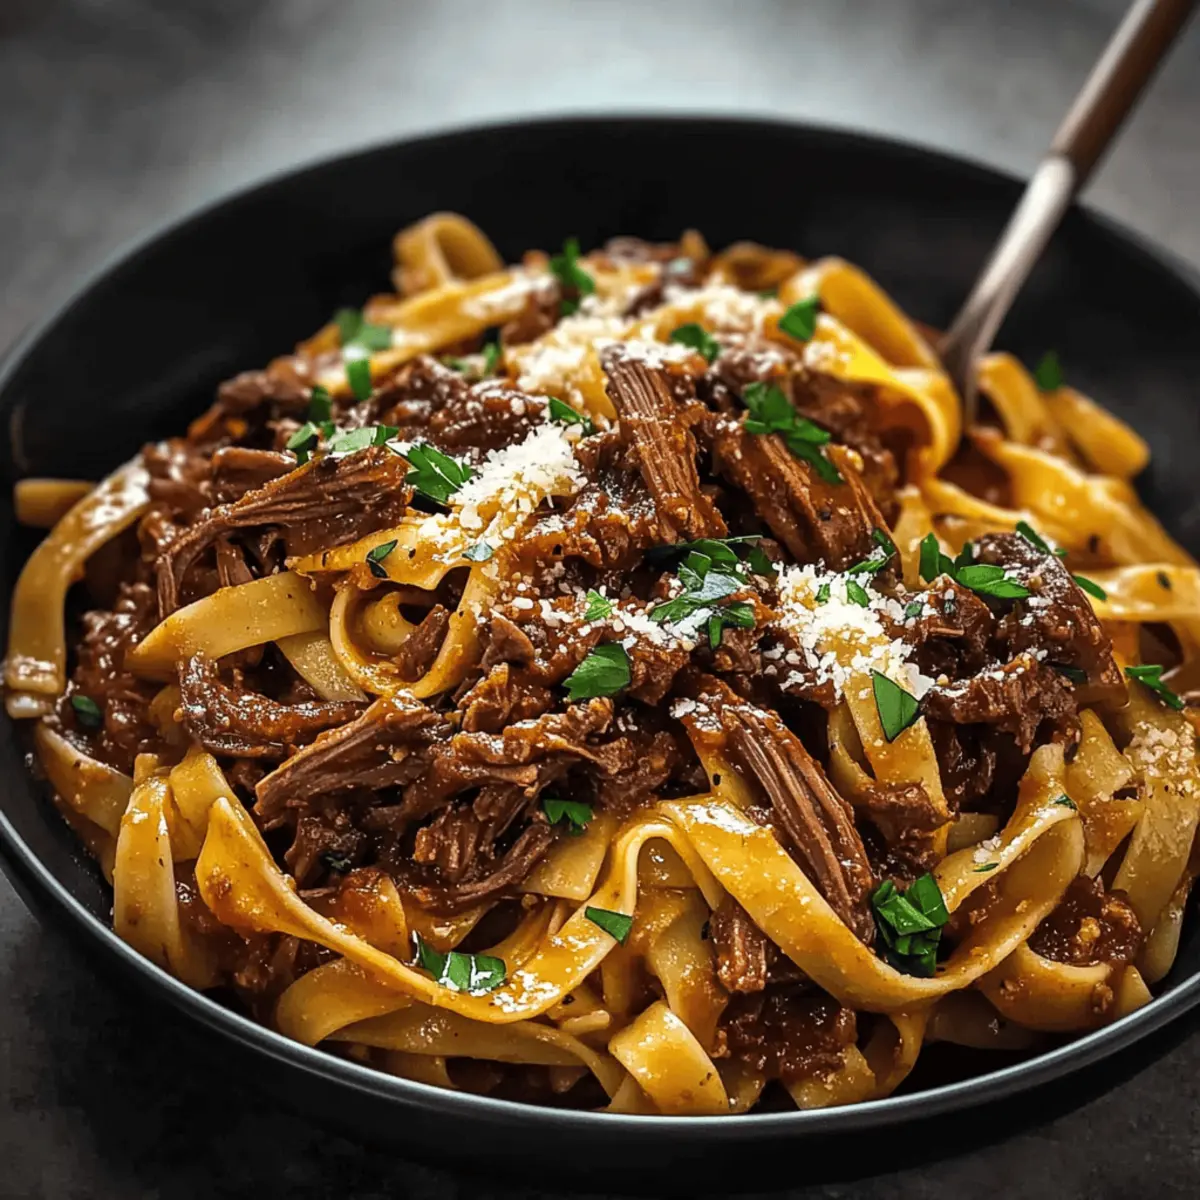
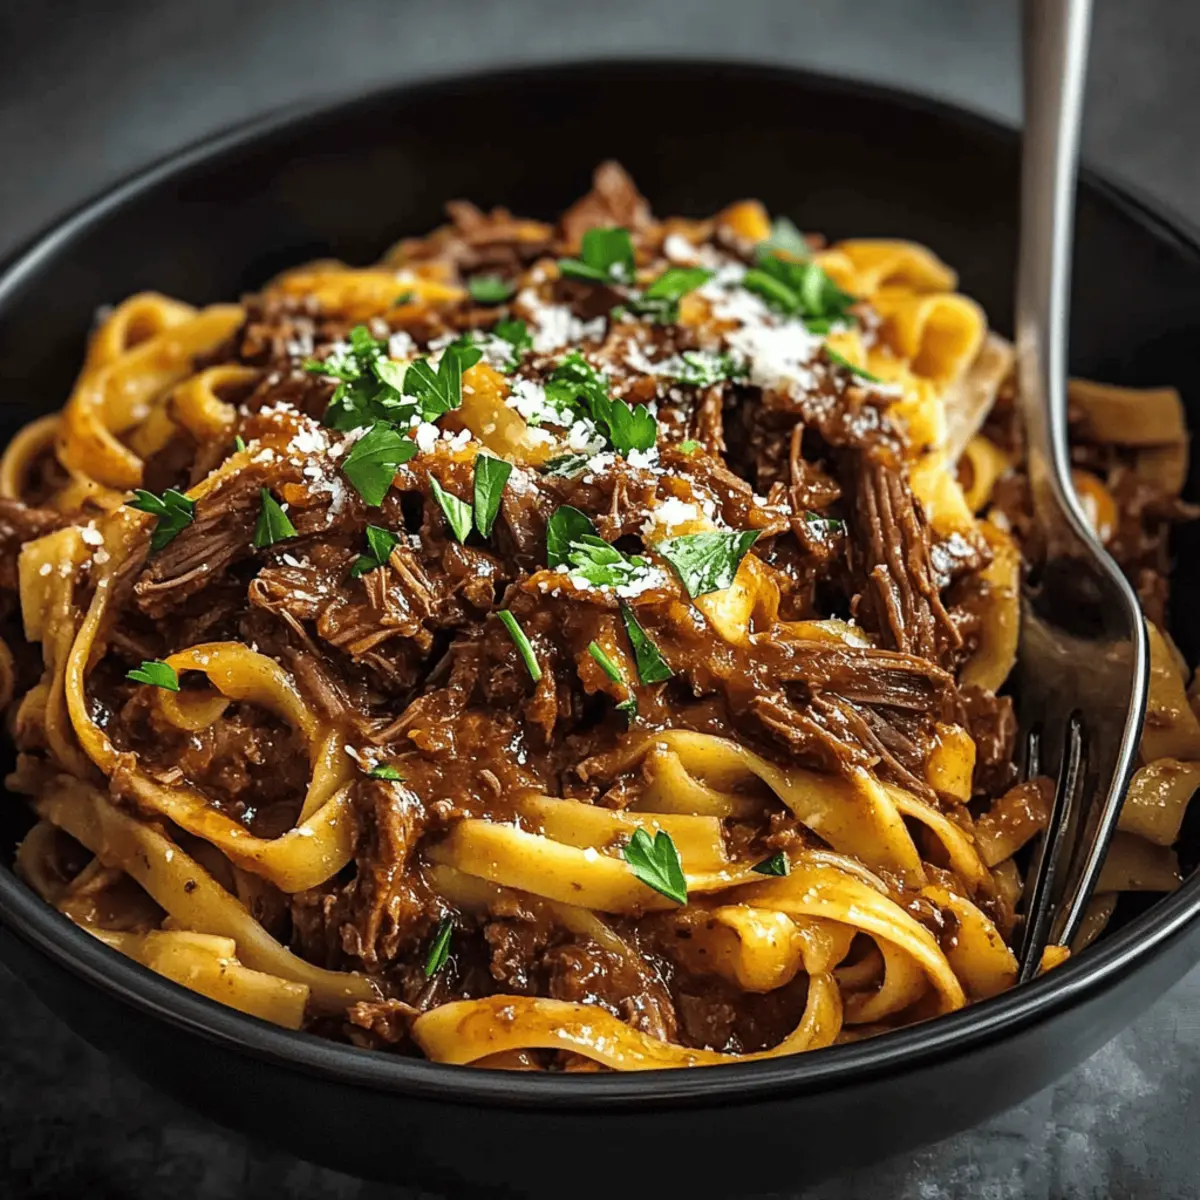
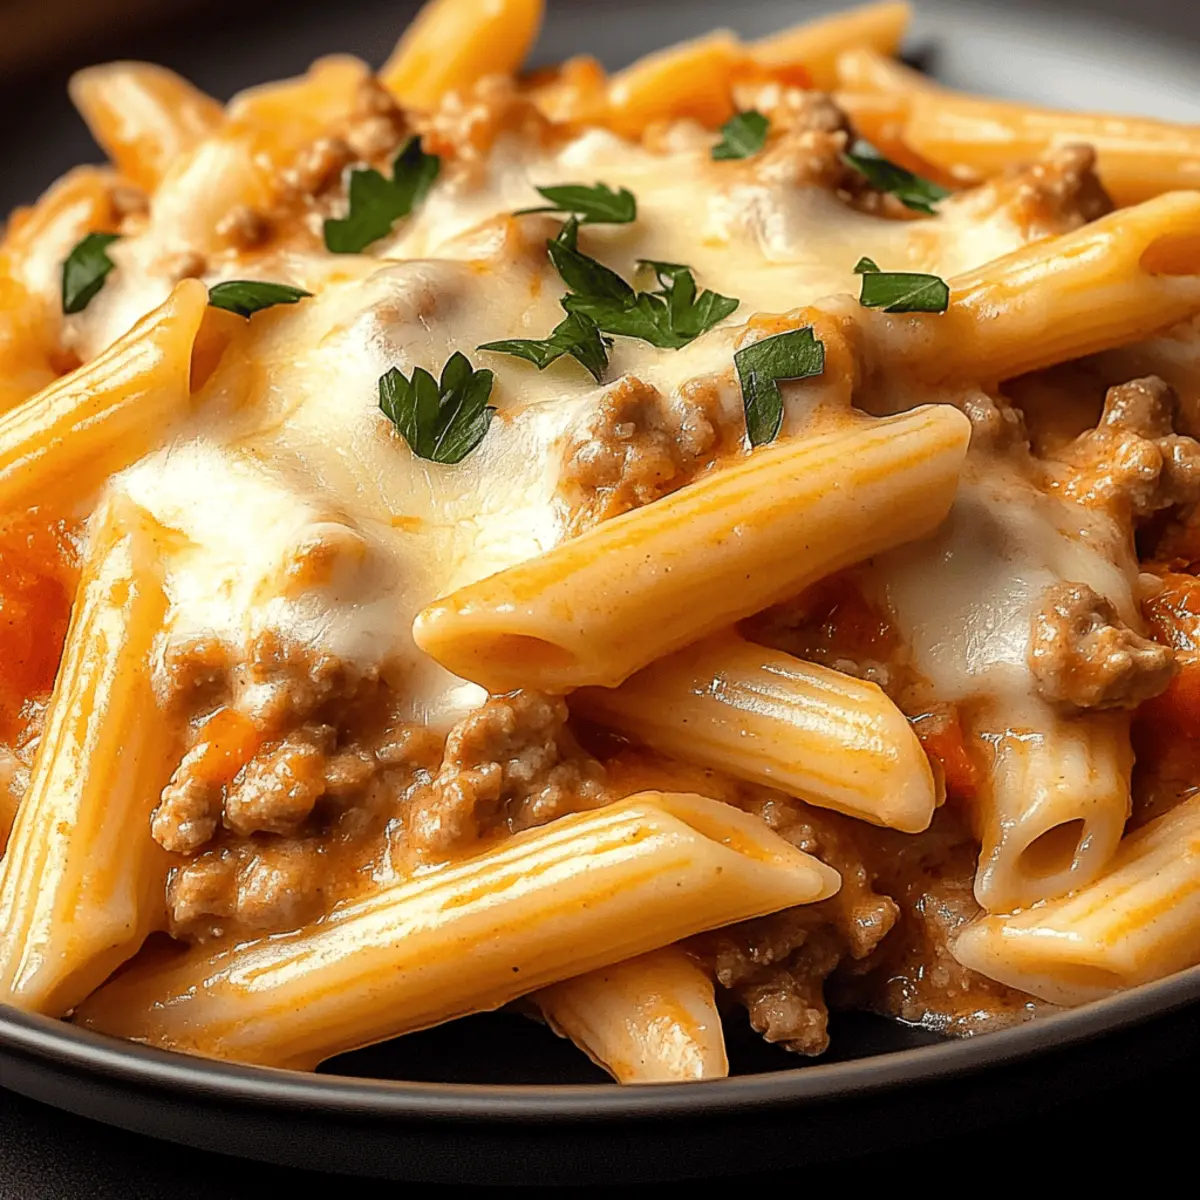
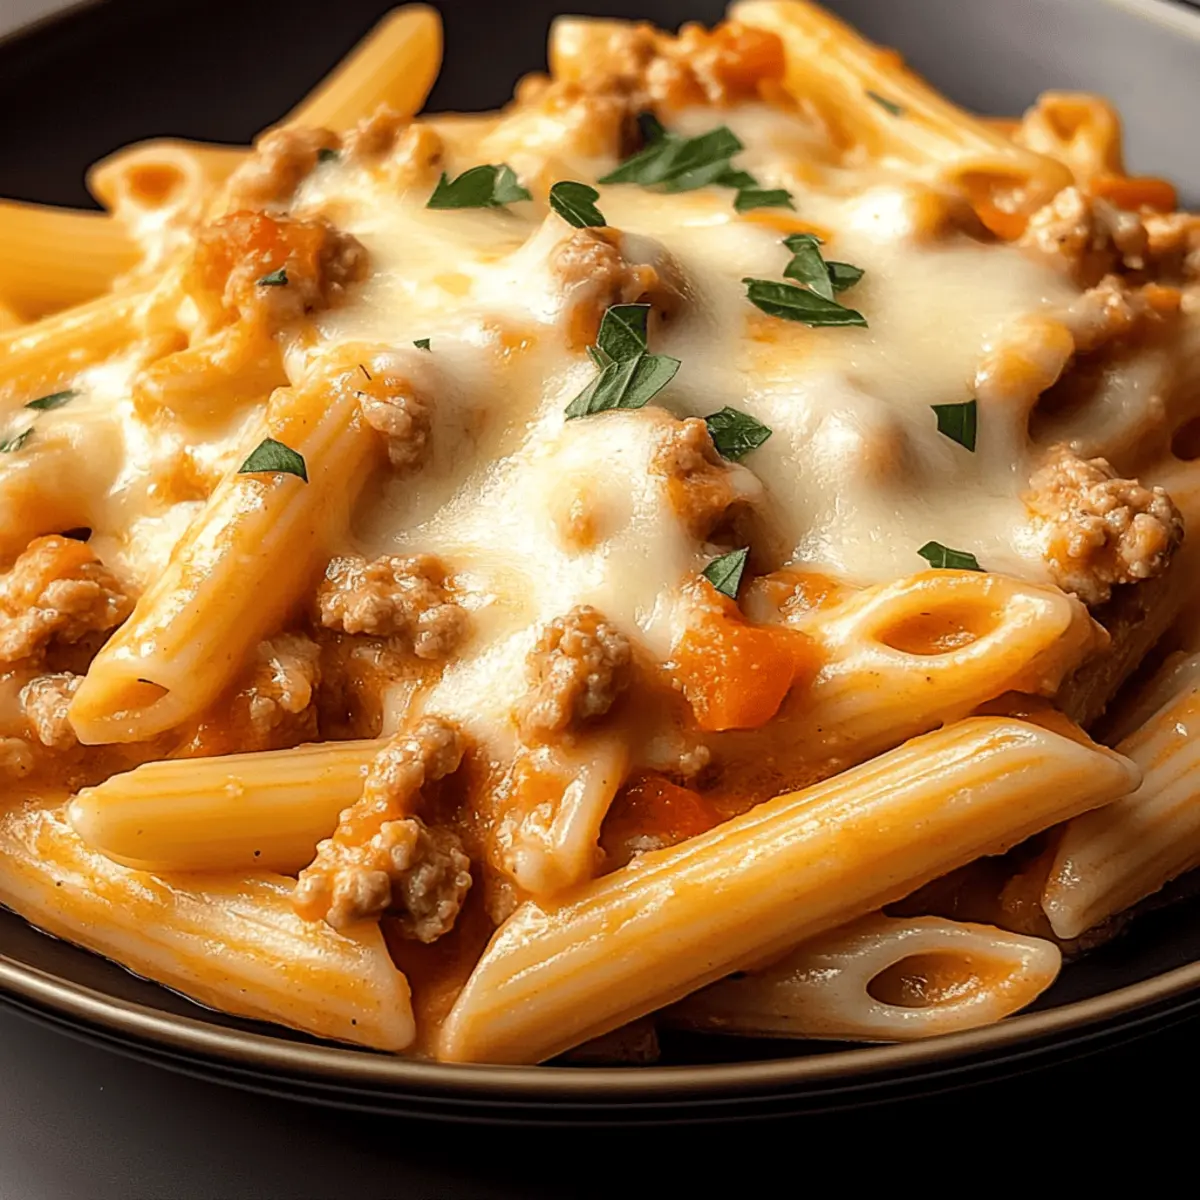
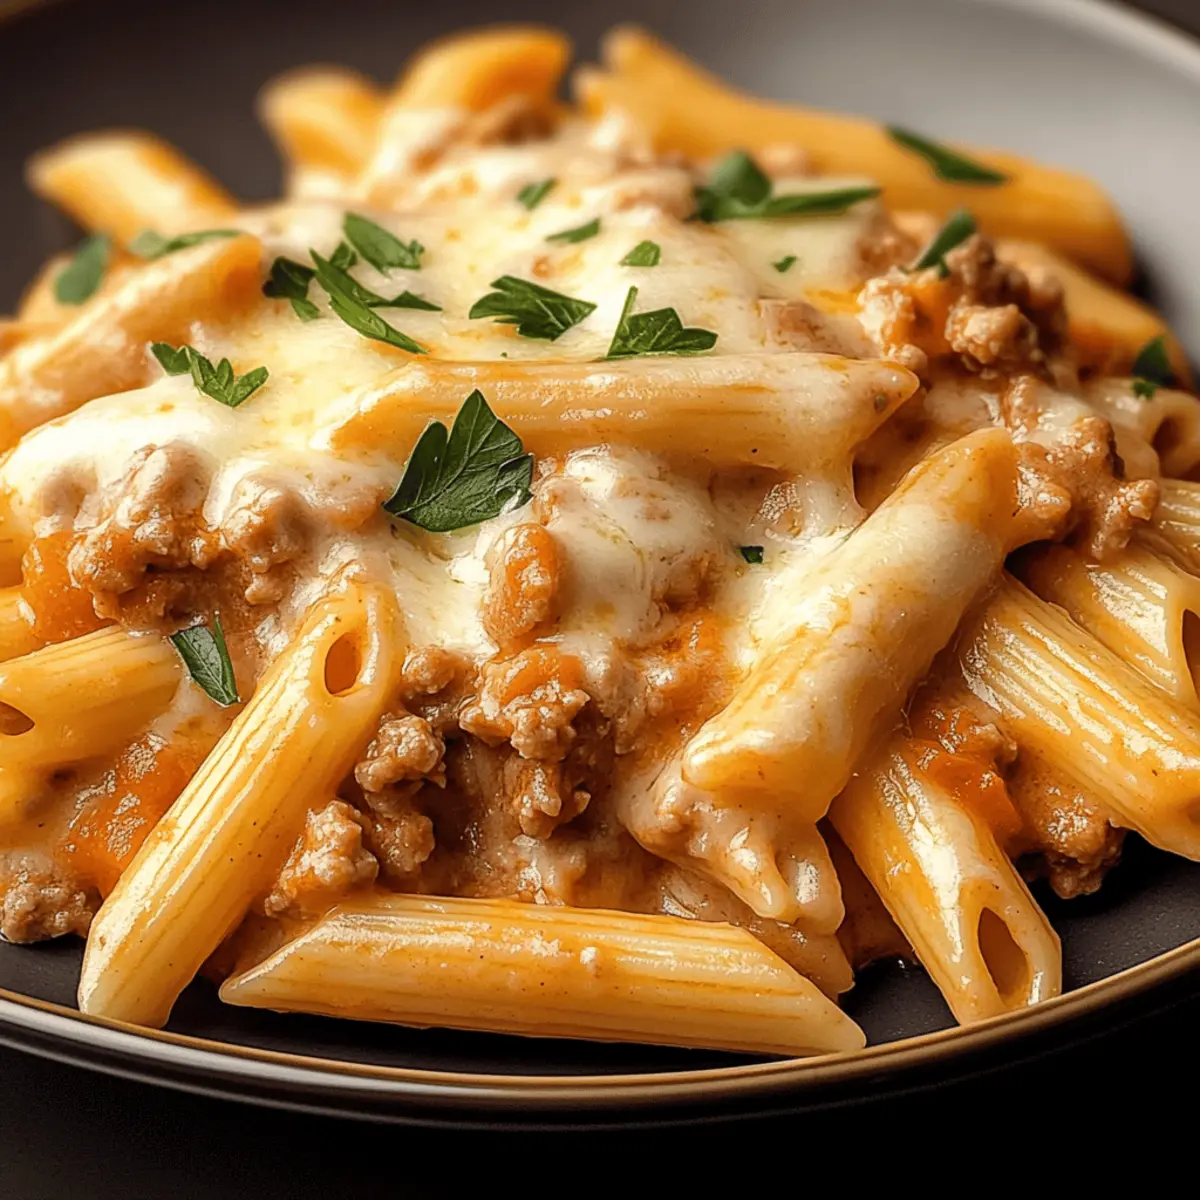
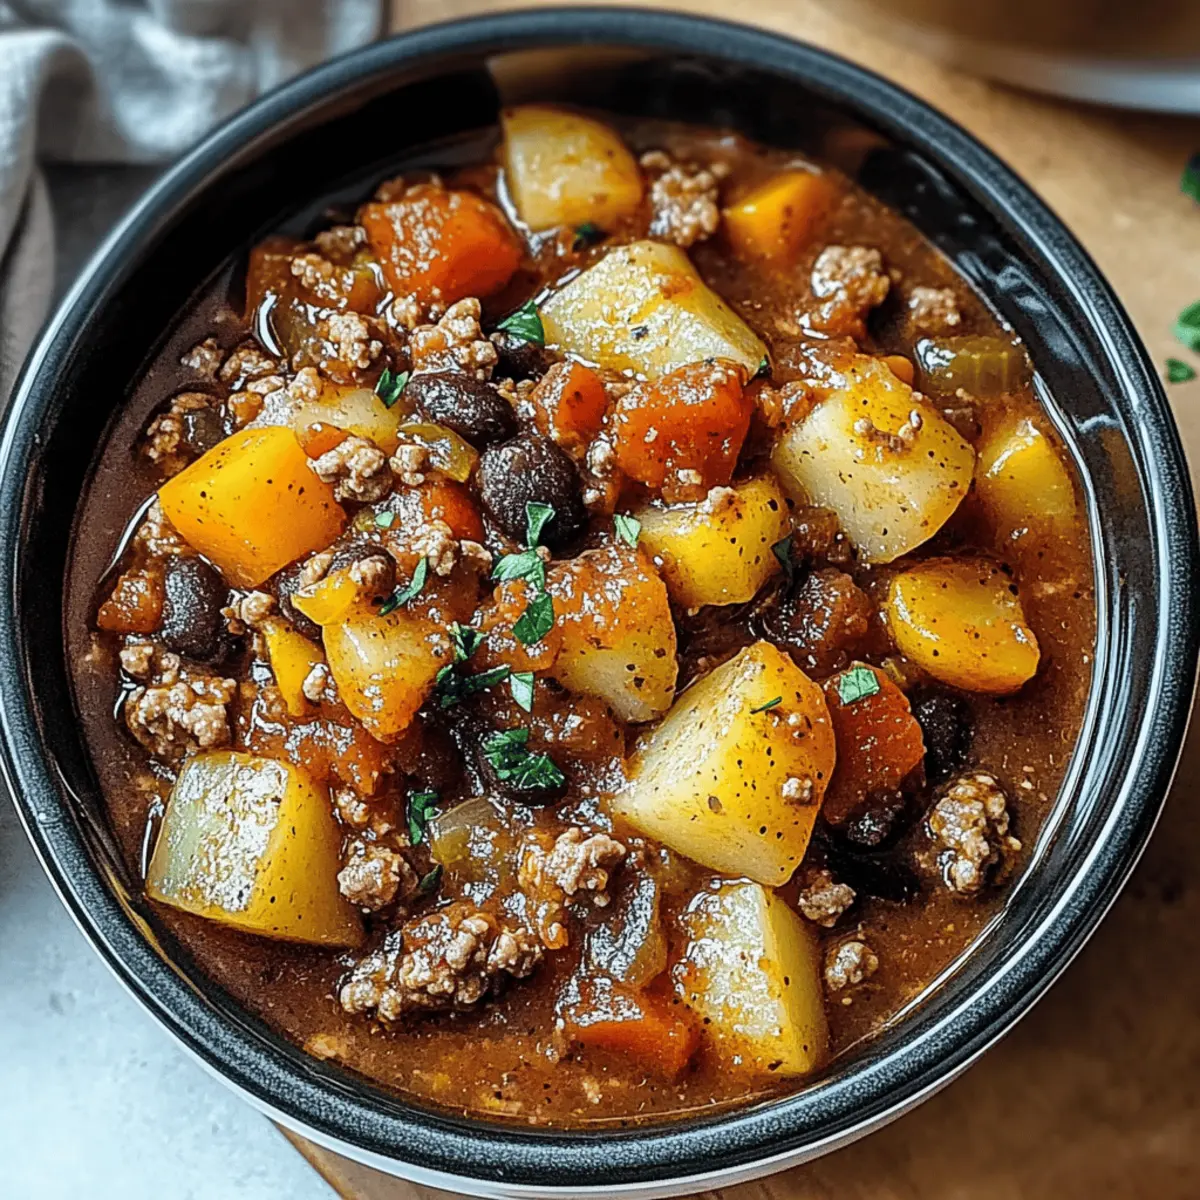
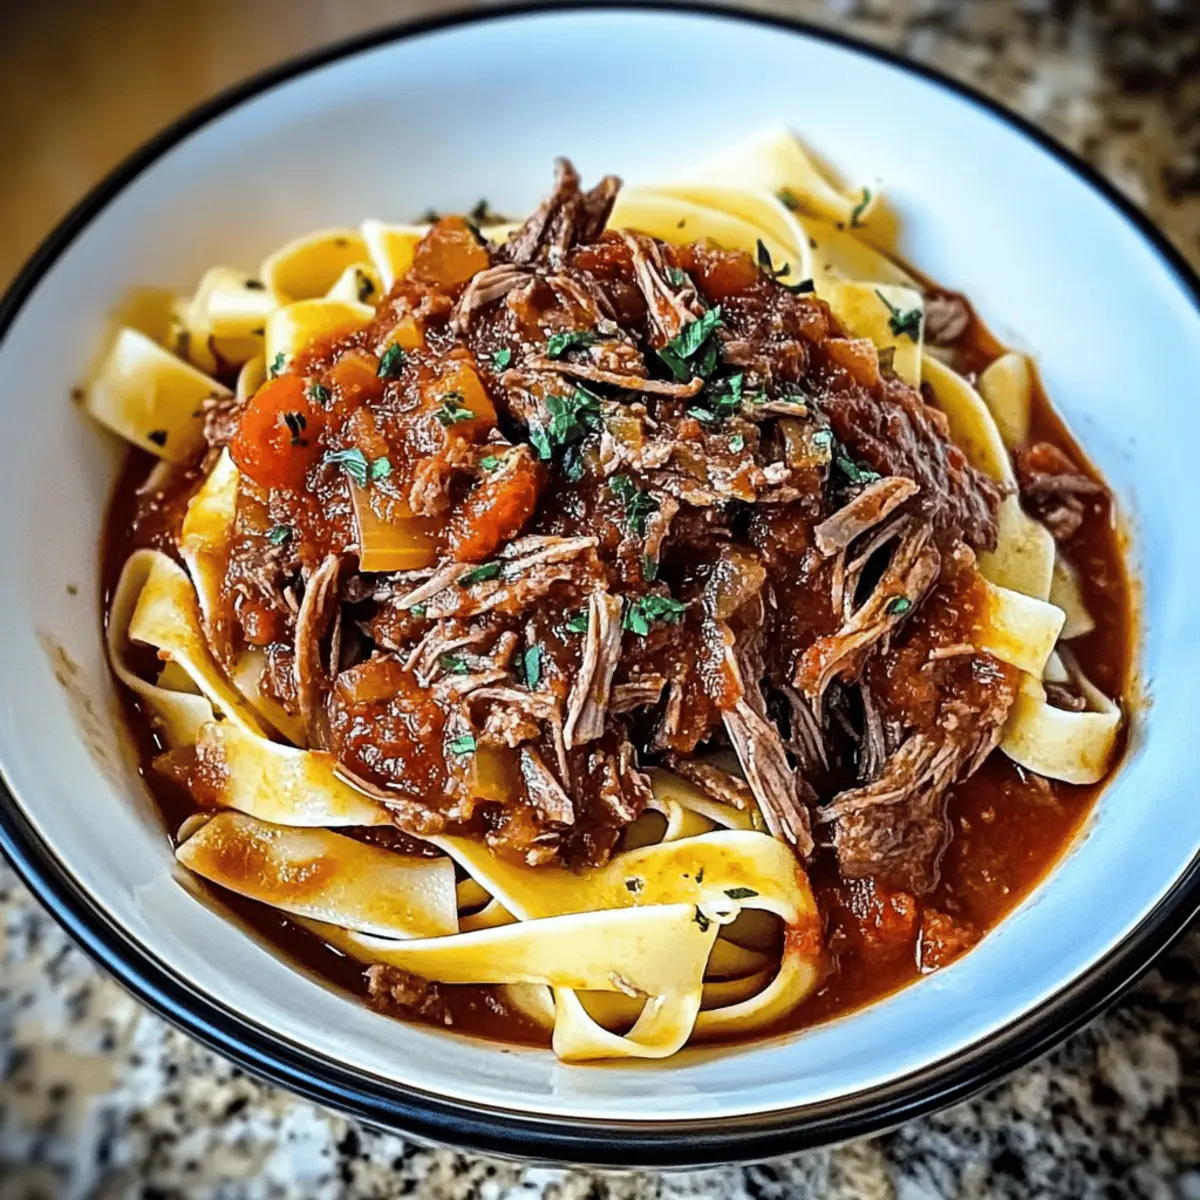
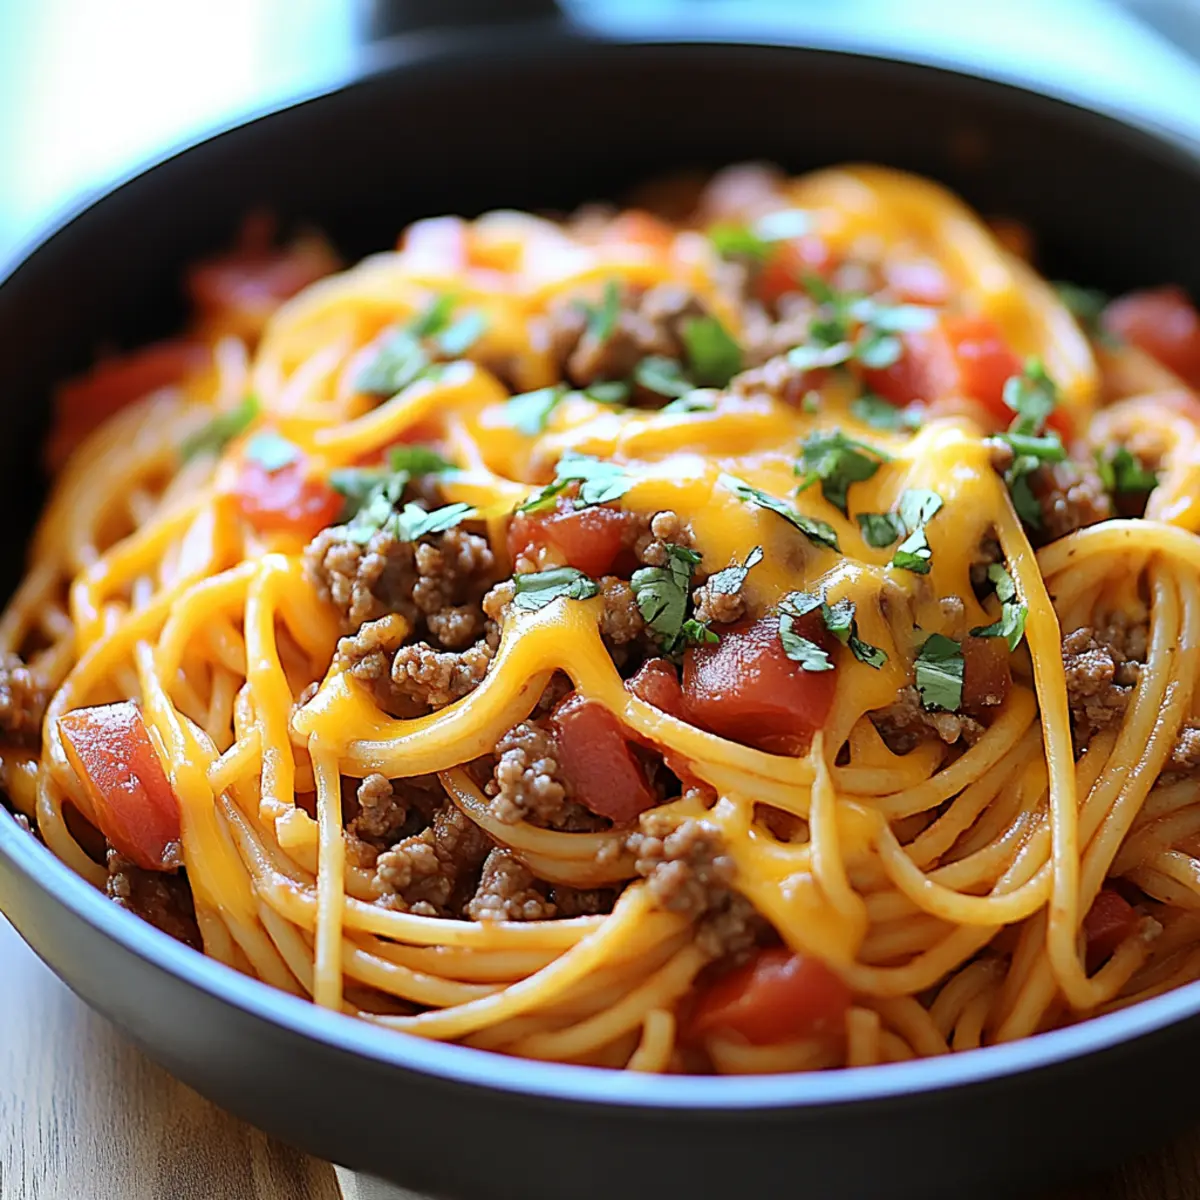
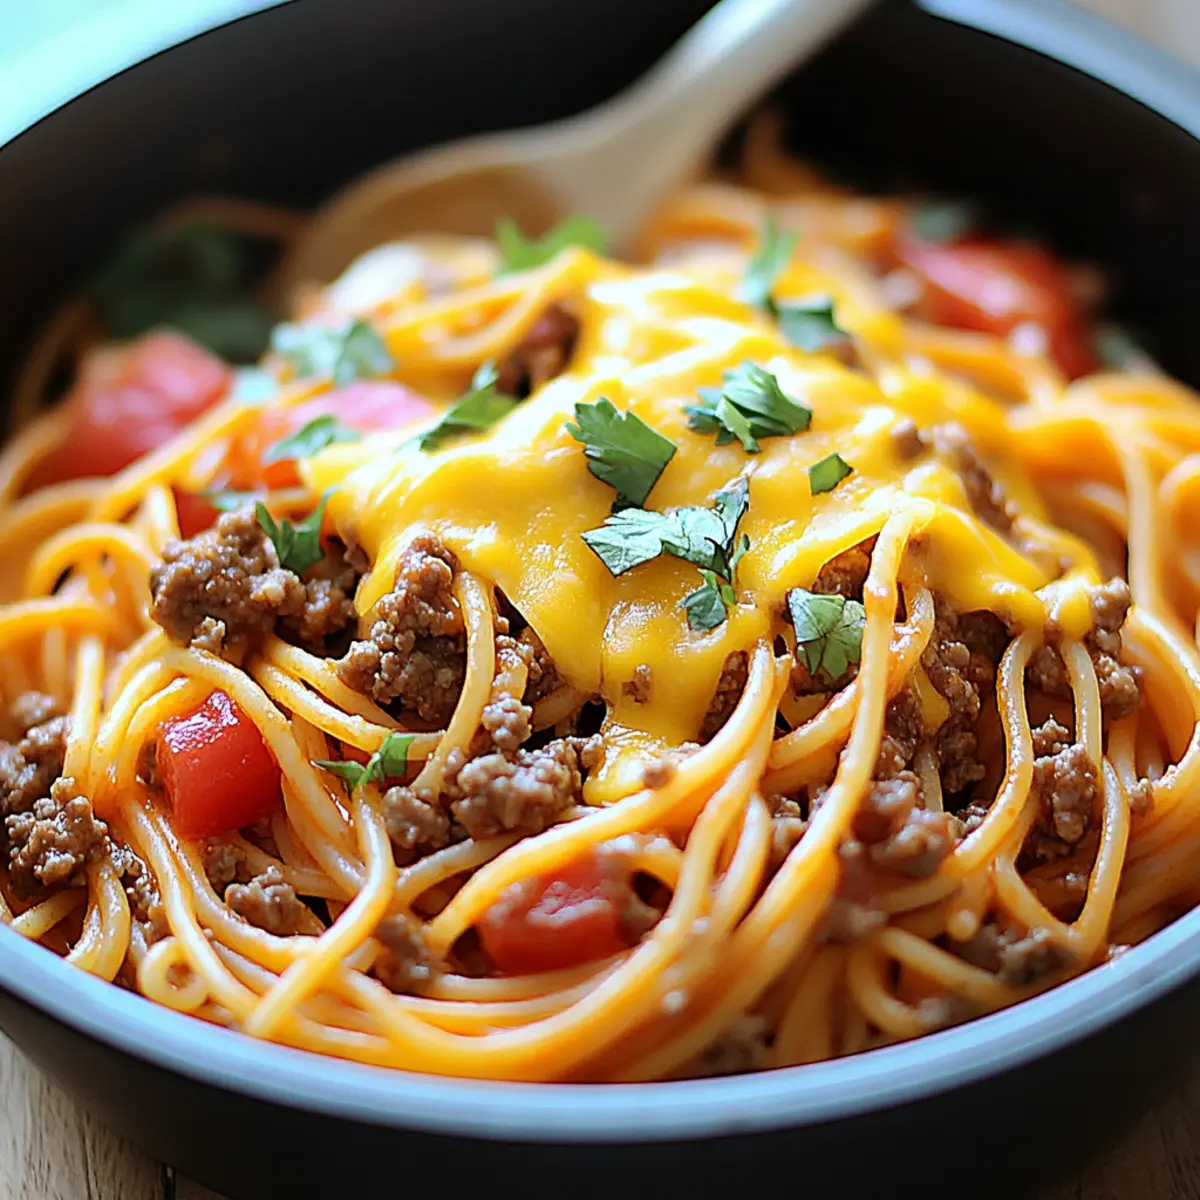
As I stirred the bubbling pot on the stove, the tantalizing aroma of spices enveloped my kitchen—it felt like a warm hug on a busy weeknight. This One-Pot Taco Spaghetti seamlessly blends the robust flavors of tacos with the comforting embrace of spaghetti, creating a dish that is not only quick to prepare but also a dream when it comes to cleanup. With just one pot needed, you’ll save time doing dishes, making it a go-to meal for those nights when you crave something delicious yet easy. Join me in whipping up this savory, satisfying dinner that’s bound to be a hit with family and friends alike. Are you ready to dive into this flavor-packed fusion?
Why is One-Pot Taco Spaghetti a Must-Try?
Simplicity at its Core: This dish is incredibly easy to whip up! With just one pot needed, cleanup becomes a breeze, allowing you to focus more on enjoying your meal.
Versatile Flavor Fusion: The combination of savory taco spices and cheesy spaghetti creates a flavor explosion that will impress even the pickiest of eaters. You can easily swap out proteins with options like turkey or make it vegetarian with black beans for added texture.
Quick and Satisfying: Ready in under 30 minutes, this recipe is a fantastic solution for busy weeknights. No need to order takeout; a hearty and delicious dinner awaits you at home!
Crowd-Pleasing Delight: Everyone loves tacos and pasta, so this dish brings together two favorites that family and friends will rave about. Try serving it with a side of tortilla chips for an extra crunch, and you’ll have a complete meal that’s sure to please!
Explore more exciting options like Taco Bell Crunchwrap or Fish Taco Bowls to keep your weeknight dinners varied and fun!
One-Pot Taco Spaghetti Ingredients
For the Main Dish
- Ground Beef – The main protein source; feel free to substitute turkey or plant-based alternatives for a lighter dinner.
- Garlic – Adds aromatic flavor; fresh garlic is recommended, but garlic powder works in a pinch.
- Onion – Boosts the overall flavor; yellow or white onions are perfect, while green onions offer a milder alternative.
- Taco Seasoning – Provides the dish's signature flavor; consider using homemade seasoning for a healthier option.
- Diced Tomatoes – Adds moisture and fresh tomato flavor; fire-roasted varieties will bring a smoky twist to the dish.
- Water – Essential for cooking the spaghetti; substitute with chicken or vegetable broth for an enhanced flavor.
- Spaghetti – The heart of the meal; gluten-free pasta can be used for a gluten-free version.
- Cheddar Cheese – Provides creaminess and richness; Monterey Jack or dairy-free cheese are great substitutes.
- Fresh Parsley – For garnish and a touch of freshness; cilantro can be used for a different flavor profile.
Step‑by‑Step Instructions for One-Pot Taco Spaghetti
Step 1: Sauté Aromatics
In a large skillet, heat a drizzle of olive oil over medium heat. Once shimmering, add minced garlic and chopped onion, cooking for 2-3 minutes until the onions are translucent and fragrant. This aromatic base not only flavors your One-Pot Taco Spaghetti but sets the stage for the delicious spices to come.
Step 2: Brown the Beef
Add the ground beef to the skillet, breaking it apart with a spatula. Cook for about 5-7 minutes, stirring occasionally, until fully browned and no longer pink. Make sure to drain any excess fat, as this will keep the dish lighter and let the taco flavors shine through in your final One-Pot Taco Spaghetti.
Step 3: Combine Ingredients
Stir in the taco seasoning, diced tomatoes, and about a cup of water, mixing everything well. Allow the flavors to marry and bubble together for about a minute. This step enriches the dish with the signature taco spices and creates a savory sauce that coats the spaghetti perfectly.
Step 4: Add the Spaghetti
Break the spaghetti in half and gently add it to the skillet, ensuring it's submerged in the liquid. Turn the heat up to high and bring the mixture to a rolling boil. The bubbling sound is a cue that your One-Pot Taco Spaghetti is on its way to becoming a mouthwatering meal!
Step 5: Simmer
Once boiling, reduce the heat to low, cover the skillet with a lid, and let it simmer for 12-15 minutes. Stir occasionally, keeping an eye on the pasta to ensure it cooks evenly and absorbs all those delicious flavors, forming a rich, thick sauce.
Step 6: Liquid Reduction
After simmering, remove the lid and continue cooking for an additional 2-3 minutes. This step allows excess liquid to evaporate, achieving that creamy consistency in your One-Pot Taco Spaghetti that everyone loves. Stir gently to prevent sticking if needed.
Step 7: Add Cheese
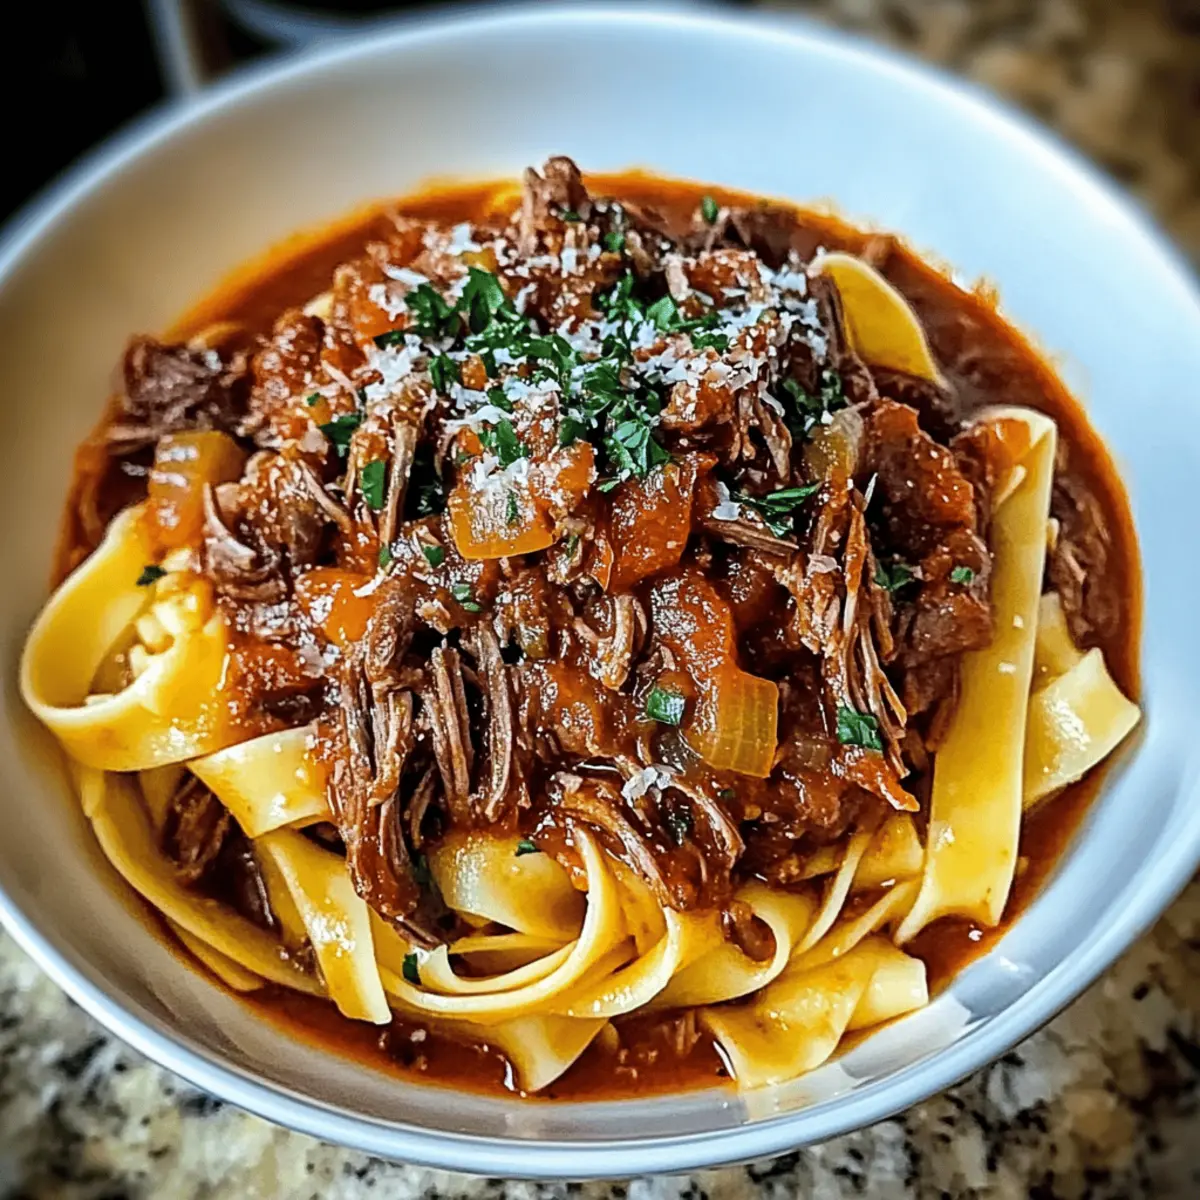
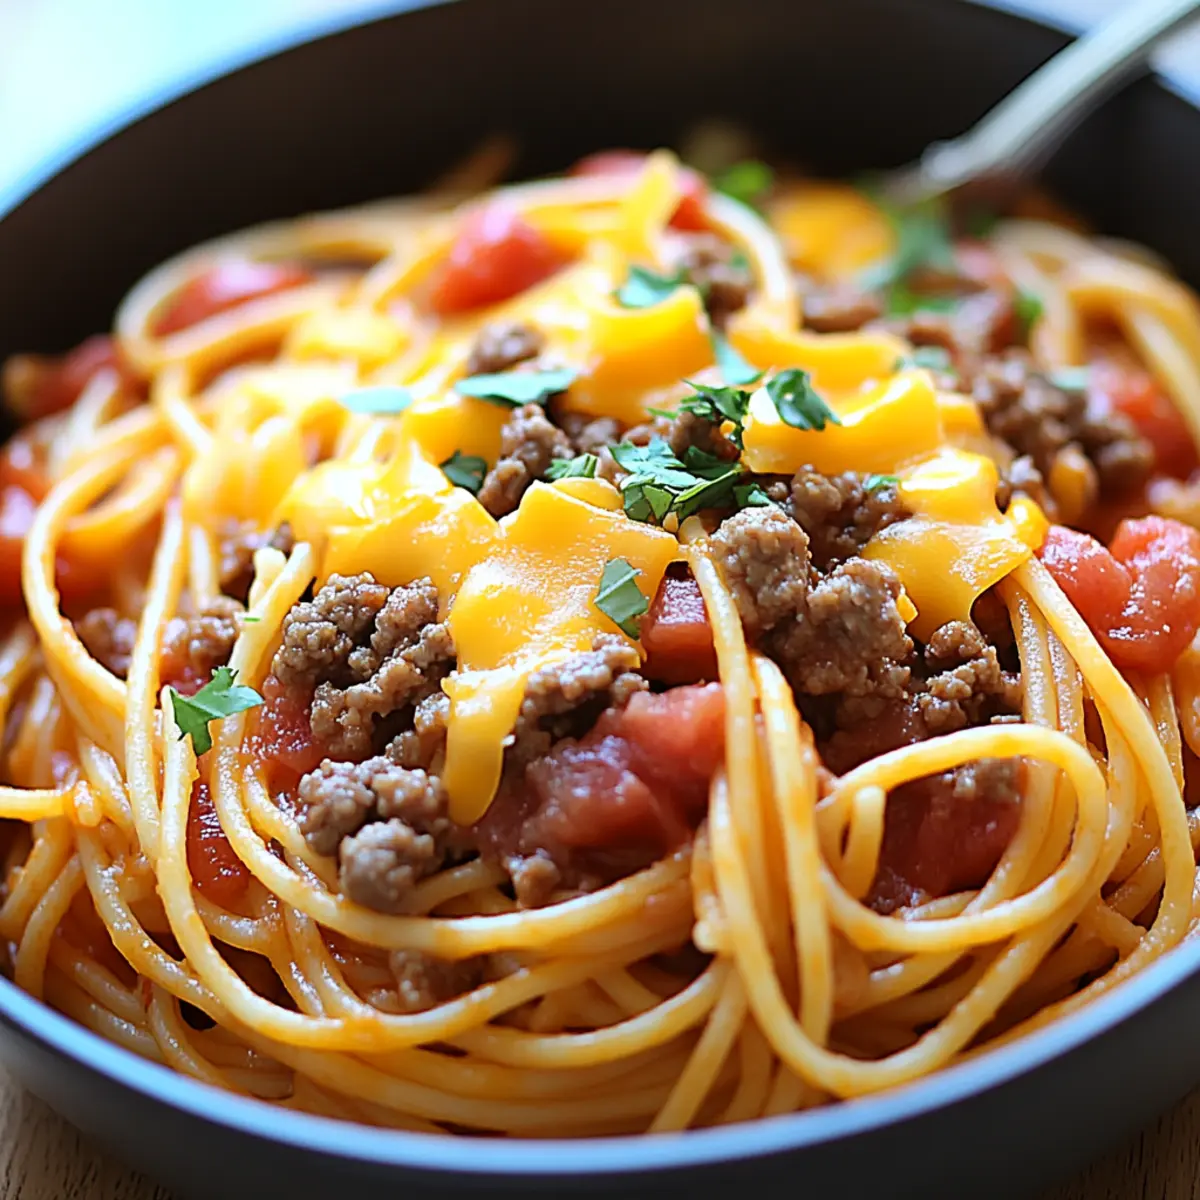
Turn off the heat and sprinkle a generous layer of shredded cheddar cheese over the top. Cover the skillet again for about 2 minutes, letting the residual heat melt the cheese perfectly into the dish. This cheesy finish makes every bite of your One-Pot Taco Spaghetti indulgent and comforting.
Step 8: Garnish and Serve
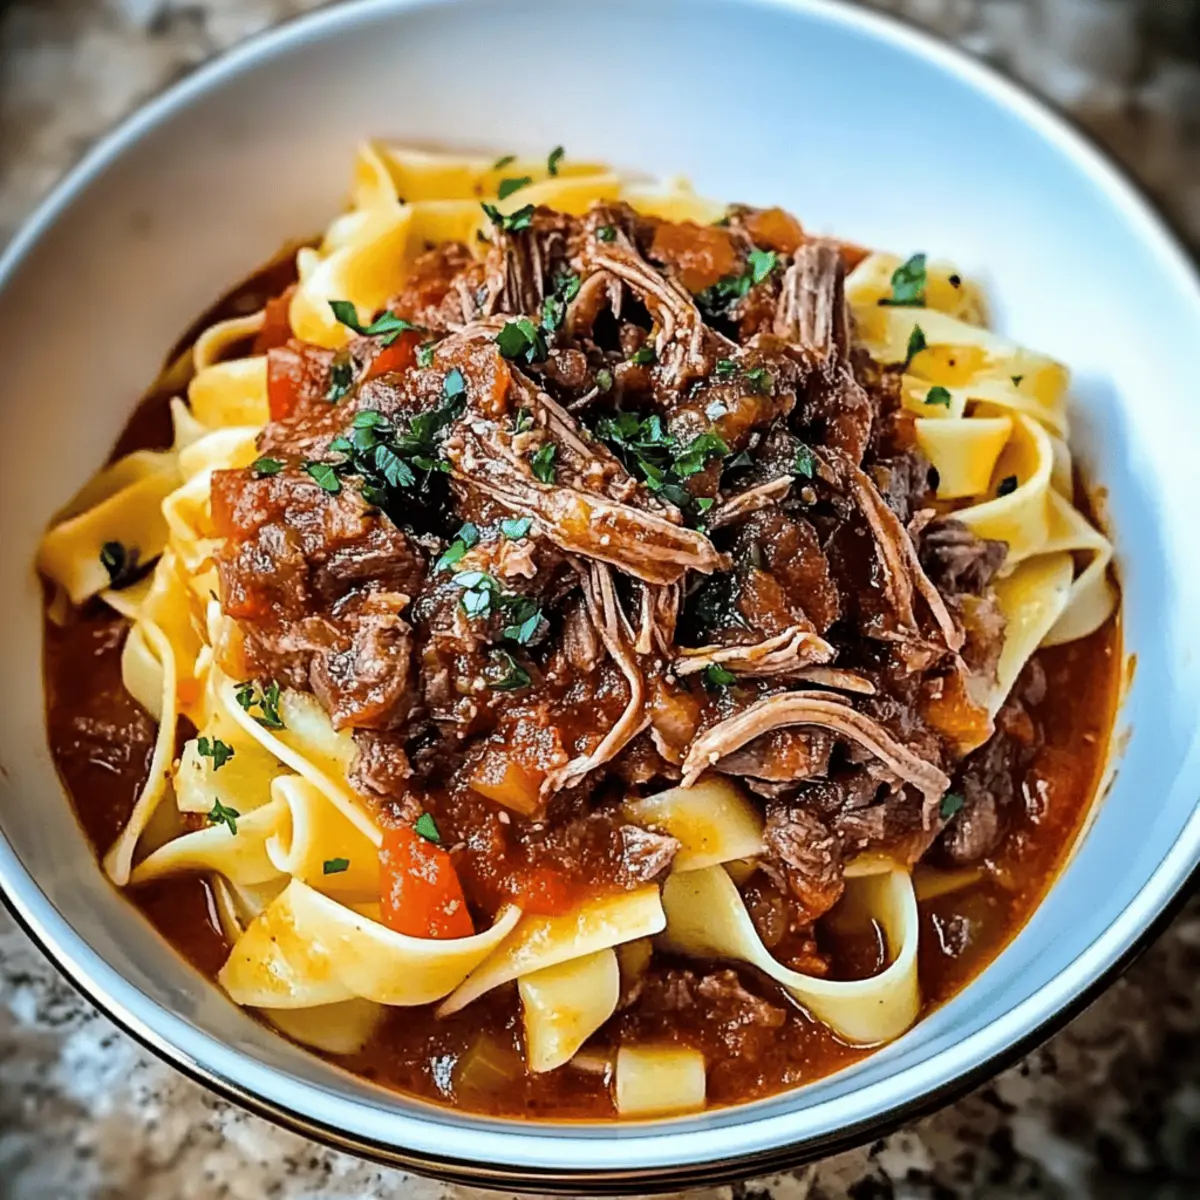
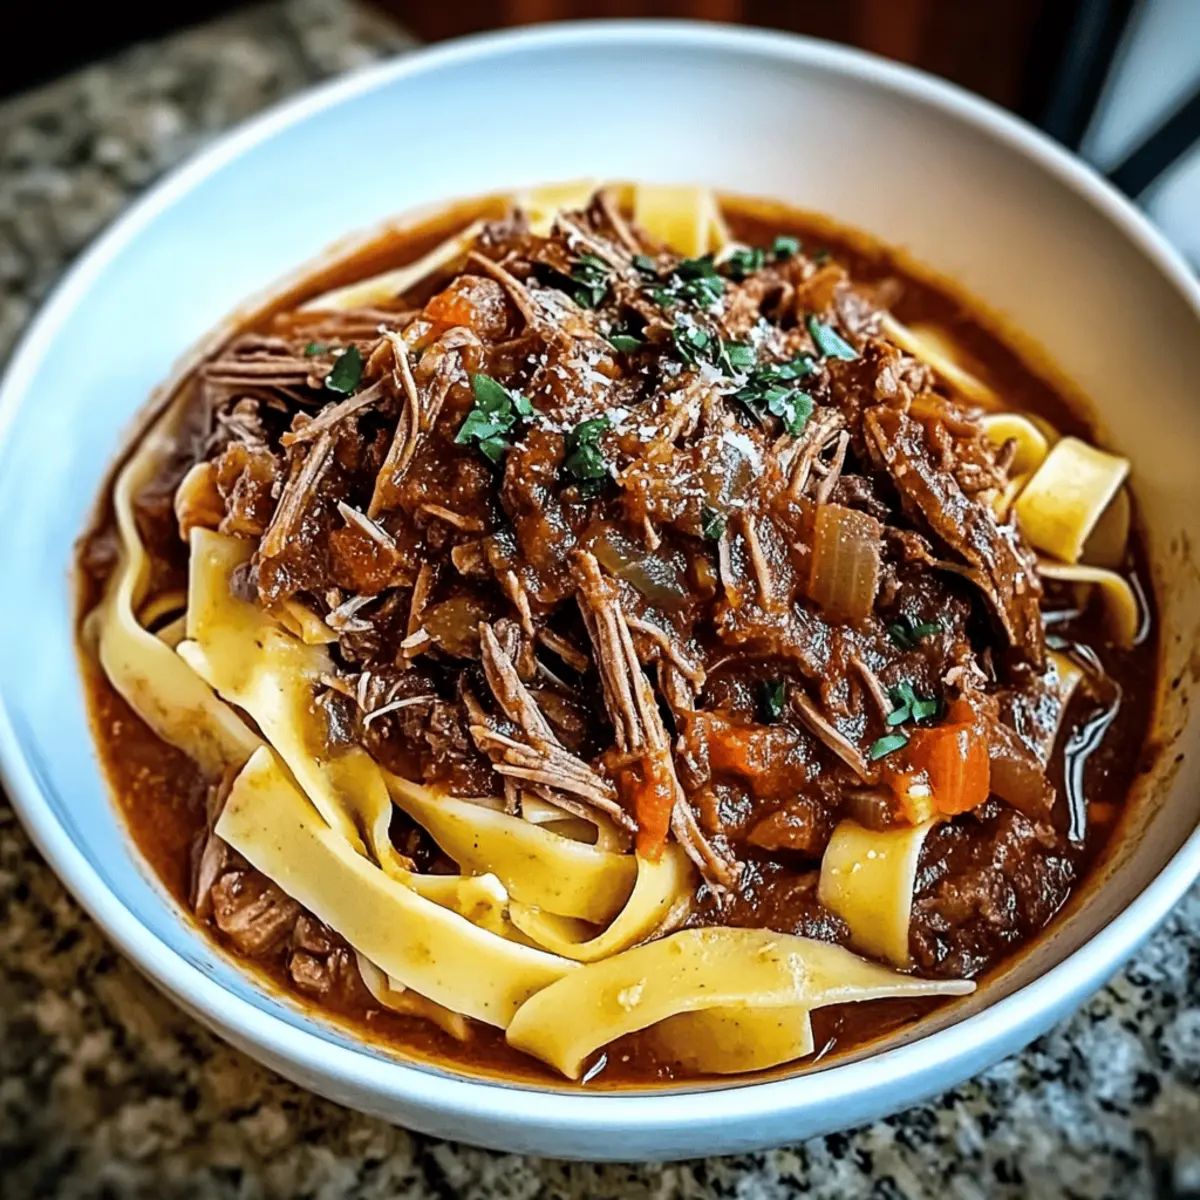
Finally, uncover the skillet and garnish the dish with freshly chopped parsley for a burst of color and flavor. Serve immediately, sharing this delightful One-Pot Taco Spaghetti with family and friends for a meal that’s bound to impress!
Make Ahead Options
These One-Pot Taco Spaghetti are perfect for meal prep enthusiasts looking to save time on busy weeknights! You can brown the ground beef and sauté the garlic and onion up to 24 hours in advance, storing them in an airtight container in the refrigerator to maintain freshness. The diced tomatoes and taco seasoning can also be mixed together and kept aside. When ready to complete the dish, simply reheat the meat mixture in a skillet, add the remaining ingredients (water and spaghetti), and follow the same simmering steps for a family-friendly meal that tastes just as delicious as if made fresh! With these prep-ahead components, you’ll whip up dinner in no time!
Expert Tips for One-Pot Taco Spaghetti
Stir Consistently: Stirring occasionally while cooking helps to prevent the spaghetti from sticking together, ensuring a pleasant texture in your One-Pot Taco Spaghetti.
Submerge Fully: Make sure the spaghetti is fully submerged in the liquid to guarantee even cooking and prevent any hard pasta parts.
Customize Spice: Feel free to adjust the amount of taco seasoning depending on how spicy you want your dish. Don’t be shy to experiment!
Use Broth for Flavor: Instead of water, using chicken or vegetable broth enhances the flavor of the pasta, giving your One-Pot Taco Spaghetti an extra depth.
Watch Liquid Levels: Keep an eye on the sauce during the simmering process; if it gets too thick, add a splash of water to maintain the desired consistency.
Serve Hot: Enjoy your One-Pot Taco Spaghetti fresh off the stove for the best taste and texture; it’s the kind of meal that tastes even better when shared warm!
What to Serve with One-Pot Taco Spaghetti?
A delightful meal deserves delightful companions to create a memorable dining experience. Let’s explore some tasty pairings that enhance the flavors of your One-Pot Taco Spaghetti.
-
Crunchy Tortilla Chips:
These chips add a satisfying crunch that contrasts perfectly with the creamy texture of the spaghetti, turning each bite into a fiesta. -
Fresh Garden Salad:
A simple salad with romaine lettuce, cherry tomatoes, and a light vinaigrette brings freshness and a vibrant color to your meal. The crispness complements the hearty pasta beautifully. -
Spicy Guacamole:
Creamy guacamole provides a rich, tangy flavor that enhances the taco notes in the spaghetti. Its smooth texture makes for an irresistible dip and a perfect match. -
Mexican Street Corn (Elote):
Grilled corn with lime, cheese, and spices adds a sweet and savory twist to the meal, echoing the taco flavors while introducing a different texture. -
Creamy Cilantro Lime Rice:
A side of cilantro lime rice brings a refreshing zest to your plate, giving a wonderful contrast to the bold tastes of the spaghetti without overpowering them. -
Margaritas or Sparkling Water with Lime:
Refreshing drinks like a zesty margarita or bubbly sparkling water with lime balance the meal's richness and add a festive touch.
Elevate your dining experience with these complementary sides, making your One-Pot Taco Spaghetti dinner an occasion to remember!
One-Pot Taco Spaghetti Variations
Feel free to make this One-Pot Taco Spaghetti your own and let your creativity shine in the kitchen!
-
Turkey Swap: Substitute ground beef with ground turkey for a leaner meal that still delivers on flavor. This twist keeps it hearty without sacrificing taste.
-
Veggie Power: Add black beans or corn to amp up the nutrition and texture. You'll enjoy a delightful pop of flavor and added fiber in every bite!
-
Cheese Variations: Use pepper jack cheese for a zesty kick, or opt for dairy-free cheese to cater to dietary preferences. Each cheese brings its own unique character to the dish.
-
Broth Boost: Replace water with chicken or vegetable broth to enhance the overall flavor profile. This swap adds richness, making every spoonful even more comforting.
-
Pasta Alternatives: Try using gluten-free pasta for a gluten-free option, or even zoodles for a low-carb twist! The dish stays delicious while accommodating various diets.
-
Spicy Kick: Add jalapeños or crushed red pepper for a heat upgrade. For those who love a fiery taste, this variation will awaken the senses!
-
Saucy Additions: Stir in some salsa or green enchilada sauce for a flavor-packed surprise. This change will create lovely depth in your One-Pot Taco Spaghetti.
-
Serving Suggestions: Elevate your meal by serving it with a side of tortilla chips or a fresh garden salad. This enhances both the crunch and nutritional aspects of your dinner.
For more delightful taco twists, don’t miss trying out these options: Taco Spaghetti Cheesy and Shrimp Tacos Zesty. Enjoy the journey of flavors!
How to Store and Freeze One-Pot Taco Spaghetti
Fridge: Store leftovers in an airtight container for up to 3 days. Ensure it's completely cool before sealing to prevent condensation.
Freezer: For longer storage, freeze your One-Pot Taco Spaghetti in a freezer-safe container for up to 3 months. Portion it into individual servings for easy reheating later.
Reheating: When ready to enjoy, reheat on the stovetop over low heat with a splash of water to avoid drying out. Stir occasionally until heated through, then serve!
Reserving Toppings: If possible, store fresh garnishes like parsley separately to keep their freshness intact until serving.
One-Pot Taco Spaghetti Recipe FAQs
What type of meat is best for One-Pot Taco Spaghetti?
I typically use ground beef for this dish, as it offers great flavor and texture. However, you can absolutely substitute it with ground turkey or even plant-based alternatives for a lighter or vegetarian version. Both options work wonderfully!
How can I store leftover One-Pot Taco Spaghetti?
Leftovers should be placed in an airtight container and stored in the refrigerator for up to 3 days. Make sure the spaghetti has cooled completely before sealing to maintain its texture. Reheat it gently on the stovetop with a splash of water to keep it from drying out.
Can I freeze One-Pot Taco Spaghetti?
Definitely! To freeze, portion the spaghetti into freezer-safe containers and store it for up to 3 months. When you're ready to enjoy it, thaw it in the fridge overnight and reheat on low heat on the stovetop, adding a bit of water to keep it moist.
What if my spaghetti is sticking together during cooking?
If you find that the spaghetti is sticking, stir it more frequently while it's simmering. This will help separate the strands and prevent clumping. Also, ensure the spaghetti is fully submerged in the liquid for even cooking; if necessary, add a little more water or broth.
Are there any dietary considerations I should keep in mind?
Absolutely! This dish can be tailored for various dietary needs. For gluten-free diets, feel free to substitute regular spaghetti with gluten-free pasta. Additionally, if you have dairy allergies, consider using a dairy-free cheese alternative for a similar creamy finish.
How do I know if my taco seasoning is still good?
Check your taco seasoning by smelling and tasting a small amount. If it has lost its aromatic scent or tastes bland, it's time to replace it. For the best flavor, I recommend making your own seasoning using spices like chili powder, cumin, and garlic powder; it's fresher and healthier!

One-Pot Taco Spaghetti: Easy Comfort Food for Busy Nights
Ingredients
Equipment
Method
- Sauté garlic and onion in olive oil for 2-3 minutes until onions are translucent.
- Add ground beef to the skillet; cook for about 5-7 minutes until browned, draining excess fat.
- Stir in taco seasoning, diced tomatoes, and water; simmer for a minute.
- Add spaghetti to the skillet, bring to a boil.
- Reduce heat, cover, and simmer for 12-15 minutes.
- Remove lid and cook for another 2-3 minutes to reduce liquid.
- Sprinkle cheddar cheese on top, cover for 2 minutes to melt.
- Garnish with parsley and serve.