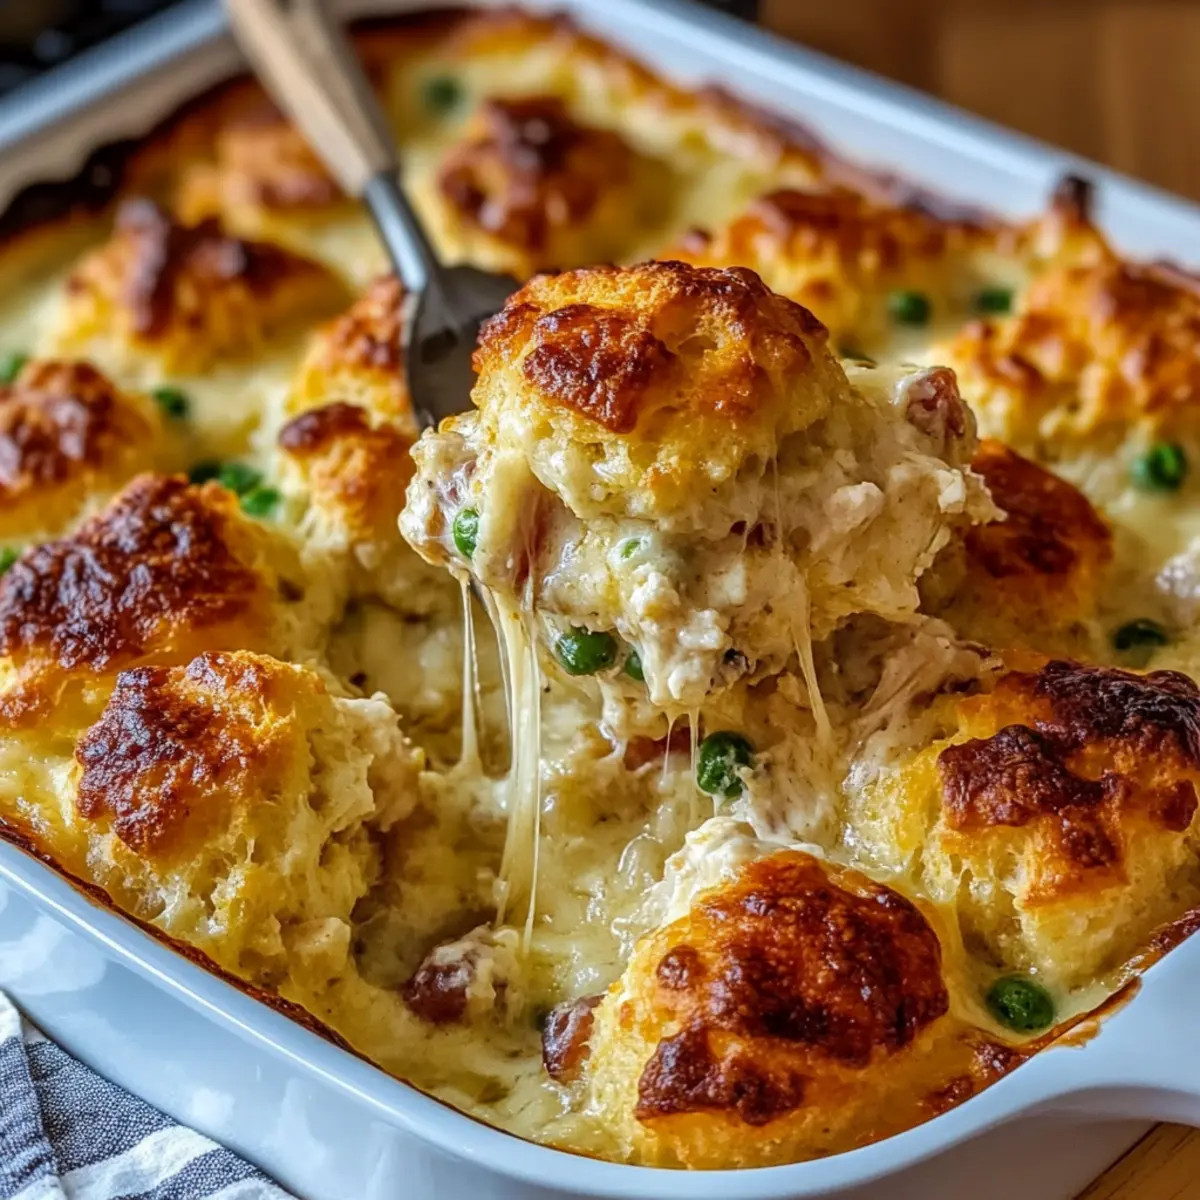
“Did you hear what the kids said at dinner last night? They called this Chicken Bubble Biscuit Bake Casserole the ‘ultimate cozy meal!’” I couldn’t help but smile as I watched their eyes light up while digging into this warm, comforting dish. With just 10 minutes of hands-on time, this casserole comes together swiftly, making it a go-to for busy weeknights. What I love most is its incredible adaptability—whether you're craving a cheesy ranch version, a spicy buffalo twist, or a veggie-packed option, everyone at the table can build their perfect bite. It’s not just a meal; it’s a heartwarming experience that even the pickiest eaters will appreciate. Ready to see how easy it is to whip up this family-friendly favorite? Let's dive right in!
Why is this casserole a crowd-pleaser?
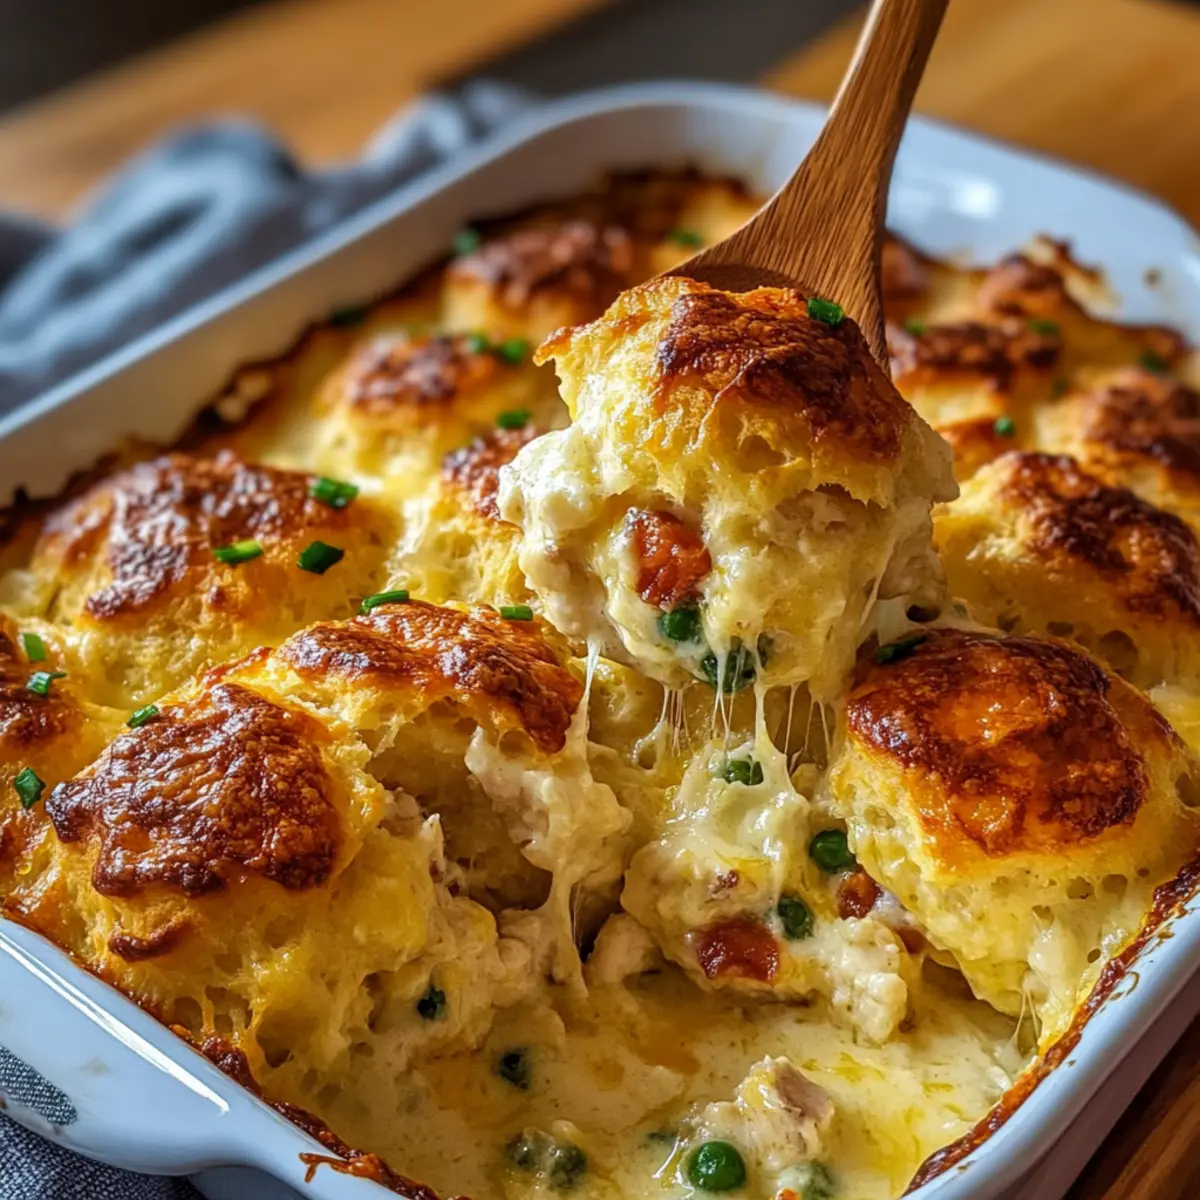
Comforting and Hearty: This Chicken Bubble Biscuit Bake Casserole wraps everyone in warmth with its creamy sauce and fluffy biscuits. Quick Preparation: Just 10 minutes of active time means you can spend more moments enjoying dinner with your loved ones. Versatile Options: With variations like a cheesy ranch or a buffalo chicken twist, there’s something for everyone. Kid-Approved: Even the pickiest eaters will ask for seconds! Easily Made Ahead: Prep it the night before for a hassle-free family dinner. It’s guaranteed to become a favorite, just like our Honey Garlic Chicken Thighs or Crock Pot Chicken.
Chicken Bubble Biscuit Bake Casserole Ingredients
• Gather your essentials for this comforting meal:
For the Casserole
- Cooked Chicken – Provides protein and essential flavor; shredded rotisserie chicken works best for time-saving.
- Cream of Chicken Soup – Forms the creamy base; you can try cream of mushroom or celery for a flavor twist.
- Sour Cream – Adds tanginess and creaminess; substitute Greek yogurt for a lighter version.
- Milk – Enhances the creamy texture; any milk or non-dairy alternative will do.
- Frozen Mixed Vegetables – Adds nutrition and color; peas, carrots, corn, and beans are all excellent choices.
- Garlic Powder – For added flavor.
- Onion Powder – Enhances the overall taste profile.
- Salt & Pepper – Essential for seasoning.
For the Biscuits
- Refrigerated Biscuit Dough – The star of the dish, creating pillowy textures; cut each biscuit into quarters before baking.
- Shredded Cheese – Provides gooeyness and richness; cheddar is classic, but try a blend of mozzarella and Monterey Jack for extra flavor.
- Melted Butter – Optional for brushing on top for added richness.
This Chicken Bubble Biscuit Bake Casserole is sure to delight your family with its warm embrace of flavors and textures!
Step‑by‑Step Instructions for Chicken Bubble Biscuit Bake Casserole
Step 1: Preheat the Oven
Start by preheating your oven to 350°F (175°C). While the oven warms up, take a moment to grease a 9x13-inch baking dish with your choice of cooking spray or butter. This will ensure your Chicken Bubble Biscuit Bake Casserole doesn’t stick and comes out perfectly golden.
Step 2: Combine the Ingredients
In a large mixing bowl, combine the cooked chicken, cream of chicken soup, sour cream, and milk. Stir in the frozen mixed vegetables, garlic powder, onion powder, salt, and pepper until everything is well-blended and smooth. The creamy mixture should look inviting and enticing, setting the foundation for your casserole.
Step 3: Add Biscuit Pieces
Next, take the quartered biscuit pieces and gently fold them into the creamy chicken mixture. Ensure that each biscuit piece is coated thoroughly, as this will help them soak up all the flavorful juices while baking. This harmonious blend is key to achieving the fluffy texture that makes the Chicken Bubble Biscuit Bake Casserole so delightful.
Step 4: Transfer to Baking Dish
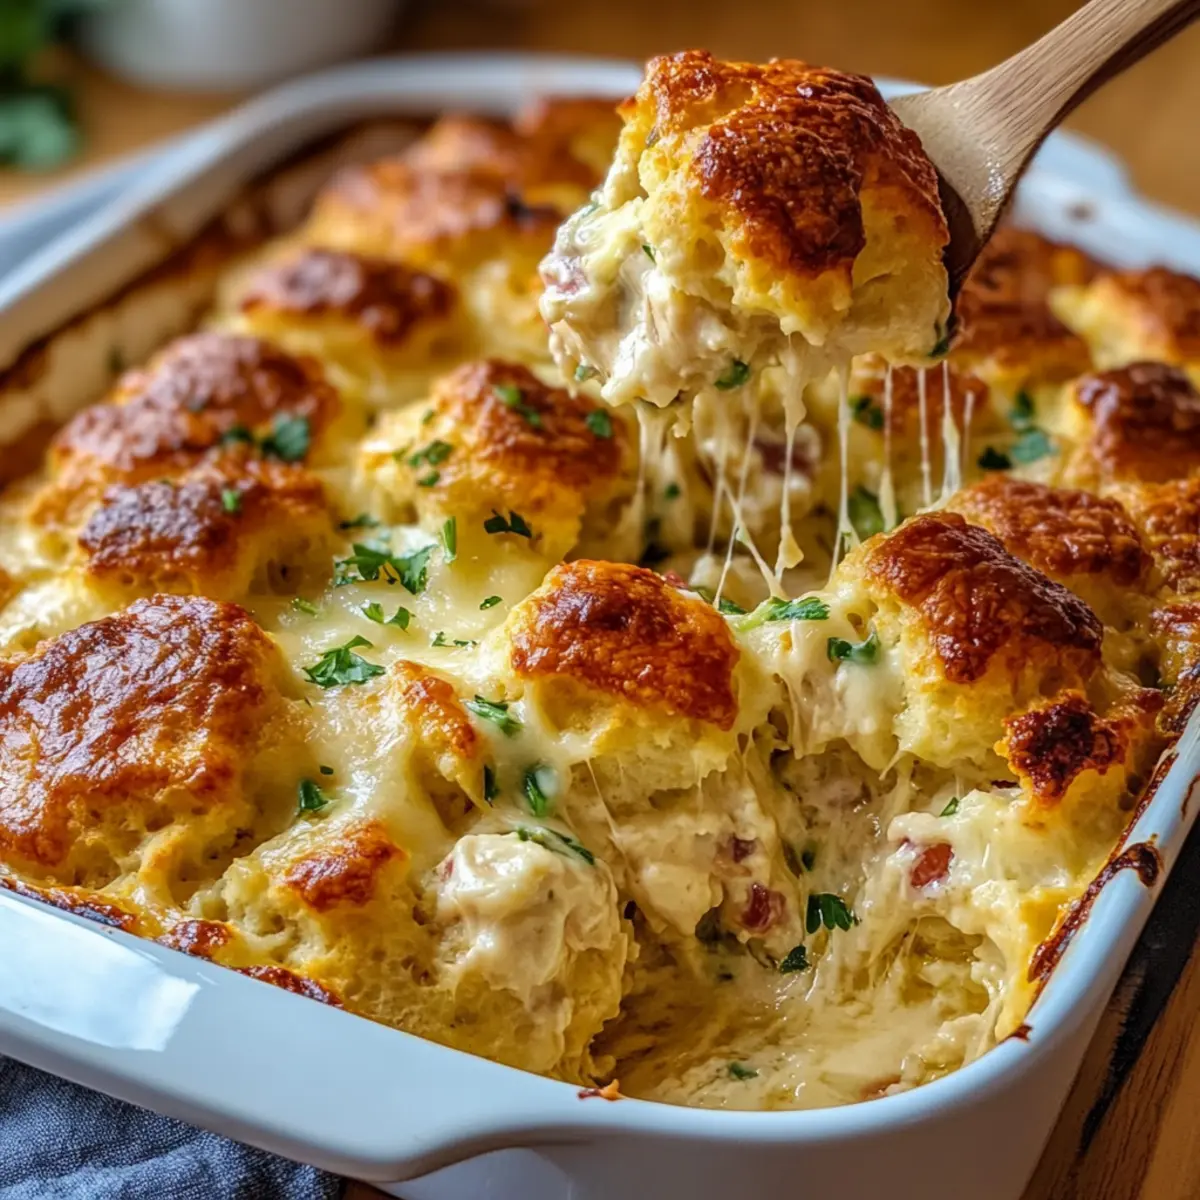
Carefully transfer the mixture into the prepared baking dish, spreading it out evenly with a spatula. After leveling the top, sprinkle a generous amount of shredded cheese over the casserole. This cheesy layer will melt into the dish, adding a delicious gooeyness that enhances the overall comfort of your meal.
Step 5: Bake the Casserole
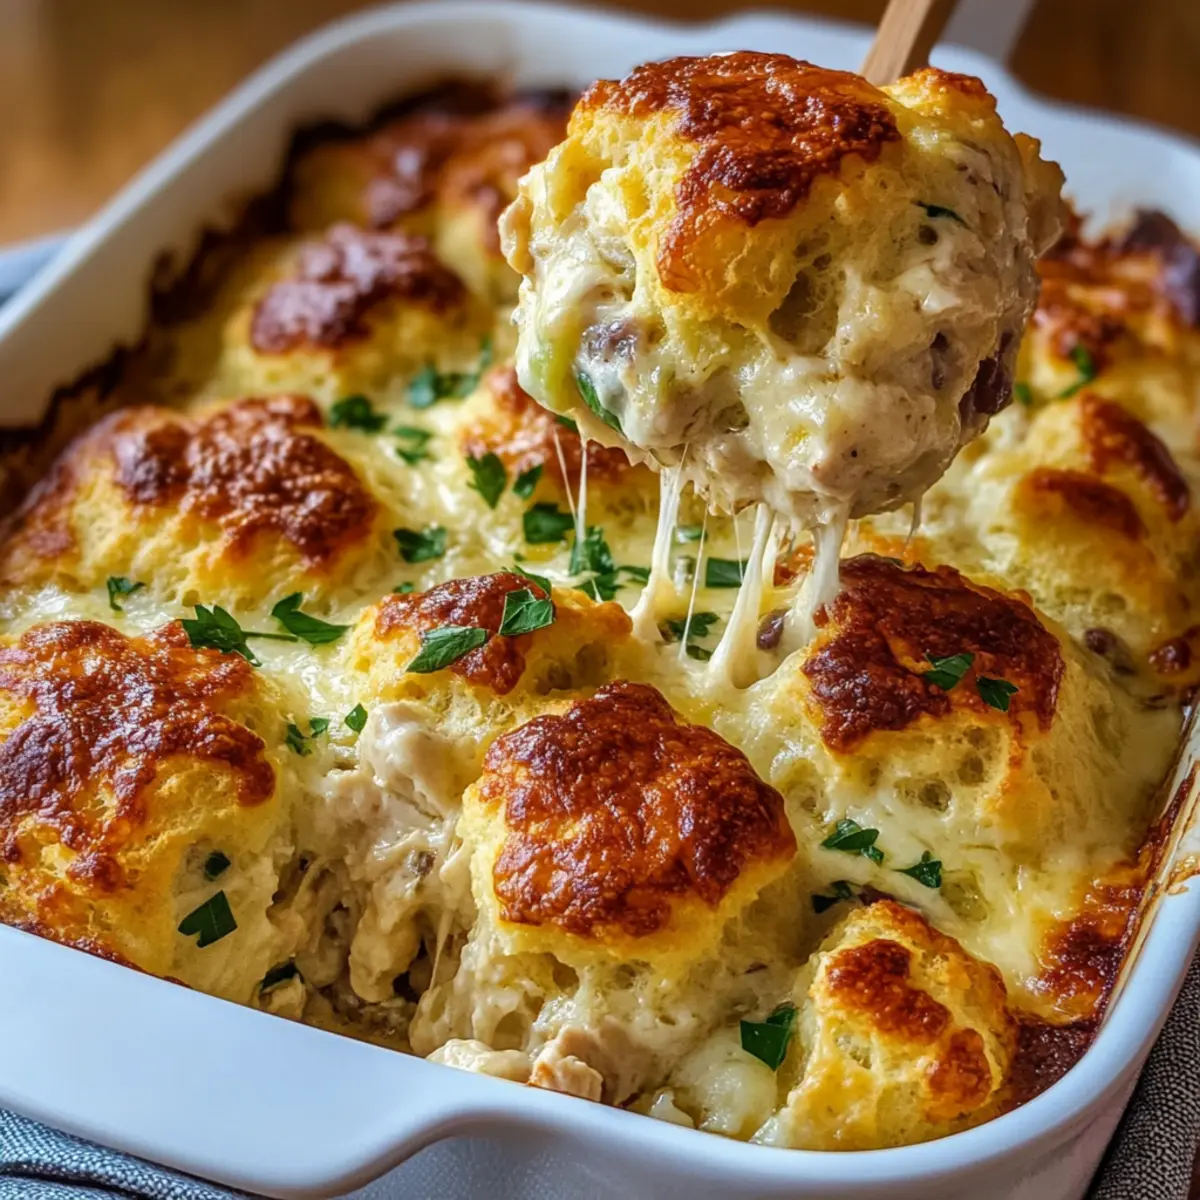
Cover your baking dish with aluminum foil and place it in the preheated oven. Bake for 20 minutes, allowing the flavors to meld together beautifully. After this initial time, remove the foil and continue baking for an additional 10-15 minutes. The casserole will be ready when the biscuits are puffed, golden brown, and cooked through.
Step 6: Serve and Enjoy
Once out of the oven, let your Chicken Bubble Biscuit Bake Casserole cool for a few minutes. If desired, brush the tops with melted butter for an added richness. Serve warm, and watch as your family digs into this comforting dish that’s sure to become a favorite at the dinner table!
Make Ahead Options
This Chicken Bubble Biscuit Bake Casserole is a perfect choice for those looking to save time during busy weeknights! You can prepare the entire casserole up to 24 hours in advance by assembling it in the baking dish, covering it tightly with plastic wrap, and storing it in the refrigerator. This ensures the flavors meld beautifully while maintaining freshness. If you want to prepare it even further ahead, you can freeze it for up to 2 months. Just be sure to bake it straight from frozen, adding an extra 10-15 minutes to the cooking time. When you’re ready to serve, simply uncover and bake as instructed for that delightful, comforting meal your family loves!
Chicken Bubble Biscuit Bake Casserole Variations
Feel free to explore delightful twists on this casserole that will make your family's taste buds dance with joy!
-
Cheesy Ranch Version: Stir in ranch seasoning to the creamy base for a zesty kick that enhances the dish's flavor profile.
-
Buffalo Chicken Twist: Mix buffalo sauce into the creamy mixture and swap for mozzarella cheese for a spicy and cheesy version that packs a punch.
-
Veggie Lover's Bake: Add steamed vegetables like broccoli, carrots, or peas for a colorful and nutritious boost. This can easily make the casserole a heartier meal option.
-
Loaded Casserole: Top with crispy bacon crumbles and a sprinkle of green onions before serving for an extra layer of flavor and texture. The smoky richness of the bacon pairs beautifully with the creamy base.
-
Turkey Swap: Use leftover Thanksgiving turkey instead of chicken for a delicious way to repurpose holiday leftovers. This variation is especially comforting and festive.
-
Dairy-Free Delight: Substitute sour cream and milk with coconut yogurt and unsweetened almond milk. You can still enjoy all the comforting flavors without the dairy!
-
Spicy Southwest Twist: Add black beans, corn, and taco seasoning for a south-of-the-border flair that transforms the casserole into a fiesta on your plate.
-
Herbed Mediterranean Style: Incorporate spinach, artichokes, and a blend of Italian herbs for a fresh and savory Mediterranean twist that will elevate your meal wonderfully.
With these exciting variations, your Chicken Bubble Biscuit Bake Casserole will never be boring! If you're looking for even more flavorful ideas, don't forget to check out our Honey BBQ Chicken or Chipotle Lime Chicken and Rice recipes too!
How to Store and Freeze Chicken Bubble Biscuit Bake Casserole
Fridge: Store leftovers in an airtight container for up to 4 days. Reheat gently in the microwave or oven, ensuring it’s heated through.
Freezer: If you prepare the casserole in advance, bake and cool it completely, then wrap tightly in foil. It can be frozen for up to 2 months.
Reheating: To reheat from frozen, bake it at 350°F (175°C) for about 45 minutes, covered with foil, then uncover for an additional 10-15 minutes until bubbly.
Make-Ahead Tips: Assemble the Chicken Bubble Biscuit Bake Casserole up to 24 hours ahead and store it in the fridge. Simply pop it in the oven when you're ready!
Expert Tips for Chicken Bubble Biscuit Bake Casserole
- Prep Ahead: Prepare the casserole up to 24 hours in advance. Simply cover it and store in the fridge for a time-saving dinner option.
- Avoid Soggy Biscuits: Ensure the biscuit pieces are coated but not overly saturated. This keeps them fluffy and avoids a mushy texture.
- Customize Wisely: When substituting ingredients, like using Greek yogurt instead of sour cream, remember it may alter the creaminess of the Chicken Bubble Biscuit Bake Casserole slightly.
- Check Doneness: Use a knife to ensure biscuits are fully cooked; it should come out clean without any dough sticking to it.
- Leftovers Storage: Store any leftovers in an airtight container for up to 4 days, making for a quick and comforting lunch or dinner.
What to Serve with Chicken Bubble Biscuit Bake Casserole
This delightful casserole invites warm conversations around the table while pairing perfectly with a variety of tasty side dishes.
-
Simple Side Salad: Adds a fresh crunch and balances the creamy casserole with vibrant veggies and a light vinaigrette.
-
Garlic Bread: Perfect for mopping up every bit of creamy sauce, this crispy, buttery treat enhances the meal's comforting vibe.
-
Steamed Broccoli: The tender florets introduce a nutrient-packed green element that complements the dish's richness beautifully.
-
Honey Glazed Carrots: Their natural sweetness contrasts nicely with the savory flavors of the casserole, creating a delightful flavor harmony.
-
Roasted Root Vegetables: A medley of carrots, potatoes, and beets adds earthy flavors and hearty textures, making the meal more filling.
-
Fruit Salad: A light, refreshing option that adds sweetness and a splash of color, helping to cleanse the palate between bites.
-
Crisp White Wine: A chilled glass of Sauvignon Blanc or Pinot Grigio elevates the dining experience, enhancing flavors without overpowering the dish.
-
Chocolate Lava Cake: For a sweet finish, this decadent dessert provides a rich and gooey contrast to the comforting chicken casserole.
Chicken Bubble Biscuit Bake Casserole Recipe FAQs
How do I choose the best cooked chicken for this casserole?
Absolutely! For the best flavor and ease, I recommend using shredded rotisserie chicken. It saves time and adds a delicious, seasoned taste. If you're cooking chicken specifically for this dish, opt for boneless, skinless chicken breasts as they'll cook quickly and stay tender.
What is the best way to store leftovers?
Store your Chicken Bubble Biscuit Bake Casserole in an airtight container in the fridge for up to 4 days. Make sure to let it cool completely before sealing it up. When reheating, use the microwave or warm it up gently in the oven for the best experience!
Can I freeze this casserole?
Absolutely! To freeze, bake the casserole and let it cool completely. Wrap it tightly in aluminum foil or transfer it to a freezer-safe container. It can last for up to 2 months in the freezer. When you’re ready to enjoy, defrost overnight in the fridge and bake at 350°F (175°C) for about 45 minutes until it's heated through.
How do I ensure the biscuits are perfectly cooked?
To check if your biscuits are fully cooked, insert a knife into the center of the casserole—if it comes out clean, you're good to go! If you see any wet dough, pop it back in the oven for a few more minutes. This ensures that each bite is fluffy and delicious.
Are there any dietary considerations I should be aware of?
Great question! If you're accommodating guests with dietary restrictions, consider using gluten-free biscuit dough or non-dairy sour cream and milk alternative to make this Chicken Bubble Biscuit Bake Casserole friendly for different diets. Always double-check for allergies with ingredient swaps, especially with frozen vegetables.
What can I use if I don’t have cream of chicken soup?
If you don't have cream of chicken soup on hand, you can substitute it with cream of mushroom soup or a homemade white sauce. To make a simple white sauce, cook equal parts butter and flour (about 2 tablespoons each) together, then whisk in 1 cup of milk until thickened, and season with salt, pepper, and garlic powder for added flavor.
Delicious Chicken Bubble Biscuit Bake Casserole Your Family Will Love
Ingredients
Equipment
Method
- Preheat your oven to 350°F (175°C) and grease a 9x13-inch baking dish.
- In a large mixing bowl, combine the cooked chicken, cream of chicken soup, sour cream, and milk. Stir in the frozen mixed vegetables, garlic powder, onion powder, salt, and pepper until well blended.
- Gently fold in the quartered biscuit pieces, ensuring they are coated thoroughly.
- Transfer the mixture into the prepared baking dish and sprinkle shredded cheese on top.
- Cover with aluminum foil and bake for 20 minutes. Then remove foil and bake for an additional 10-15 minutes until biscuits are puffed and golden brown.
- Let cool for a few minutes before serving. Brush the tops with melted butter if desired.