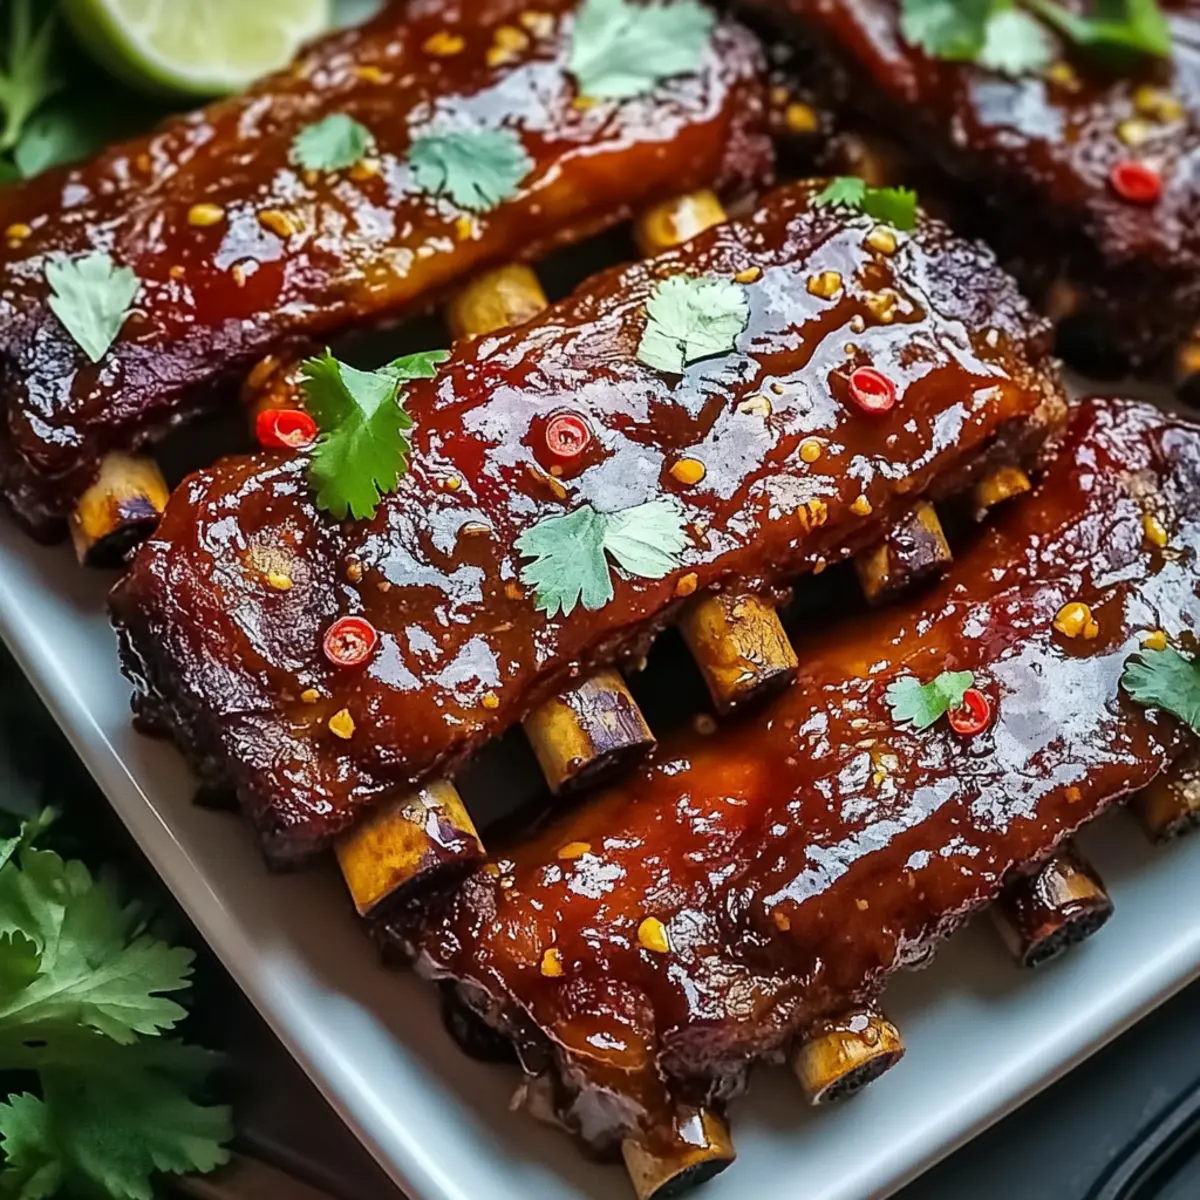
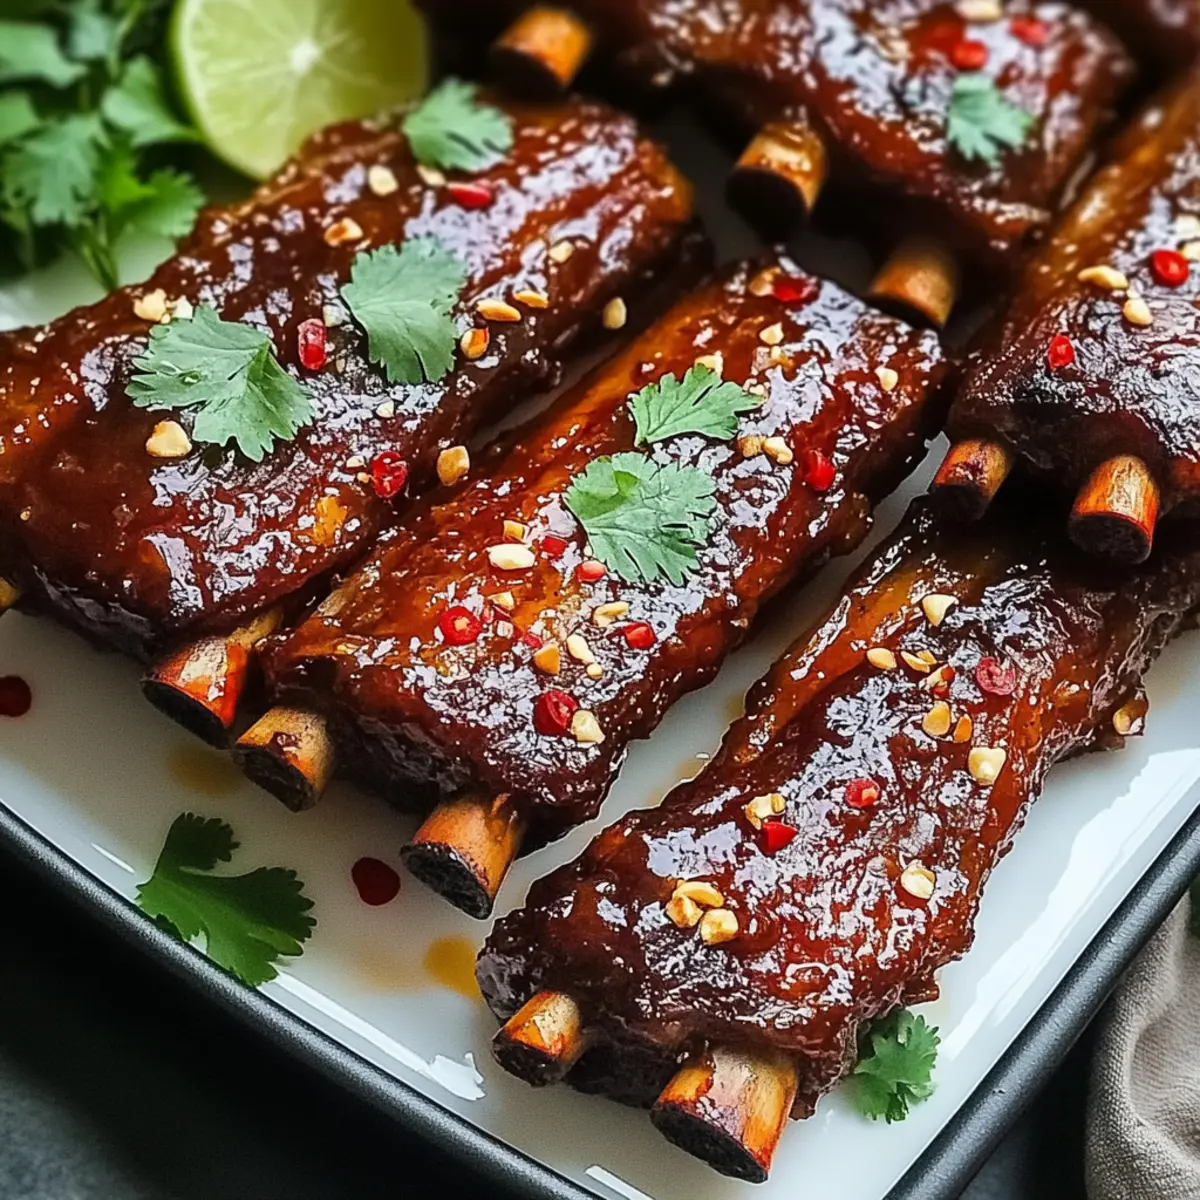
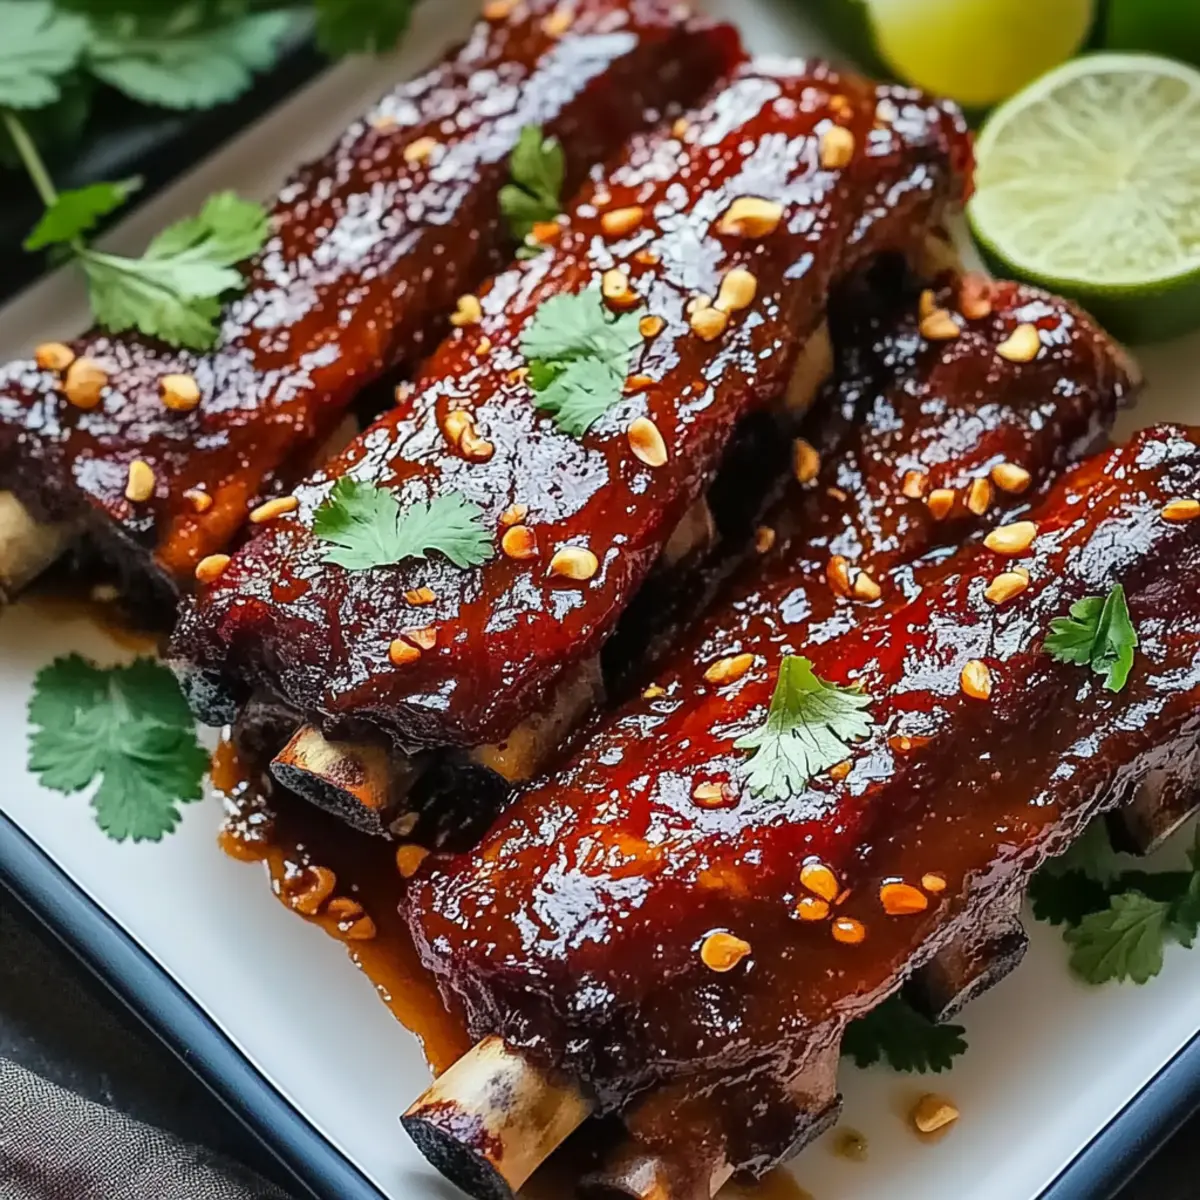
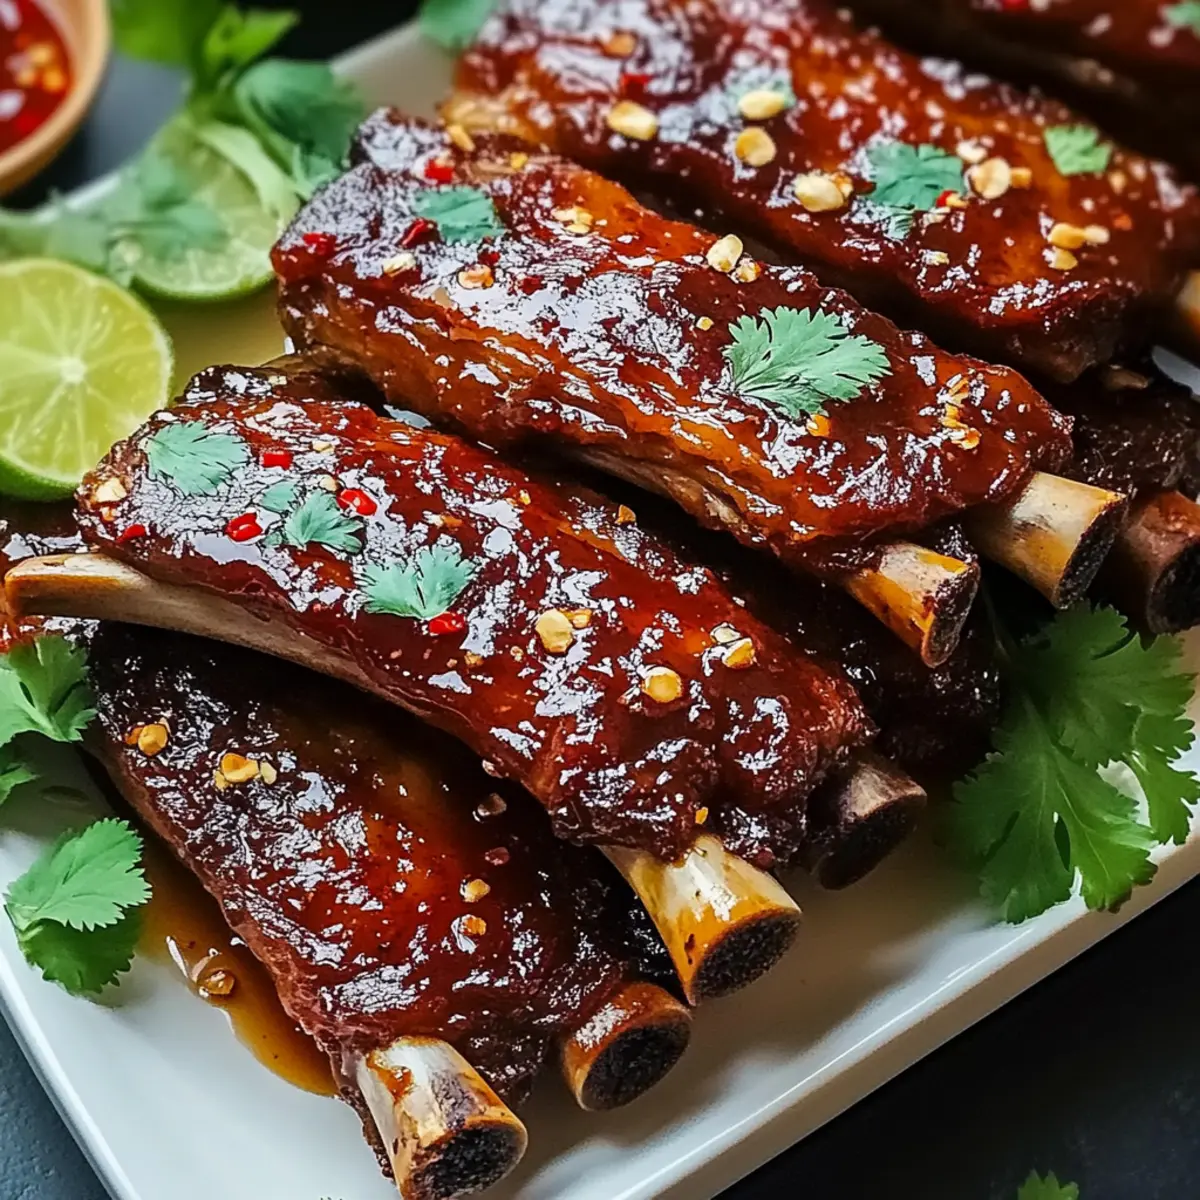
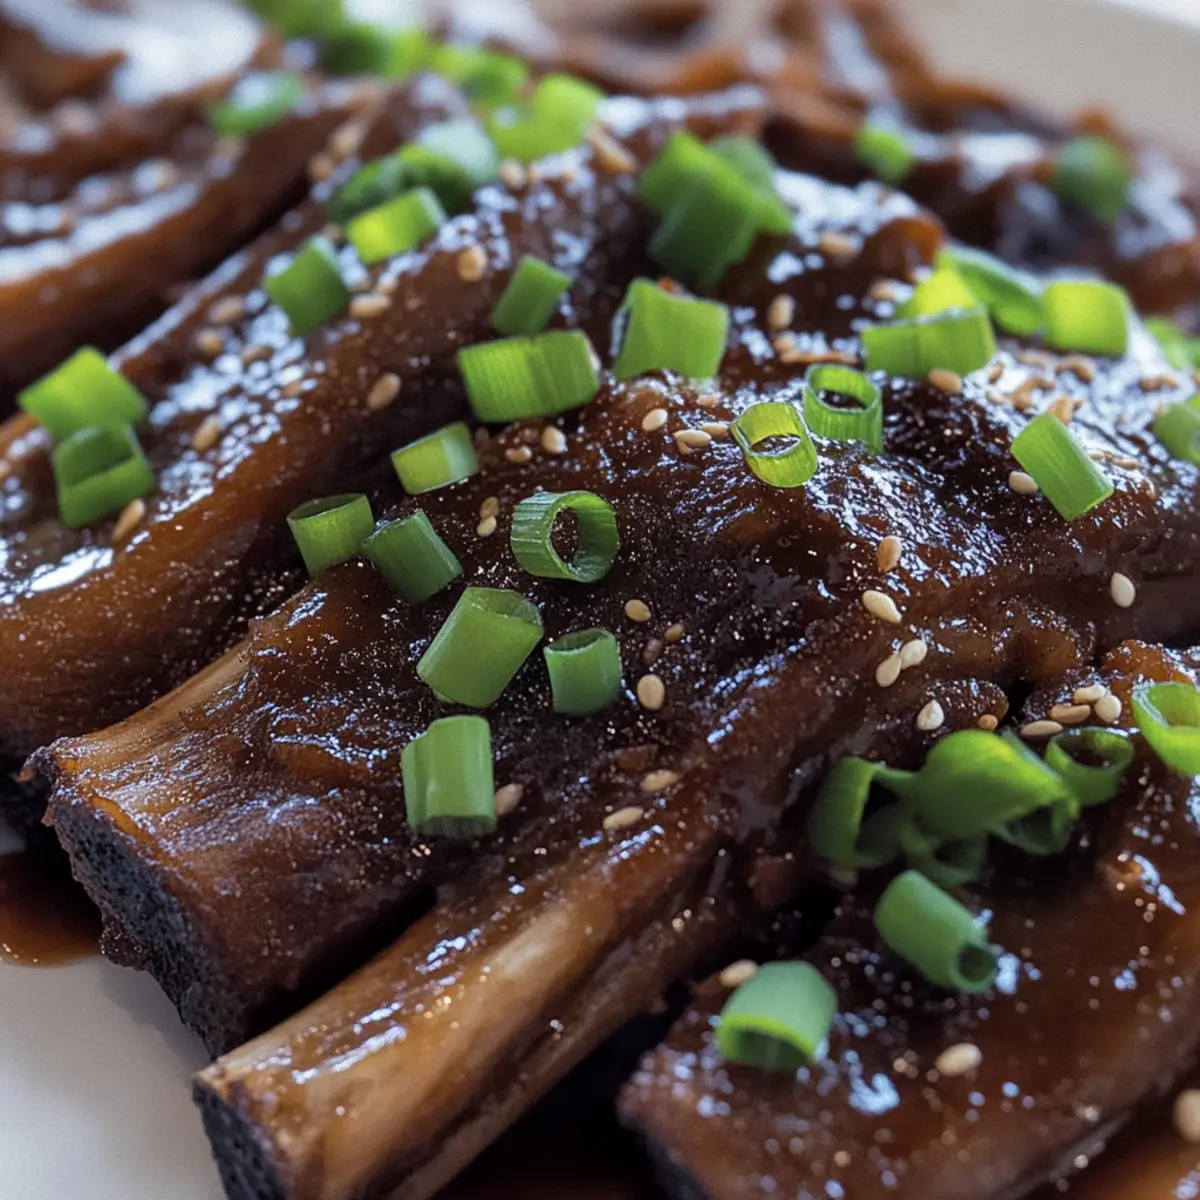
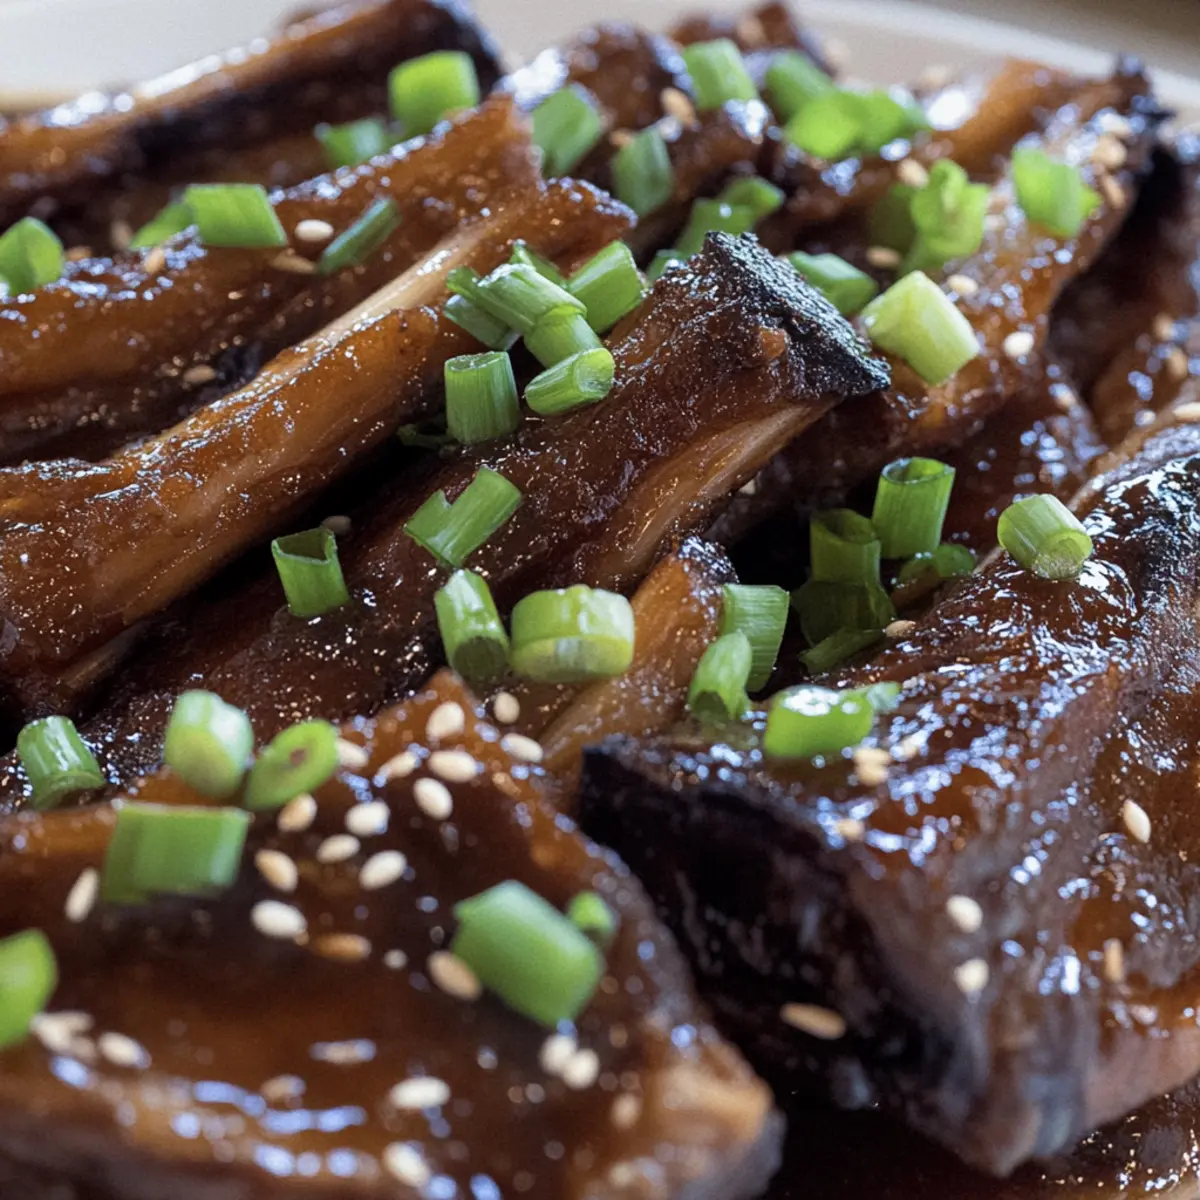
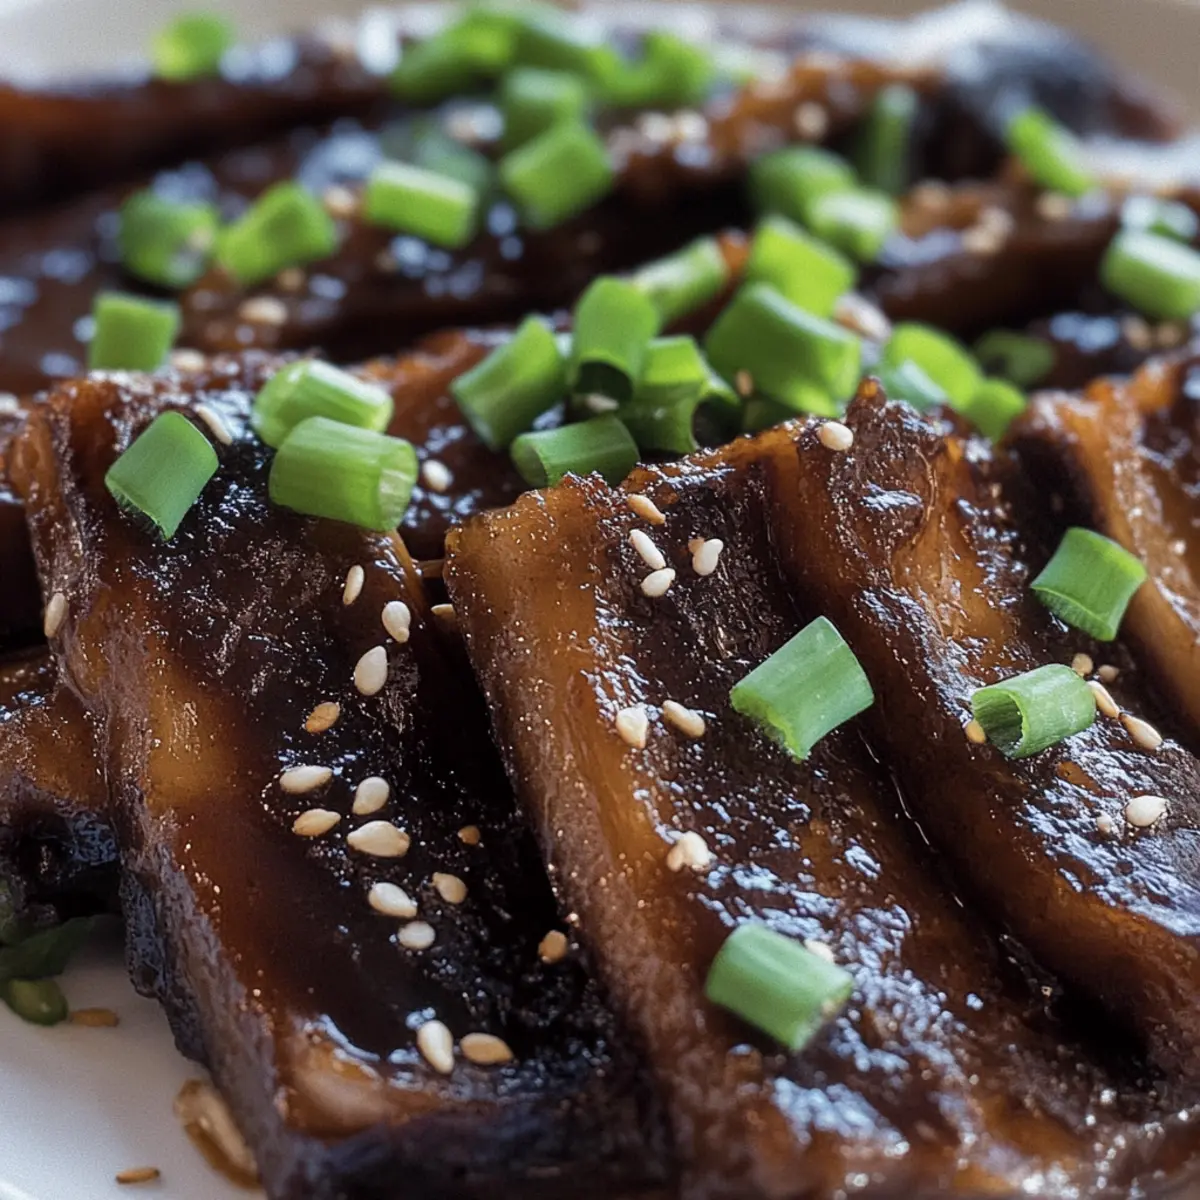
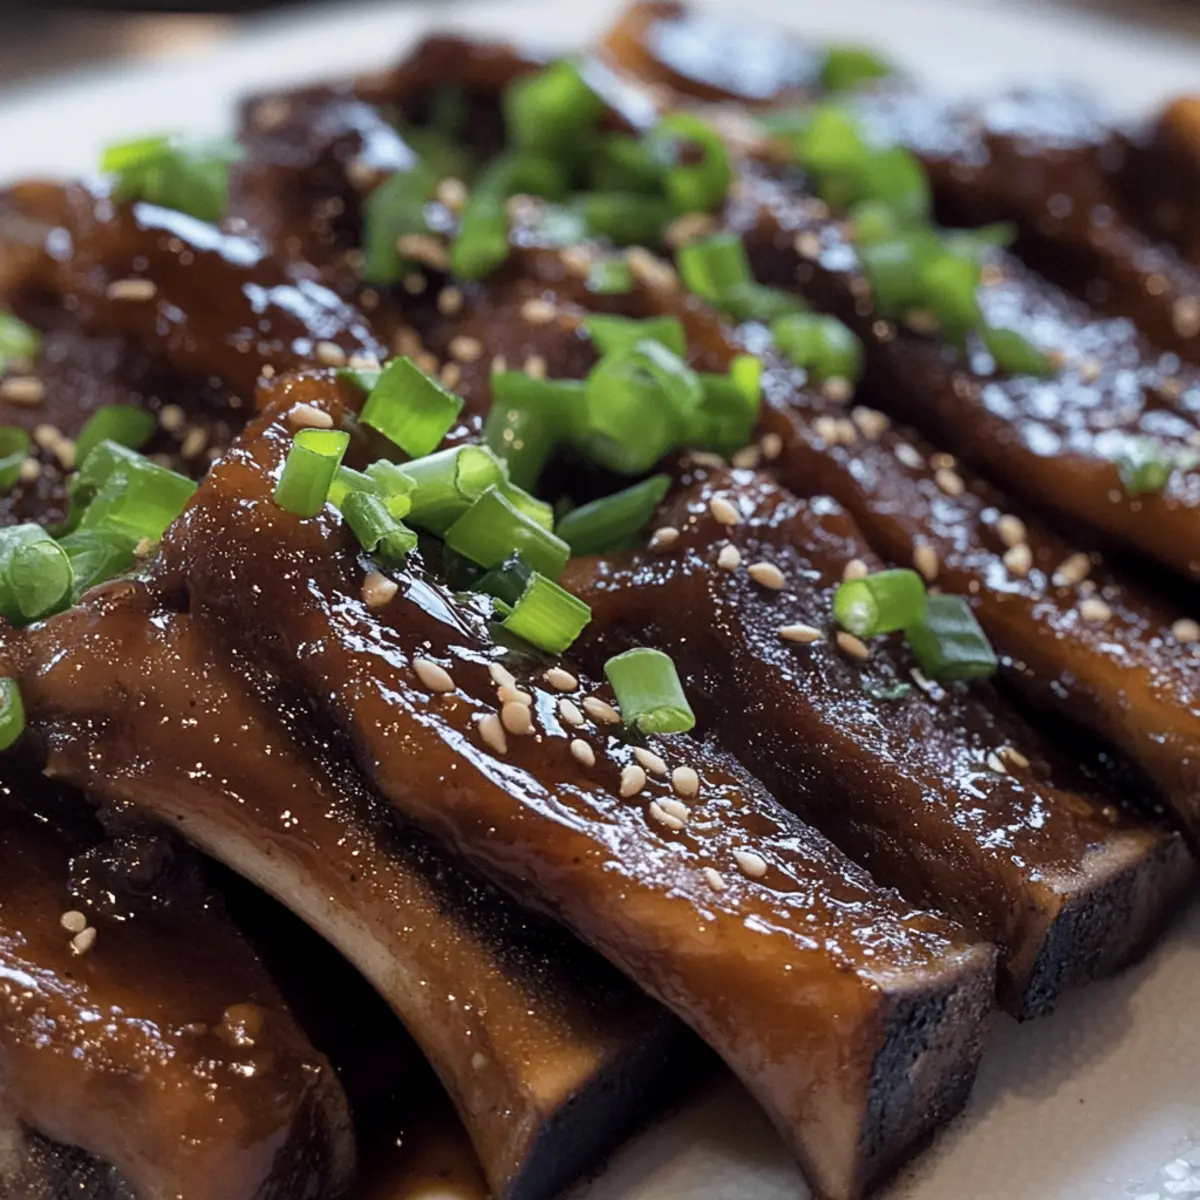
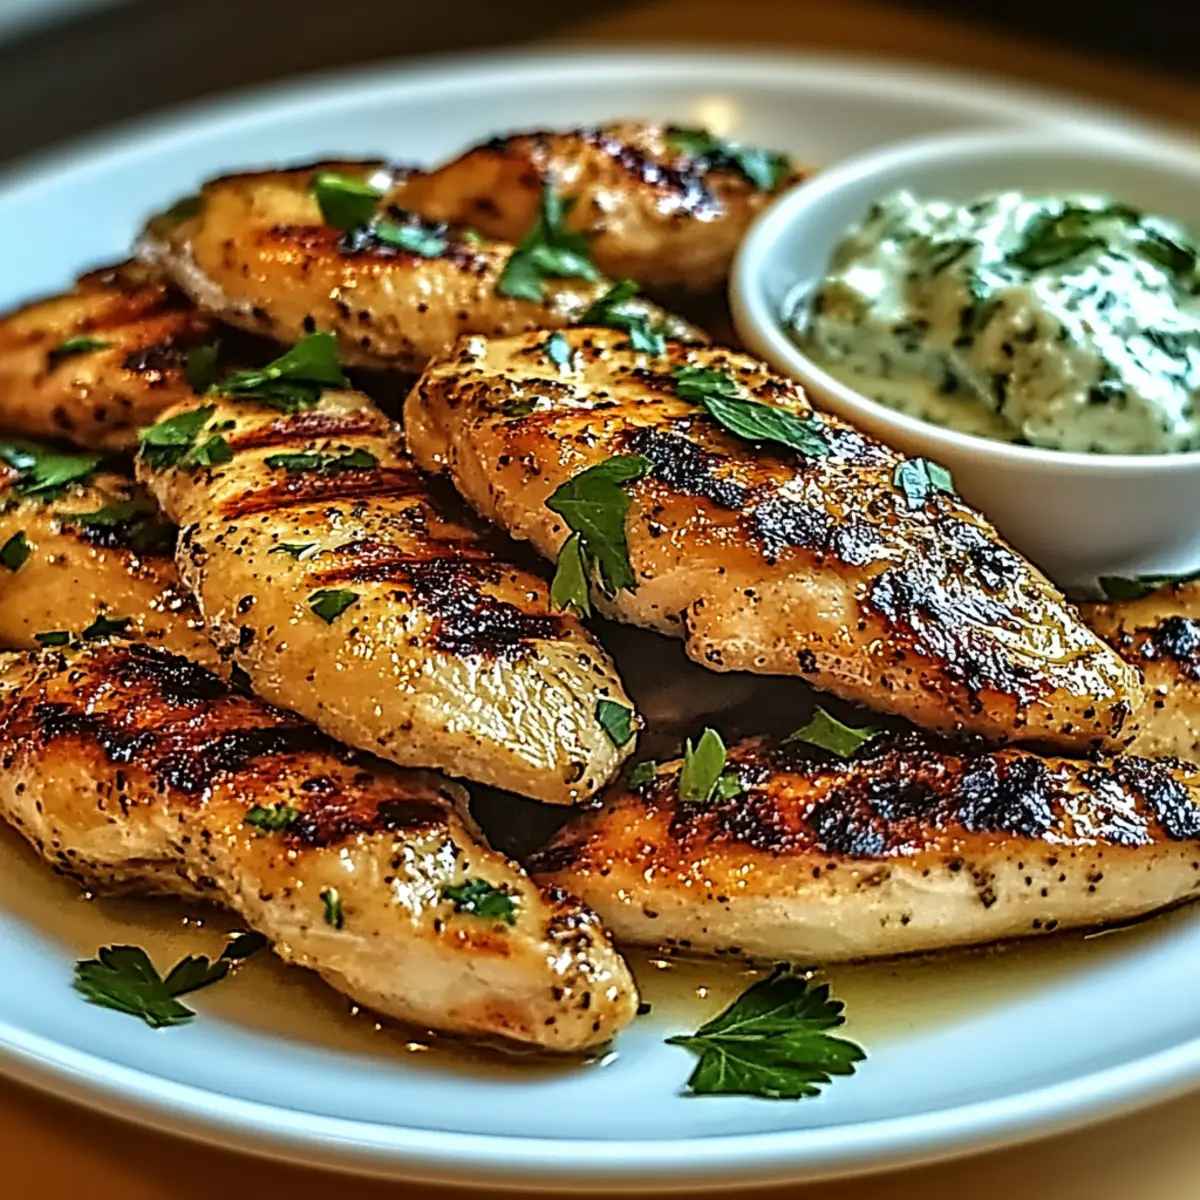
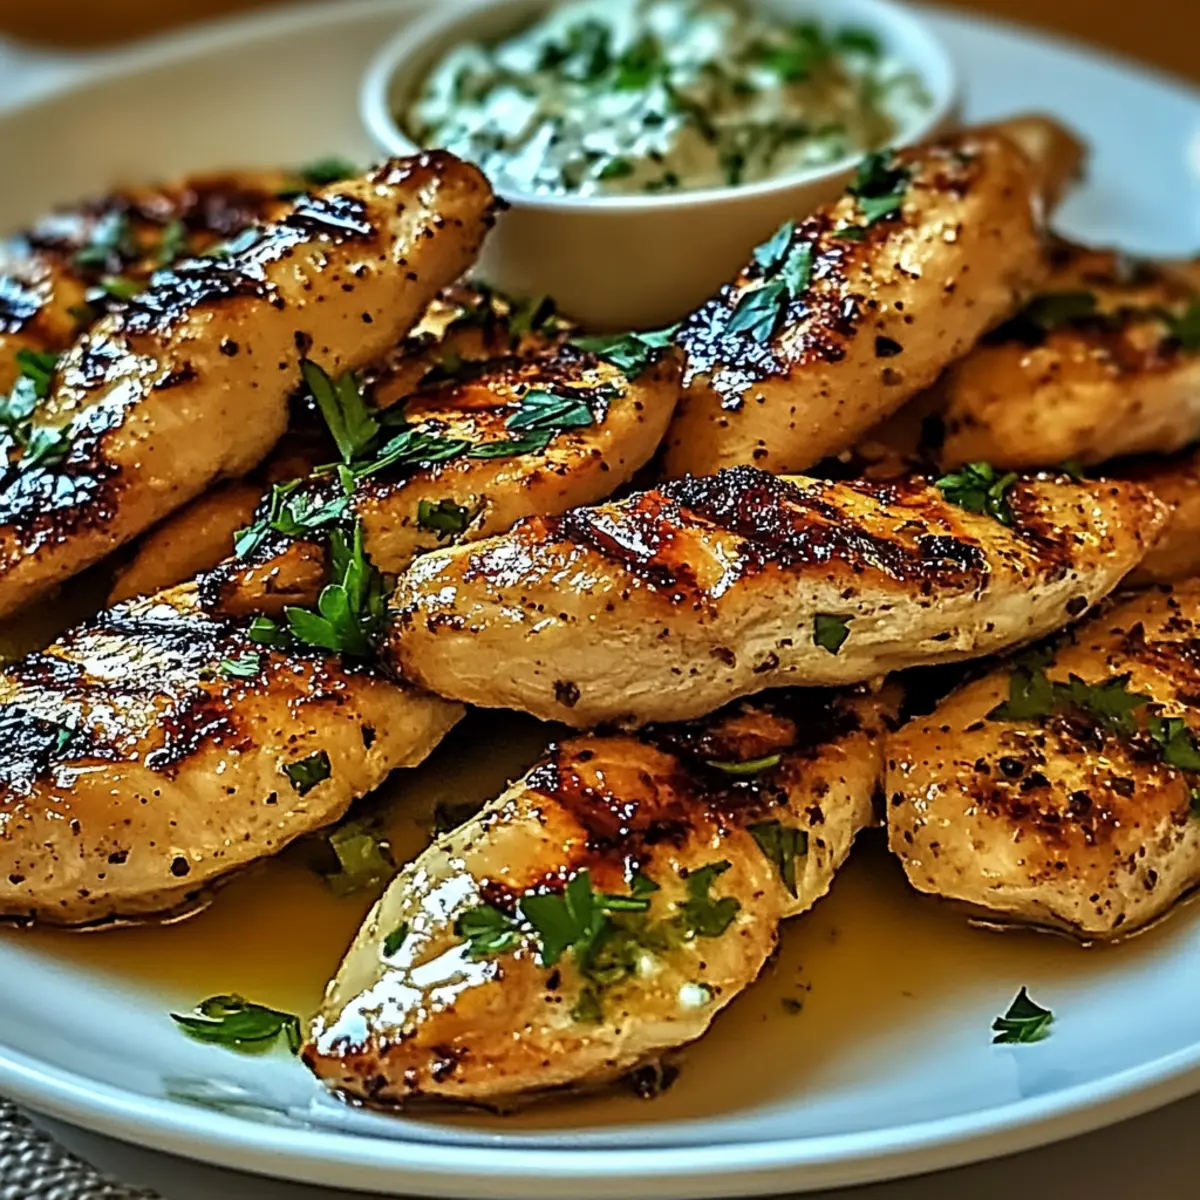
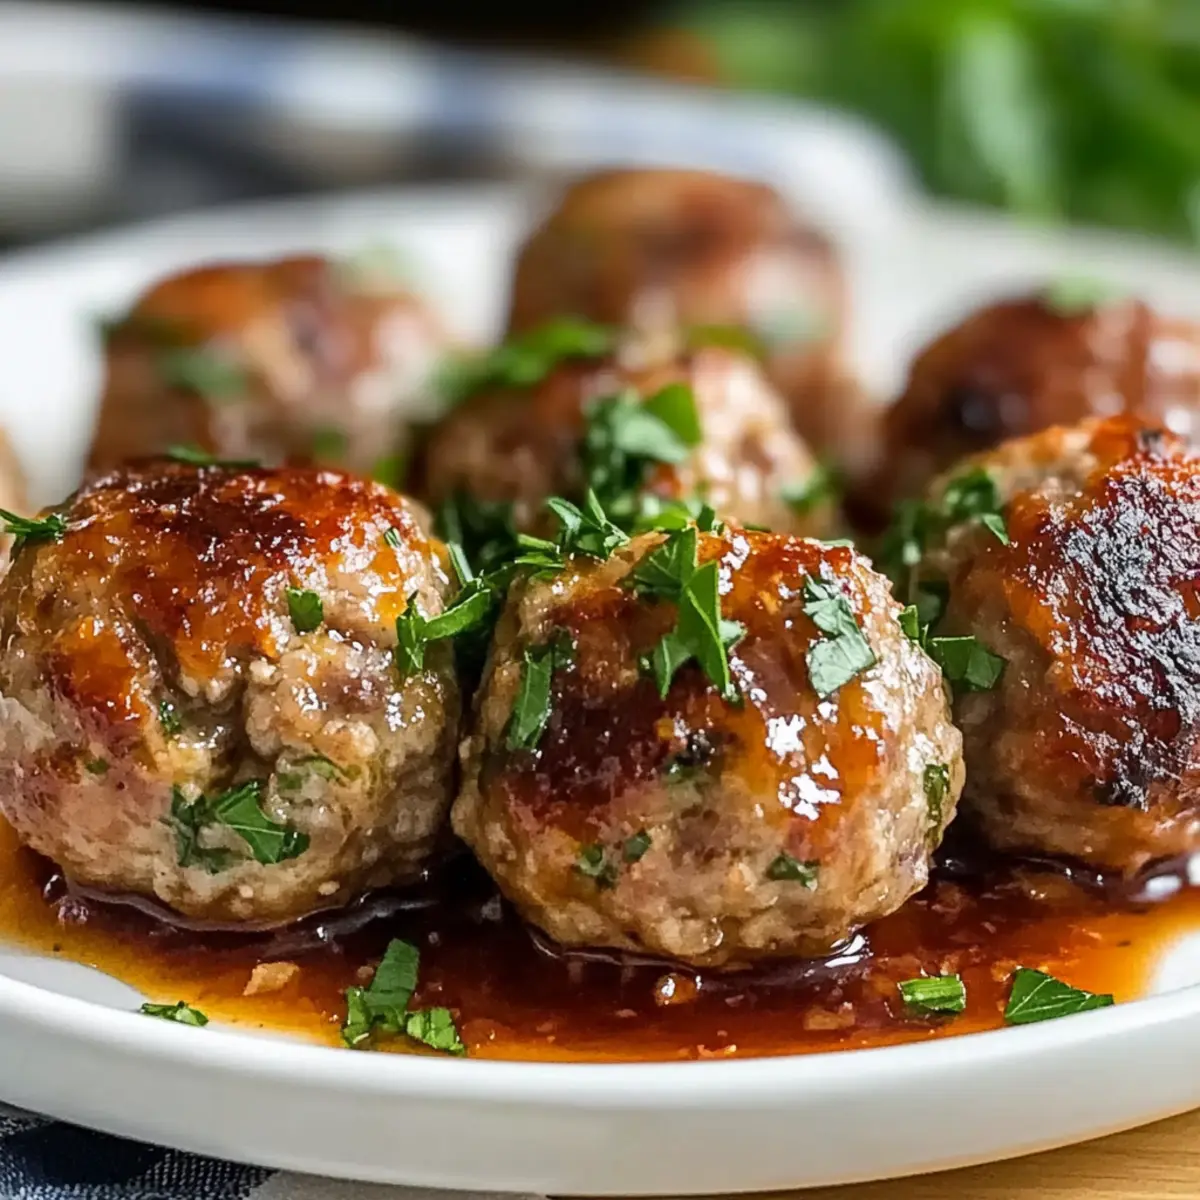
As I walked through the market, the rich aroma of herbs and slow-cooked meat wafted through the air, reminding me of family gatherings filled with laughter and comfort food. Today, I'm excited to share my recipe for Herb Braised Short Ribs in a Dutch Oven—an absolute showstopper for your next Sunday dinner. With its melt-in-your-mouth tenderness and a savory sauce that envelopes every bite, this dish is not just a meal; it’s a heartfelt experience. Plus, the Dutch oven method means less fuss and more time enjoying good company. Whether you're a seasoned home chef or new to the kitchen, this meal brings warmth and joy to your table. Are you ready to transform a simple cut of meat into something extraordinary?
Why are these short ribs a must-try?
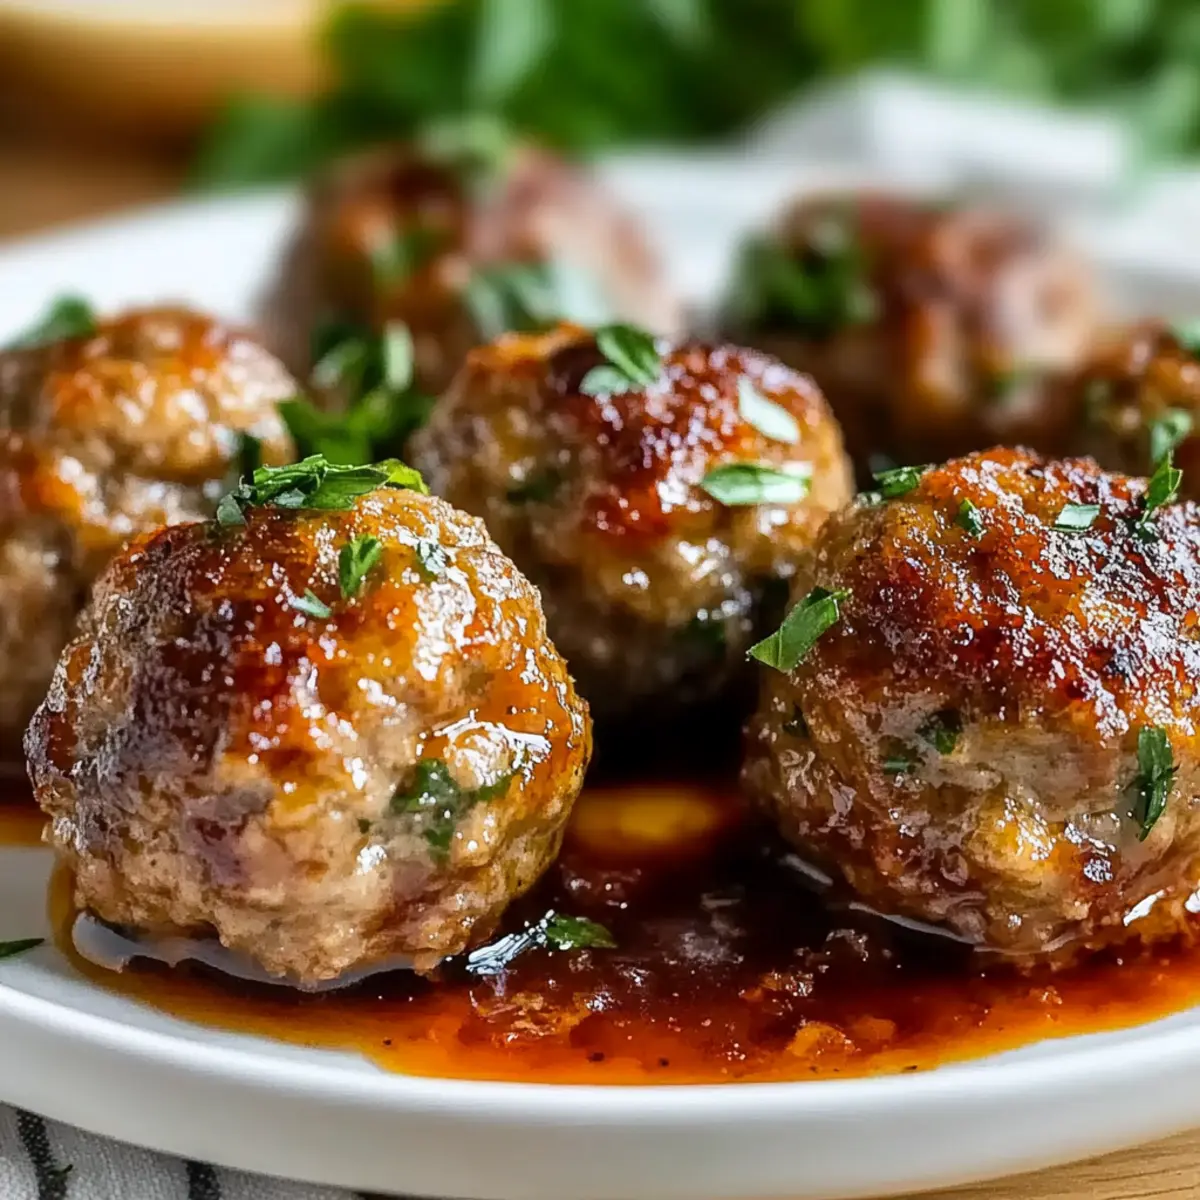
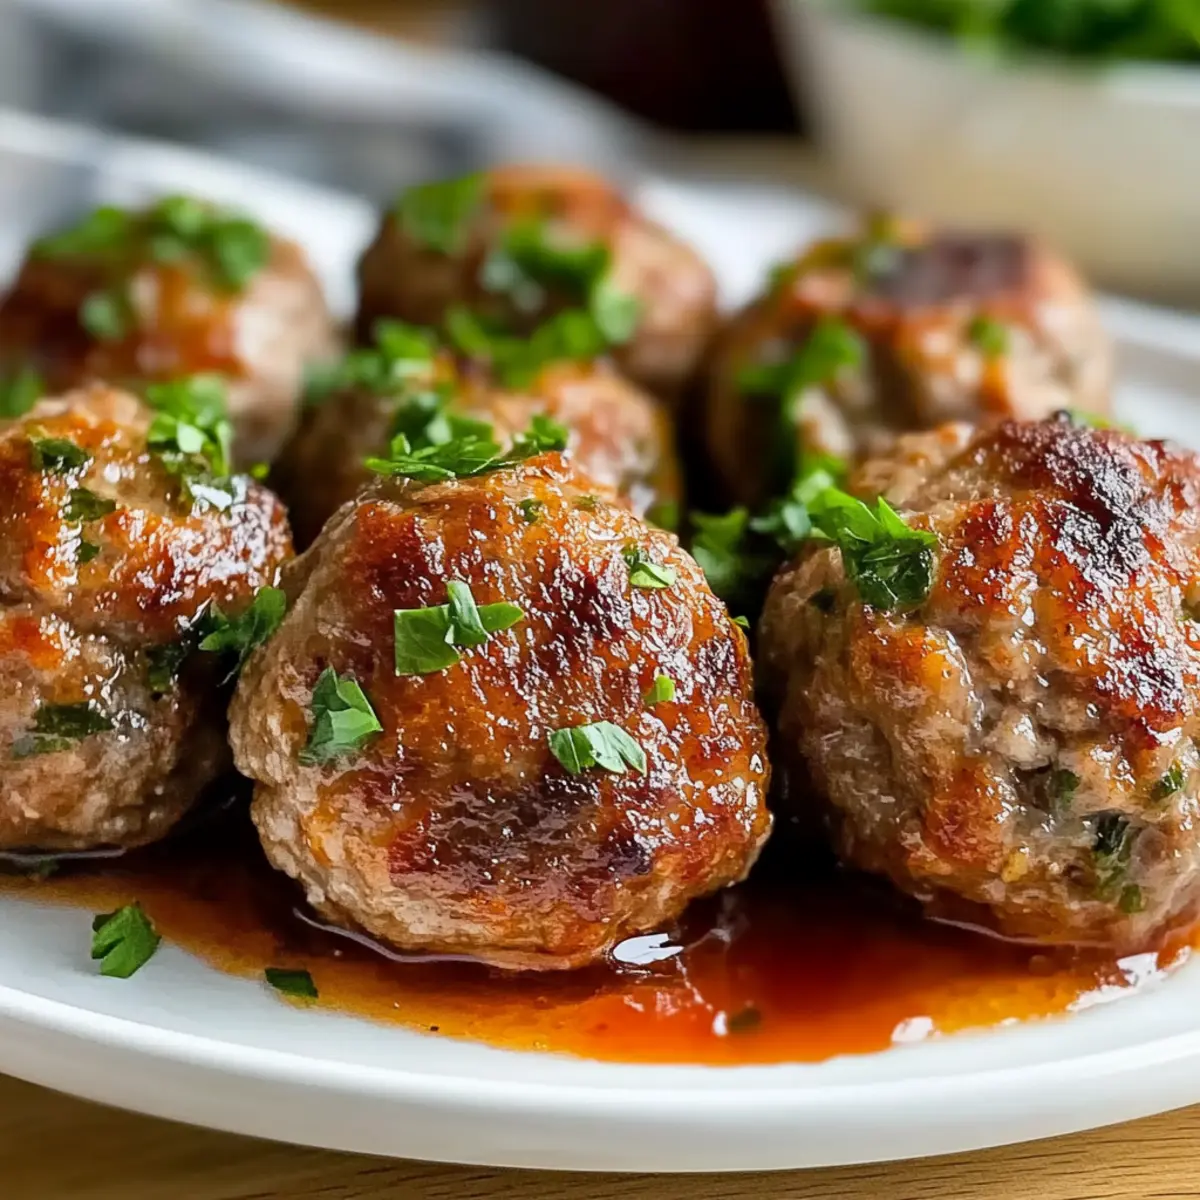
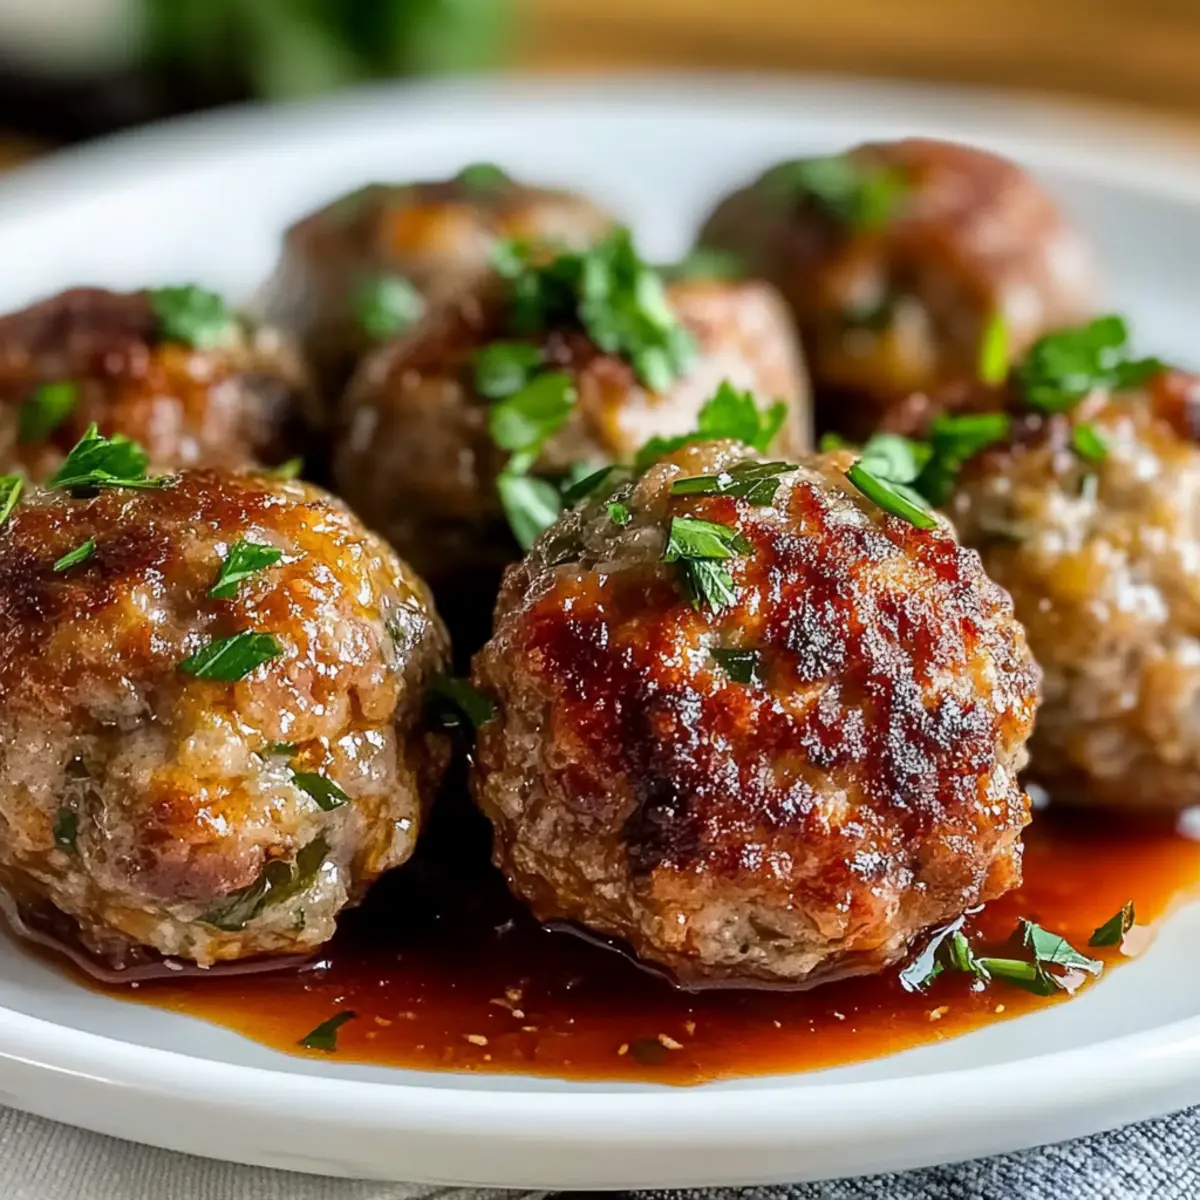
Tenderness is key: These Herb Braised Short Ribs are so tender, they practically melt in your mouth, making them the ultimate comfort food.
Flavor explosion: The rich combination of wine, herbs, and pancetta creates a deeply aromatic sauce that's simply unforgettable.
Ease of preparation: Cooking in a Dutch oven simplifies the process, leaving you with a savory dish without much hassle.
Crowd-pleaser: Perfect for family gatherings or cozy dinners, this dish will impress everyone at the table.
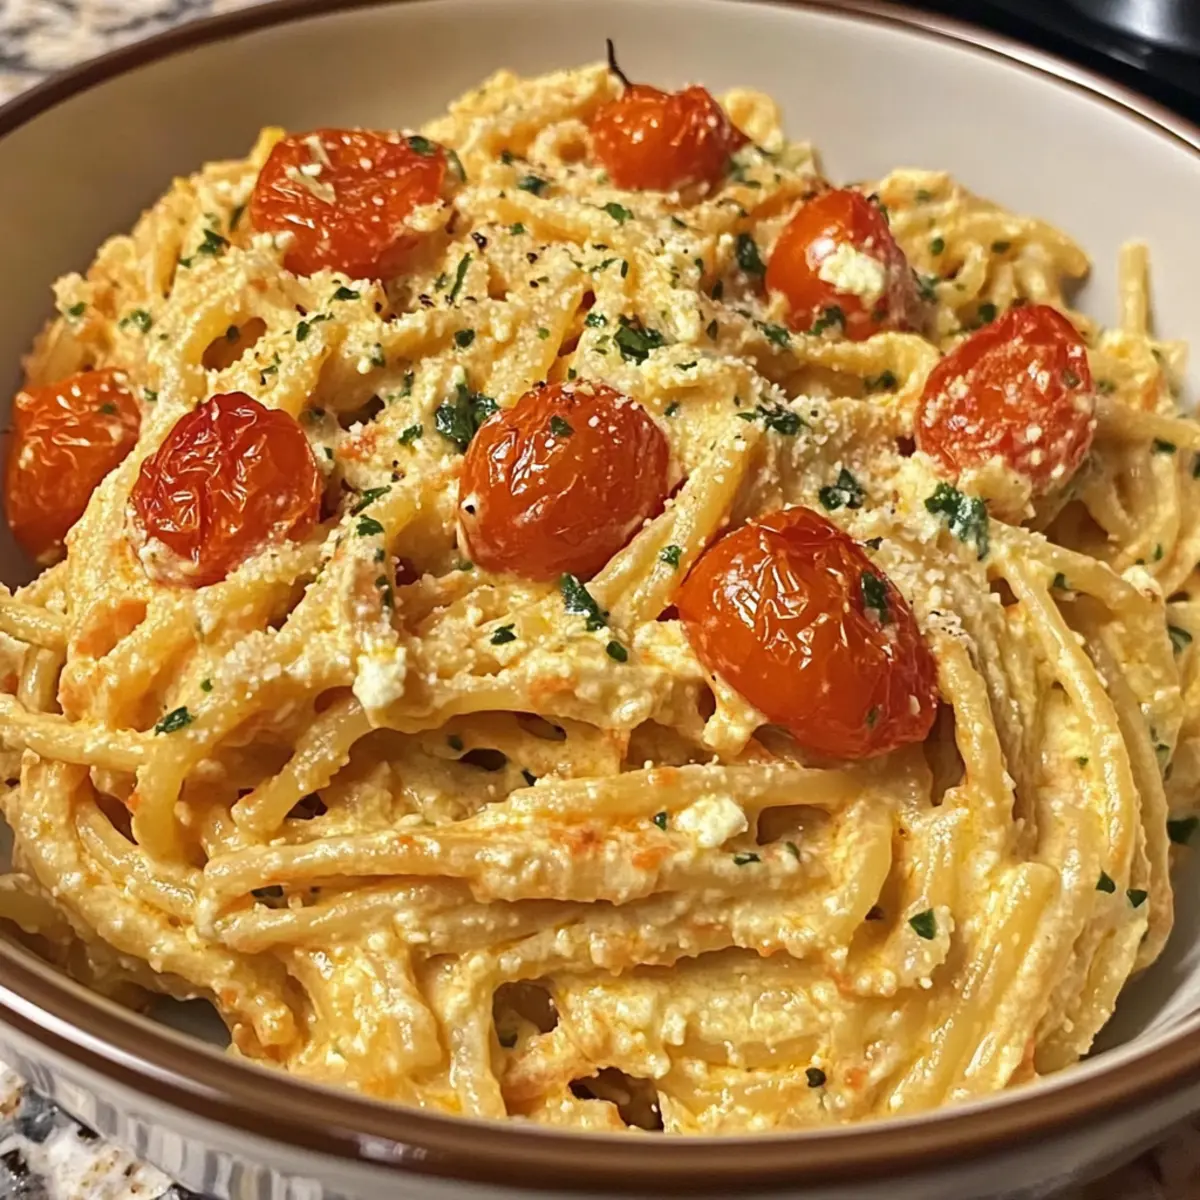
Versatile: Pair these ribs with creamy mashed potatoes or polenta for an ideal meal—just like with my Herby Ricotta Stuffed peppers, it’s all about flavor harmony!
Make-ahead magic: The flavors meld even better the next day, ensuring a delightful leftover experience.
Herb Braised Short Ribs Ingredients
• Discover the key components for this comforting dish!
For the Ribs
- Bone-in Beef Short Ribs – Choose English-style for more meat and better retention during cooking.
- Kosher Salt – Essential for enhancing flavor and helping to tenderize the meat.
- Fresh Ground Black Pepper – Provides depth; freshly ground is best for optimal taste.
- All-Purpose Flour – Use to coat the ribs for a delicious, flavorful crust when browned.
For Searing
- Olive Oil – Ideal for searing the short ribs; substitute with vegetable oil if desired.
- Pancetta – Adds a rich flavor; you can also use bacon as a substitute.
For the Aromatic Base
- Onion – Freshly diced onions create a sweet aromatic base for the braising liquid.
- Carrots – Sweetness from these vibrant veggies balances out the rich flavors.
- Shallots – Intensity and sweetness work in harmony with the other aromatics.
For the Braising Liquid
- Dry Red or White Wine – Adds incredible depth; select your favorite for a personalized touch. Non-alcoholic wine or extra broth can be used if needed.
- Beef or Chicken Broth – This is crucial for creating a rich sauce full of flavor.
For the Finishing Touch
- Fresh Thyme & Rosemary – These aromatic herbs infuse the dish with wonderful herbal notes; dried herbs can be used but use less, as they are more concentrated.
With these Herb Braised Short Ribs ingredients, you’re well on your way to creating a comforting masterpiece that will warm hearts and fill bellies! Happy cooking!
Step‑by‑Step Instructions for Herb Braised Short Ribs
Step 1: Season the Ribs
Generously season the bone-in beef short ribs with kosher salt and freshly ground black pepper, ensuring they're well coated. Dredge each rib in all-purpose flour, shaking off any excess. This step enhances flavor and promotes a delicious crust when seared, setting the foundation for your comforting Herb Braised Short Ribs.
Step 2: Render the Pancetta
In a large Dutch oven, heat over medium heat and add diced pancetta. Cook until the pancetta is crispy—about 5-7 minutes—while releasing its rich flavors into the pot. Once done, remove the pancetta and keep it aside, leaving that savory fat in the pot for browning the ribs.
Step 3: Brown the Short Ribs
Increase the heat to high and add olive oil to the Dutch oven. Sear the floured short ribs on all sides for approximately 3-4 minutes until they develop a golden-brown crust. Make sure not to move them too much during this time for optimal browning. Once browned, set the ribs aside with the pancetta.
Step 4: Sauté the Aromatics
Lower the heat to medium and add diced onion, carrots, and shallots to the Dutch oven. Sauté the vegetables for about 2 minutes until softened and fragrant, which adds depth to the rich sauce. This step creates a beautiful aromatic base for your Herb Braised Short Ribs.
Step 5: Deglaze with Wine
Pour in your choice of dry red or white wine, using a wooden spoon to scrape any browned bits off the bottom of the pot. Bring the mixture to a boil and let it cook for 2 minutes to evaporate some of the alcohol, allowing the robust flavors to shine through and enhance the dish.
Step 6: Add Broth and Return Ribs
Stir in beef or chicken broth along with any additional seasonings needed. Return the browned ribs and crispy pancetta to the pot, ensuring the ribs are nearly submerged in the flavorful liquid. This will create the luscious sauce that will envelop your Herb Braised Short Ribs as they cook.
Step 7: Incorporate the Herbs
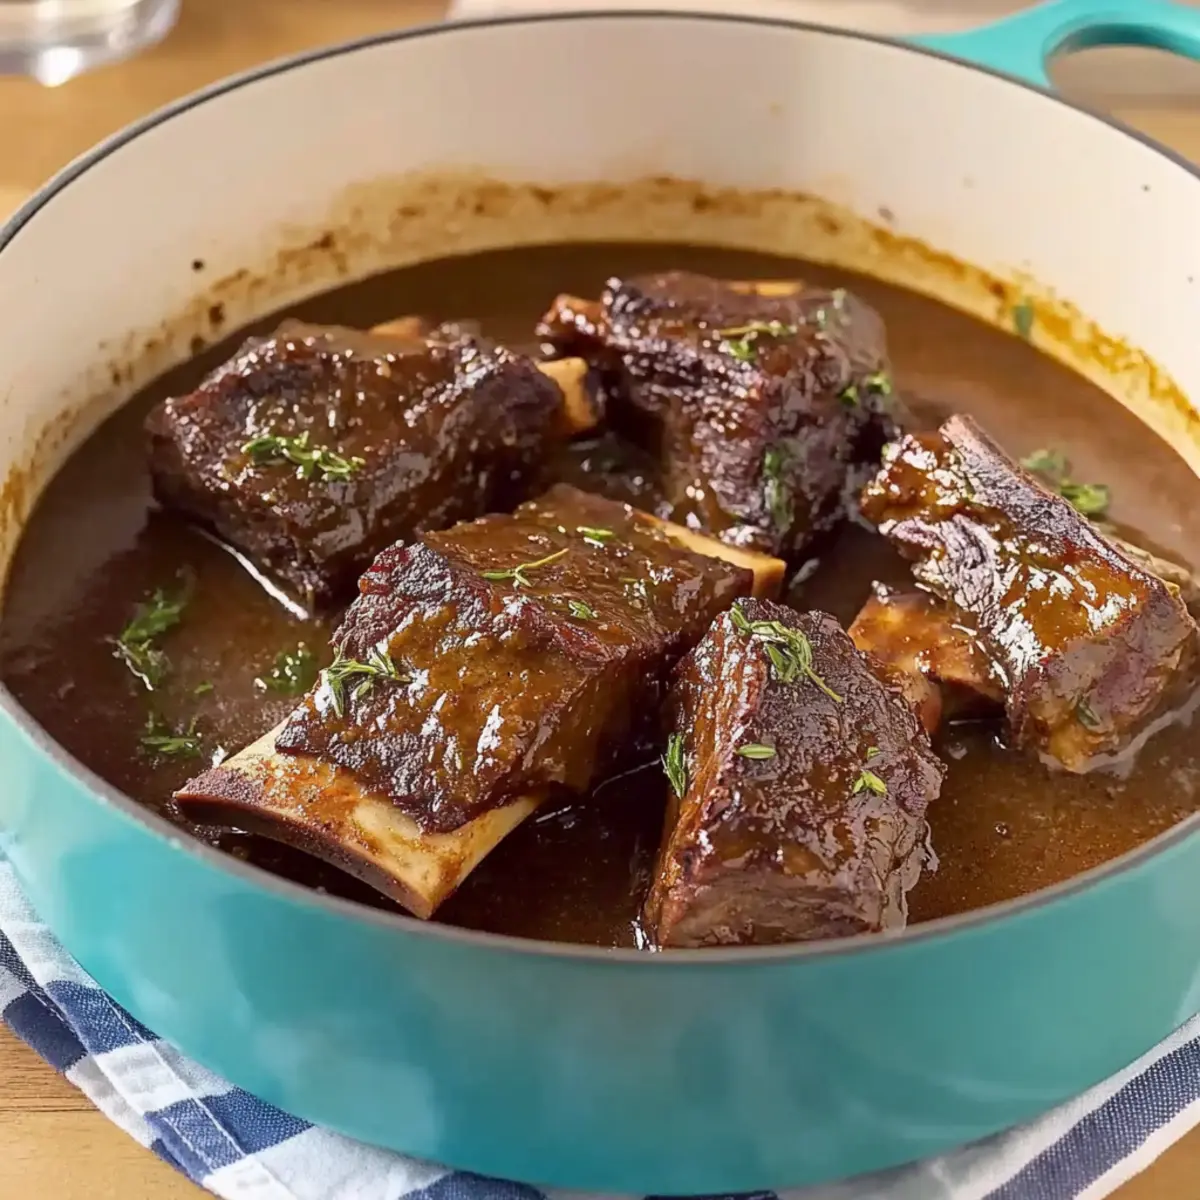
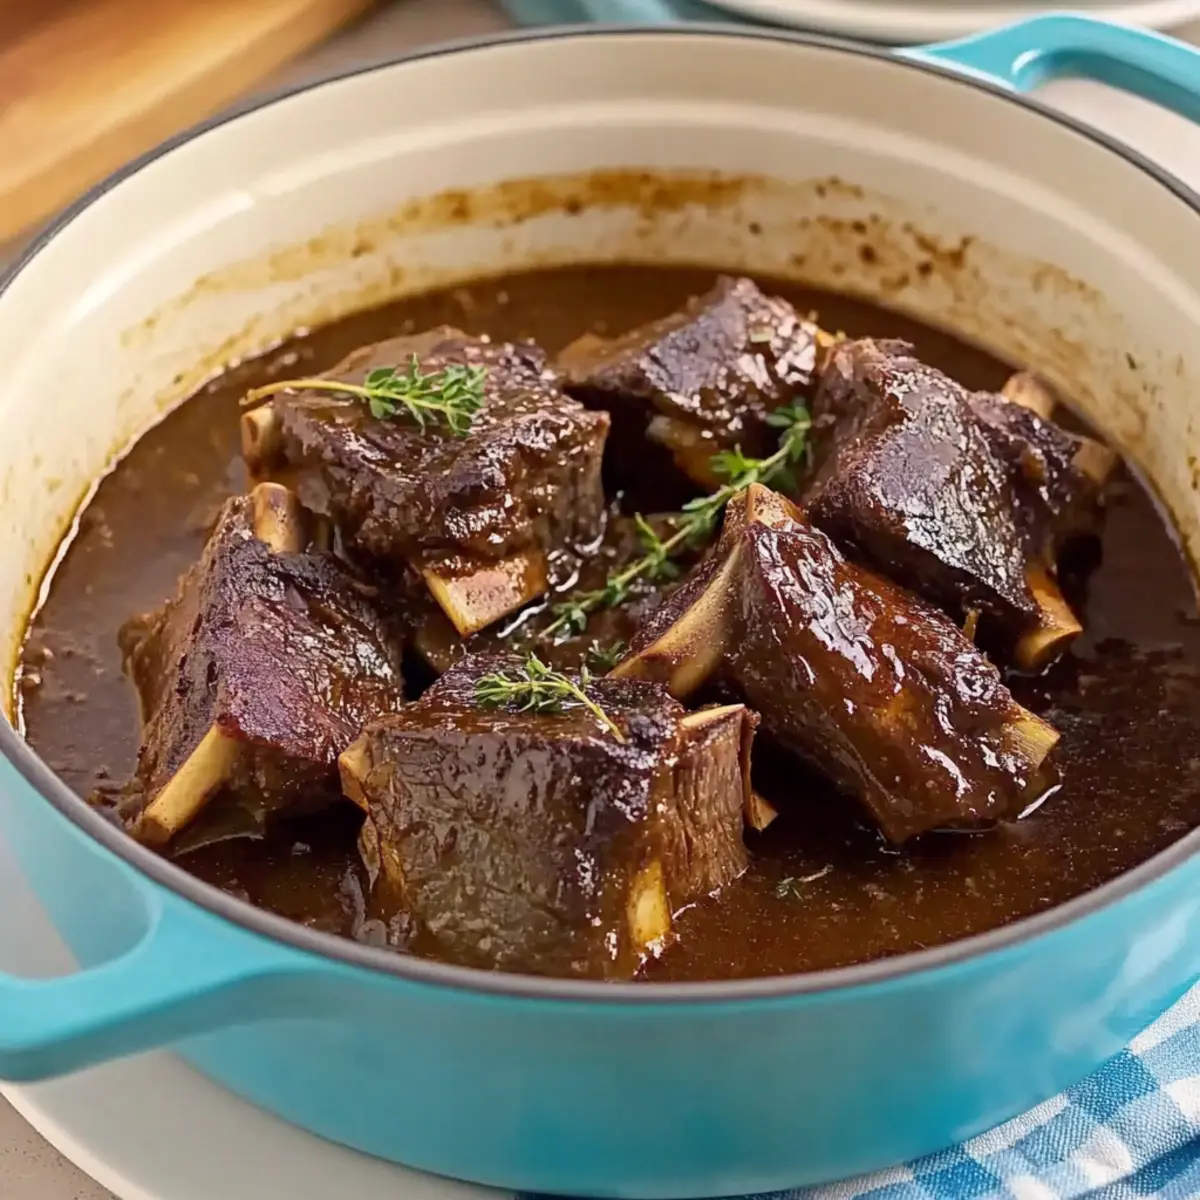
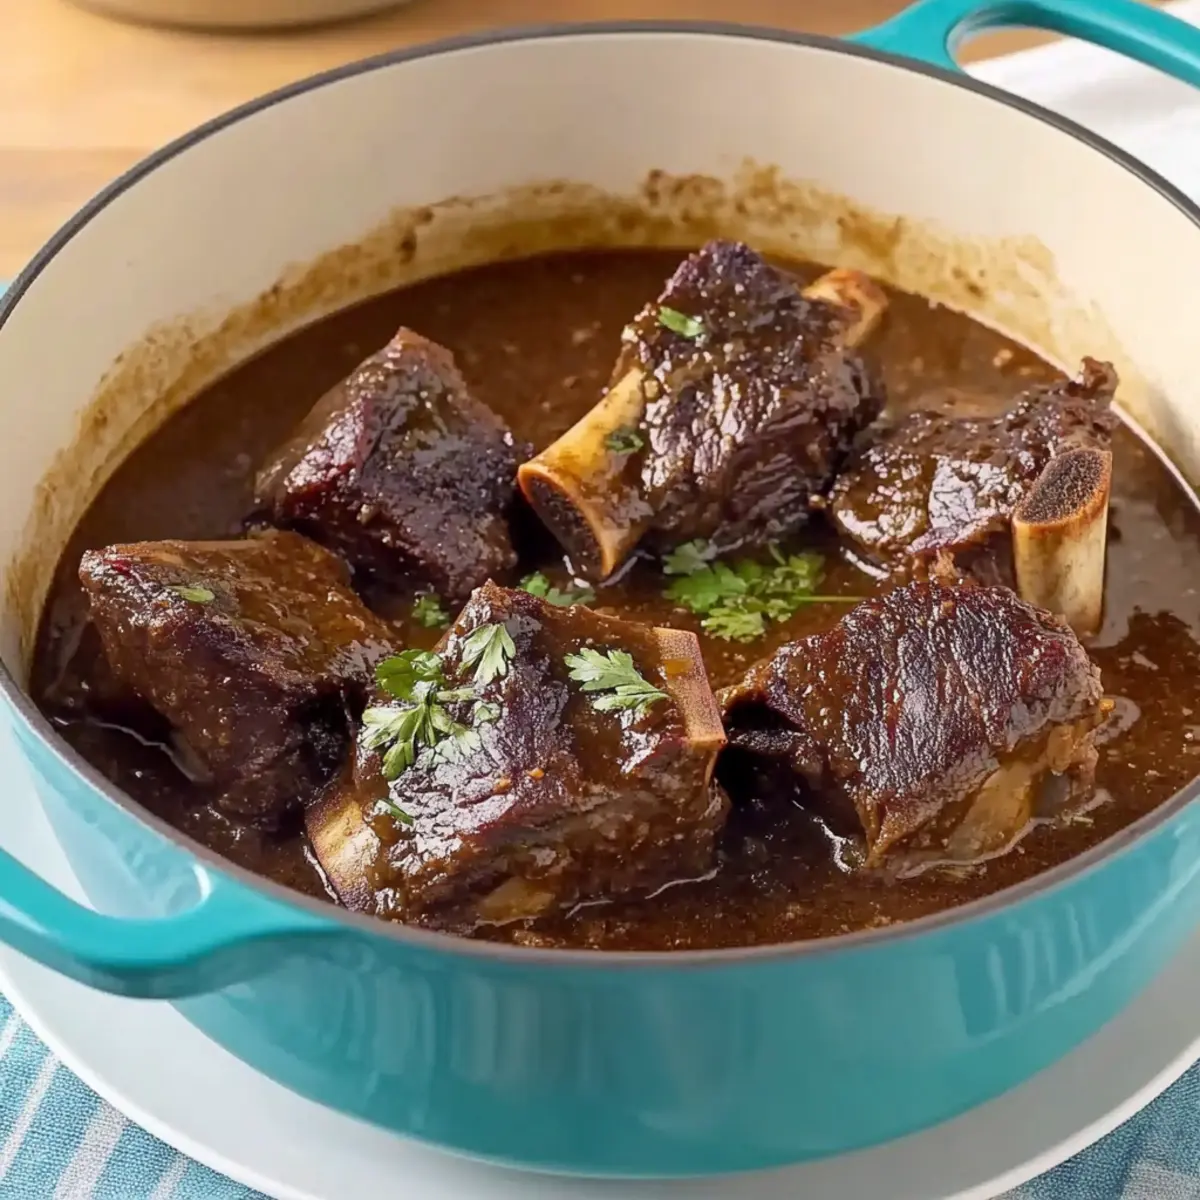
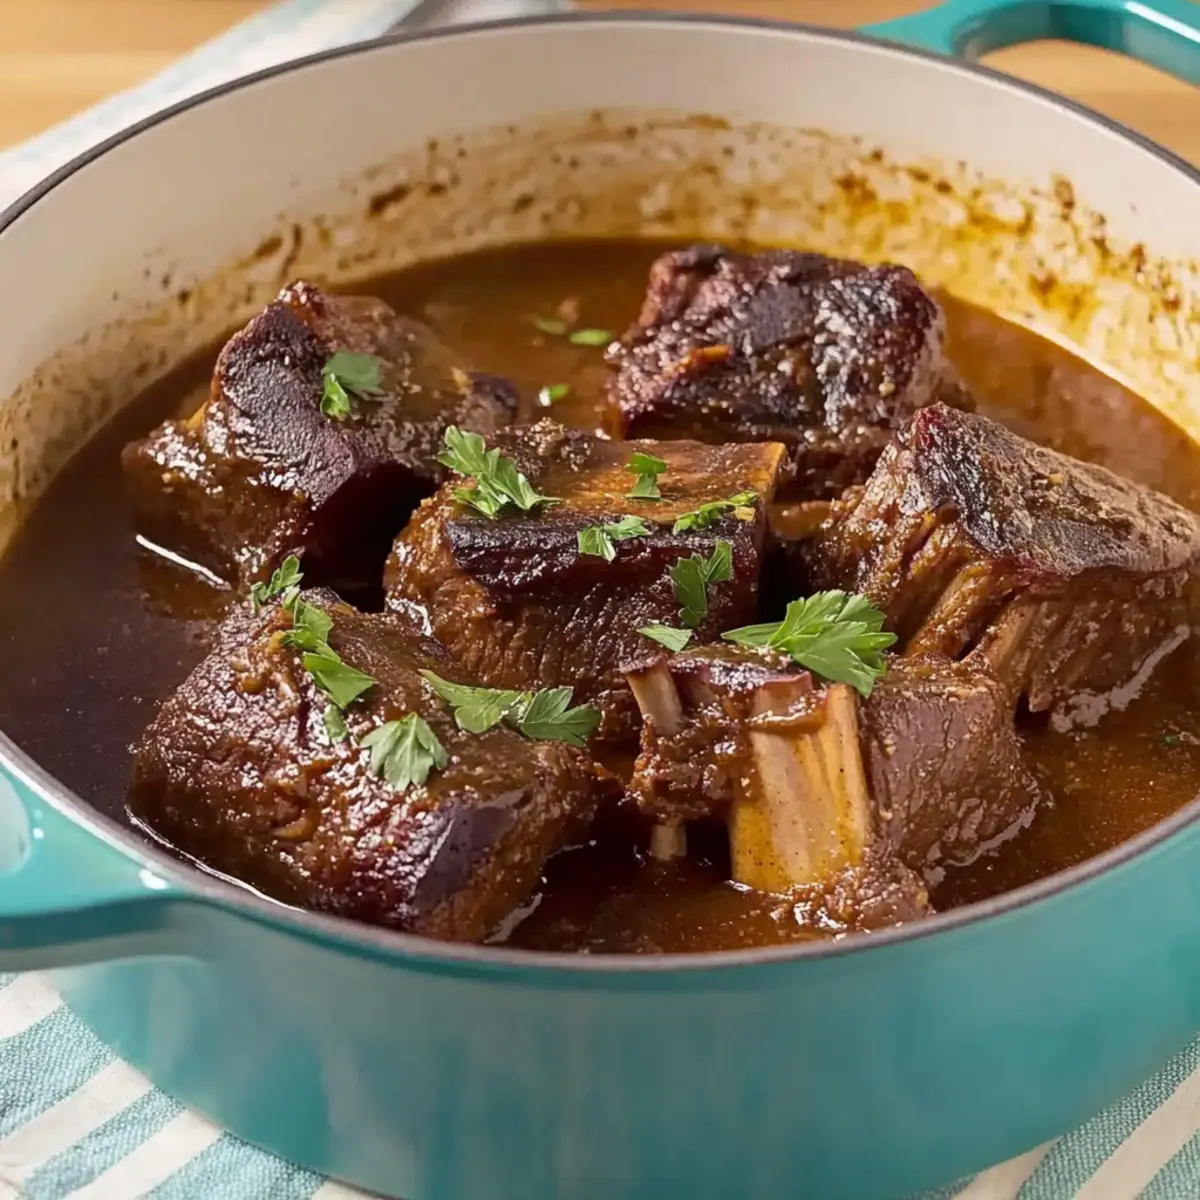
Add fresh thyme and rosemary to the Dutch oven, layering on aromatic perfection. Cover the pot and transfer it to a preheated oven at 350°F. Allow the Herb Braised Short Ribs to braise for 2 hours, during which time they'll become incredibly tender and infused with flavor.
Step 8: Finish Braising
After 2 hours, reduce the oven temperature to 325°F and continue to cook for an additional 30-45 minutes. Check for tenderness—when the meat easily pulls away from the bone, your Herb Braised Short Ribs are ready to wow your guests with delectable flavor and texture.
Step 9: Rest and Skim the Fat
Once cooked, carefully remove the Dutch oven from the oven and let the dish rest, covered, for 20 minutes. This resting period allows the juices to redistribute. Before serving, skim off any excess fat from the surface of the sauce to leave a cleaner, more flavorful finish.
Storage Tips for Herb Braised Short Ribs
Fridge: Store leftover Herb Braised Short Ribs in an airtight container for up to 4 days. The flavors meld beautifully overnight, enhancing the taste.
Freezer: For longer storage, freeze the short ribs in portions with sauce for up to 3 months. This makes for easy meals later on.
Reheating: To reheat frozen short ribs, place them in a covered Dutch oven at 300°F for about 30 minutes until warmed through. Enjoy the flavors just as delectable as when first made!
What to Serve with Herb Braised Short Ribs
Imagine the comforting aroma wafting through your home as you create a splendid meal around these tender ribs.
-
Creamy Mashed Potatoes: Silky and rich, these potatoes absorb the luscious sauce, making every bite a delight.
-
Garlic Roasted Brussels Sprouts: The crispy edges of the sprouts offer a satisfying crunch that contrasts beautifully with the tender meat. You’ll love the burst of garlicky goodness!
-
Herbaceous Green Salad: A refreshing mix of greens with a tangy vinaigrette adds brightness, balancing the rich flavors of the ribs. This combination is a perfect palate cleanser to keep the meal light.
-
Polenta: Creamy polenta adds a comforting, velvety texture that soaks up the savory juices. It's a warm hug on your plate!
-
Buttered Corn on the Cob: Sweet corn provides a delightful crunch and a touch of sweetness that pairs wonderfully with the savory elements of the dish.
-
Full-Bodied Red Wine: A glass of cabernet or merlot enhances the meal, echoing the deep flavors of the braised short ribs and elevating your dining experience.
Herb Braised Short Ribs Variations
Feel free to explore new flavors and adaptations as you create your wonderful dish!
-
Italian Twist: Incorporate oregano and basil for an Italian flavor profile. Serve with a side of pasta to keep the theme going.
-
Spicy Kick: Add crushed red pepper flakes during the braising for a warm, spicy finish. Just a pinch can elevate the dish beautifully.
-
Mushroom Magic: Mix in hearty mushrooms like shiitake or porcini for an earthier flavor. They add depth and a lovely texture to the sauce.
-
Smoky Flavor: Use smoked paprika for a subtle smoky note. Just a teaspoon can transform this comforting dish into a campfire classic.
-
Root Vegetable Bliss: Toss in potatoes or parsnips for a heartier twist. They’ll absorb the luscious sauce, making each bite even more enjoyable.
-
Non-Alcoholic Option: Swap the wine with additional beef broth or a splash of apple cider vinegar for a tangy depth without alcohol.
-
Terrific Toppings: Serve with freshly grated Parmesan or a sprinkle of chives for an extra burst of flavor. A garnish can elevate presentation and taste.
-
Rich Red Wine: For an added depth, swap in a robust red wine like Cabernet Sauvignon, which pairs well with the rich flavors of your dish. The perfect complement to those Herby Ricotta Stuffed peppers you might serve alongside!
Expert Tips for Herb Braised Short Ribs
-
Sear with Patience: Make sure to let the short ribs sear without moving them to achieve a fantastic crust and maximize flavor.
-
Low and Slow: Stick to low braising temperatures for tender, succulent meat. Avoid rushing the process; patience is key for the best results.
-
Perfecting the Sauce: Skim excess fat before serving, but for easier removal, chill the dish. The cooled fat will solidify, allowing for effortless skimming.
-
Cooking in Batches: If your Dutch oven is on the smaller side, sear the ribs in batches to prevent overcrowding, which ensures they brown evenly.
-
Season Generously: Don’t hold back on seasonings! The robust flavors of kosher salt and black pepper enhance the overall taste of your Herb Braised Short Ribs.
Make Ahead Options
These Herb Braised Short Ribs are perfect for meal prep enthusiasts! You can season and brown the ribs, then let them marinate in the refrigerator for up to 24 hours to infuse even more flavor. Additionally, chop your onion, carrots, and shallots in advance; they’ll stay fresh in an airtight container in the fridge for up to 3 days. When you’re ready to enjoy, simply sauté the aromatics and follow the braising steps as usual. This method maintains the quality, ensuring your dish is just as delicious and tender as ever, saving you time on busy weeknights while delivering that comforting, home-cooked experience.
Herb Braised Short Ribs Recipe FAQs
What kind of short ribs should I use?
For the best results, I recommend using bone-in English-style beef short ribs. They contain more meat and retain moisture better during cooking, resulting in that tender, juicy texture we all crave.
How should I store leftover Herb Braised Short Ribs?
Store your leftover short ribs in an airtight container in the refrigerator for up to 4 days. This will allow the flavors to meld beautifully overnight, making the next day’s meal even more delightful!
Can I freeze Herb Braised Short Ribs?
Absolutely! For freezing, portion the short ribs with their sauce into airtight containers or freezer bags. They’ll stay fresh for up to 3 months. When ready to enjoy, simply reheat them in a covered Dutch oven at 300°F for about 30 minutes until warmed through.
Why are my short ribs tough after cooking?
That can happen if the ribs were cooked at too high a temperature or not long enough. It's essential to maintain a low and slow cooking process. If you're using a Dutch oven, you want to keep it covered and allow the ribs to braise gently—this achieves the fork-tender texture you’re aiming for.
What herbs can I use if I don’t have fresh thyme or rosemary?
If fresh herbs aren't available, dried alternatives work! Just remember that dried herbs are more concentrated, so use about 1/3 of the amount required for fresh. For thyme, 1 teaspoon dried will suffice, and for rosemary, 1/2 teaspoon dried should do the trick!
Are Herb Braised Short Ribs safe for pets?
It's best to avoid giving short ribs to pets, especially anything cooked with onions or rich sauces, as these can be harmful to them. Stick with plain, unseasoned meat if you want to share a tiny bit with your furry friend!
Savory Herb Braised Short Ribs for Comfort Food Bliss
Ingredients
Equipment
Method
- Generously season the ribs with kosher salt and black pepper, coat with flour.
- In a Dutch oven, cook pancetta over medium heat until crispy, then remove.
- Increase heat and sear short ribs in olive oil until browned all sides.
- Sauté onions, carrots, and shallots in the Dutch oven until softened.
- Deglaze the pot with wine and scrape up any browned bits. Cook briefly.
- Add broth and return ribs and pancetta to the pot, ensuring ribs are submerged.
- Add thyme and rosemary, cover, and braise in oven at 350°F for 2 hours.
- Reduce heat to 325°F and continue to cook for 30-45 minutes.
- Let rest covered for 20 minutes before serving, skim off excess fat.