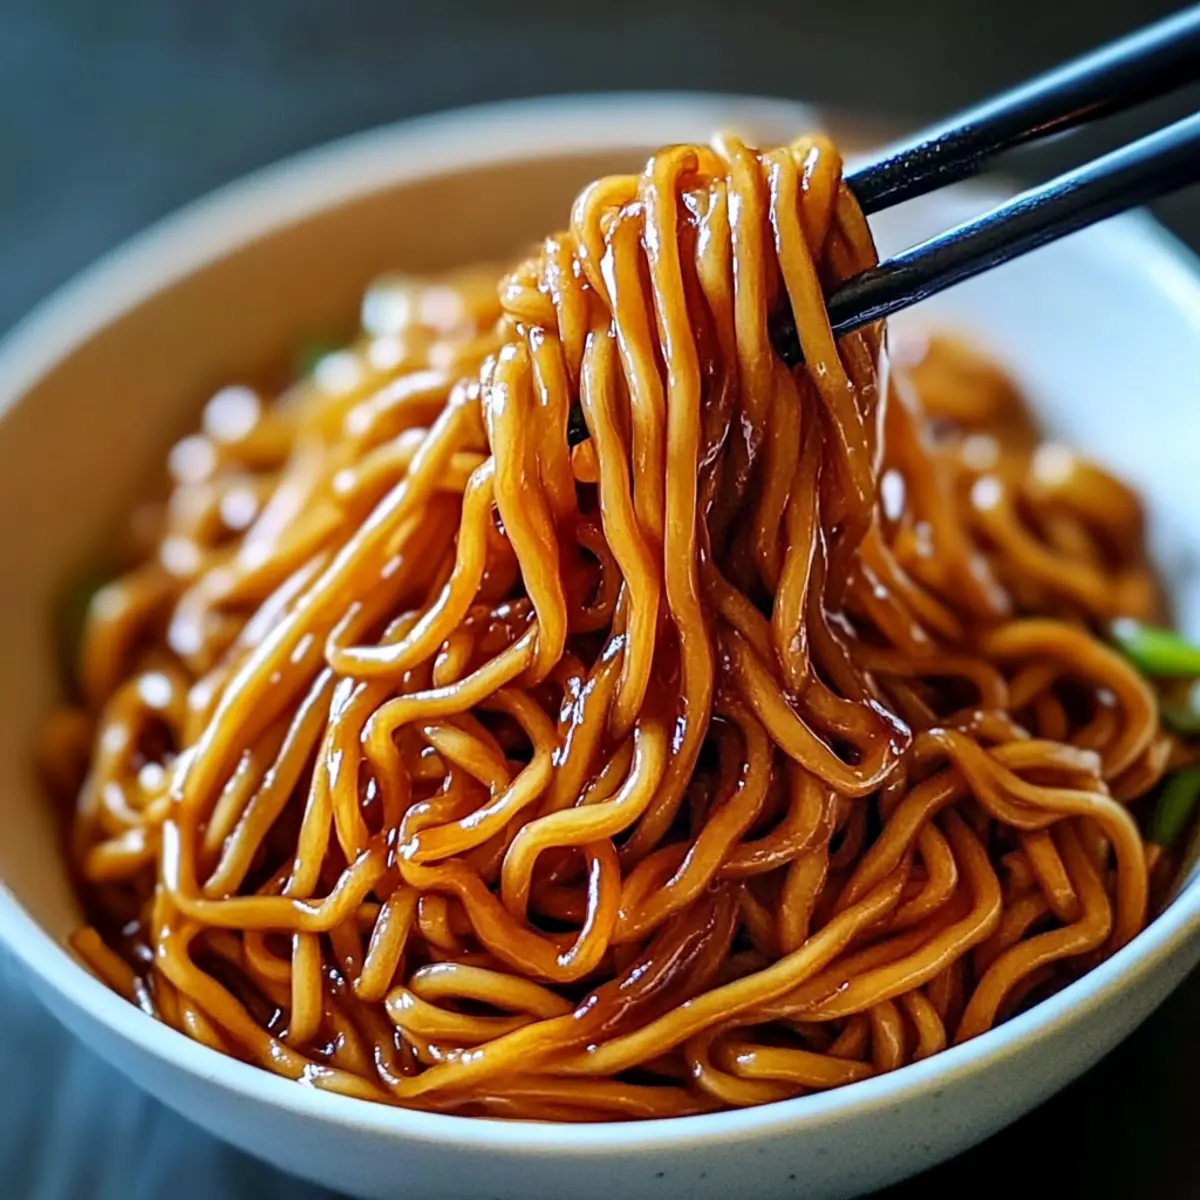
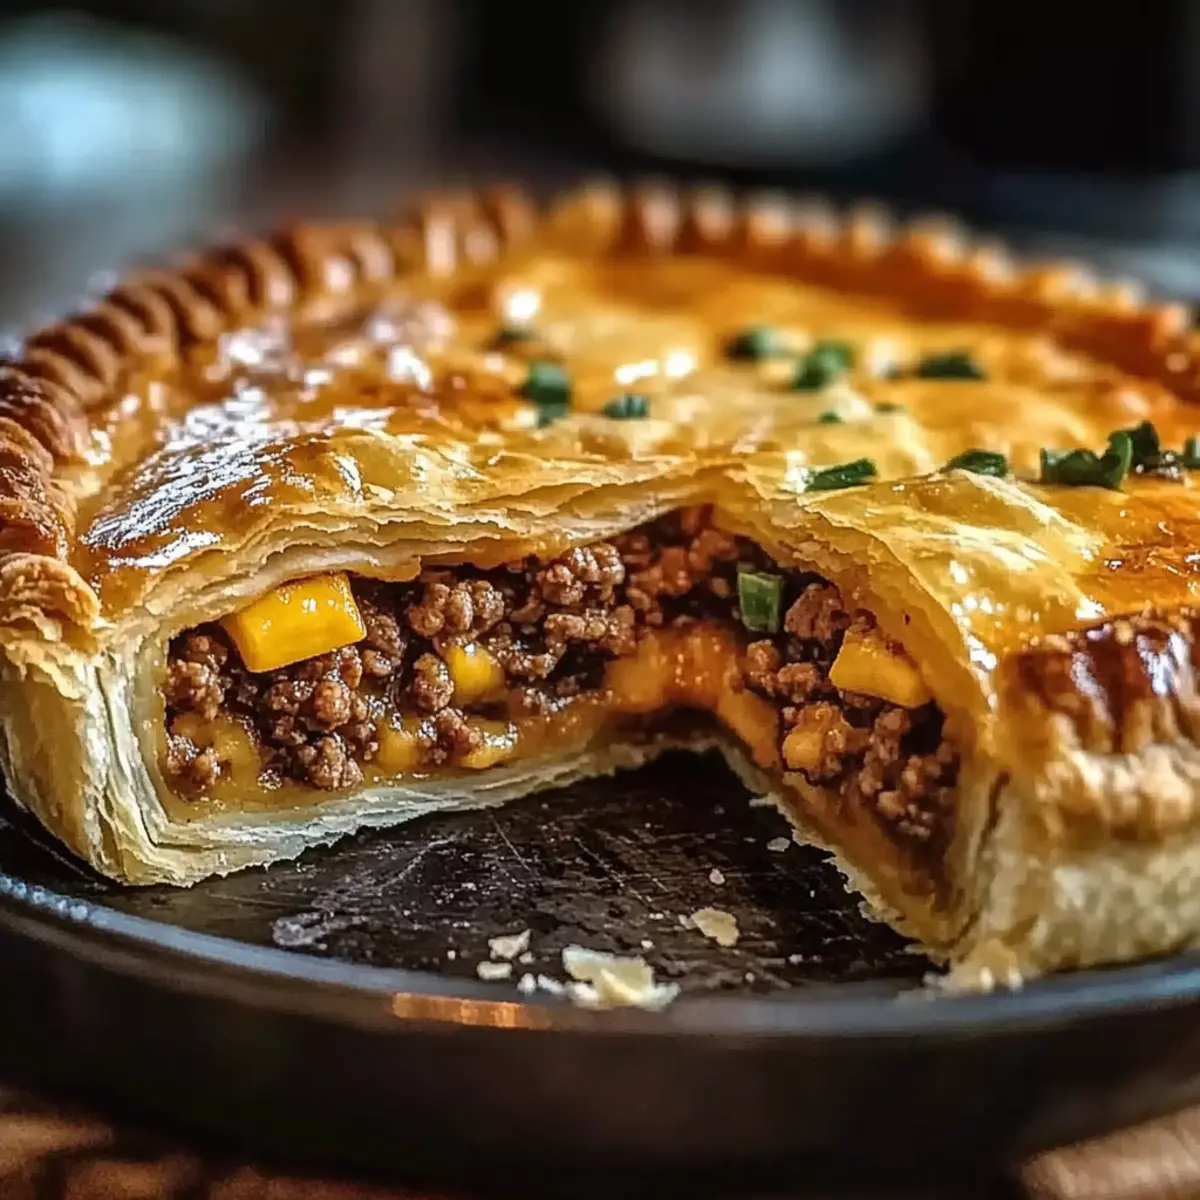
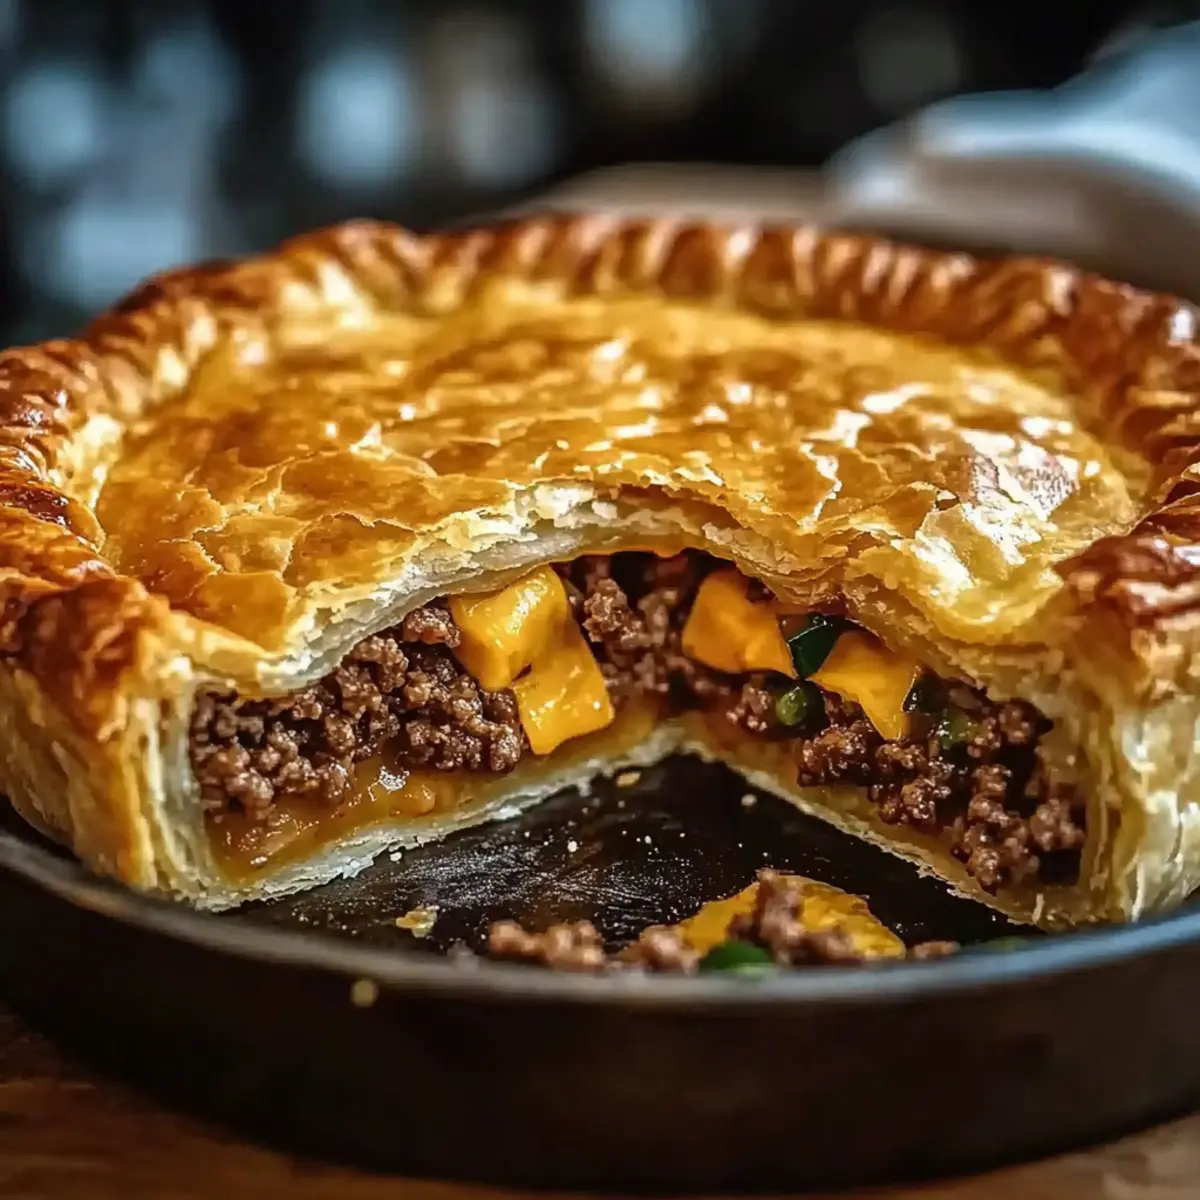
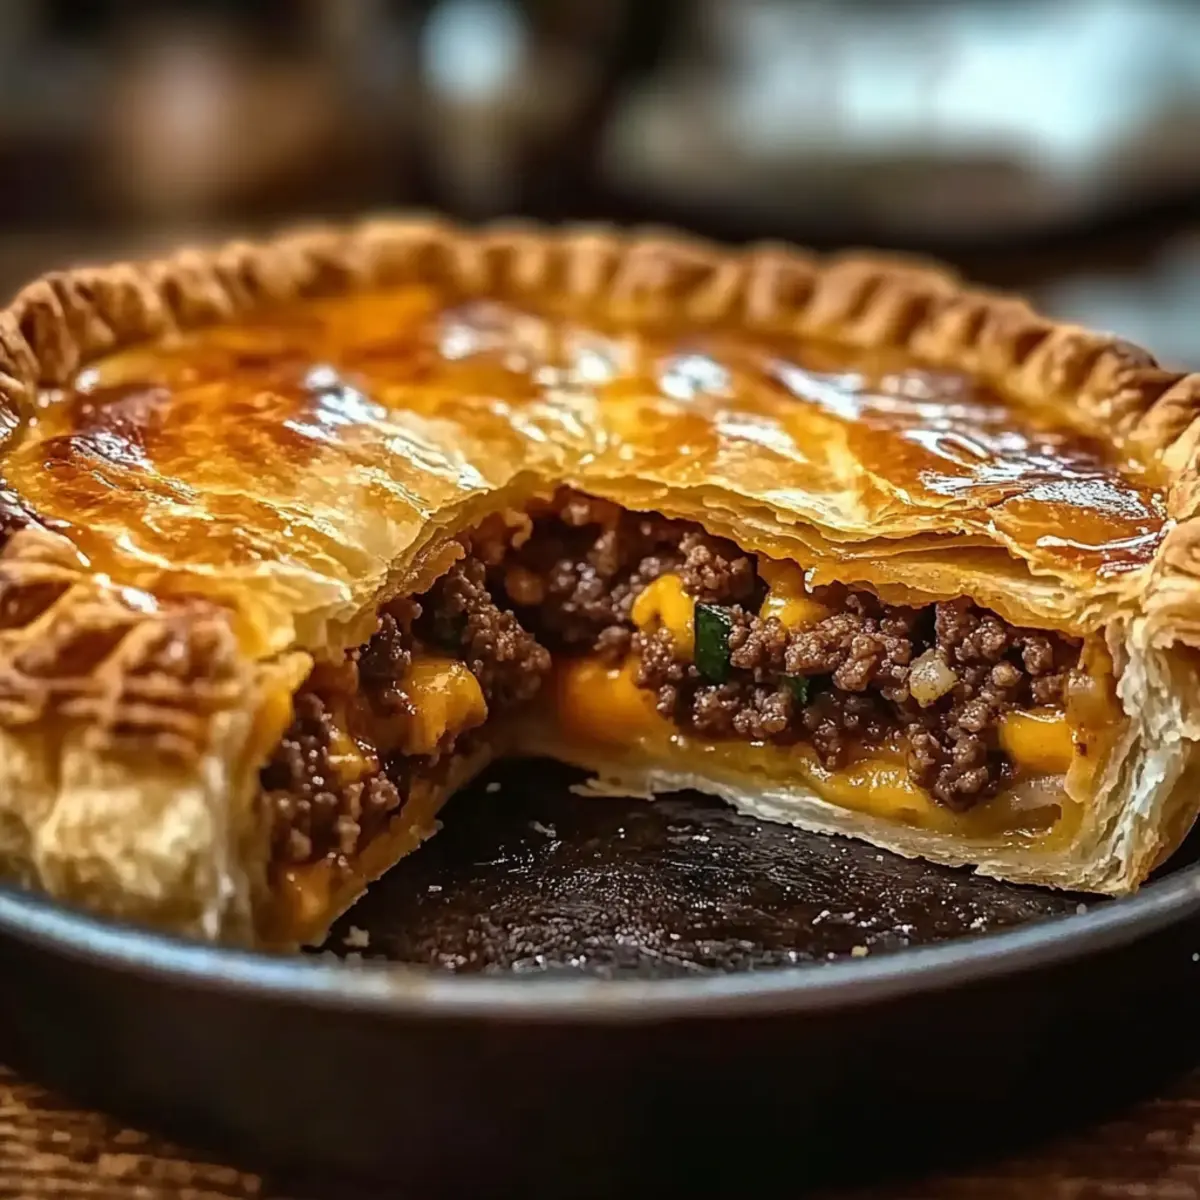
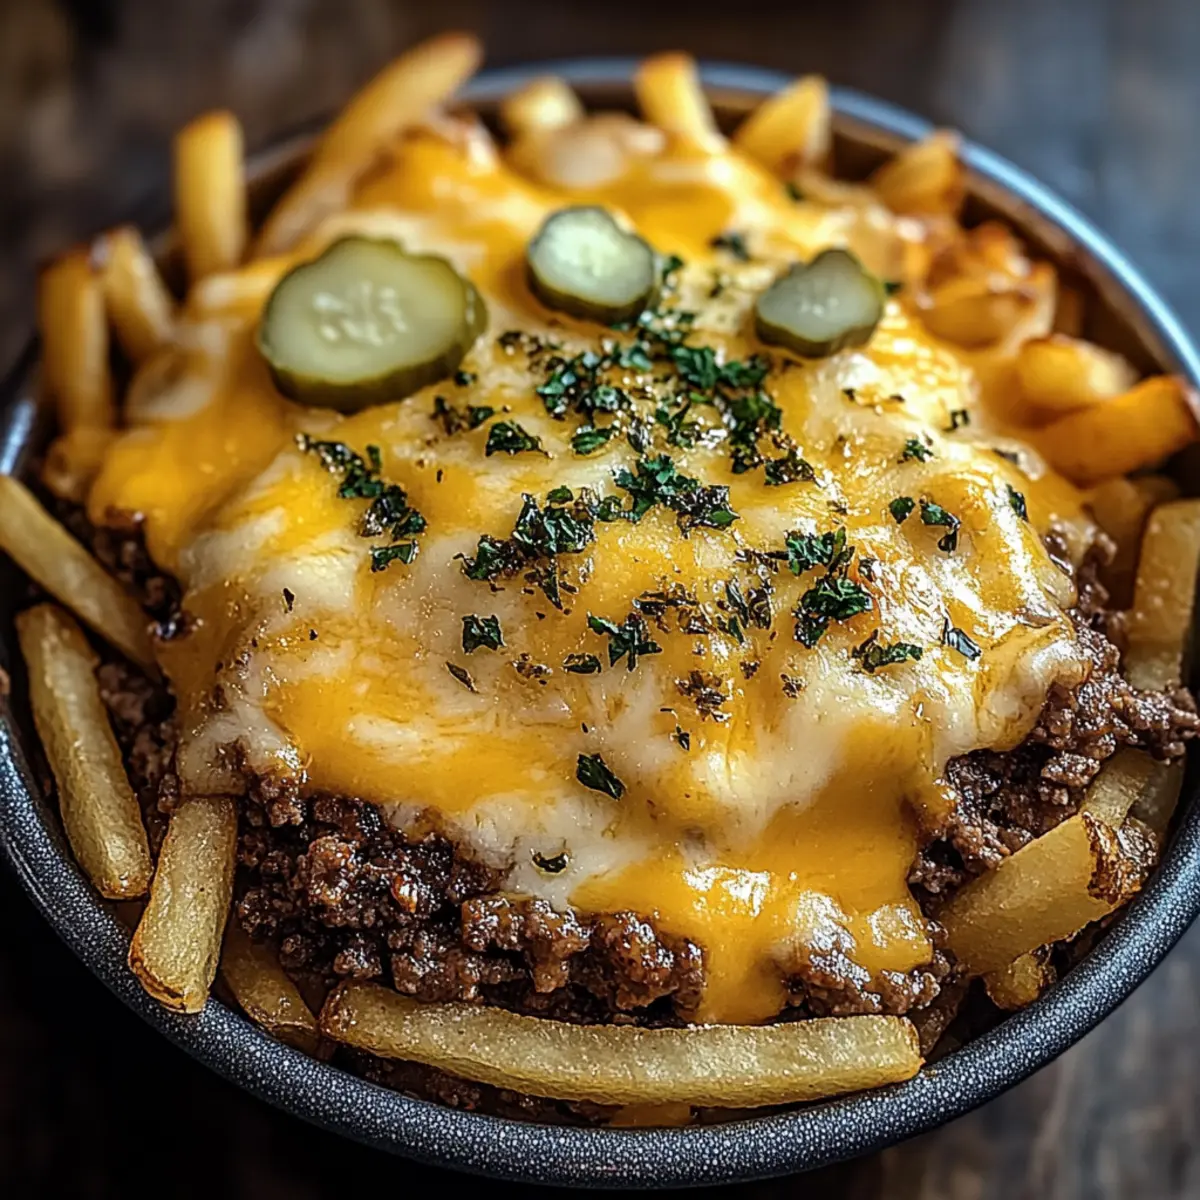
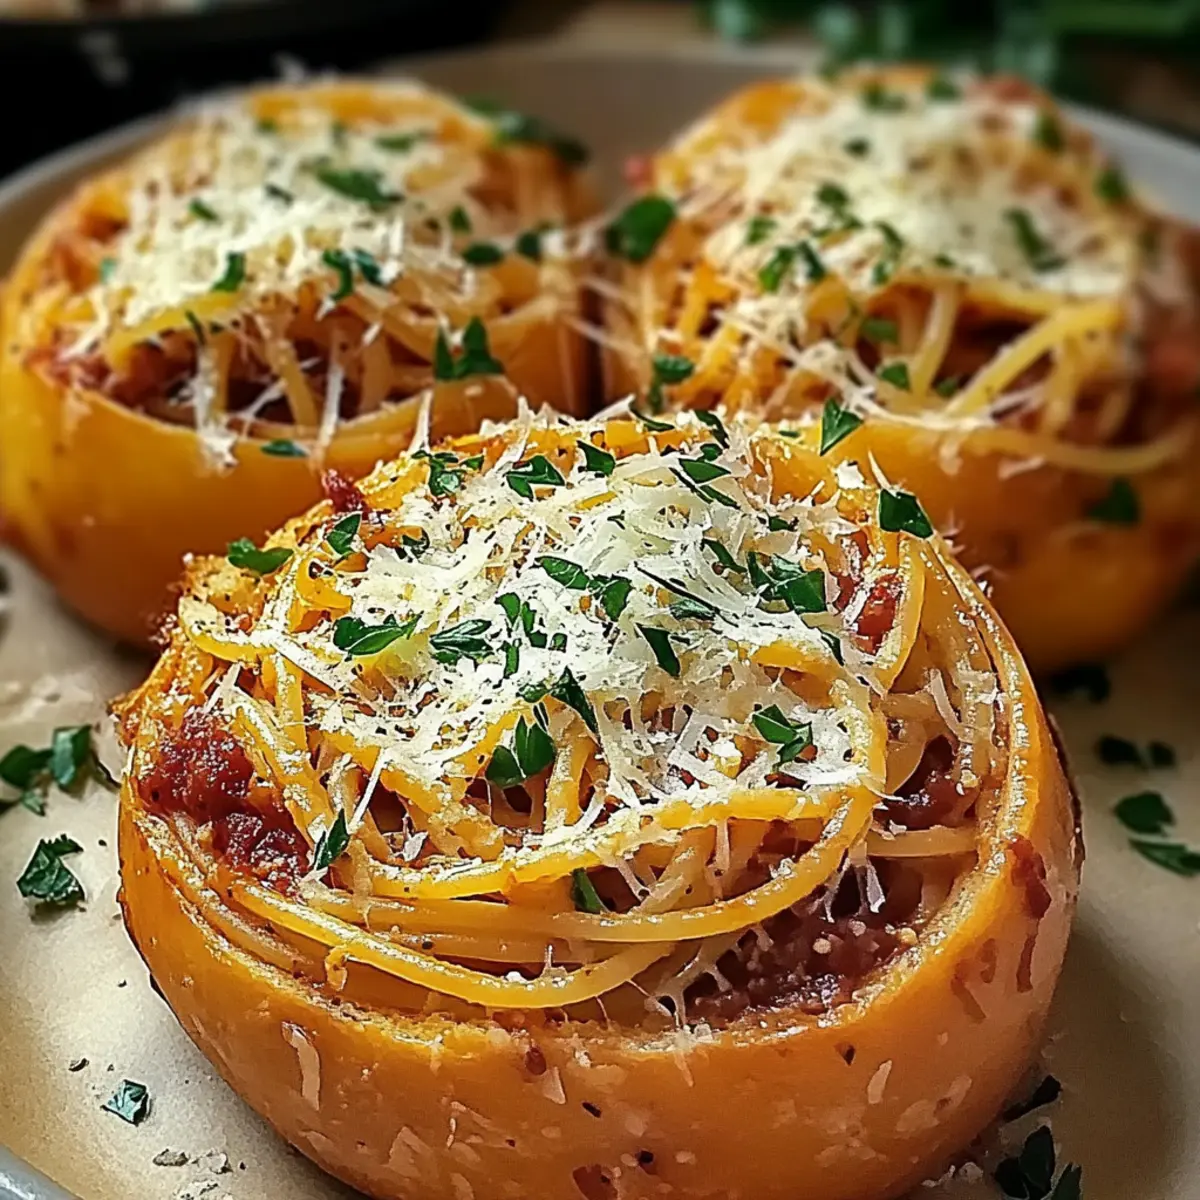
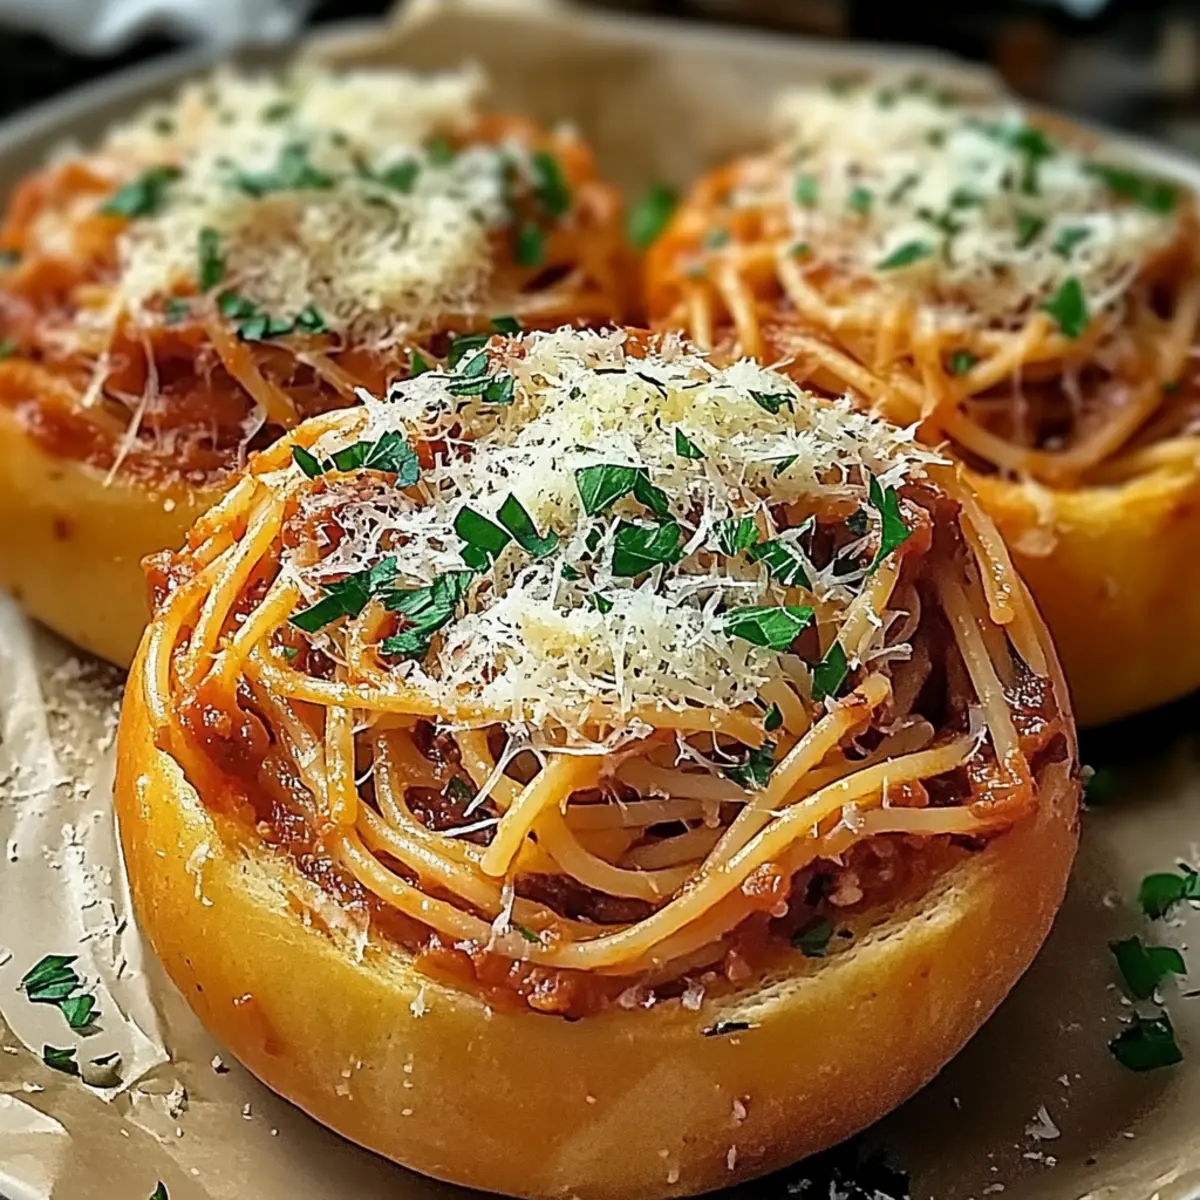
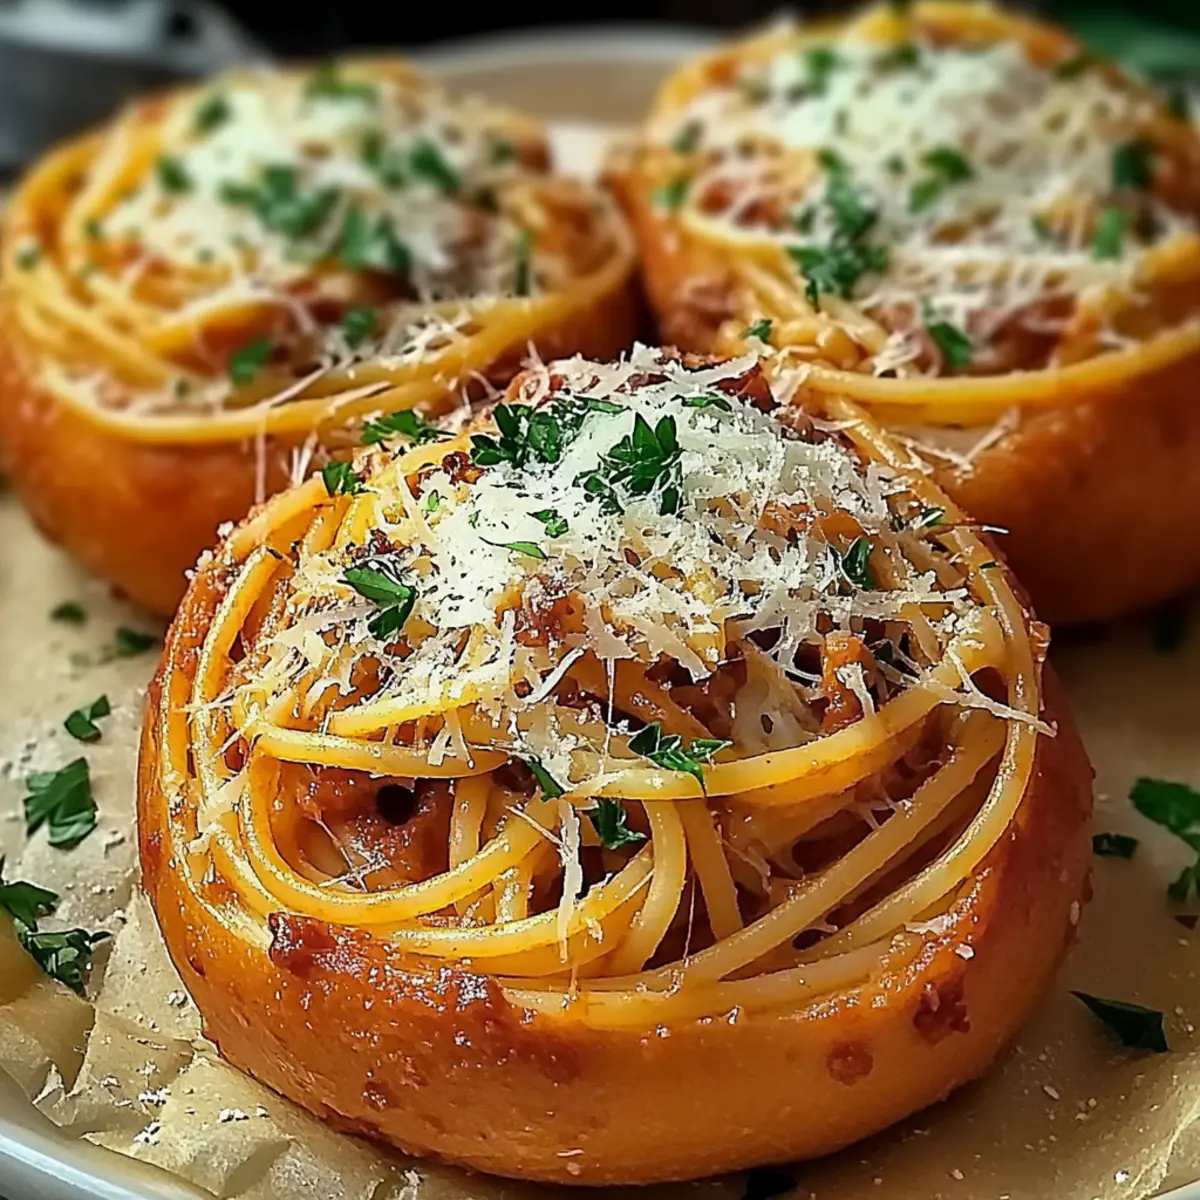
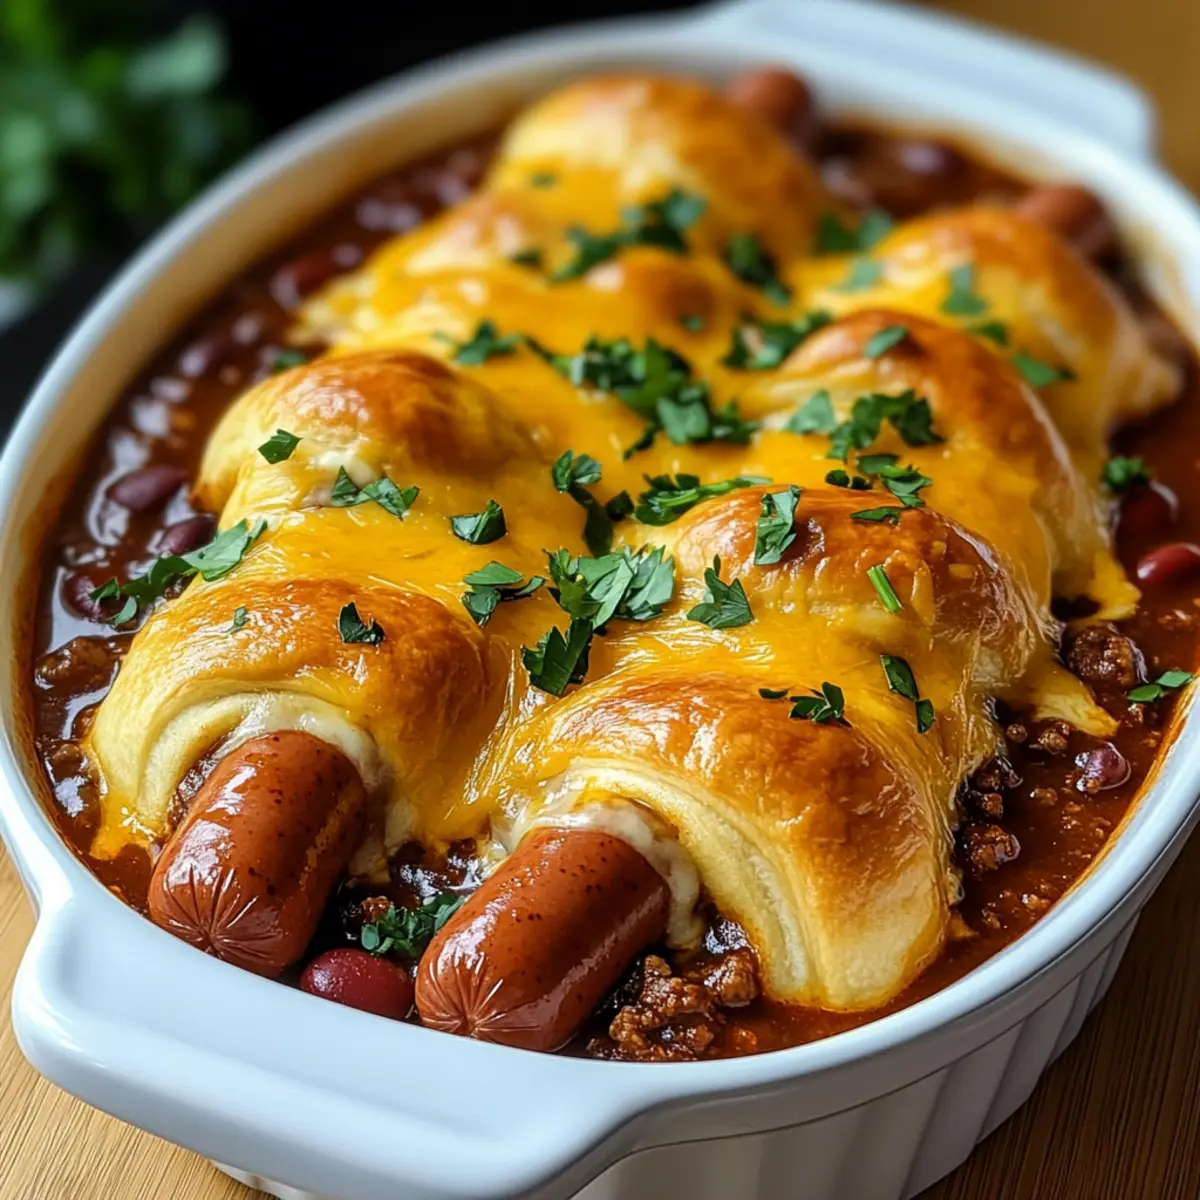
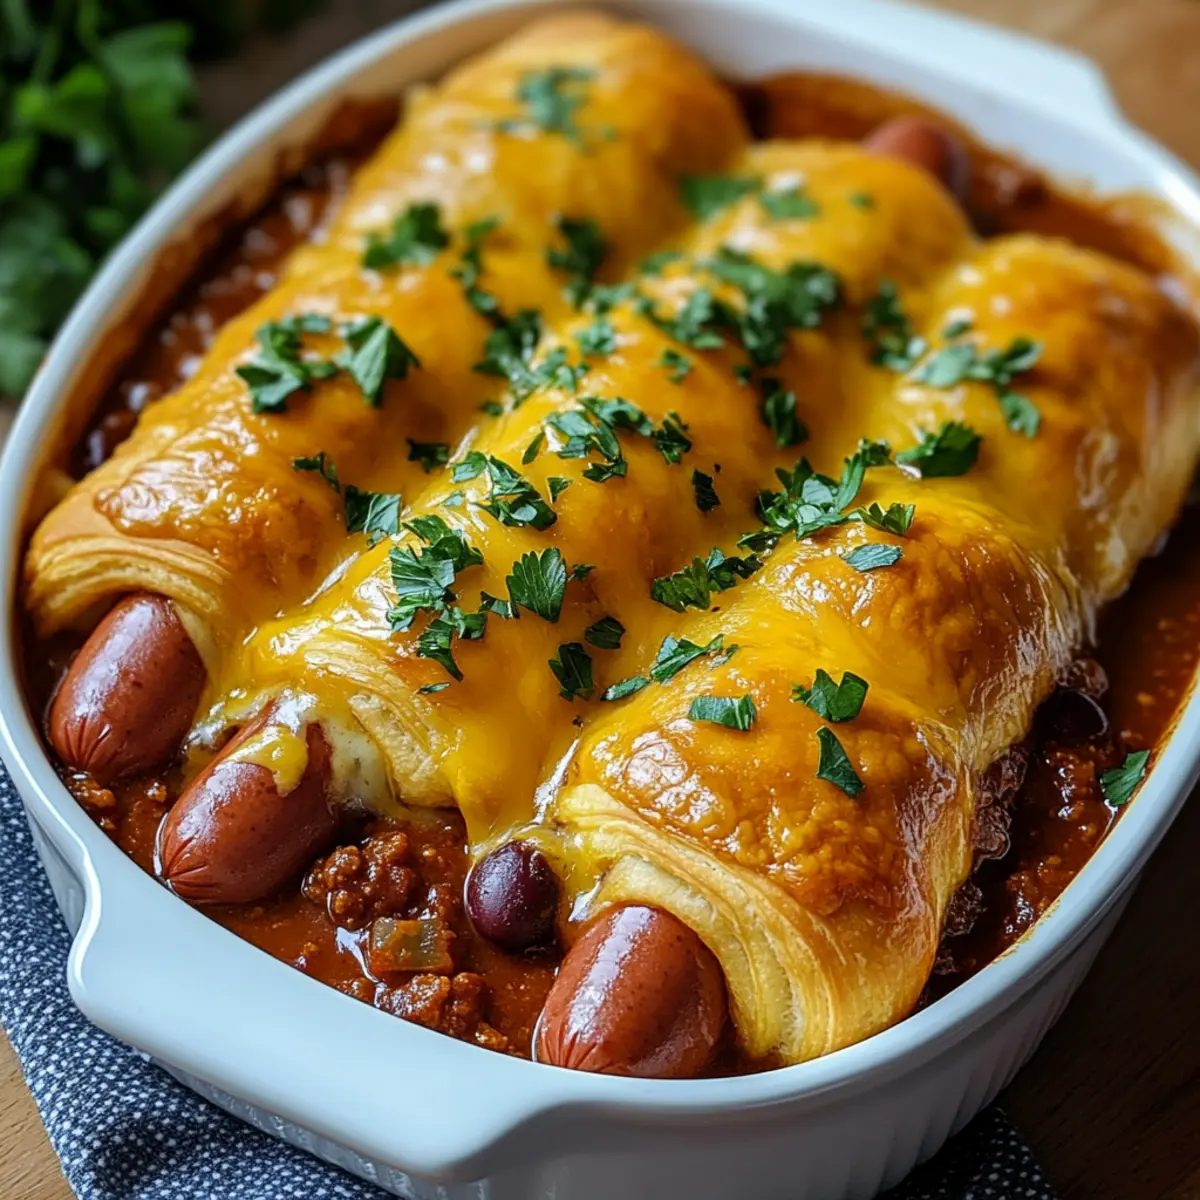
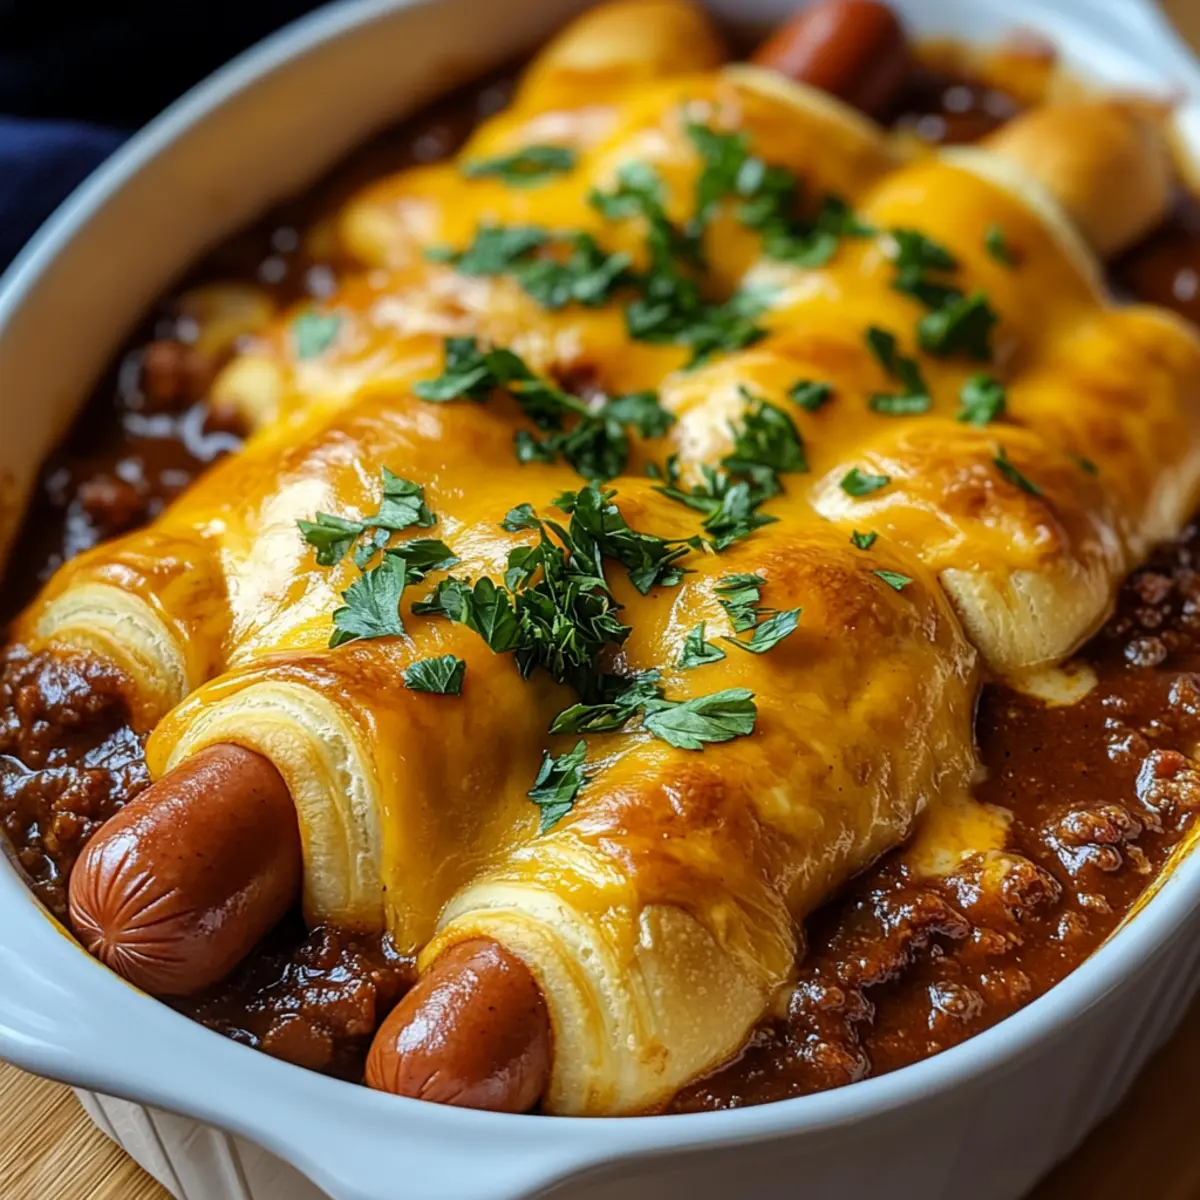
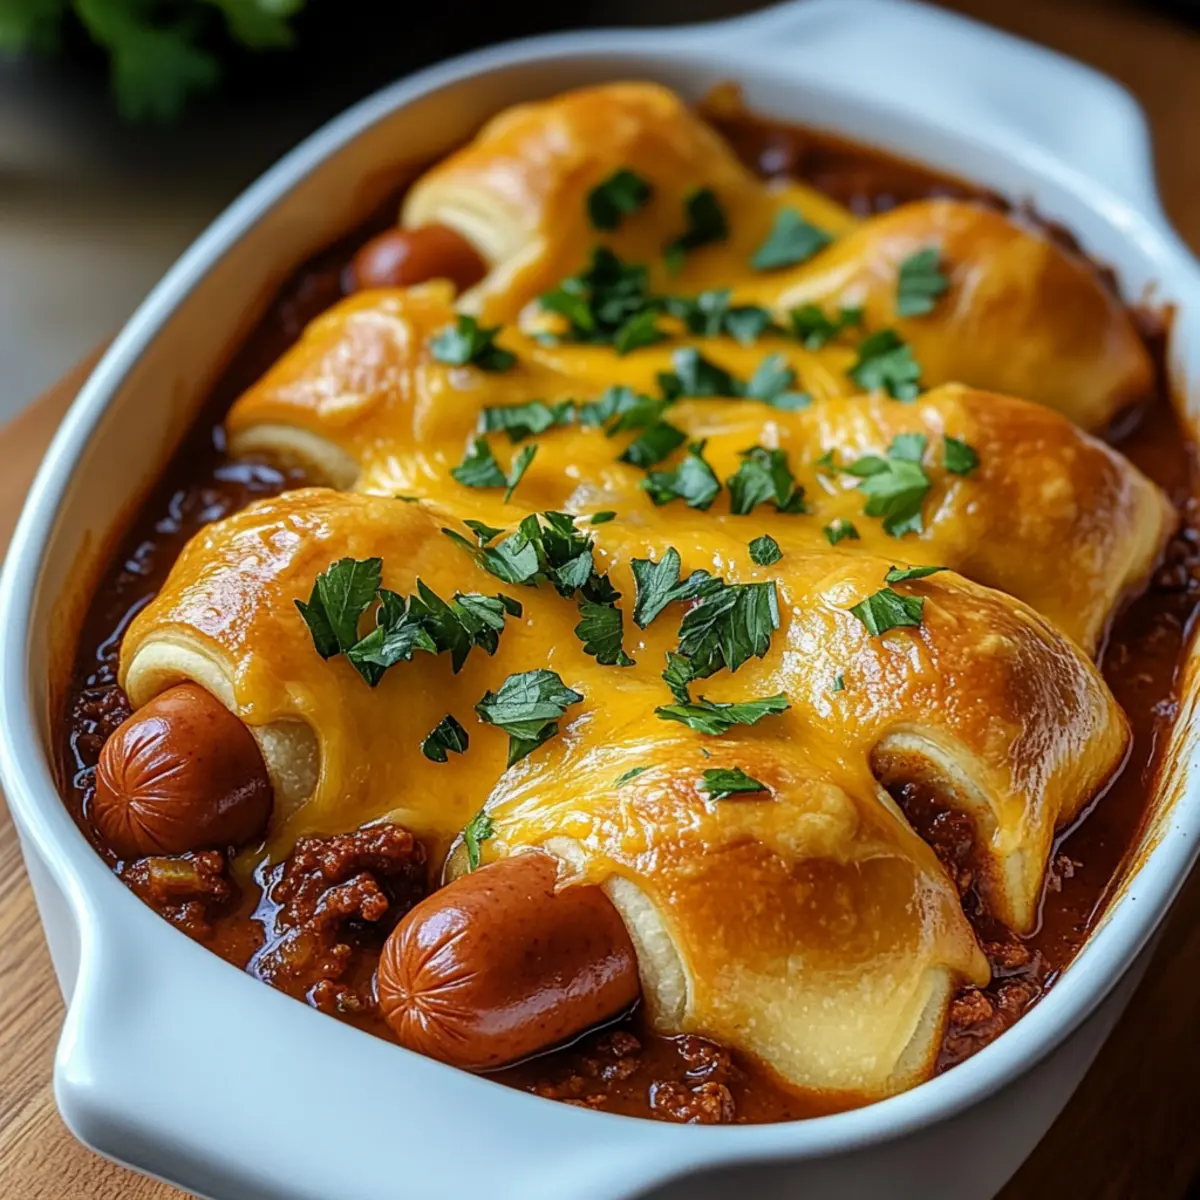
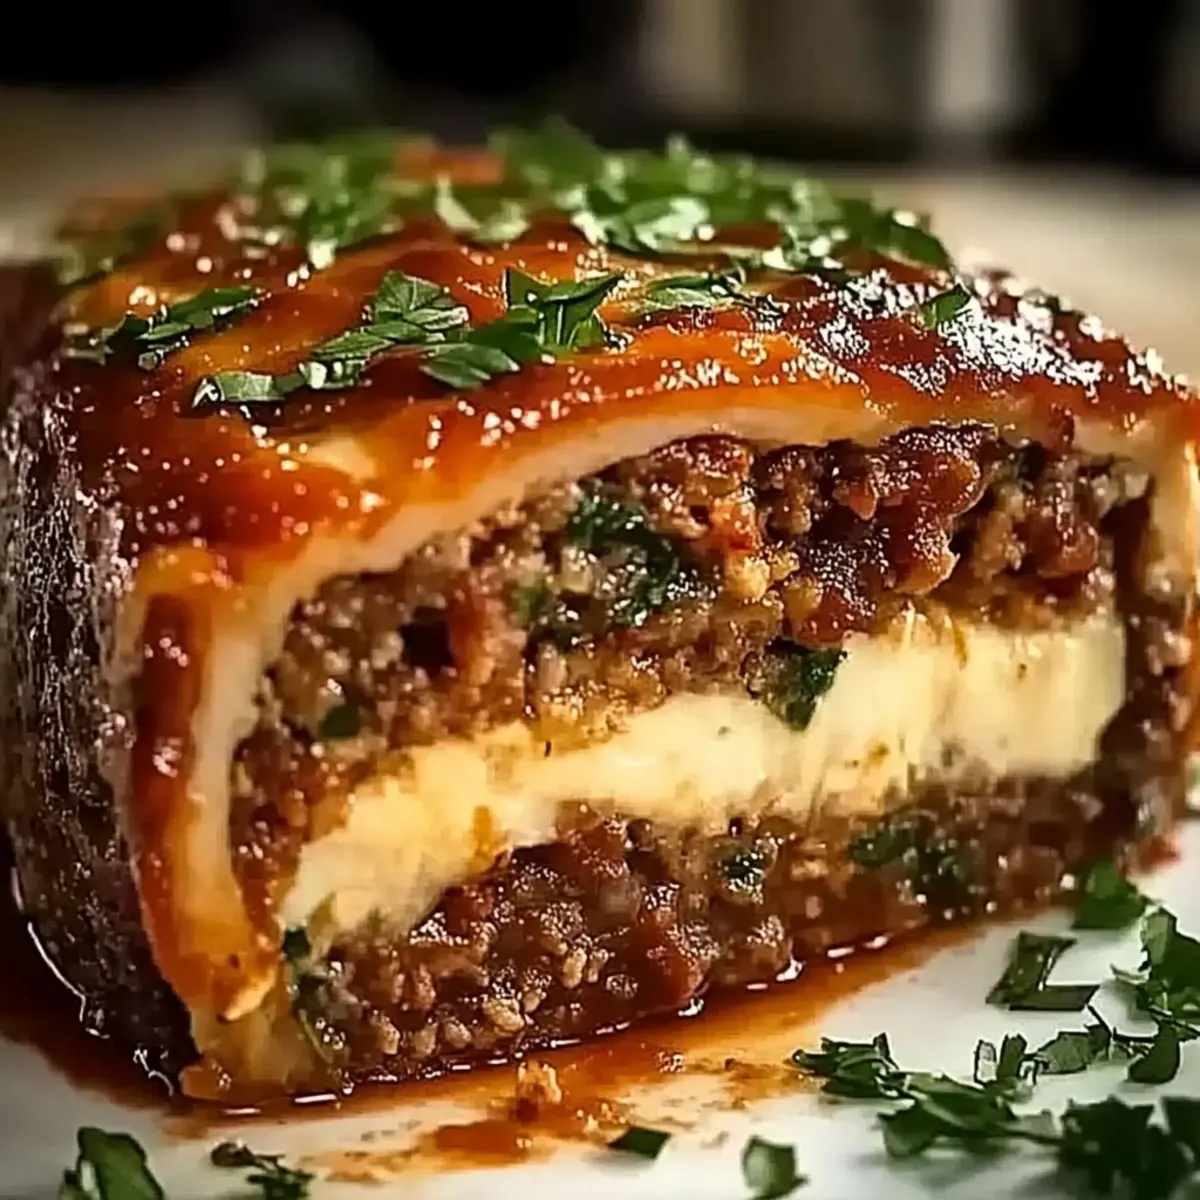
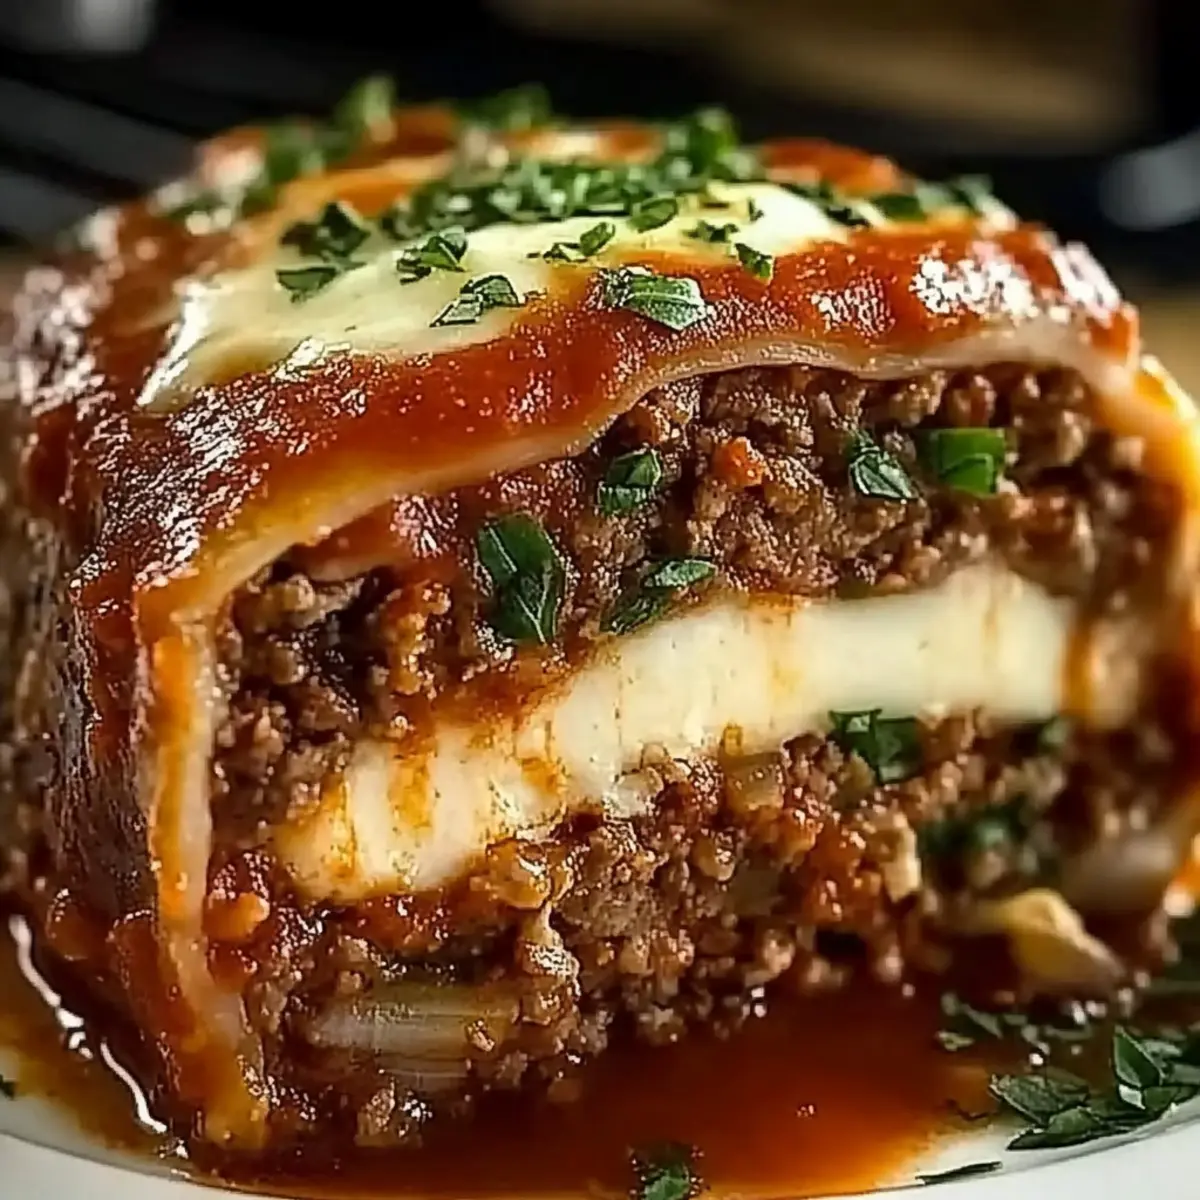
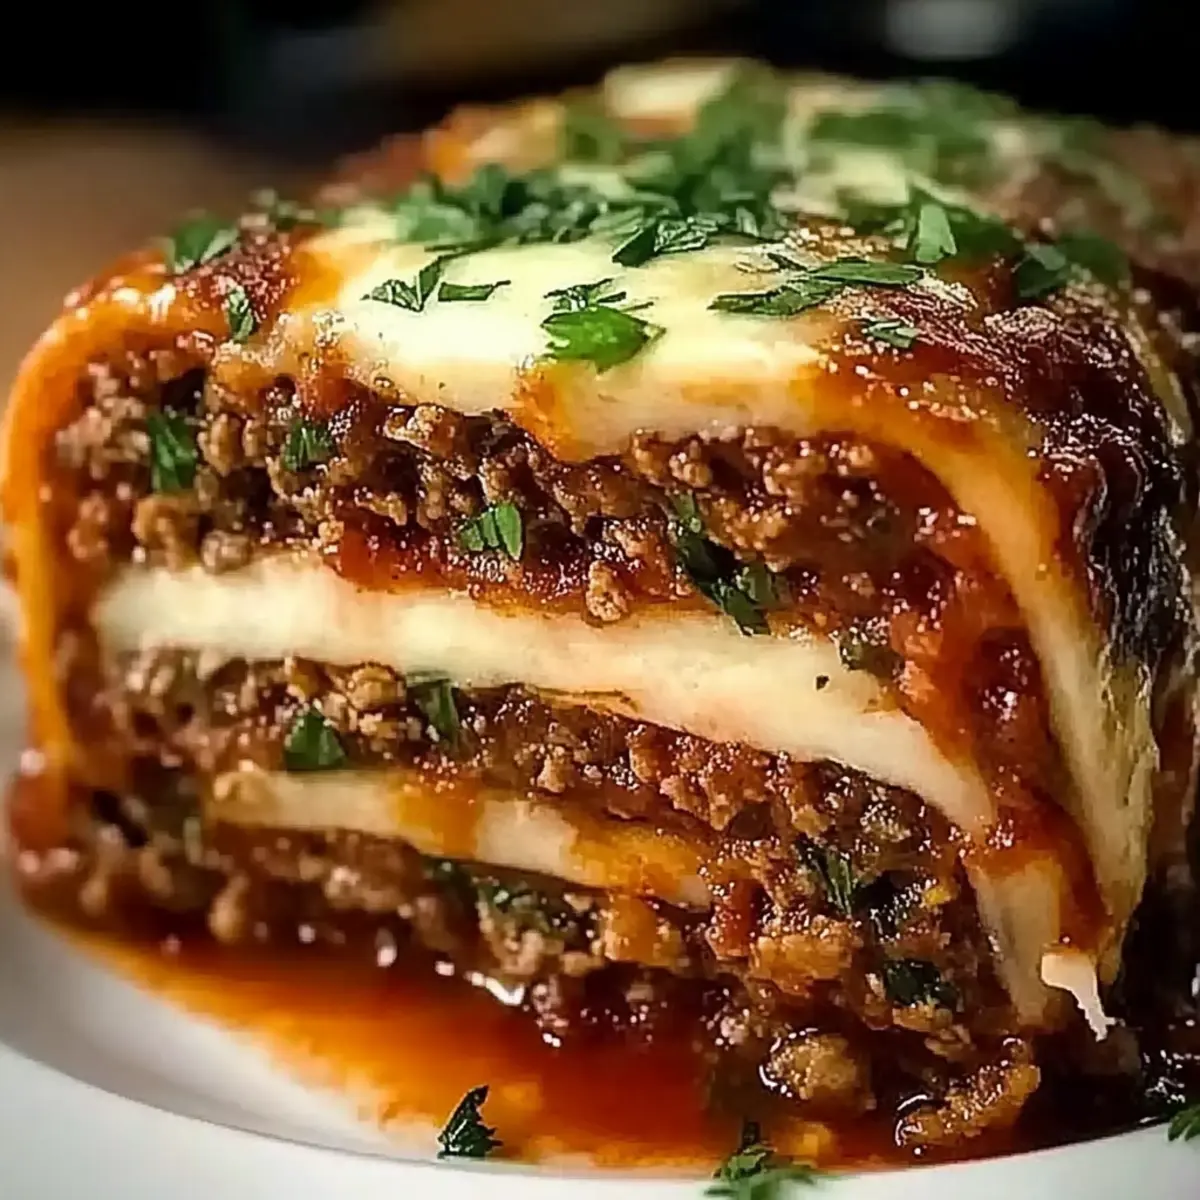
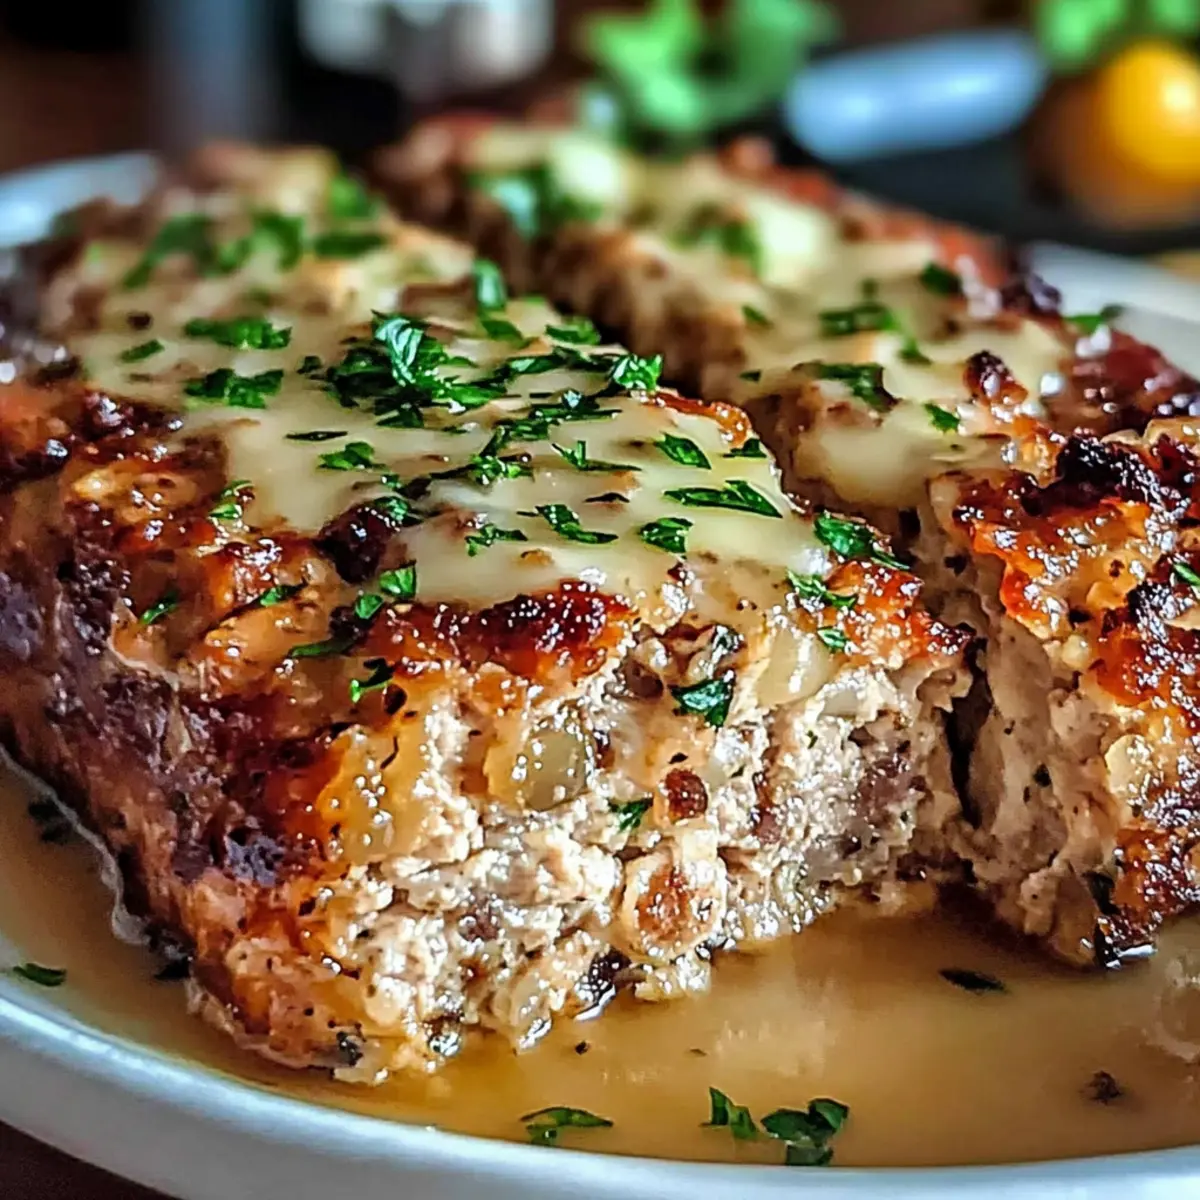
As the warm aroma of cheesy goodness wafts through my kitchen, I can’t help but smile at the anticipation of sharing a comforting dish that’s become a family favorite: Easy Cheeseburger Pasta Casserole. This all-in-one meal is not only a delightful twist on the traditional cheeseburger but also effortlessly combines ground beef, creamy tomato soup, and pasta into a hearty dinner that comes together in a flash. Perfect for those bustling weeknights, this budget-friendly recipe is guaranteed to please even the pickiest of eaters, making dinner a breeze. Plus, who doesn't love a little nostalgia served on a plate? Are you ready to whip up this cozy dish that will have everyone asking for seconds?
Why is This Pasta Casserole Irresistible?
Heartwarming Comfort: This casserole combines all the flavors of your favorite cheeseburger into one easy dish, making it a nostalgic crowd-pleaser.
Budget-Friendly: Using minimal and affordable ingredients, this recipe keeps your wallet happy while satisfying your family's cravings.
Quick Prep Time: Ready in under an hour, it's perfect for busy weeknights when time is of the essence and the stomachs are growling.
Kid-Approved: The delightful mix of cheesy goodness and pasta means even the pickiest of eaters will ask for more.
Versatile Variations: Want to switch things up? Feel free to add veggies like bell peppers or swap out beef for a vegetarian alternative, catering to everyone at the table.
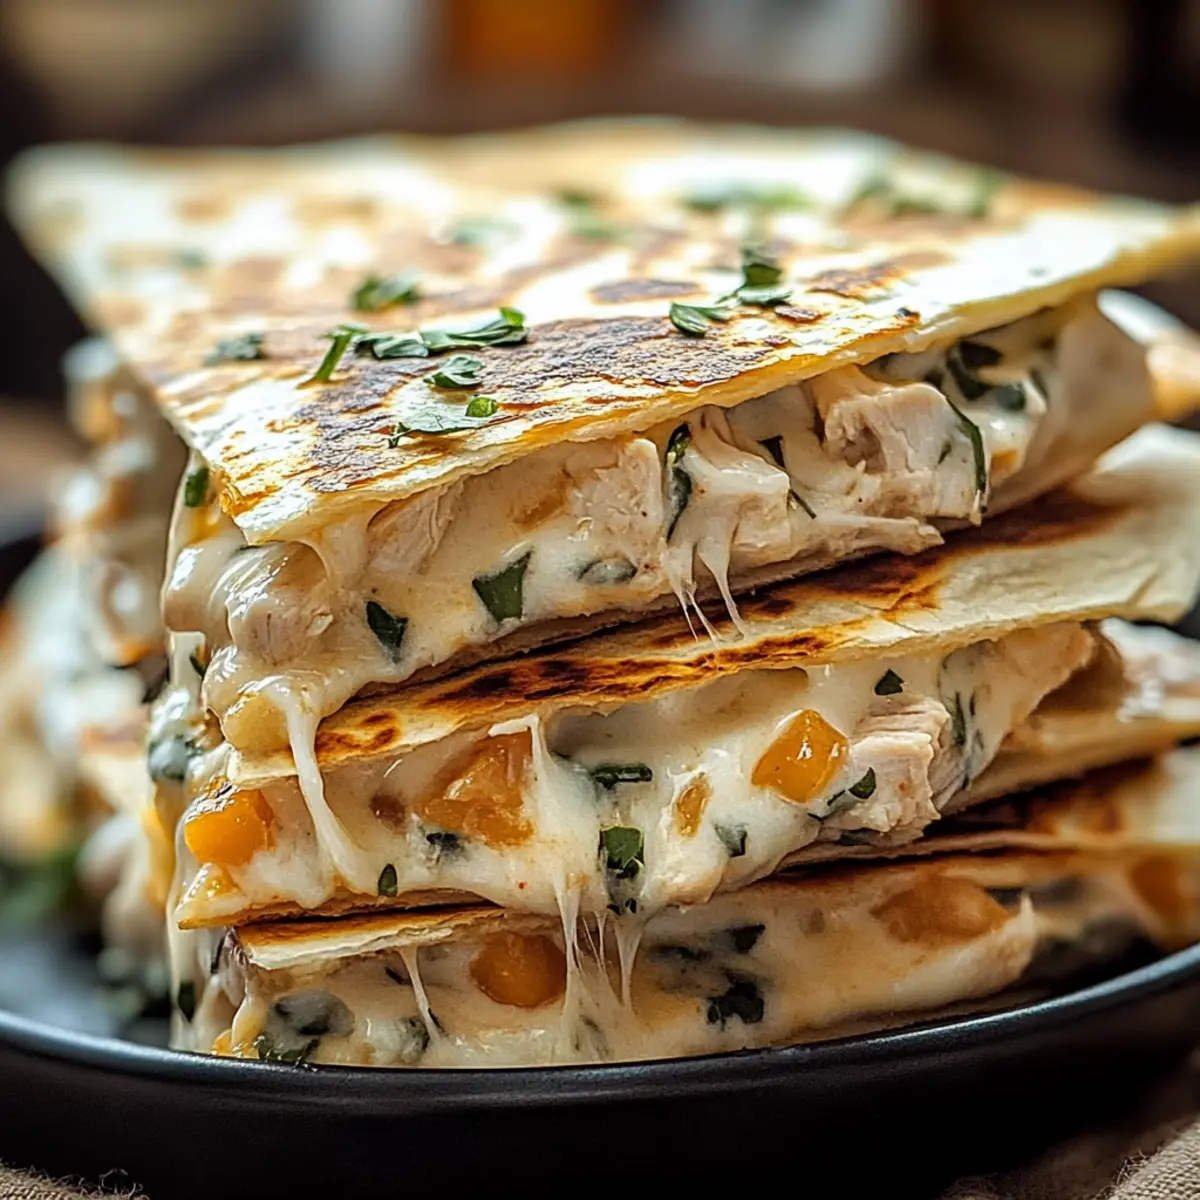
You might also enjoy our Cauliflower Pasta Ready for a lighter option or explore the flavors of Seafood Pasta Savory for a delightful twist!
Cheeseburger Pasta Casserole Ingredients
• Get ready to create cheesy magic!
For the Casserole
- Ground Beef – Provides protein and a savory base. Substitute with ground turkey for a leaner option.
- Small Pasta Shells (1 lb) – Acts as the main carbohydrate source and absorbs flavors. Any small pasta shape can be used.
- Tomato Soup (2 x 10.5 oz cans) – Adds moisture and sweetness, mimicking the flavors of a cheeseburger. Can substitute with a homemade tomato sauce if desired.
- Water (1/2 cup) – Thins the sauce, ensuring a creamy texture. No substitutions needed.
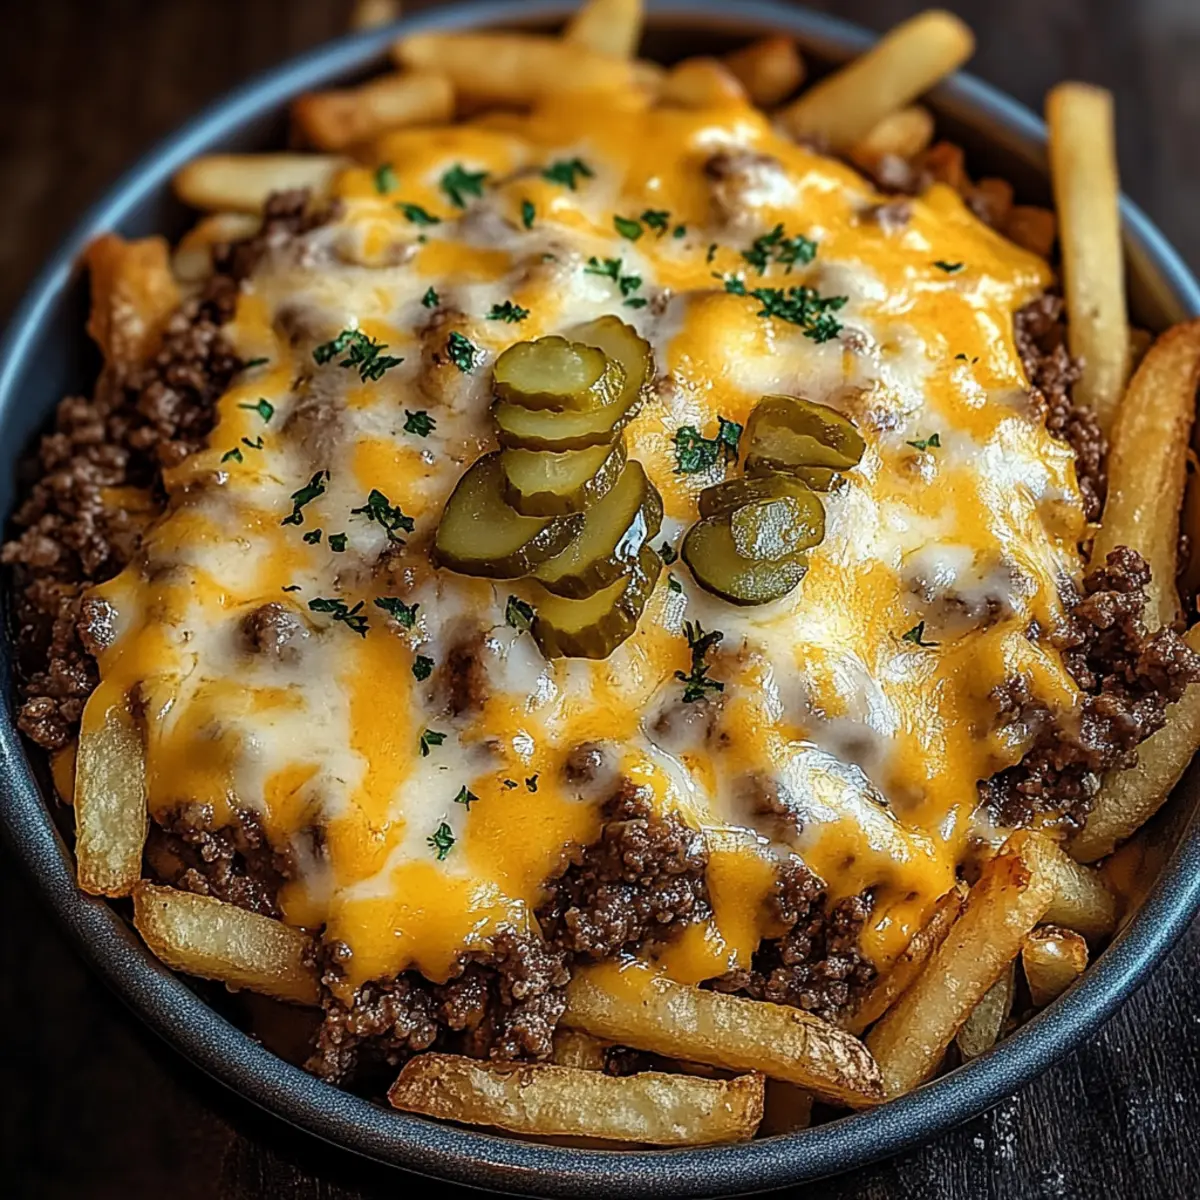
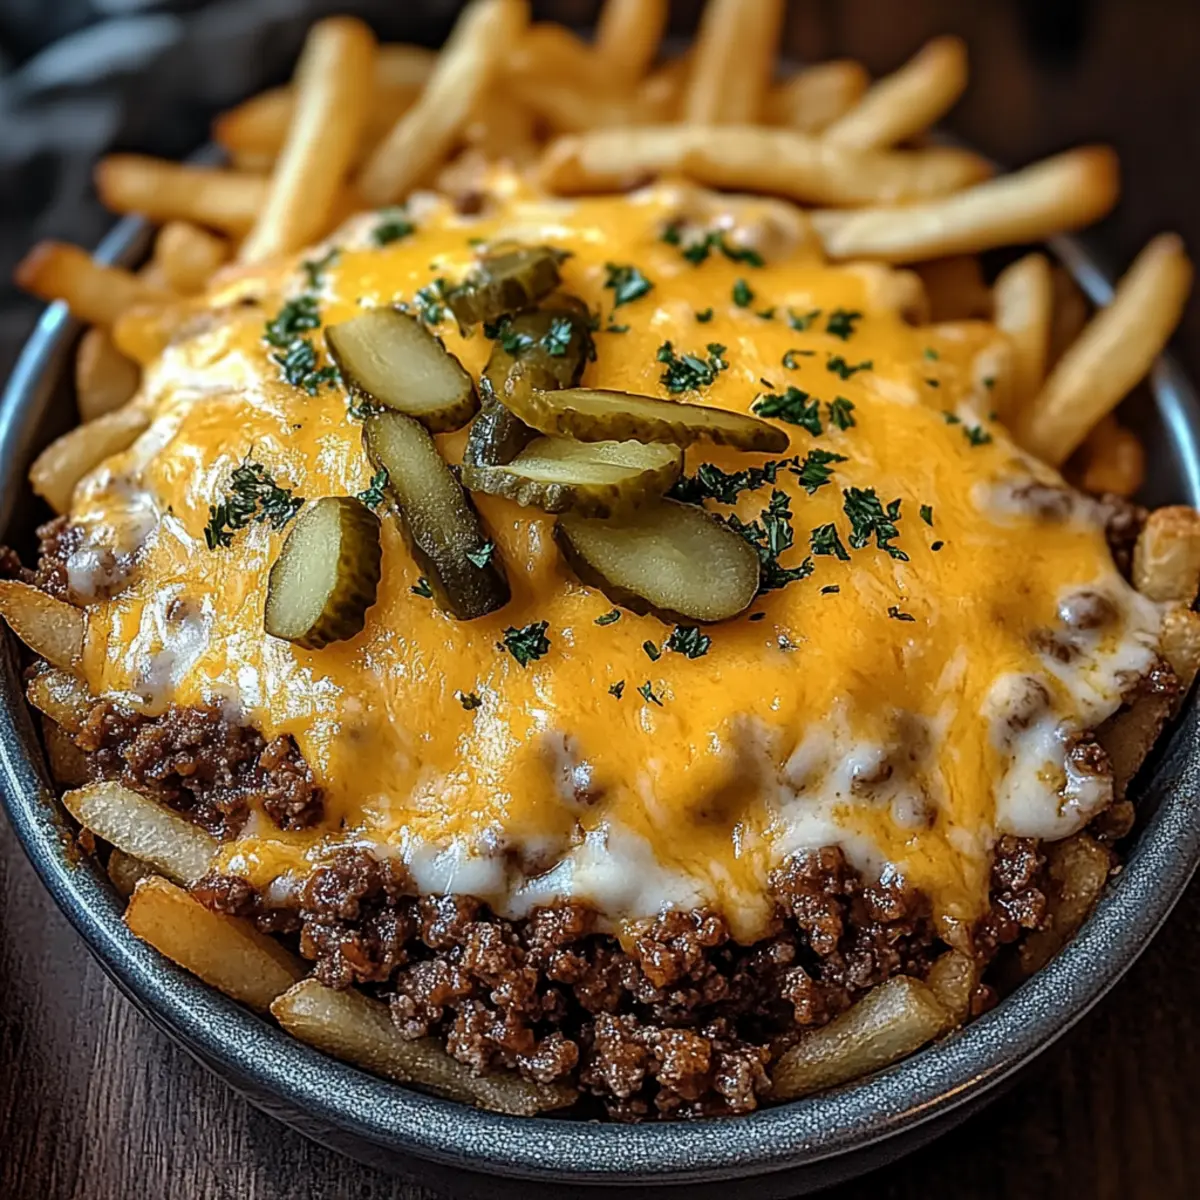
- Shredded Cheese (3 cups) – Provides creaminess and flavor. Cheddar is recommended, but any cheese such as mozzarella or a cheese blend can be used.
- Seasoning (to taste) – Enhances flavor; common choices include salt, pepper, garlic powder, and onion powder. Adjust based on personal preference.
Step‑by‑Step Instructions for Cheeseburger Pasta Casserole
Step 1: Preheat and Prepare
Begin by preheating your oven to 375°F (190°C). While the oven warms up, grease a 9x13-inch baking dish with cooking spray or butter to prevent sticking. This will be the cozy vessel for your Cheeseburger Pasta Casserole, ensuring that it bakes evenly and comes out easily when it's time to serve.
Step 2: Cook the Pasta
In a large pot, bring salted water to a boil and add the small pasta shells. Cook according to the package instructions until they are al dente, usually about 7-10 minutes. Once cooked, drain the pasta and set it aside, allowing it to cool slightly as you start on the savory cheeseburger filling.
Step 3: Brown the Ground Beef
In a large skillet over medium heat, add the ground beef. Cook for about 5-7 minutes, breaking it apart with a spatula, until it is no longer pink. Once browned, drain any excess grease and season the meat with salt, pepper, garlic powder, and onion powder to taste, enhancing the robust flavors for your casserole.
Step 4: Mix Ingredients Together
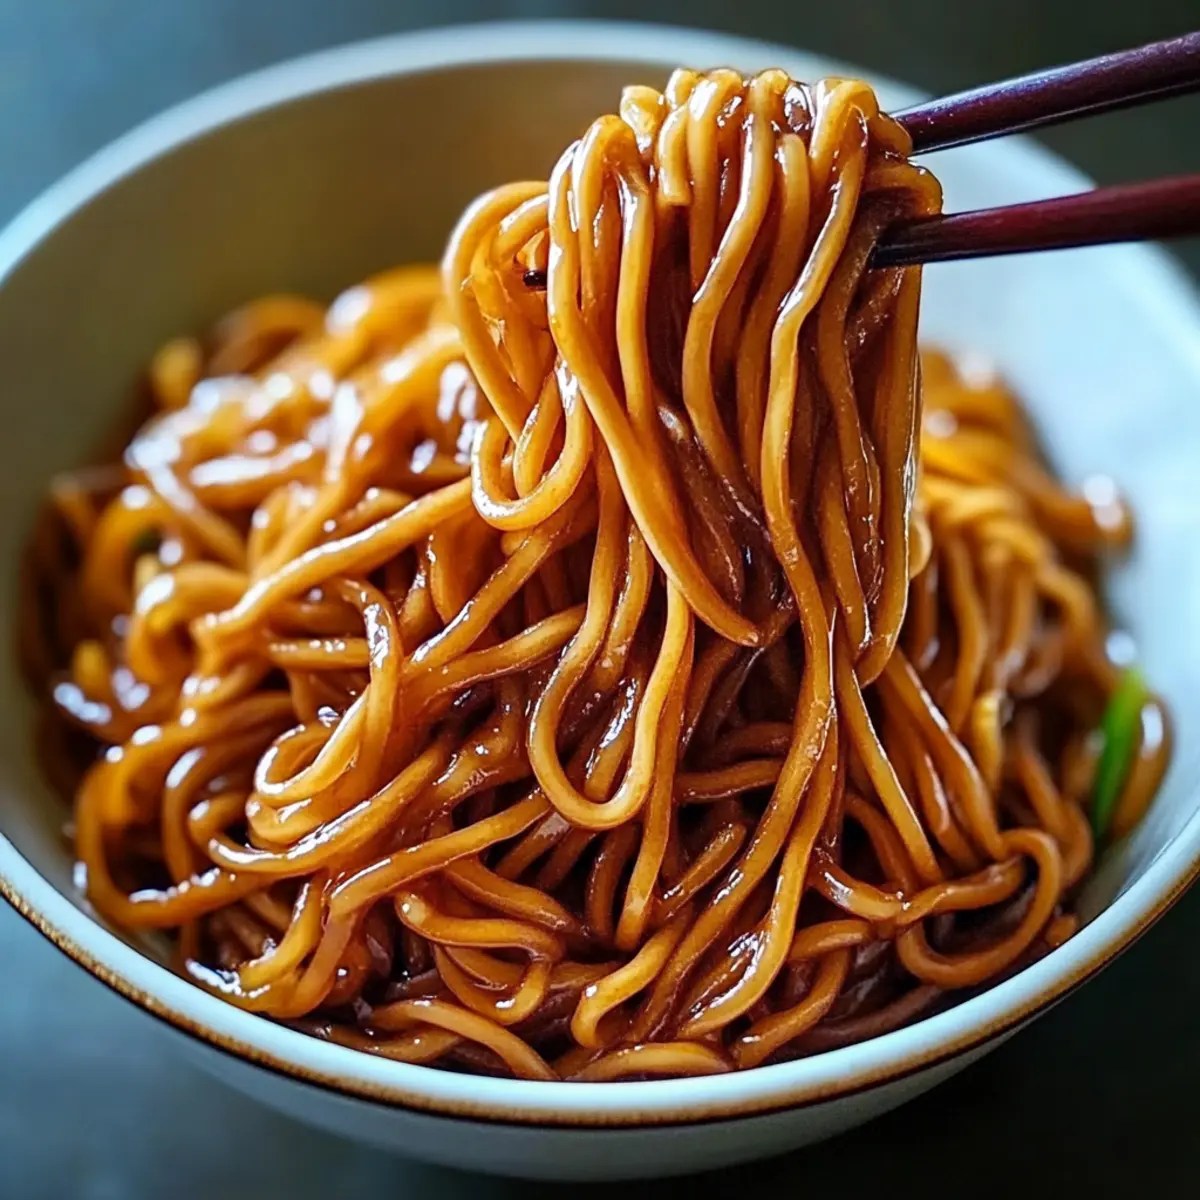
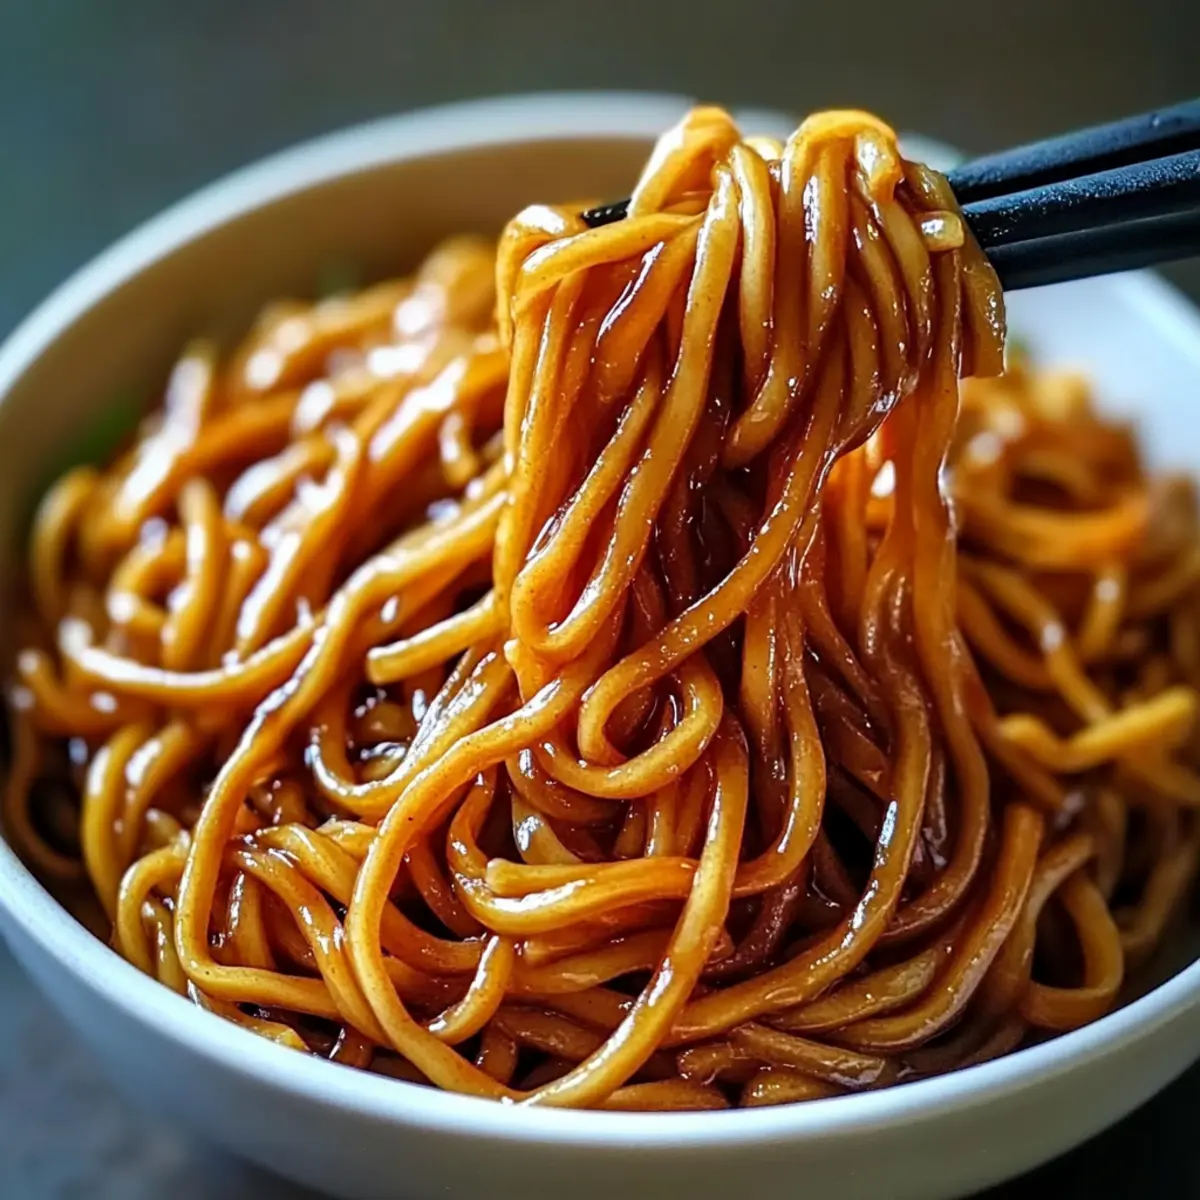
To the browned beef, stir in the cooked pasta, both cans of tomato soup, and the water. Mix everything thoroughly until it’s well-combined and coated in the rich, creamy sauce. Fold in half of the shredded cheese, allowing it to meld with the other ingredients, creating that signature cheeseburger flavor.
Step 5: Adjust Seasoning
After mixing, take a moment to taste your Cheeseburger Pasta Casserole mixture. Add any additional seasoning if desired, ensuring the flavors are just right. This step is crucial for achieving a well-balanced taste that will delight your family, so don’t hesitate to adjust according to your preference!
Step 6: Transfer to Baking Dish
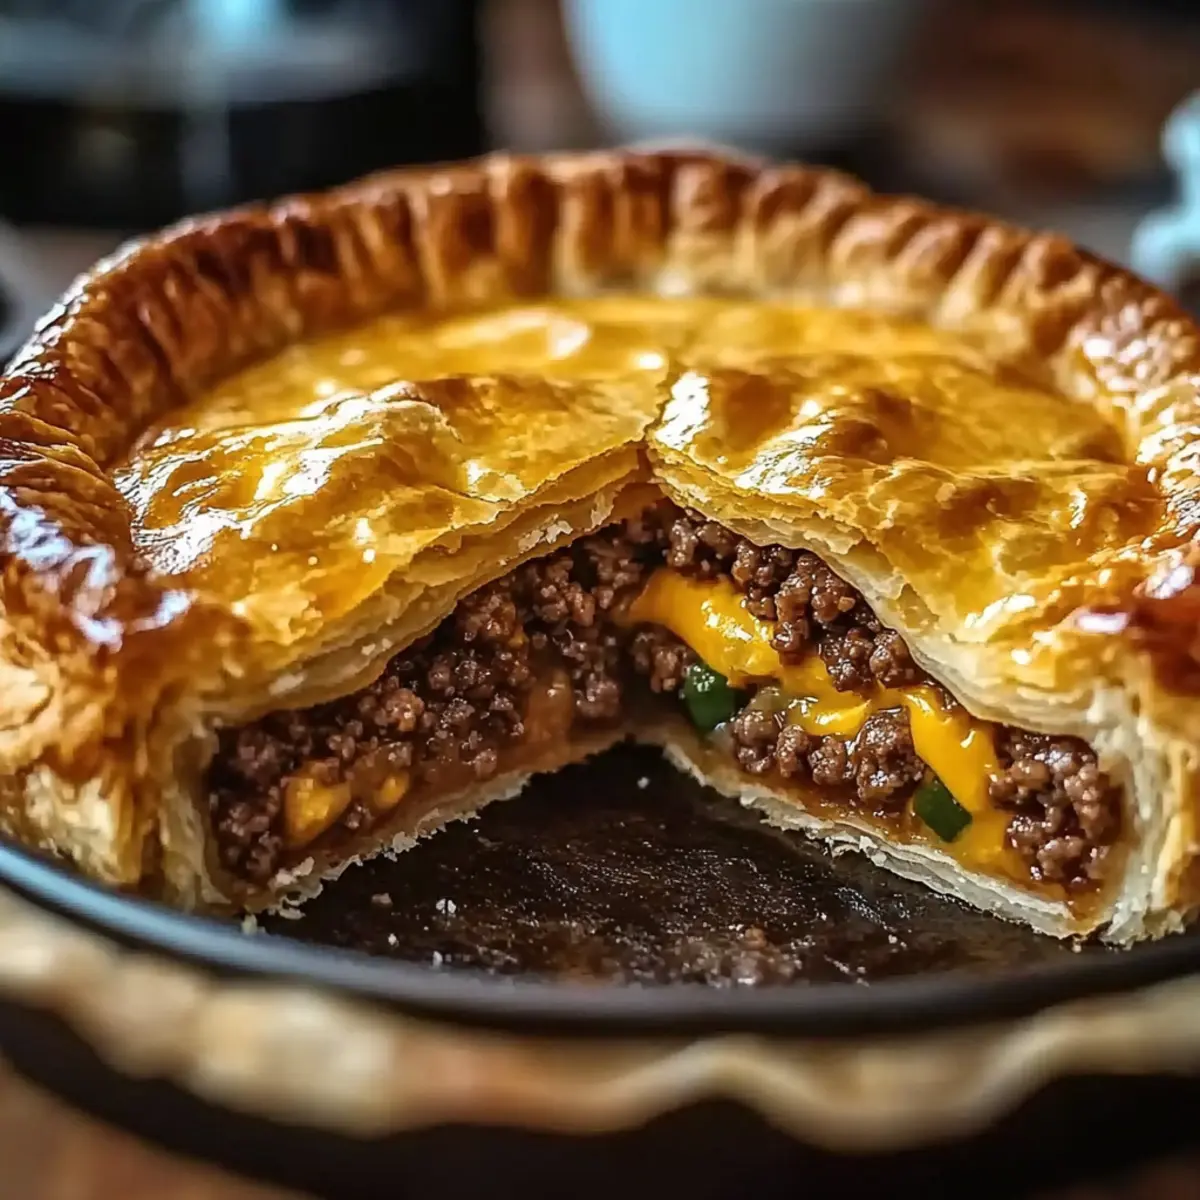
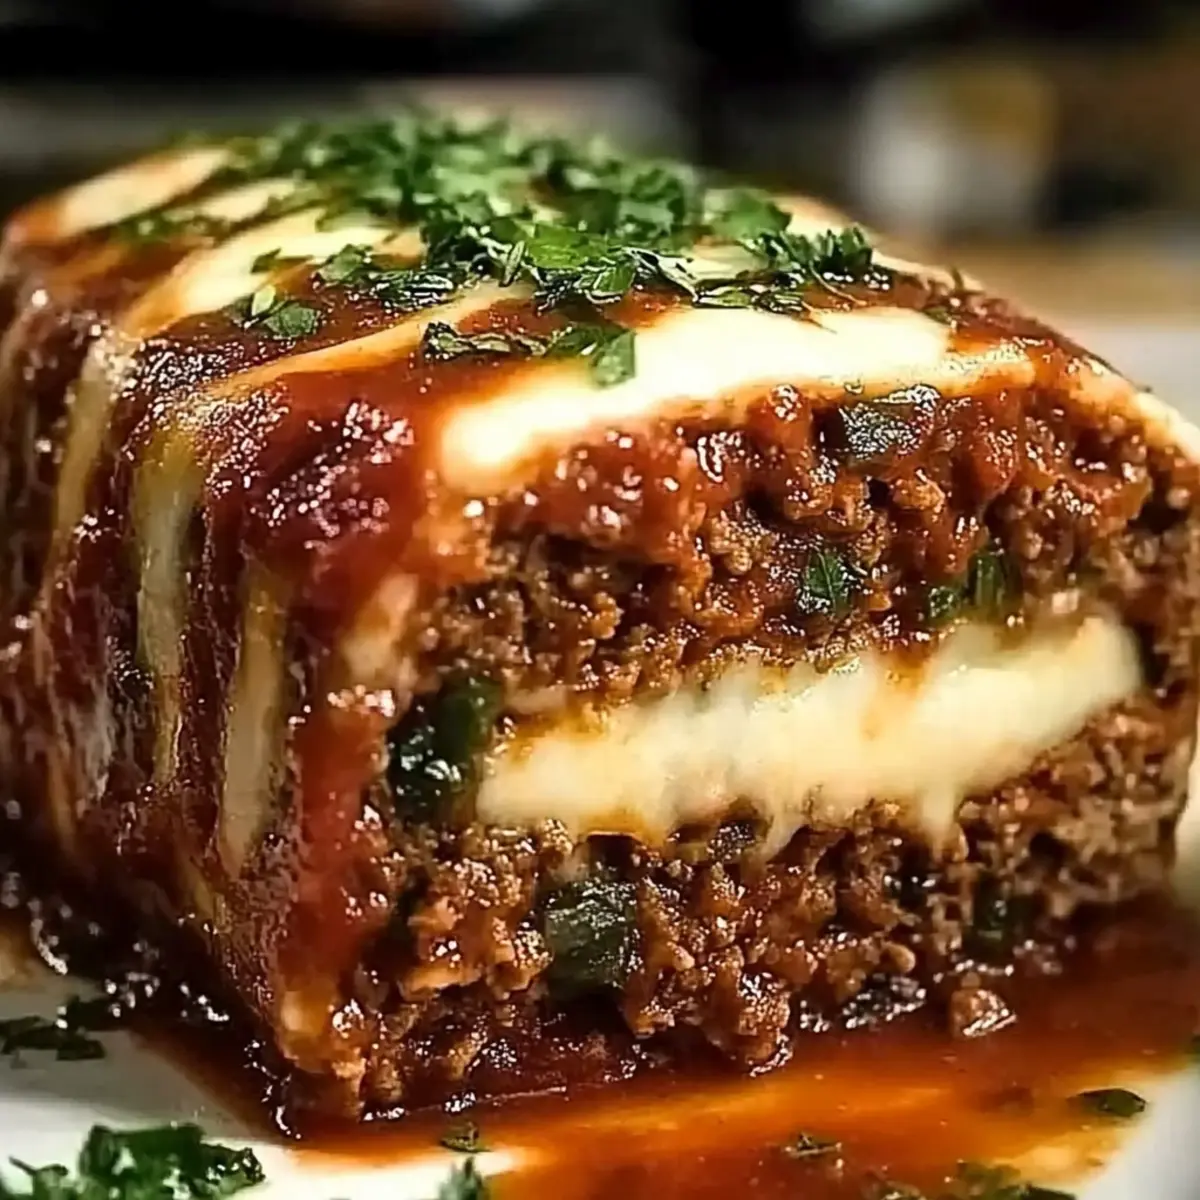
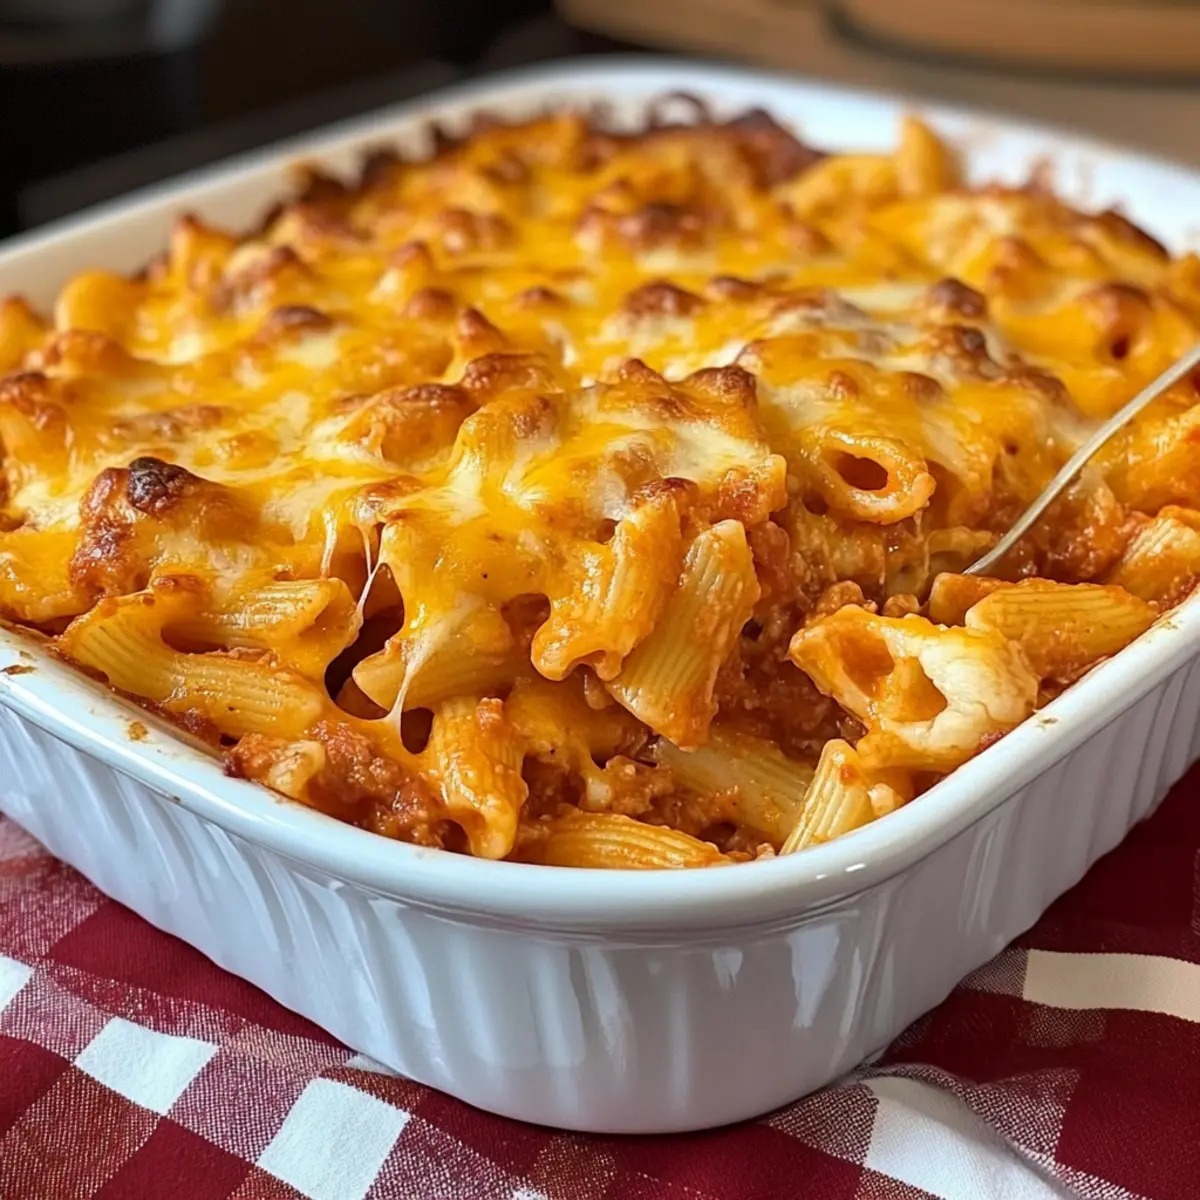
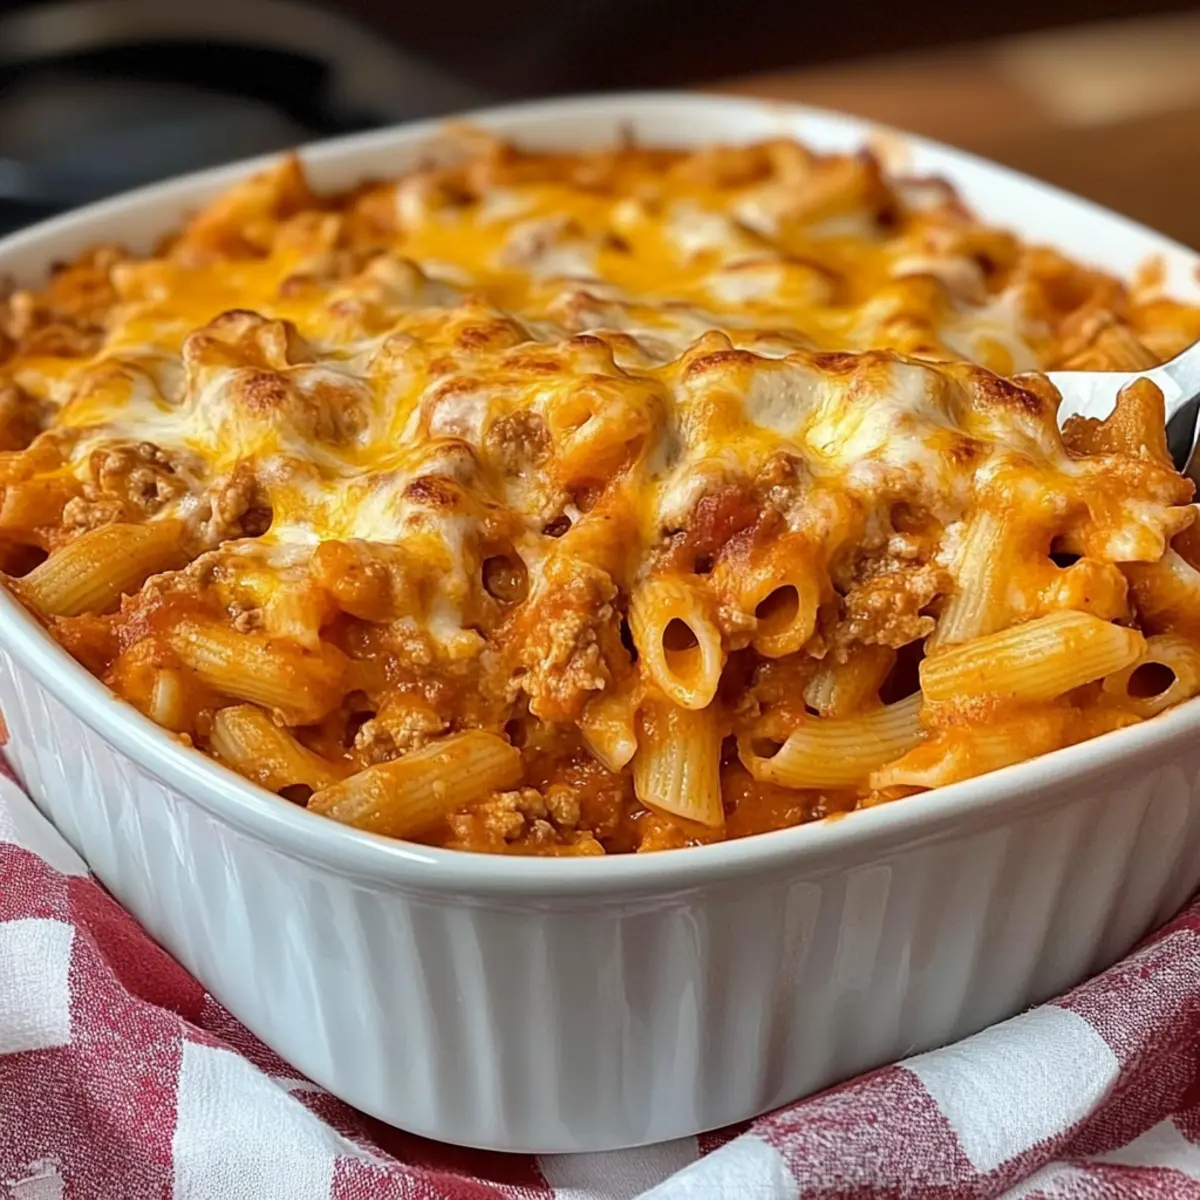
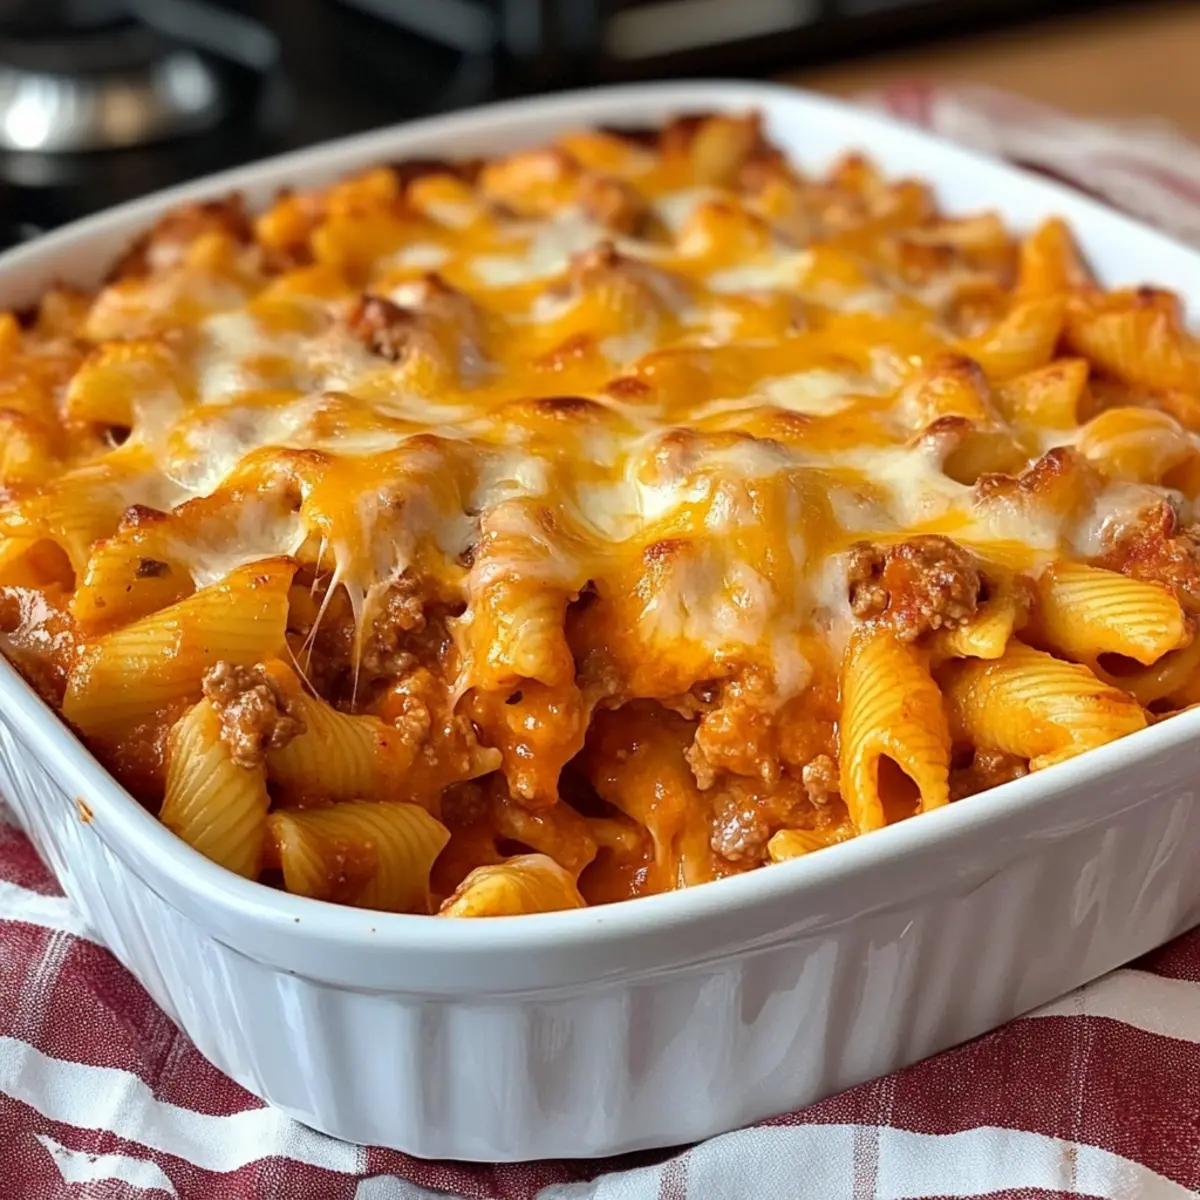
Now, carefully transfer the pasta mixture into the greased baking dish. Use a spatula to spread it evenly, ensuring every bite will be delicious. Top this hearty mixture with the remaining shredded cheese, allowing it to create a bubbly and golden crust during baking that’s simply irresistible.
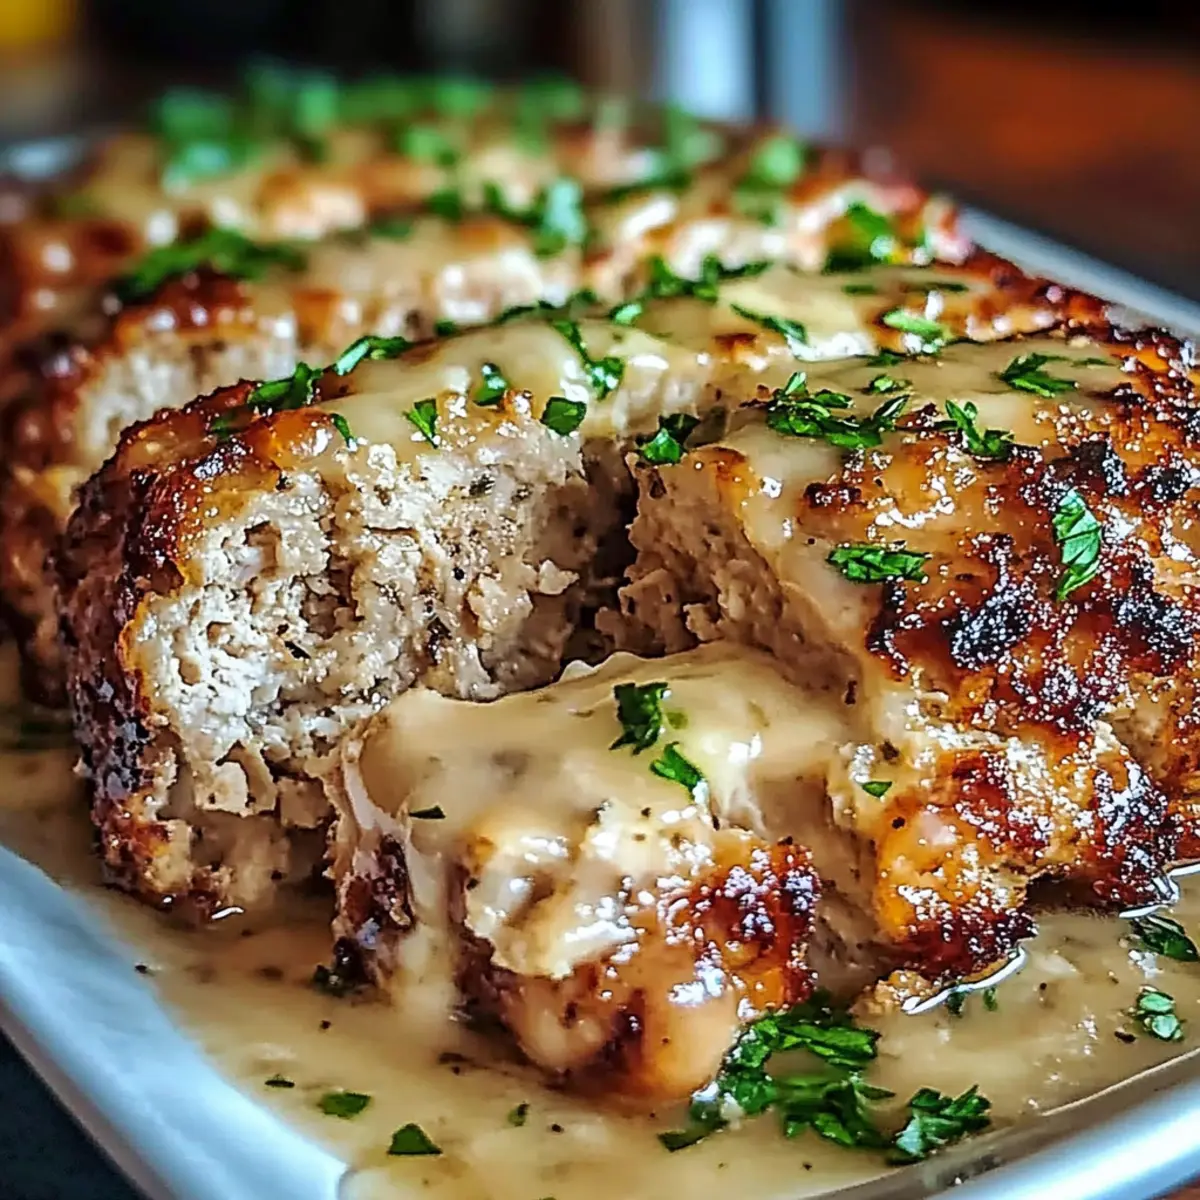
Step 7: Bake Until Golden
Cover the baking dish with foil to keep moisture in, then place it in the preheated oven. Bake for 20 minutes, at which point you can remove the foil to allow the cheese to crisp up. Bake for an additional 10-15 minutes, or until the cheese is melted, bubbly, and has reached a lovely golden brown color.
Step 8: Serve and Enjoy
Once baked to perfection, pull the Cheeseburger Pasta Casserole from the oven and let it cool for a few minutes. This brief rest will make serving easier and let the flavors settle. Scoop it onto plates, savor the cheesy, hearty goodness, and enjoy a meal that’s bound to bring smiles around your table!
Cheeseburger Pasta Casserole Variations
Feel free to play around with these delightful variations to make your cheeseburger pasta casserole truly your own!
-
Vegetarian Delight: Replace the ground beef with lentils or a plant-based meat substitute for a hearty veggie option. This keeps the dish filling while catering to vegetarian diets.
-
Cheesy Blend: Swap out cheddar for a mix of mozzarella and pepper jack cheese for a different flavor profile. The combination will create a melty, delightful topping that adds a kick!
-
Spicy Kick: Add chopped jalapeños or your favorite hot sauce to the mix for some heat. This will elevate the flavors and make your casserole zing with excitement.
-
Veggie Boost: Toss in some diced bell peppers or mushrooms for additional nutrition and a pop of color. The veggies not only enhance the flavor but also make this comfort food a bit healthier.
-
Creamy Twist: Mix in a packet of ranch seasoning or cream cheese to bring an extra layer of creaminess. This will create a richer, more flavorful sauce, making each bite even more irresistible.
-
Pasta Shape: Don’t hesitate to switch out small pasta shells for macaroni or penne. Different shapes can alter the texture and make each forkful a surprise, keeping it fun for the family.
-
Baked Potato Style: Top your casserole with crispy bacon bits or chives before serving if you're feeling indulgent. This adds a delightful crunch and a classic baked potato flavor to your comforting dish.
You might also enjoy our Cornbread Breakfast Casserole as another hearty family recipe or try a unique take with Spicy Miso Casserole, perfect for those seeking a flavorful adventure!
Make Ahead Options
These Cheeseburger Pasta Casserole options are perfect for home cooks eager to save time during hectic weeknights! You can prepare the casserole mixture—combining the browned ground beef, cooked pasta, tomato soup, water, and half of the cheese—up to 24 hours in advance. Simply cover it tightly with foil or plastic wrap and refrigerate to maintain its freshness. When you're ready to bake, just plop it in the preheated oven, top with the remaining cheese, and cook according to the instructions. For even longer storage, this casserole can be frozen for up to 3 months; just thaw overnight in the refrigerator before baking. This way, you'll enjoy all the comforting flavors without the last-minute scramble!
Expert Tips for Cheeseburger Pasta Casserole
-
Taste as You Go: Always taste the mixture before baking to fine-tune seasoning. This ensures your cheeseburger pasta casserole has the perfect flavor balance.
-
Grease the Dish: Don’t skip greasing your baking dish! This simple step prevents the casserole from sticking, making serving a breeze.
-
Cook Pasta Al Dente: Slightly undercooking your pasta will help it absorb the sauce without getting mushy, ensuring a perfect texture in the final dish.
-
Customize Your Cheese: While cheddar is a classic, mixing in mozzarella or a spicy pepper jack can add fun flavors to your casserole.
-
Plan for Leftovers: This dish stores well! Keep it in the fridge for up to three days or freeze it for up to six months—just reheat thoroughly before enjoying.
How to Store and Freeze Cheeseburger Pasta Casserole
Fridge: Store any leftovers in an airtight container for up to 3 days. Reheat in the microwave or oven until heated through for a quick lunch or dinner.
Freezer: For longer storage, freeze the casserole in a tightly covered container for up to 6 months. To enjoy, thaw in the refrigerator overnight and reheat thoroughly before serving.
Reheating: When reheating, add a splash of water or stock to maintain creaminess, and cover with foil in the oven to prevent drying out.
Portioning: If you're freezing portions, consider dividing the casserole into individual servings before freezing. This makes for easy grab-and-go meals later!
What to Serve with Easy Cheeseburger Pasta Casserole
Pairing this comforting casserole with delightful side dishes creates a meal experience that warms the heart and satisfies appetites.
-
Steamed Broccoli: A nutritious choice that adds a pop of color and a crunchy contrast, balancing the cheesy richness of the casserole.
-
Garden Salad: Fresh greens topped with your favorite veggies provide a refreshing, crisp element to the meal, enhancing its overall appeal. Mixed with a tangy vinaigrette, it brightens the dish beautifully.
-
Garlic Bread: Crispy, buttery garlic bread adds an irresistible crunch, perfect for scooping up that cheesy goodness from your casserole!
-
Roasted Vegetables: Seasoned carrots, zucchini, and bell peppers roasted until caramelized bring depth and sweetness to the table, pairing wonderfully with savory pasta.
-
Creamy Coleslaw: This cool, crunchy slaw adds a nice contrast in texture, while its tanginess complements the hearty flavors of the casserole.
-
Fruit Salad: A light and refreshing fruit salad offers natural sweetness that cleanses the palate, making it a perfect dessert-like side for your meal.
-
Iced Tea: A tall, refreshing glass of iced tea, sweetened or unsweetened, makes for a delightful drink choice that pairs perfectly with family dinners.
-
Chocolate Pudding: For dessert, creamy chocolate pudding satisfies the sweet tooth, rounding out dinner on a comforting note that everyone will love.
Cheeseburger Pasta Casserole Recipe FAQs
What’s the best way to choose ripe ingredients for my Cheeseburger Pasta Casserole?
Absolutely! When selecting your ground beef, look for fresh meat that is bright red with minimal browning or dark spots, indicating it's still fresh. For the pasta, any small shape will work, just choose a brand that you trust and ensure the package is sealed and undamaged. If opting for tomatoes, vibrant red canned versions or homemade sauces are best—check the expiration dates!
How should I store leftover Cheeseburger Pasta Casserole?
You can store your leftover casserole in an airtight container in the fridge for up to 3 days. Make sure to let it cool down before covering it to avoid condensation. When you’re ready to enjoy it again, simply reheat in the microwave or oven until it's warmed through.
Can I freeze my Cheeseburger Pasta Casserole?
Yes, you can! To freeze, tightly cover the unbaked casserole with foil or plastic wrap, allowing for up to 6 months of storage. When you’re ready to use it, simply thaw in the refrigerator overnight. Reheat in the oven covered with foil for about 40-45 minutes, then uncover and bake for an additional 10-15 minutes to allow the cheese to crisp back up.
What if my casserole is too dry after baking?
If your casserole turns out dry, don’t worry! Simply stir in a little milk or stock after it’s heated to bring back that creamy texture. You can also add a splash of tomato soup before serving for additional moisture.
Is there a vegetarian option for this recipe?
Very much so! To cater to vegetarians, you can replace the ground beef with lentils, mushrooms, or a quality store-bought meat substitute. Just ensure to adjust the seasonings to suit the new ingredients for that comforting cheeseburger flavor.
Can my pets share in the Cheeseburger Pasta Casserole?
It’s best not to share the casserole directly with pets, as it contains ingredients like onion and garlic that can be harmful to them. If you’d like to make a pet-friendly version, you can set aside a small portion without the seasonings or the tomato soup, ensuring all ingredients are safe for your furry friends.

Cheeseburger Pasta Casserole: Comfort Food Made Easy
Ingredients
Equipment
Method
- Preheat your oven to 375°F (190°C) and grease a 9x13-inch baking dish with cooking spray or butter.
- In a large pot, bring salted water to a boil and add the small pasta shells. Cook until al dente, about 7-10 minutes, then drain.
- In a large skillet over medium heat, cook the ground beef for about 5-7 minutes until browned, seasoning with salt, pepper, garlic powder, and onion powder.
- Stir in the cooked pasta, both cans of tomato soup, and the water. Carefully mix everything and fold in half of the shredded cheese.
- Taste the mixture and adjust the seasoning as necessary for a well-balanced flavor.
- Transfer the pasta mixture to the greased baking dish and evenly spread it out. Top with the remaining shredded cheese.
- Cover with foil and bake for 20 minutes. Remove the foil and bake for an additional 10-15 minutes until golden brown.
- Let cool for a few minutes before serving. Dish out and enjoy!